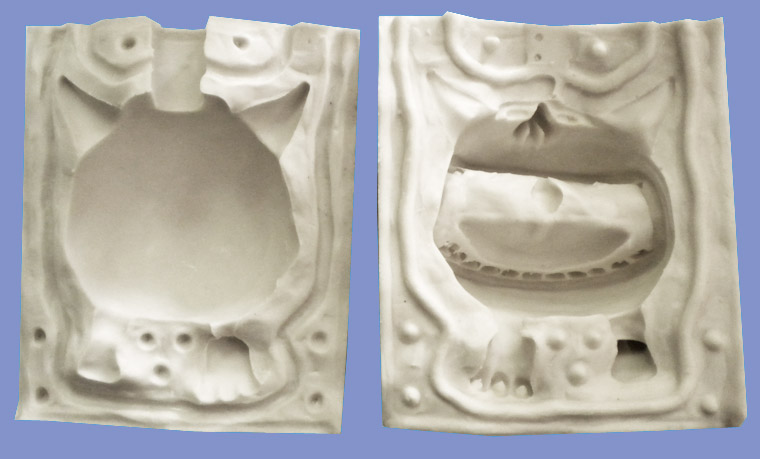
Preamble:
The purpose of this tutorial is not to provide you with a complete and comprehensive course on the ins and outs of artistic casting. Please be aware that this is a craft in its own right—and one of the most noble that still exists. The fundamentals of the techniques are explained very clearly in Pascal Rosier’s excellent book, *Le moulage*...
Our goal will be to highlight all the main pitfalls encountered by beginners in amateur art casting...
Personally, I’d advise you to start small with simple latex molds and plaster casts, then gradually move on to elastomers and resins. Many specialty shops these days will give you sound advice. We’re no longer in the situation we were in twenty years ago, when you’d be offered paid workshops featuring demonstrations of high-performance products—only to be sold unsuitable and extremely expensive products afterward—all with the aim of discouraging you and ensuring that “the secrets of the gods remain on Mount Olympus”… Certain so-called “pros” will recognize themselves; the Internet revolution and the culture of sharing have finally swept all that away…
You need to think things through carefully before you begin:
-1- How many prints will I make?
-2- What material will I use for casting?
-3- What is my budget?
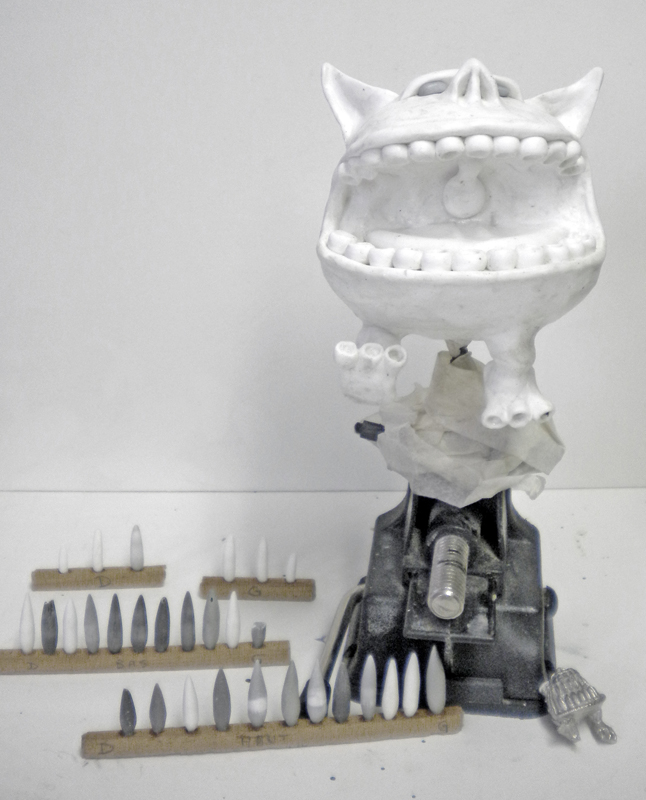
For our demonstration, we’ll use the Giant Squig master model created in a previous tutorial. This subject is perfectly suited for an introduction to casting. It has a large surface area—which has the drawback of requiring a large amount of molding material (resin)—as well as details that are both very fine (ears) and simple, and also undercuts (gums). Therefore, we cannot make the mold out of a rigid material (plaster, resin, etc.). Furthermore, since we want to make multiple resin casts (polyurethane or polyester, depending on your preferences and the materials you have on hand), a durable yet flexible material is essential; we’ll therefore be working with silicone elastomer...
Note: It is possible to make a latex mold with reinforcements and a cap, but that would require a significant amount of time and expertise, which is not the purpose of this tutorial. Polyurethane elastomer is also an option, but its cost puts it beyond the scope of this tutorial as well...
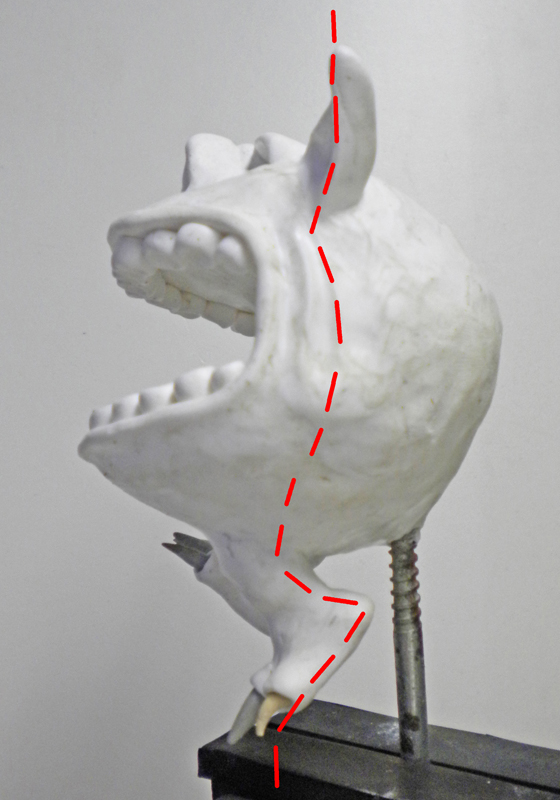
To create your mold, you’ll need to start by “thinking through” your design. In other words, where will you place the parting line separating the two halves of the mold? It makes practical sense to choose a parting line that follows a path with as few details as possible. This is important both to ensure the mold is airtight and to make it easier to remove this future parting line from the castings later on. If you place your parting line along intricate details, you’ll face hours of tedious deburring…
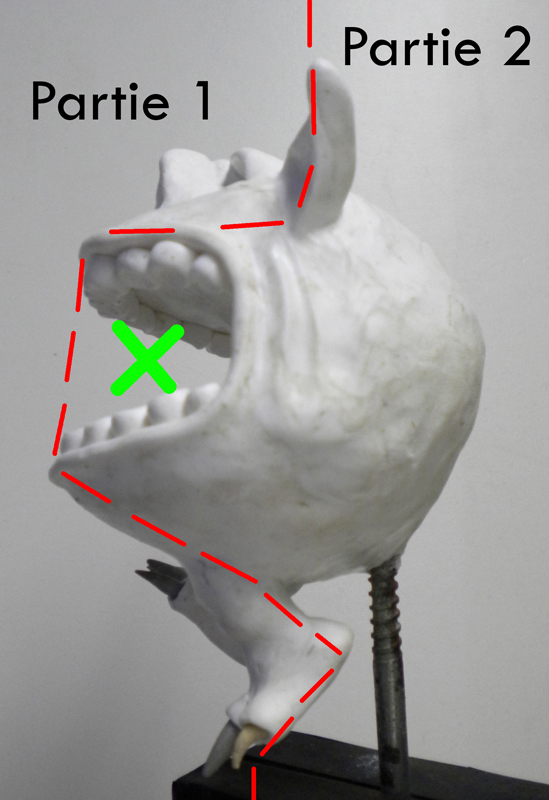
Finally, be very careful not to position your parting line in a way that would “trap” (green cross on the mold) part of the model inside the mold...
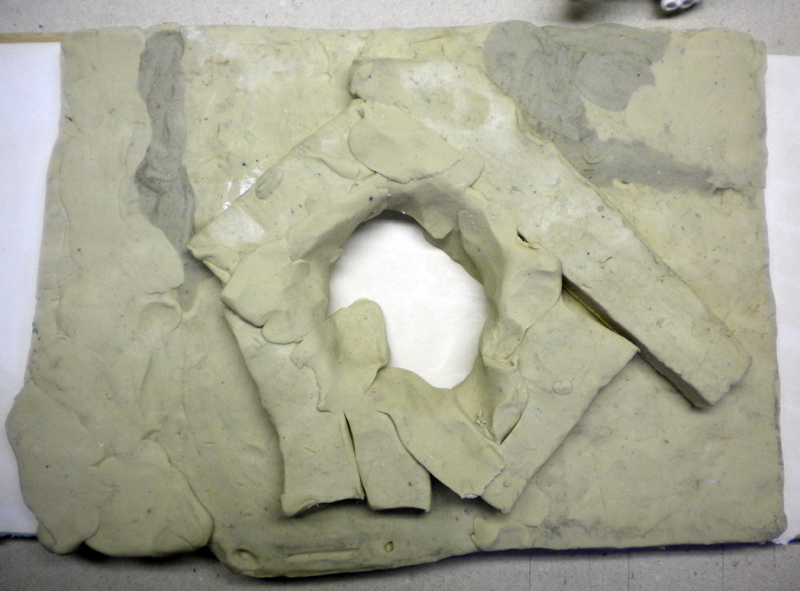 | 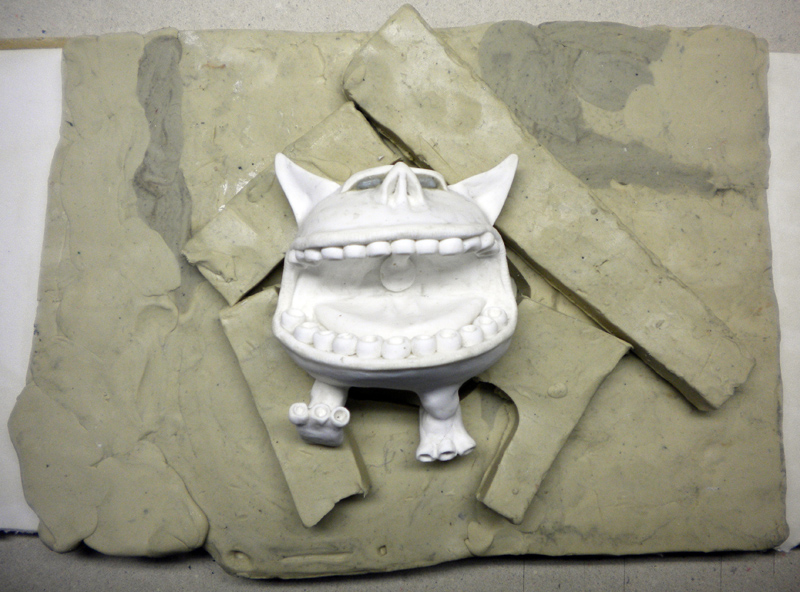 |
Avec de la plastiline souple vous asseyez votre modèle...
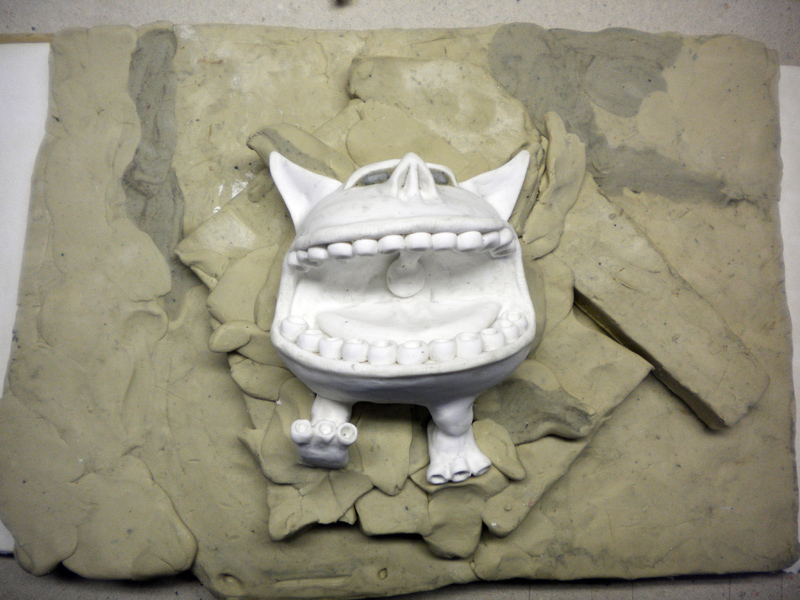 | 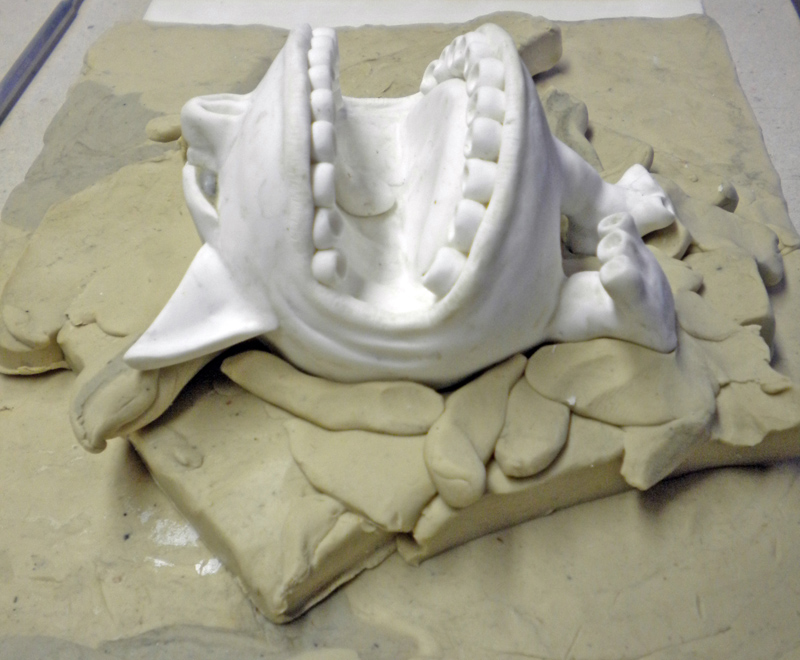 | 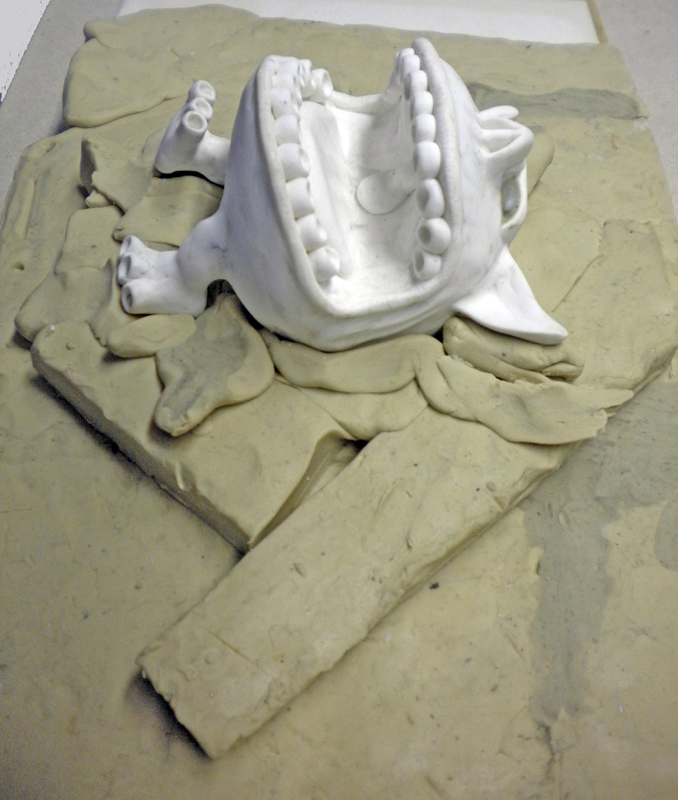 |
...et montez des épaisseurs de plastiline jusqu’à vous rapprocher du plan de joint souhaité...
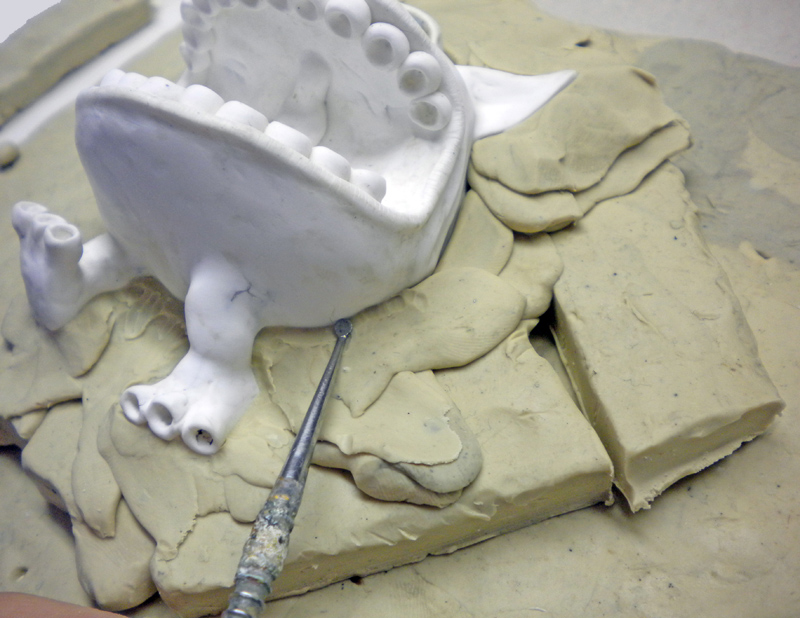 | 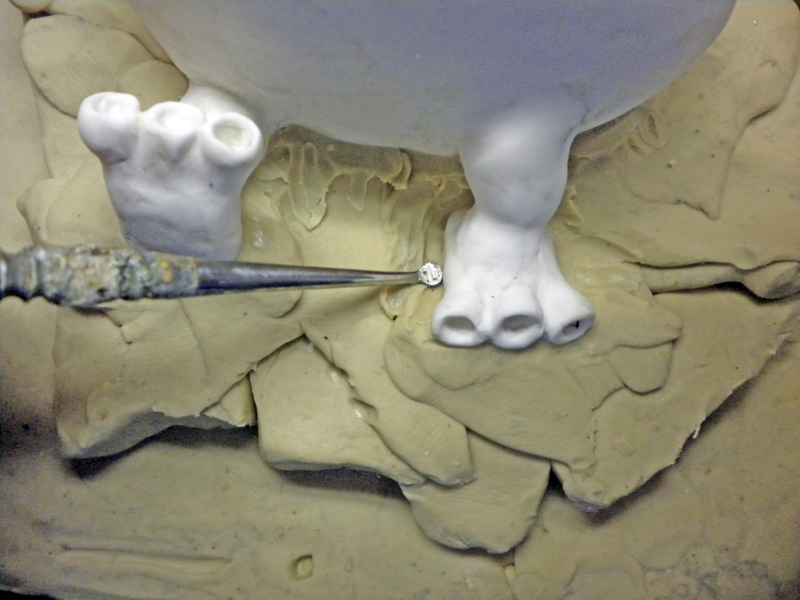 |
ETAPE IMPORTANTE : Le plan de joint...
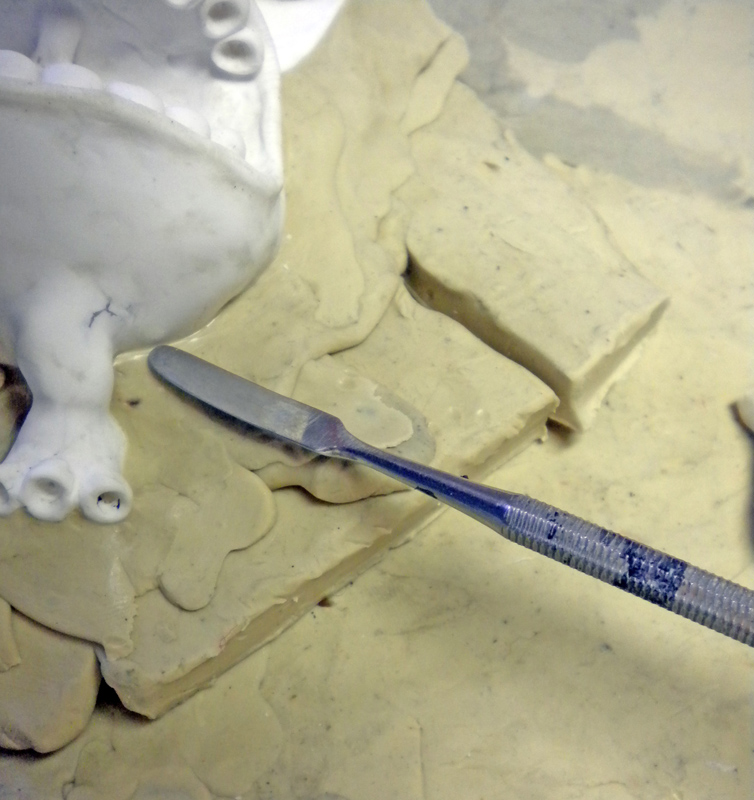
Using an appropriate tool, create your joint line. It must be exactly at a 90° angle to your workpiece...
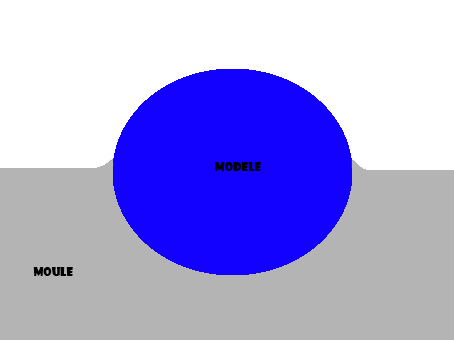 | 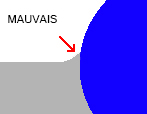 |  |
Ce schéma vous explique ce qu’il ne faut pas faire. Il ne faut surtout pas le lisser en arrondi (erreur fréquente de débutant) car certes cela est plus facile mais un côté du moule présenterait un plan de joint très fin, donc peu résistant, donc vite corrodé et détruit par « l’agressivité » chimique des matériaux de moulage...
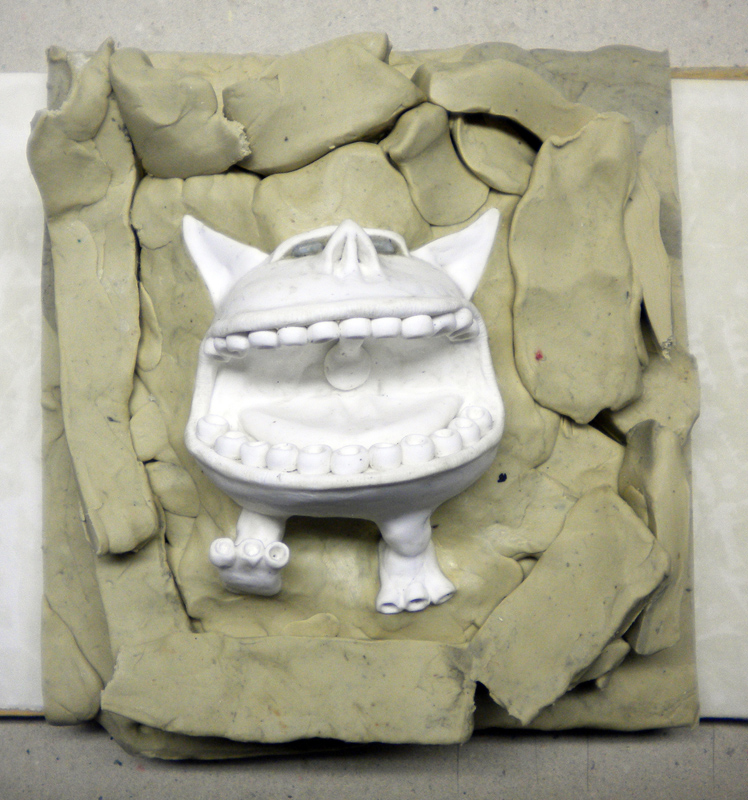 | 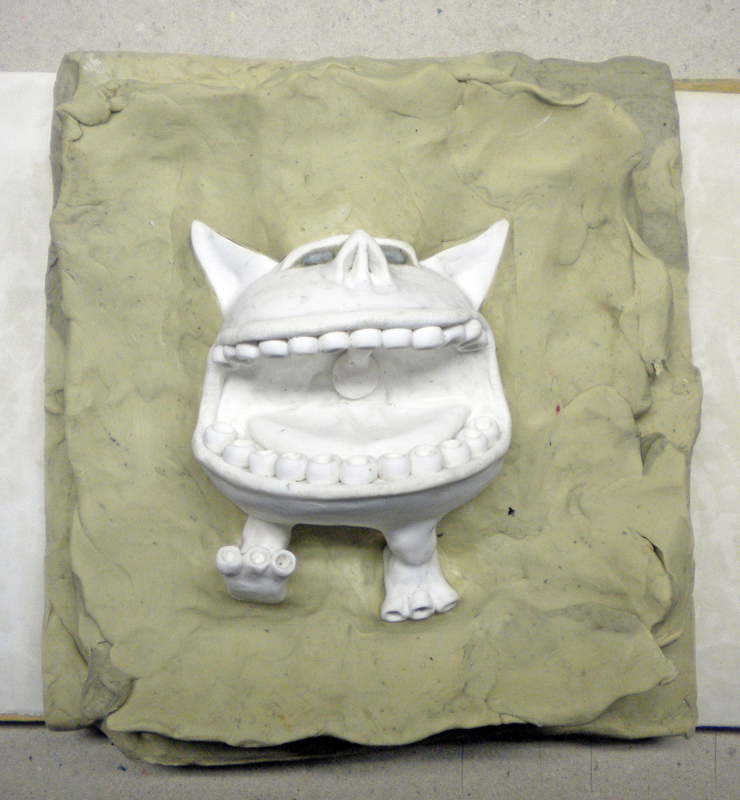 | 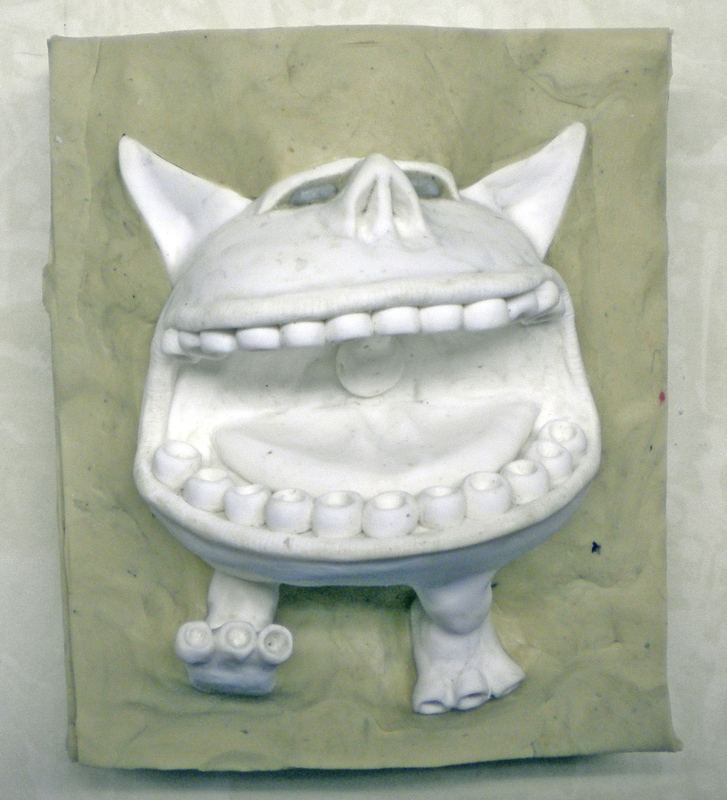 |
Lissez et finissez le reste de votre galette de plastiline proprement...
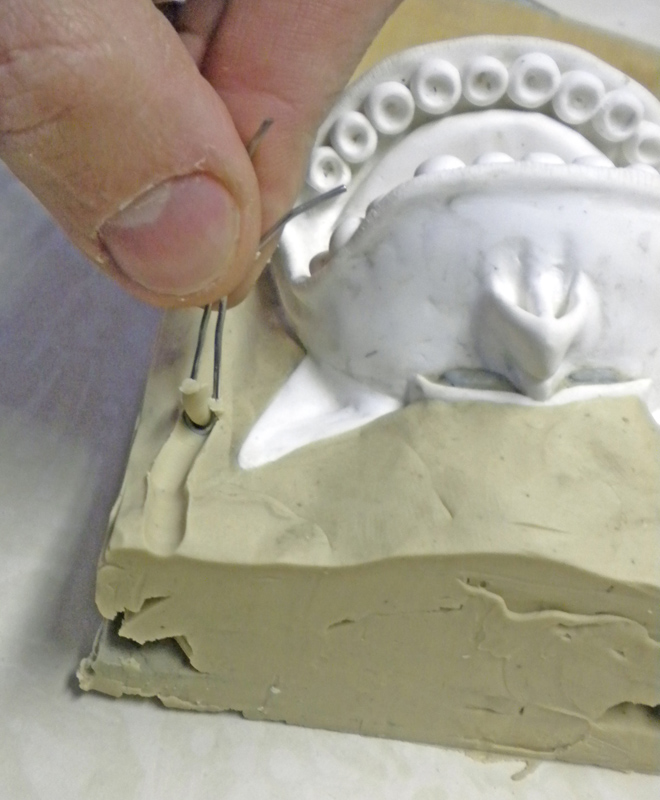 | 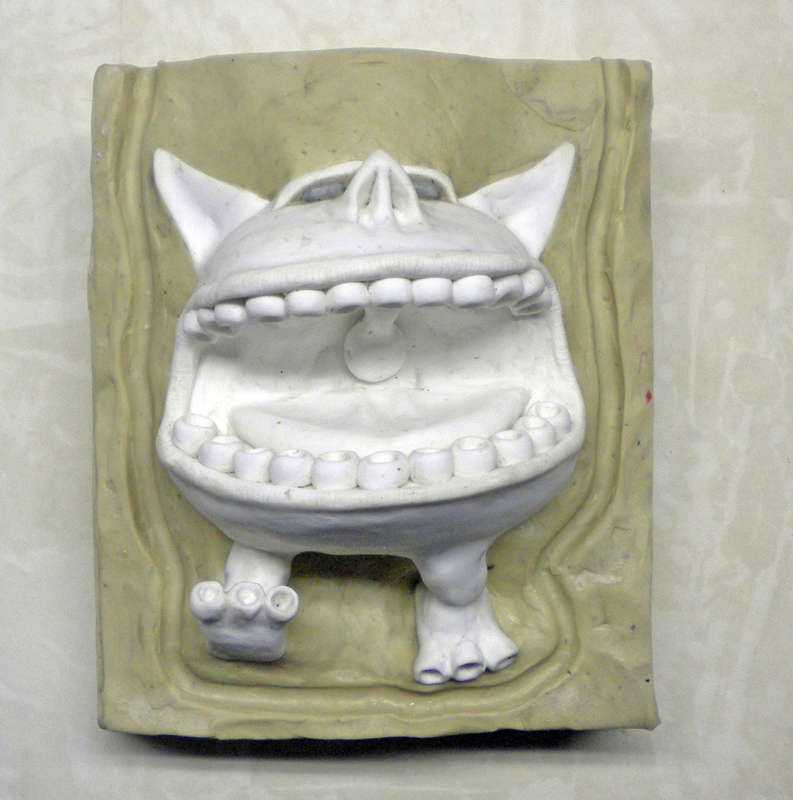 |
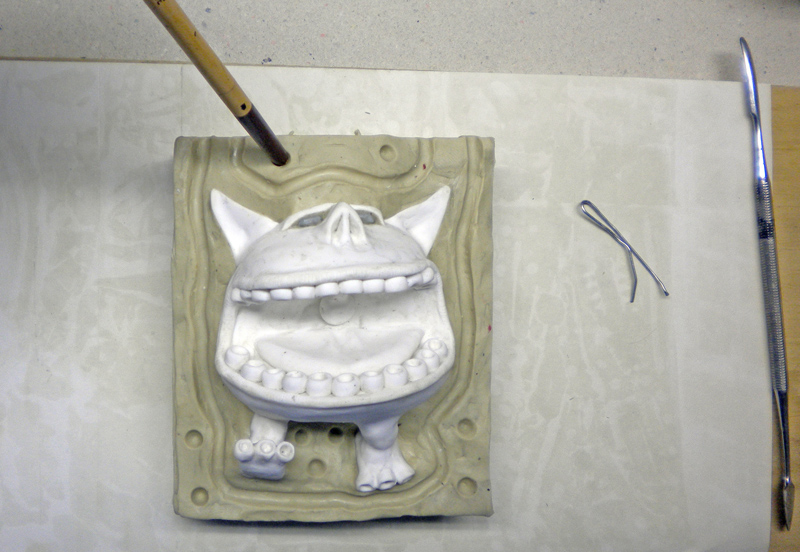
ETAPE IMPORTANTE : Le centrage des deux faces du moule. C’est une étape cruciale. A l’aide d’un outil arrondi (ici un simple trombone) vous réalisez tout d’abord une gorge de centrage tout autour de votre modèle (si possible)...
 | 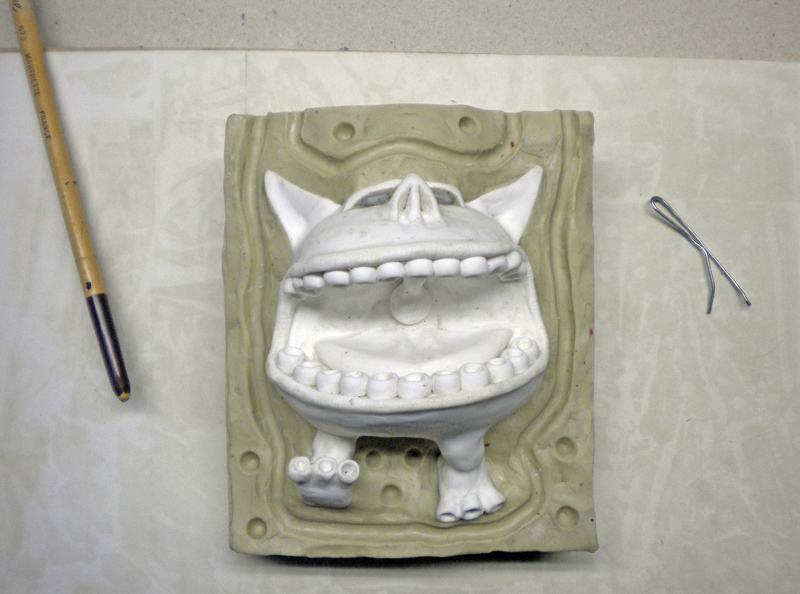 |
...elle permettra d’assurer un plan de joint précis. Ensuite vous réaliserez des centreurs (ici le bout d’un pinceau), ils auront pour but de guider la fermeture du moule...
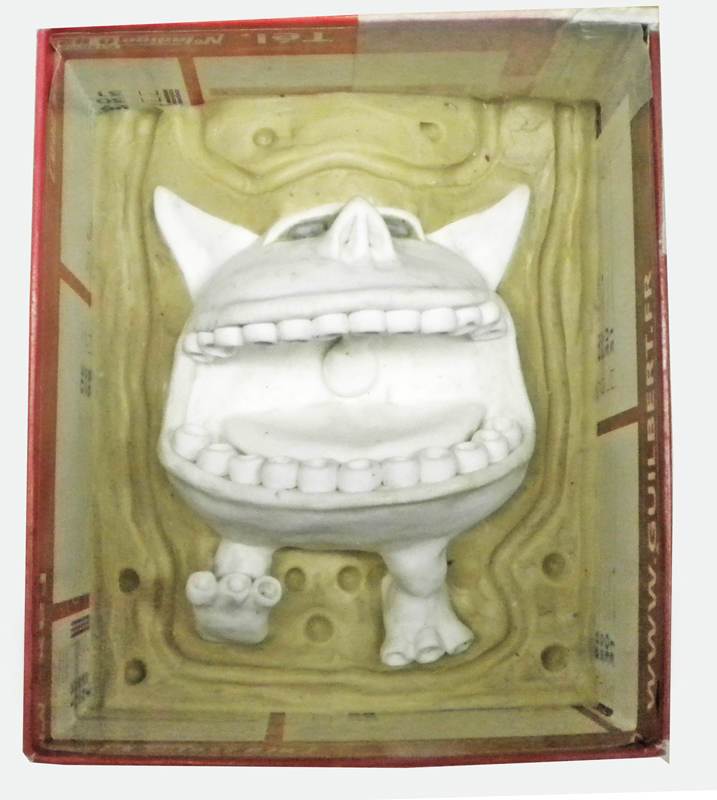 | 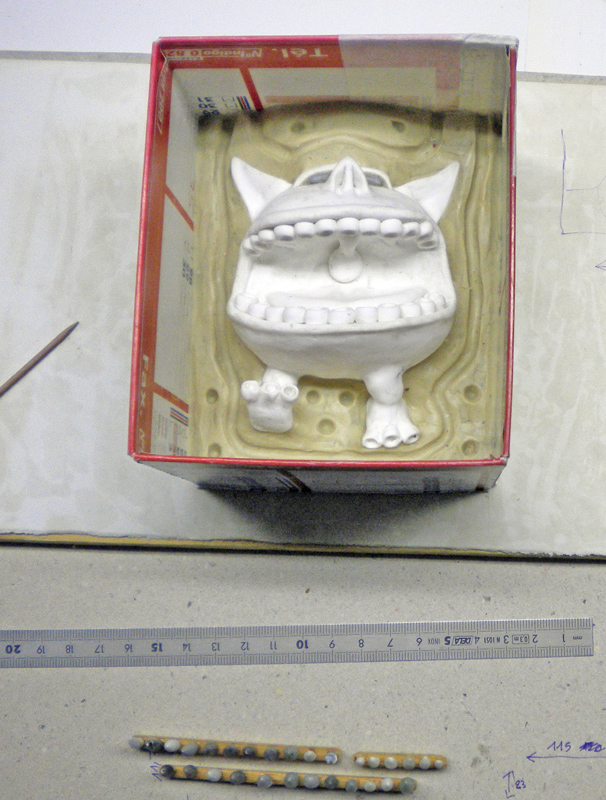 |
Monter un cadre autour de votre moule, en matériau non poreux (carton lisse, médium recouvert de papier aluminium, novolam etc.) Calculez le volume d’élastomère à couler pour réaliser votre première face, trop peu et votre modèle ne sera pas assez recouvert, trop grande quantité et vous gaspillerez de la matière en épaisseur superflue. En général un minimum de 5mm aux endroits les plus fins est recommandé jusqu’à 8mm ou 10mm. A savoir que si vous comptez faire beaucoup de tirages il faudra une épaisseur appropriée. De même si le volume de votre sujet est important la réaction chimique sera importante : plus il y a de matière et plus la réaction est vive et plus il y a montée en température et plus il y aura corrosion du moule = il faut une épaisseur adéquate d’élastomère.
HOW TO CHOOSE THE RIGHT ELASTOMER? As explained above, you’ll be using a silicone elastomer for art casting. It will be tear-resistant, provide high-fidelity detail reproduction, and be compatible with composite casting materials. Once you’ve determined this, you’ll still be offered several varieties, particularly in terms of “Shore” hardness. In simple terms, the higher the “Shore” hardness, the stiffer your elastomer will be (though no less tear-resistant), and therefore your mold will stand on its own without needing a form or frame to support it!
Casting
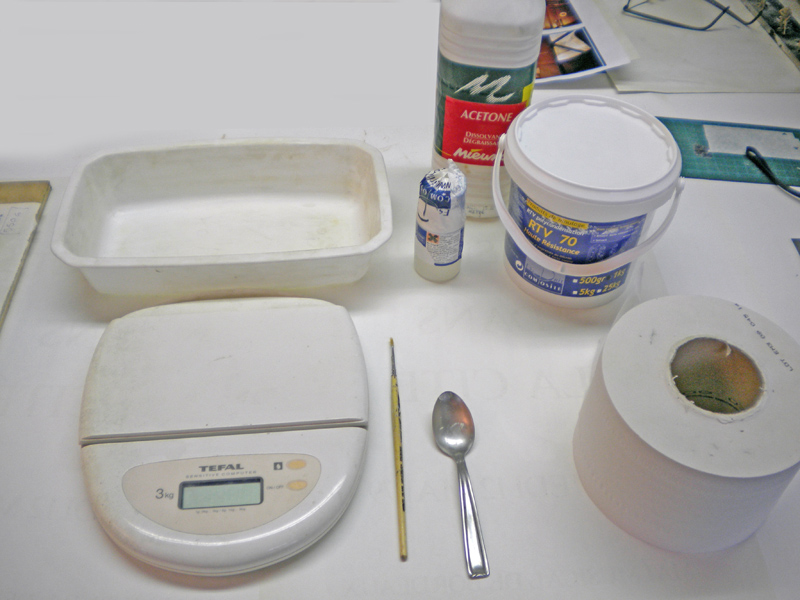 | 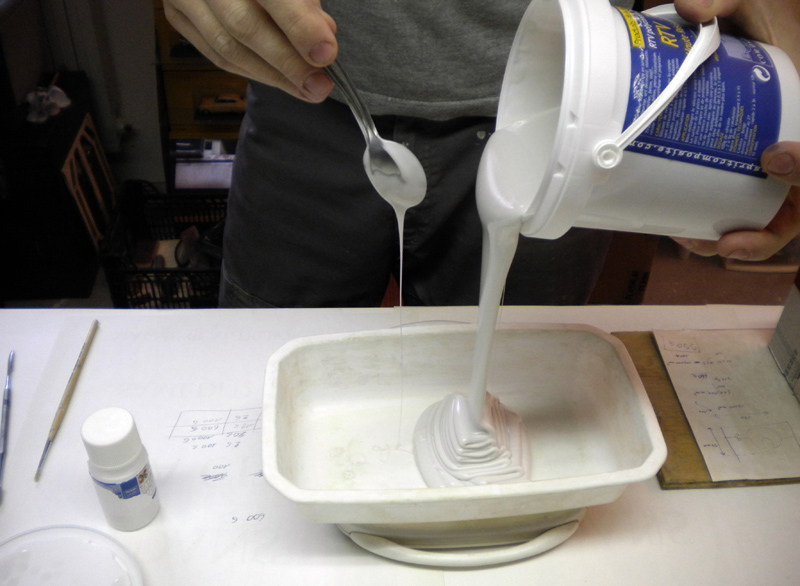 |
Coulage de la première face. Vous aurez pris soin au préalable de stocker vos matériaux et outillages divers à température ambiante d’atelier (entre 15 et 20°C) et hors de toute humidité excessive. Préparez tout votre matériel...
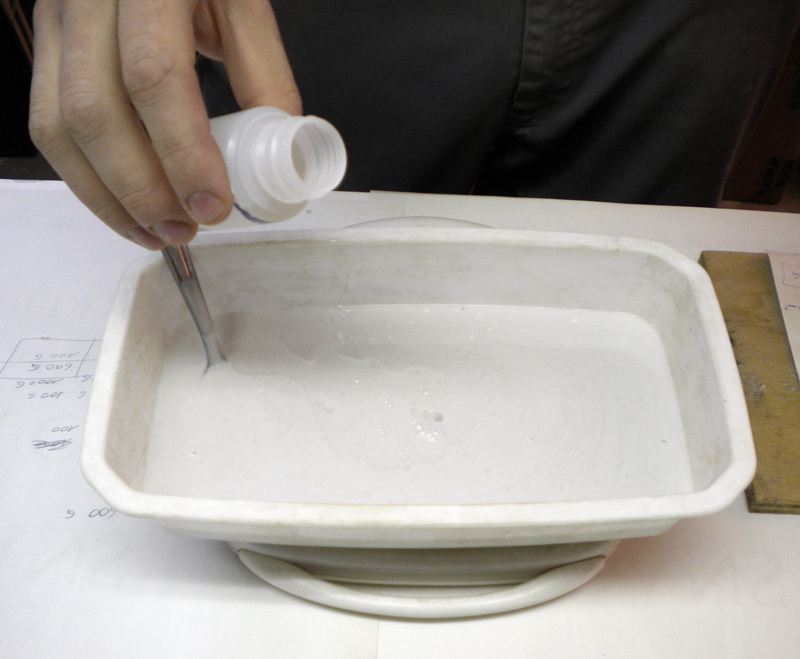 | 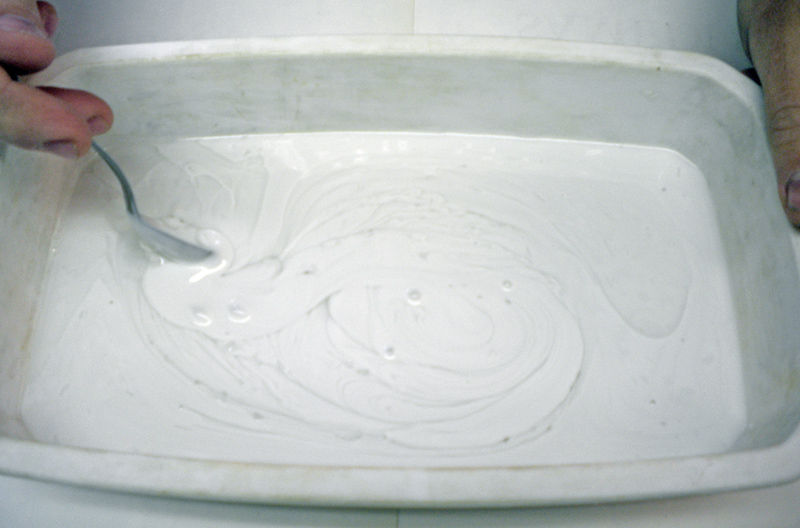 | 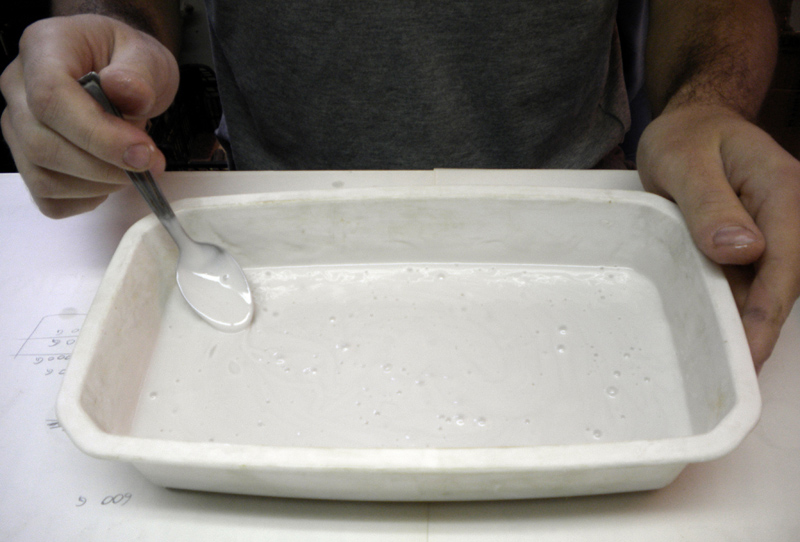 |
Lisez bien la notice d’utilisation de votre produit, en particulier le « Pot Life » ou temps de vie en pot. C'est-à-dire combien de temps est utilisable le mélange une fois le catalyseur incorporé avant gélification. Préparez la quantité d’élastomère prévue, incorporez le catalyseur. Notez l’heure. Mélangez soigneusement, le catalyseur va faire des fils couleur gris dans l’élastomère, mélangez jusqu’à ce que votre mélange soit parfaitement homogène. Raclez et mélangez bien aussi les bords et le fond de la gamelle. Regardez bien l’horloge...
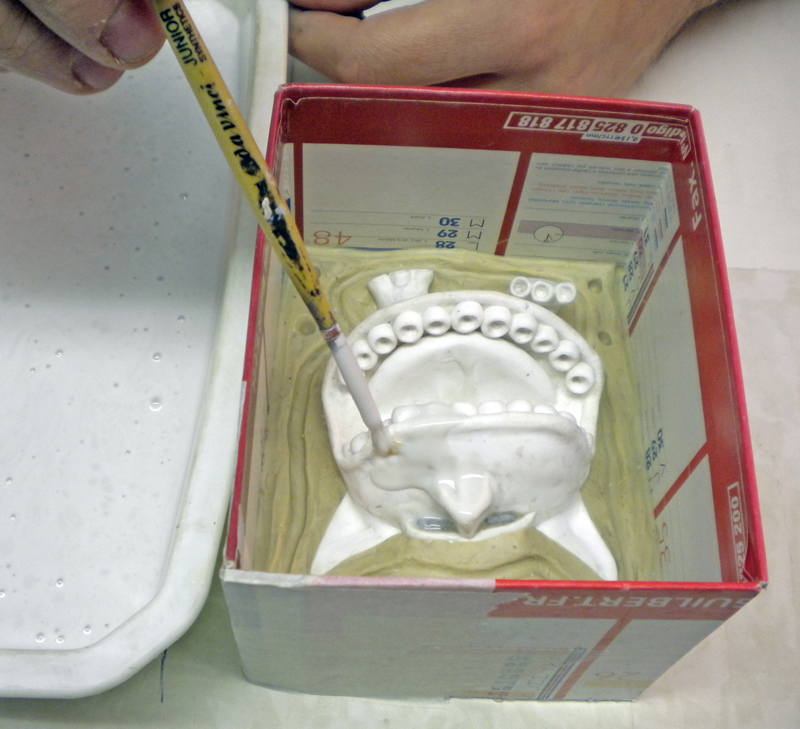 | 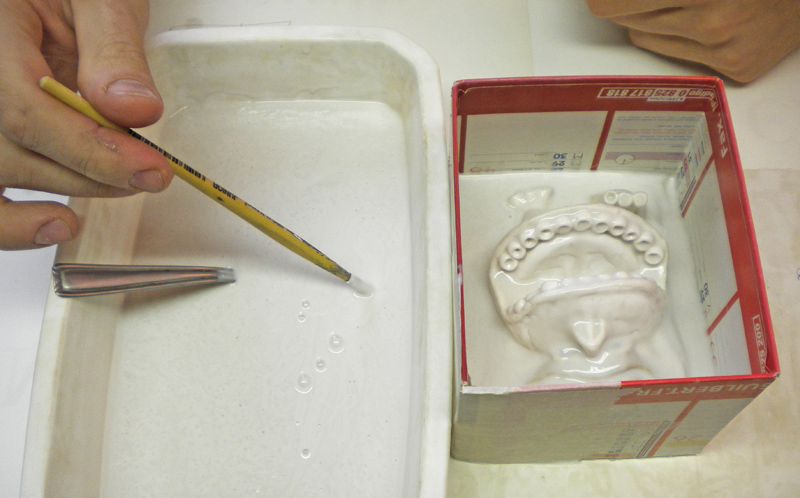 |
Imprégnez soigneusement les détails de votre modèle avec un pinceau souple. Surveillez toujours l’horloge...
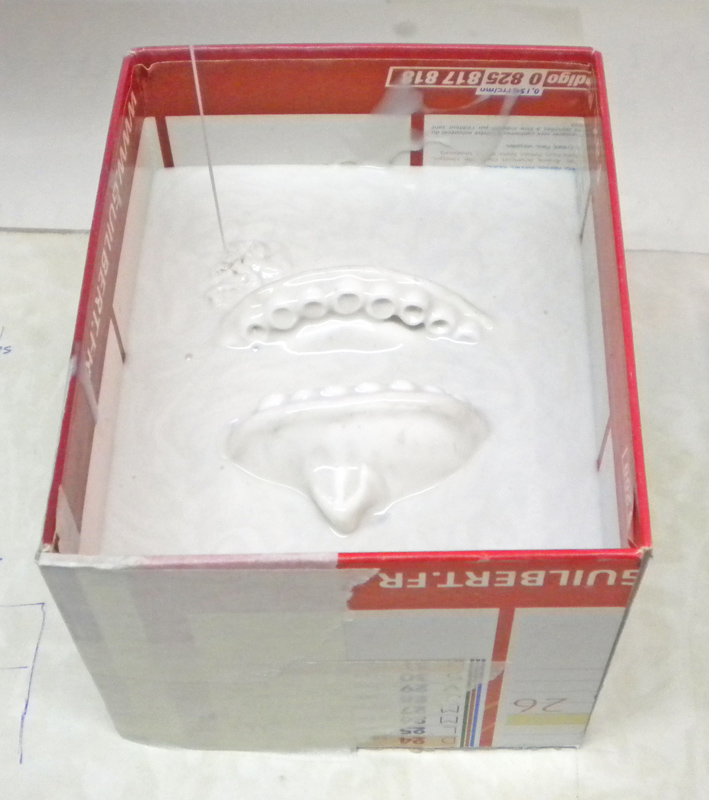 | 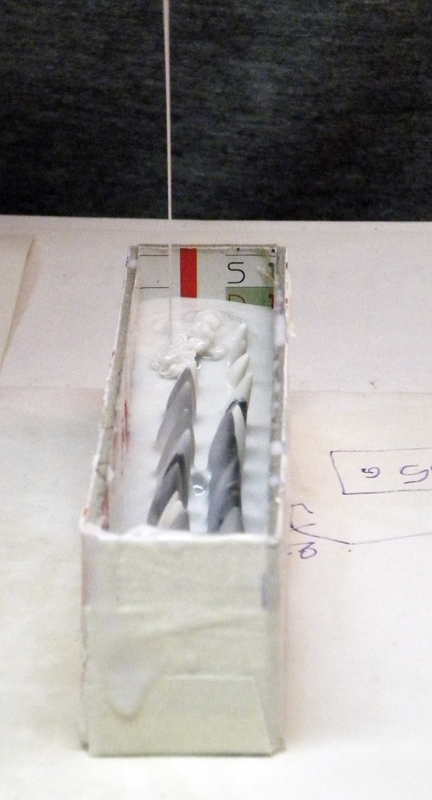 |
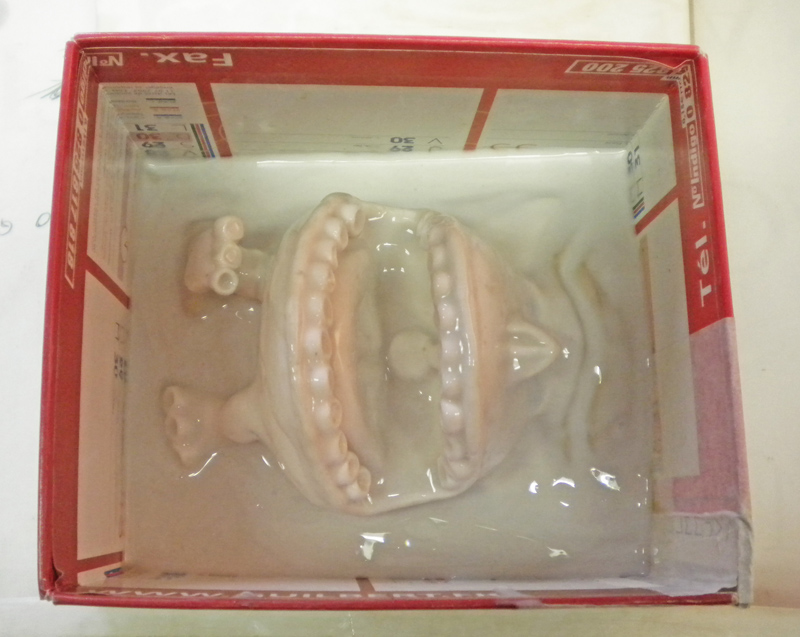
Coulez le reste du mélange en un mince filet à partir du point le plus bas du coffrage. Ainsi l’élastomère va monter progressivement et recouvrir un à un tous les détails. Laissez polymériser selon la fiche technique (en général entre 24 h et 36h)...
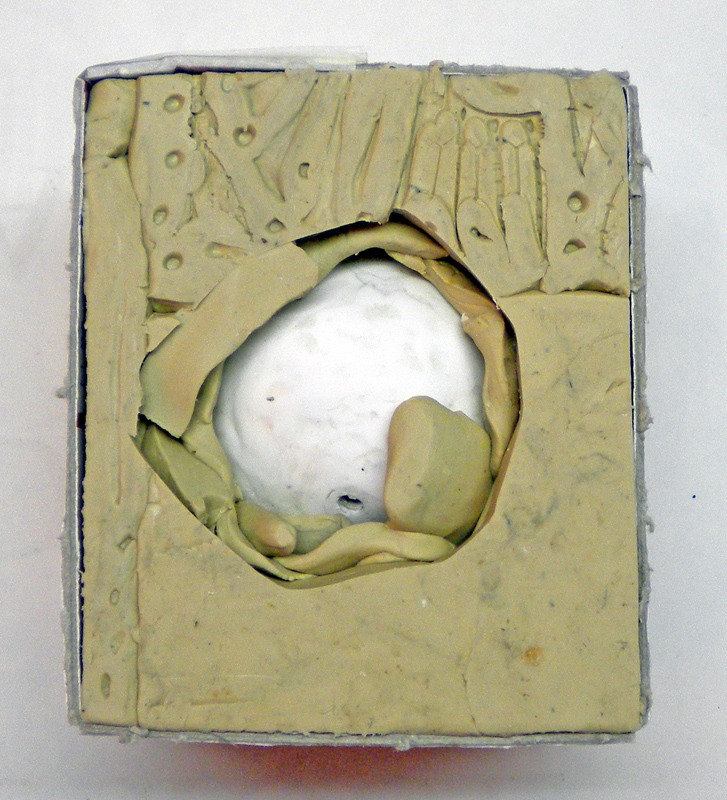 | 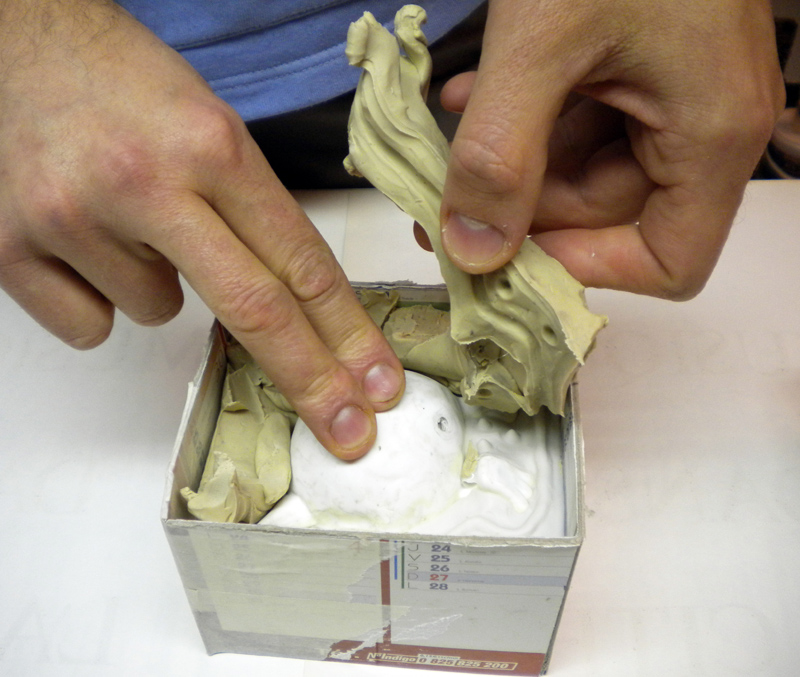 | 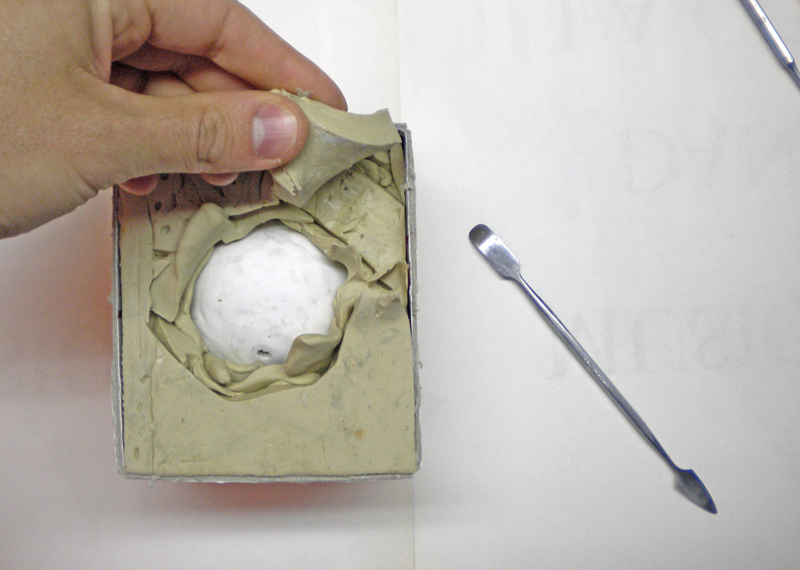 |
Une fois votre première face durcie, vous pouvez retourner votre travail et commencez à retirer la plastiline. ATTENTION : faire ce travail avec délicatesse et en maintenant toujours fermement votre modèle contre la première face. Si vous ne faites cela et déchaussez votre modèle de la première face du moule il existera un risque que lors de la coulée de la deuxième face que de l’élastomère migre entre le modèle et la première face...
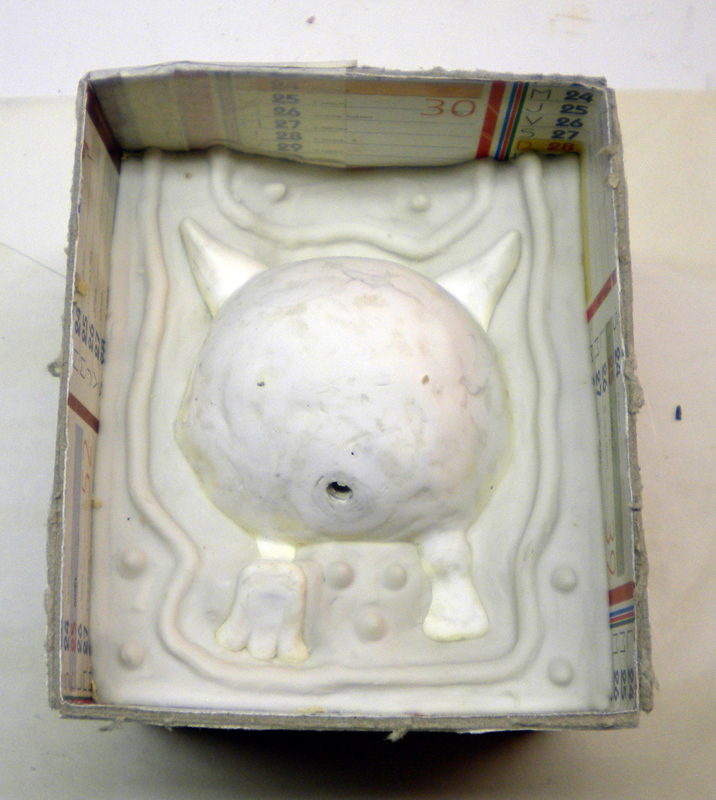 | 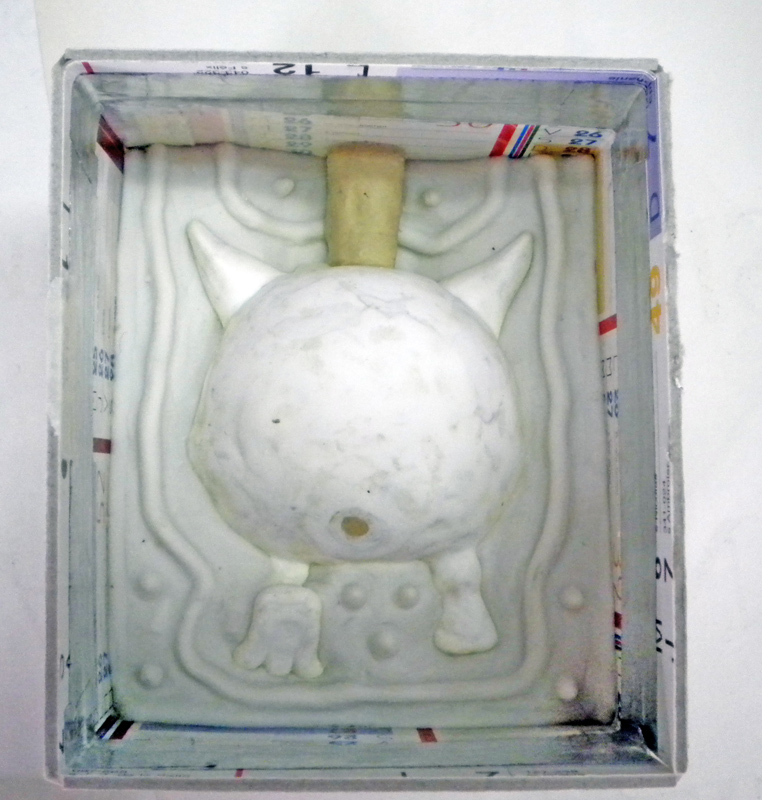 | 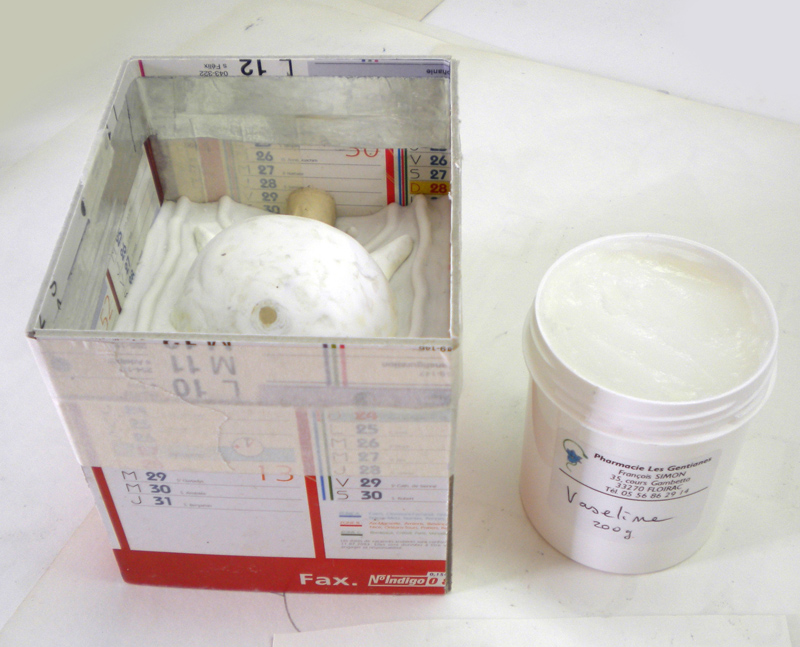 |
Nettoyez correctement tous les restes de plastiline. Montez un cadre. Mettez en place la carotte de coulée. Assurez-vous que votre cadre est bien serré et étanche...
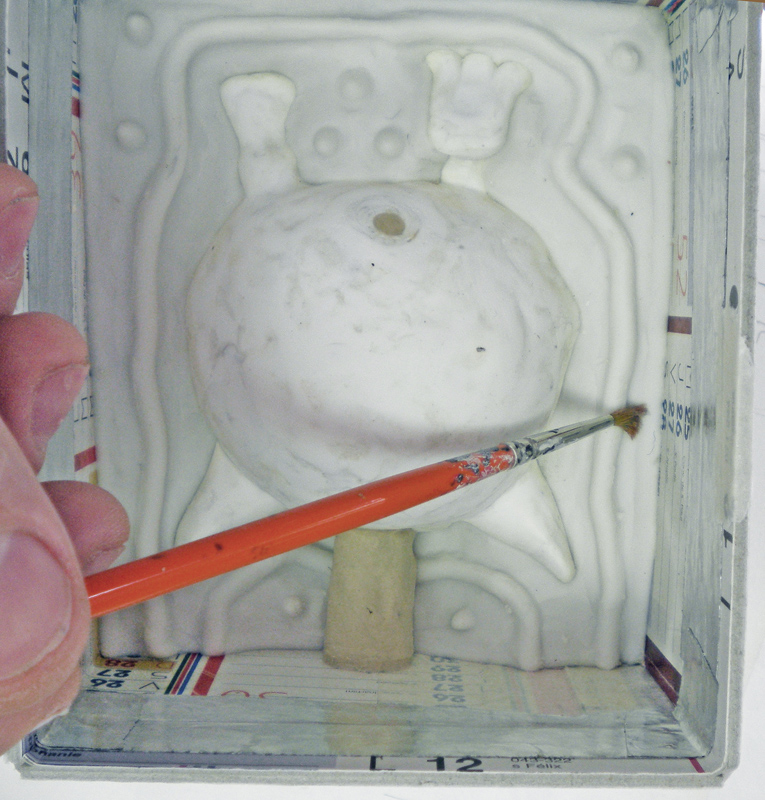
Using a brush, apply a thin, even layer of petroleum jelly to the first side of the mold, taking care not to let it spill over onto the model (otherwise, detail will be lost)...
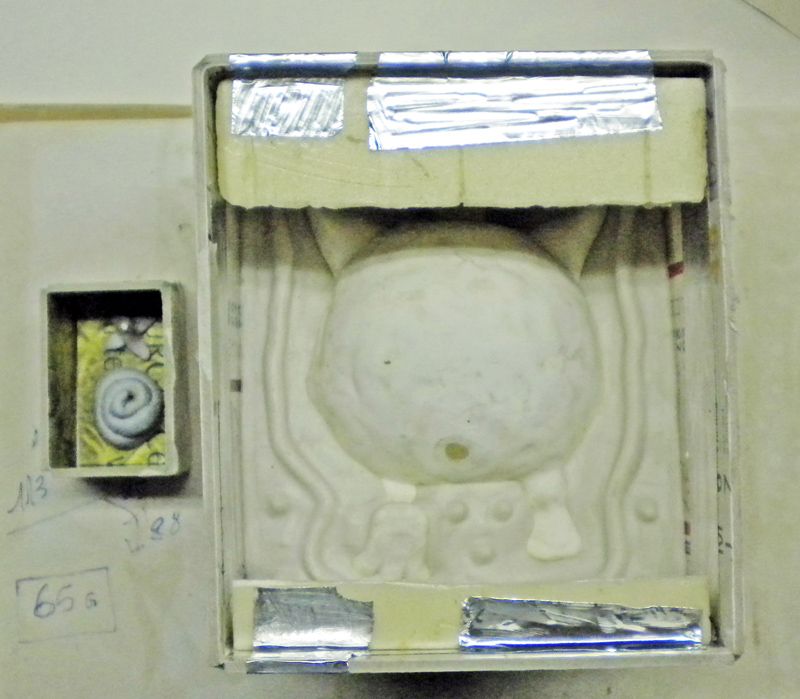 | 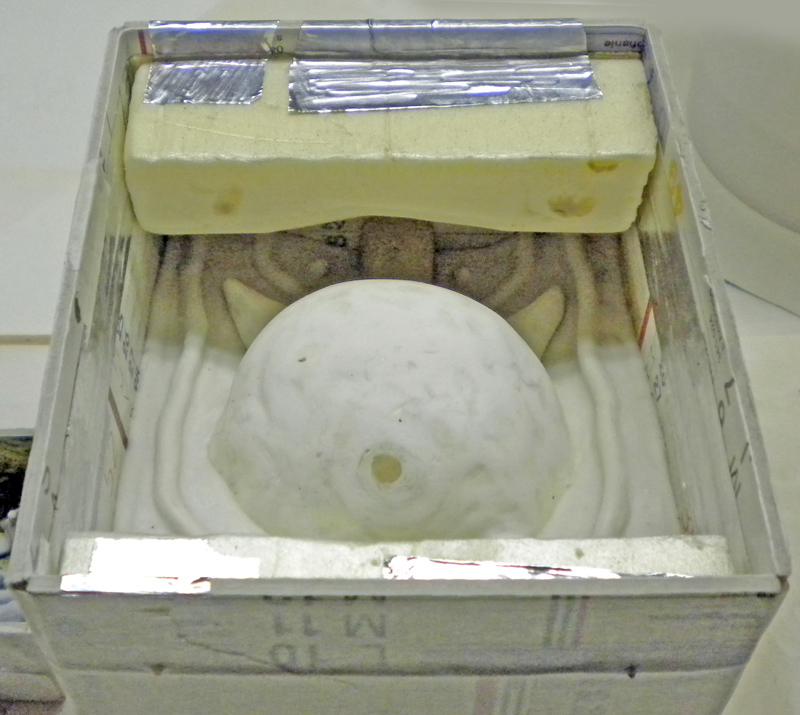 | 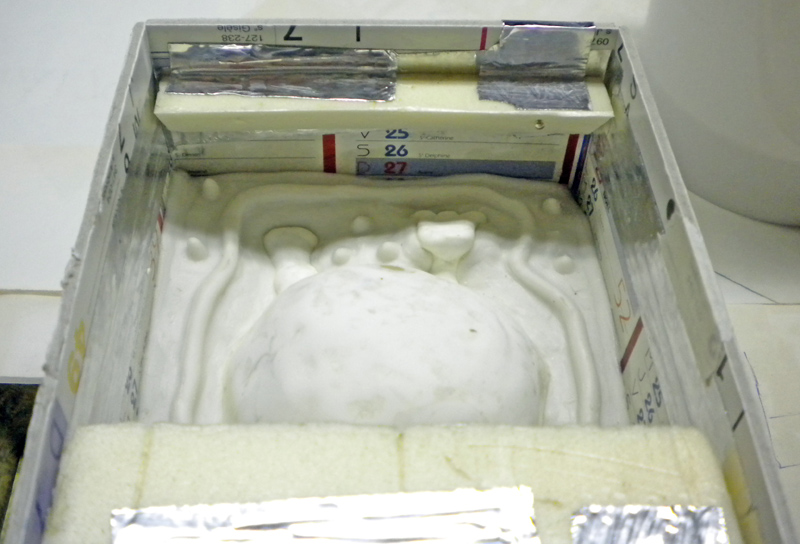 |
ASTUCE PRATIQUE : Pour éviter de gaspiller outre mesure votre élastomère, vous pouvez mettre en place des cales (ici simples morceaux de polystyrène extrudé) de taille appropriée aux endroits opportuns. Elles empêcheront l’élastomère d’y aller.
Pour the second side of your mold in the same way as the first side.
Let it cure for about two or three weeks (generally) at room temperature so that the mold can complete its shrinkage.
Demolding
 |  |
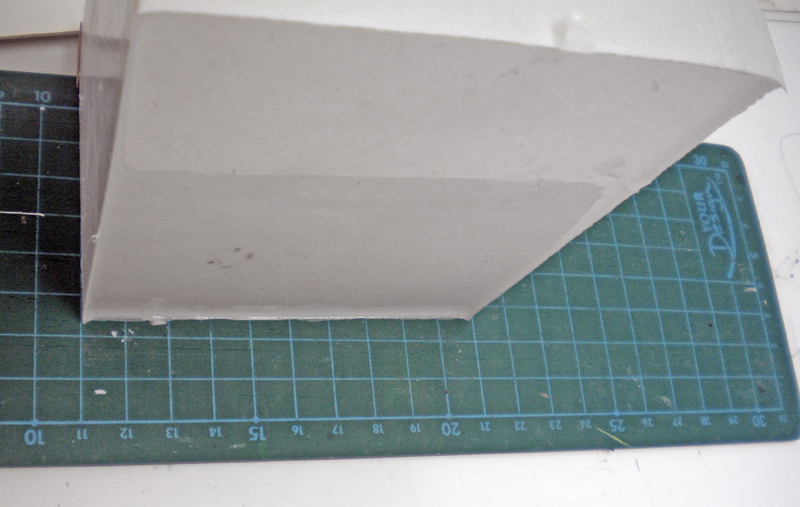 | 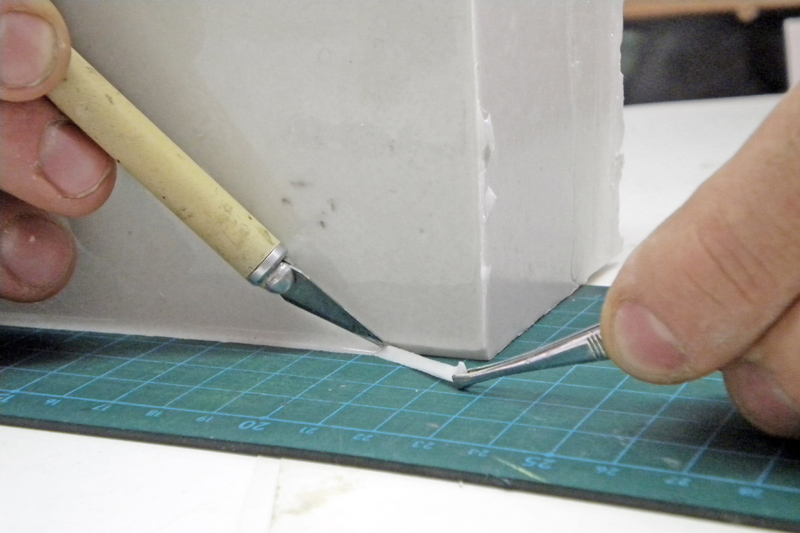 |
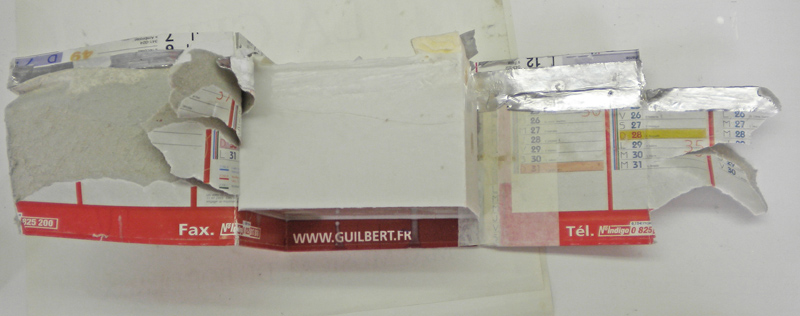
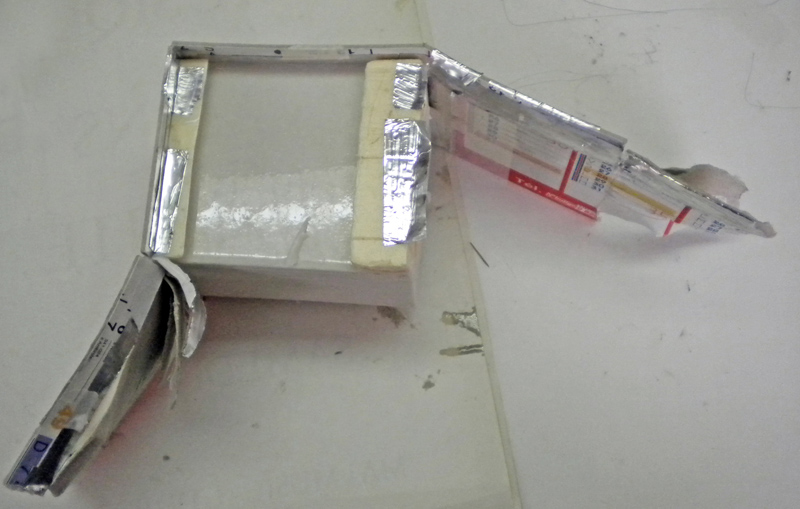
Démontez le coffrage, puis coupez proprement tous les angles de votre moule. Ils forment tous une sorte d’angle en pointe qui fausserait le serrage de votre moule ultérieurement, surtout si vous y rajoutez un coffrage selon comment vous avez raisonné (dureté Shore de l’élastomère et forme générale)...
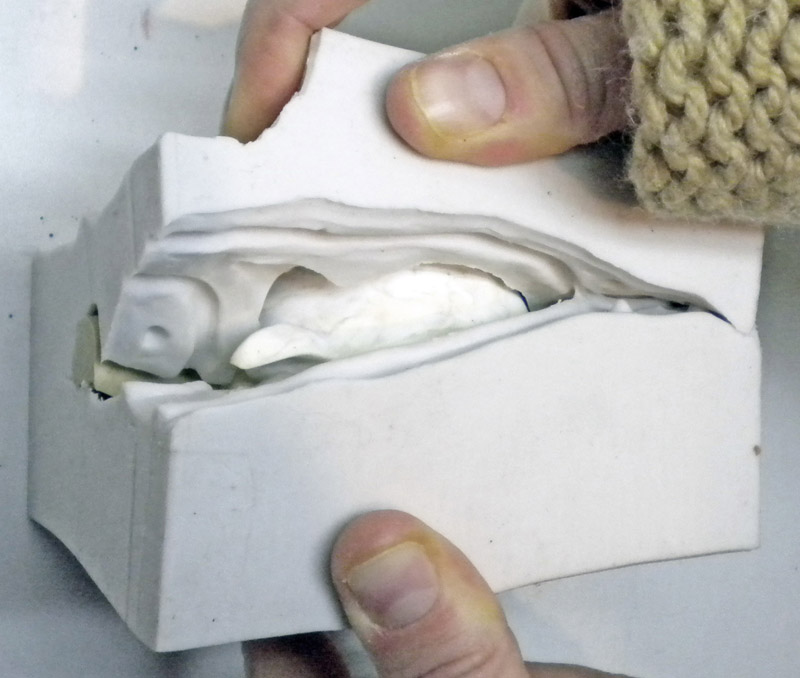 | 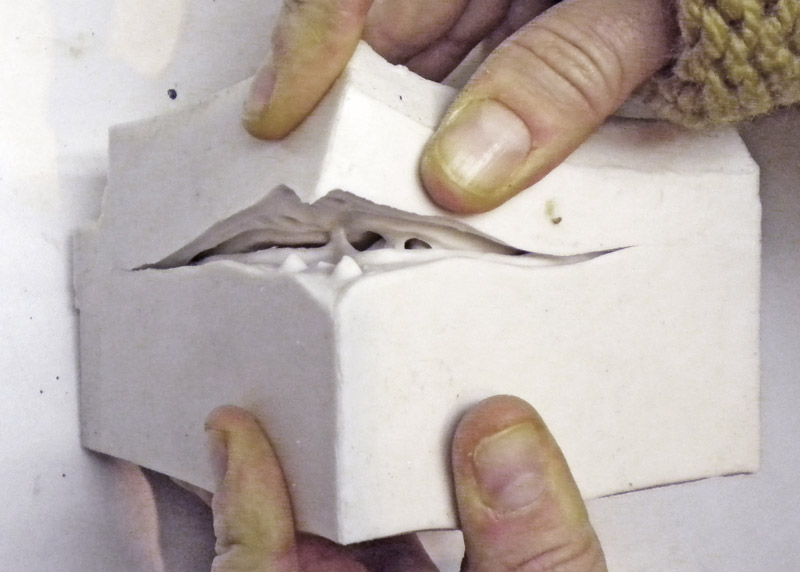 |
Séparez vos deux faces et sortez votre modèle du moule...
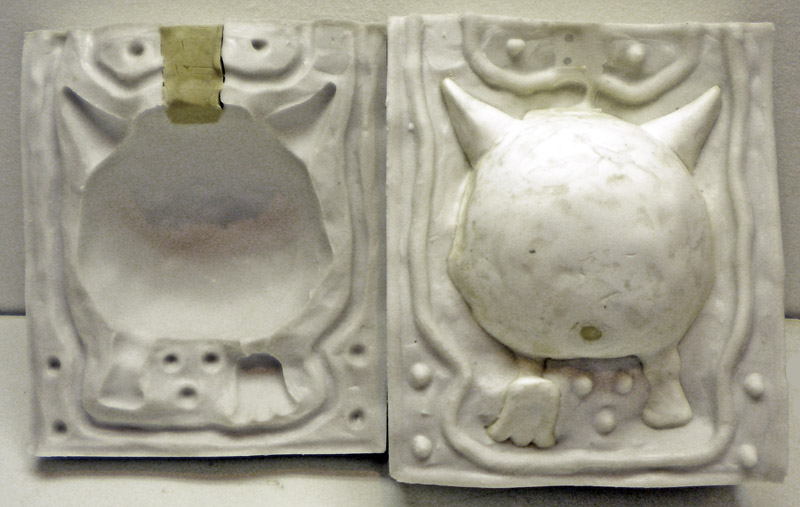 | 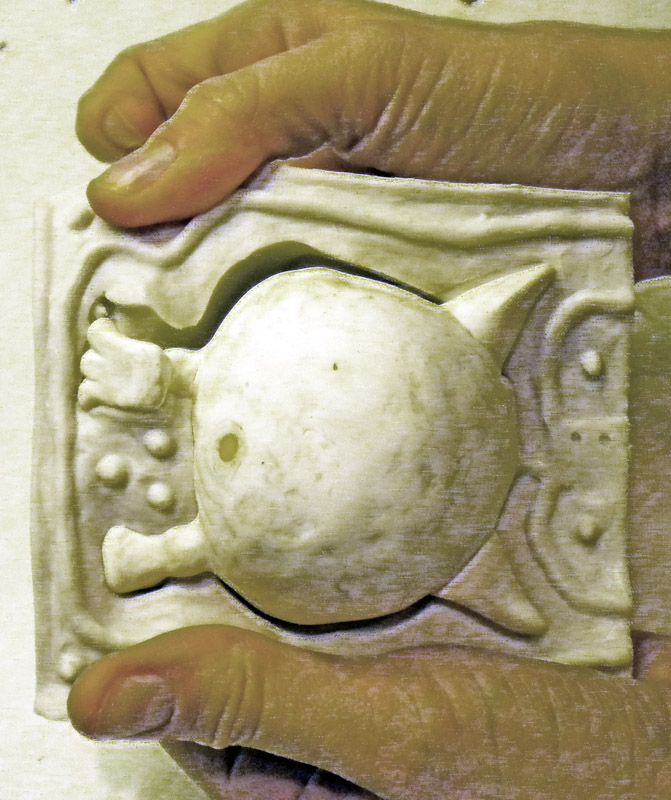 |
...Progressez doucement par torsion et tensions...
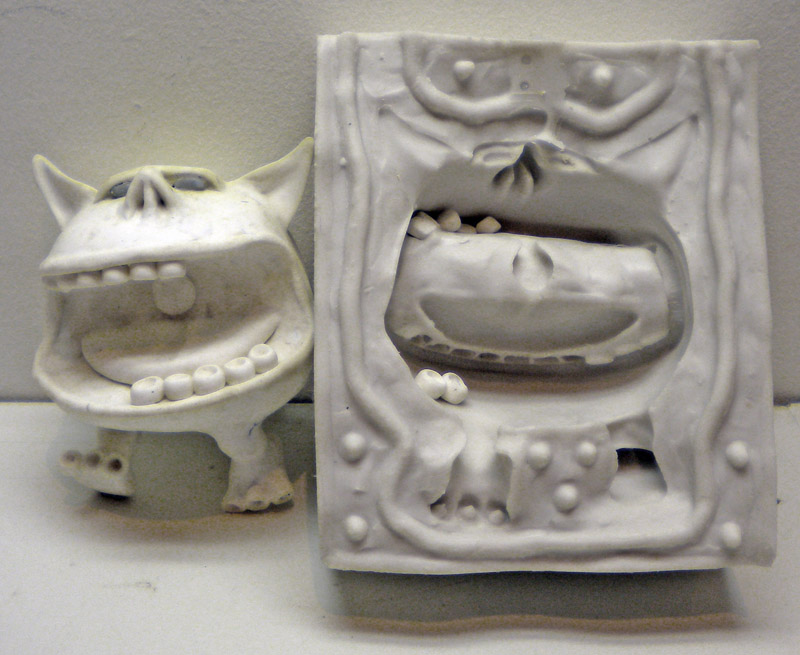 | 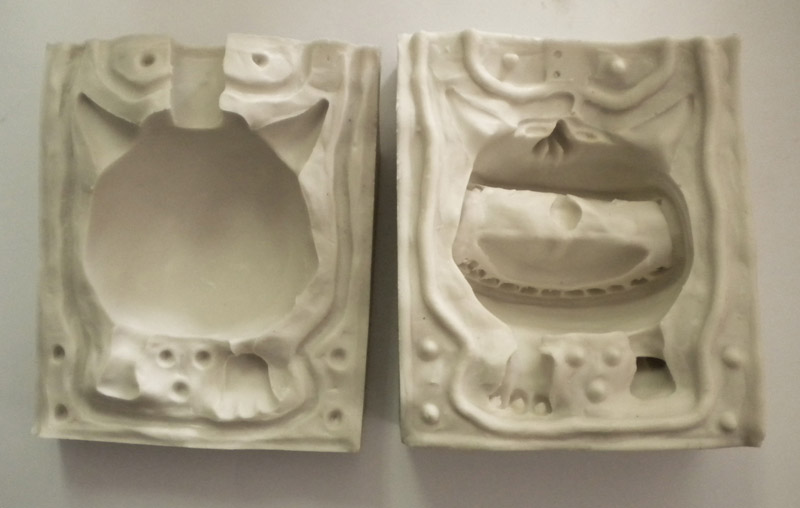 |
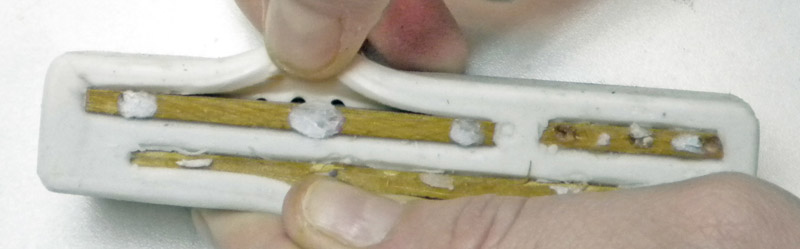 | 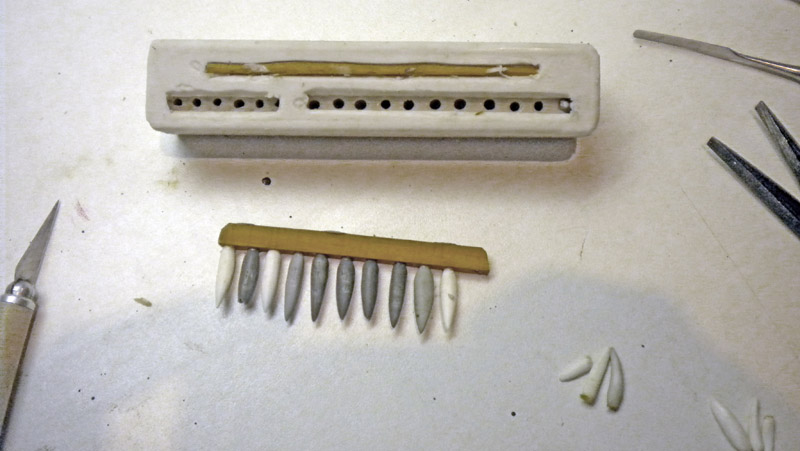 |
...utilisez des outils en bois arrondis pour aider si besoin.
MOLDING
You're almost at the end of the process—here comes the long-awaited moment of the first casting!
Depending on the shape of your part, its complexity, and other factors, you will have opted for ingot casting, casting with degassing, investment casting, etc. Please refer to the book by Pascal Rosier.
-For this project, the "Giant Squig," I decided to use the lost-wax casting method.
-In other words, pour only a small amount of the mixture (about one-fifth in this case) into the mold and slowly rotate the mold in all directions. The resin will gradually coat all surfaces and fill in all the details.
-Before the resin hardens, place the mold upside down over a bowl; the excess resin will drain out.
- Once the resin has fully cured, repeat the process once or twice.
-Finally, pour in the necessary amount of resin to completely fill your mold, up to and including the sprue...
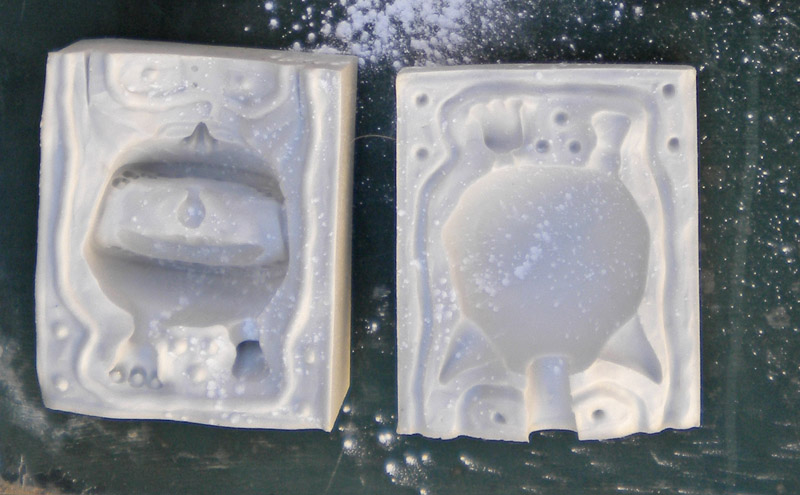 | 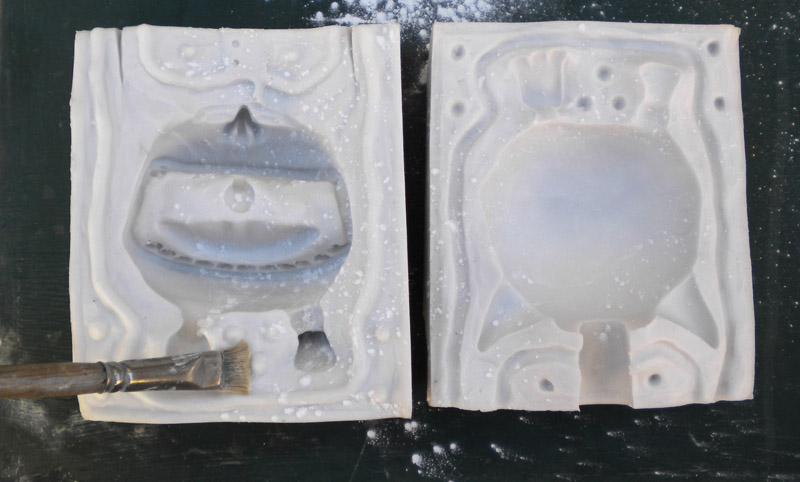 |
Préparation et protection du moule. Le talc constituera un bon agent de démoulage et de protection de votre moule.
NOTE: You can significantly extend the life of your molds by using a specialized silicone spray. Another option is to spray on rust-proof paint from a can. The downside is that you have to wait for it to dry completely before using the mold. The layer of paint will form a very effective protective film; you can almost double the number of casts using this method...
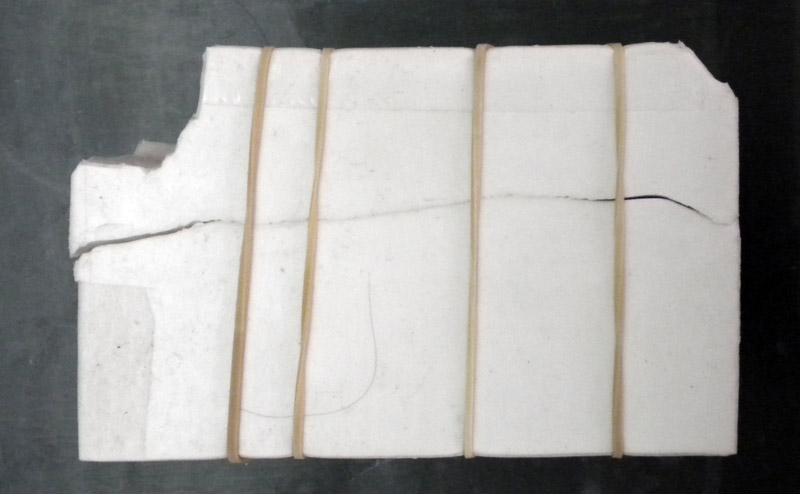 | 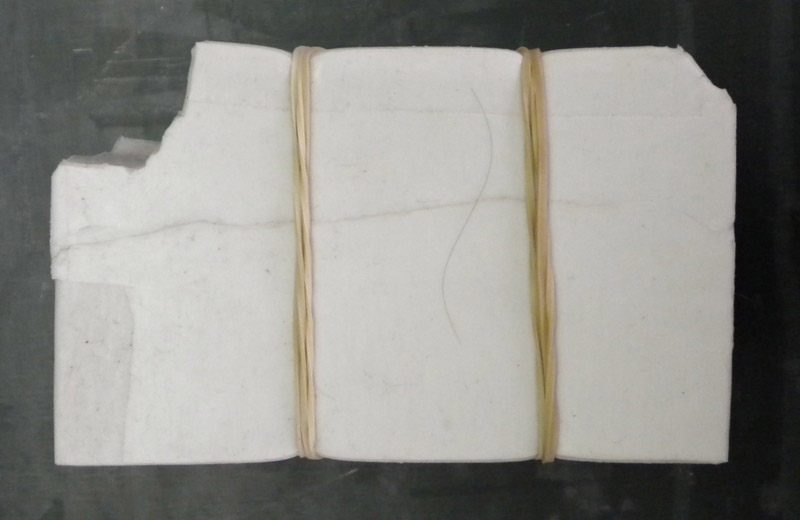 |  |
A B
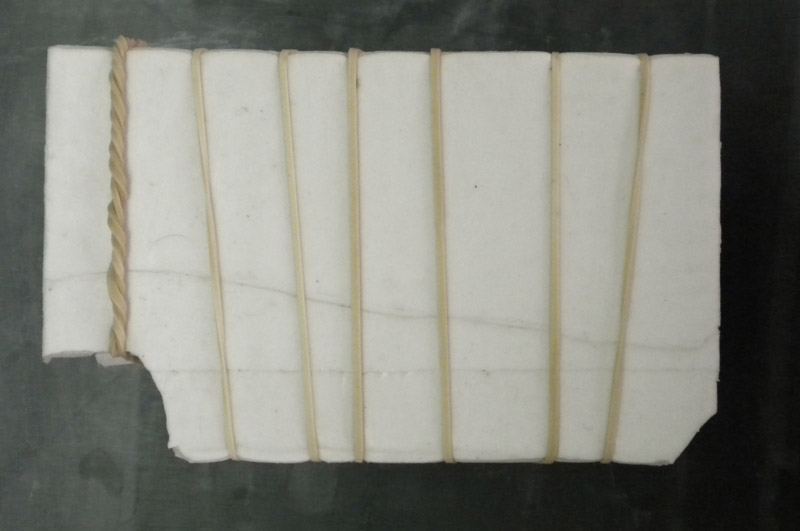
Serrage du moule. C’est un point important de la réussite de vos moulages. Pas assez serré (A), le moule fuira. Trop serré (B), le matériau de moulage n’ira pas partout et/ou le moule fuira et de plus la ligne de moulage sera décalée. Le moule doit être serré correctement...
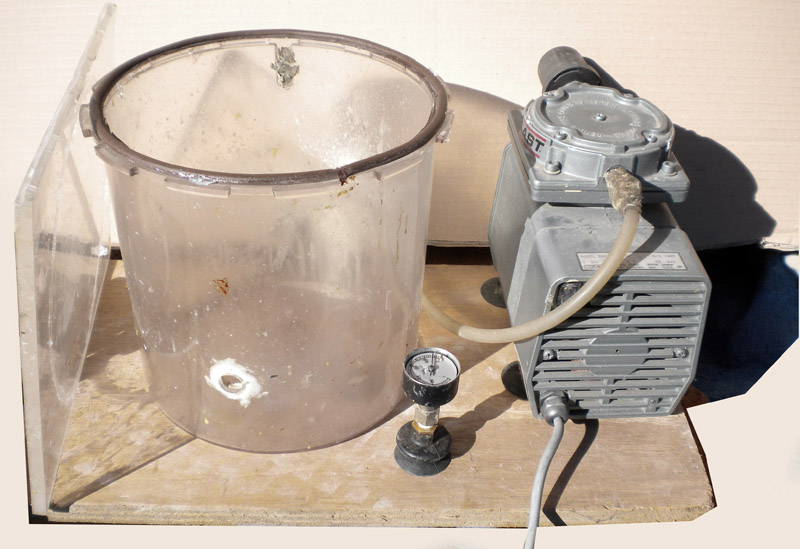
At this point, please refresh your memory by rereading our tutorial on the hazards of casting materials. We won’t hide the fact that the ideal situation is to cast outdoors only during the mid-season (between March and May, and between September and October)!
 |  |
Préparation de l’ergonomie du plan de travail.
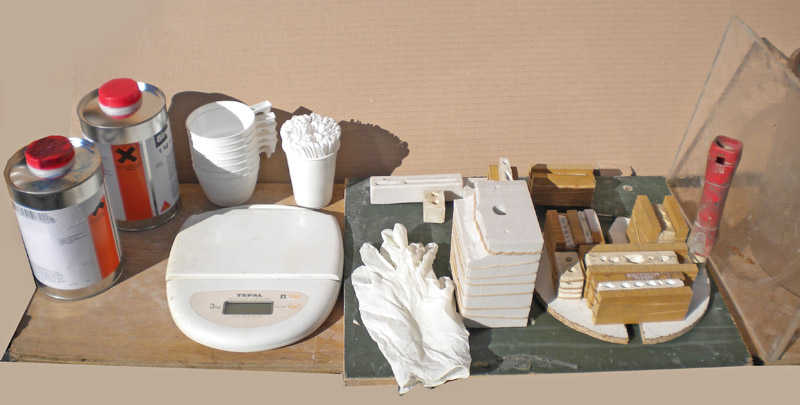
Most resin-based casting materials (such as polyurethane) suitable for casting small parts, figurines, models, and figurines have a fairly short working time, so it’s important to organize your workspace accordingly—and depending on whether you’re right-handed or left-handed...
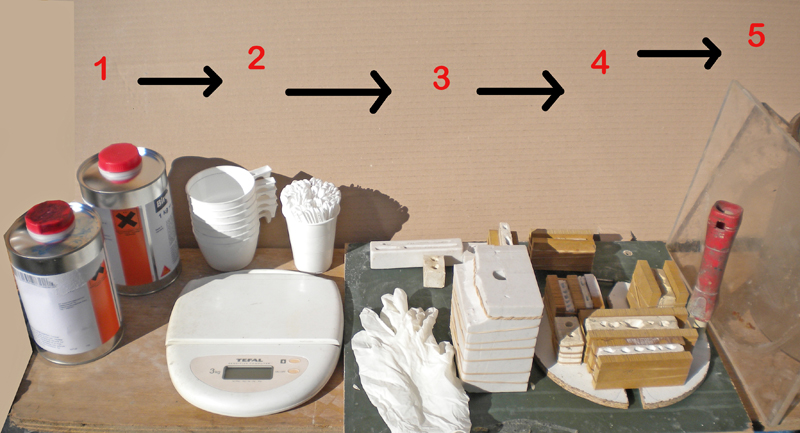
In this photo, the countertop is set up for a left-handed person:
-1- Let's take a look at the resin
-2- So you can weigh it, measure it out, and mix it
-3-4- You can pour it into the molds
(-4- Once poured into the molds, some of them can be degassed immediately in the vacuum chamber right next to them. We’re taking advantage of the resin we bought for the squig to cast other parts we made earlier...
So the squig is cast upside down...
Let it harden sufficiently before removing it from the molds. A common mistake is to remove the part based on the amount of hardened resin left in the bowl, when in fact the resin in the molds is not yet hard…This is because the quantities in the molds are much smaller (especially for small parts), so the chemical reaction is less intense and slower...
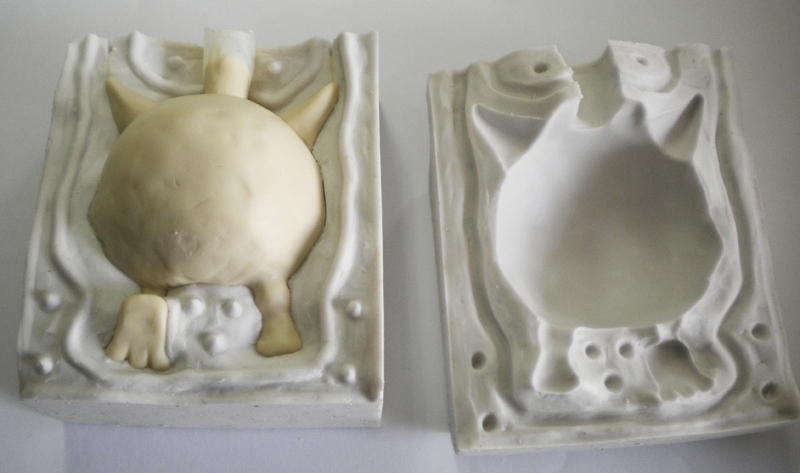
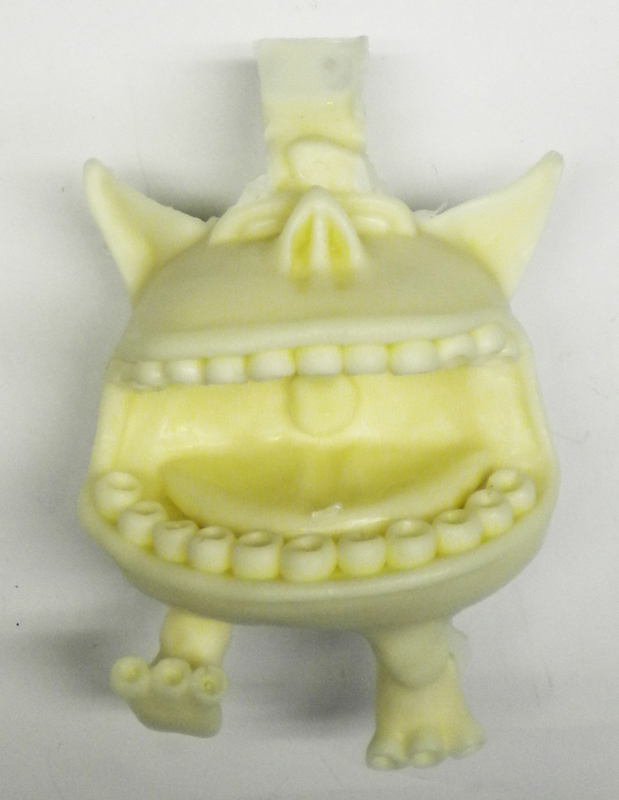
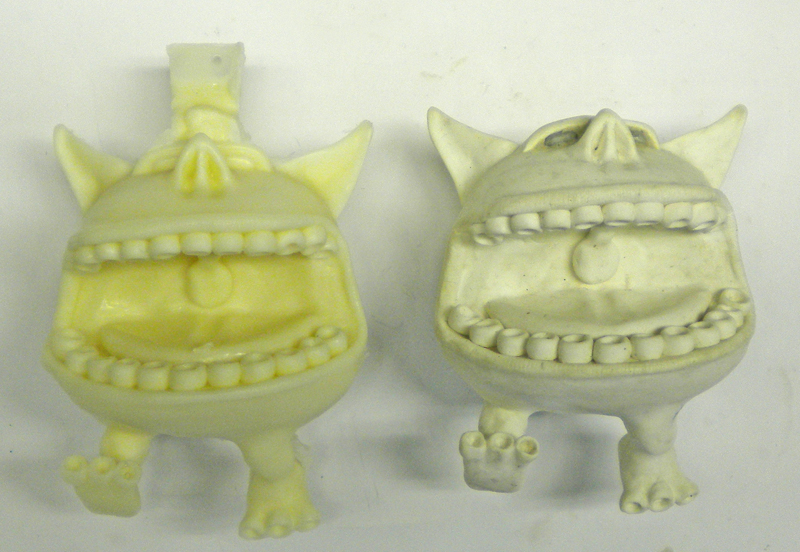
You can remove it from the mold, inspect it, and compare it to the master model.
If it is deemed satisfactory, keep it and always place it back in the mold when storing it so that the mold does not lose its shape...