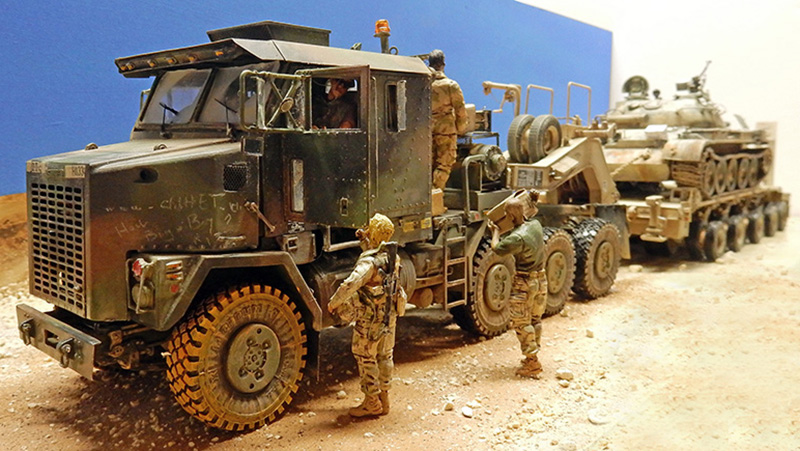
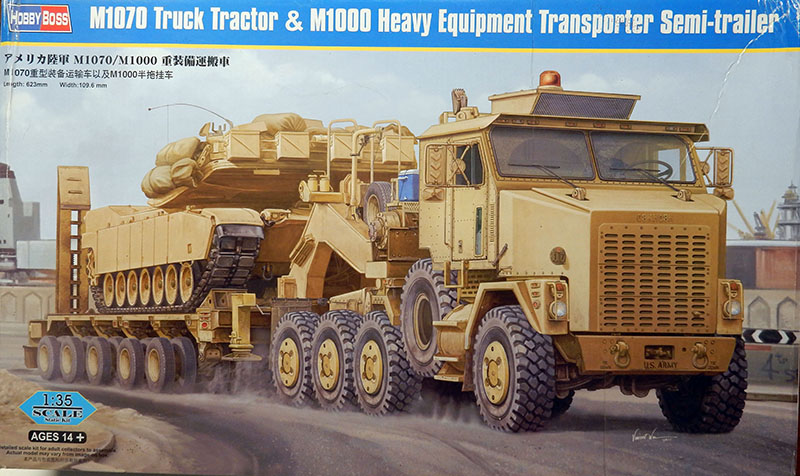
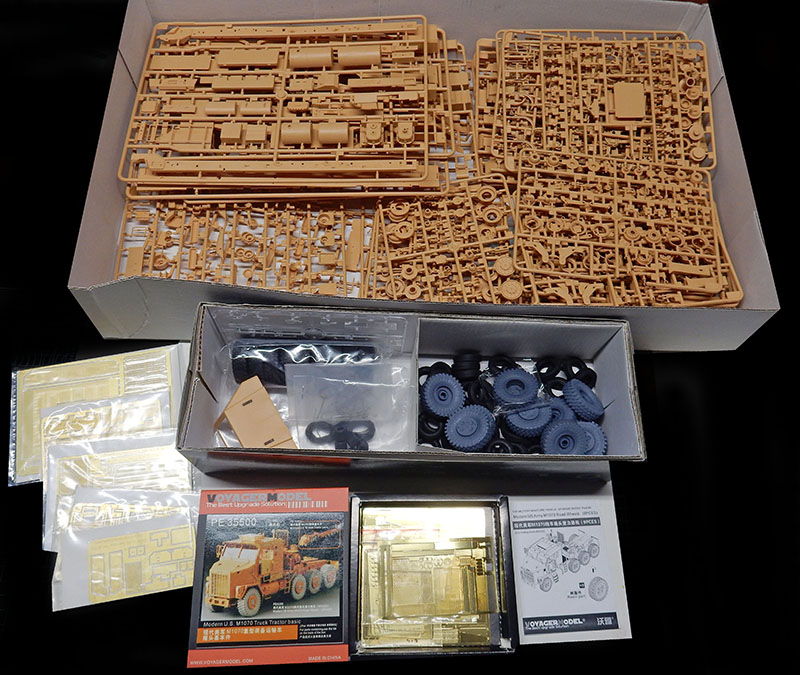
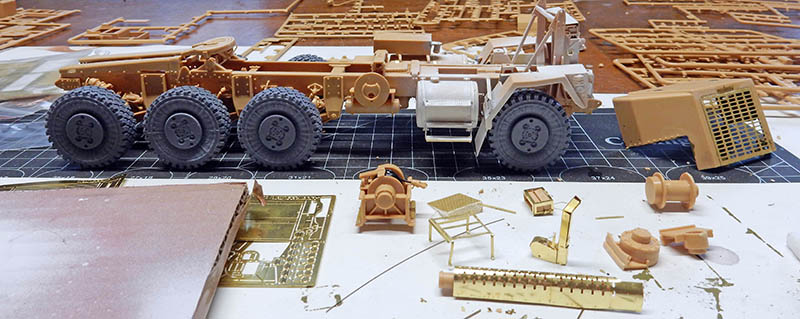
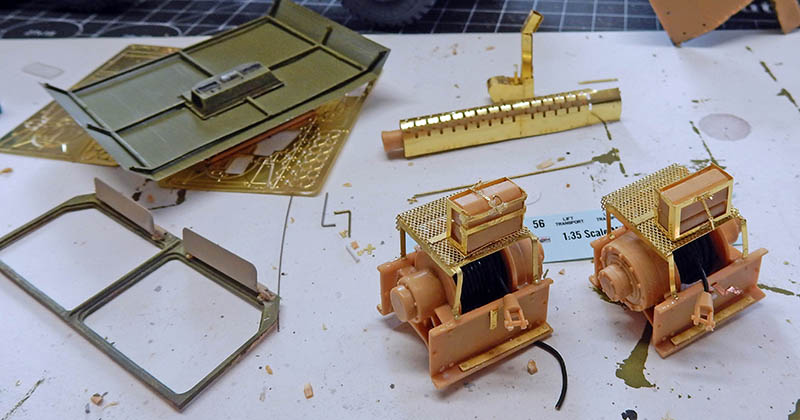
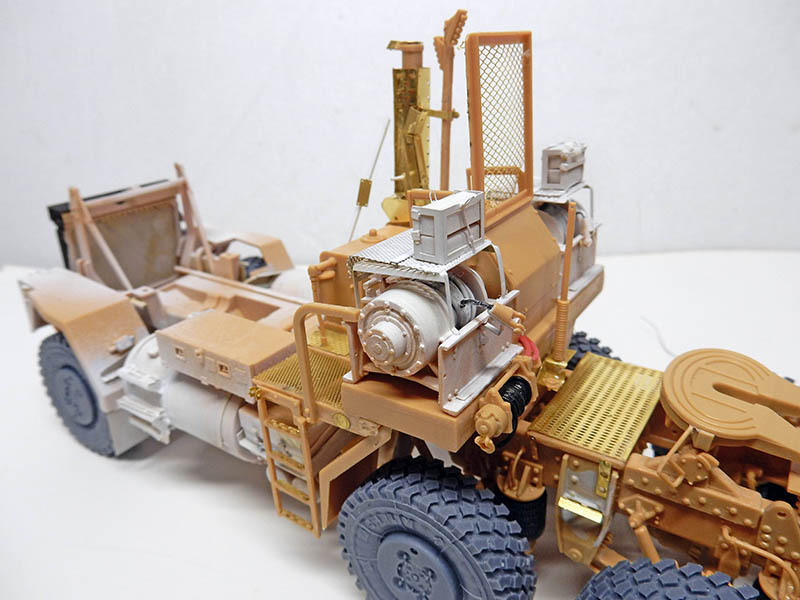
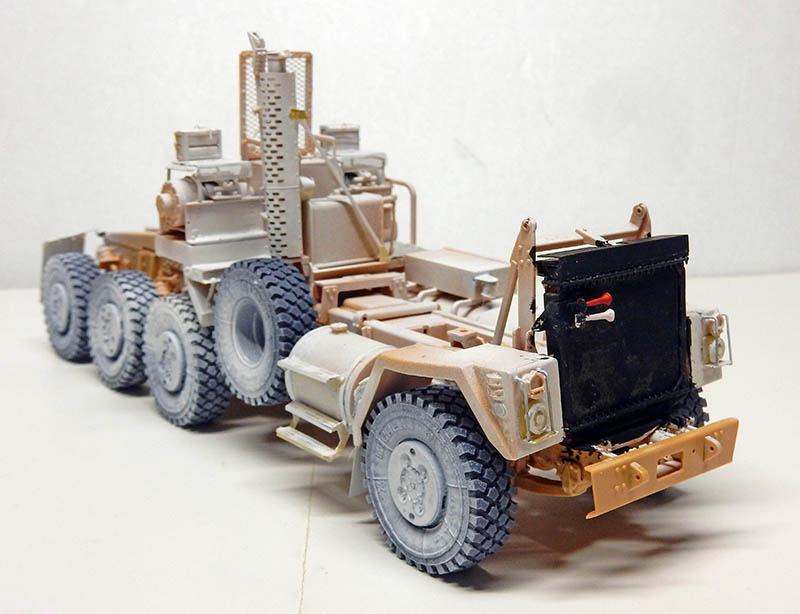
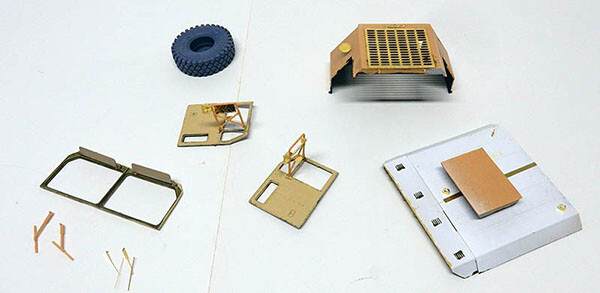
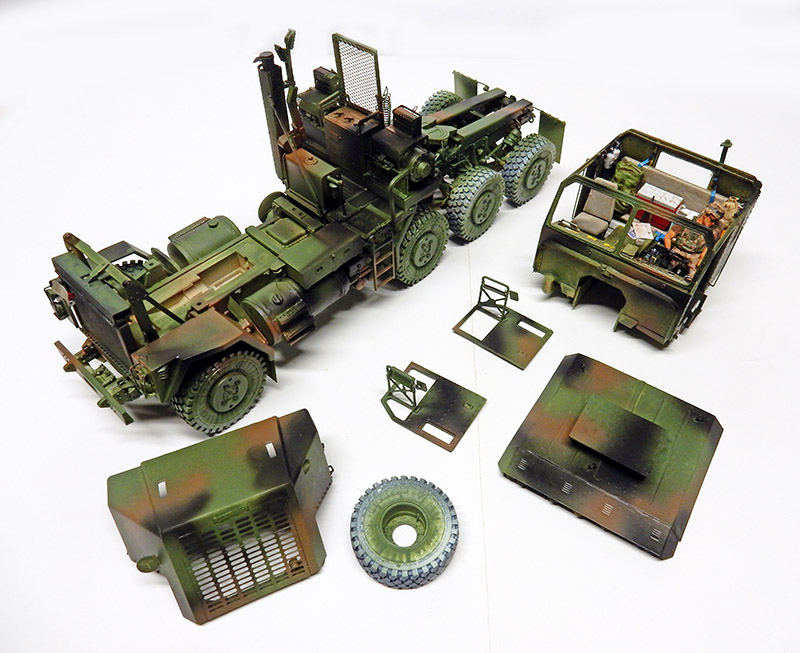
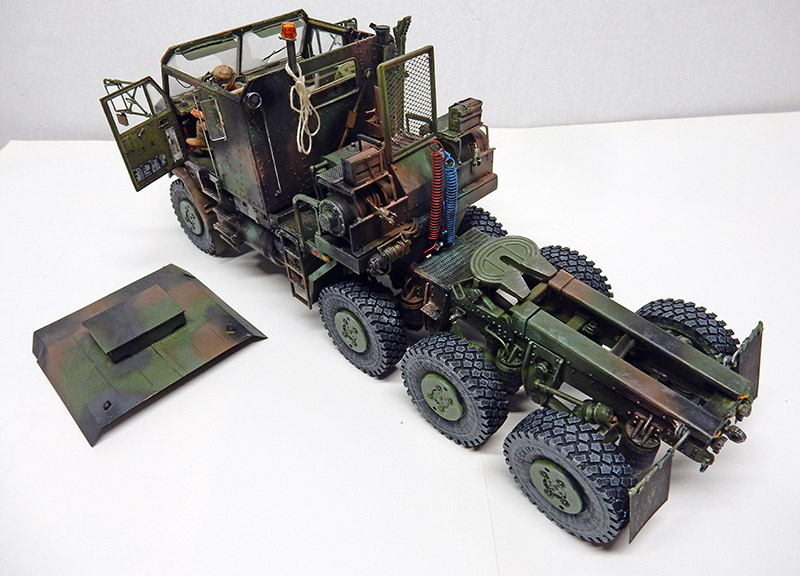
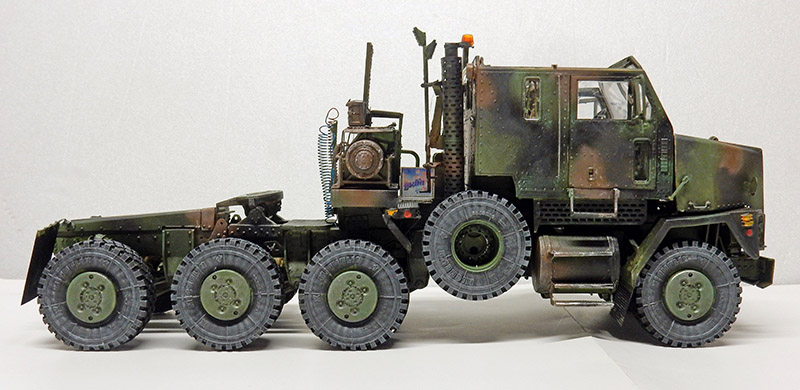
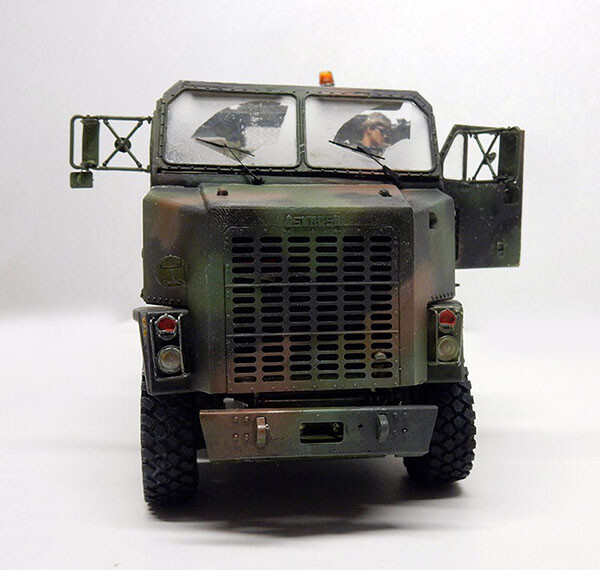
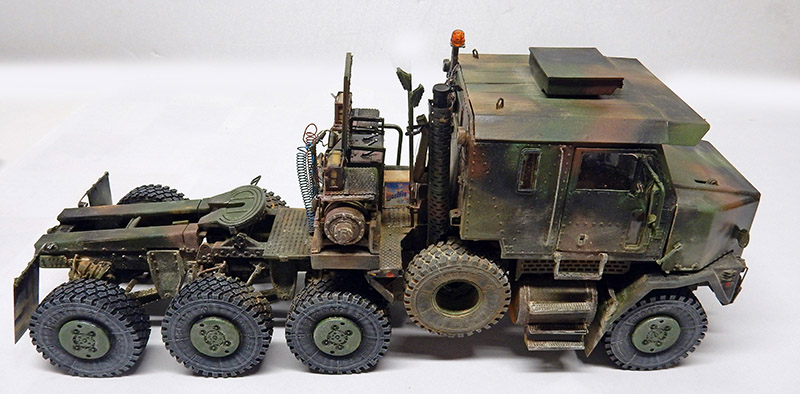
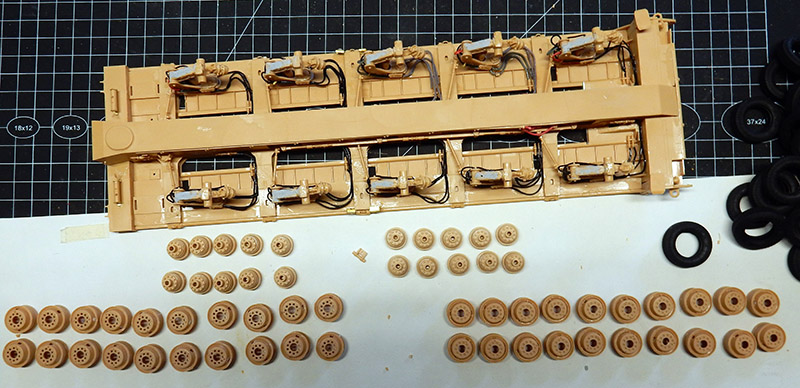
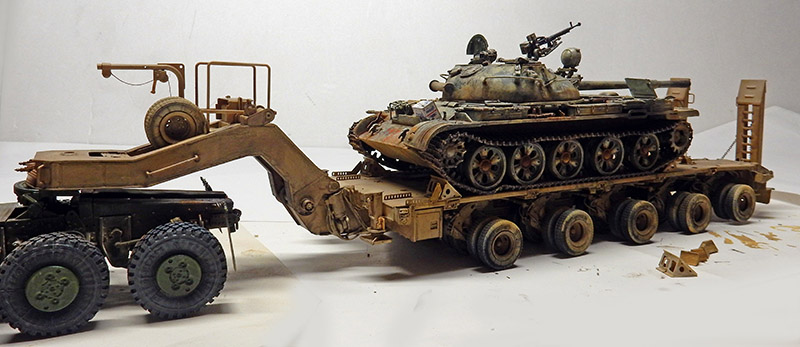
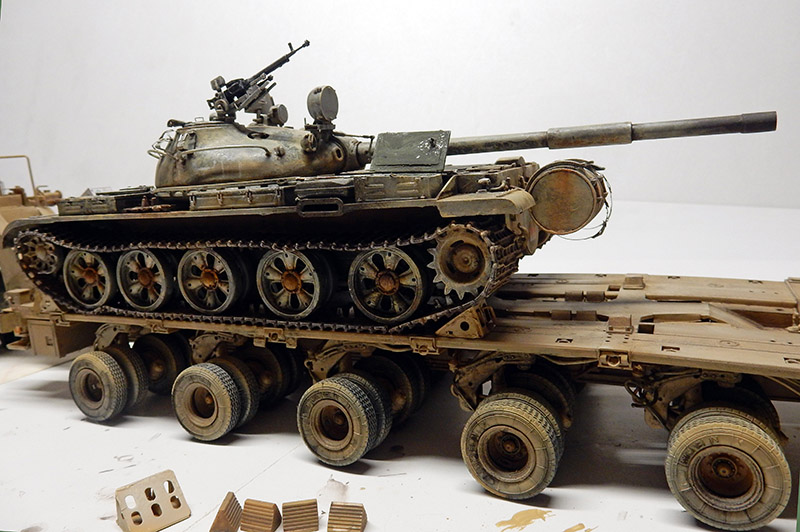
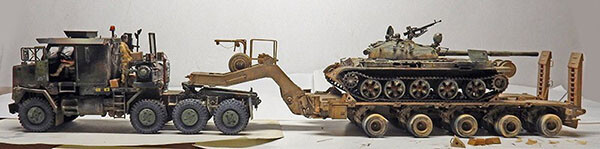
The Hobby Boss model. A very nice piece. A multitude of sprues for the tractor and trailer. On the left, the included photo-etched parts. In the middle, the Voyager kit, and above it, the tractor’s resin wheels. Not recommended for beginners...
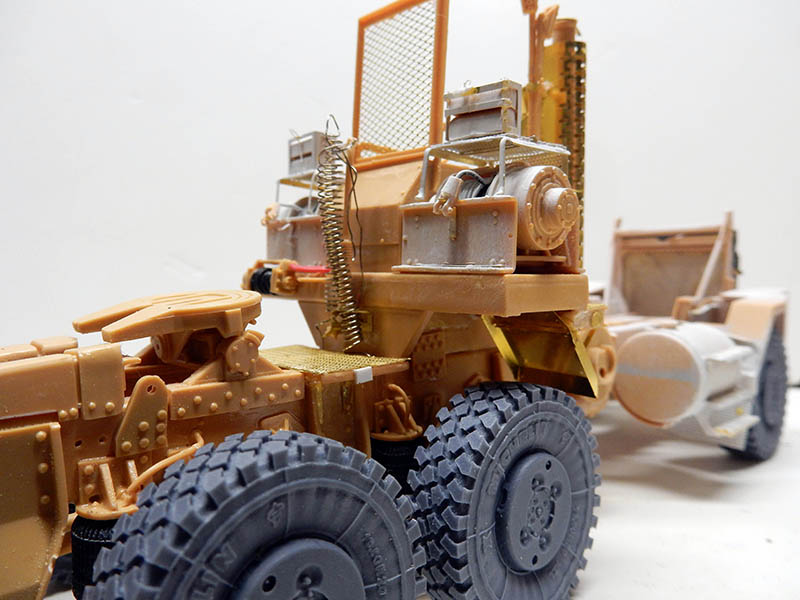
Let’s start right away with the chassis and its many parts. For the photo-etched parts, we alternated between those from the kit and the much more comprehensive Voyager kit. Why is it not recommended for beginners? Some very small parts have to be glued using a magnifying glass, and the diagram is far from precise when it comes to the gluing locations. You often have to refer to the documentation for accuracy. On the other hand, the trailer’s wiring is very important...
Le toit du camion est en métal. Le pot d'échappement très complet demande beaucoup de précision ainsi que les treuils...
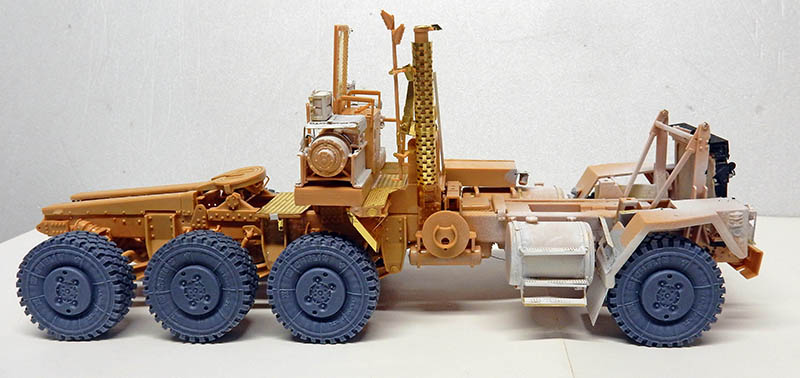
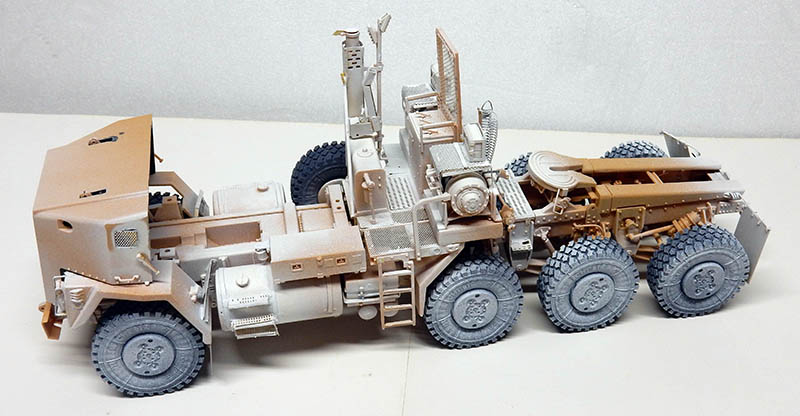
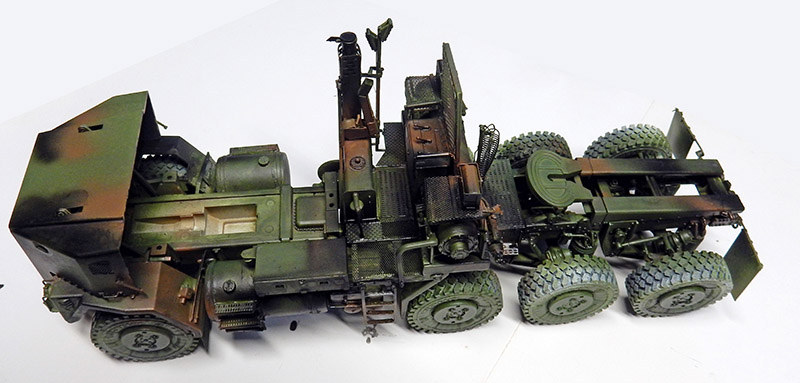
A side view. The exhaust pipe and winches are in place. The photo-etched running boards have been painted white...
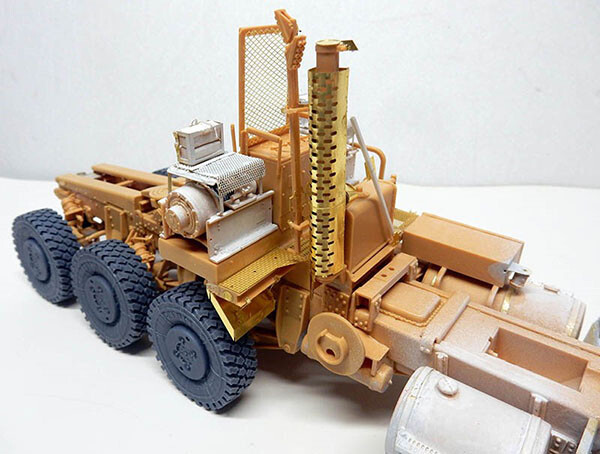
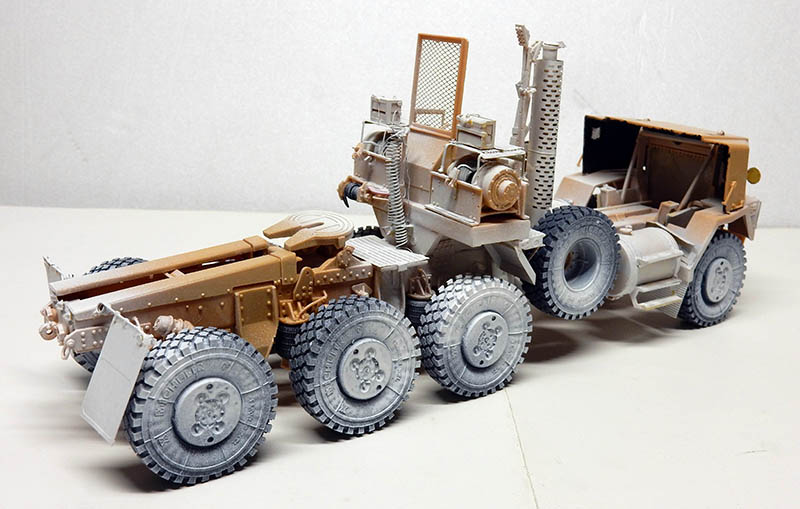
Another view...
Cables are included for all three winches. Unfortunately, there's no motor...
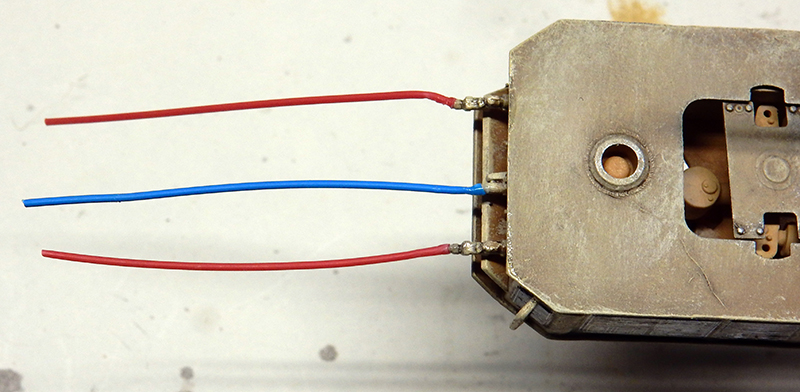
Des ressorts sont fournis pour l'alimentation électrique et freins de la remorque...
Les roues en résine sont déjà en place pour la stabilité et l'alignement du chassis...
Les parties métalliques et les jantes des roues ont reçu un apprêt blanc...
La partie avant détaillée...
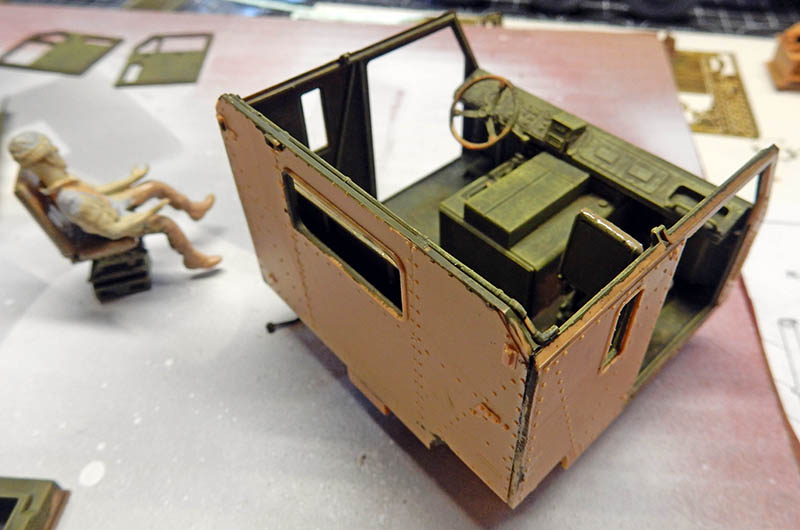
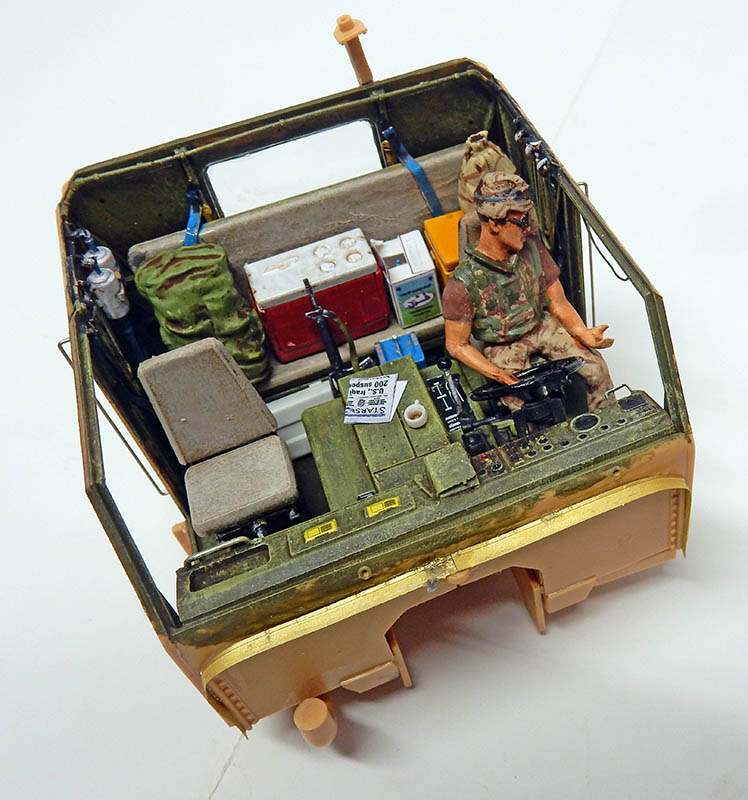
Assembling the cab. This is where the driver will sit. A modified figure...
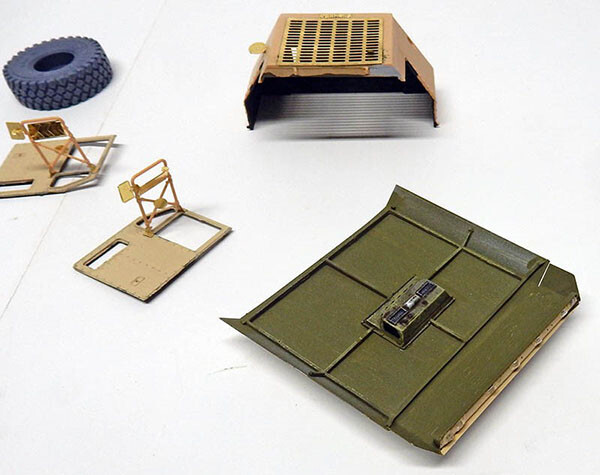
A look at various accessories: the photo-etched hood, three side mirrors on each door that will be covered with Barre-metal. The roof, which has been primed. The windshield wiper blades. We’re going with the metal ones—they’re much thinner...
Autre vue...
Let's go back to the cab, which seats six. It's highly detailed and comes with numerous accessories. The figure is painted, and the decals on the dashboard are applied...
Painting
The tractor will have the "NATO" camouflage pattern, and the trailer will be sand yellow. Base coat: Hobby Color acrylic green or Humbrol 120—Chocolate Brown and black...
The piece will then be stained with a black and chocolate brown solution diluted to 70%...
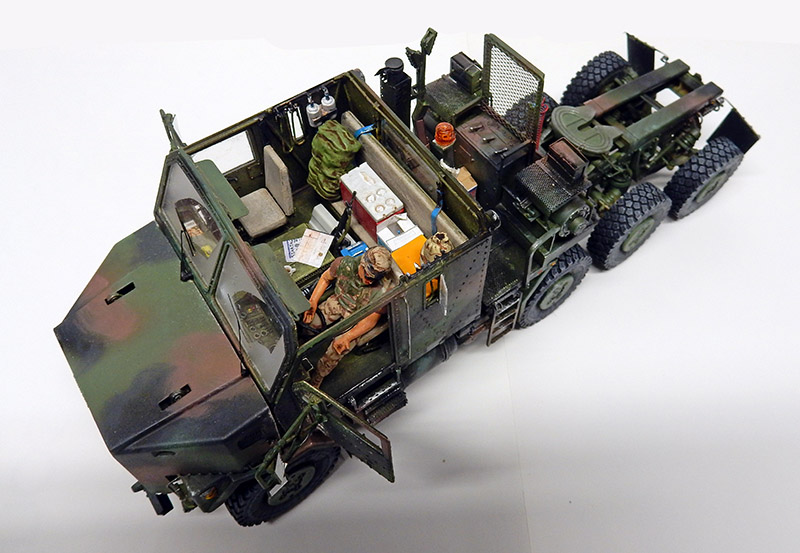
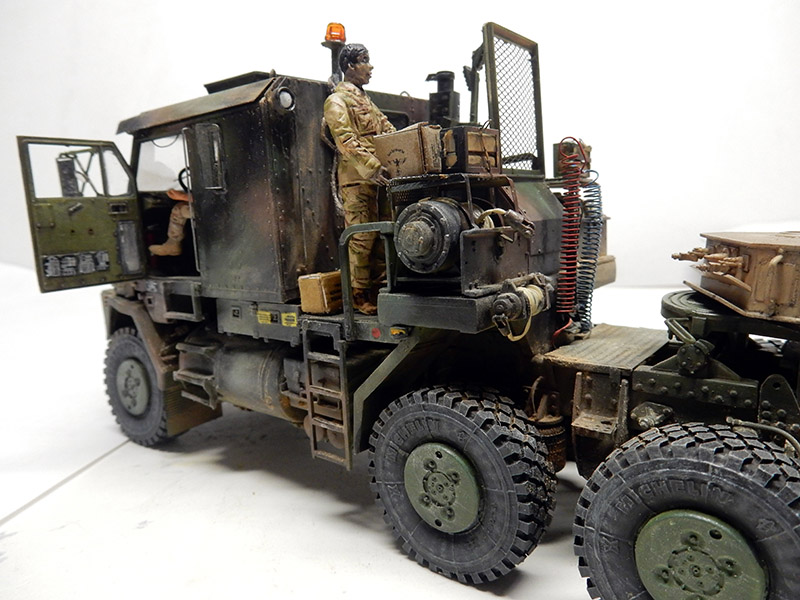
La cabine posée. Vernis mat pour les salissures du pare-brise. Le verre du girophare est peint avec de l'orange translucide acrylique Tamiya...
Autre vue. Les pneus sont peints avec un gris 32 Humbrol puis "dry-brush" plus clair. Les trois couleurs du camouflage ont été éclaircies avec des brossages de teintes plus claires que la base...
Vue latérale : peinture de tous les feux et clignotants...
Another view...
On finit avec des pastels. Le train de roue sera sali en dernier sur le diorama...
The M 1000 Trailer
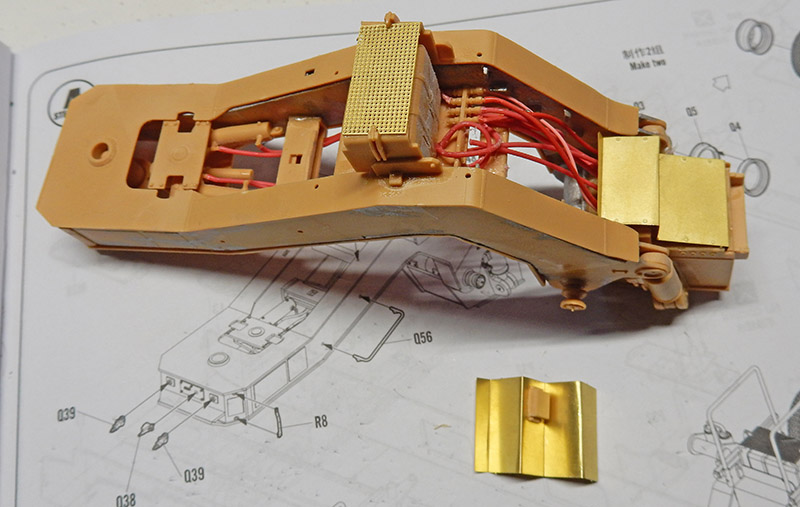
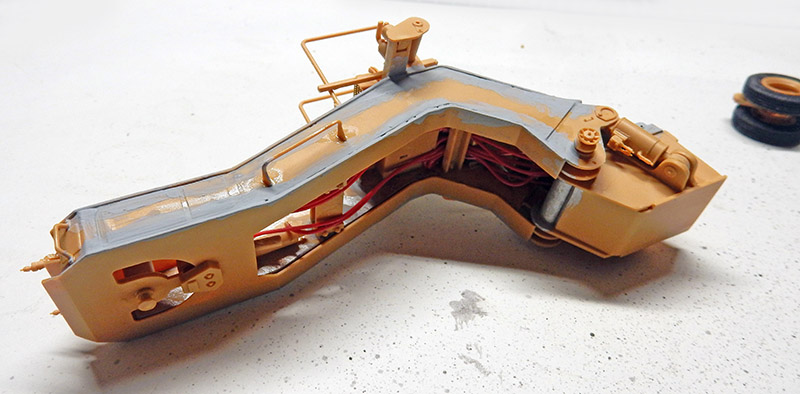
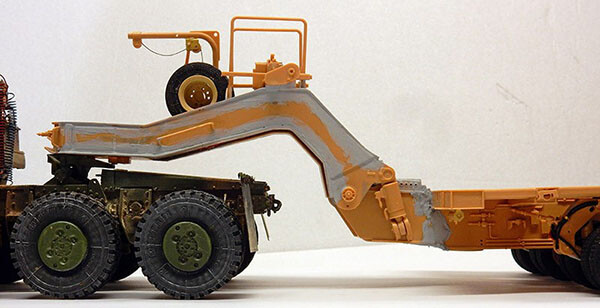
Let's start with the boom: since the tractor isn't easy to set up, the challenge only gets greater when it comes to setting up the trailer...
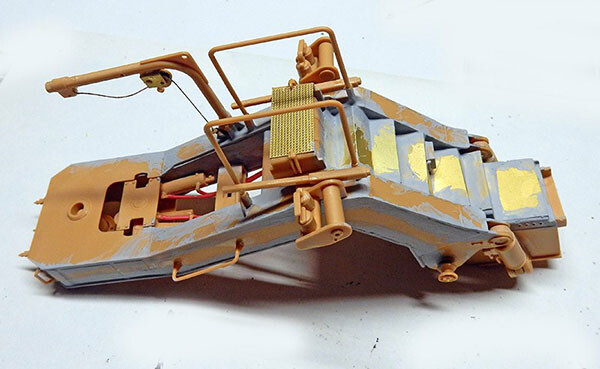
Metal steps must be installed in a perfectly symmetrical staircase...
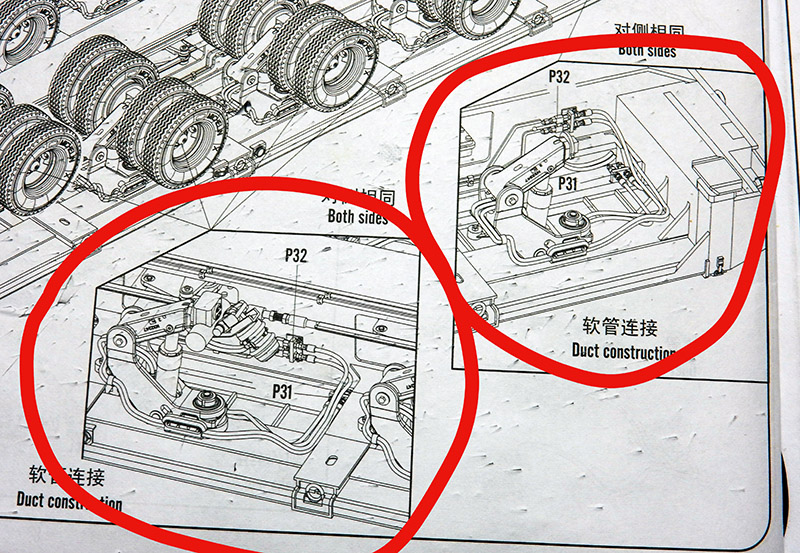
The trailer contains a multitude of cables that need to be routed from the drawbar to each axle—there are 10 of them!—
Before gluing the steps in place, you must position them below and above the arrow and glue them to the correct locations. Liquid sealant is applied to the joints...
The boom installation is complete, with the crane gantry in place and its winch...
A view from the...
Don't forget the power cables connected to the tractor...
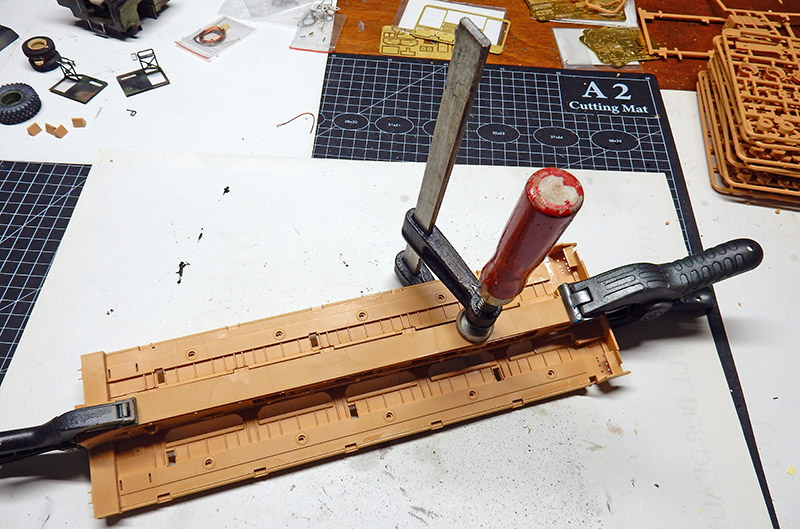
Collage du plateau de la remorque avec son pilier central. Les grands moyens sont employés car le plastique est voilé...
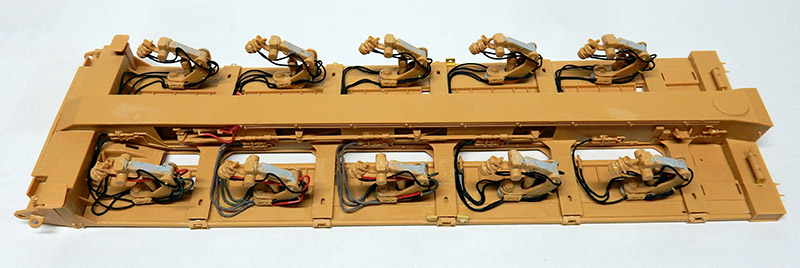
The trickiest part: wiring the axles. It’s very important to double-check that the wires are connected to the correct destinations. It’s a long, time-consuming process...
The result after a few terrible hours...
Preparing the wheels: The photo gives you an idea of how many there are...
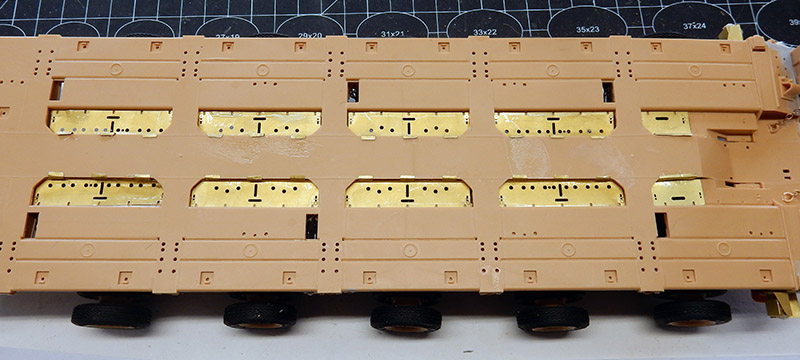
Les plaques en photodécoupe du plateau sont à insérer dans les interstices et demandent un peu de doigté...
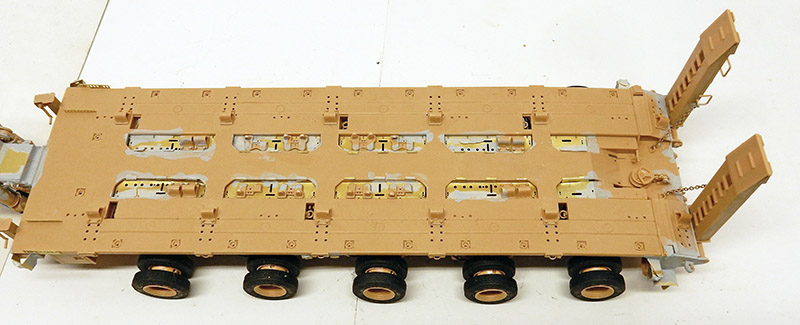
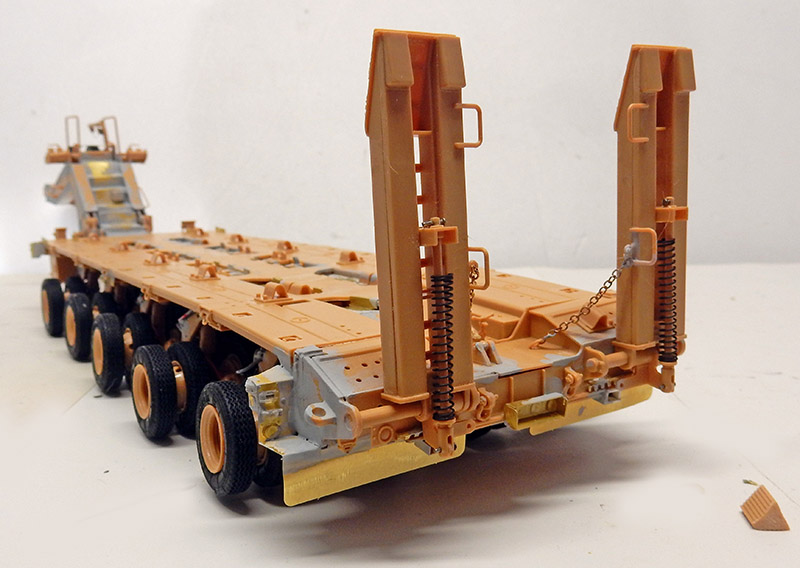
The truck bed is equipped with various components, including a winch in the back...
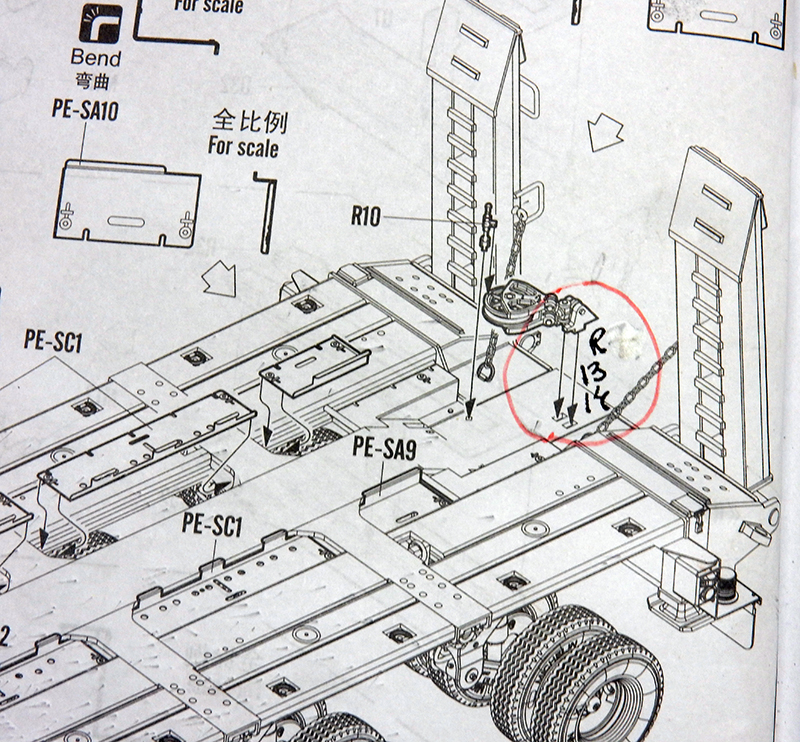
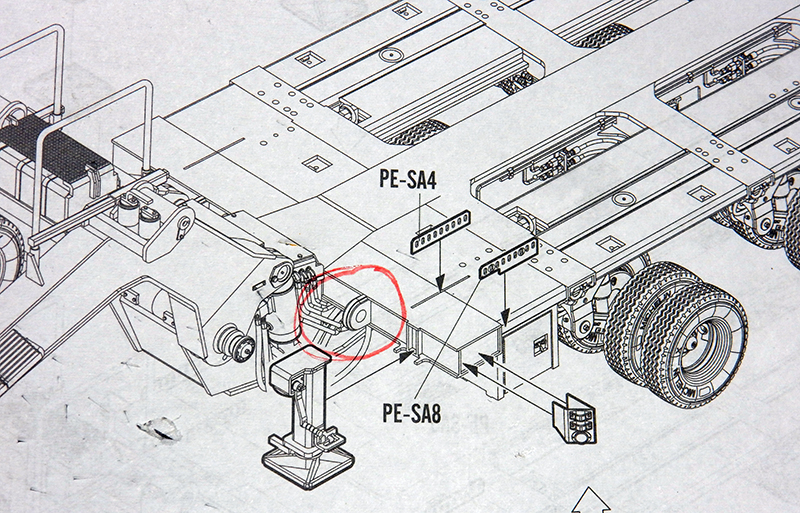
The diagram does not show parts R13 and R14, which are the triangles that secure the winch mount to the platform...
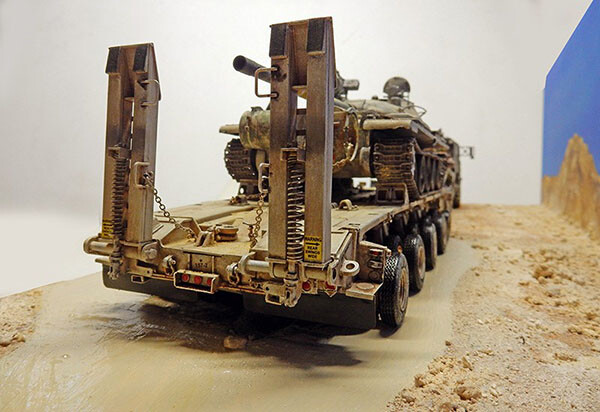
A rear view showing the photo-etched guards. The included springs are attached to the skids...
The flashing lights will not be installed on the Golf version...
These rings (2)—even though they’re drawn on the blueprint—have been completely forgotten. We can get them from somewhere else, or we can make them out of plastic card...
The figurines
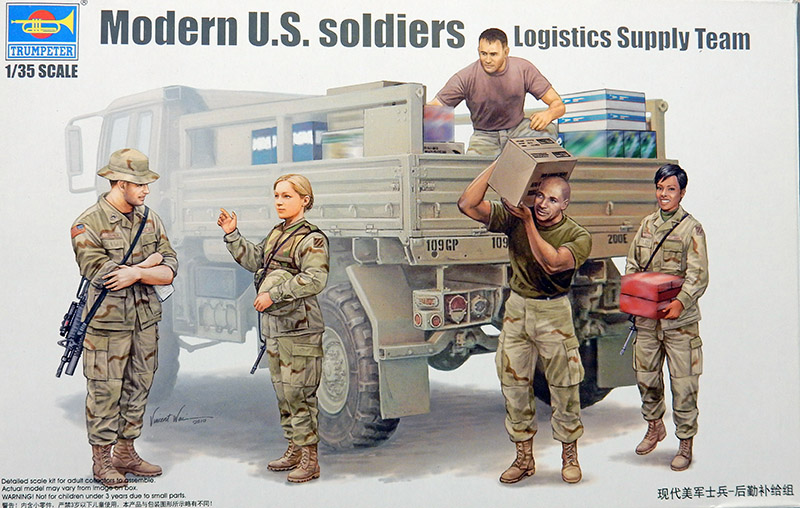
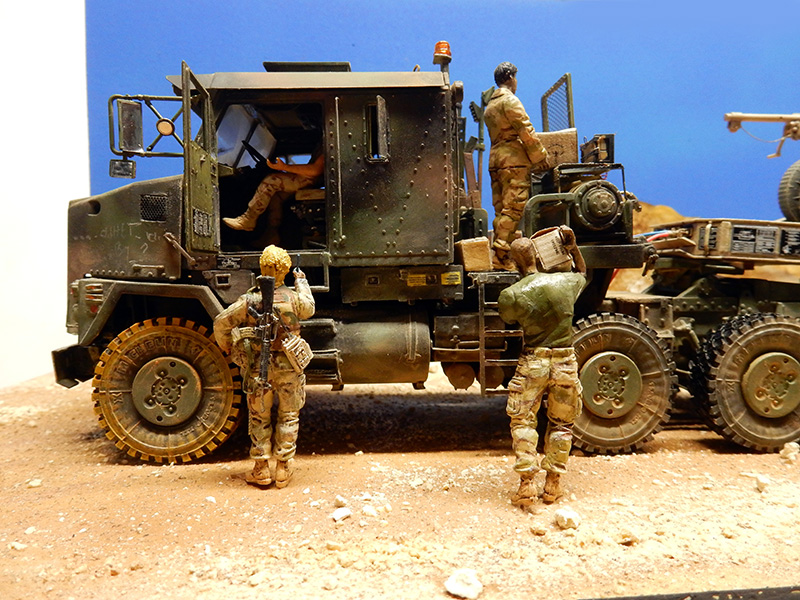
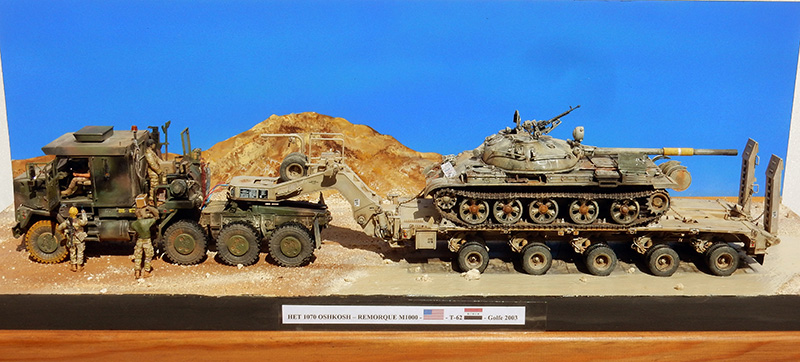
To bring the diorama to life, some Trumpeter figures will be added...
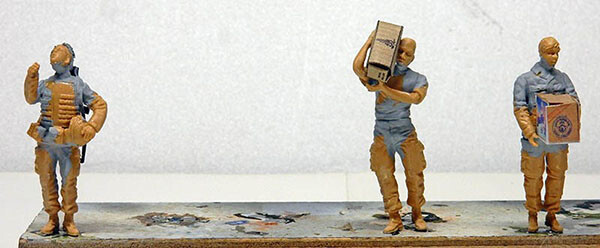
Photo of the preparation. The blonde's hair was recreated using modeling clay...
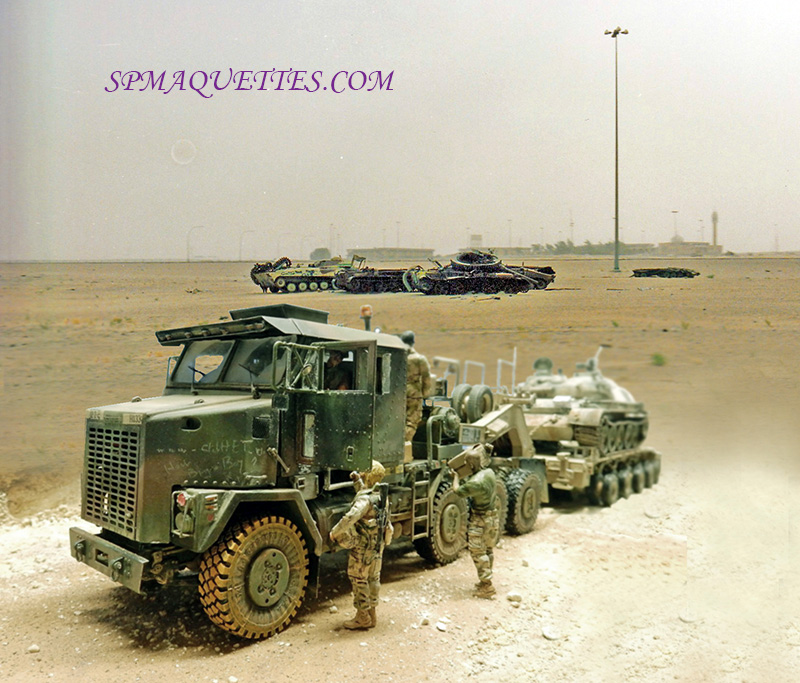
Deux vues des personnages en place sur la scénette...
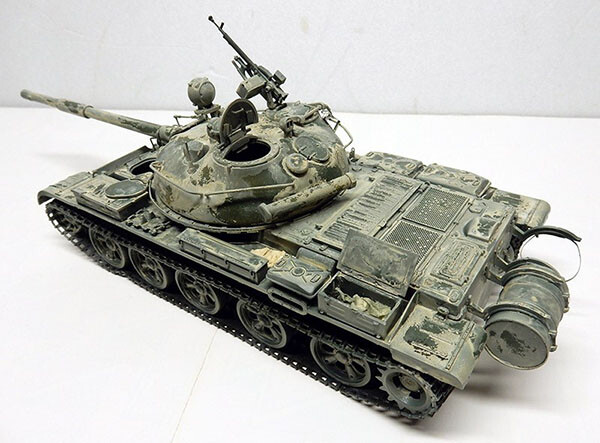
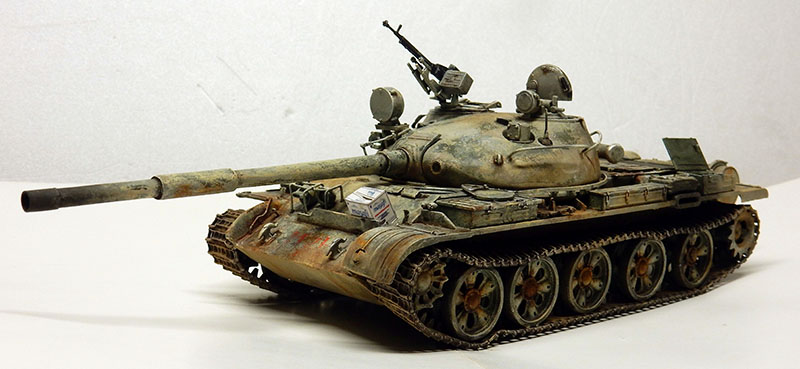
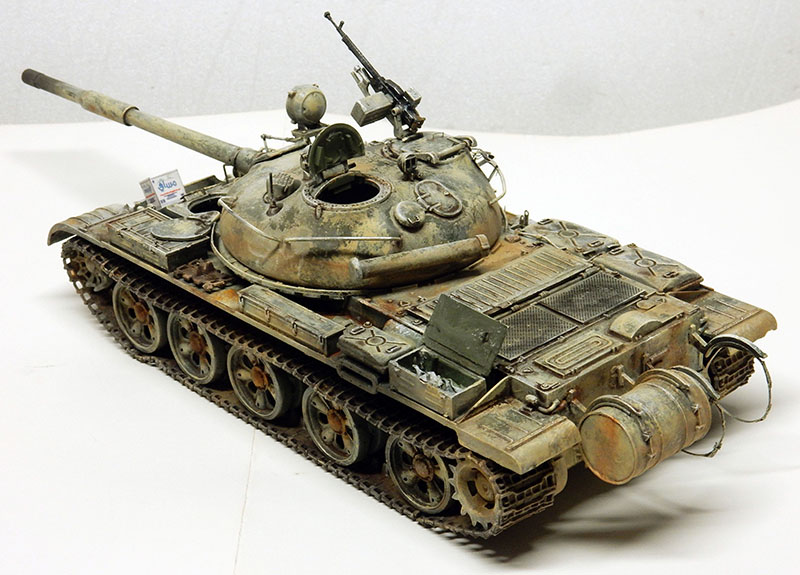
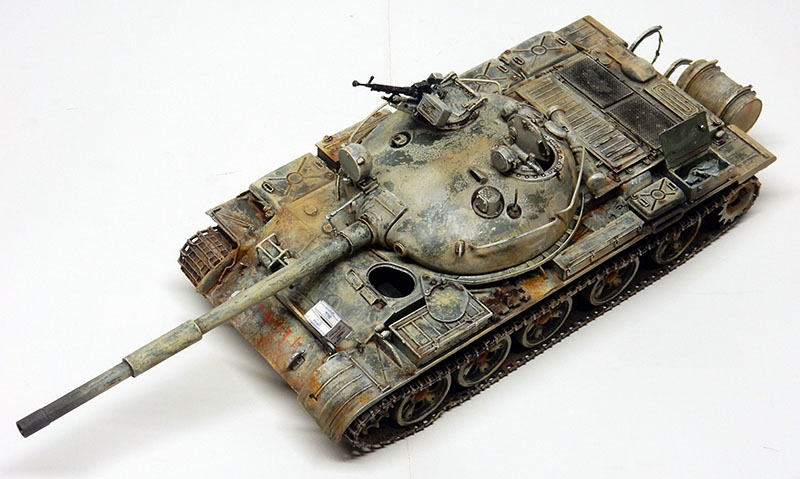
The Iraqi T62
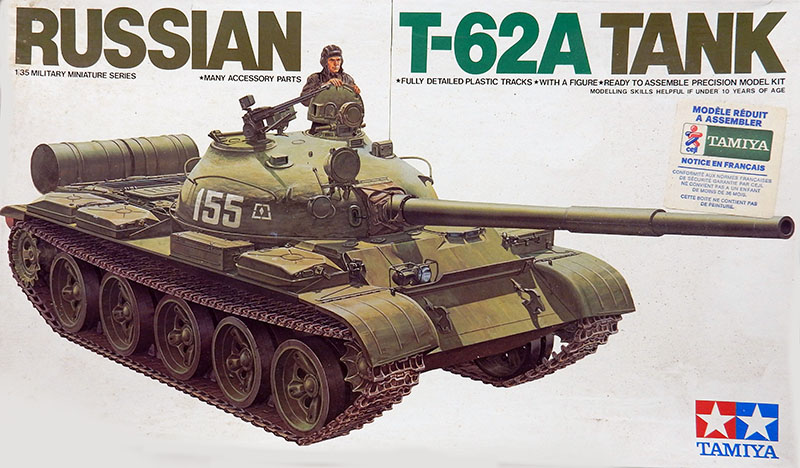
Le kit déjà ancien reste intéressant. Il sera amélioré avec des pièces en photodécoupe et carte plastique...
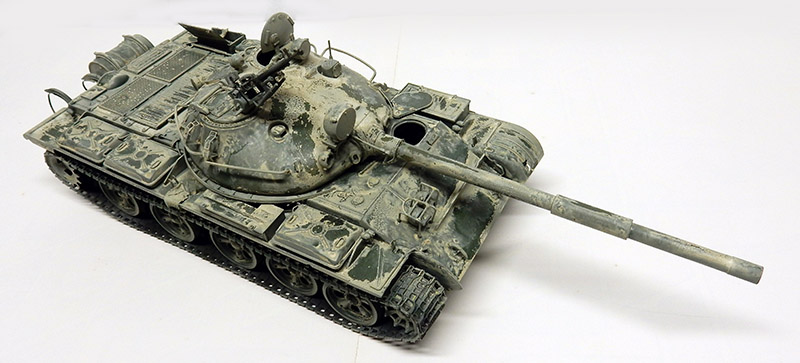
Acrylic base: Russian green and hairspray technique with a sand-colored shade...
Passage d'un jus dilué comme pour le tracteur. Finitions avec un jus dilué terre d'ombre Winsor & Newton avec un pinceau fin sur chaque détail pour accentuer l'ombrage...
The exhaust pipe is painted with black pastel, as is the muzzle of the barrel...
Certains marquages - rouge - blanc - sont réalisés au crayon de couleur. On termine avec des pastels...
Mise en place du blindé. Entretemps, la remorque a été peinte en jaune sable Mr Hobby 27 - 313 - Tamiya XF 59. Le "drybrush" a été effectué avec du Revell SM 314 (ou Humbrol 121) + blanc...
Installing the shims. Chains will be added for permanent fastening...
The tires will be painted on the diorama because the trailer is crossing a body of water...
An overview...
The Setting
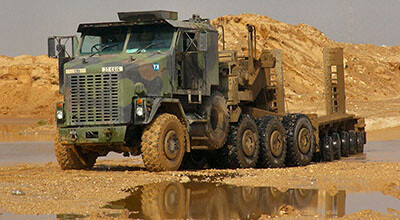
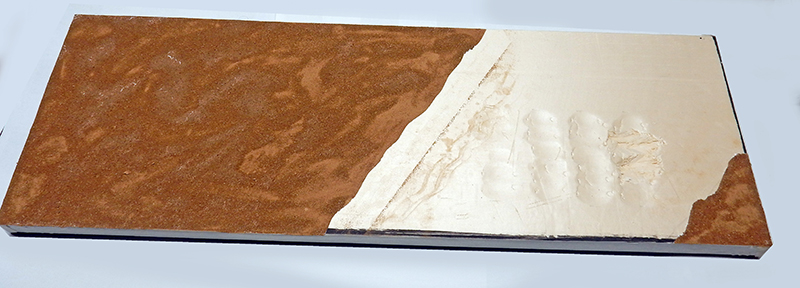
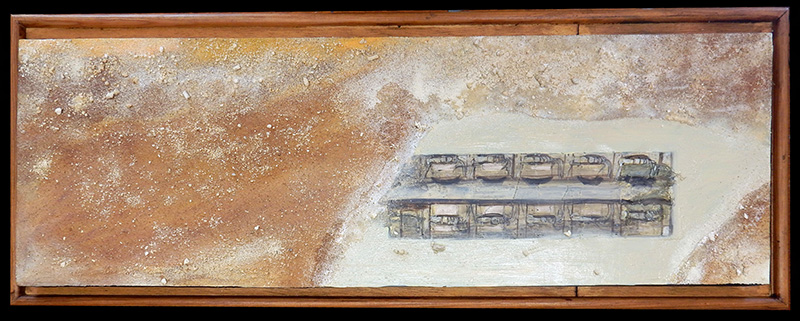
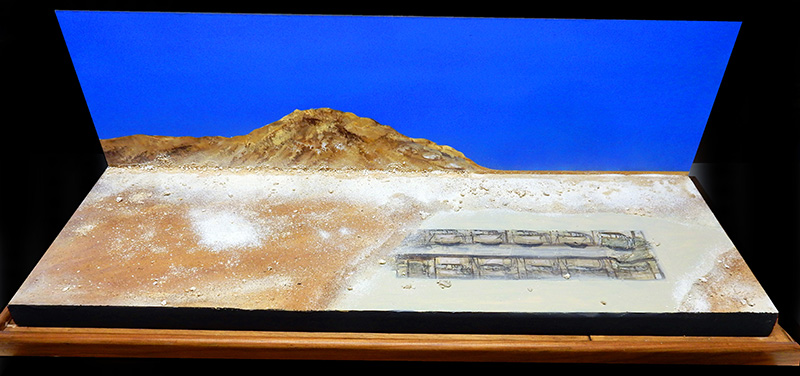
The set is inspired by a photo taken on location. An MDF board measuring 0.80 m, on top of which another board made of extruded polystyrene will be placed, will serve as the base. Here, the brown section has already been sprinkled with fine sand over a layer of wood glue.
The trailer's tire tracks are clearly visible in the polystyrene...
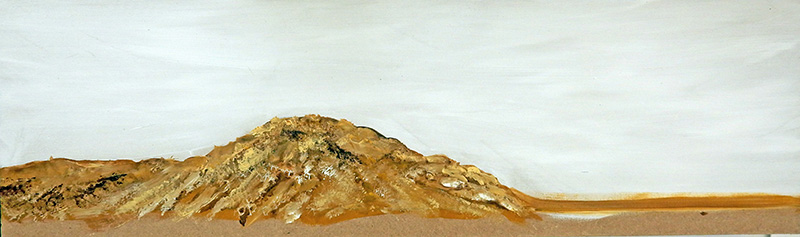
Dessin et peinture acrylique de la colline sur le panneau du fond comme sur la photo d'origine...
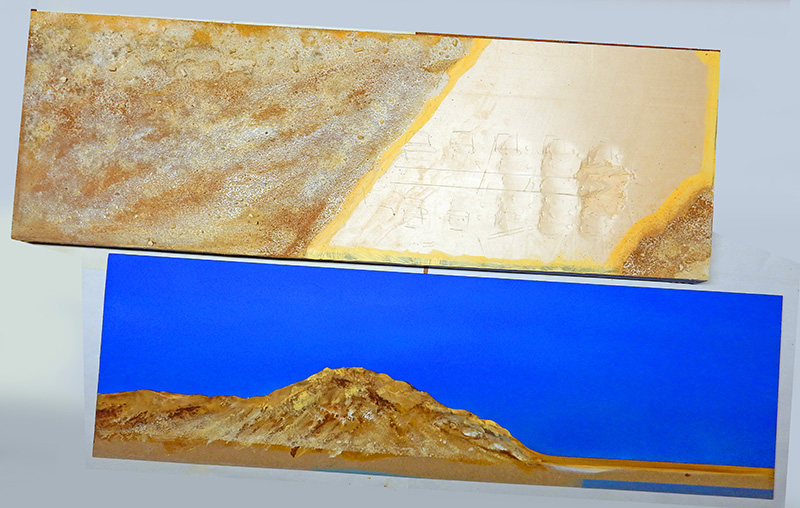
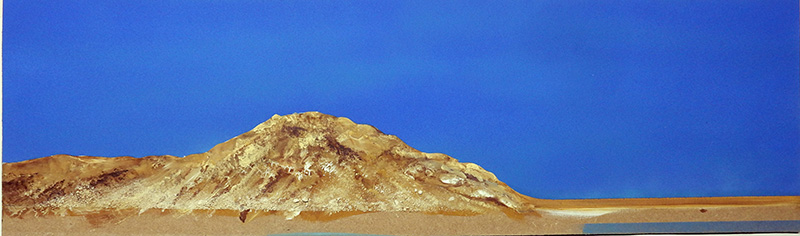
Une photo du sol sableux terminé et peinture du ciel après pose d'un cache sur le fond...
Détail...
La partie humide est peinte en jaune sable. Une peinture en trompe-l'oeil du dessous de la remorque est effectuée au pinceau...
La partie humide est recouverte de vernis brillant, puis, une fois sec, de gel acrylique en fines épaisseurs. On termine après séchage avec plusieurs couches fines de vernis brillant...