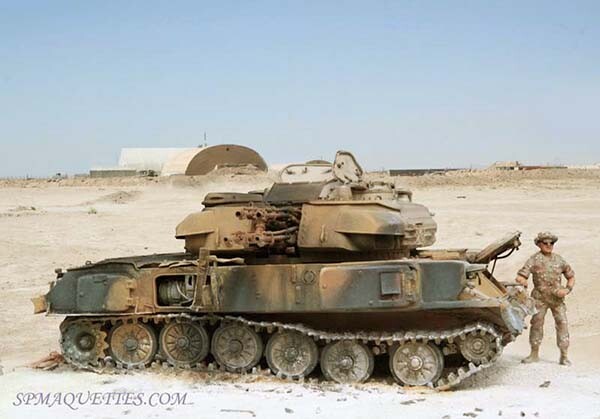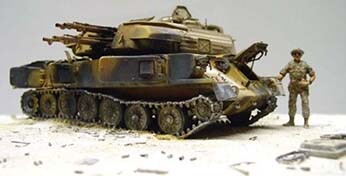
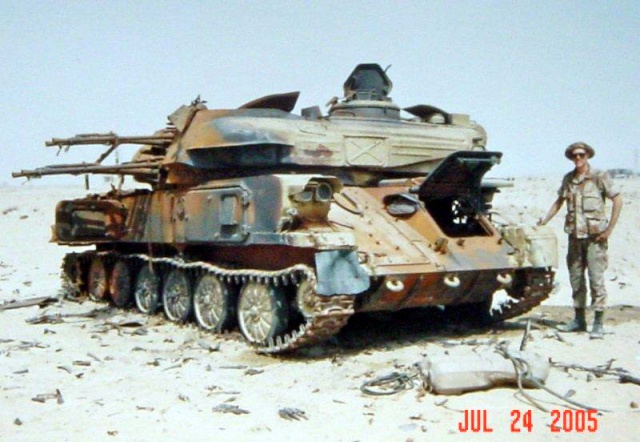
One of the photos that inspired the diorama. Despite the year listed, it is indeed from 1991...
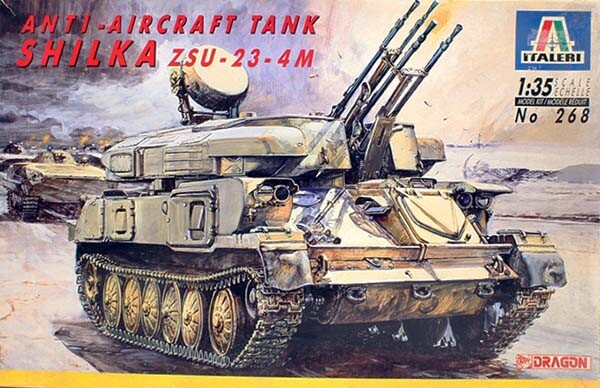
One of the photos that inspired the diorama. Despite the year listed, it is indeed from 1991...
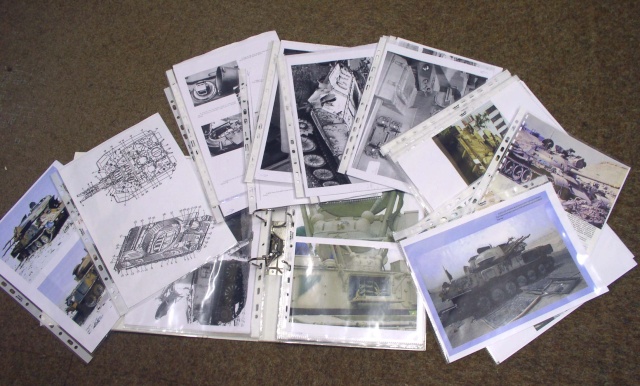
A small portion of the documentation—essential for this kind of work...
Phase 1: Assembling the side compartments and the resin kit...
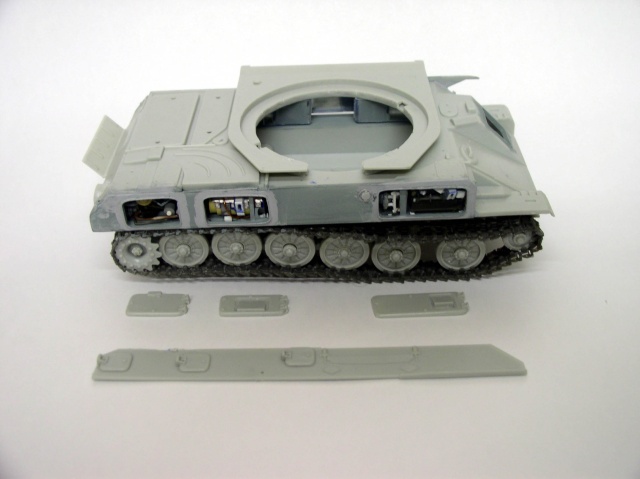
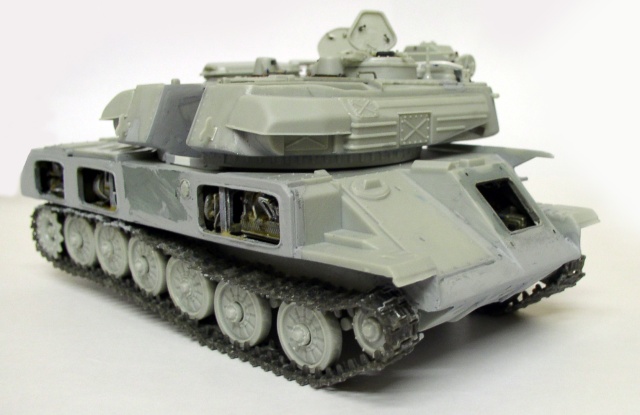
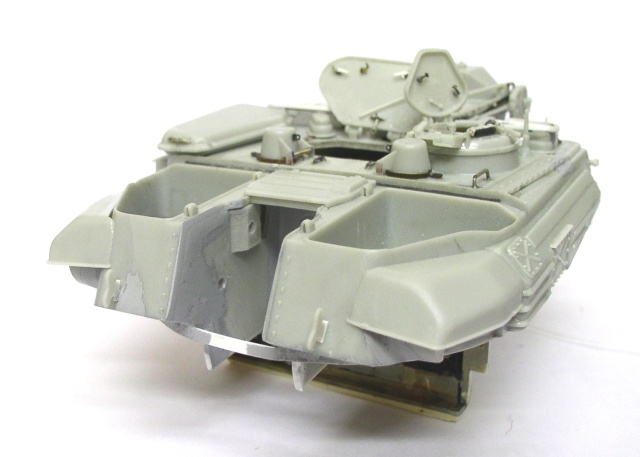
The kit is from ITALERI, which is cheaper than the DRAGON version and requires only a few modifications... I decided to cut open the sides and create compartments to show the interior. The side panels were rebuilt using plastic card. The hatches were reused from the original part...
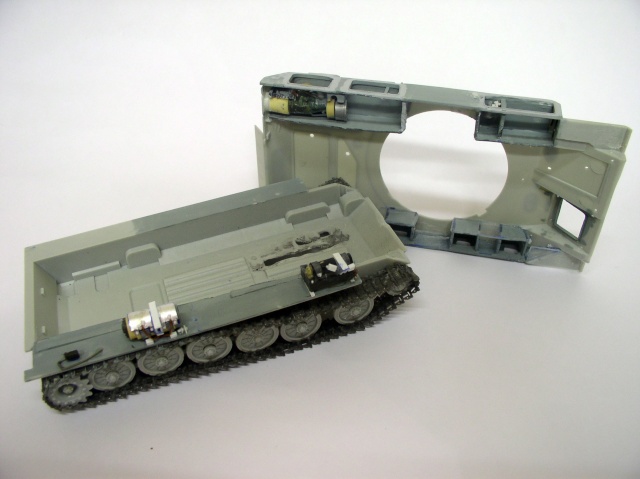
Compartments added on both sides will house the gas turbine and the auxiliary engine, as well as the transformer and the turret spotlight. Parts are sourced from the surplus box and modified based on the photos… Nothing too complicated, but it’s a long process of fitting and adapting…
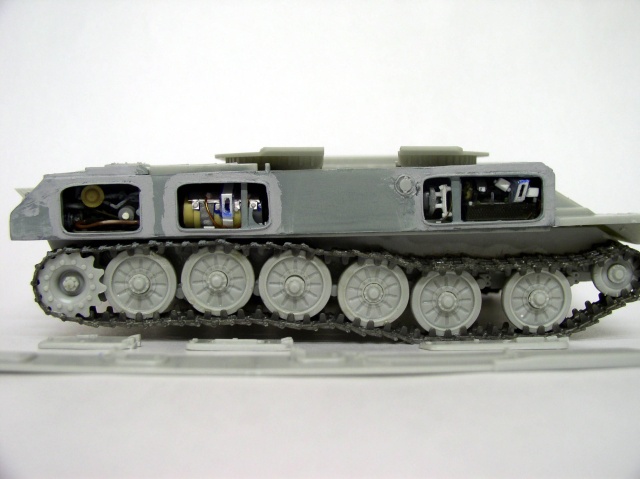
The control arms on the right side have been modified, and the rollers are worn...
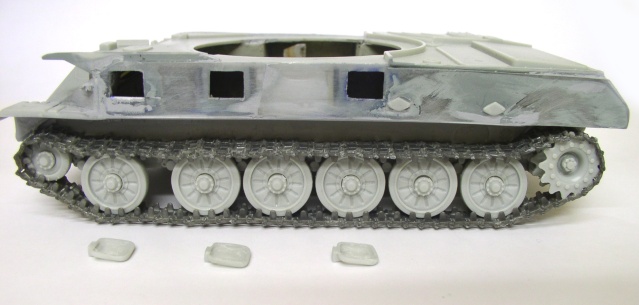
The interior installation of the two side compartments after a few hours of work... The hatch on the far right, which is slightly too low, will be raised.
The Trakz Kit
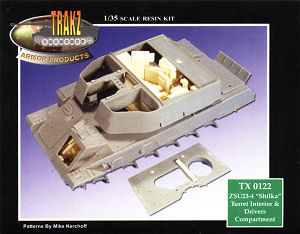
The TRAKZ kit. I usually “boycott” resin kits because they’re either too expensive or poorly molded—but I have to admit that this one is truly comprehensive and superb. It includes a large number of highly detailed parts. Furthermore, the parts inside the turrets are often barely visible, so you end up spending a lot of money for very little visibility. However, the Shilka works well with this kit because it has large hatches that provide a good overall view...
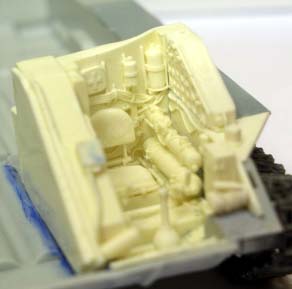 | 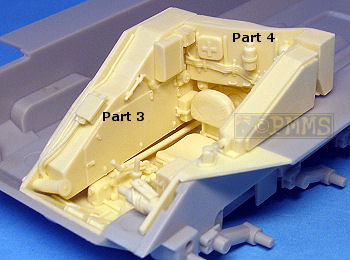 |
Deux vues du compartiment conducteur: le résultat sur la maquette et la photo du kit résine. Le plancher est découpé pour permettre une meilleure mise en place. J'ai, malgré tout, rajouté quelques détails supplémentaires mais le kit est déjà magnifique de finesse...
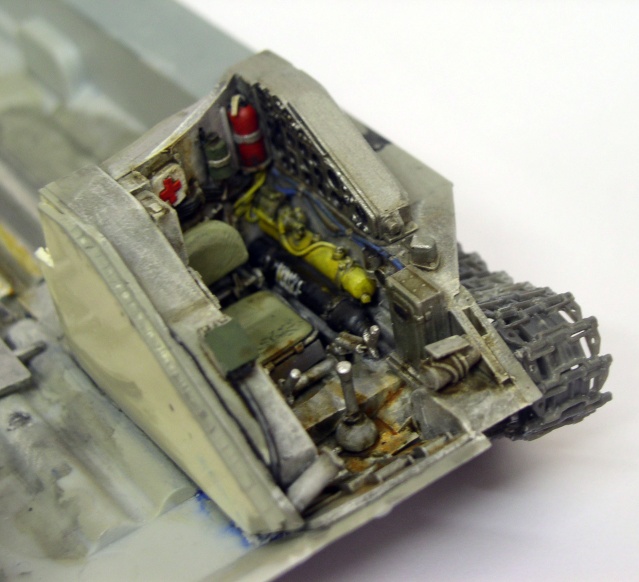
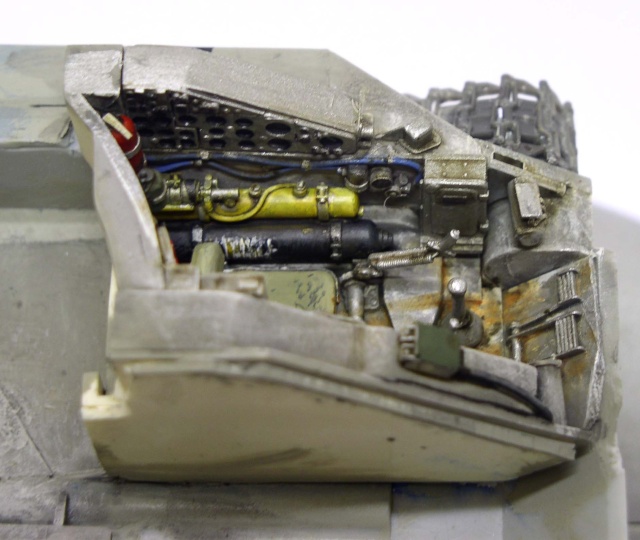
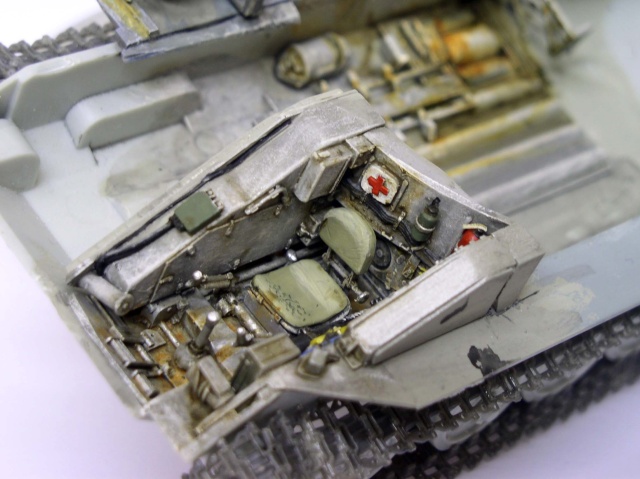
Three views of the compartment as installed, painted and weathered, with a few details added, including cables...
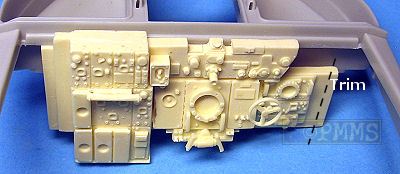
Fire control – photo of the kit...
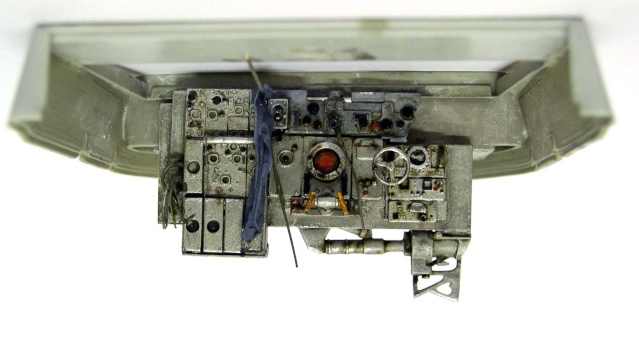
…after setting it up, adding a few details, and painting the model...
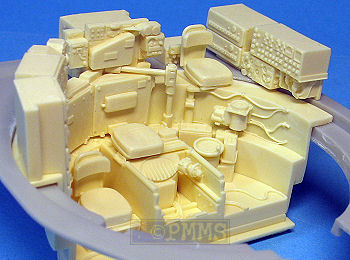 | 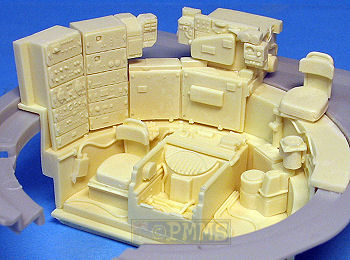 |
Vues du kit TRACKZ montrant les différents éléments de l’habitacle…
Painting the kit
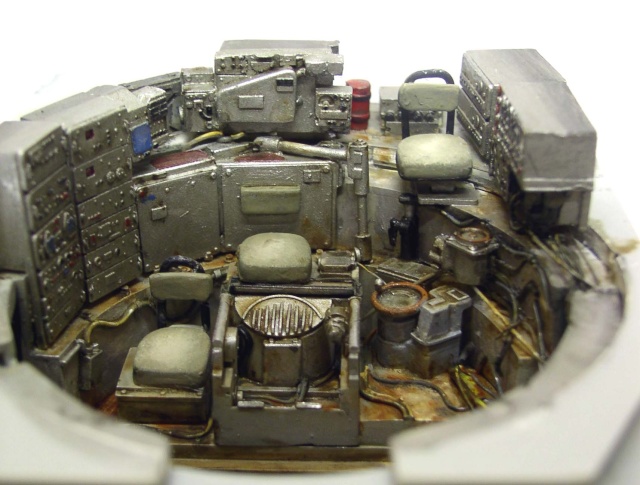
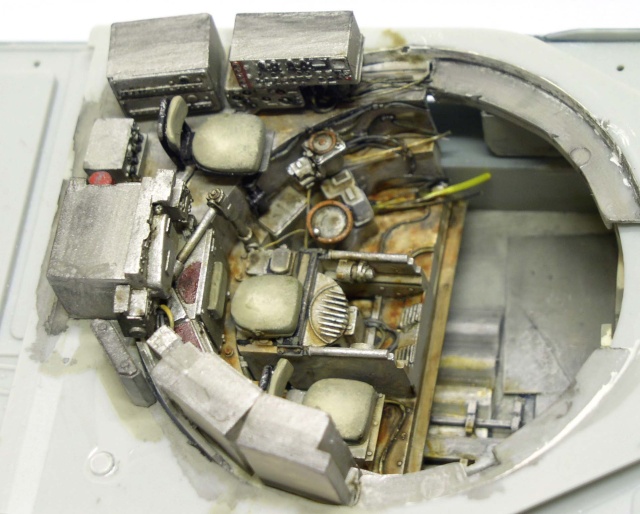
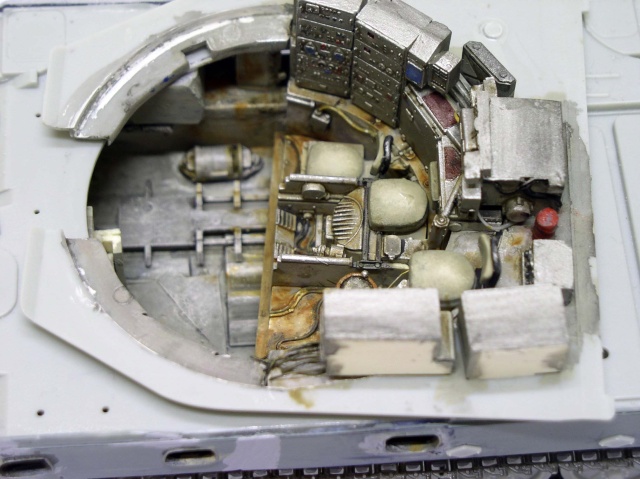
Once the parts were assembled, painted, and weathered... with a few details added...
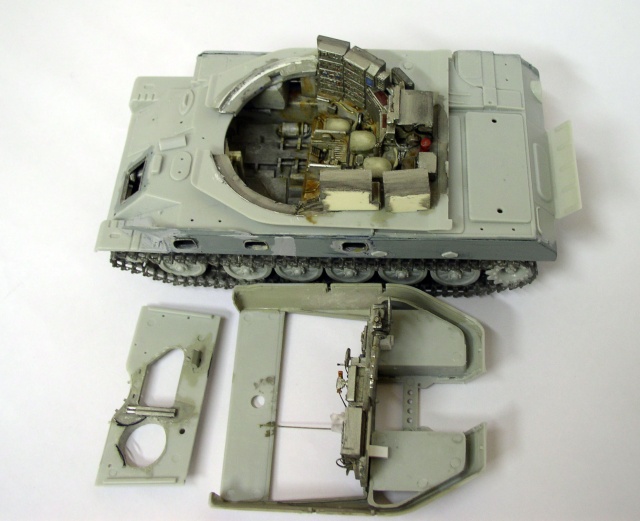
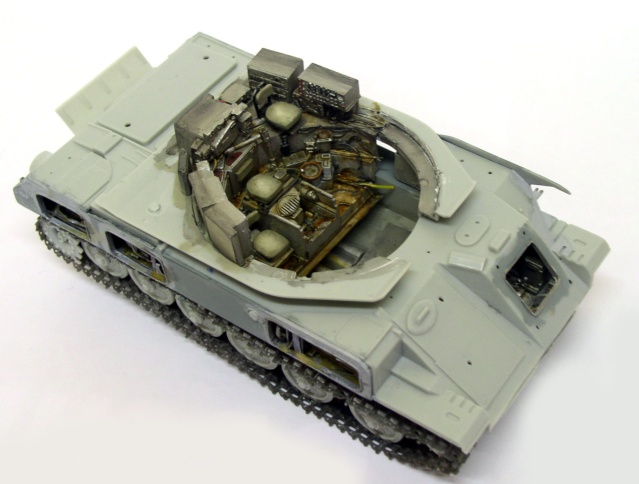
An overview of the resin kit in place…
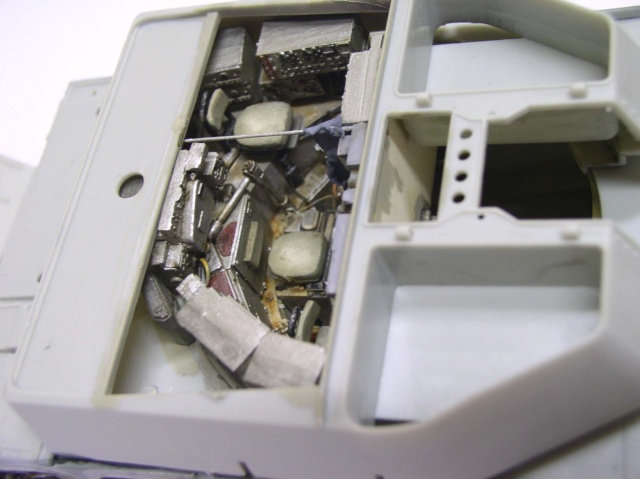
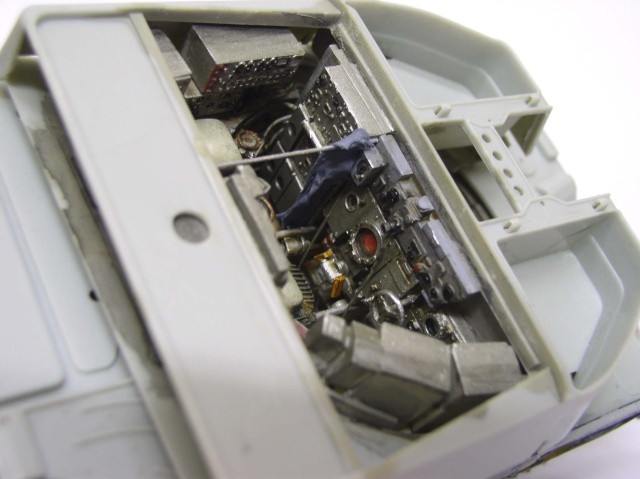
Now that the interior kit is finished, we can close up the turret and start on the exterior detailing, which is important... We glue the two turret sections and the rear plate together. We check that everything fits properly, including the top panel that will hold the turret panel and hatch. We’ll glue in the tank commander’s curtain rod (made of toilet paper)—yes, he’s entitled to some privacy…
It’s certain that in the original tank, the entire interior of the turret was destroyed. But I wanted to keep the cockpit intact, given how beautiful the kit is...
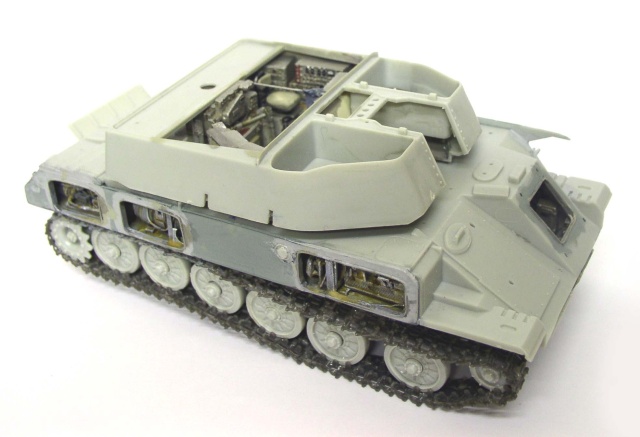
Turret Details
PHASE TWO: ASSEMBLING THE TURRET
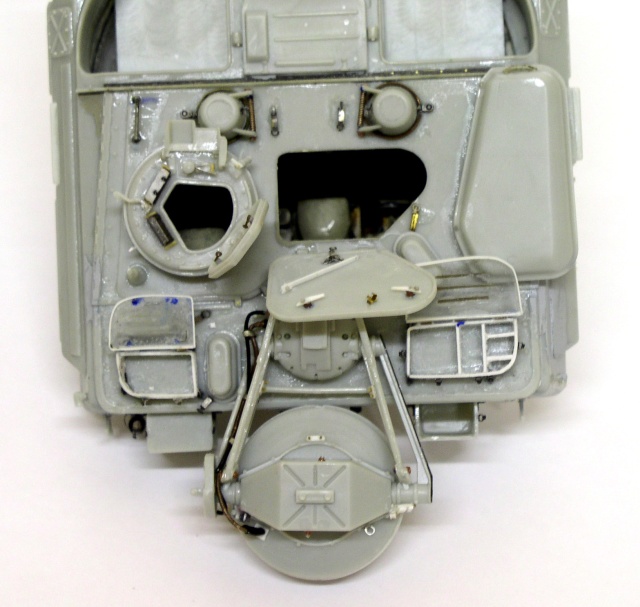
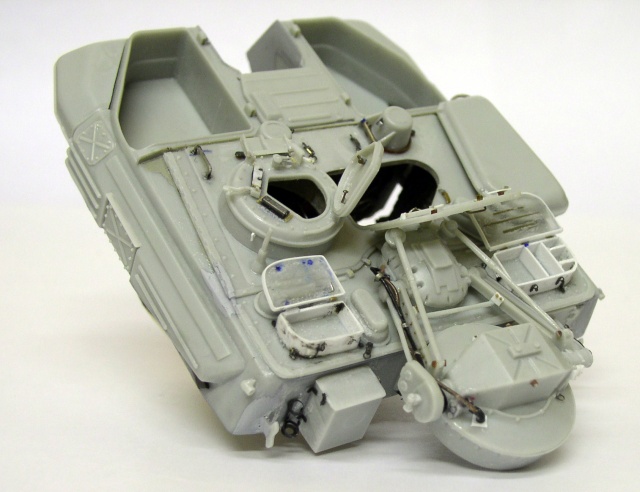
Work on the turret can begin. An EDUARD photo-etched kit is very useful for this, but even so, there are still many details to add, which is why it’s important to have good reference material...
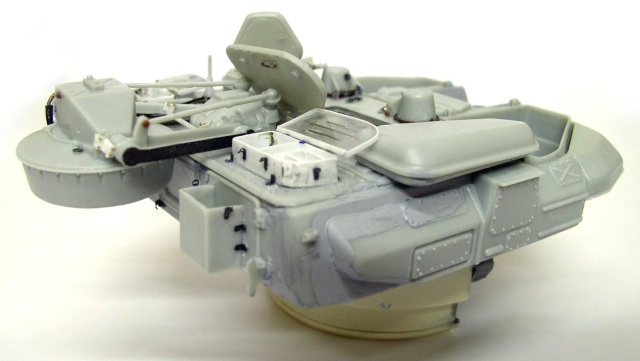
Another view—from the right—of the turret. The upper hatches have been removed and rebuilt, and the one at the rear right has been opened...
A roll bar is being added to the front—more true to the original—and additional parts will be attached to it...
Cannons
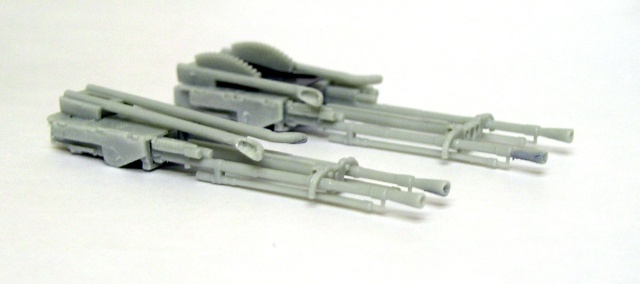
The barrels have been hollowed out. I chose to drill them out and taper them rather than use the photo-etched cones. The spent-cartridge ejectors have also been perforated...
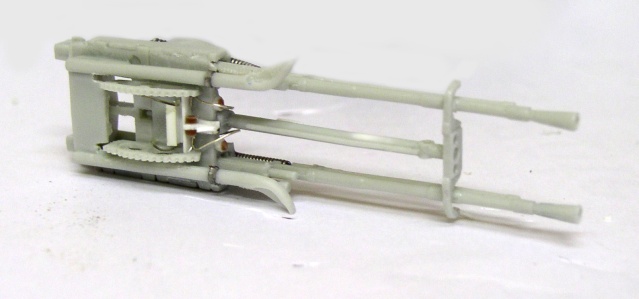
The racks are openwork, and additional pieces have been added…
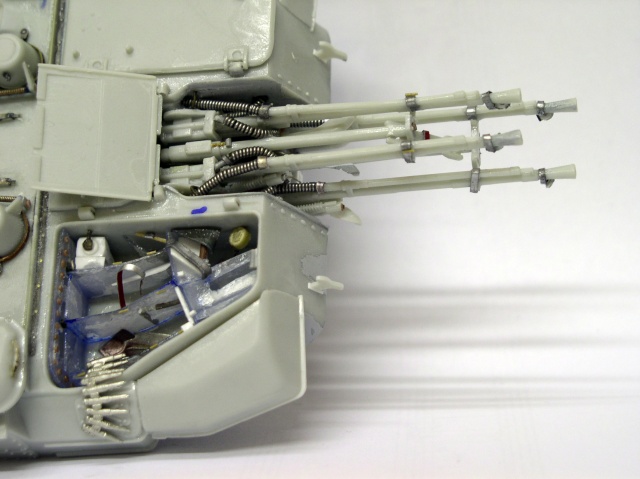
The ammunition compartment is made of plastic card...
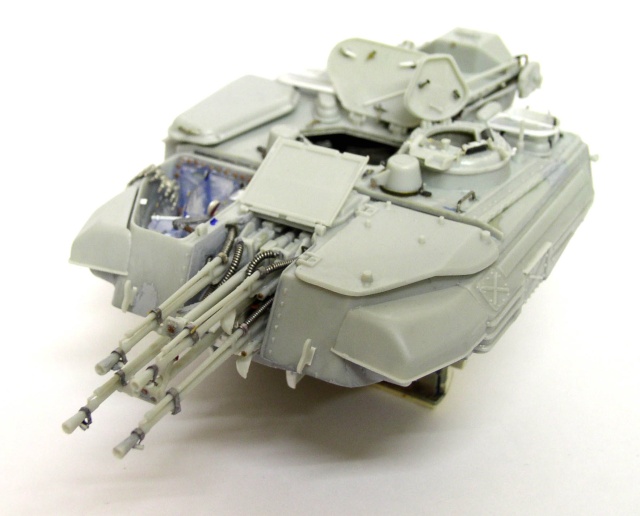
The cannons are in place...
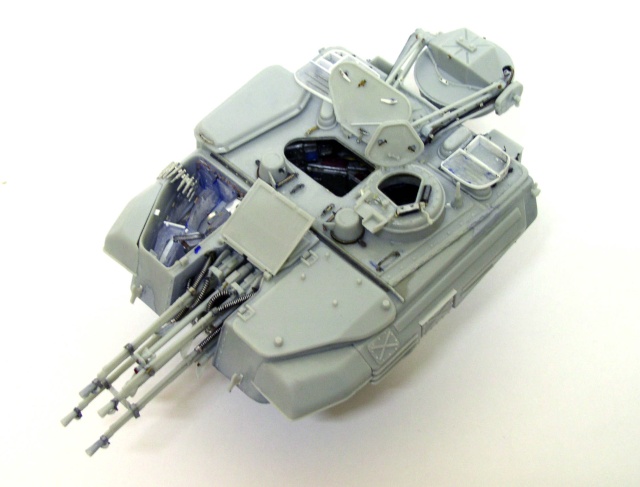
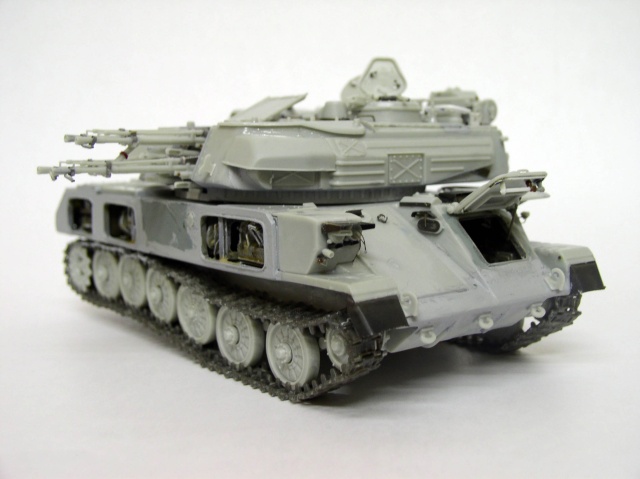
A view of the "future" position of the turret. I've started adding detail to the front of the hull, including the driver's hatch opening mechanism, which isn't finished yet... There are also some missing parts on the glacis…
Note that I modified the torsion bars to show the right-side roller in “poor condition” during the hull’s assembly. That explains its odd shape...
THIRD PHASE:
Bodywork Details
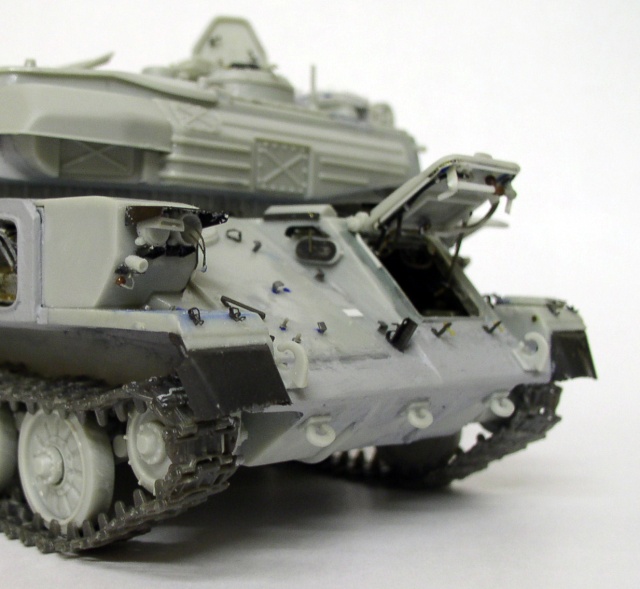
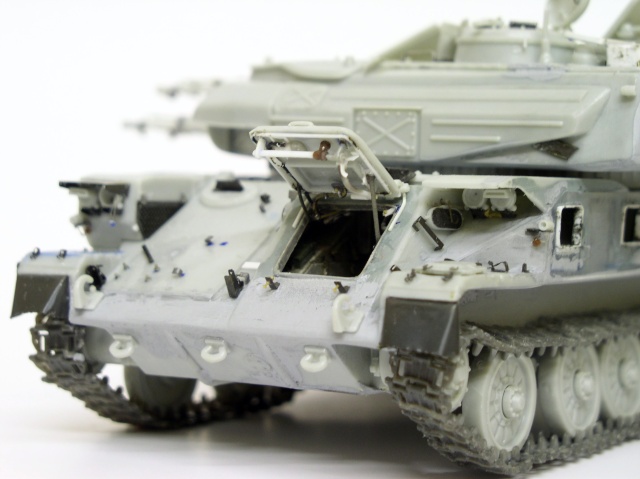
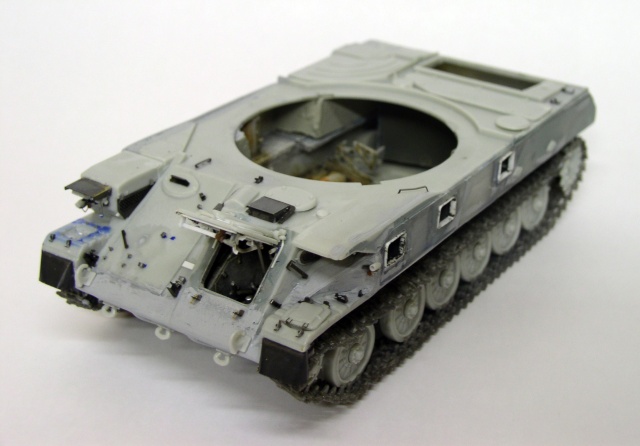
Detailed view of the glacis and the front section. From the driver's hatch…
FOURTH PHASE:
The engine
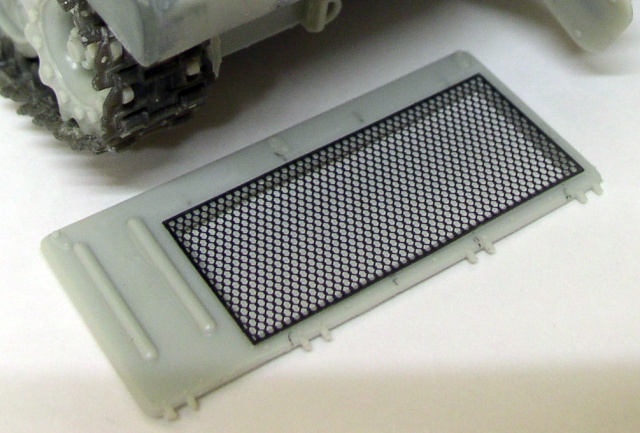
After the front, the rear. I cut out the plastic grille from the engine cowling to keep only the photo-etched version from Eduard. Otherwise, that empty space—even when painted black—looked... empty!
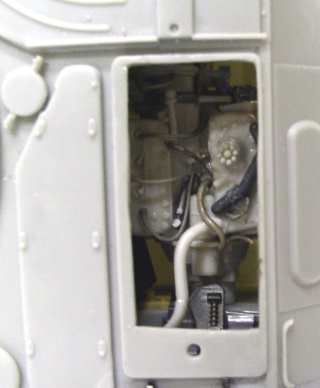
Assembly of the engine, using salvaged parts, including some 1/24-scale components; the whole thing would be painted to "create a certain effect"...
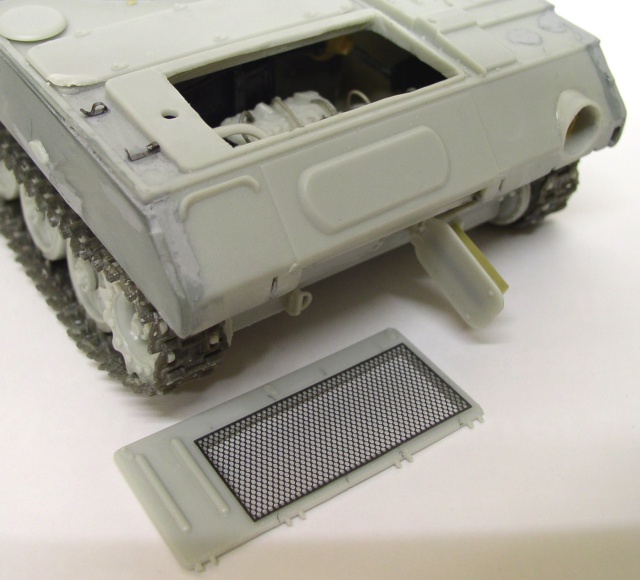
With the engine in place...
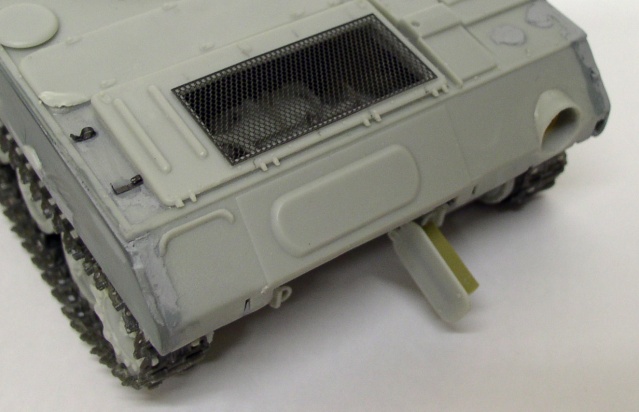
The EDUARD grille is glued on. One of the hatches at the rear is open...
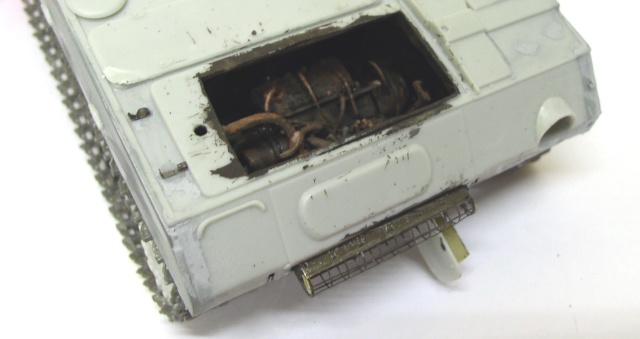
The engine is painted in shades of black and chocolate brown with a few lighter accents, but without too many details. You should just be able to glimpse it beneath the grille. As for the colors, let's not forget that this is a tank that was partially burned...
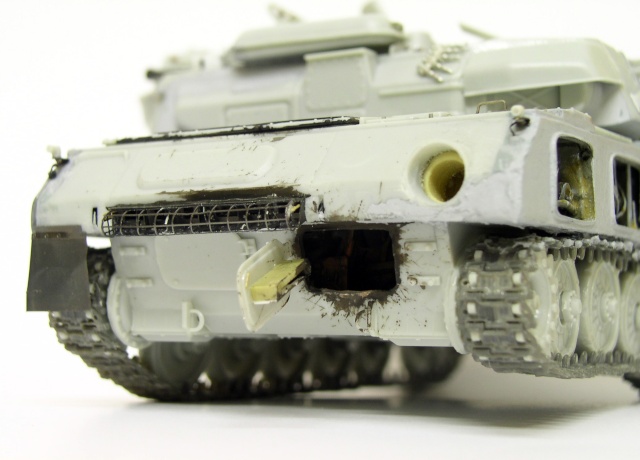
Close-up of the engine access panel...
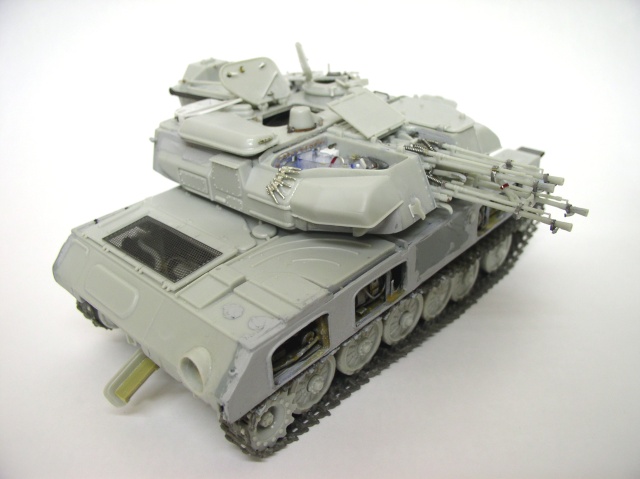
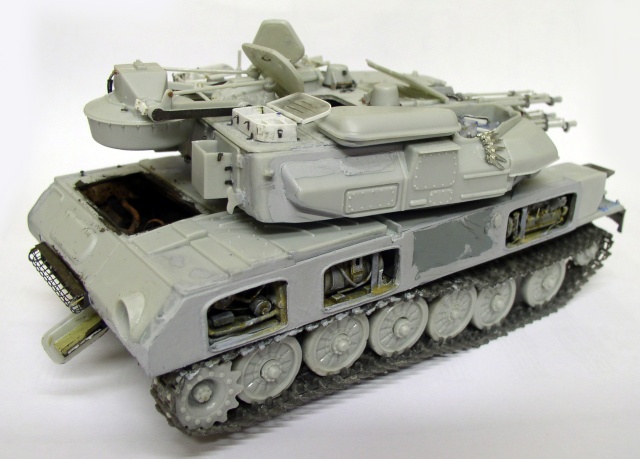
An overview of the tank. Many details and parts are still missing from the rear of the hull.
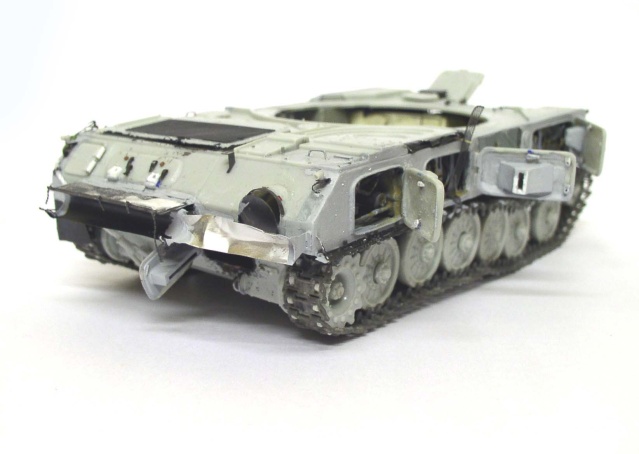
Details of the body. The compartment panels are glued in place before painting...
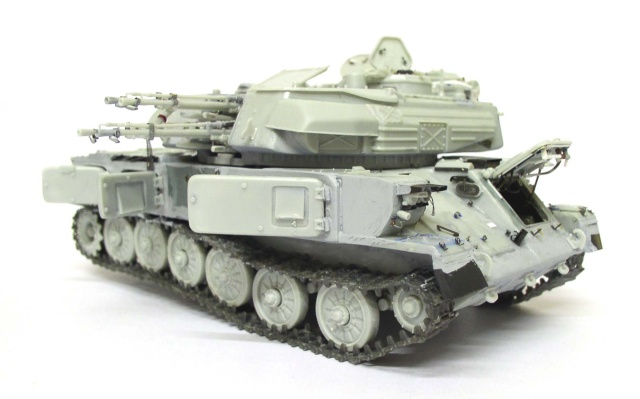
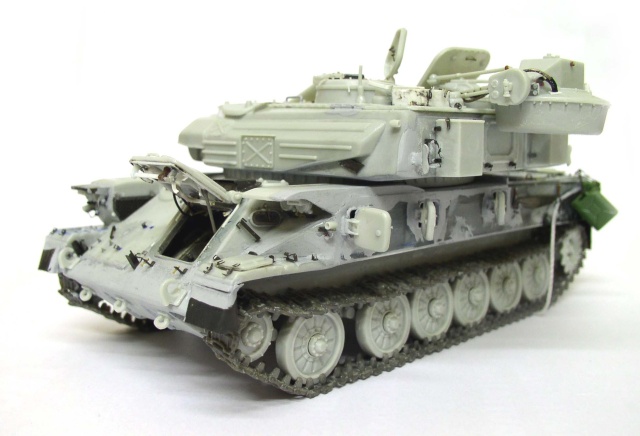
The model is now assembled...
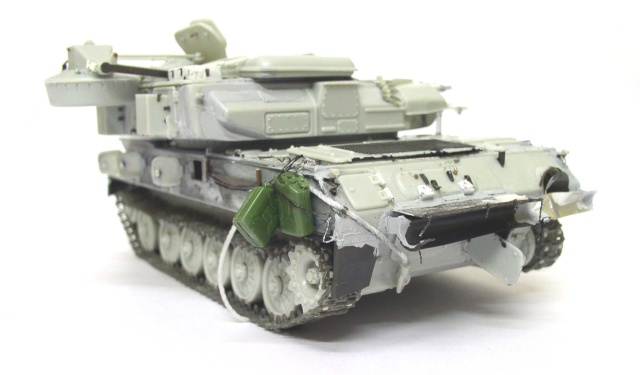
Gas cans and a tow rope are attached to the left side...
Painting
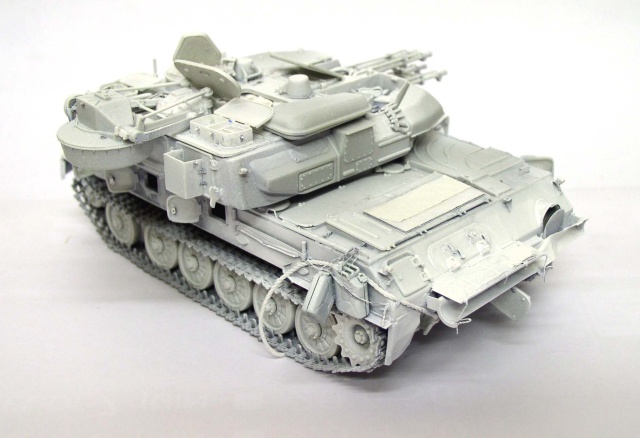
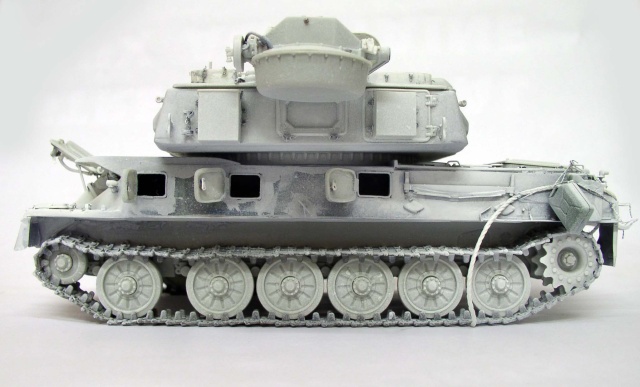
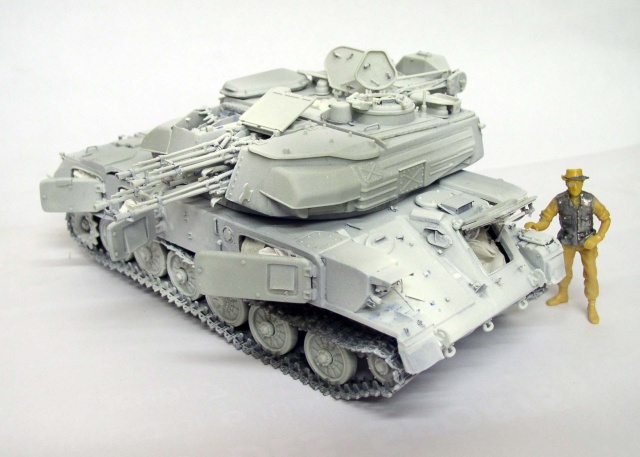
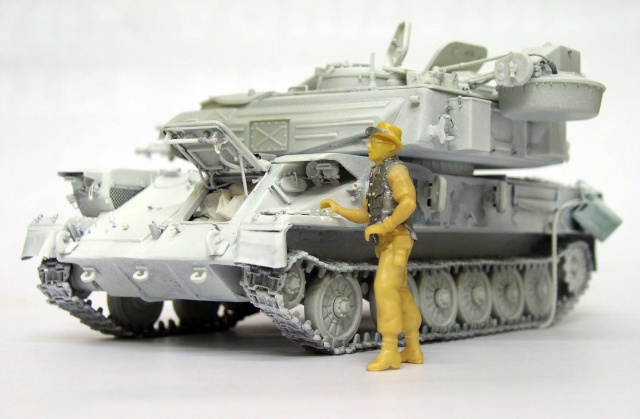
Four photos showing the vehicle covered with a coat of primer before painting. The figurine will enhance the diorama and bring it to life...
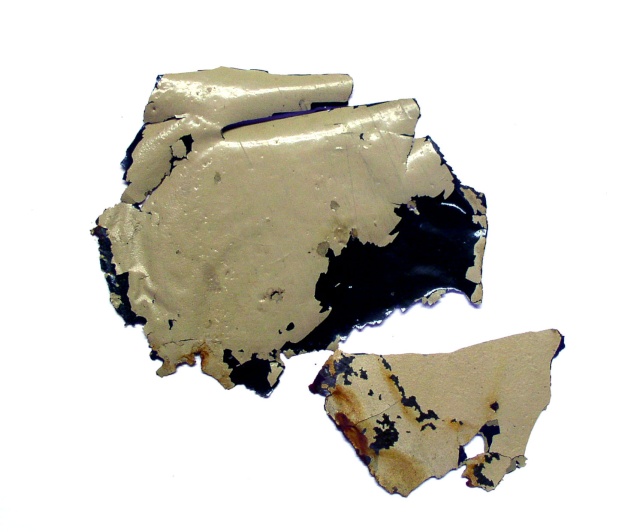
The paint consists of a desert sand yellow applied over the Russian green of the vehicles. Here are some "flakes" of paint taken from an Iraqi BTR-50...
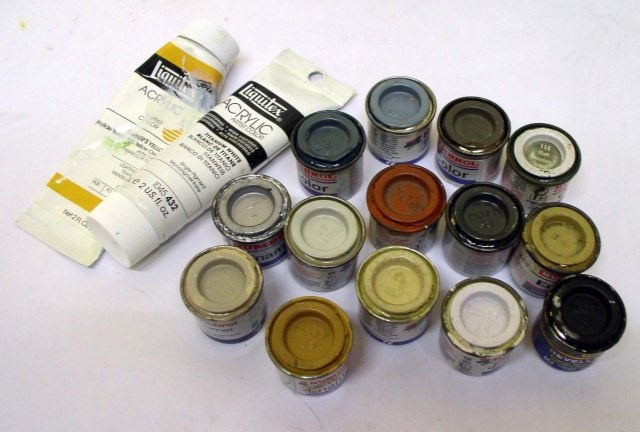
The paint used... Humbrol oil-based paint in jars and Liquitex acrylic paint for the details...
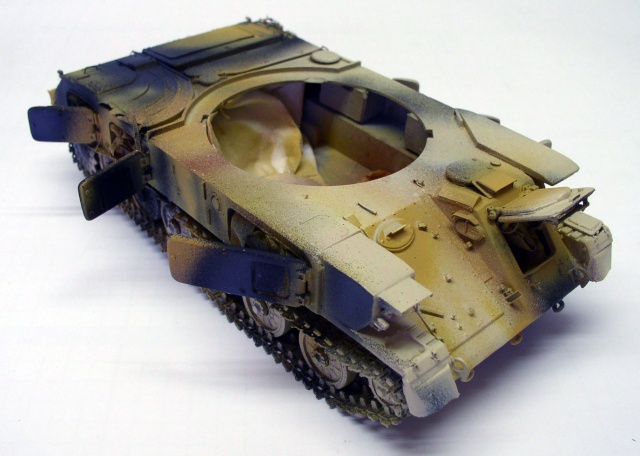
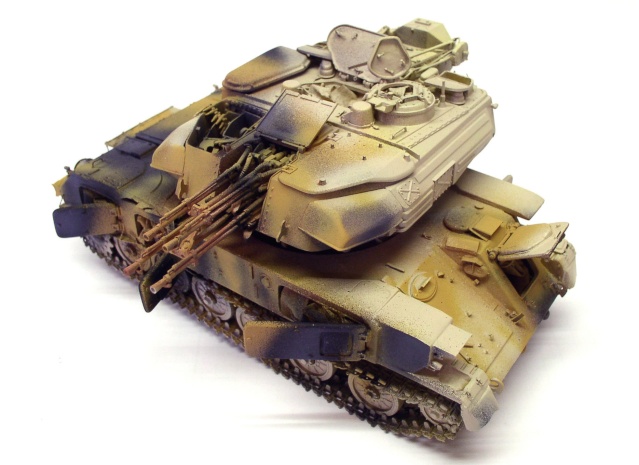
Airbrush base coat of Humbrol 121 and 148... The charred areas are painted with 93 - 62 - black...
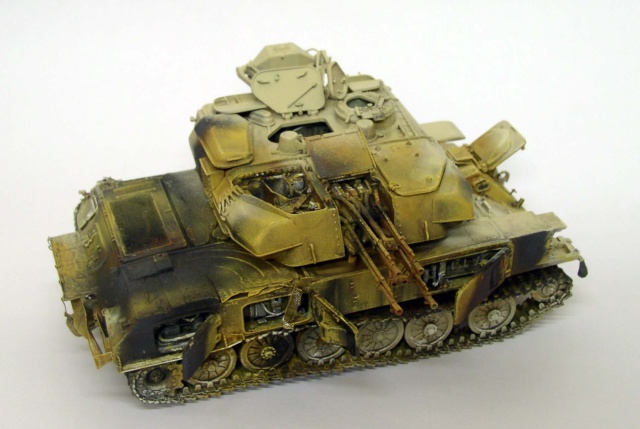
The entire piece is coated with the usual mixture—more than 50% diluted with Matte Black and 98 Chocolate—to create shading on the surfaces...
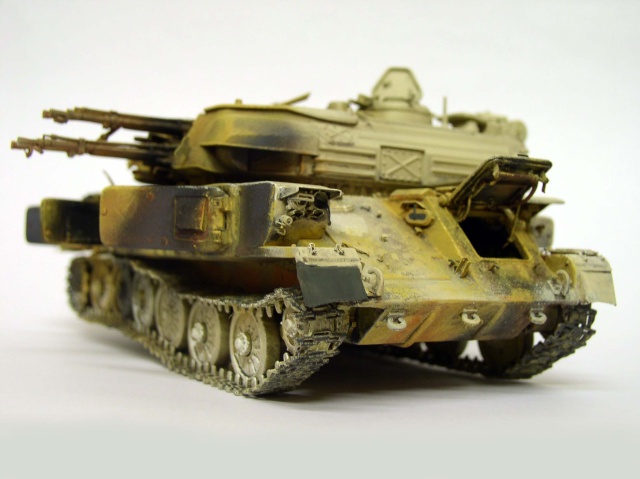
Another view...
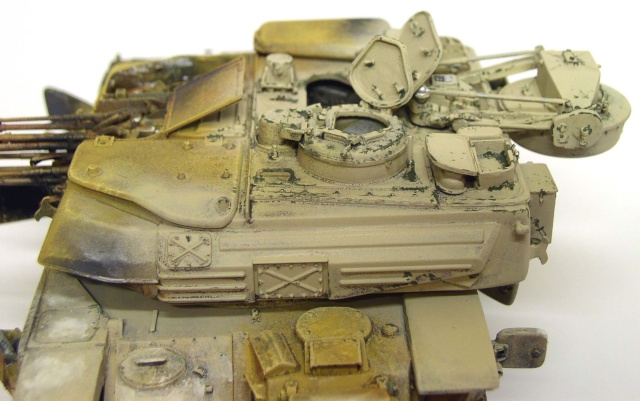
To create the chipping effect on the details, use a fine brush and Humbrol 114 on the most exposed areas... Some areas are completely undamaged and don't require any signs of wear...
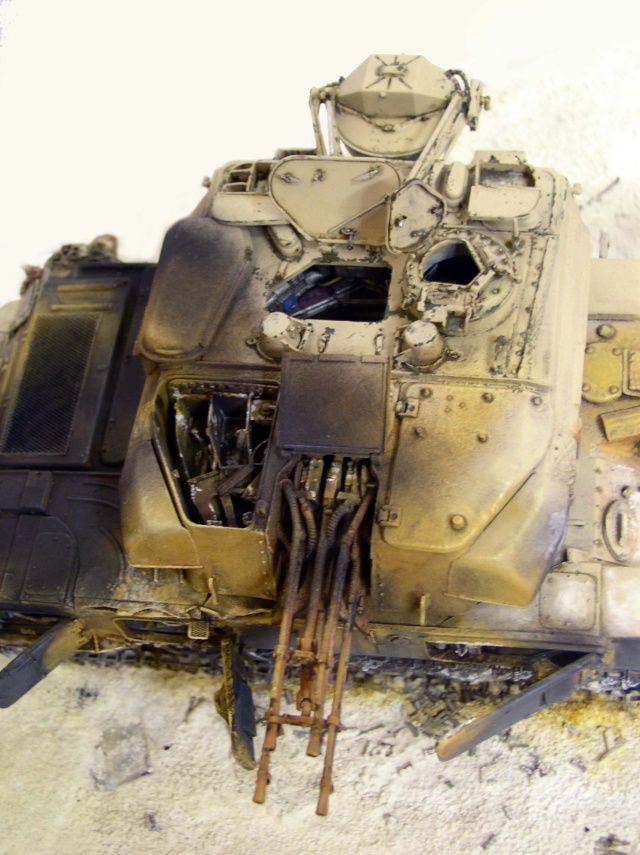
Another view...
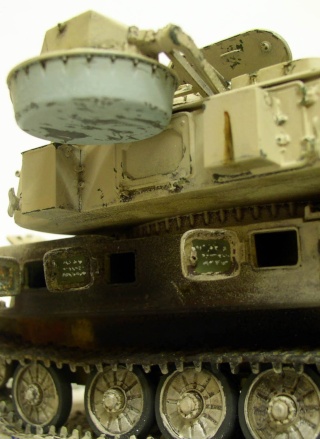
The radome cover is painted light blue and also shows signs of wear... We also paint the various details, such as the interior of the panels, wheel trim, chrome trim, etc...
Juices
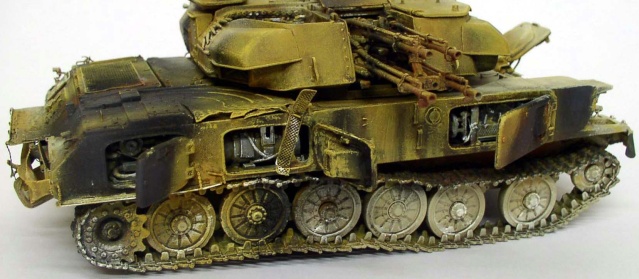
And now comes the best part. Apply a wash using a fine, pointed brush made with umber and sienna. The wash will bring out each detail individually, but be careful: don’t overdo it, and in fact, DON’T APPLY IT TO CERTAIN AREAS AT ALL...We tend to apply it to the entire model to make everything stand out, but that isn’t necessarily a good idea… Let
me explain: when building dioramas—unlike models on a base without scenery—you have to go the extra mile to make them look realistic. When working from photos to reproduce reality, you have to take into account the lighting, the distance (from the real vehicle), and the model’s scale. Sometimes it’s better to “suggest” an effect rather than try to add every detail at all costs. The wash will accentuate the details, but you’ll lose some realism. Here, I’m taking into account the “blazing” desert sun to tone down certain areas...
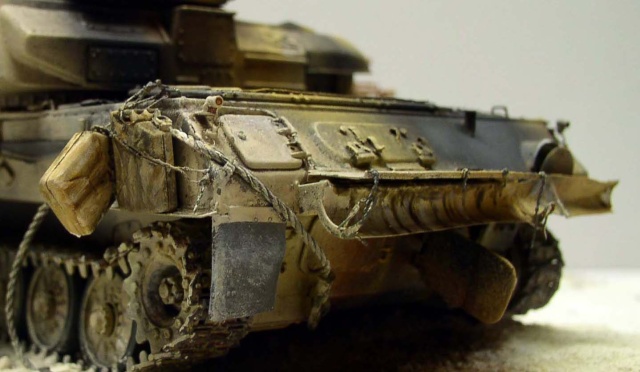
The same goes for dry-brushing. Don't brush everywhere—just on certain parts. A good way to understand painting perspectives is to create a “real” diorama—with just a front window to view the scene—and a painted background. Having a single direction in which the viewer’s gaze is directed will make the painting process easier and help you understand it better...
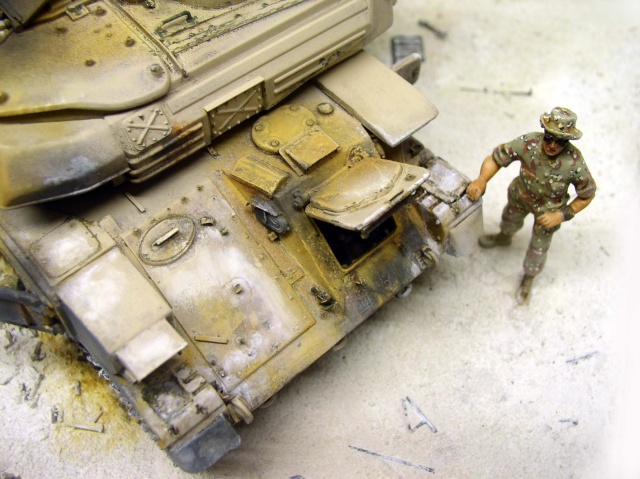
Here, the weathering effect is accentuated with a brush... A sandy-colored wash is applied with a brush in certain areas (some people use diluted pastel powder—it’s up to you) to simulate dust and wear on the metal... Black pastel powder will accentuate the soot-black...
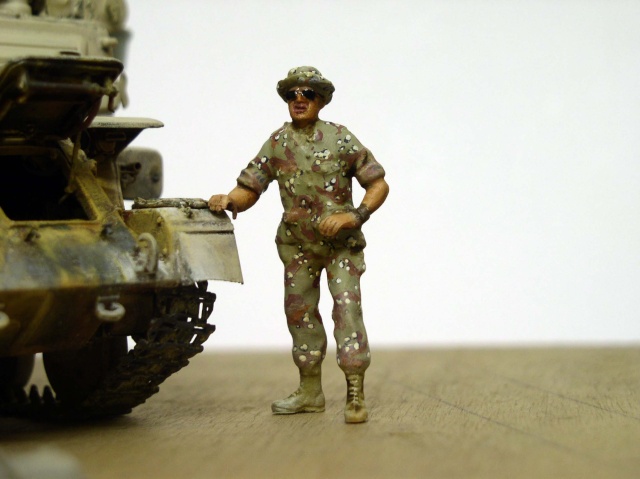
The slightly modified figurine is painted and positioned...
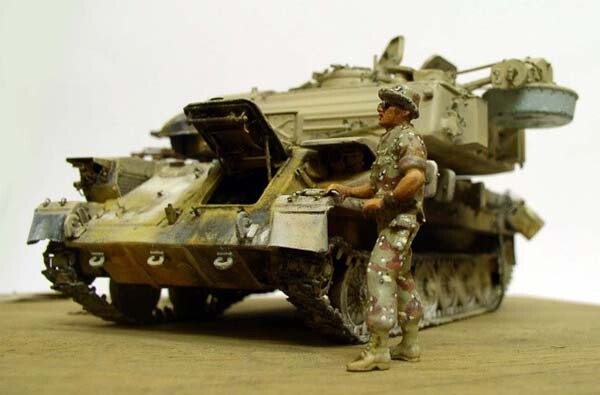
The Setting
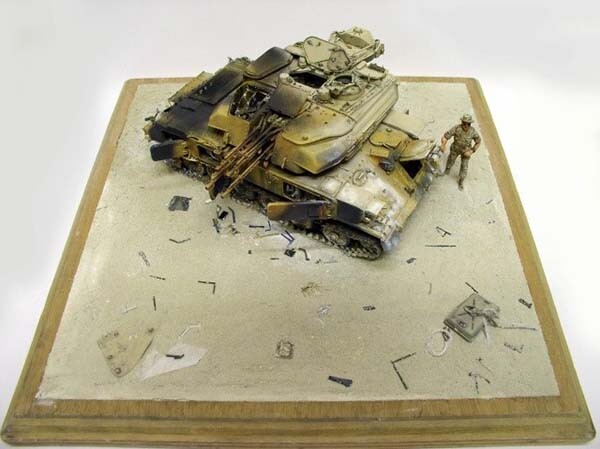
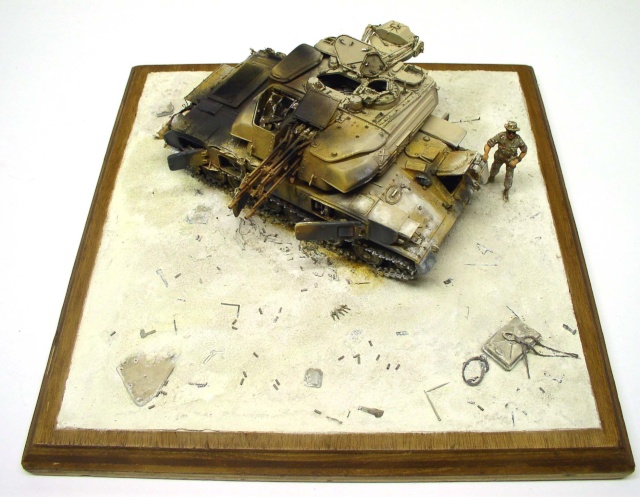
The scenery is painted with Liquitex acrylics, and here, the downside of acrylics—which tend to make colors "pop"—will actually help us highlight the sun's brilliance and make the model, with its more muted tones, stand out...
All in all, it's a lot of work for a very original and interesting model to build—and one that's not very common among modelers...