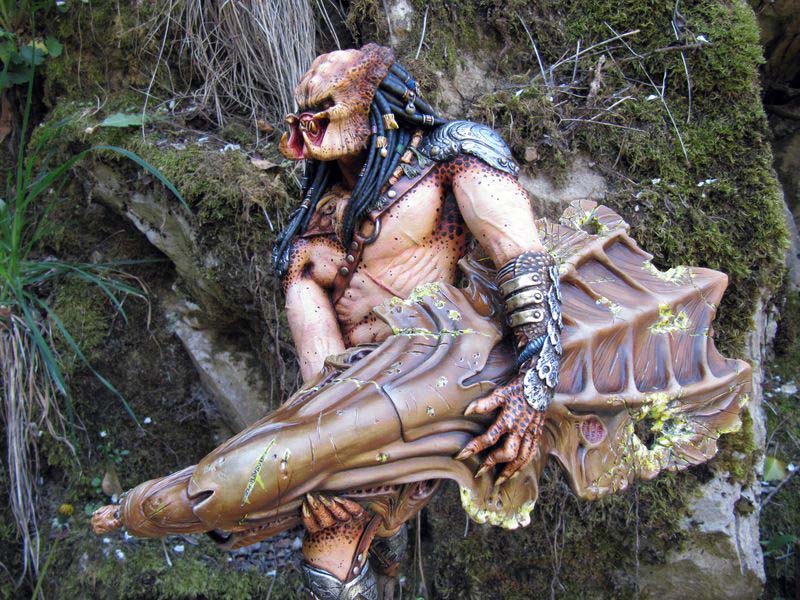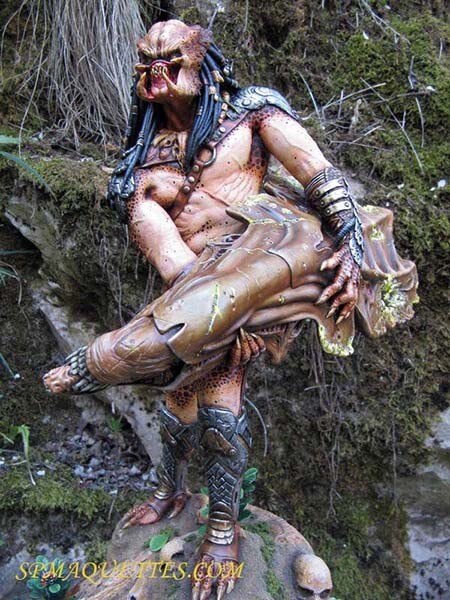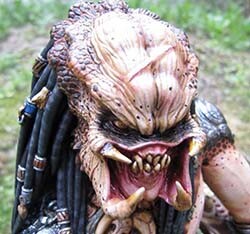
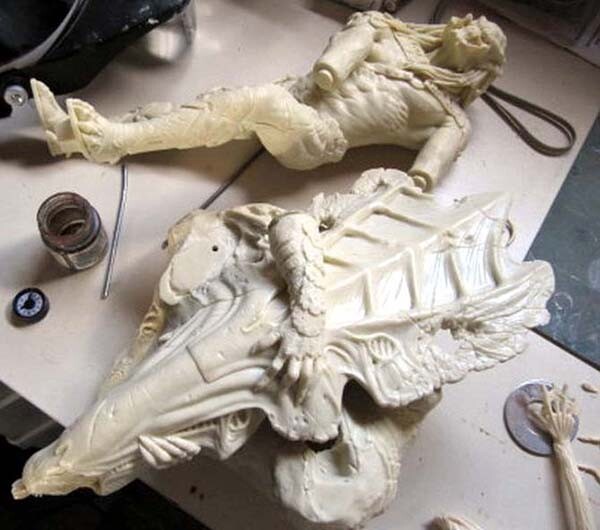
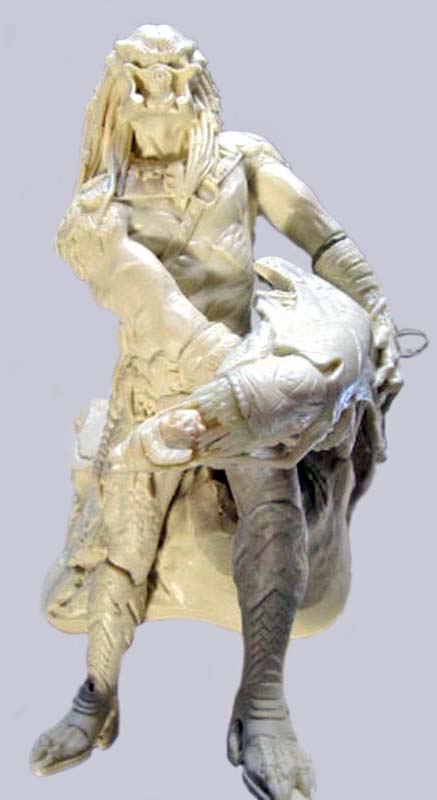
The figurine is made of resin and is on a 1/5 scale. The Predator is carrying an Alien queen's head...
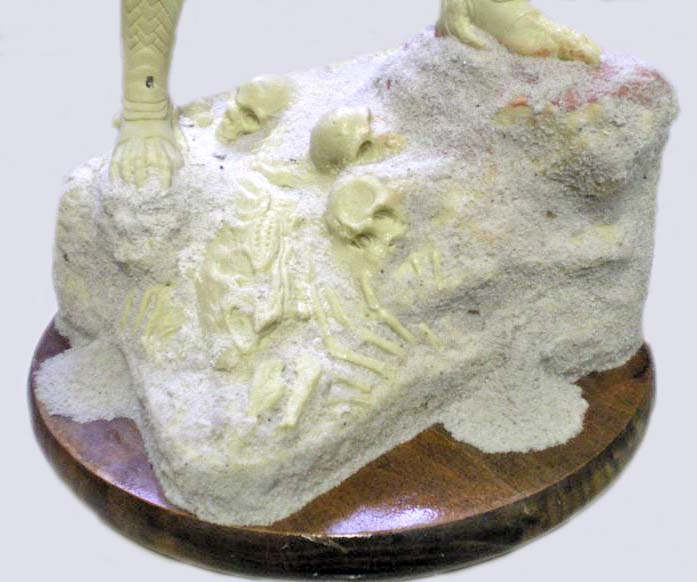
The base is made of a lightweight, hollow resin. Long metal rods inserted into the wooden base will hold the piece in place...
The assembly is adjusted, and the gaps under the feet are filled with air-drying modeling clay...
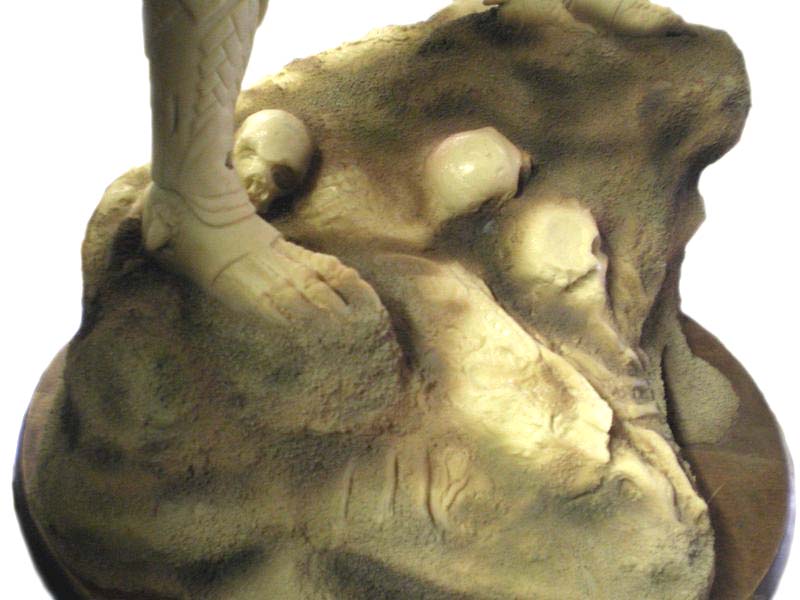
Since the ground is too smooth, we'll make it look more realistic by giving it a sandy texture...
Marble powder will be sprinkled onto wood glue diluted with water and applied with a brush to the base...
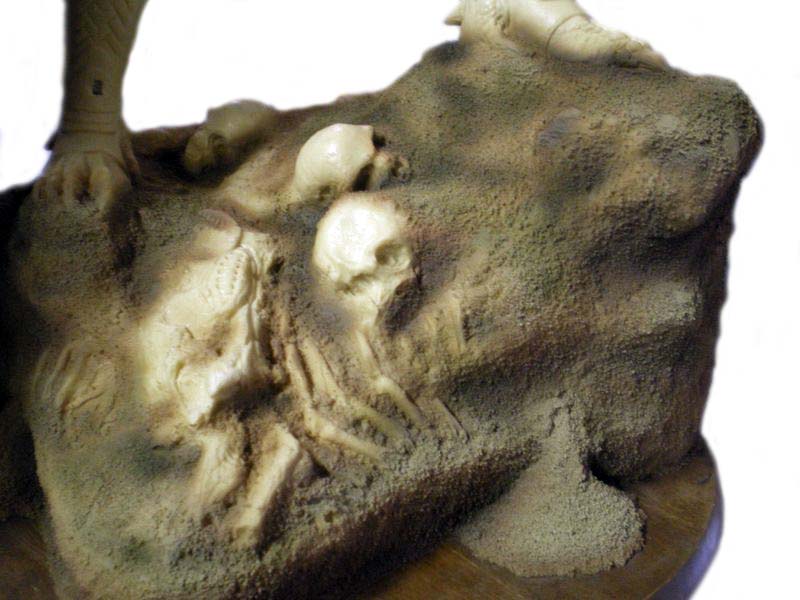
Painting/Base
Tamiya acrylics. Airbrush on white, then—depending on the desired color—use a brush or airbrush. The highlights are finished with oil paint... (Don't forget: oil over acrylic, but NEVER the other way around)...
A coat of medium-brown acrylic, darker in the recesses... Highlighting the raised areas with sandy yellow (buff), all done with an airbrush...
For beginners: Dilute the paint by at least 50%. In any case, if it’s any thicker, it will be difficult to spray with an airbrush. Be sure to filter it well before spraying... Then apply the shades—medium, dark, light—and don’t hesitate to go over the colors again... (Example: if the dark color stands out too much, go over it with the medium color... the light color... try a little green... as long as it’s subtle, don’t hesitate...)
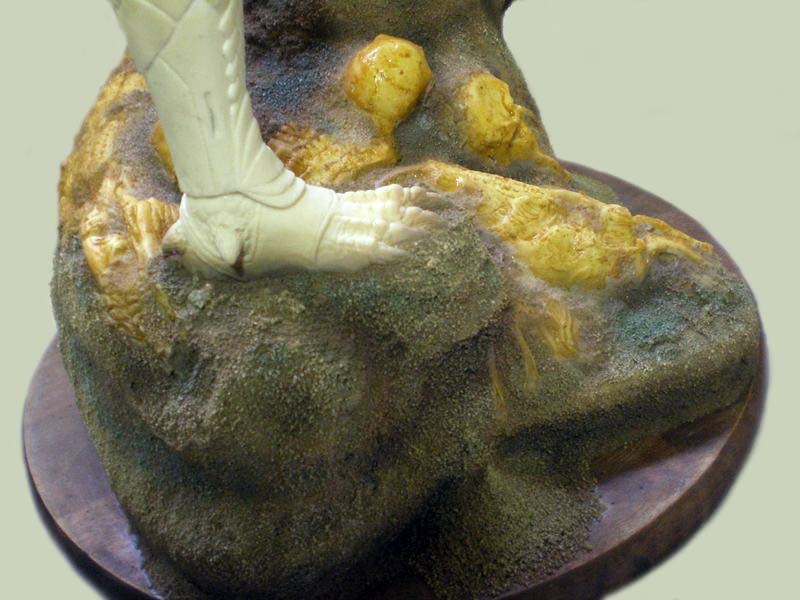
To even out the whole thing, we apply a layer of umber over the entire surface, which blends the colors together...
Then dry-brushing to bring out the grains of sand. The bones are painted with very diluted yellow acrylic paint...
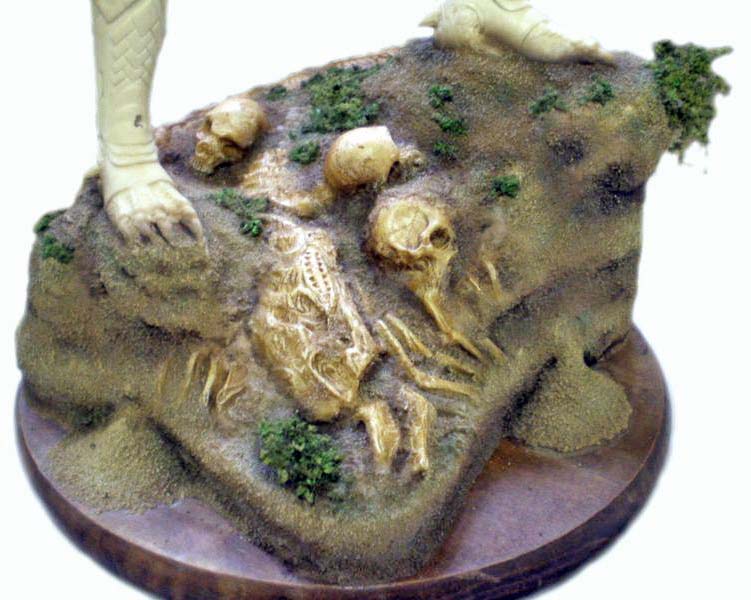 | 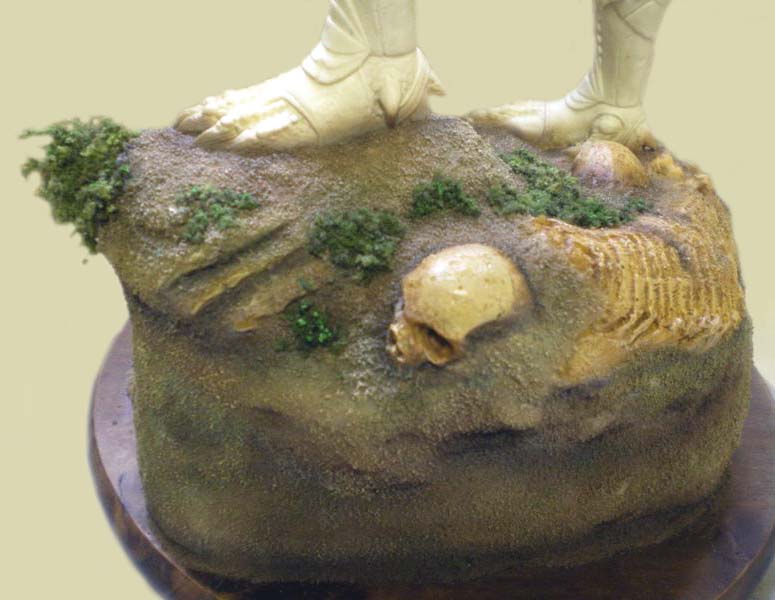 |
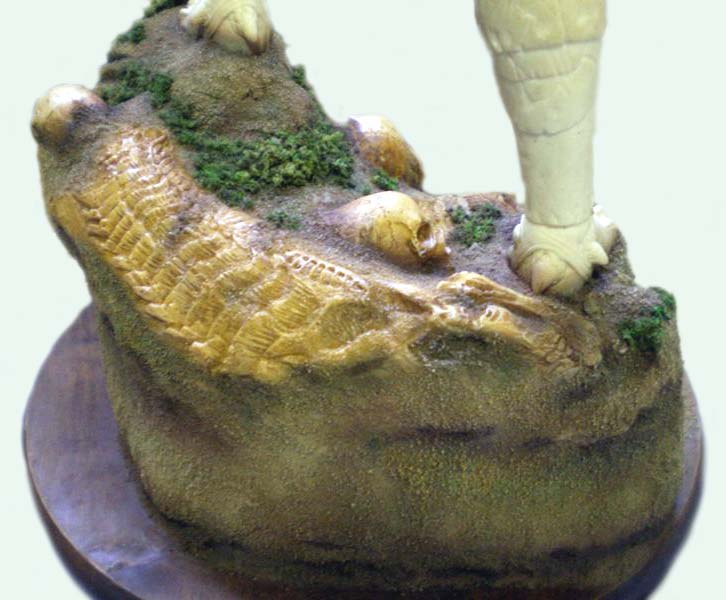 | 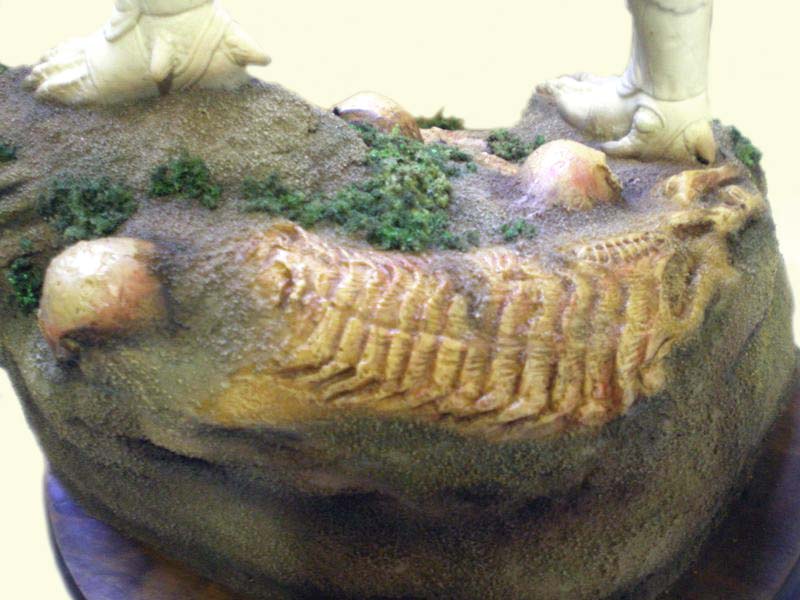 |
Les quatre photos ci-dessus:
We continue by adding a little foam secured with wood glue. The bones are repainted with oil paint. Shading with different shades and brushing with a nearly white color...
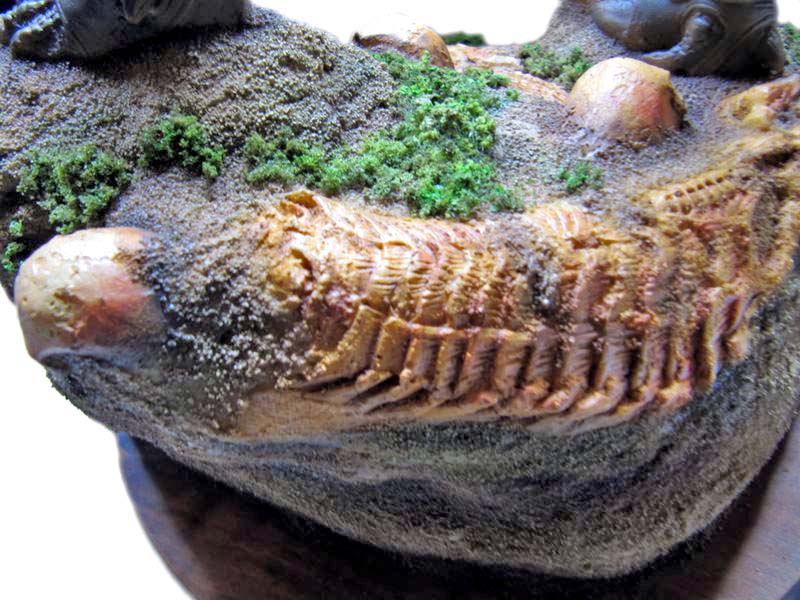 | 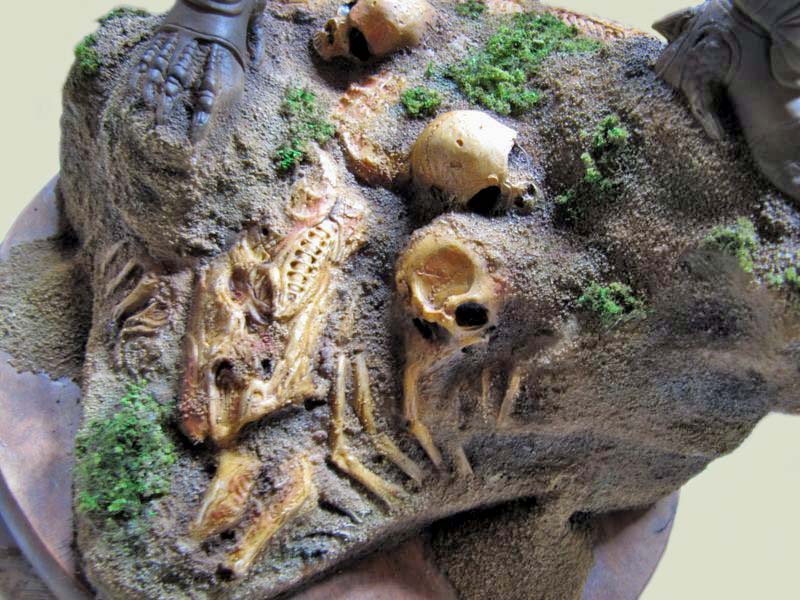 |
La base terminée, les orbites des crânes sont un peu accentués...
Alien/Queen Painting
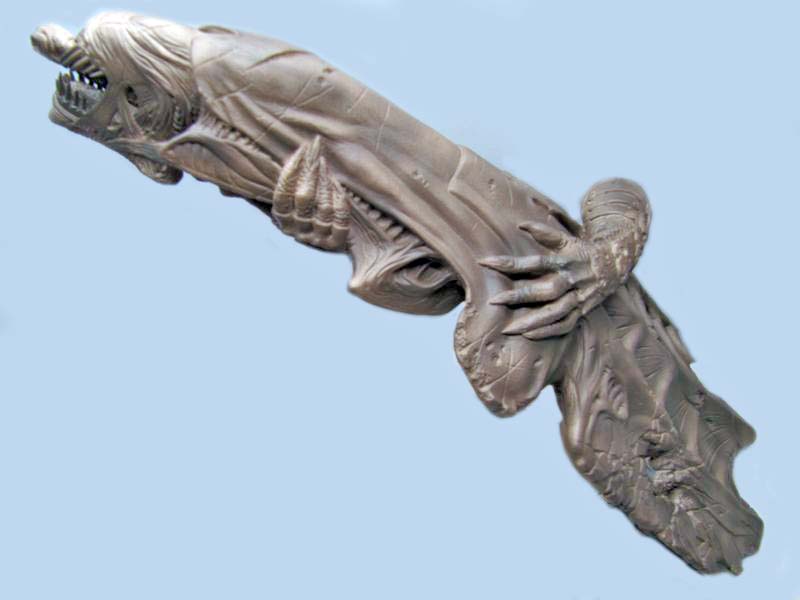
Base coat on the Alien Queen's head. As for the Predator, after a few touch-ups to fix imperfections (bubbles), it will also receive a coat of white paint...
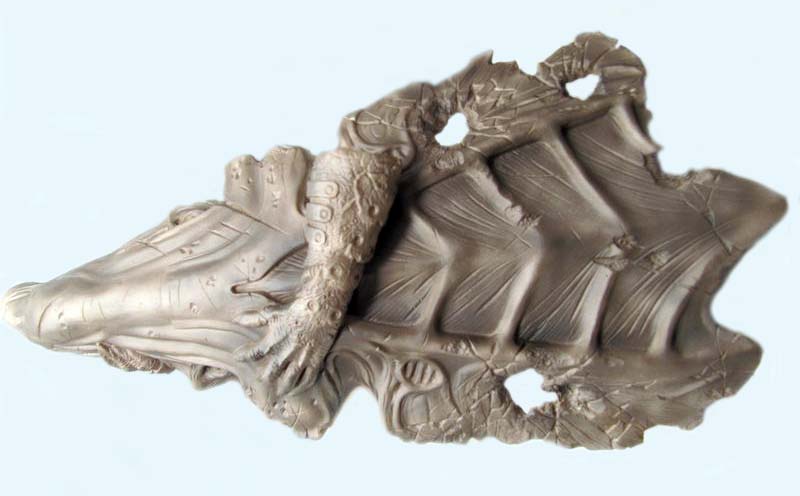
Preliminary shading and lighting on the Alien Queen's head after several tests...
Pre-shadowing and lighting on the Alien Queen's head after several tests...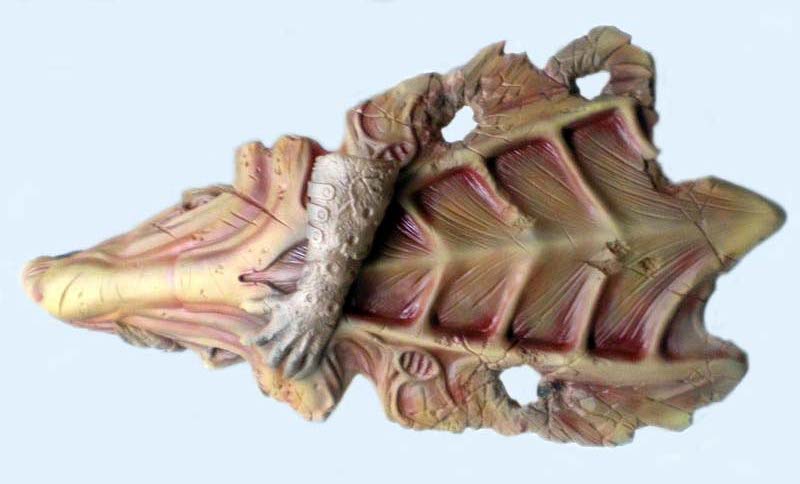
The red-based test was inconclusive. It will disappear along with the oils...
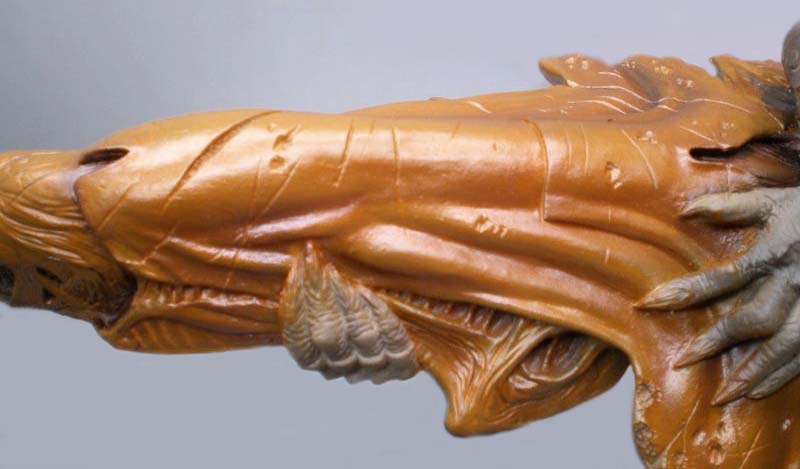
After applying an orange-colored coat over the entire piece, it took four hours to arrange the oils on top...
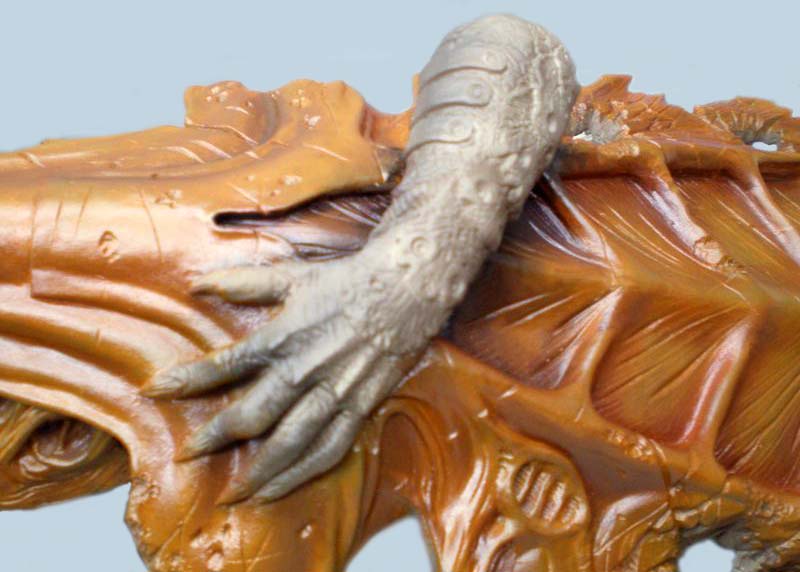
A view of the pre-shading...
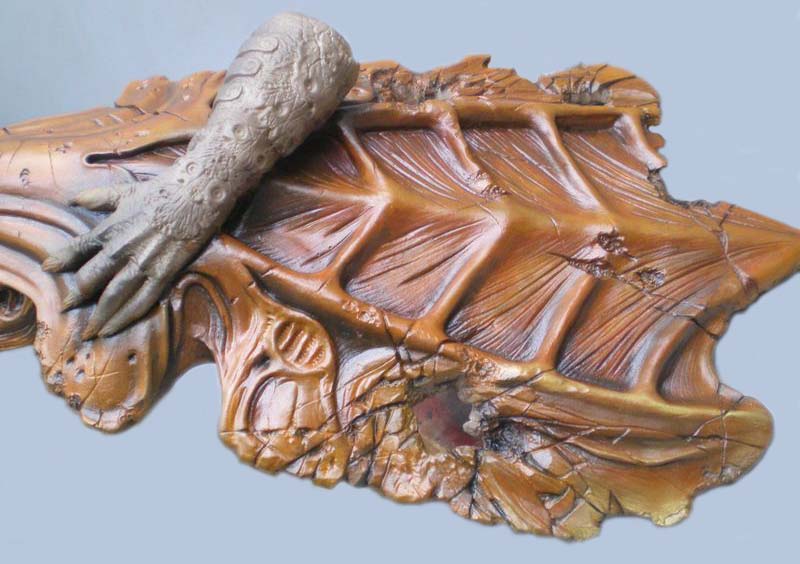 | 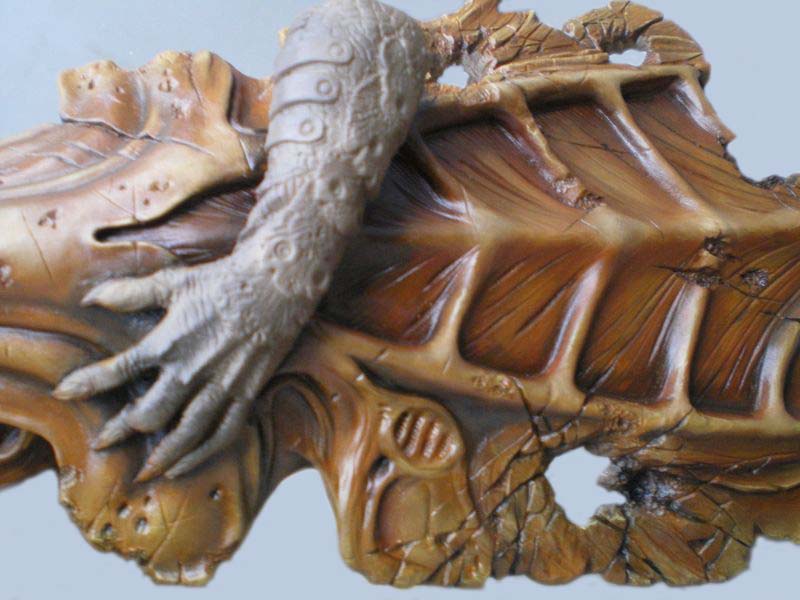 |
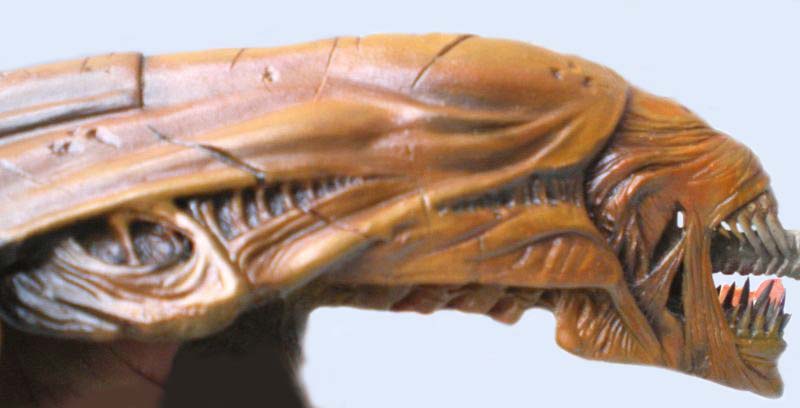
Photos above:
We continue with cool tones, after having thoroughly "blended" the paint, using a dark shade—Umber + Burnt Umber + black. Apply this to the most pronounced recesses. For the others, use browns that are more orange-toned, or even red...
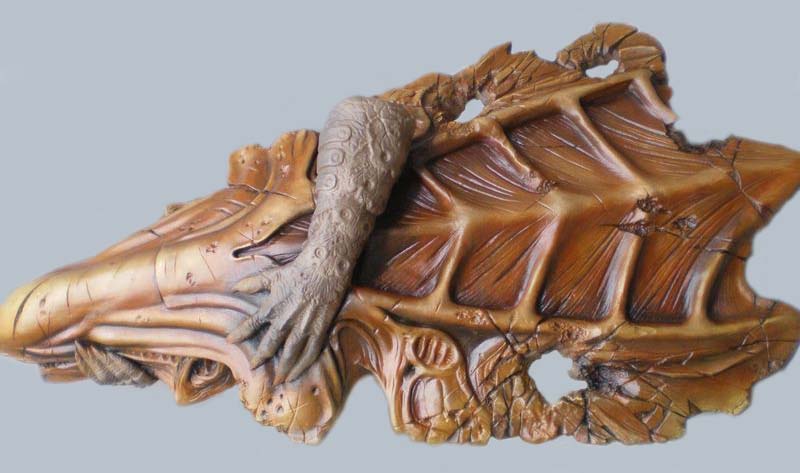 | 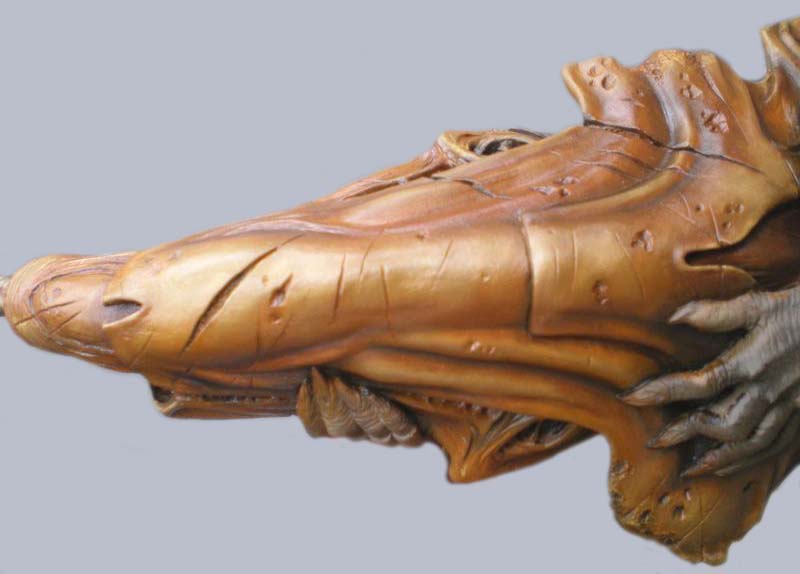 |
On brosse les grandes surfaces, pinceau fin pour les petites. Une part de jaune + blanc va servir pour éclairer certaines parties...
Let it dry. Then go over certain parts again, and start over on the underside of the head...
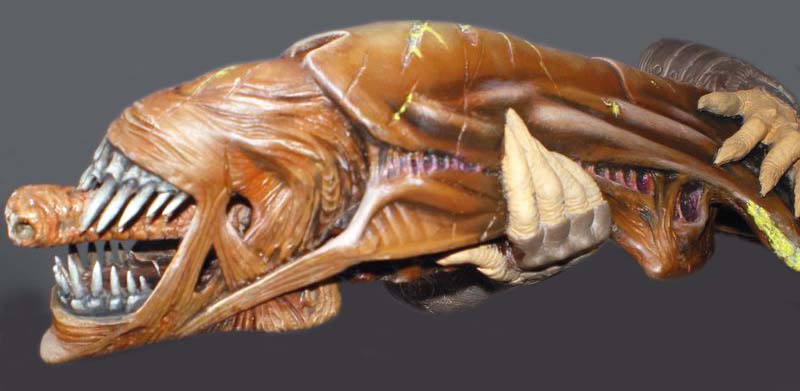
After two days of drying...
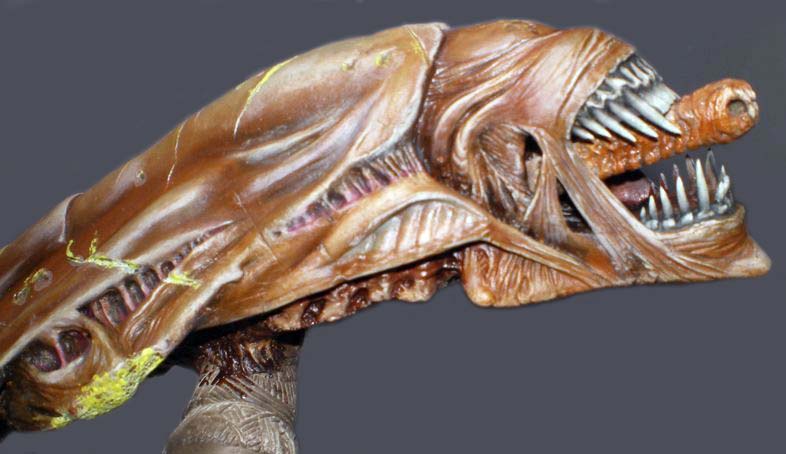
Add all the details with a brush, then apply lighting effects... (The best way to see where the light falls is to place the subject under a lit lamp)...
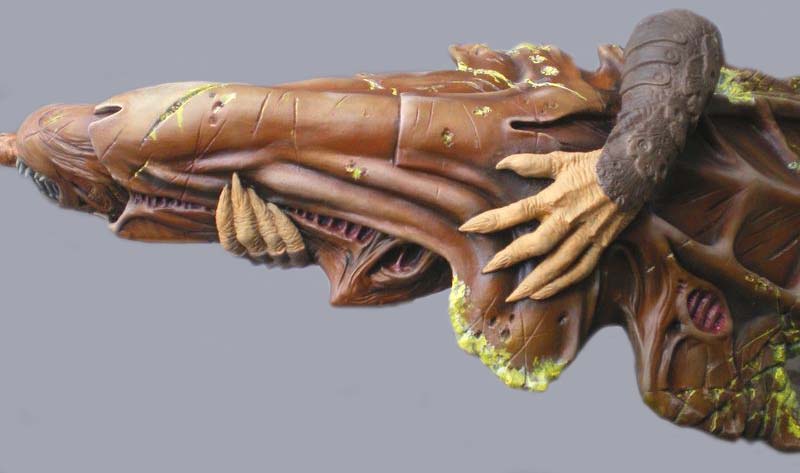 | 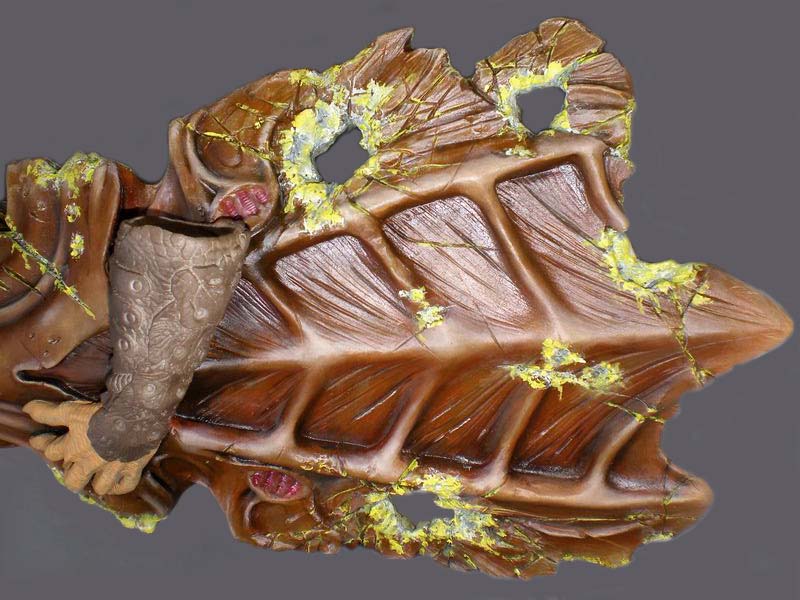 |
Peinture des éclaboussures de sang acide (en jaune)...
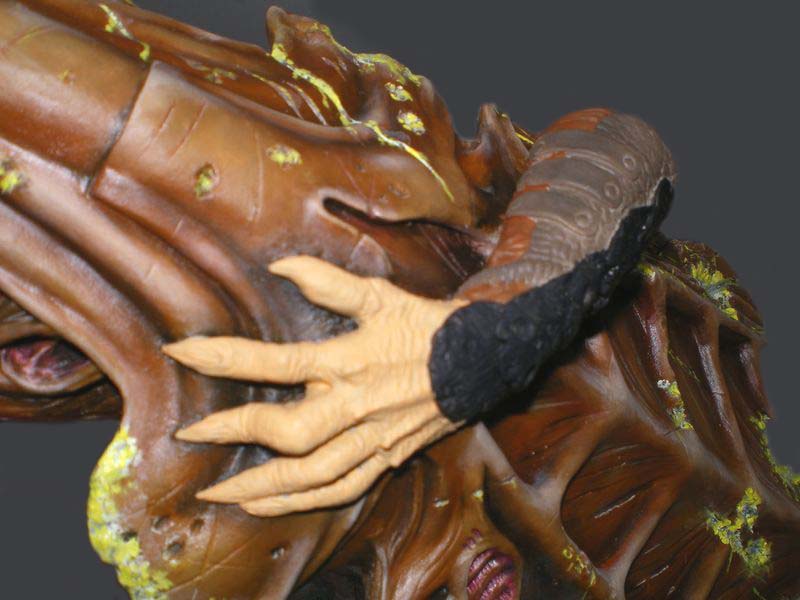
Acrylic paint for hands, leather parts, and metal parts. The paint used with a brush is Citadel acrylic...
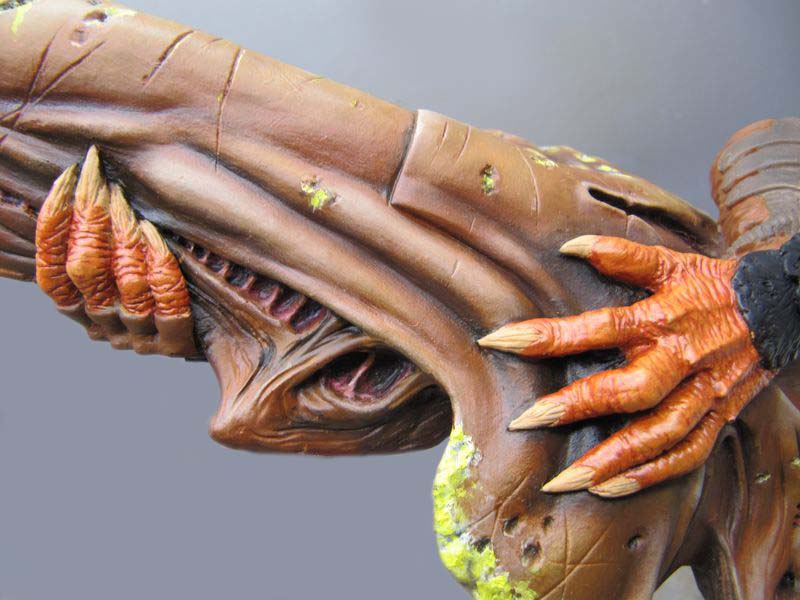 | 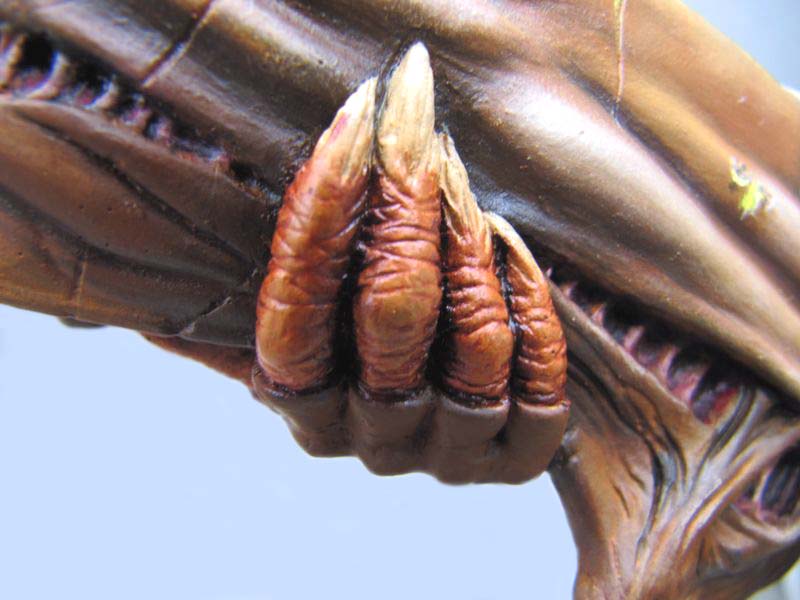 |
On commence par les mains : une couche d'huile - différents orange - bien "tirés"...
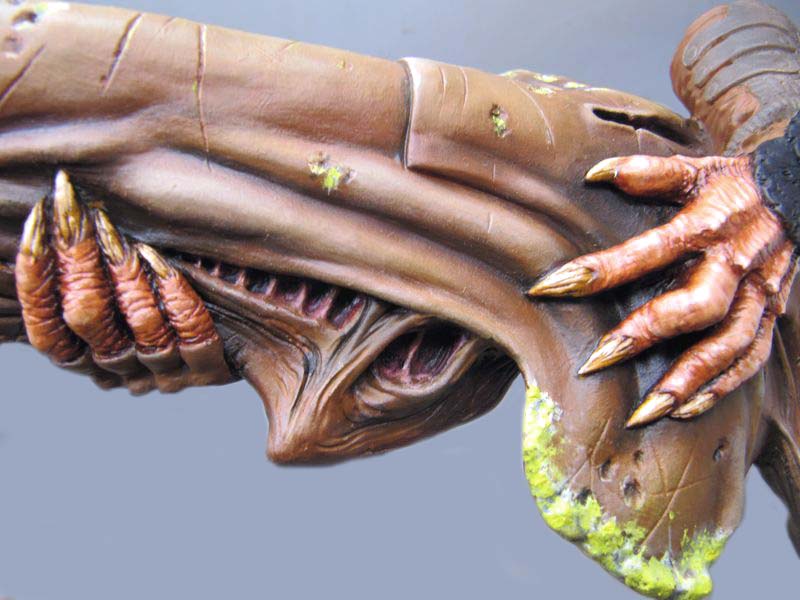
Render the shadows between and around the fingers using Burnt Umber...
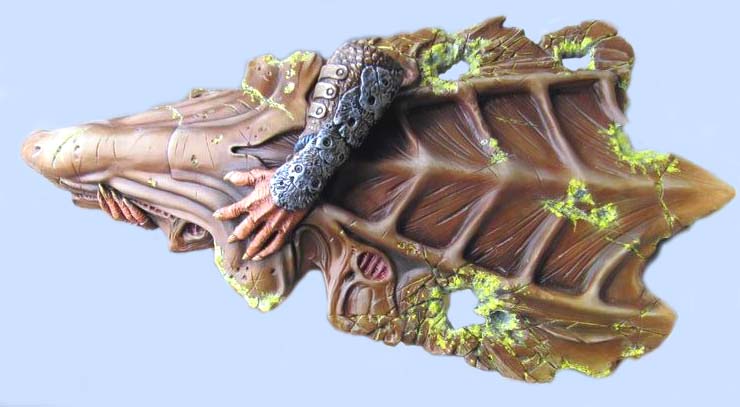
We'll finish up by adding more light. Looking at the finished piece, the marks on the hands are still missing...
Predator Paint
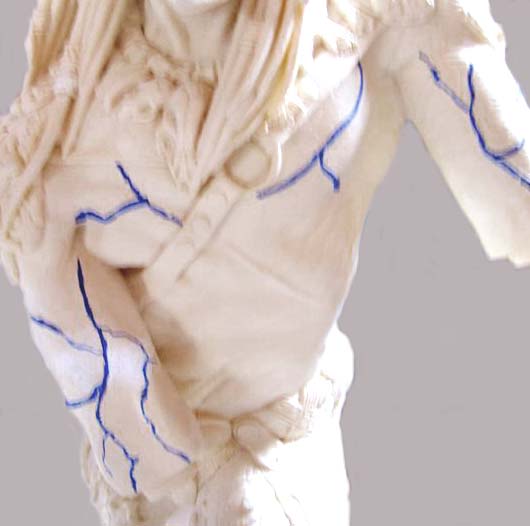
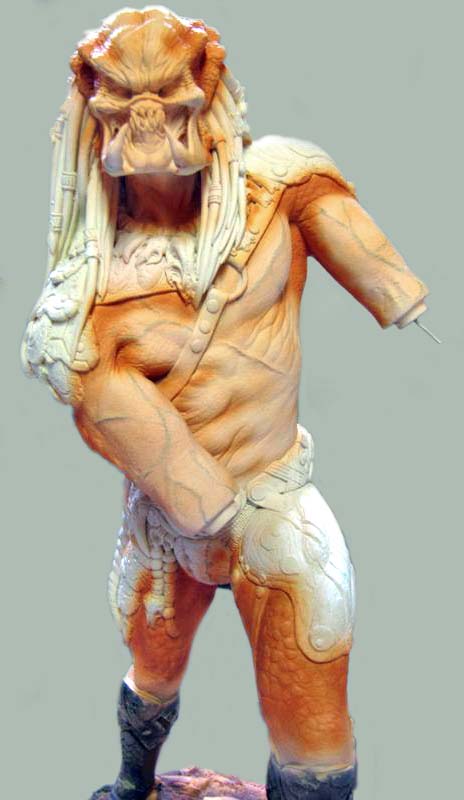
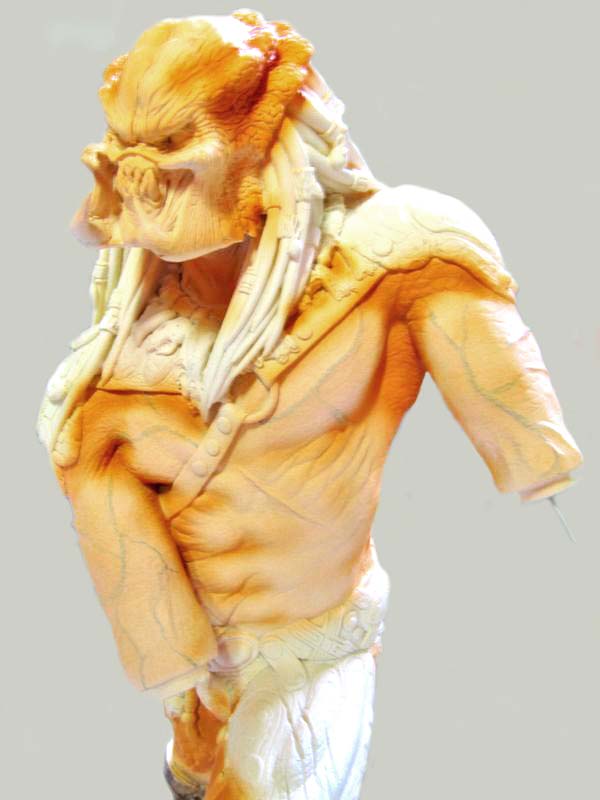
Body painting...
Blue veins are drawn on the body—you can also add red ones...
 |  |
Ci-dessus :
Spray a slightly pinkish color over the entire piece, then lightly apply a distinctly orange hue to the areas that will be speckled...
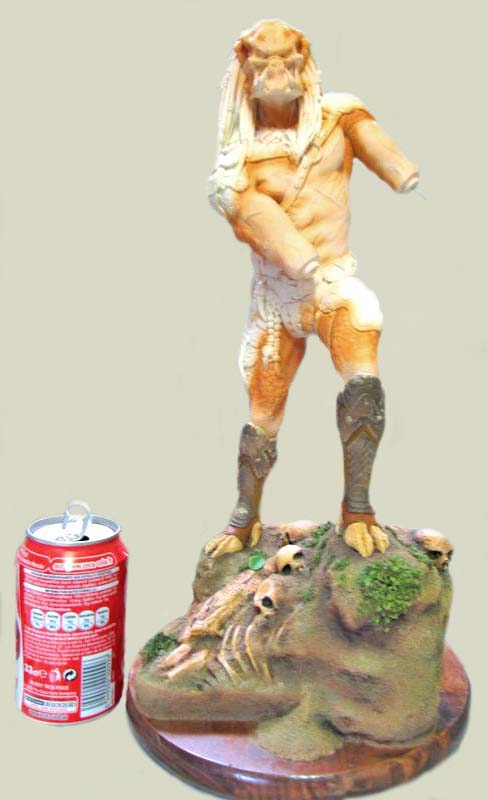
The can gives you an idea of the model's scale...
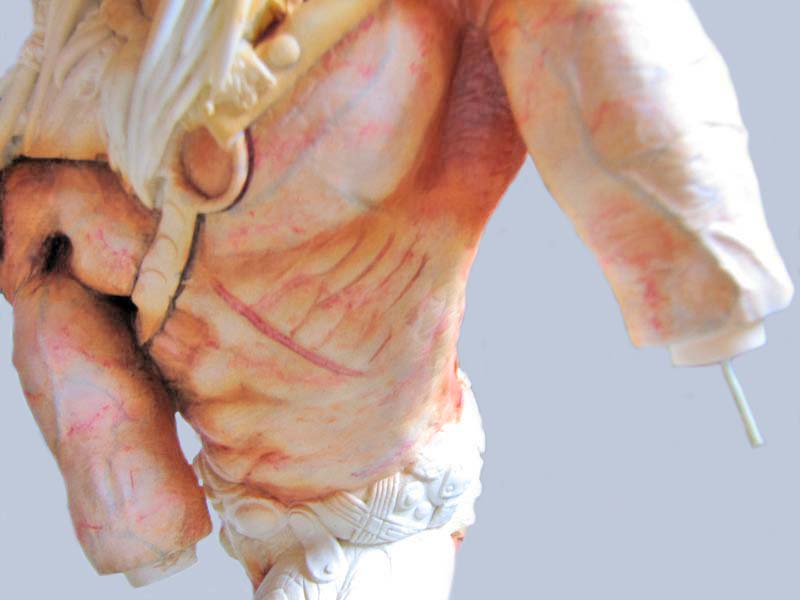
Add small veins and skin blemishes to the oil painting. Finish with a very, very diluted oil wash over the entire piece...
Here, we use a different technique than with the Alien Queen's head. Only the orange patches are covered in the same shade, with darker tones in the recesses...
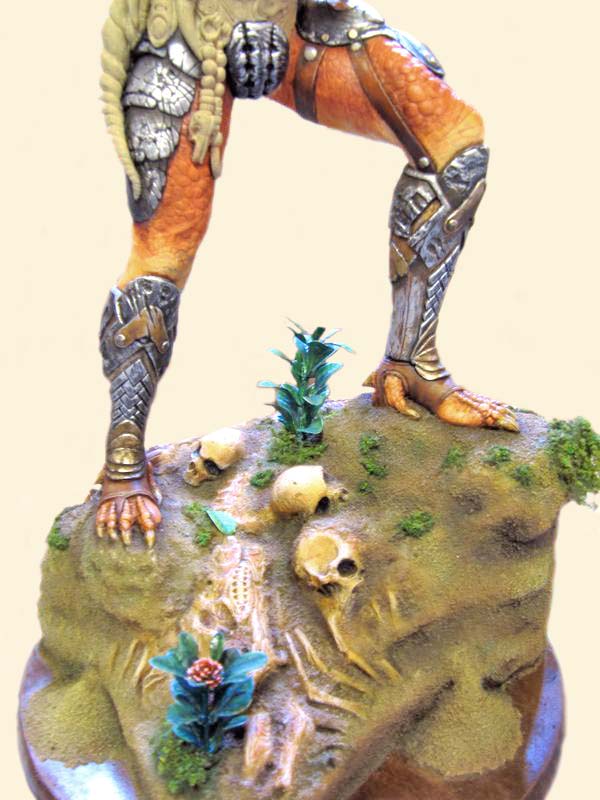 | 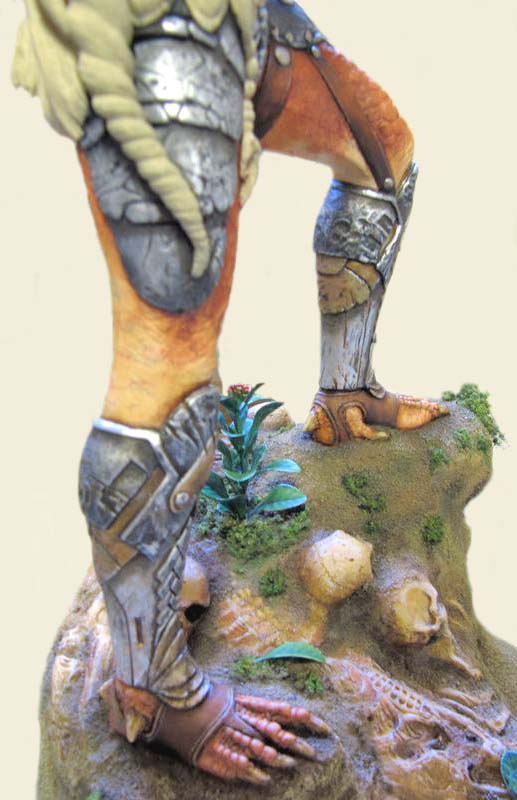 |
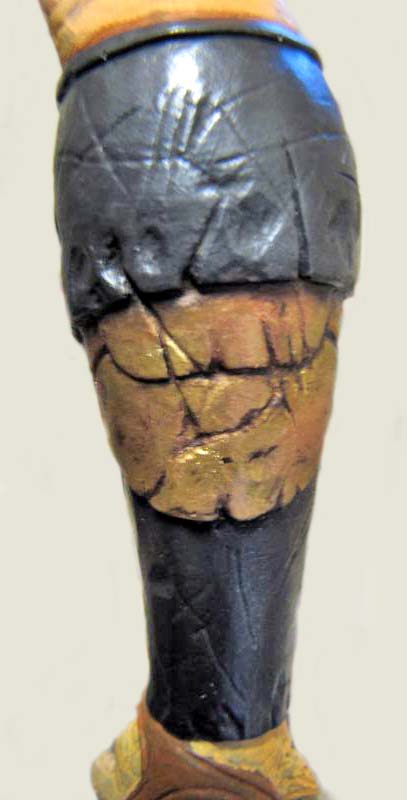
Lustrage du Gun Metal puis brossage à l'argent. Tous les détails sont repris avec de la couleur Ombre ainsi que les parties or...
 | 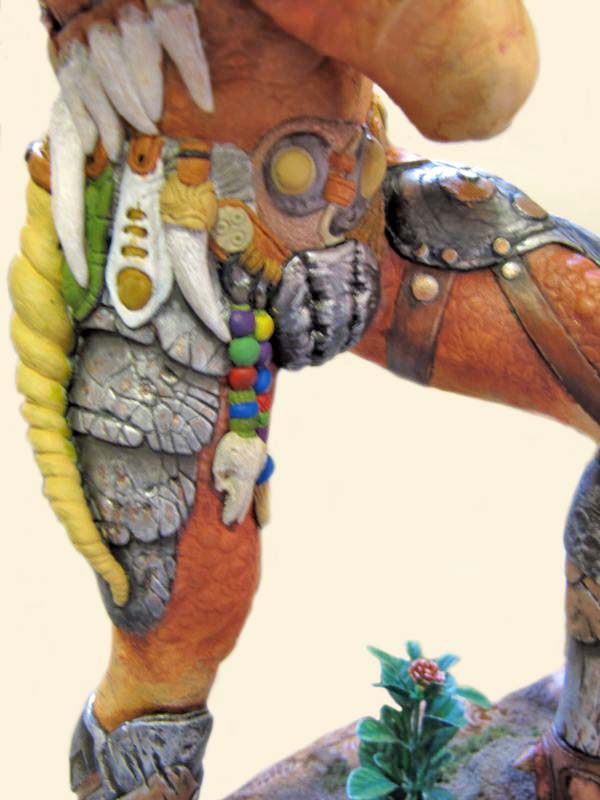 |
Méthode différente pour les cuisses: peinture argent, détails: noirs & marrons...
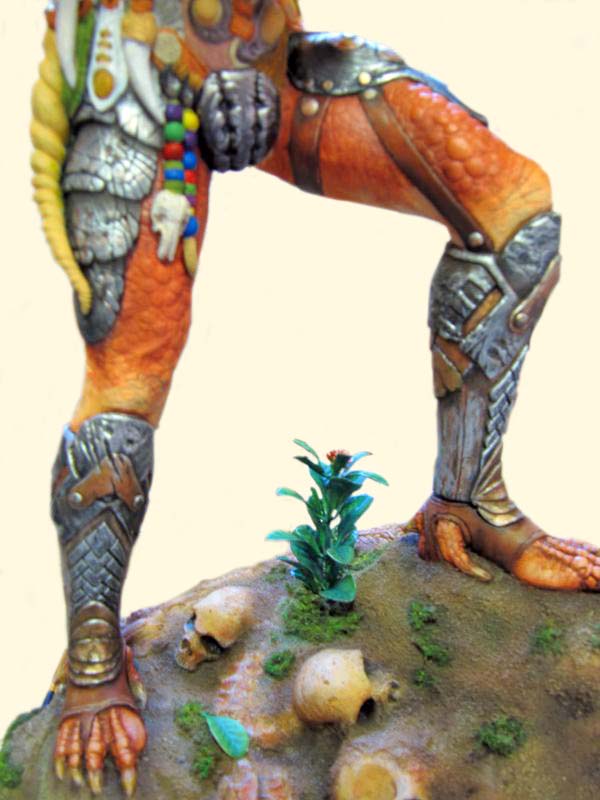
The leather feet, sandals, and straps are finished (the black spots are still missing). Repainted aquarium plants complete the floor scenery...
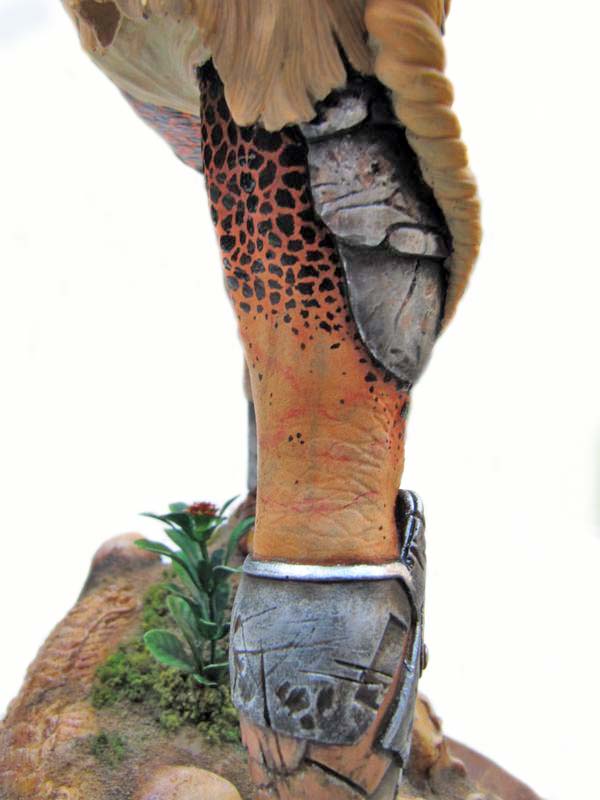 | 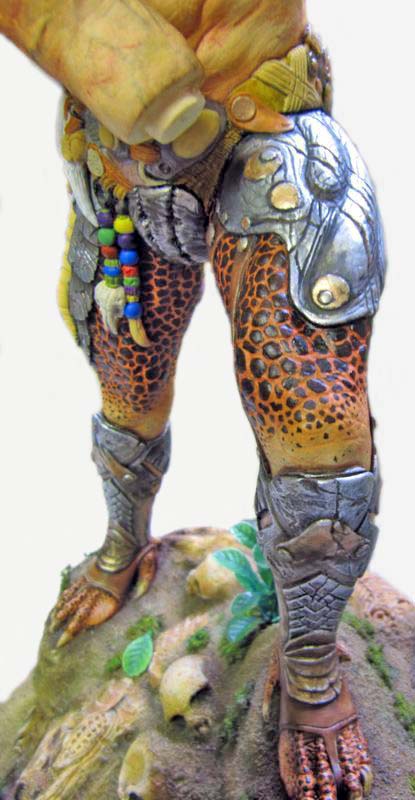 |
QUATRE heures pour effectuer les tâches ! Mais le résultat est là !
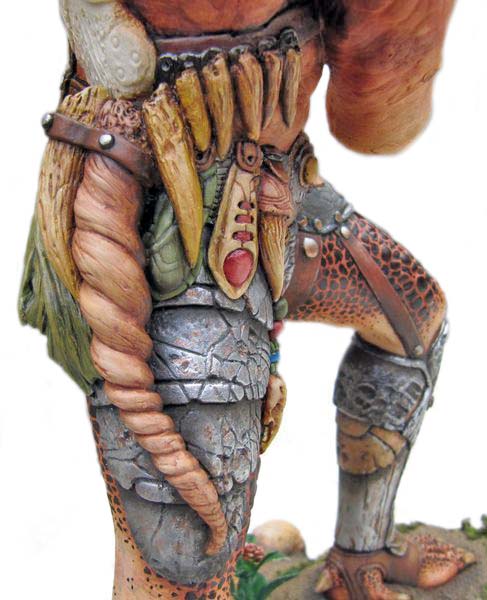 | 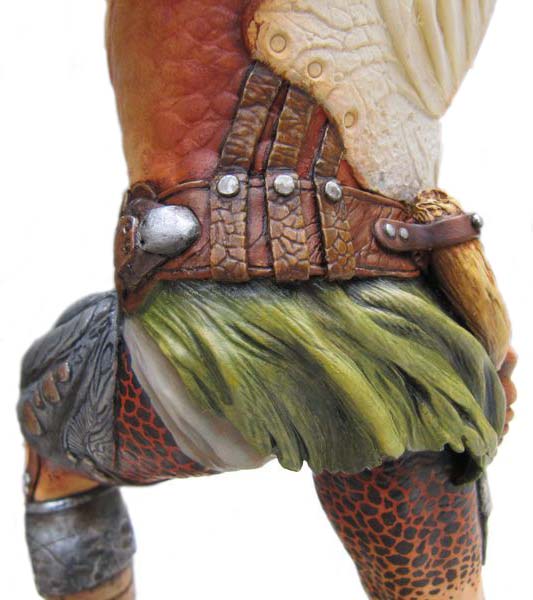 |
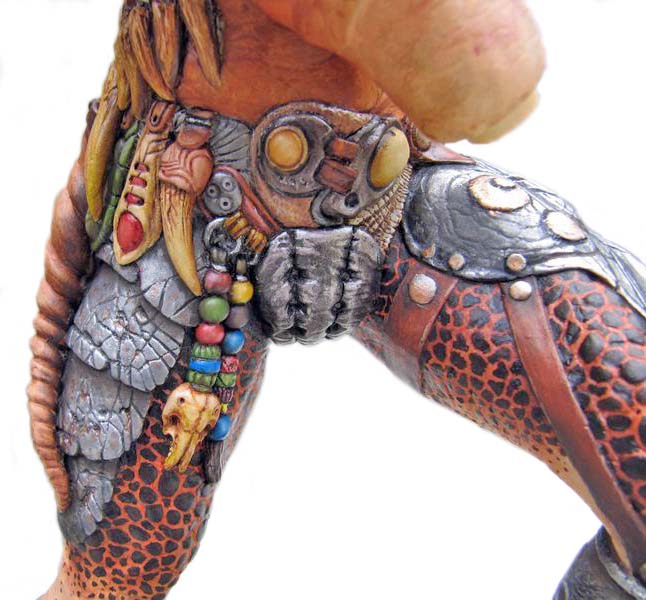
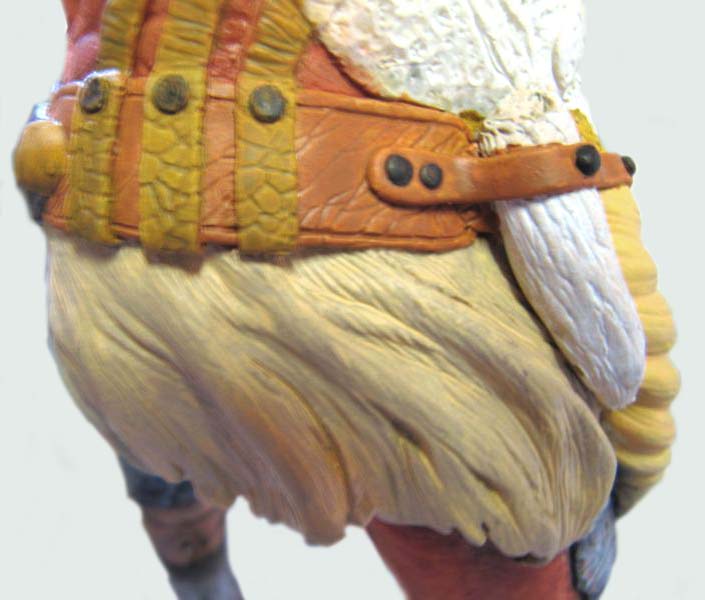
Above: The belt. After applying the acrylic colors, I worked on the details, shading, and highlights using oil paints. I spent a lot of time working on various effects, particularly the horns and the leather...
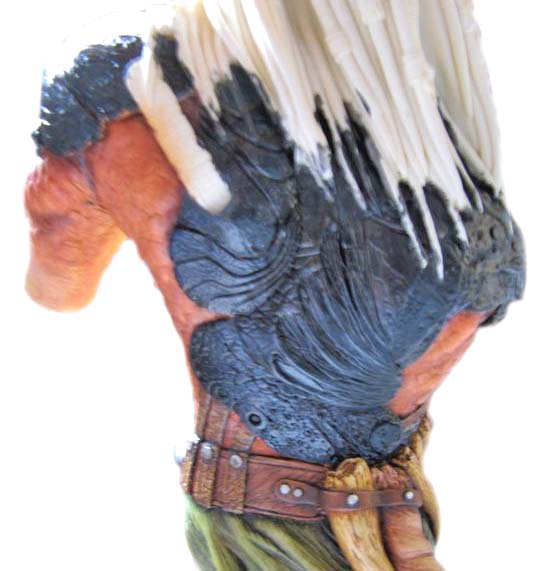
We're continuing to paint the metal parts. Here, I'm applying a coat of Tamiya gloss black acrylic primer. Then I'm masking off the skin and the parts that have already been painted before spraying on ACLAD metallic paint...
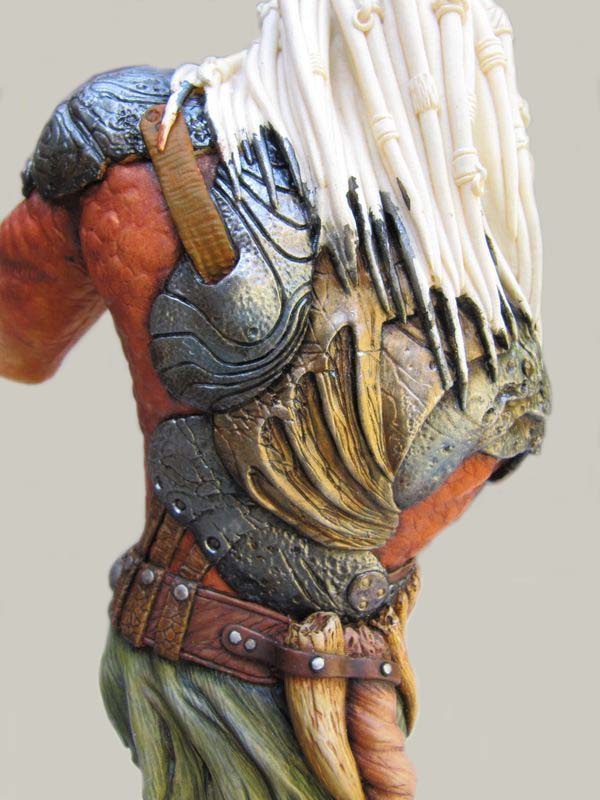
The result is superb; the Aclad paint, which is applied exclusively with an airbrush, gives a beautiful metallic finish...
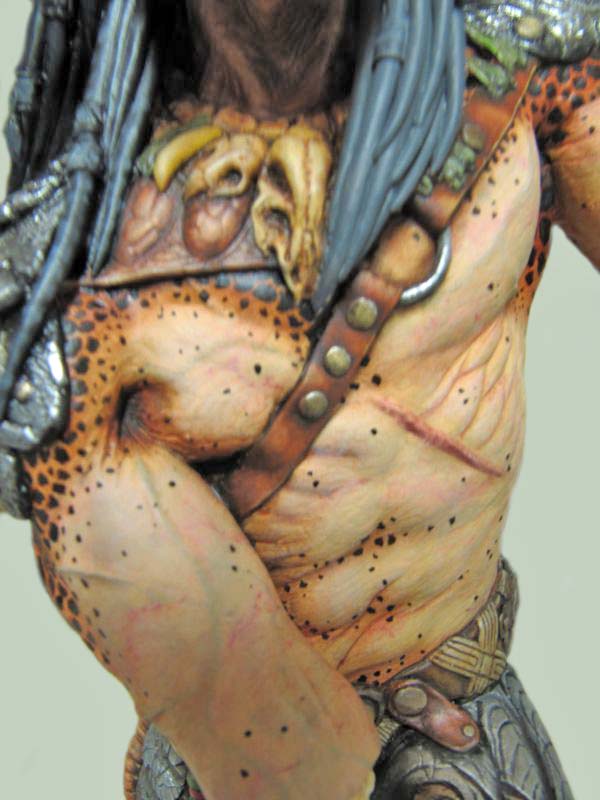
Last few tasks... and the last bits of leather and bone... phew!
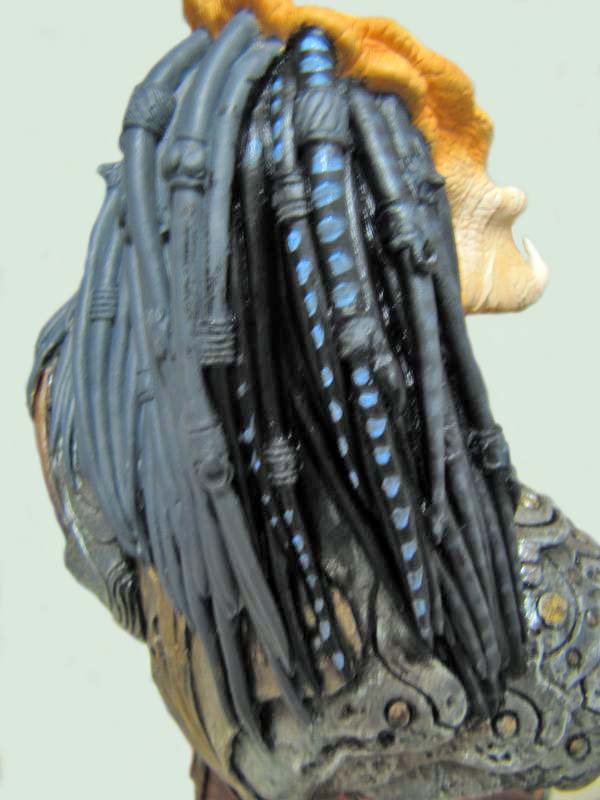
Dreadlocks
On the left, the base color, medium gray acrylic...
In the center, black oil paint has been applied with light blue stripes...
On the right, the final result, once the streaks have blended in...
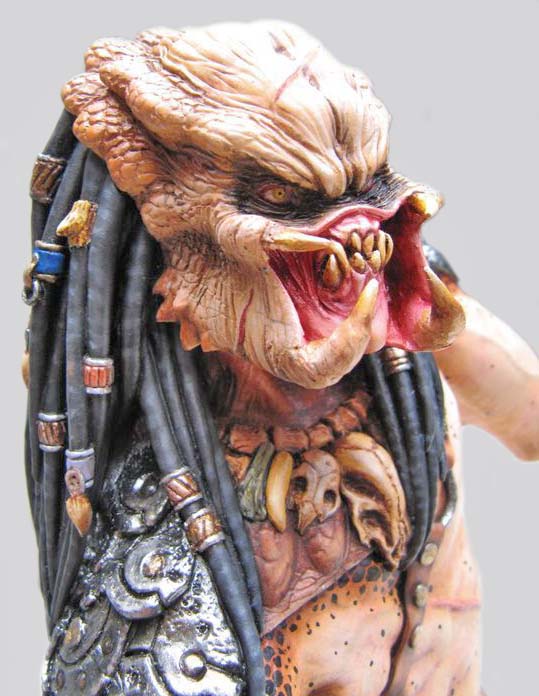 | 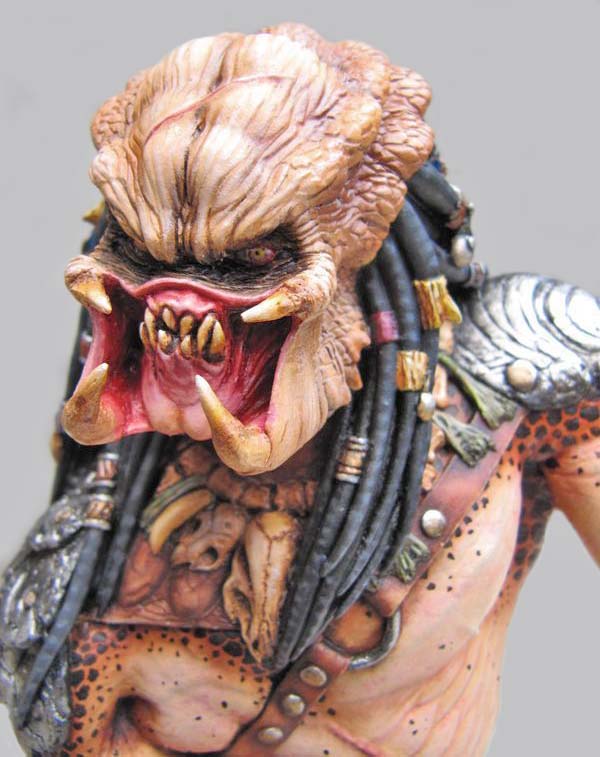 |
La tête dont il manque encore les tâches et le vernis...
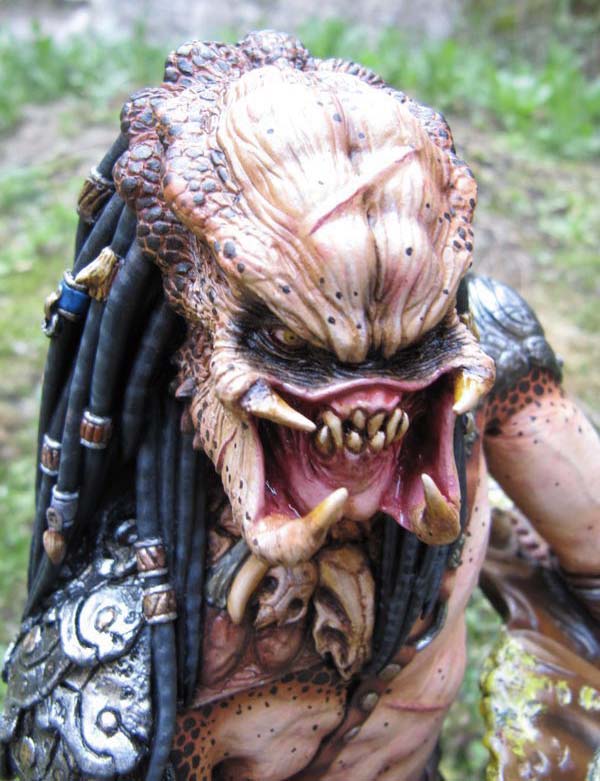 | 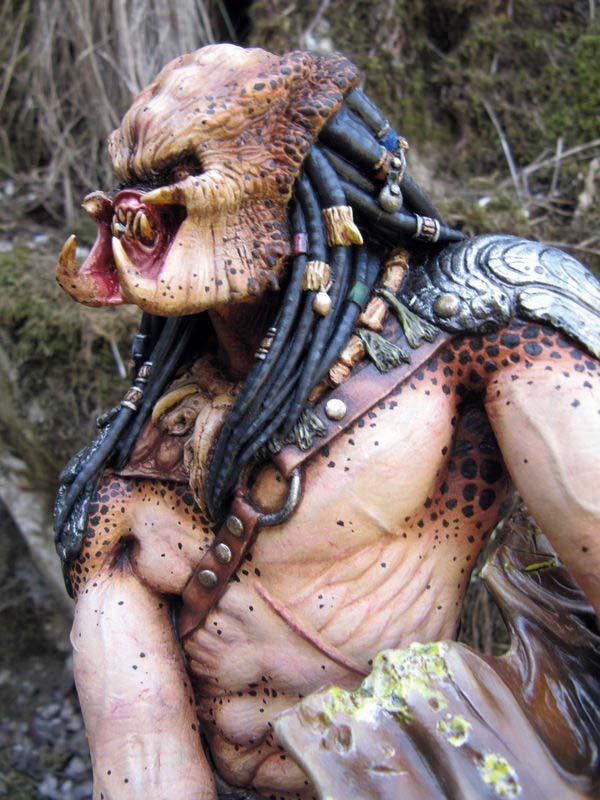 |
Résultat final...