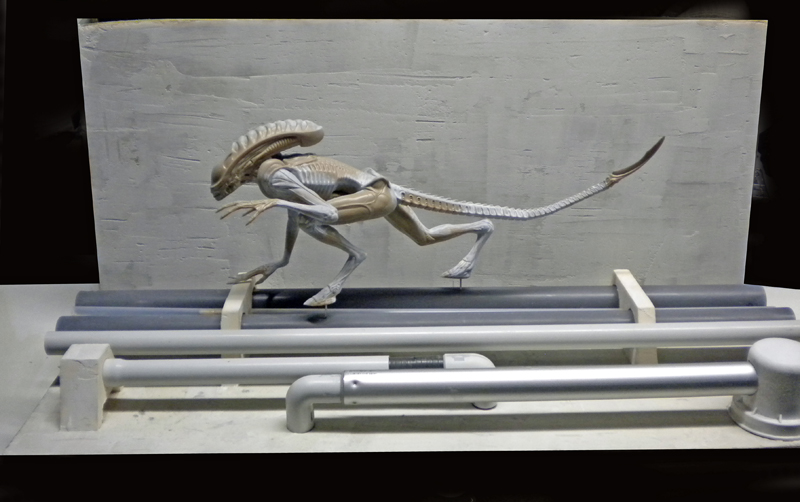
Alien 3 - 1/9 scale

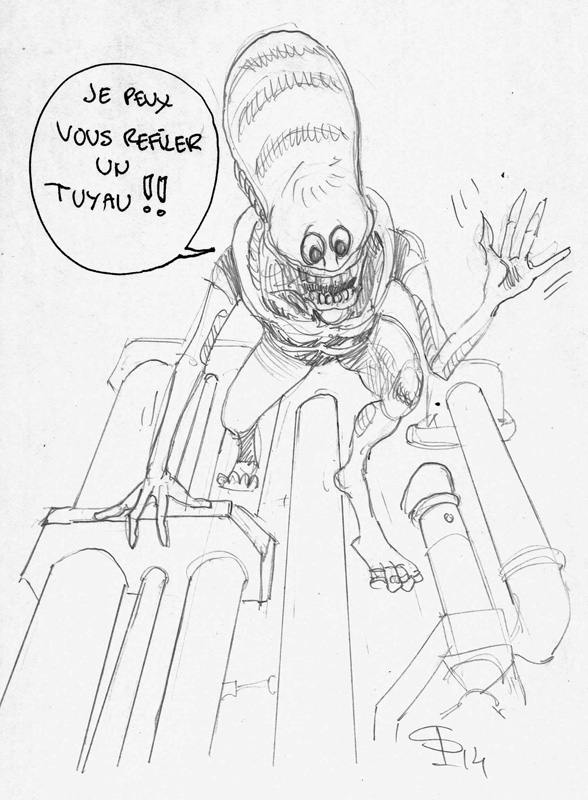
A white prototype of the Alien 3 xenomorph crouching among rusty pipes in a foundry settingHumorous cartoon of a smiling alien hanging from some pipes, with a speech bubble that reads, “I can give you a tip.”

I can give you a tip!

The goal of this tutorial is to recreate a sewer tunnel on the planet Fiorina Fury 161 from the movie "Alien 3" to showcase the 1/9-scale figure.

 At the same time, we’ll show you how to easily create rust effects (using a brush and a sponge, with oil paint), so without having to buy various expensive products (which are usually sold in small quantities and end up driving up the overall cost of the kit) to recreate the effect of rust, grease, or any other aging effect...
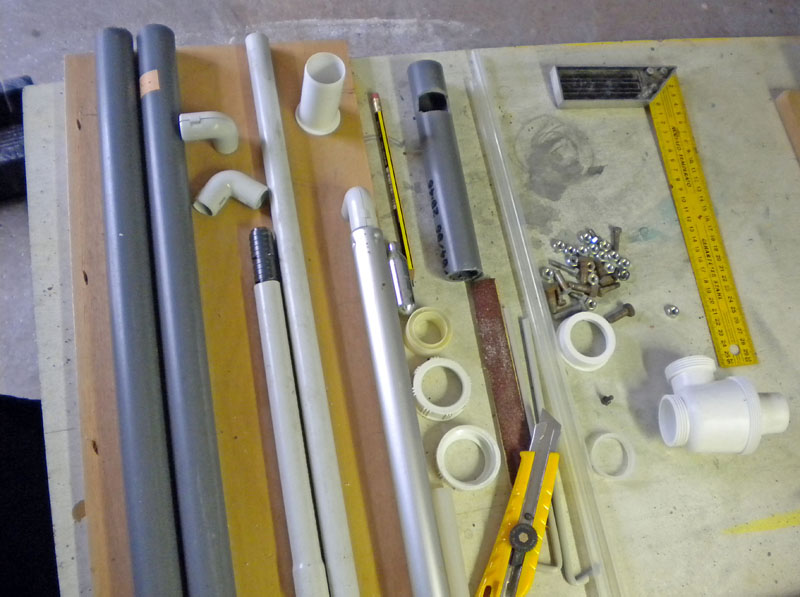
PVC pipes, fittings, screws, and cutting tools arranged on a model-making workbench


The Setting

Recycled materials will serve as the foundation for the construction. PVC pipes, elbows, a drain plug, electrical conduit, bolts, plywood for the base...
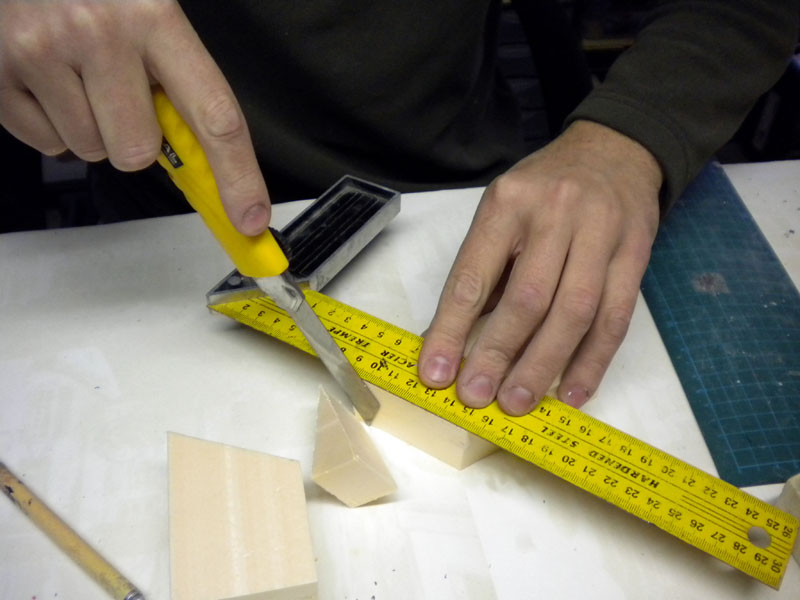
Cutting a piece of foam with a utility knife along a graduated metal ruler

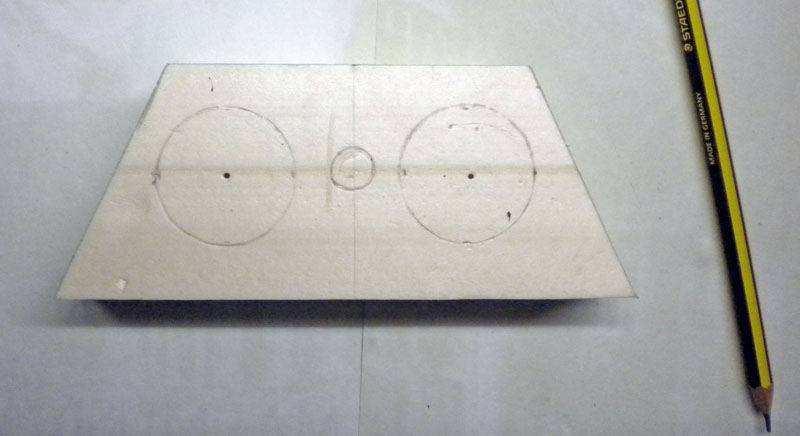
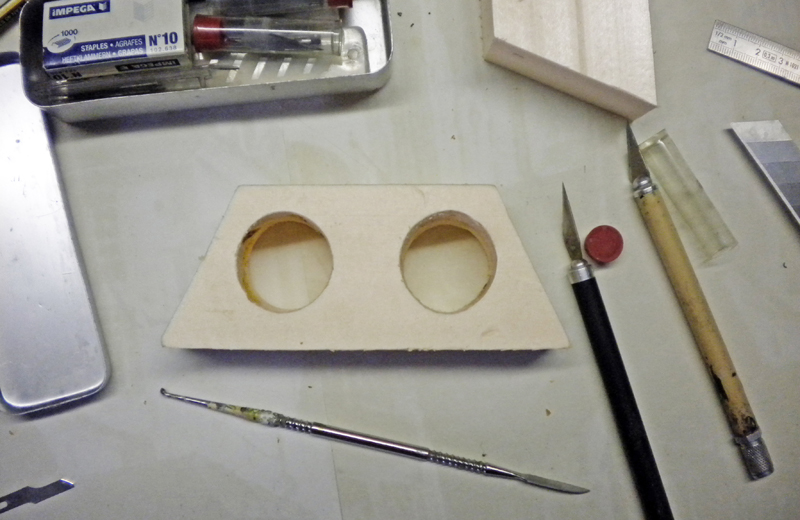
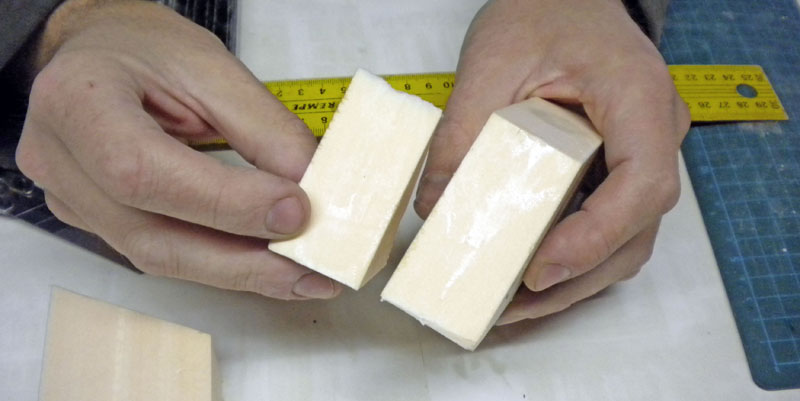
Hands holding two cut-out foam blocks on a work surface with a metal rulerA sheet of rigid foam with circles drawn in pencil next to a Staedtler pencilA wooden board with two circular holes drilled in it using model-making tools on the workbenchThe four photos above: Made of extruded polystyrene (see tutorial) We make the supports for certain pipes. Using a utility knife blade dusted with talcum powder or greased, we make a clean, precise cut through the material...

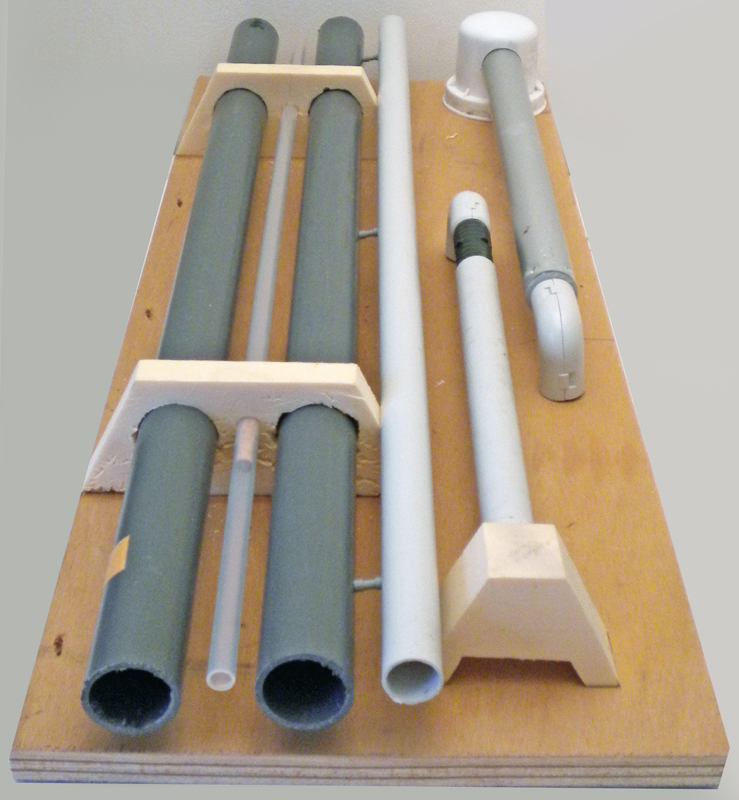
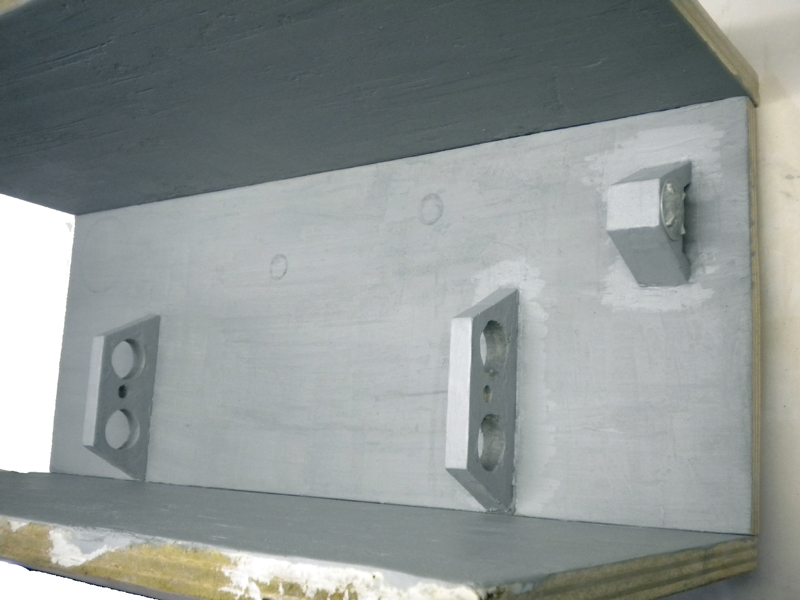
Gray and white PVC pipes held in place by wooden brackets on a mounting boardA view of the completed base, which will actually serve as the ceiling of the sewer...

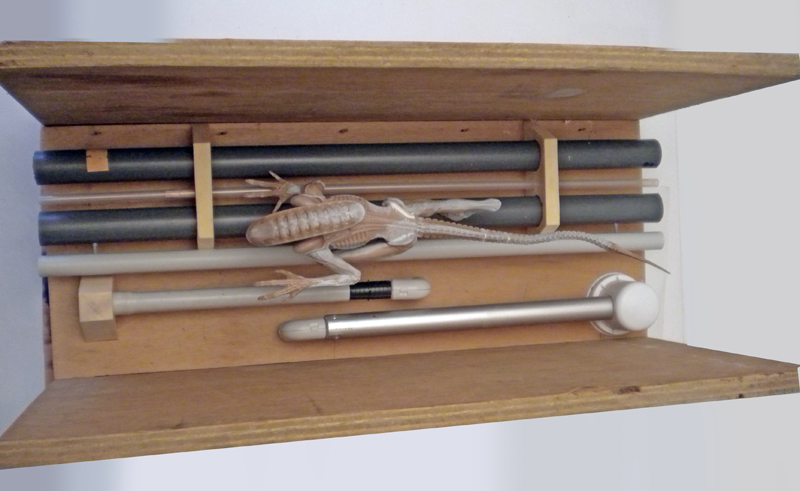
A quadrupedal xenomorph figurine currently being painted, placed in a wooden crate with tubes

... The figurine gives you an idea of the scale...
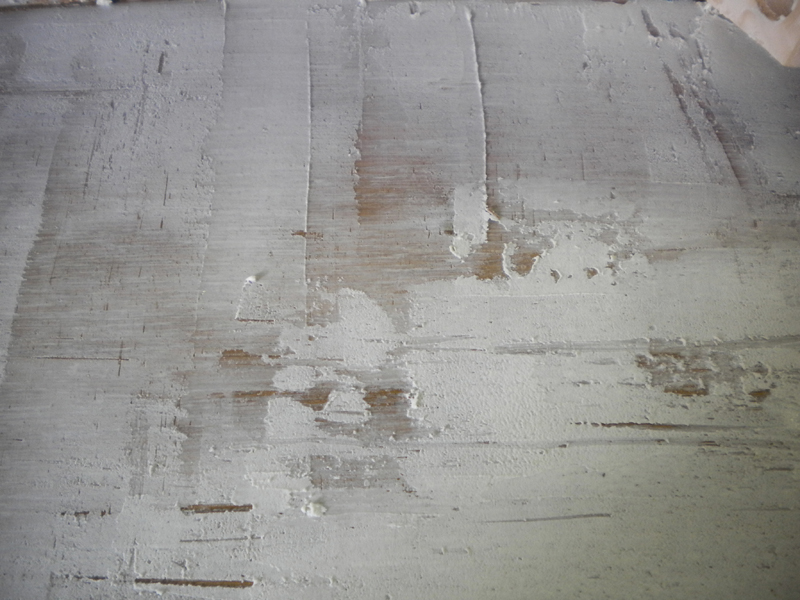
Model surface coated with gray putty, which was applied and sanded to create texture on a wall

 Texturing the base with fine spackling compound...
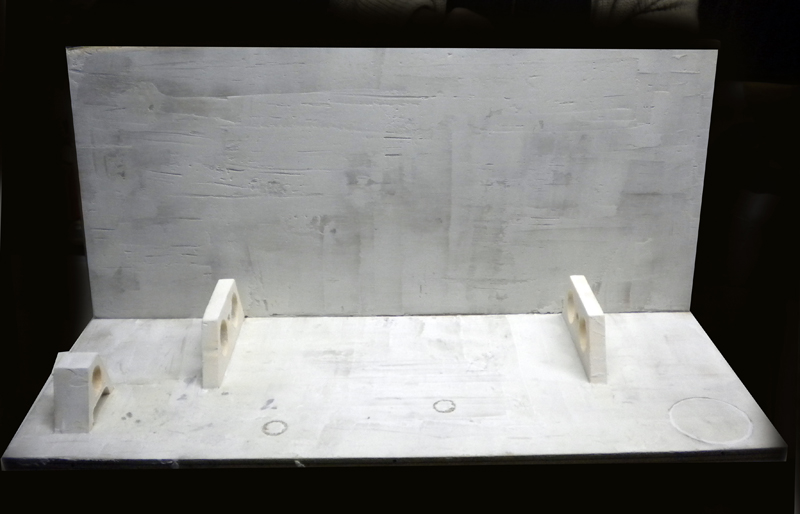
White set model under construction, featuring a wall partition and foam supports mounted on a base

Scale model of the quadrupedal xenomorph from *Alien 3* in a running pose against a gray industrial backdrop

... The goal is not to achieve a smooth, clean surface, but rather a fairly uneven one (poured concrete).

Painting/Decor
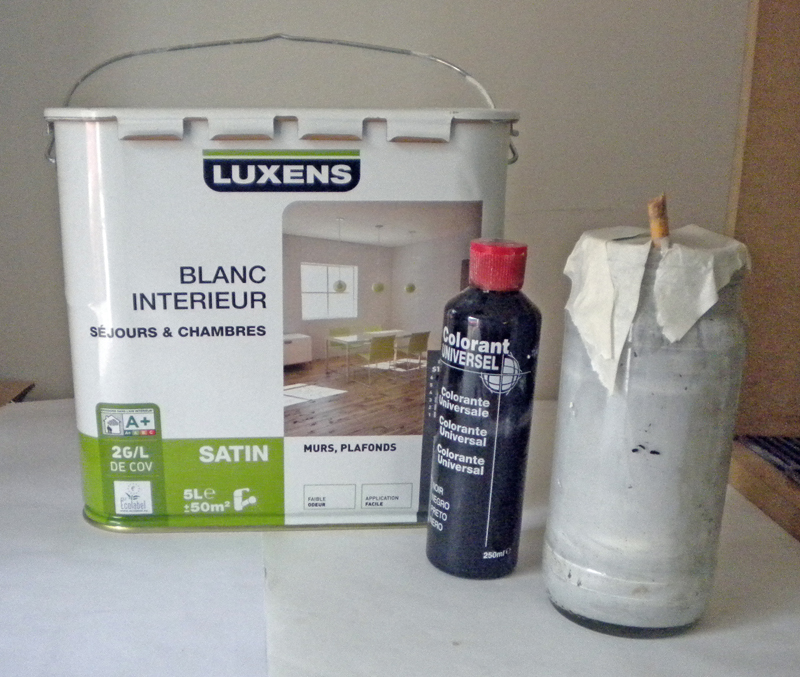
 A jar of Luxens white paint, a bottle of universal black dye, and a container with paint splatters for mixing a custom shade

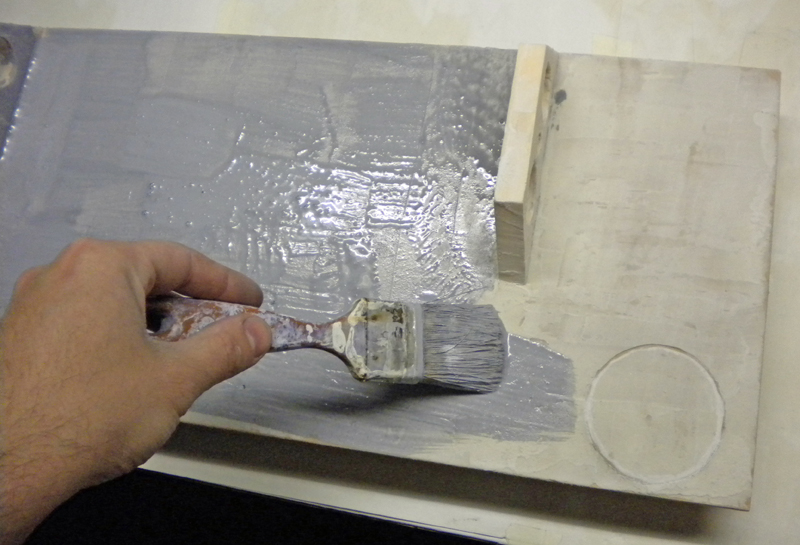
Applying gray paint with a brush to a plaster model set piece

Painting the walls concrete gray...
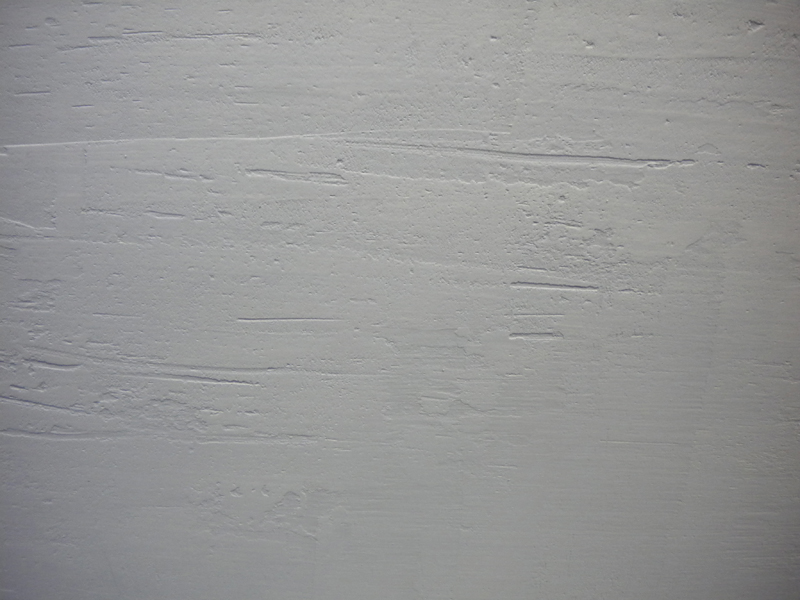
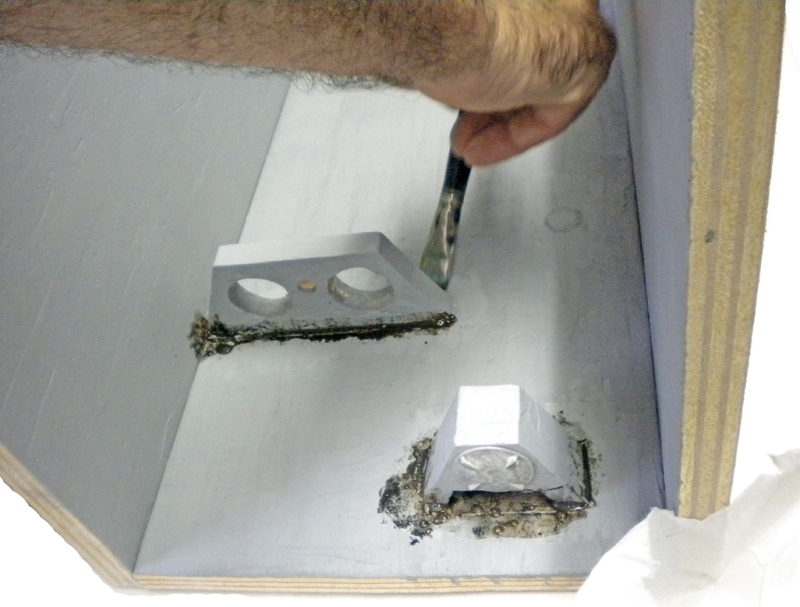
Gray scale model of the "Alien 3" set under construction, featuring embossed wall details with a primer coat

Model surface covered with textured white primer, showing application marks(Avoid drips and clogs in the details)...

Patina

 Applying gray paint with a brush to set pieces for an Alien 3 model

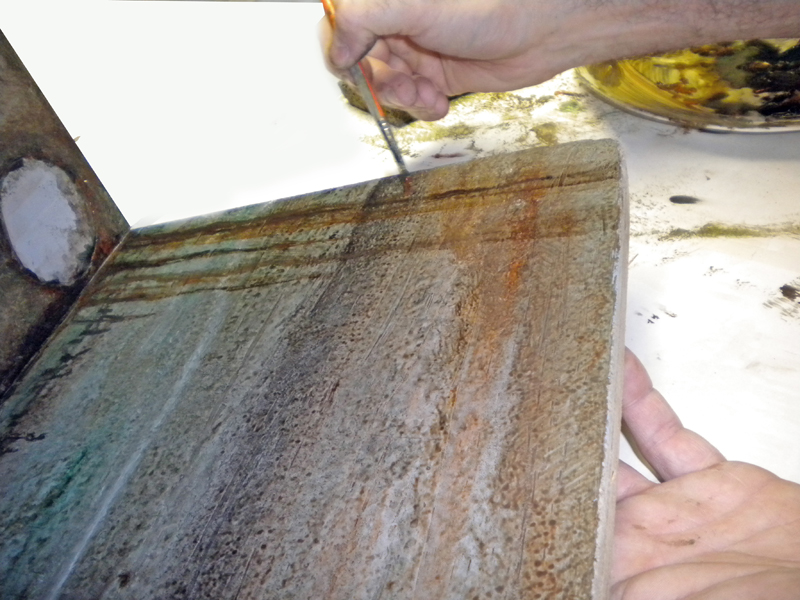
Patina and aging of walls. Medium: LIQUITEX acrylic paint in a tube...
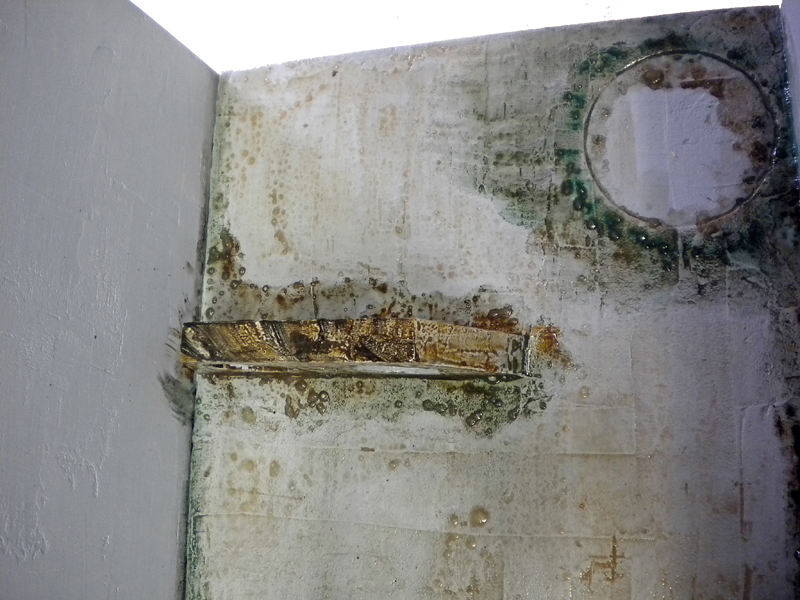
A decorative wall with a rust-and-mold patina and a corroded metal shelf, evoking the industrial atmosphere of *Alien 3*

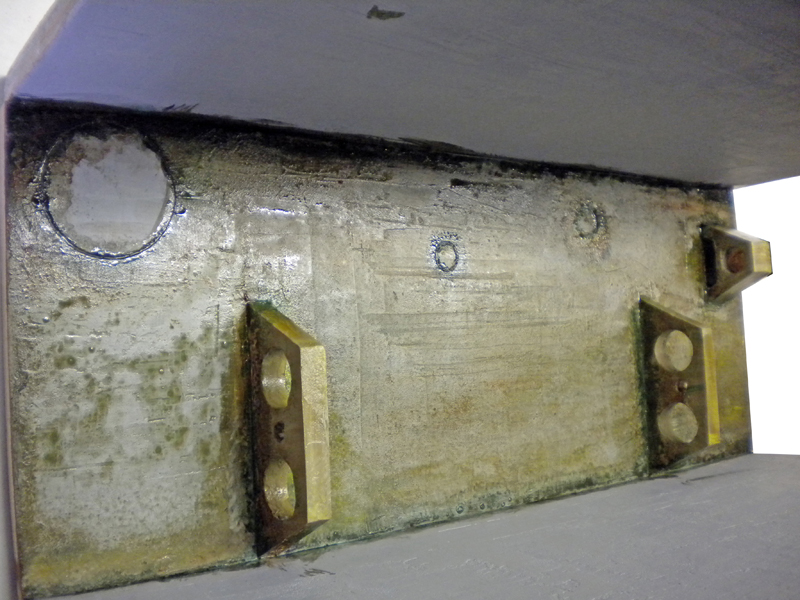
We start by shading the corners and edges—basic colors: umber, sienna, black, emerald green...
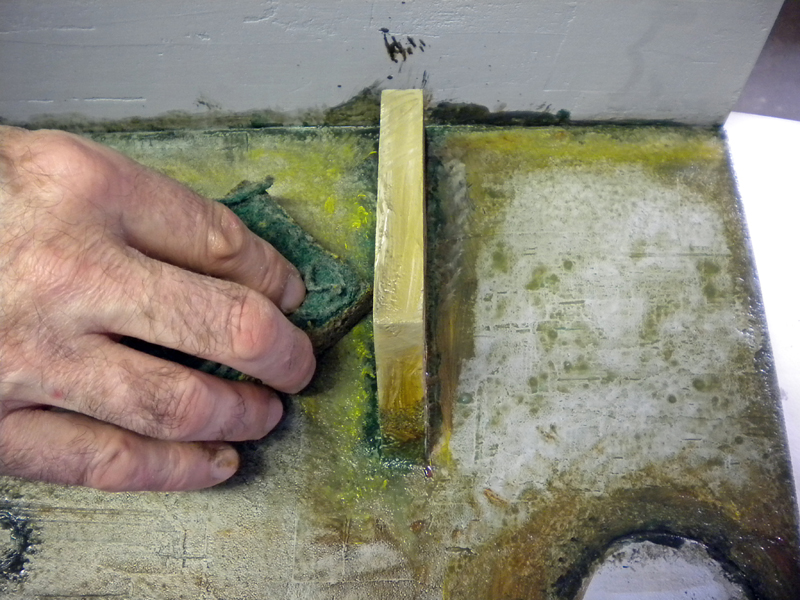
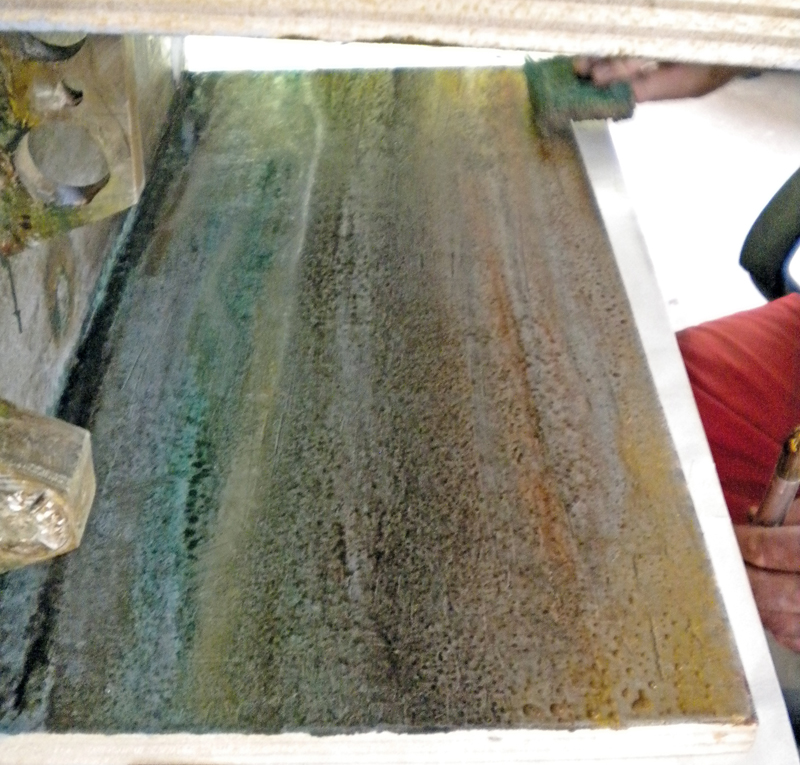
Hand applying a green foam effect to the weathered ground around a pillar on the Alien 3 modelThe large areas are then dabbed with an old sponge to blend certain colors together...

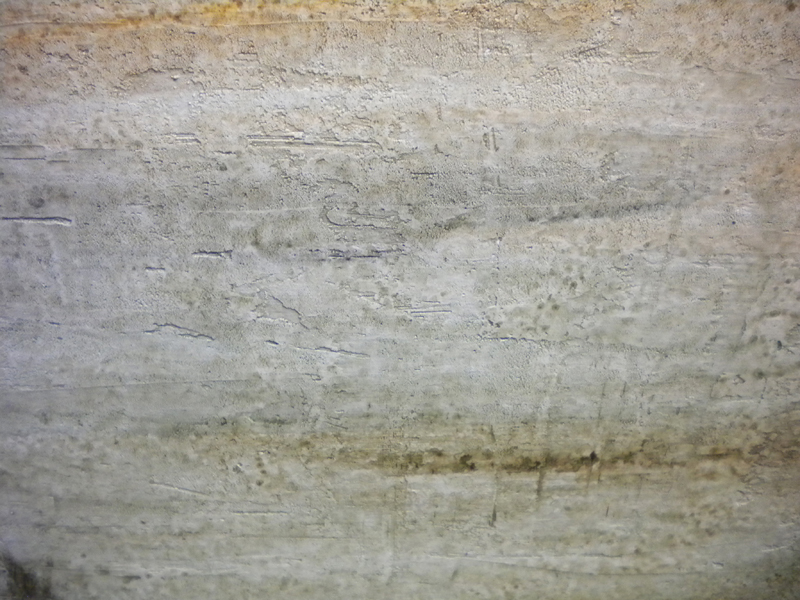
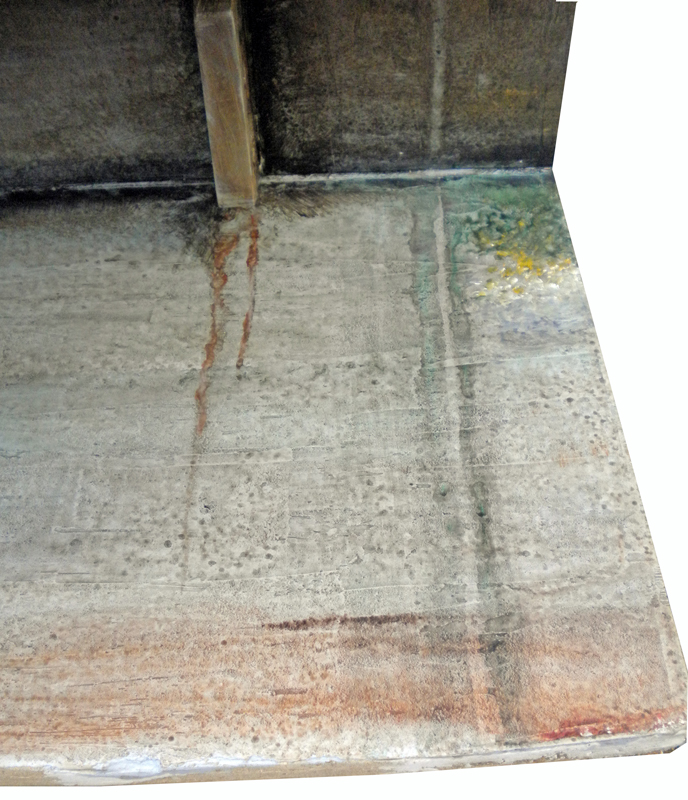
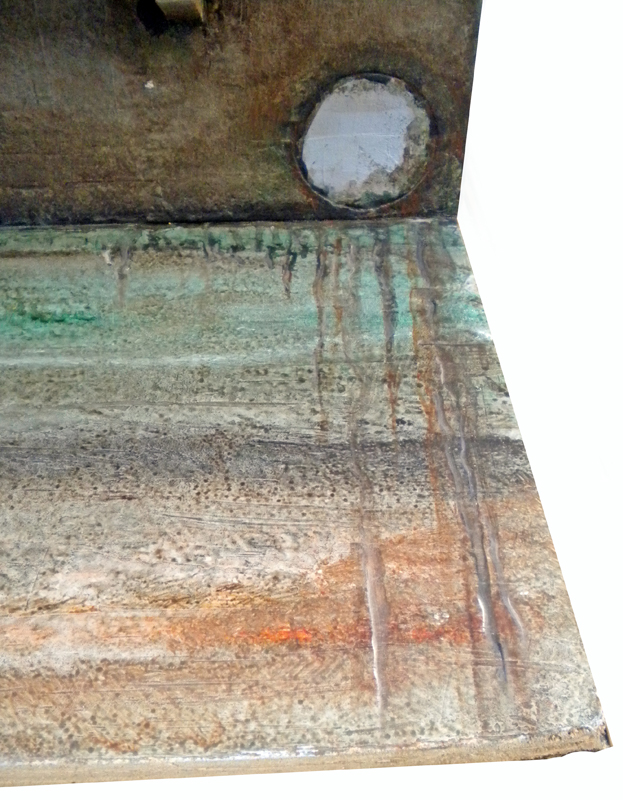
A weathered interior wall of Fury 161 Prison with a rust-colored patina and metal supportsTextured, weathered, and stained concrete wall; aged industrial decor for an Alien 3 modelA first look at the walls...

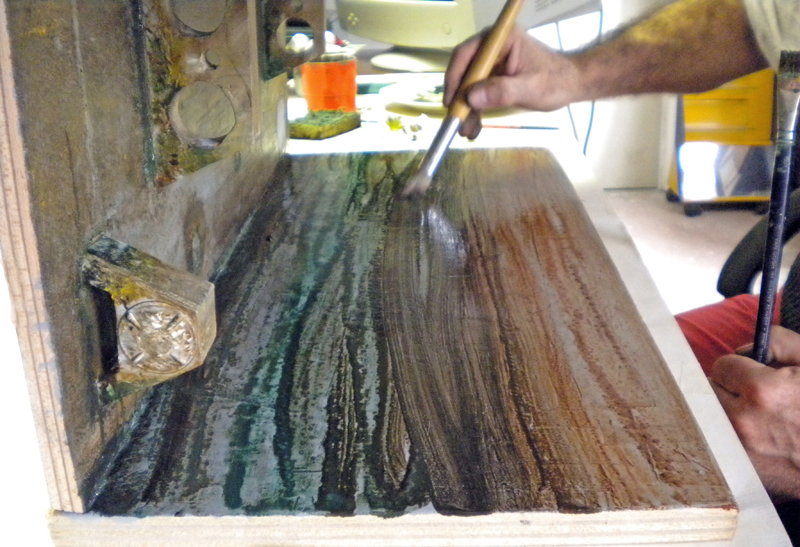
Applying rust and green patinas with a brush to the textured Alien 3 floor setLet's continue with dark colors (cool and warm)...

Applying green and rust-colored patinas with a brush to the textured floor of the Alien 3 modelWe melt it again with the sponge...

Applying rust and weathering effects with a brush to a large metal surface on a modelWe apply the paint in thin strokes with a fine brush...

Alien 3 model set with weathered concrete floors and walls, rust streaks, and stainsDetail of an aged metal surface with rust streaks and a greenish patina on an Alien 3 modelThe result once it's dry...

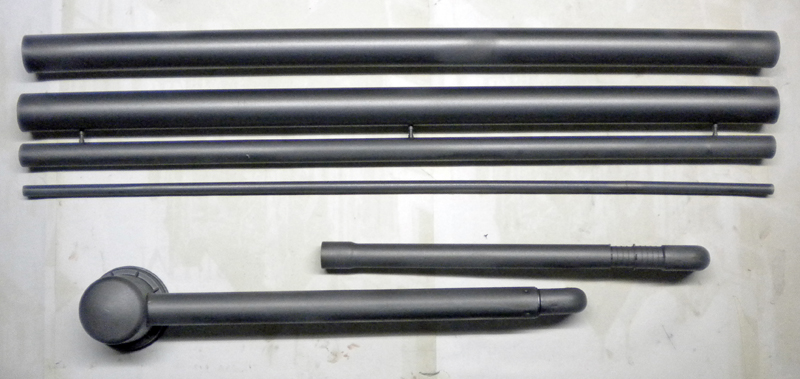
Gray-painted tubes and rods from an Alien 3 model laid out on a work surface


Pipes

The pipes are painted metallic gray as a base coat...
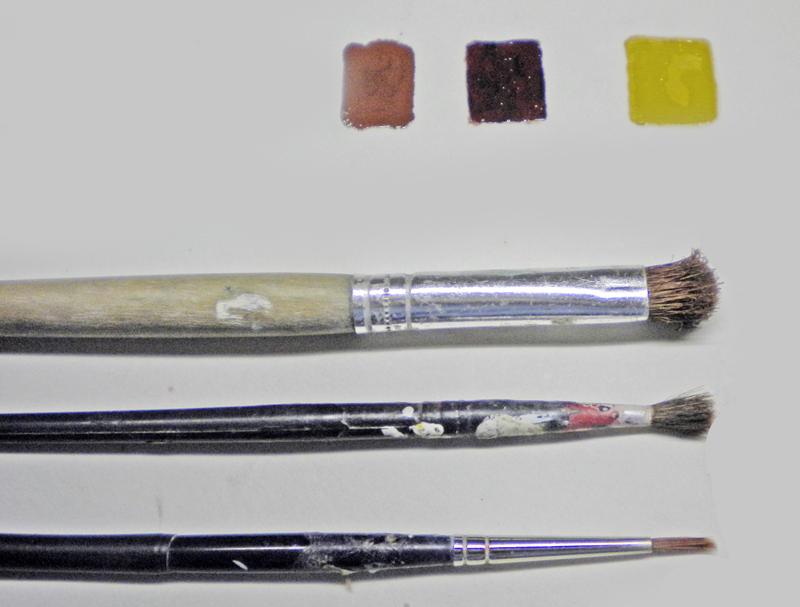
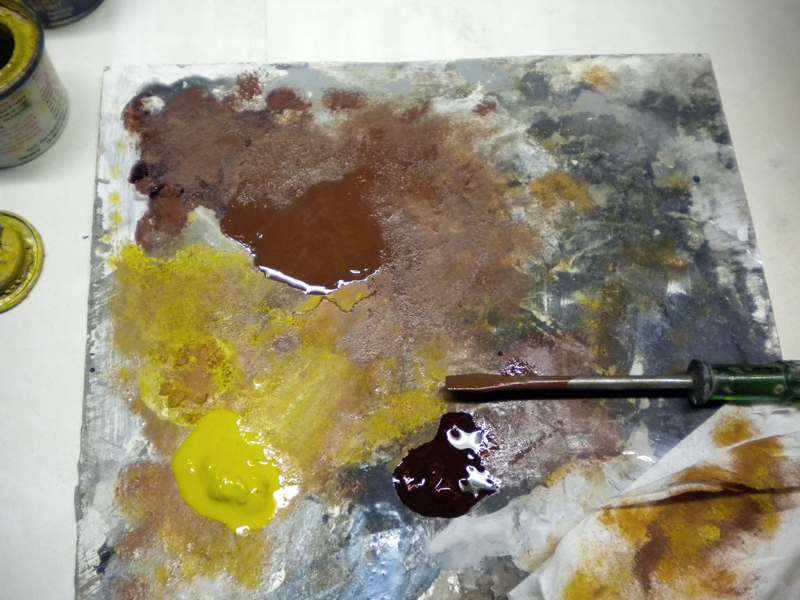
Three paintbrushes of different sizes and samples of brown and yellow paint for an Alien 3 modelHere, we won't be applying pigments... We'll see that we can achieve similar effects simply by using oil paint...

Three colors will be used to create a rusted look on the pipes.

133 HUMBROL (brown) – 9017 HELLER (dark red) – HUMBROL 24 (dark sand).

We recommend that you complete the following exercise using actual photos of rusty objects...

 Dab on the first color, 133, with a brush...
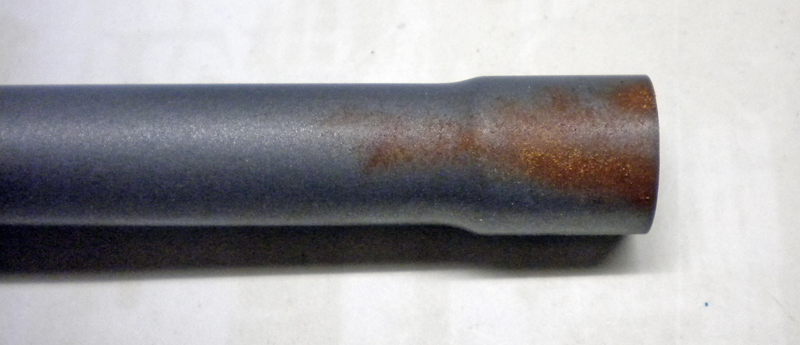
Gray-painted metal tube with an aged, orange-rust effect near the end

Dab some dark red Heller inside the previous areas and finish with a sparing amount of sandy yellow...
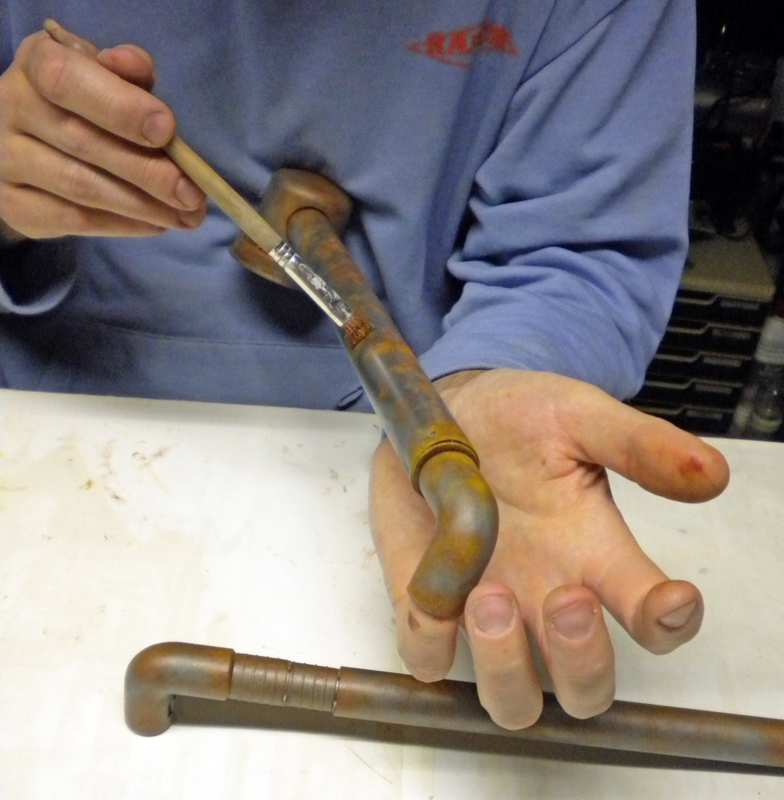
Applying a rust-colored patina with a brush to a mechanical prop from the *Alien 3* set

The result showing the brush's position…
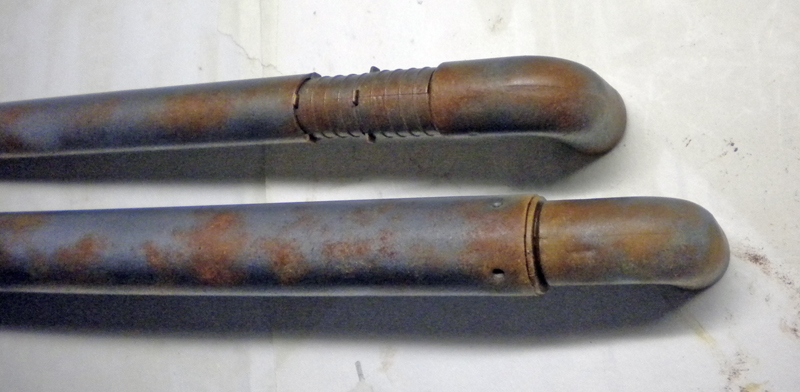
Two weathered metal tubular parts with rust and wear effects for an Alien 3 model

Paint palette with mixtures of yellow and brown, a paintbrush, and paint jarsThe color palette used...

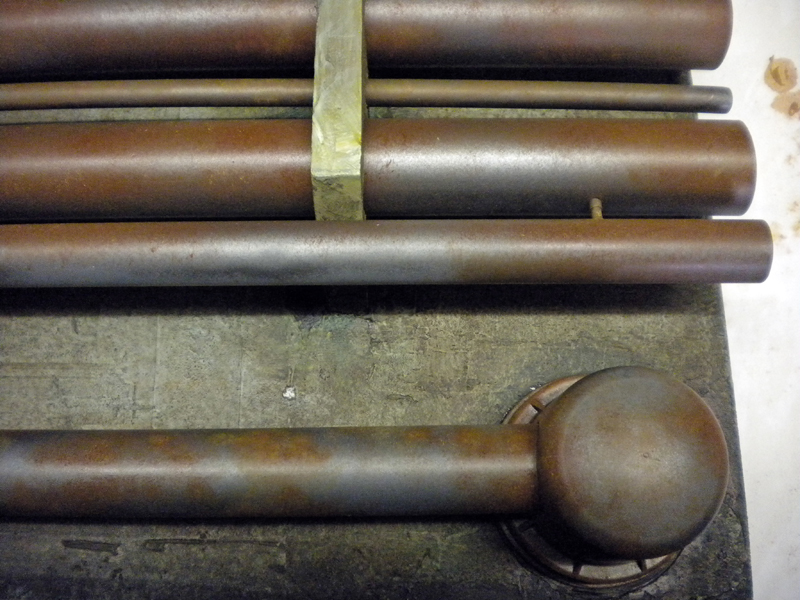
Model pipes painted rust brown with a patina, placed on a workbench

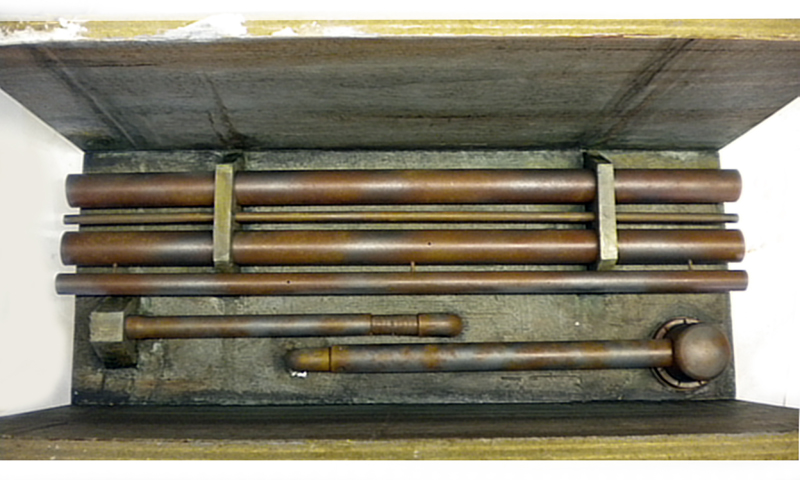
Model of rusty metal pipes and ducts in a gray box, from *Alien 3*

... and ... the final result with the pipes in place...
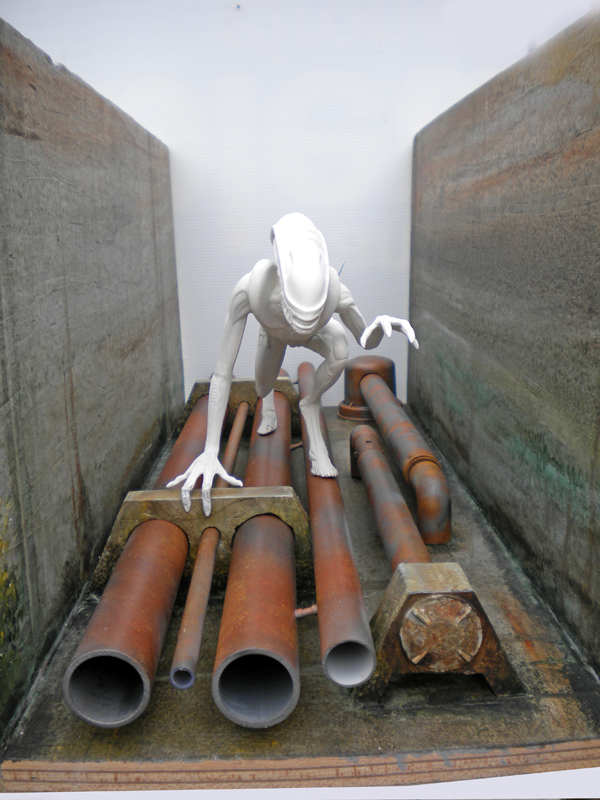
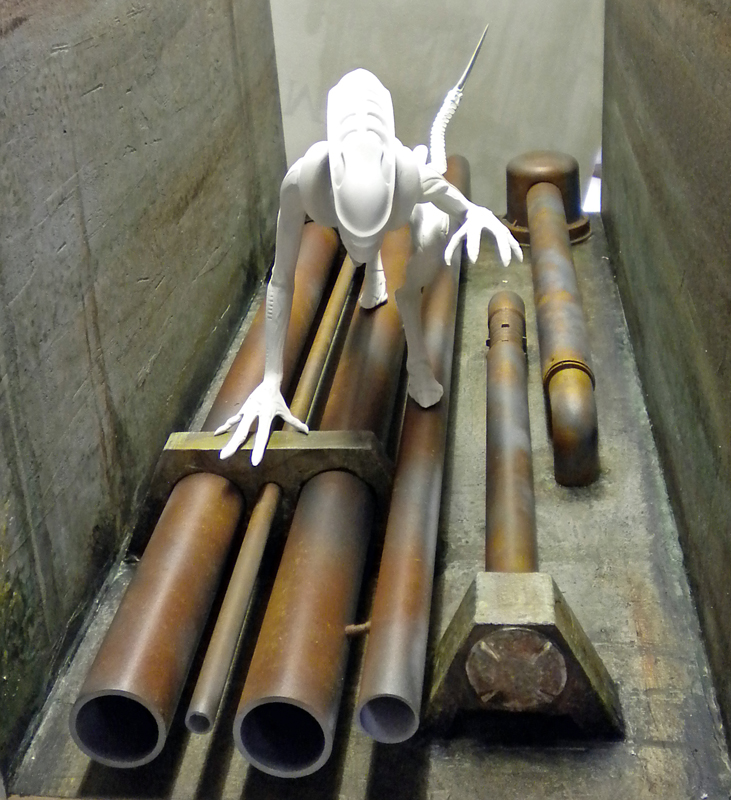
Unpainted white Alien figurine crawling along rusty pipes in a hallway diorama

The Alien in position on the set...


The figurine

 The figurine
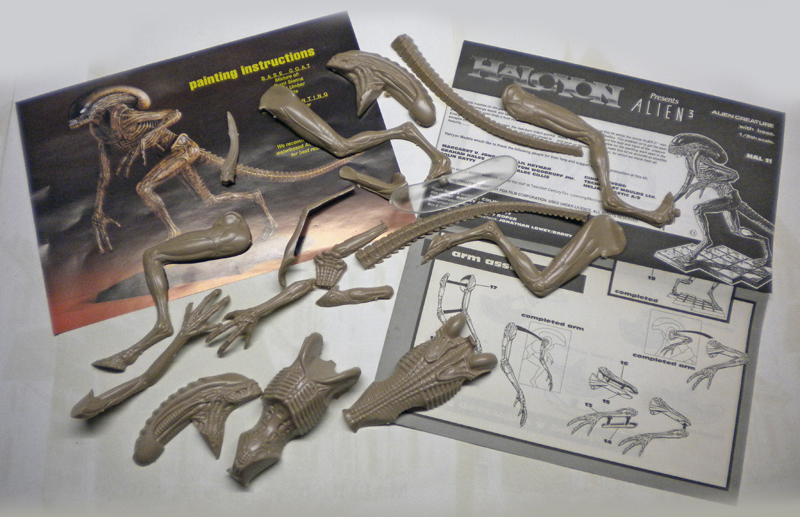
Resin parts for the Halcyon Alien 3 model kit, with assembly and painting instructions

The Alien 3 from the "defunct" HALCYON brand is built to a 1/9 scale. It is an injection-molded plastic kit that also includes a clear plastic dome for the skull. The dome will not be used...
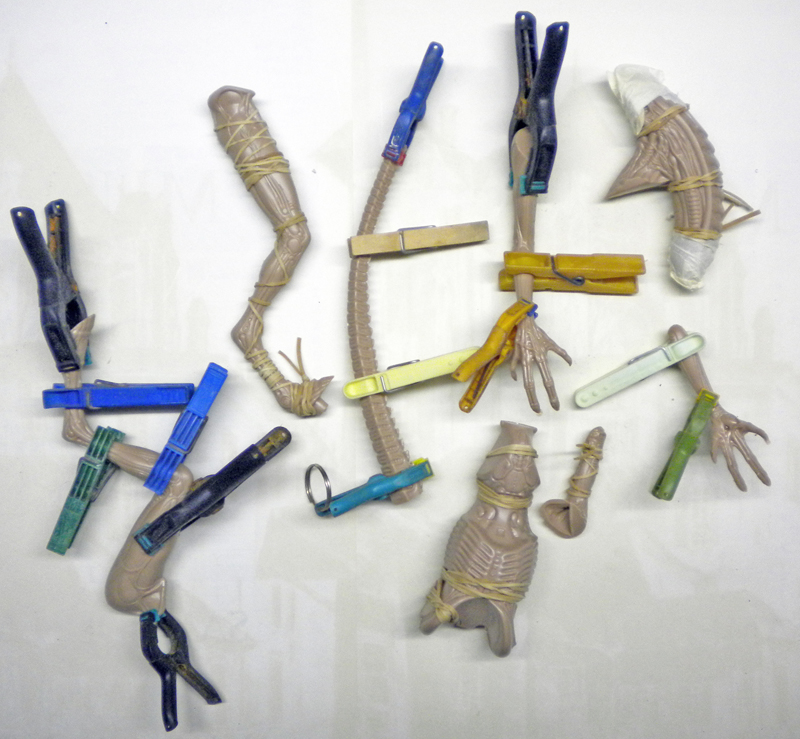
Alien model parts glued together and held in place with clothespins while drying

The engraving is excellent, and the assembly is very good...

All the parts are assembled, glued, and pressurized one by one...

To make things even more challenging, the positioning of the figurine's legs, tail, and arms will be adjusted to fit a specific setting...

In the movie, the creature often runs along the tunnel ceilings...
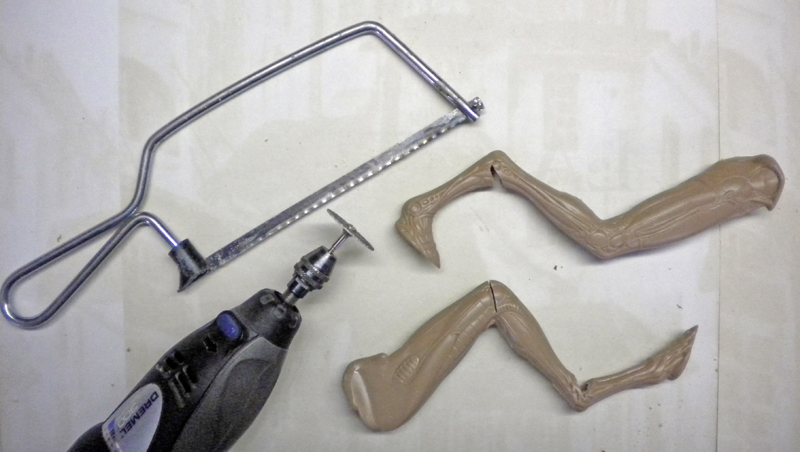
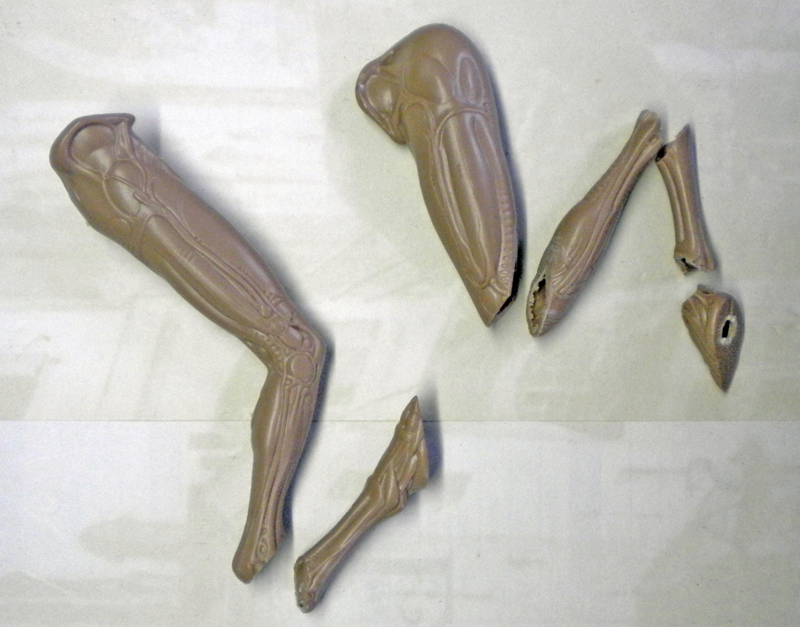
A scroll saw, a Dremel rotary tool, and Alien figurine legs to modifyUnpainted Alien 3 model parts; resin limbs and segments before assemblyThe two photos above: Cutting the joints...

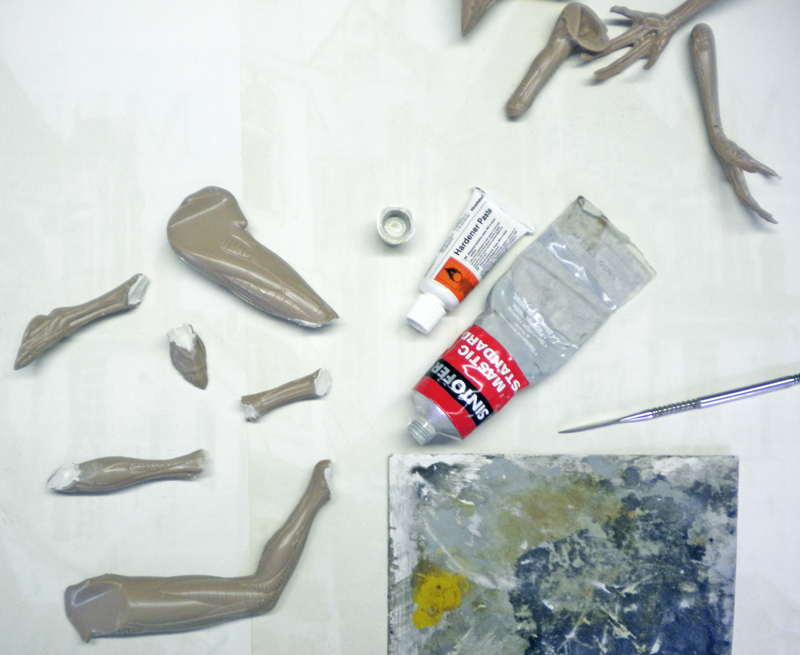
Alien 3 resin figurine parts with putty, hardener, and a brush for assemblyFilling...

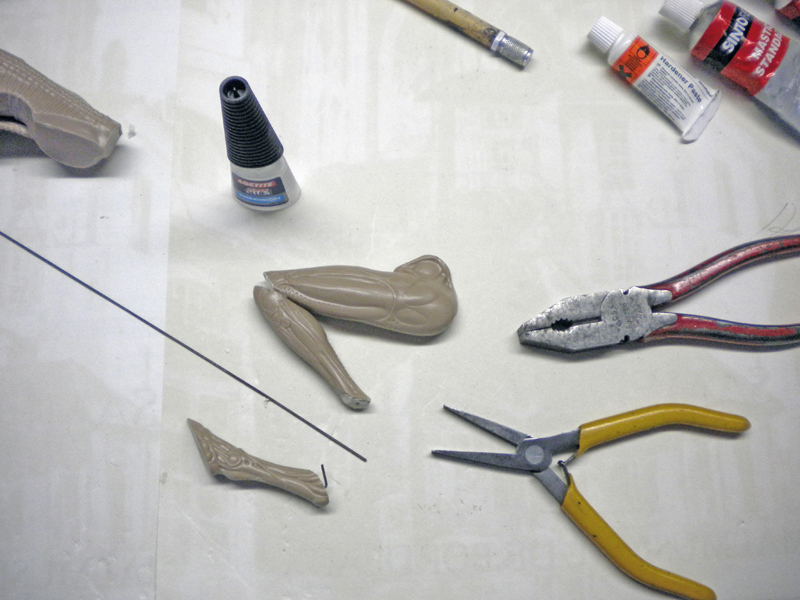
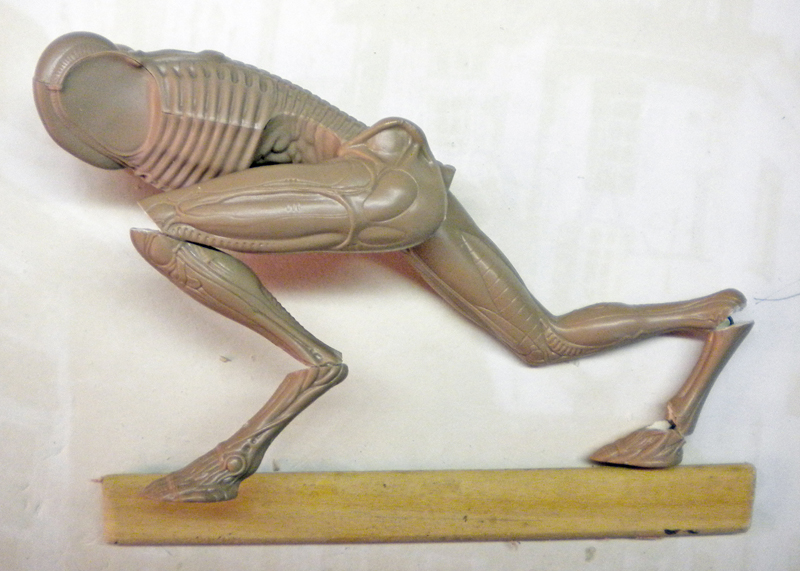
Model parts for the Alien 3 creature, along with glue, pliers, and wire, on a workbenchUnpainted resin model of the Alien 3 xenomorph mounted on a wooden base

"Sticking" and leg positioning...
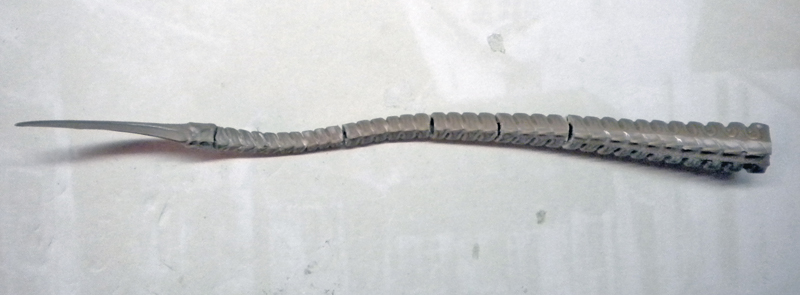
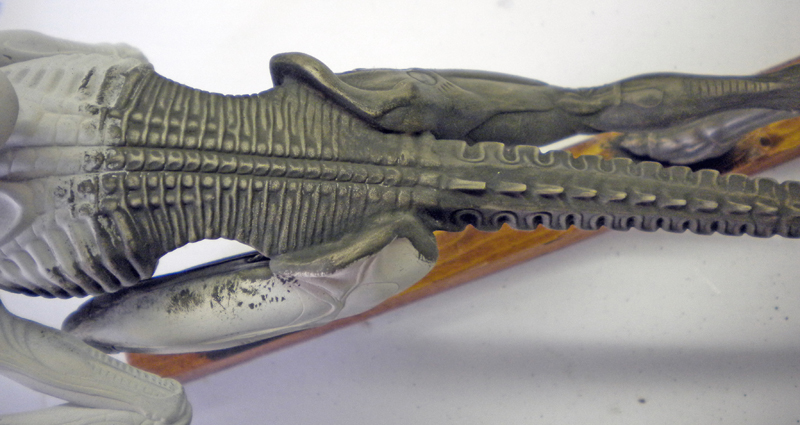
Long, segmented tail from the Alien 3 model kit, currently being assembled and unpainted

Cutting the tail. The tail is cut in several places to give it a more natural position as it moves...
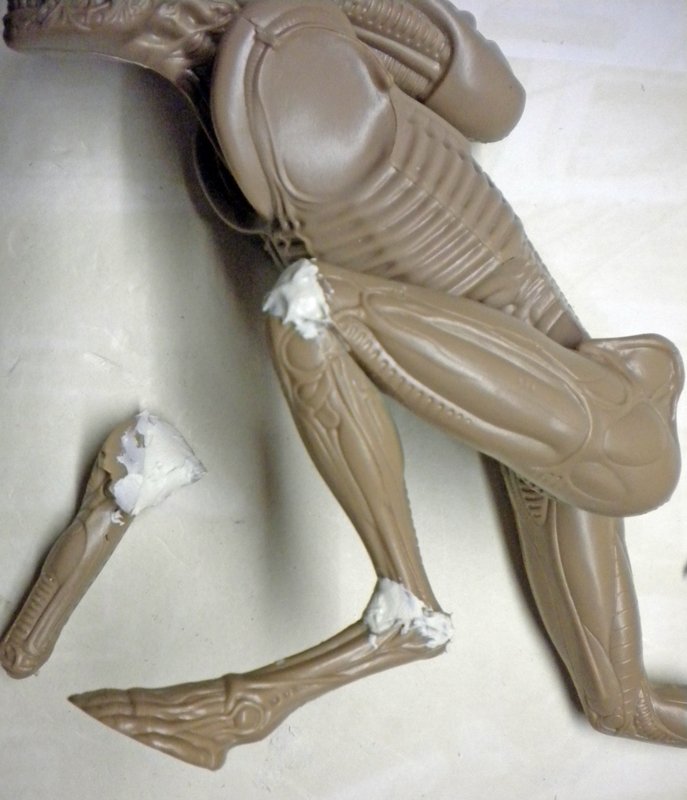
Leg parts from the *Alien 3* model with white putty jointsFilling the joints...

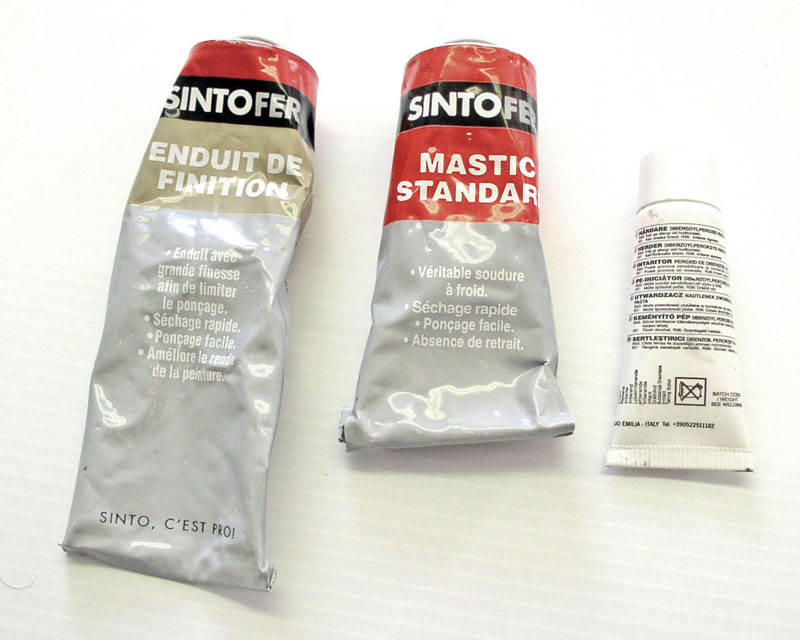
Sintofer putty tubes—finishing and standard—with hardener for model makingIn this regard, use SINTOFER Standard putty with hardener, followed by SINTOFER finishing putty, which is much more cost-effective than the model-making putty sold in small quantities at model shops. The finishing putty can be thinned with acetone so it can be applied with a brush in a thin layer...

The fingers of one hand have been modified to fit the setting, and the feet have been adjusted to allow for a better fit on the pipes...
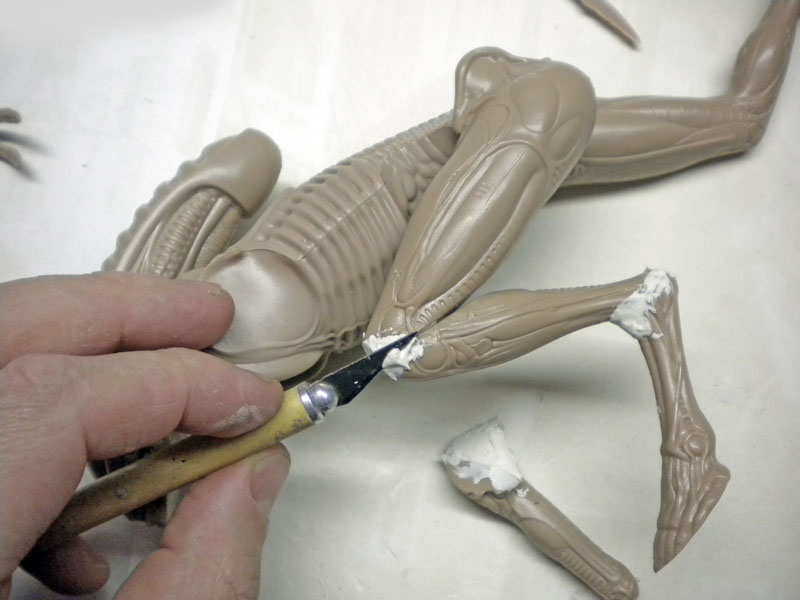
Applying putty with a putty knife to the legs of the Alien 3 model while it is being assembled

"Gel-cut" removal of excess sealant A gel cut involves removing excess material once it has just begun to harden—a process known in technical jargon as "geling"—but before it is completely hard...
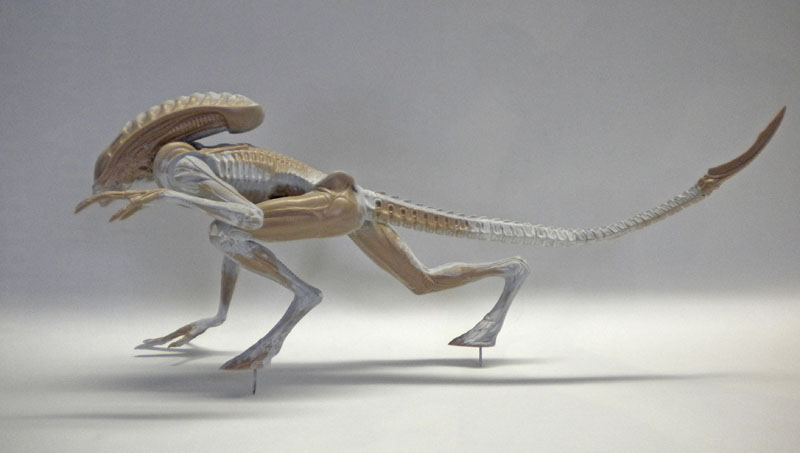
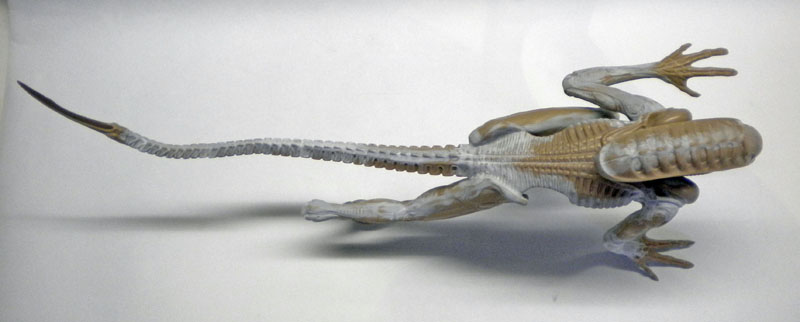
Unpainted model of the quadrupedal xenomorph from *Alien 3* in a walking posePainted figurine of the quadrupedal xenomorph from *Alien 3*, viewed from above, with a long, segmented tail

Finishing (SINTOFER finishing putty diluted with acetone)...

The figurine will then be given a coat of white primer before painting (see the first photo in the title)...

Painting/Miniature

 Painting / figurine
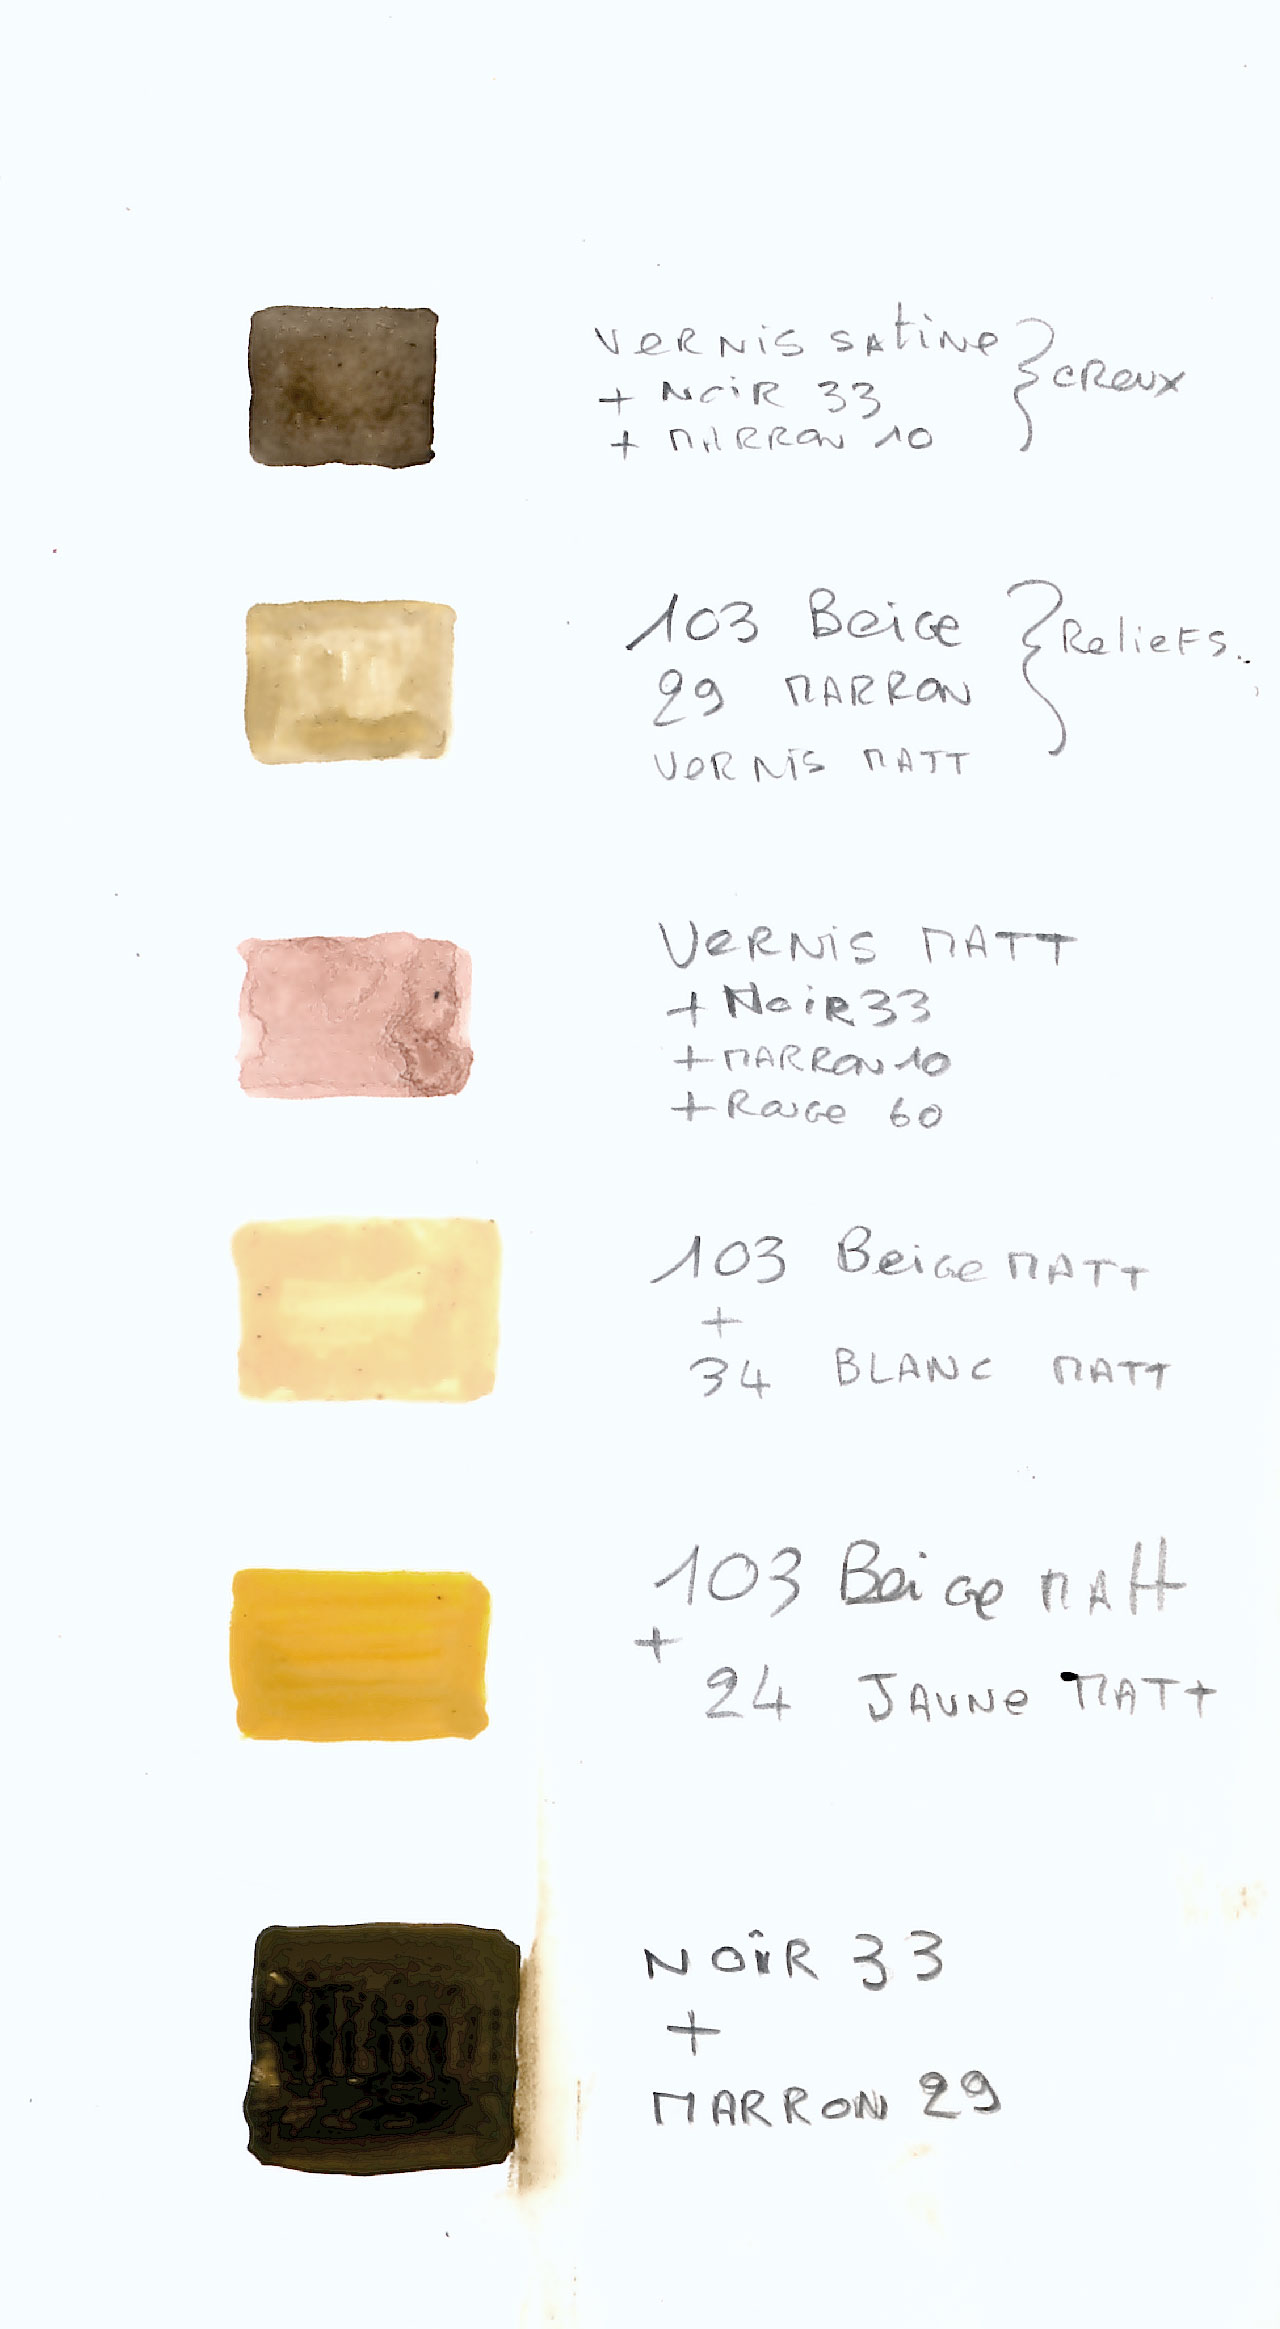
Handwritten color chart of paint mixtures with annotations of color references for *Alien 3*Close-up of the segmented back of the Alien 3 model, painted metallic gray

Mix HUMBROL 29 (dark brown) with a touch of HUMBROL 33 (black). Apply the mixture with a brush, then immediately wipe it off with lint-free paper towels (Sopalin) over the entire figure...
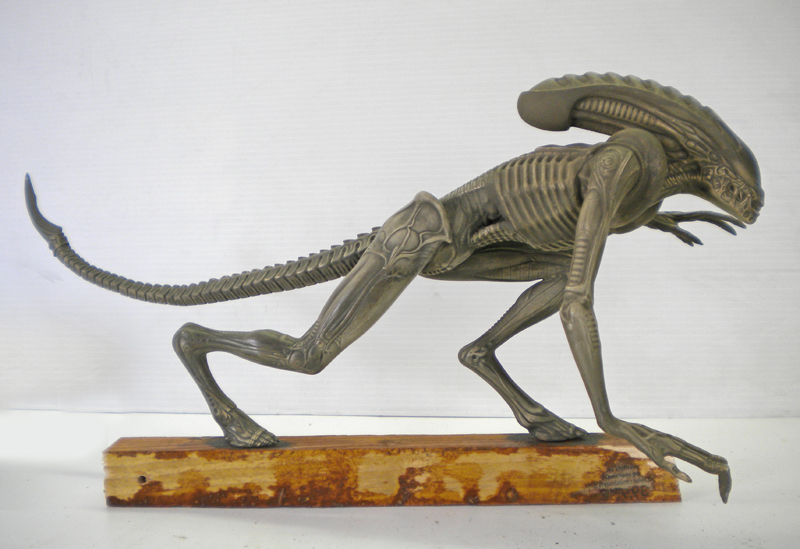
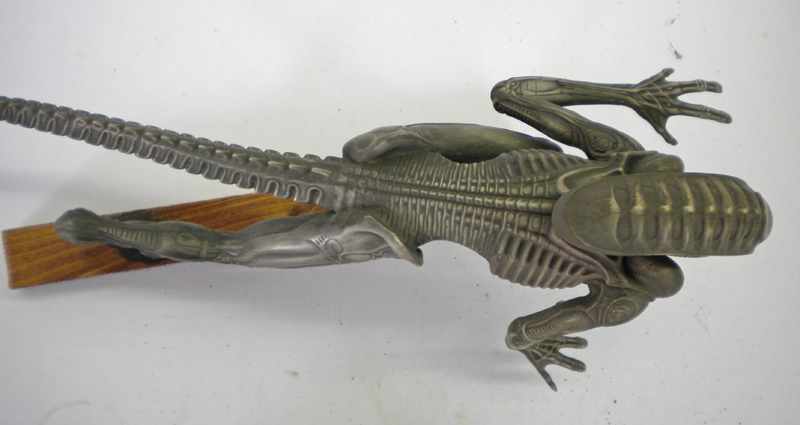
Model of the four-legged Alien in a crouching stance on a wooden baseModel of the Alien from *Alien 3*, viewed from the back, with its long, segmented tail extendedThe result once this step is complete...

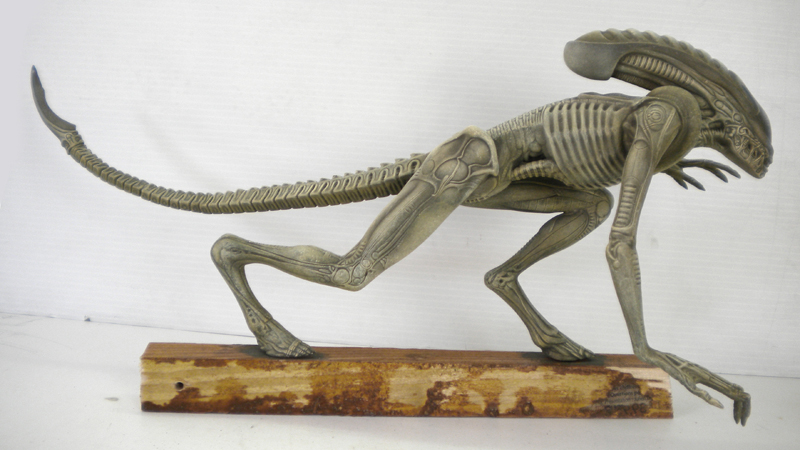
Scale model of the quadrupedal xenomorph from *Alien 3*, painted gray and mounted on a wooden base

Above: We apply an initial highlight to all the contours, protruding parts, and large flat areas of the figurine.

To do this, use a mixture of HUMBROL 103 beige with a little HUMBROL 24 yellow added.

Above:

Next, we begin the glazing: we mix a colored varnish and apply it only to the raised areas of the figurine. To do this, take some matte varnish, very lightly diluted with a drop of White Spirit, and add a mixture of HUMBROL 103 beige and HUMBROL 34 white. The proportions for this colored varnish (and subsequent ones) are approximately three parts varnish to one part color...
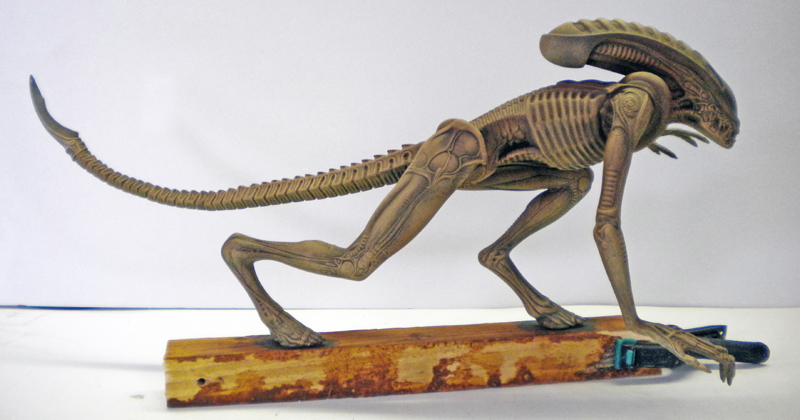
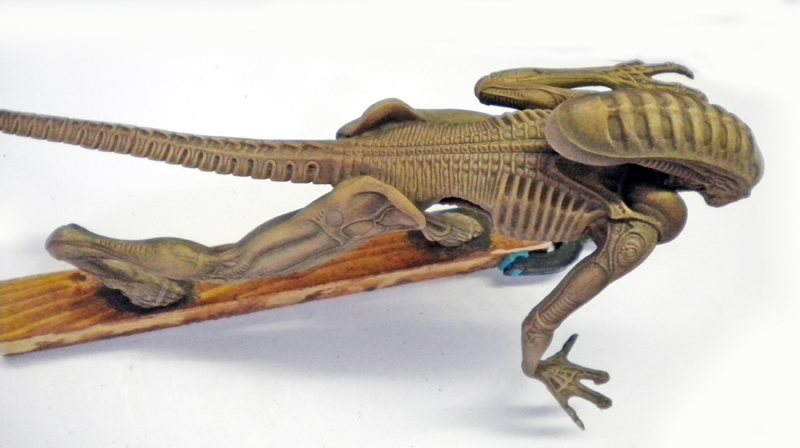
Scale model of the quadrupedal Xenomorph from *Alien 3*, painted in ochre tones on a wooden baseModel of the four-legged alien from *Alien 3*, primed in brown and mounted on a wooden base

The two photos above: Apply a colored matte varnish to the entire figure using a mixture of HUMBROL Black 33, HUMBROL Brown 10, and HUMBROL Red 60...
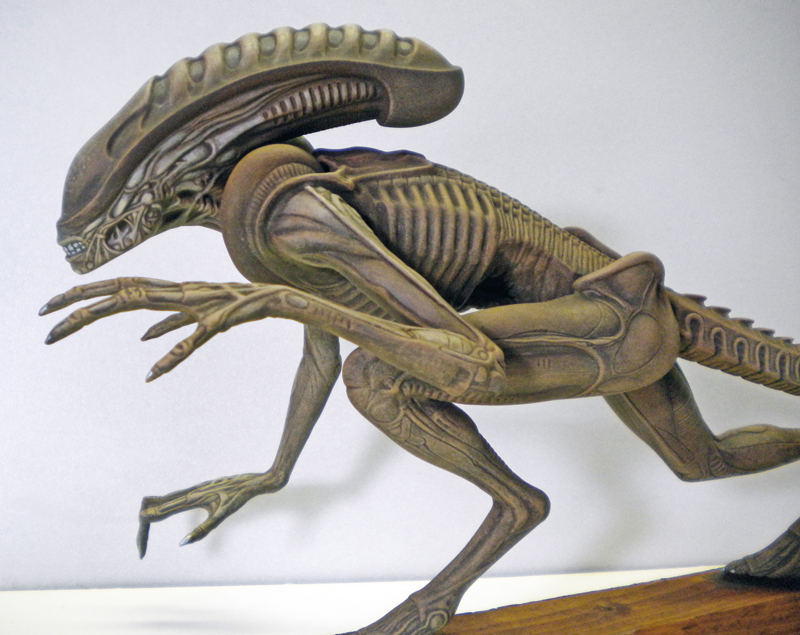
Painted model of the crouching Xenomorph from *Alien 3*, in brown-green tones, mounted on a wooden base

Next, we’ll make a colored varnish and apply it only to certain parts of the creature (the skull and the veins on the neck). To do this, take some matte varnish and add a mixture of HUMBROL 103 beige and HUMBROL 29 brown...
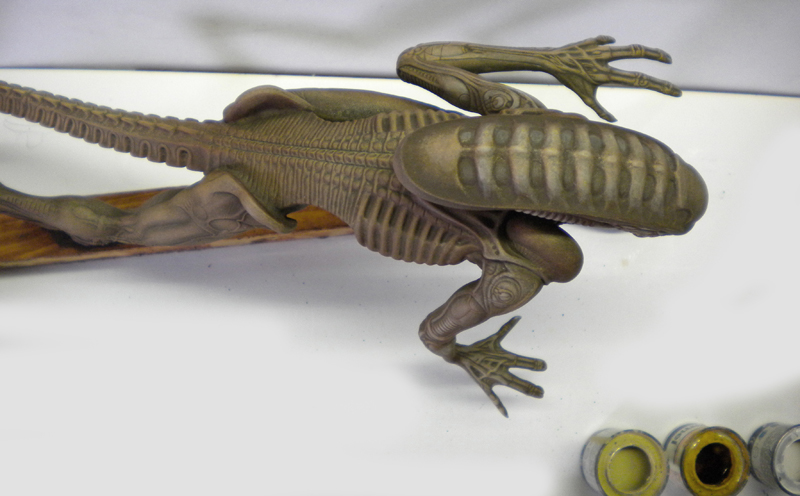
Model of the Alien 3 xenomorph in a quadrupedal position, with a brown-green painted body, top view

... Next, apply a black satin finish (HUMBROL 33) and dark brown satin finish (HUMBROL 10) to the recesses.
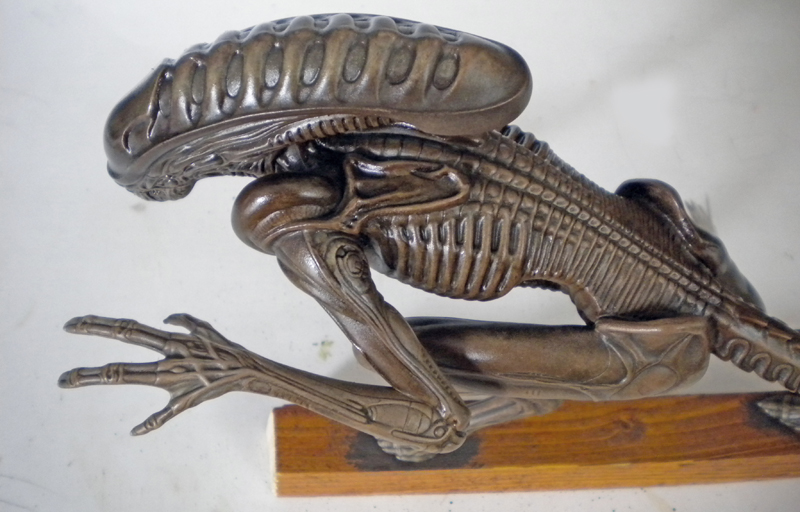
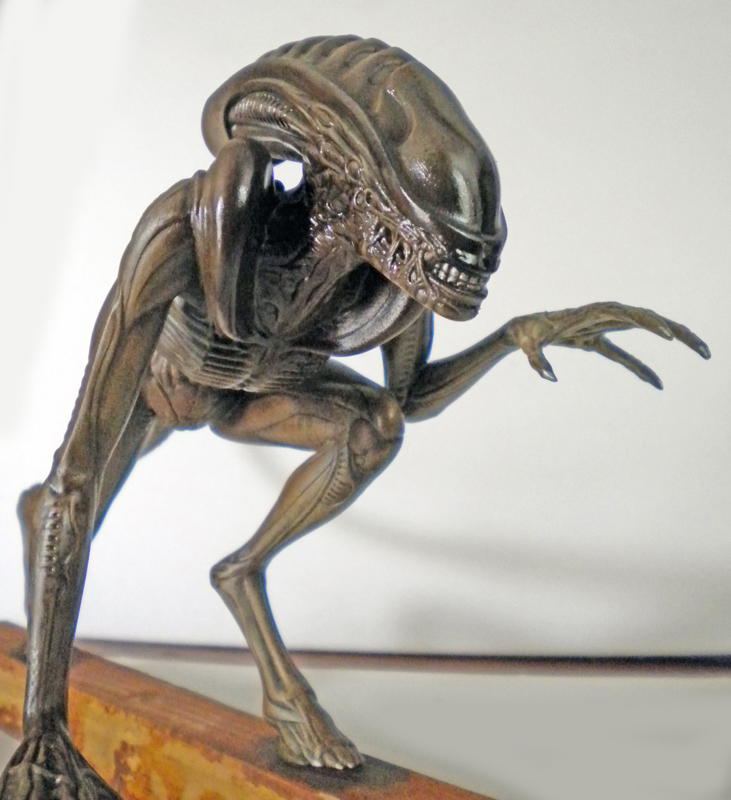
Model of the creature from *Alien 3*, painted metallic brown and mounted on a wooden basePainted model of the Xenomorph from *Alien 3*, crouching on a beam with its claws outstretched

We finish by applying a glossy black paint to the entire figure, paying special attention to the mouth and skull...
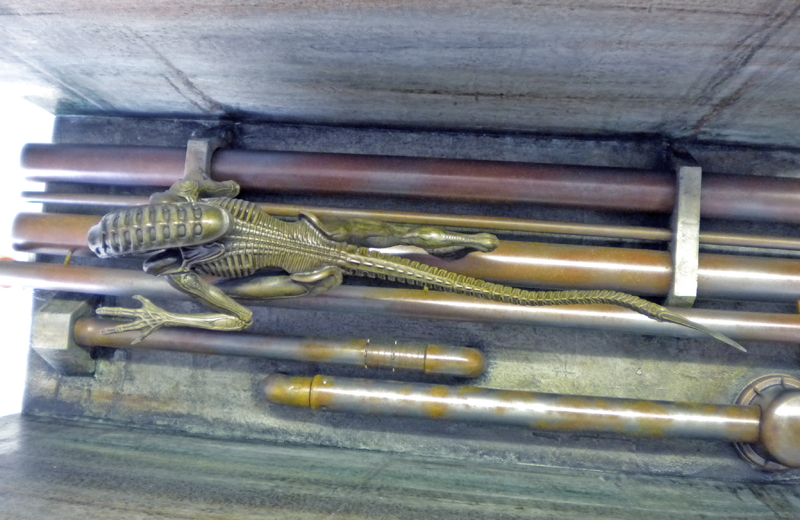
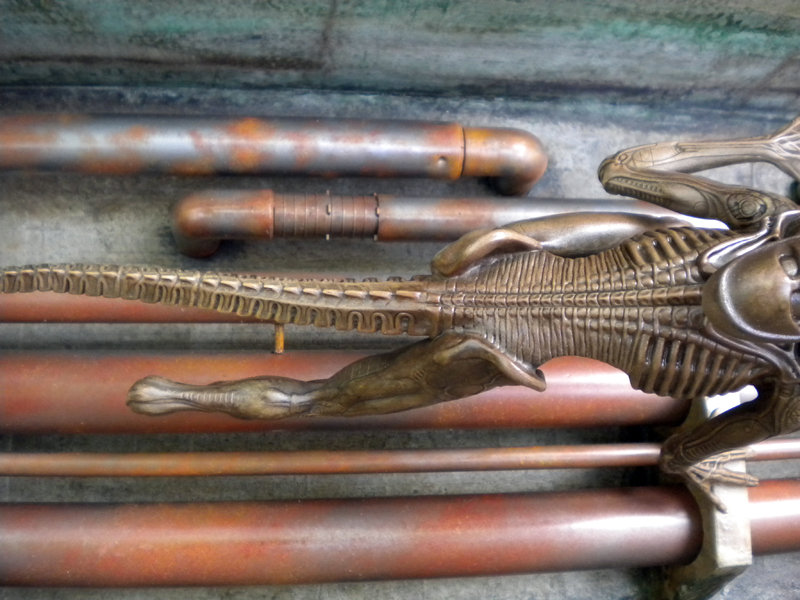
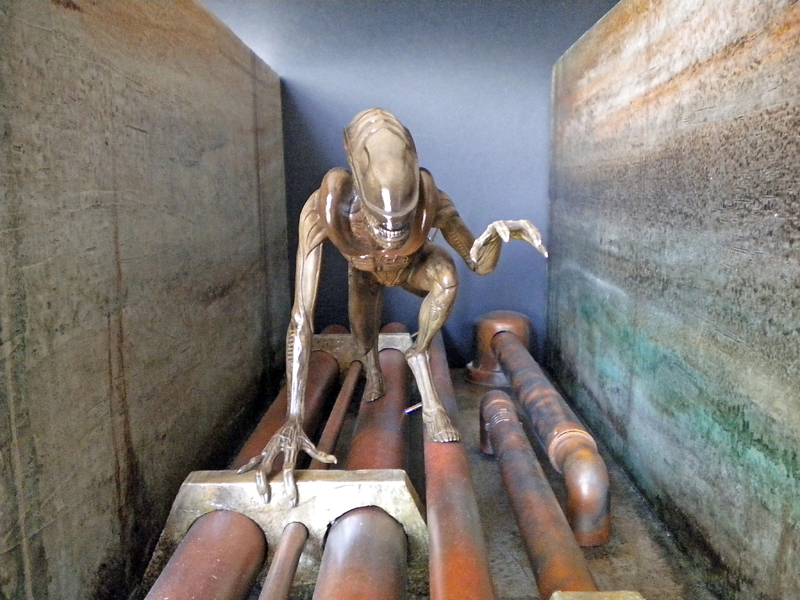
Model of an alien crawling along rusty pipes in an industrial settingModel of the Alien crawling on rusty pipes, set from *Alien 3*Model of the xenomorph from *Alien 3* crouching on rusty pipes in an industrial hallway

Model of the Xenomorph from *Alien 3* crouching on rusty pipes in a dark mist