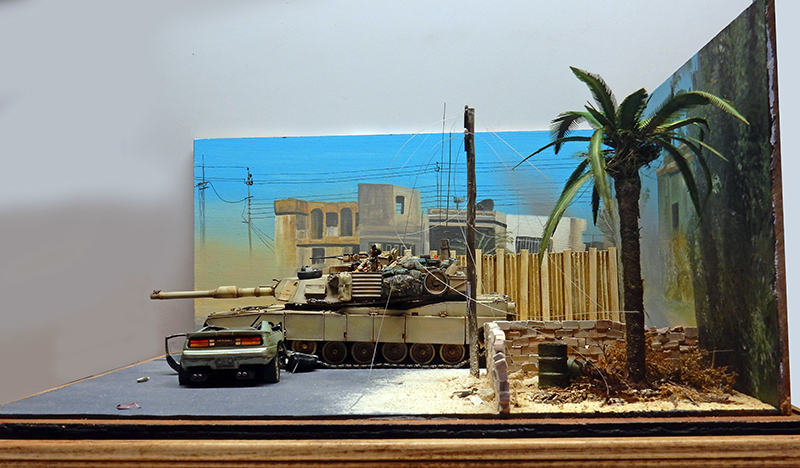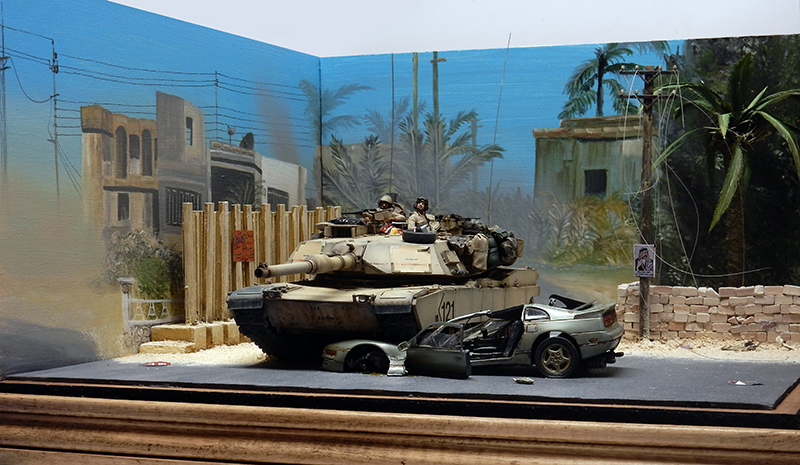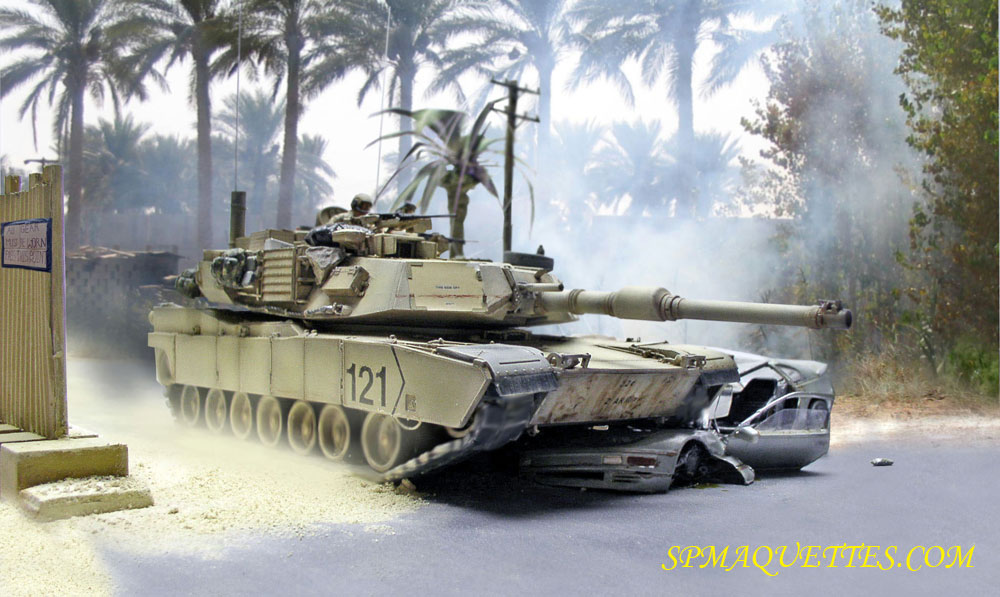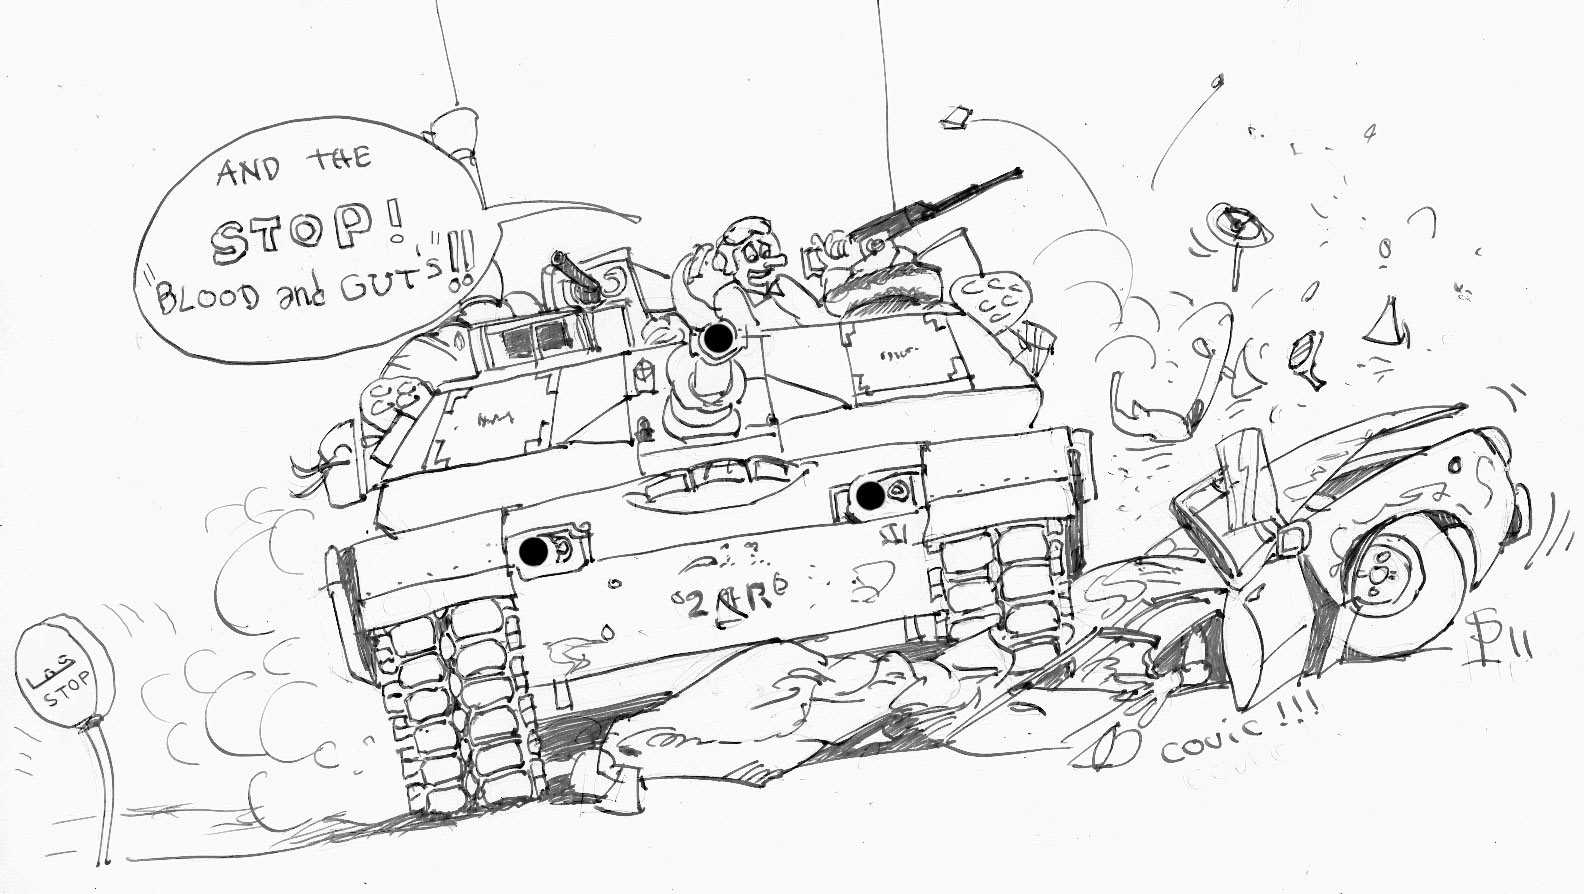
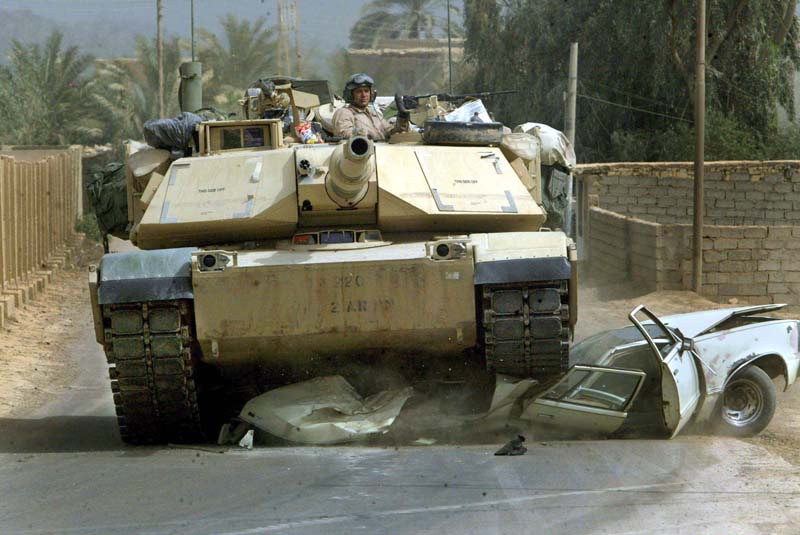
As the spearhead of both Gulf Wars, the M1 A1 Abrams deserved a diorama that would showcase it. The photo above gives a sense of the vehicle’s power and size and served as a great source of inspiration for a diorama...
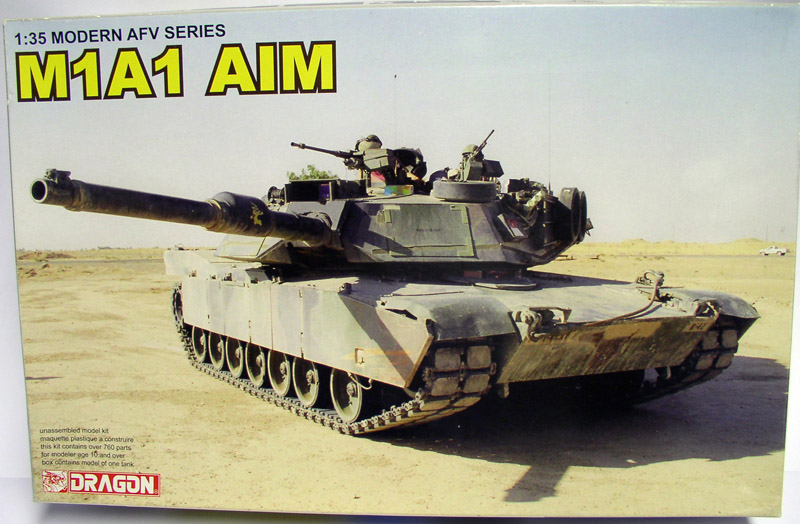
Since the Dragon model kit is currently the best on the market*, interior detail isn't a priority here... It features exquisite craftsmanship, includes photo-etched parts, a white metal cannon, and numerous accessories... *(Date of the tutorial: 2012)
The Car
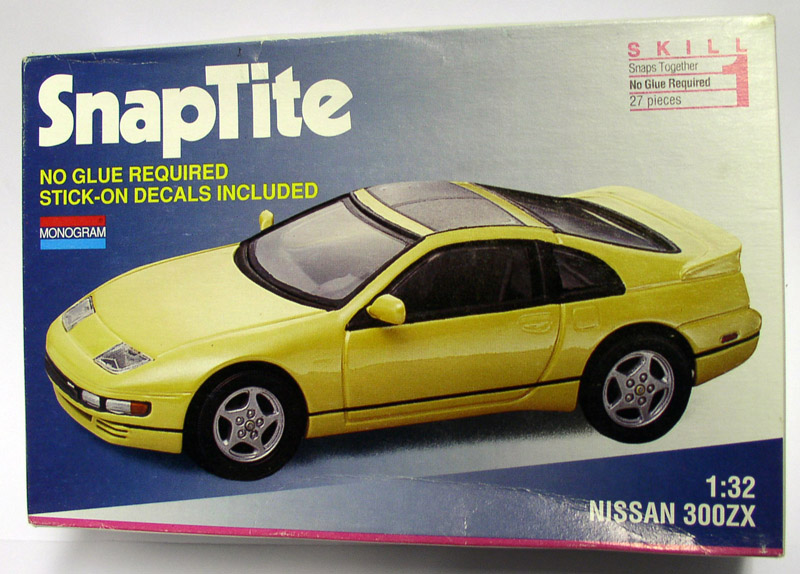
Since I couldn't find a four-door sedan at the time of assembly, a 1/32-scale Nissan will be sacrificed to serve as a wreck...
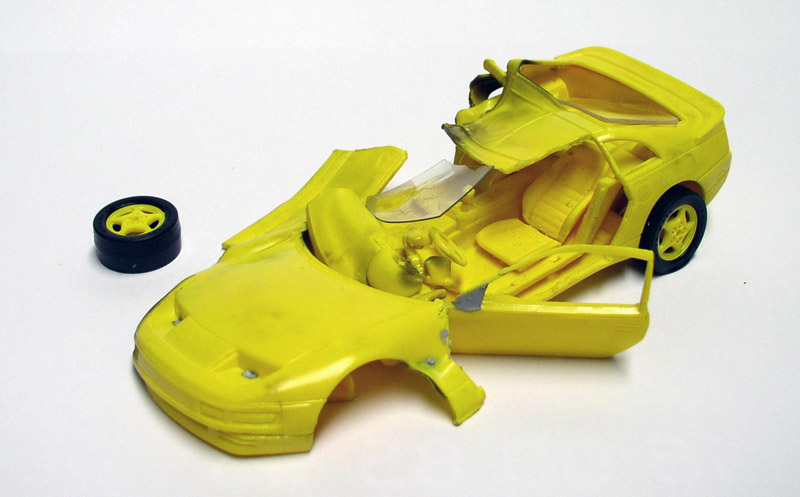
Start of the “construction” (actually, destruction!). Here again, looking at photographs of wrecked vehicles is invaluable for getting an idea of the shapes to create in order to match the real models. We heat the metal with a flame to deform it, then sand it down to remove excess material and restore it to actual scale...
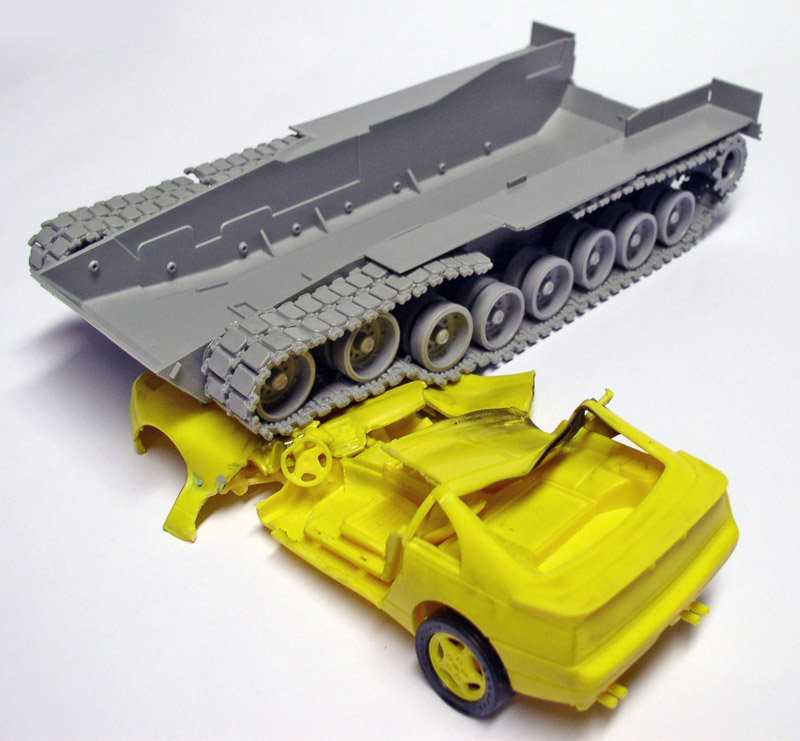
The tank, whose suspension and left track have been modified, and the vehicle must "fit together" seamlessly and become one...
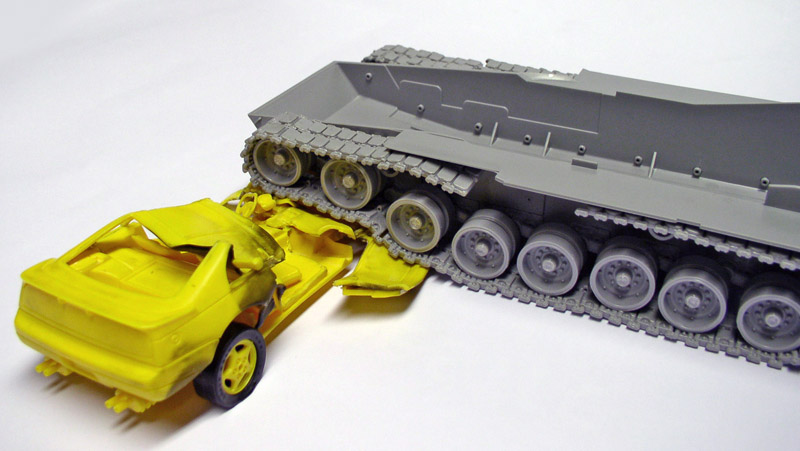
Another view...
Paint/Car
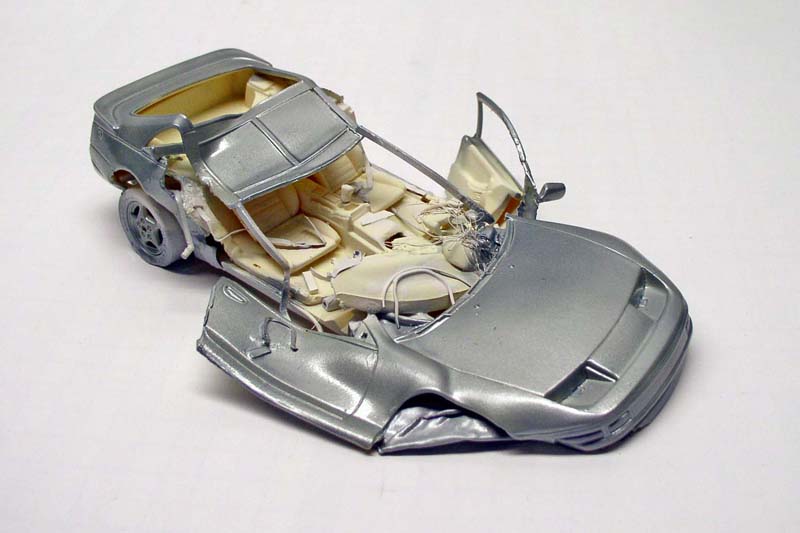
Once the shape has been defined, we add the details: wiring, straps, stamped sheet metal made from lead foil...
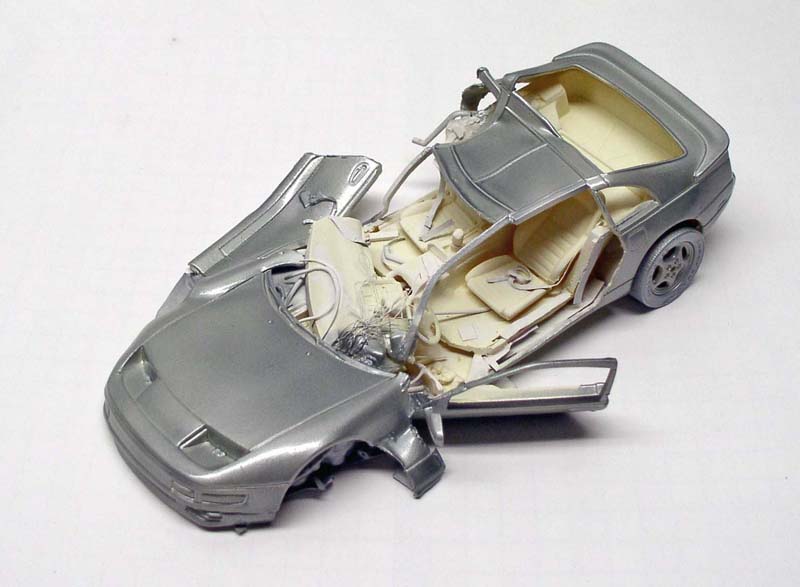
... Then the body is painted with a coat of Model Master Testors paint made from silver-blue metallic and German metallic silver...
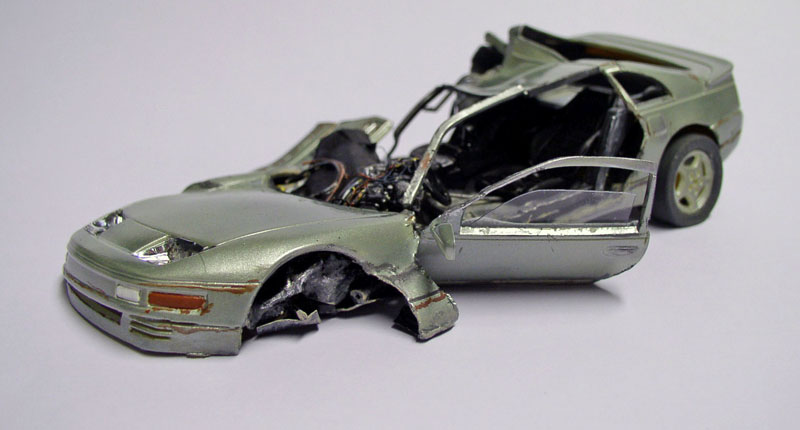
The interior paint job is refined. A silver sticker is applied to the headlights, covering the bulb and the glass. The exterior mirror is also covered with silver foil. The door window, made of transparent plastic film, is attached...
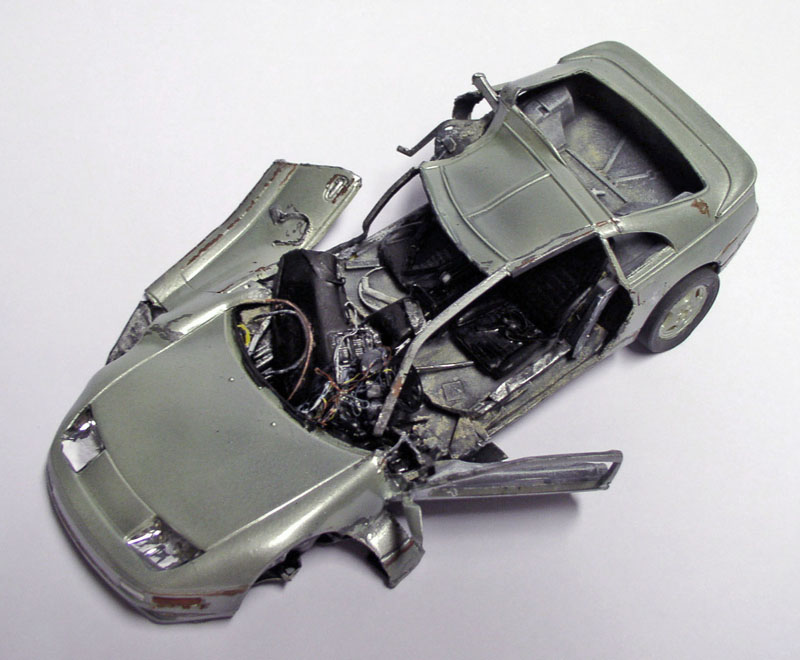
The painting is almost finished...
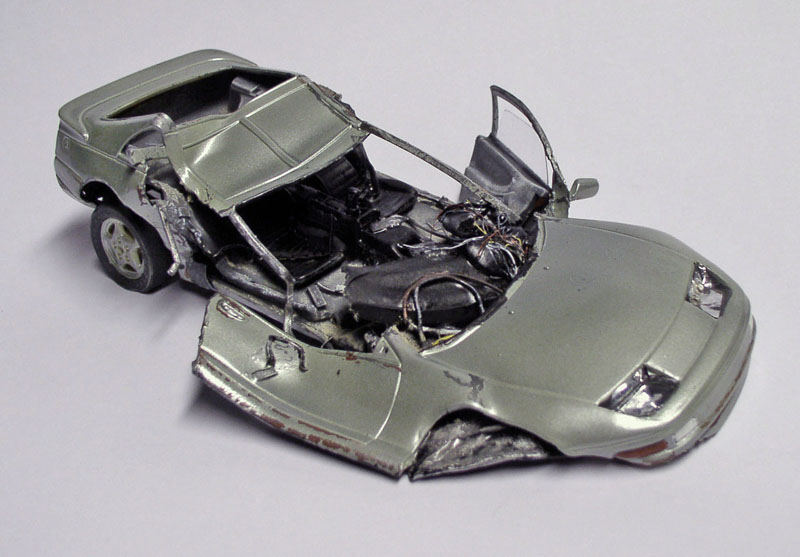
Another view...
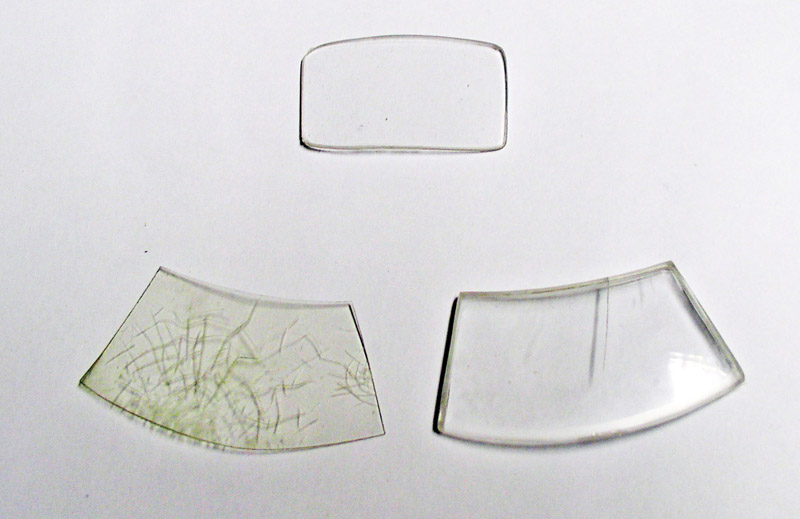
The windshield is replaced with a piece of plastic sheet that has been heated and scored with a utility knife. We keep the rear window by trimming it down...
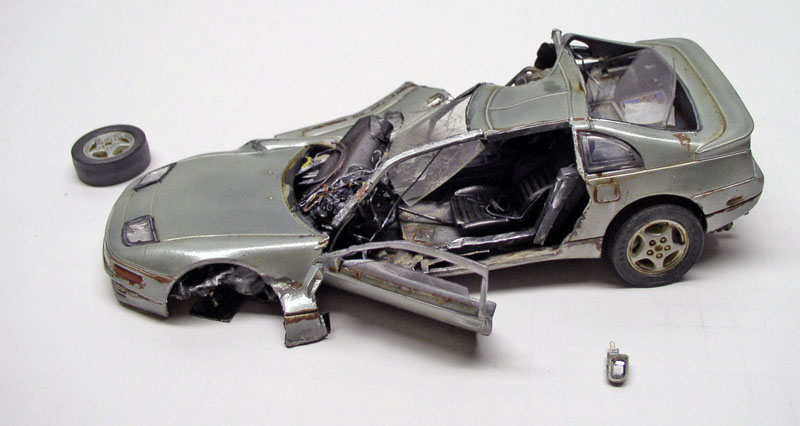
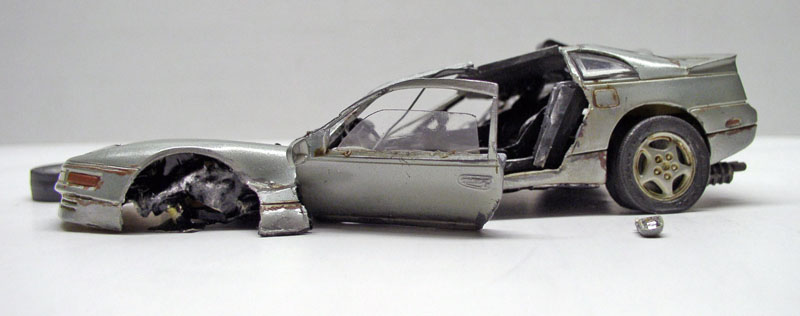
Installing the windshield and side windows...
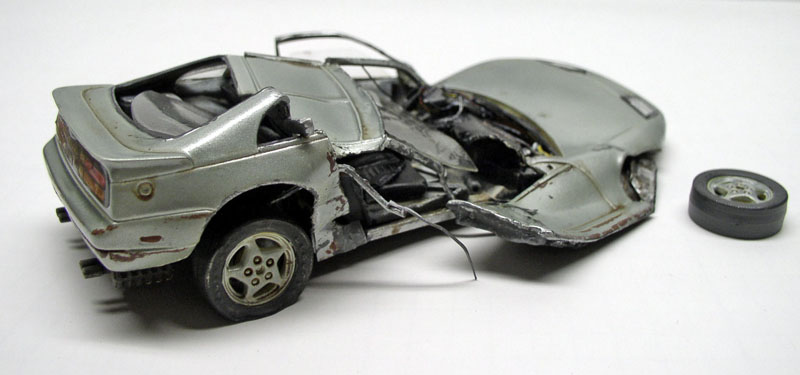
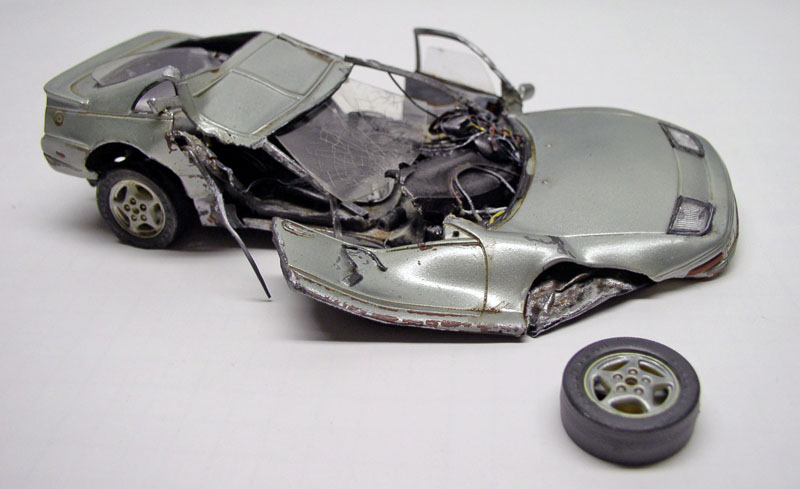
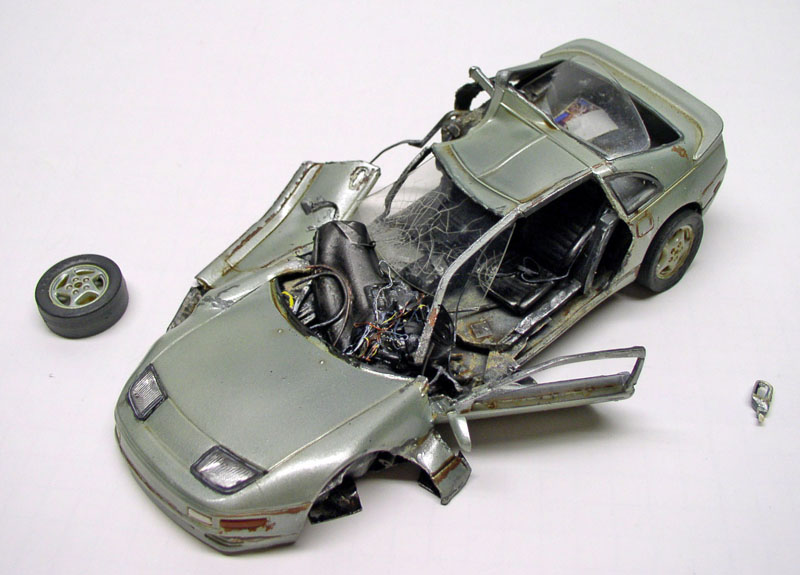
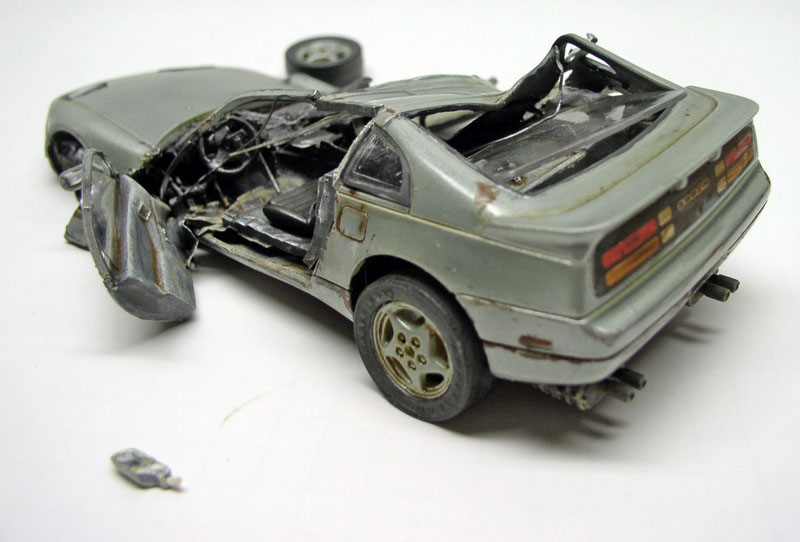
Four views of the finished model...
Assembly/tank
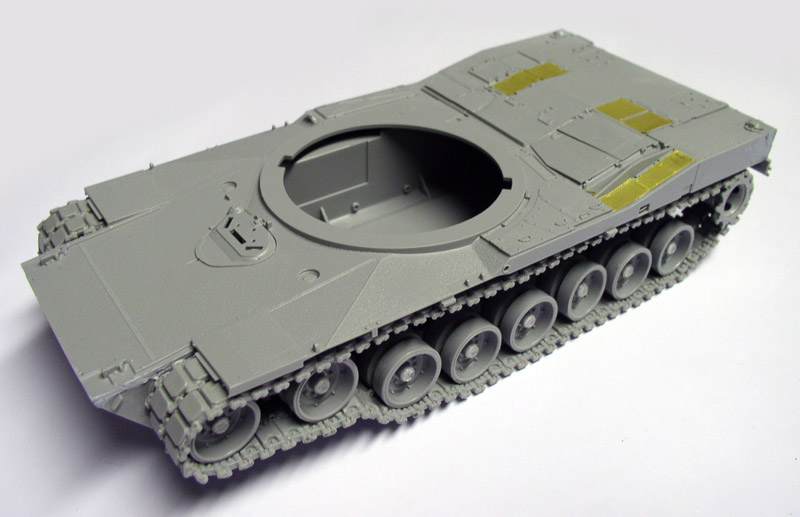
The tank. The tracks—track segment by track segment—as well as the numerous parts of the suspension’s torsion bars did not make the modification easy, but these details enhance the realism. Installation of the photo-etched engine grilles. Note that the entire engine compartment is assembled piece by piece, allowing for the possibility of inserting an engine...
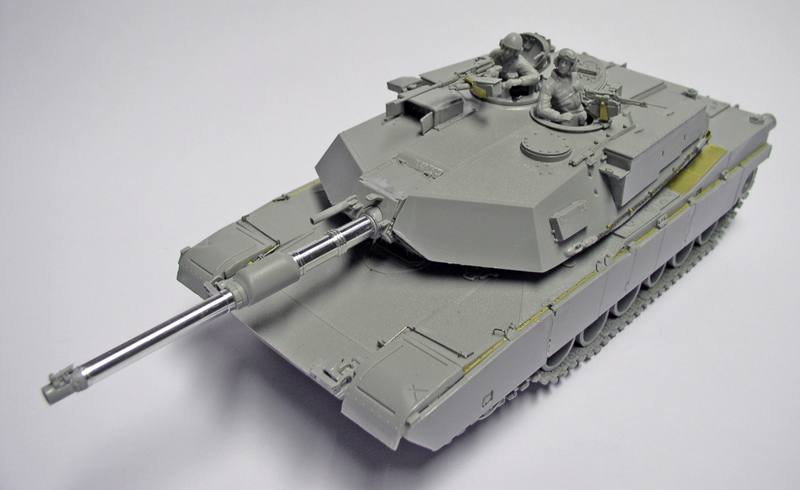
Modified figures complete the tank—just like in the original photo. The aluminum gun enhances the finish.
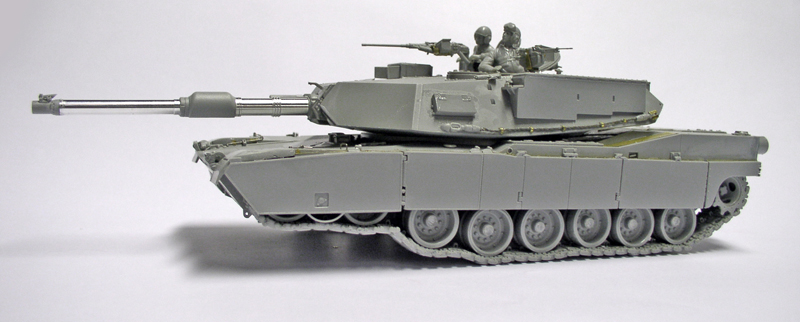
A side view, with the guards in place...
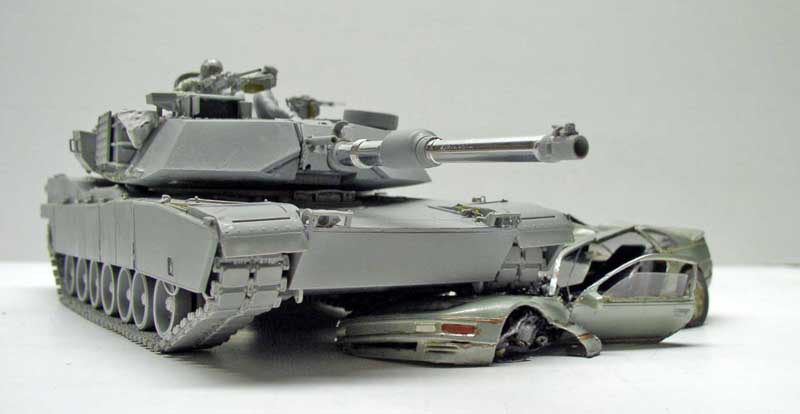
Positioning test...
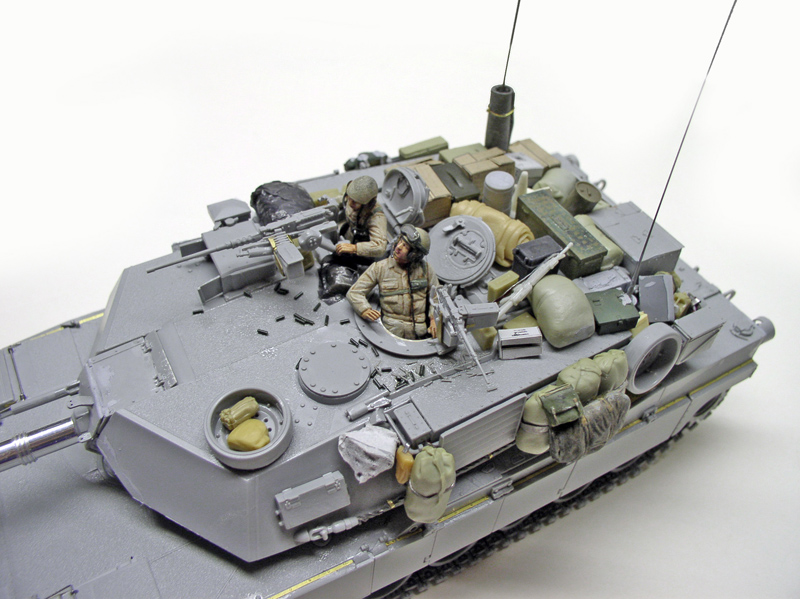
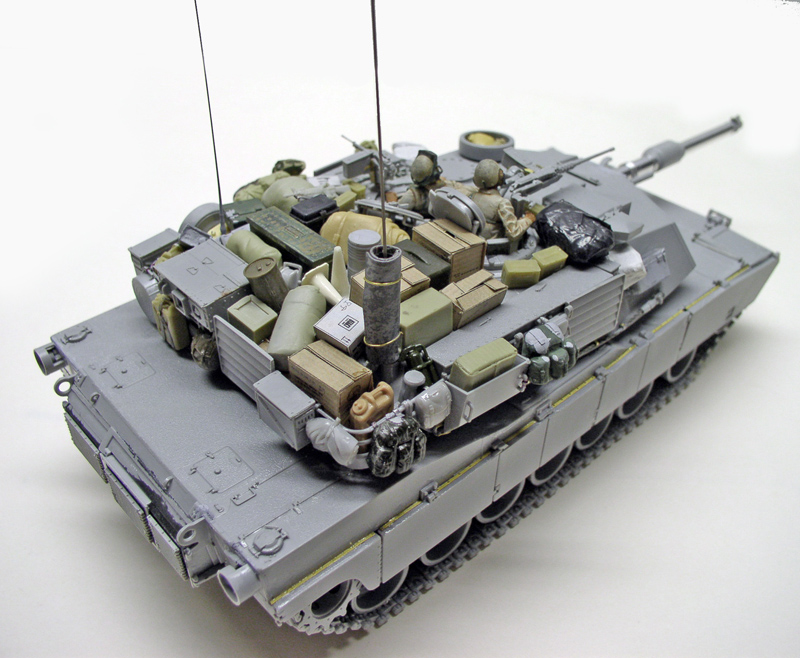
Installing the numerous accessories on the turret. The figures, which were painted separately, are positioned here only for the photo, as are some of the cardboard accessories, which were removed before painting...
Painting/Tank
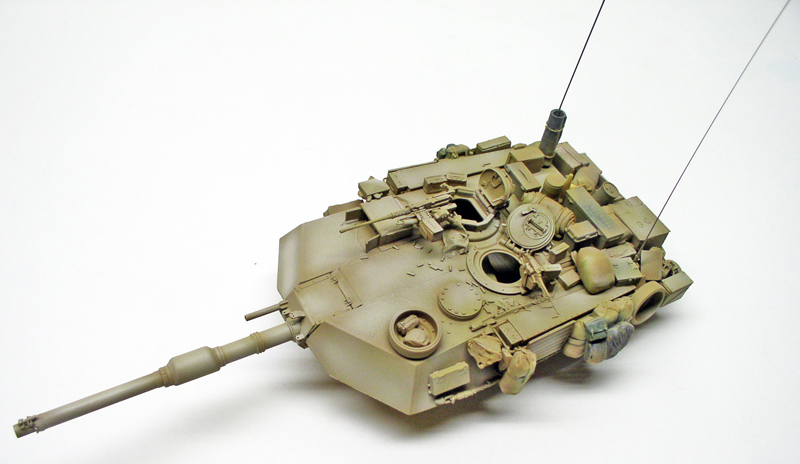
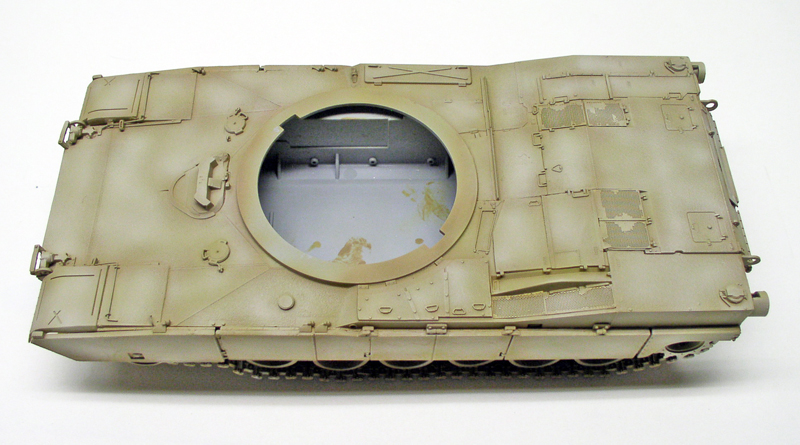
Humbrol Base 119 - 93 - 121 - 148. The last two were applied as highlights with an airbrush; you can clearly see the results in the photo above...
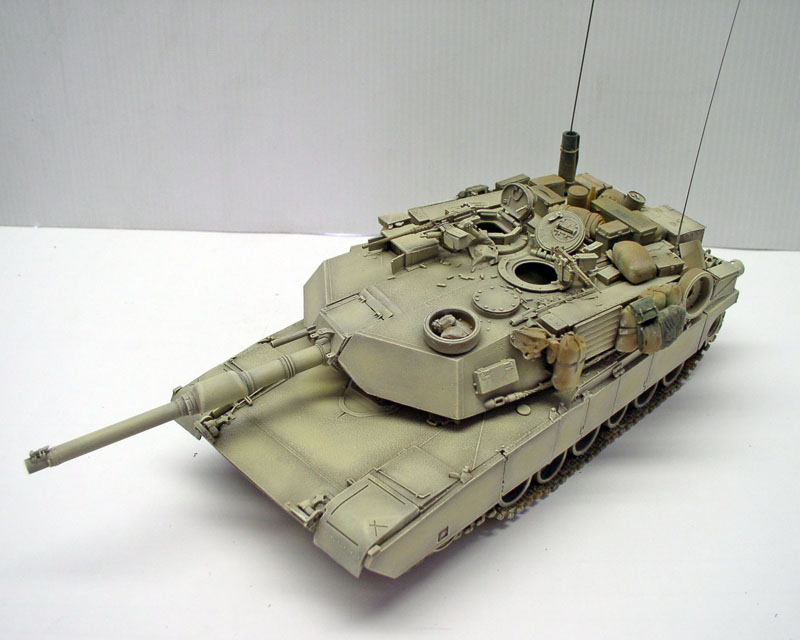
A view after applying the various coats of paint...
Decals
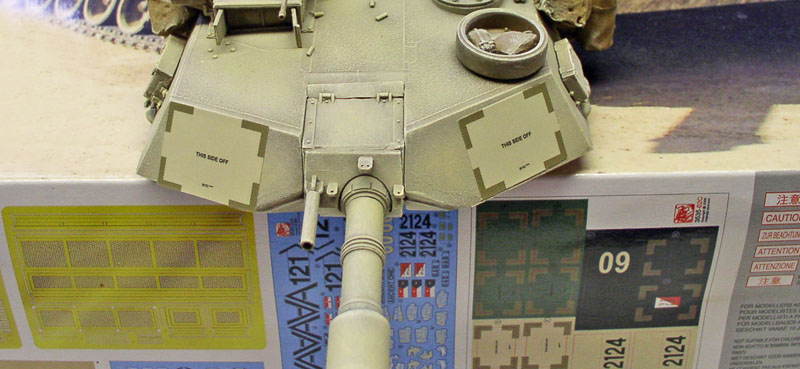
Placing the markers on the turret...
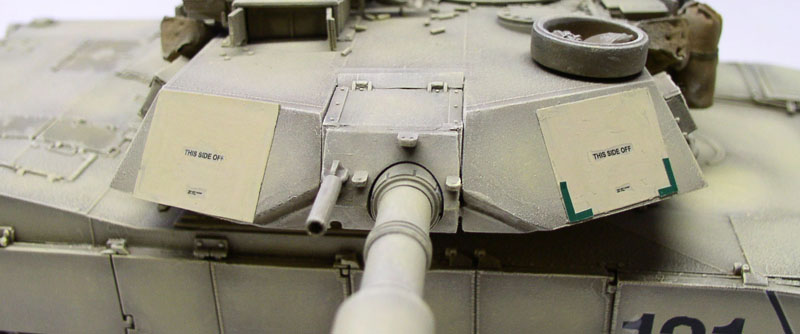
They have been touched up with paint, and the panel fasteners have been redone with architectural adhesive...
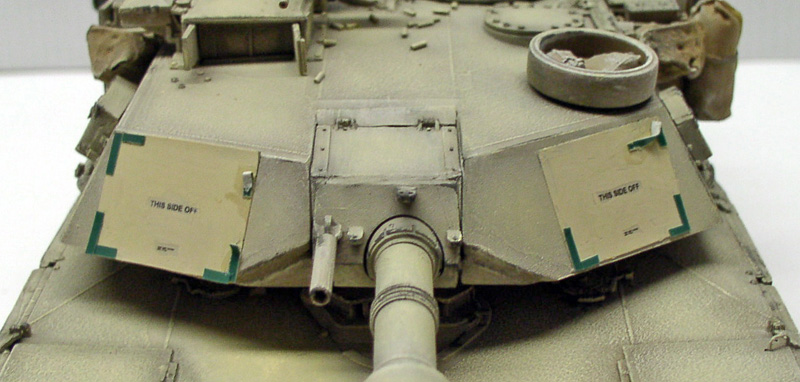
The adhesive is perfect for simulating worn-out fasteners...

Empty sleeves made of stretched plastic are placed near the turrets...
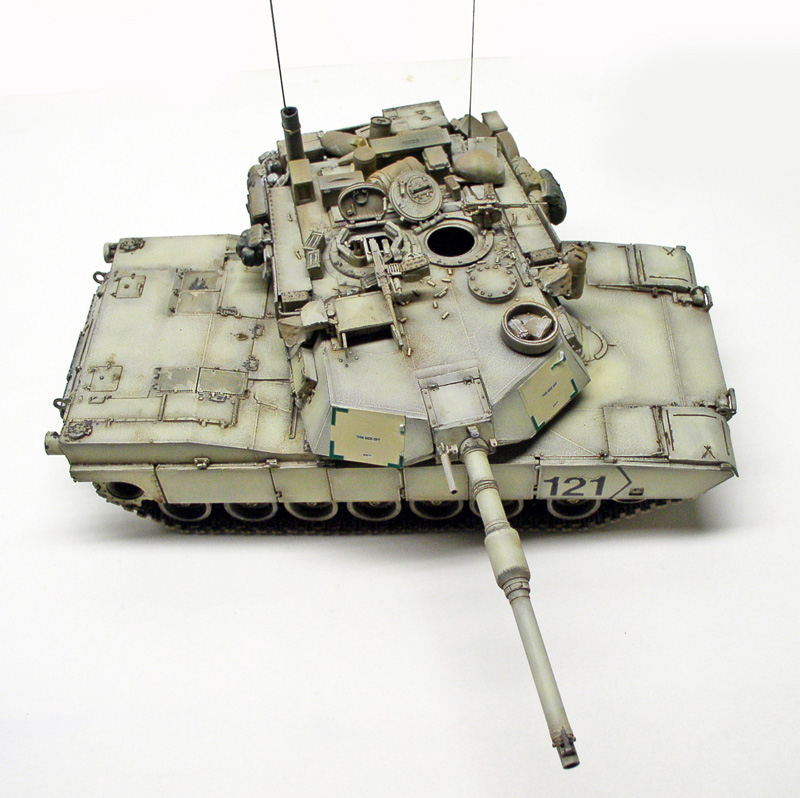
Gluing on the accessories and painting. The chipping effect is created using a fine brush and washes applied to the entire model to make everything stand out...
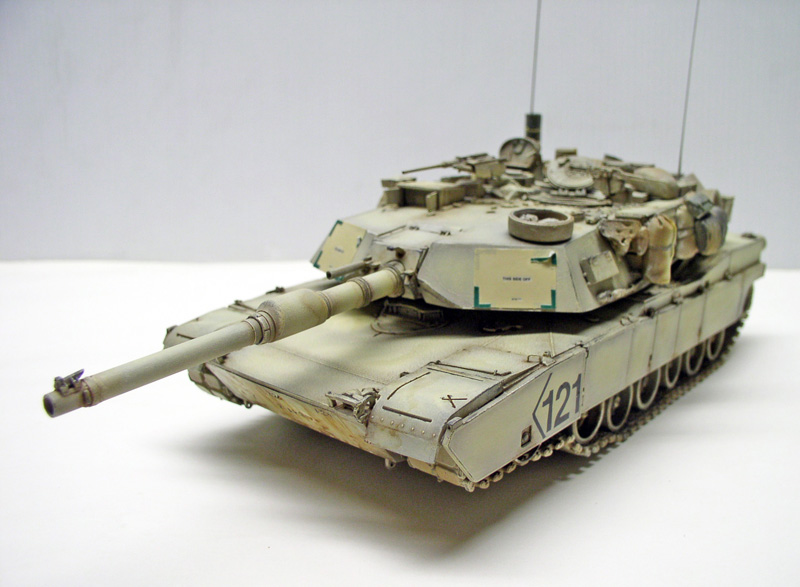
Applying the decals...
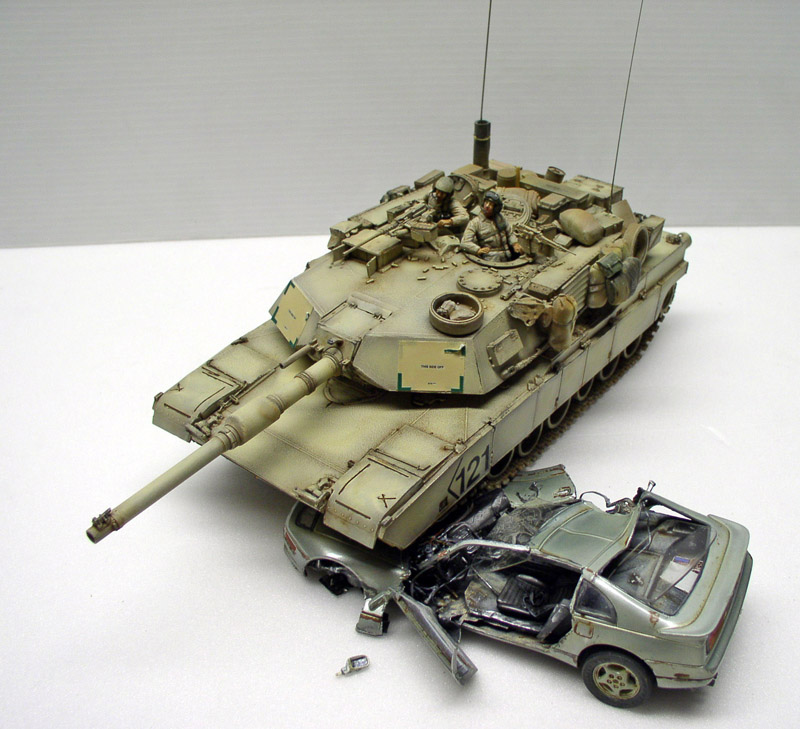
The tank, almost finished, is in position... The figures are glued in place...
The Setting
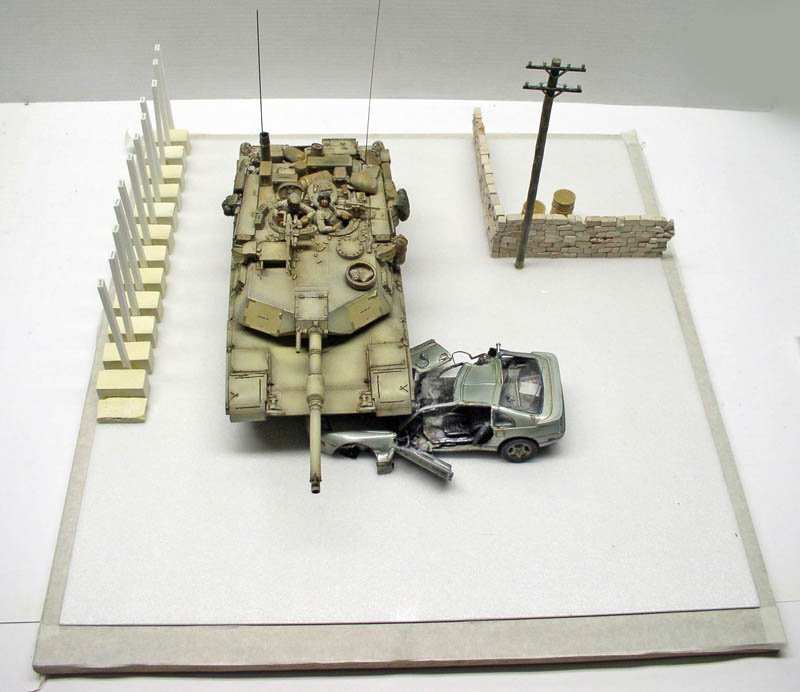
The base of the set is a piece of 5-mm plywood with a thin sheet of extruded polystyrene glued to it...
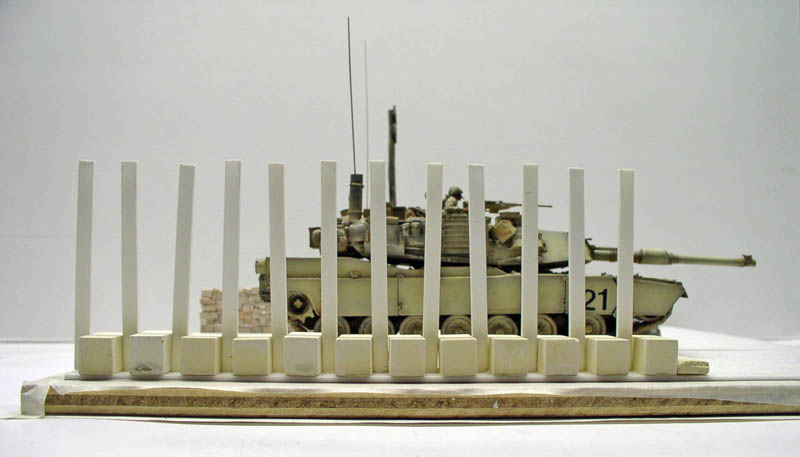
The low wall on the left is made from molded plaster blocks and Evergreen strips...
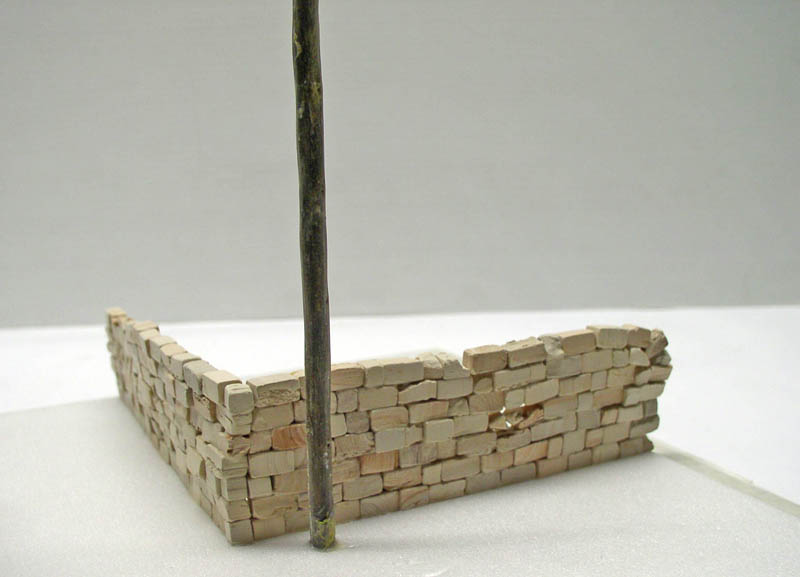
The small wall is made of briquettes glued together with wood glue. The post is from Italeri...
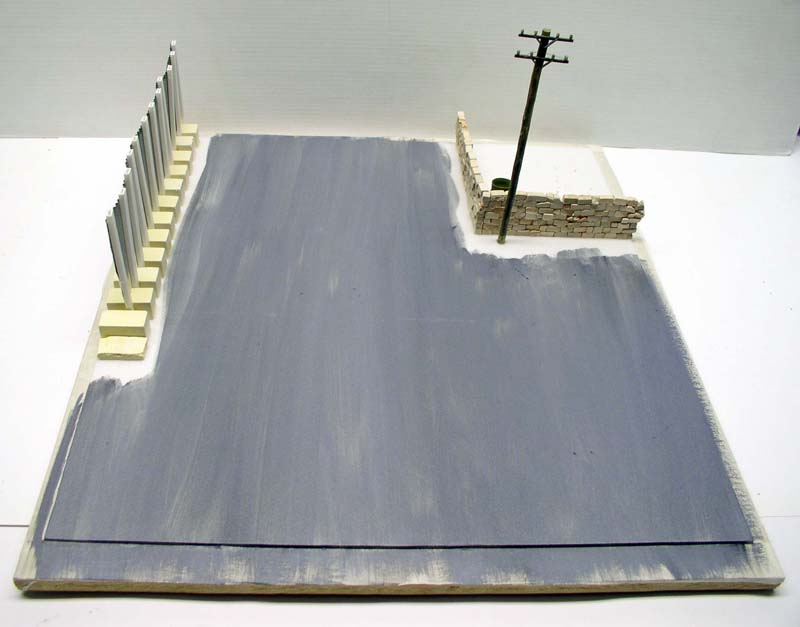
Paint the asphalt surface with acrylic paint (always avoid applying oil-based paint directly to polystyrene)...
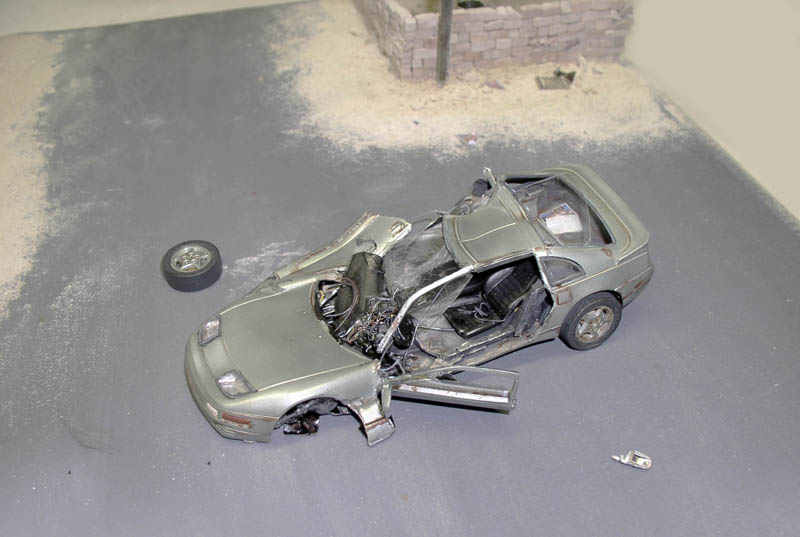
The car is glued to the diorama with wood glue...
The Palm Tree
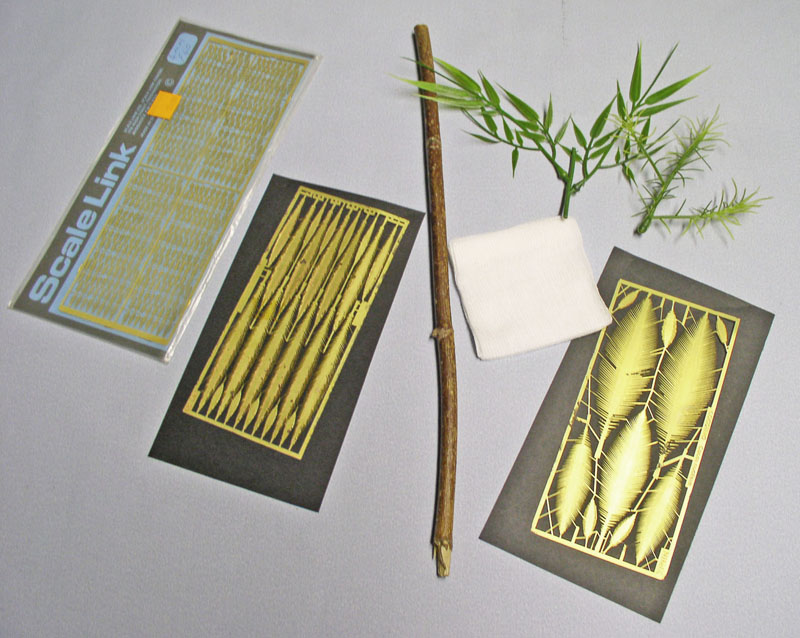
Here, a shrub branch for the trunk, some gauze, and an old ScaleLink kit...
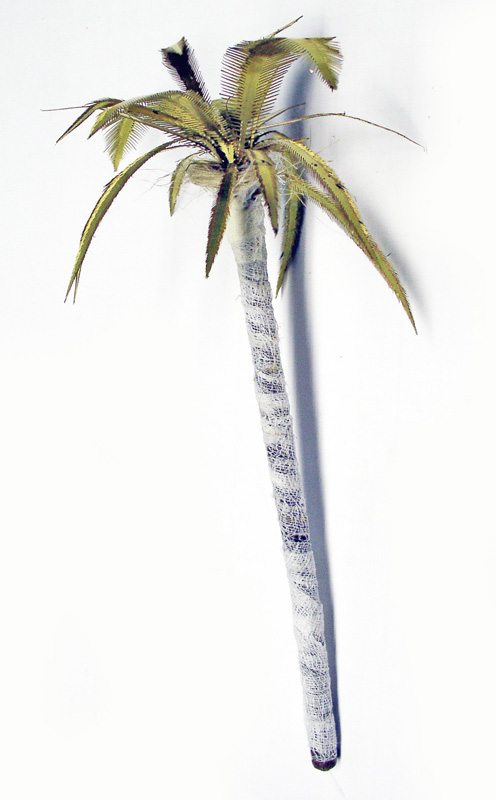
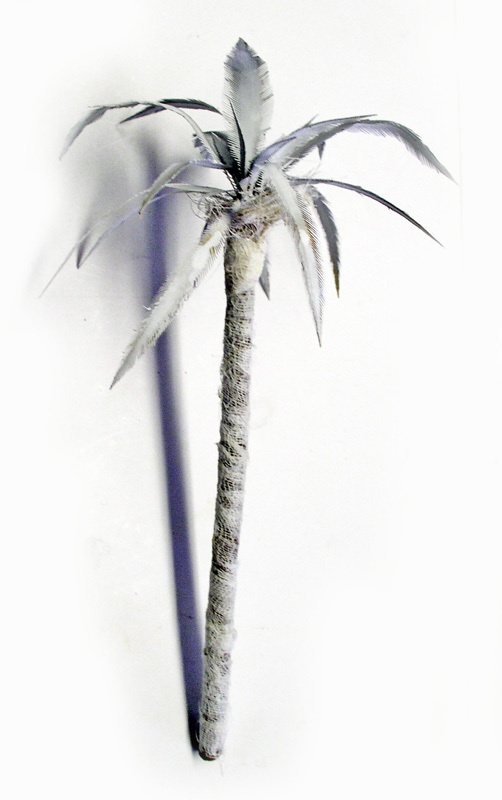
Wrap the trunk with a strip of gauze soaked in liquefied wood glue, overlapping it slightly with the previous strip. Finish under the leaves by wrapping them with plumber’s twine, which will mimic the palm tree’s fibers. Add a coat of primer, and then all that’s left is to paint!...
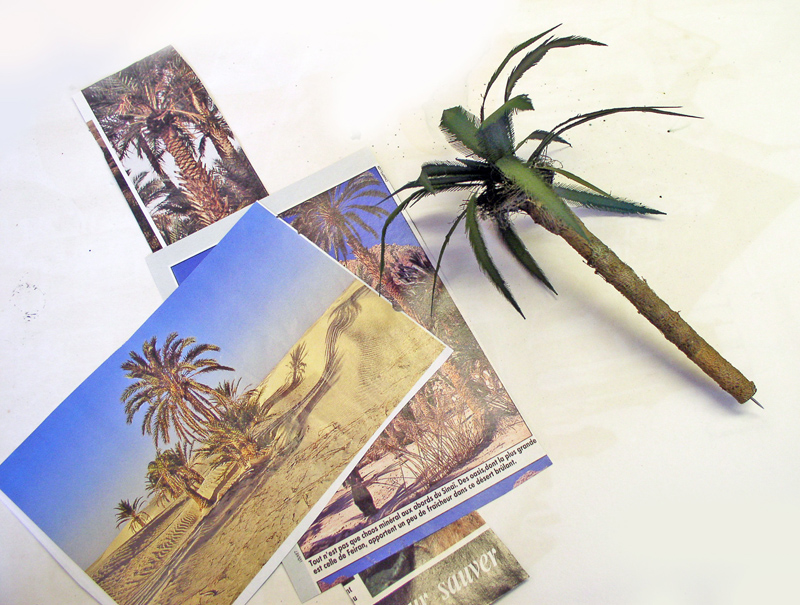
Once again, documentation is required...
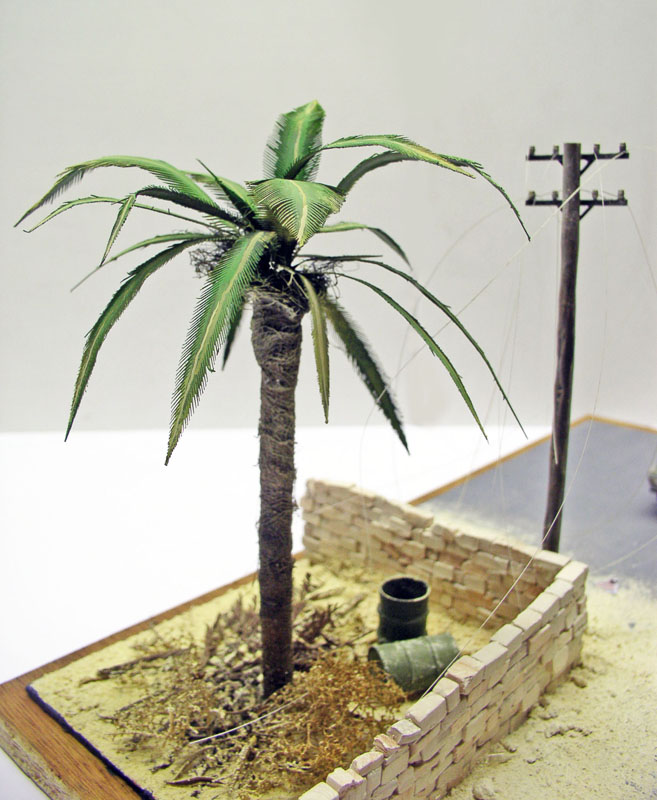
The palm tree in place; Despite the extremely high cost of this type of photo-etched part, the leaves were not included. This leaves two options: either make and glue them on, or paint them to look like they’re there. The second option was chosen...
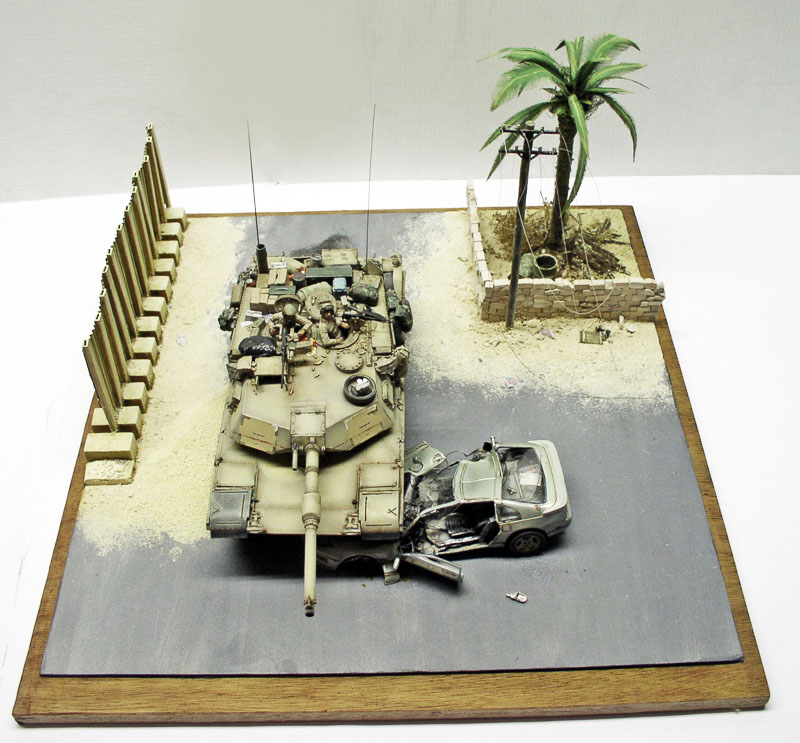
The diorama is finished...