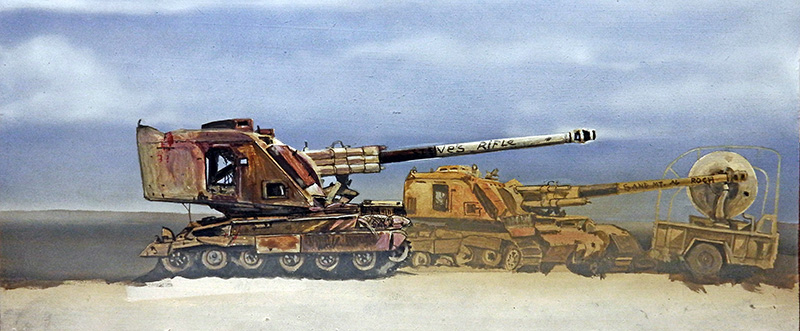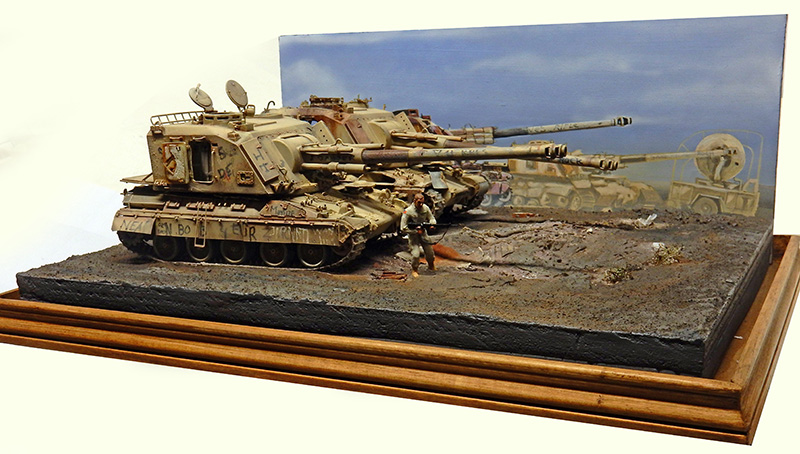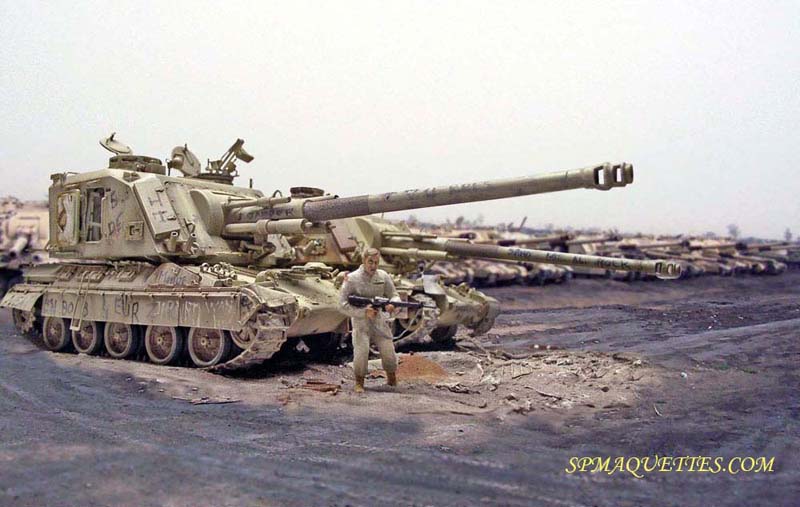
Two copies of the Heller kit will be used...
It's worth noting that since this tutorial was published, the MENG brand has released a superb, highly detailed 155 auf 1 model...
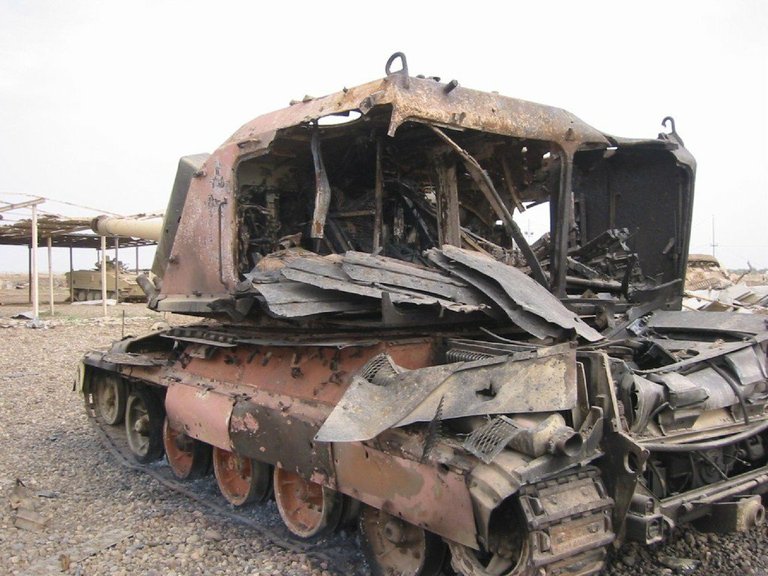
Above: two of the many photos that helped determine the choice of tanks for the diorama...
editing/char1
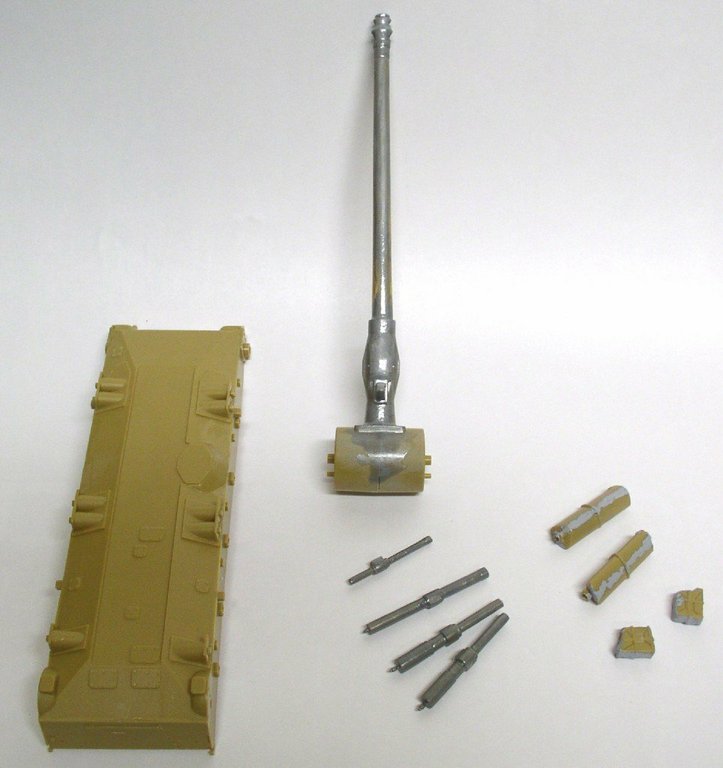
Start by gluing the two-piece parts together, then fill and paint to cover up any imperfections...
Big problem: the two lenses from the two boxes—even though they were bought a year apart from different retailers—are... warped! They're unusable!!
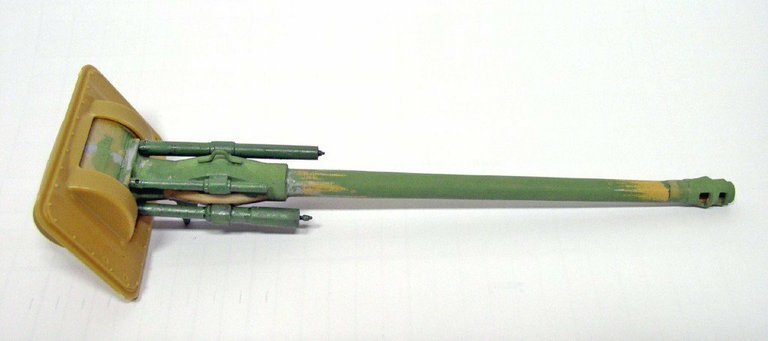
The barrels are sawed off at the base and at the muzzle brake and replaced with paintbrush handles!
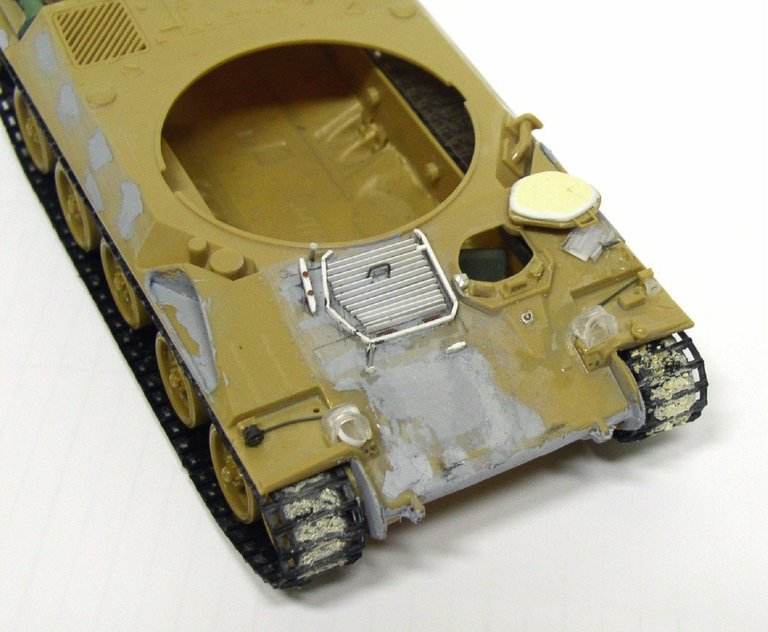
The visible track pads are cut out with a utility knife, and then the removed pieces are sprinkled with sand on a base of white glue to show wear...
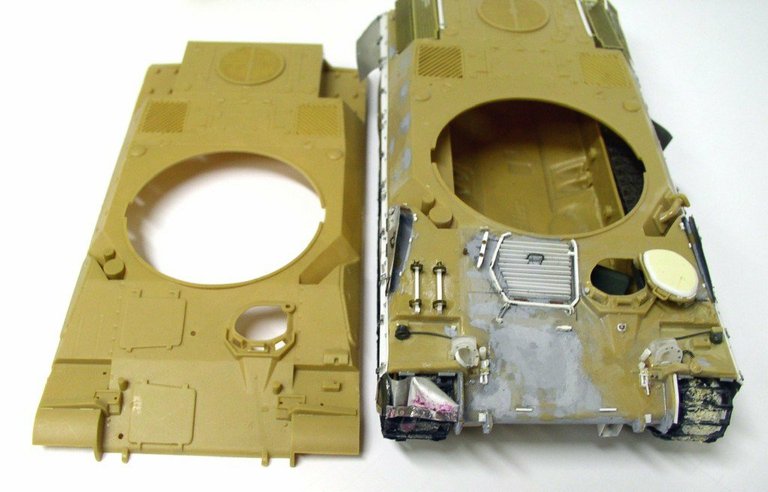
The two glacis from the kit. The original on the left and the modified version—AMX 32—Middle East...
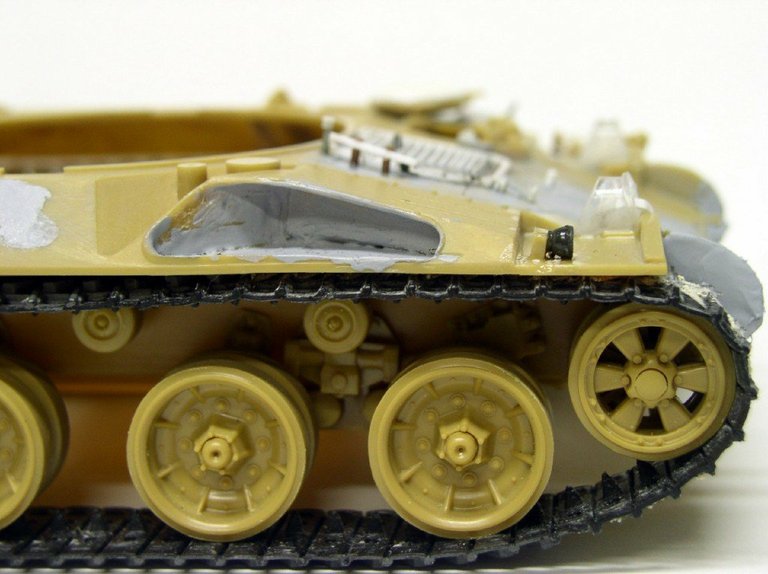
The toolboxes are hollowed out and divided into compartments on the inside...
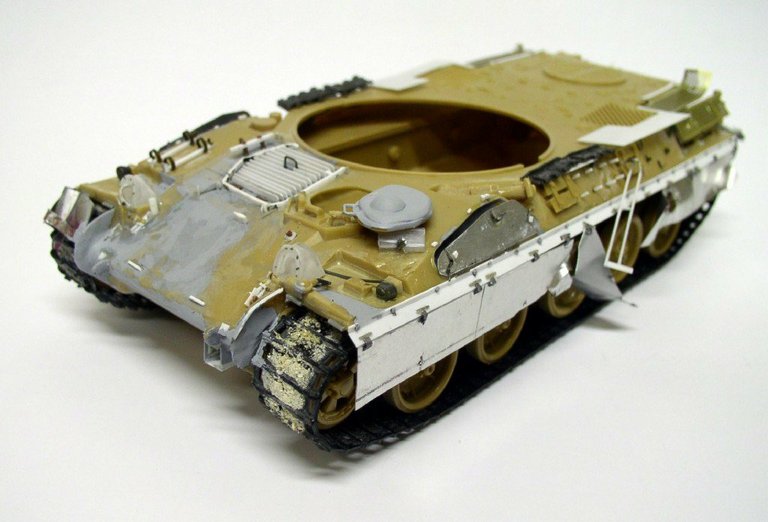
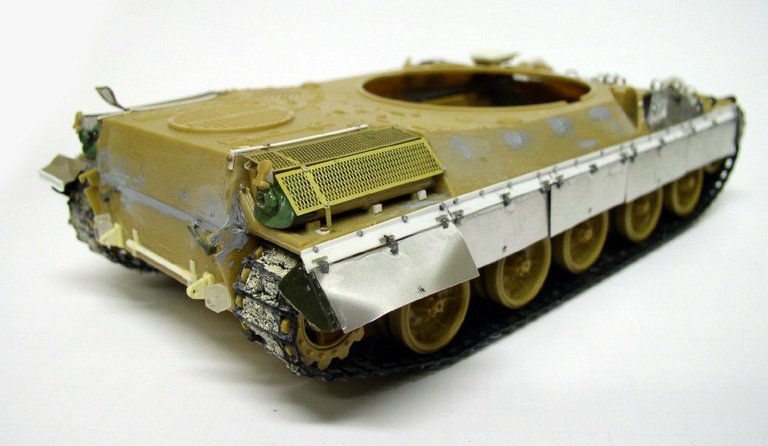
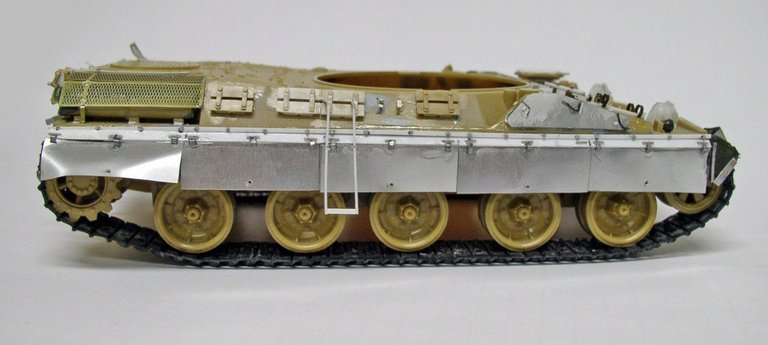
Three views of the installation of the aluminum sheet fenders and the trunk lids. Note the photo-etched exhaust pipe guards provided by Heller...
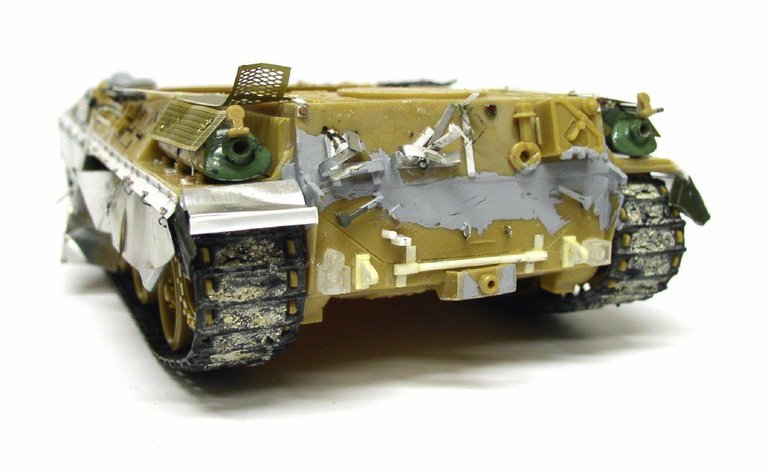
Additional views of the detailed work on the entire body. Some parts have been refined, while others have been removed and replaced with new ones...
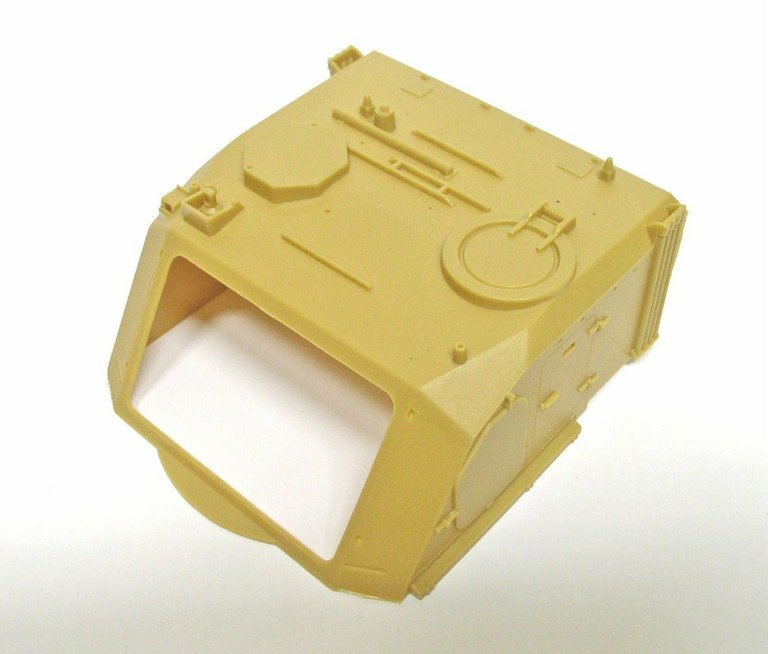
The turret from the kit...
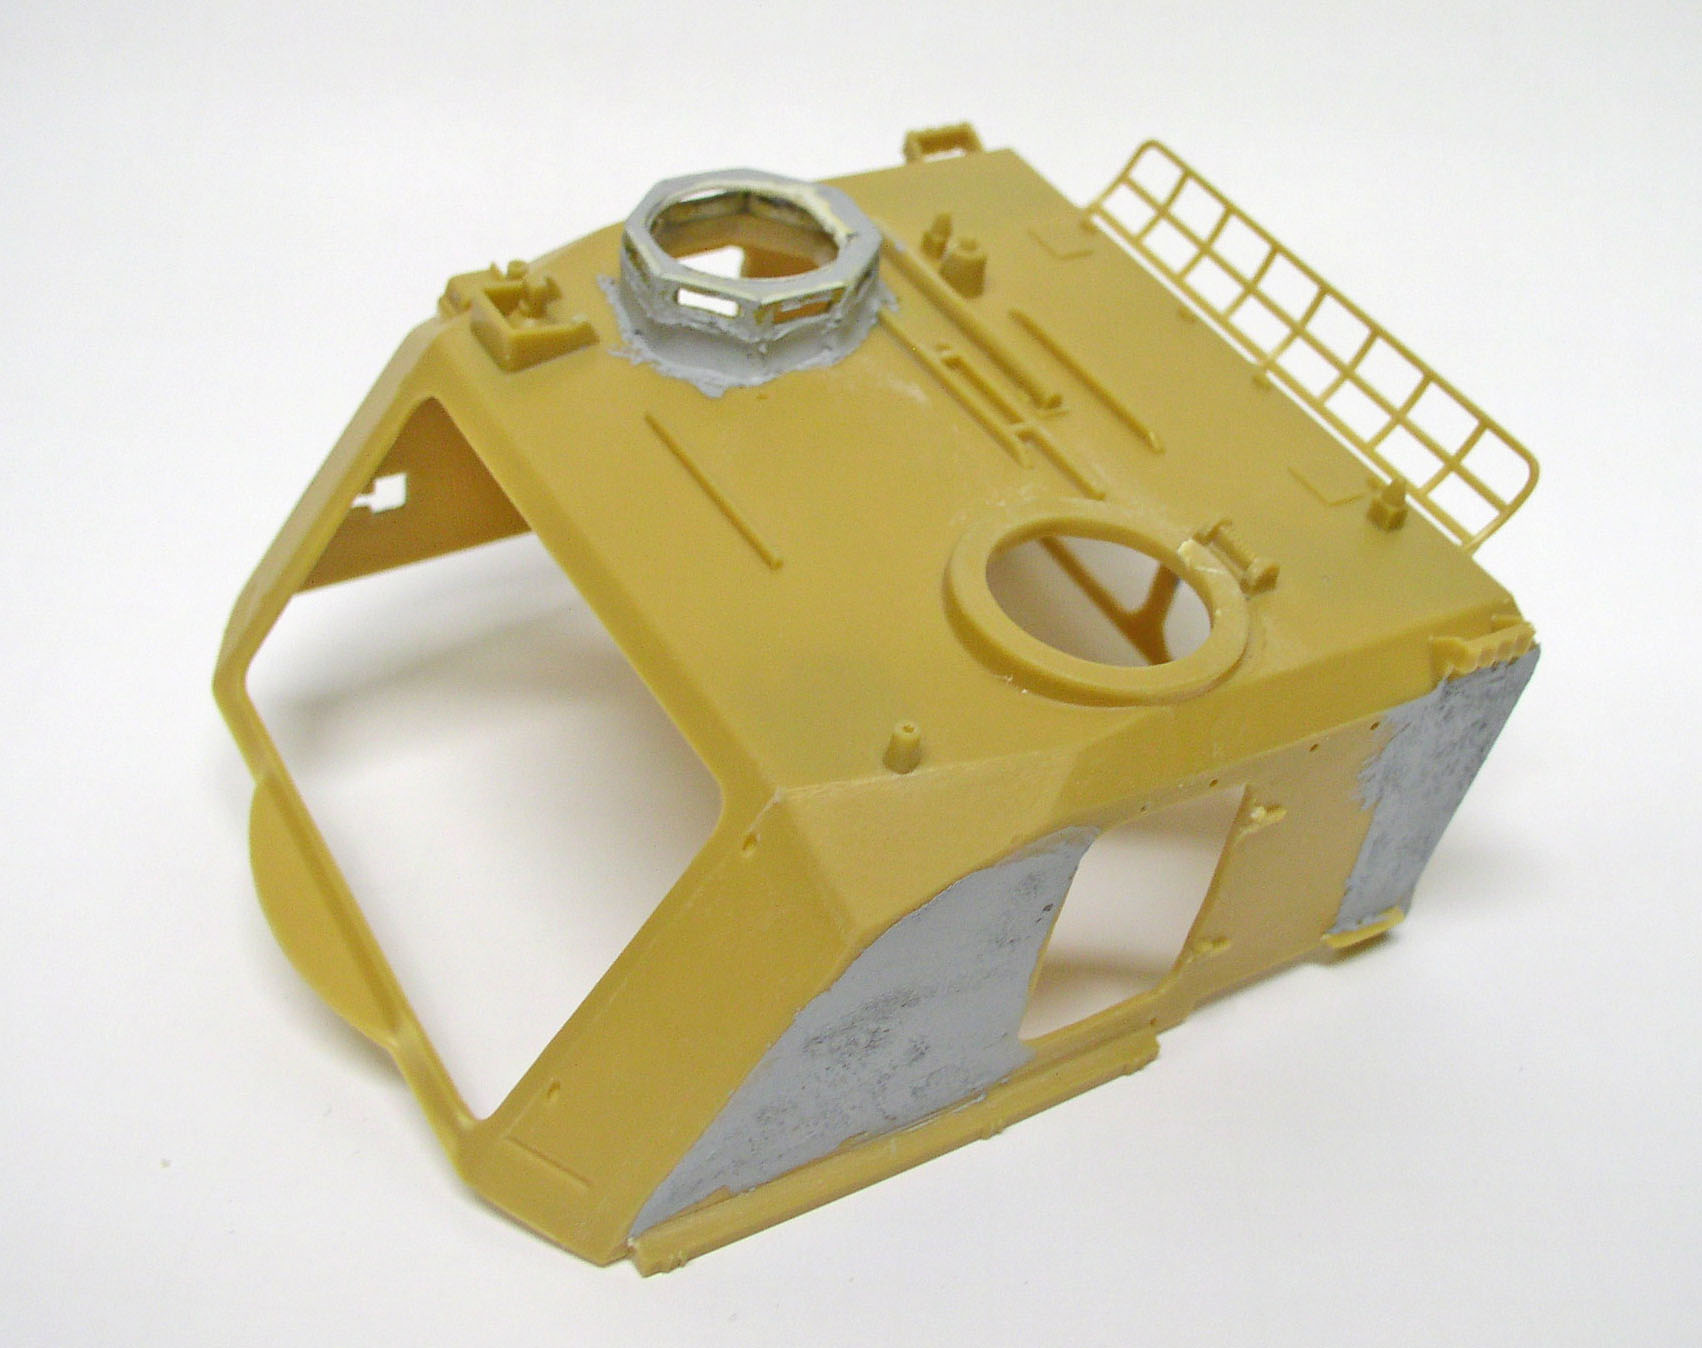
The hardest part starts here. First, hollow out all the openings. Then rebuild the fire control turret, which isn't very well designed in this model... Next, remove the side armor plate and the tool bars...
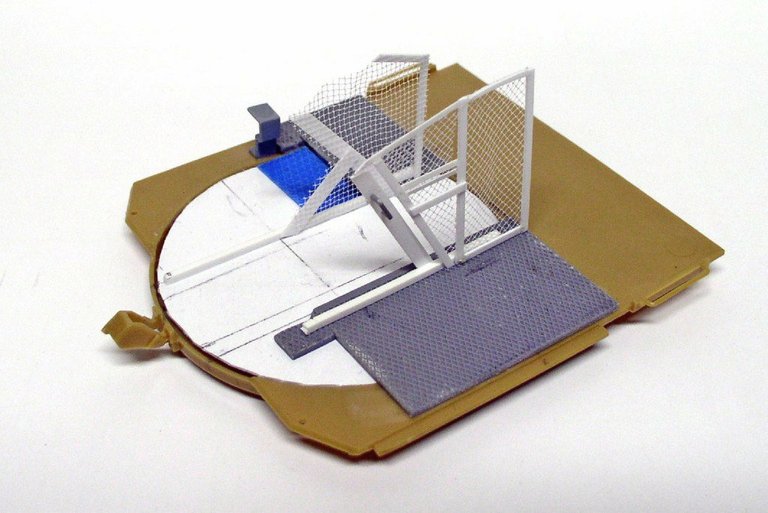
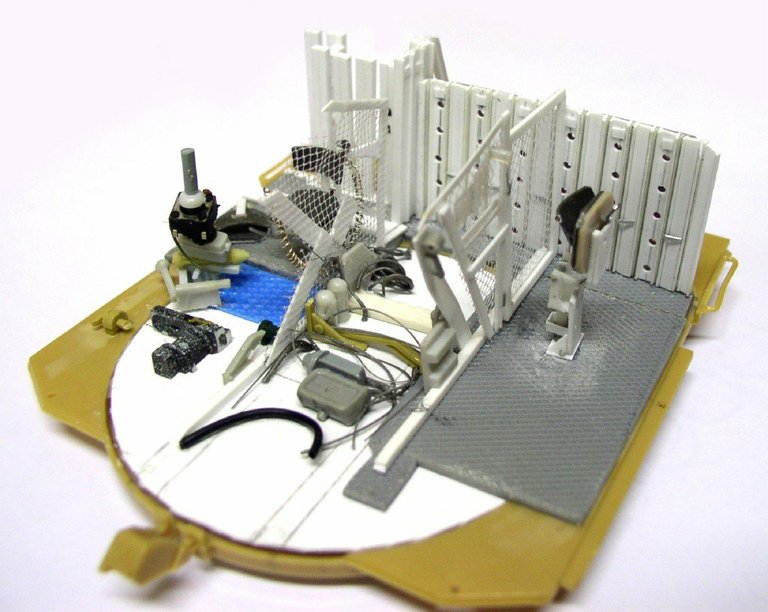
The hole at the base of the turret has been closed, and a floor has been installed. Installation of the partitions separating the breech from the gun and the crew members...
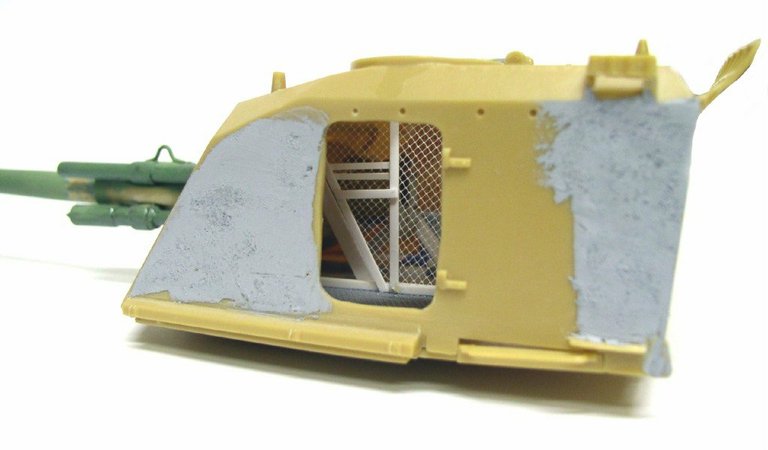
"Dry run" of the entire system...
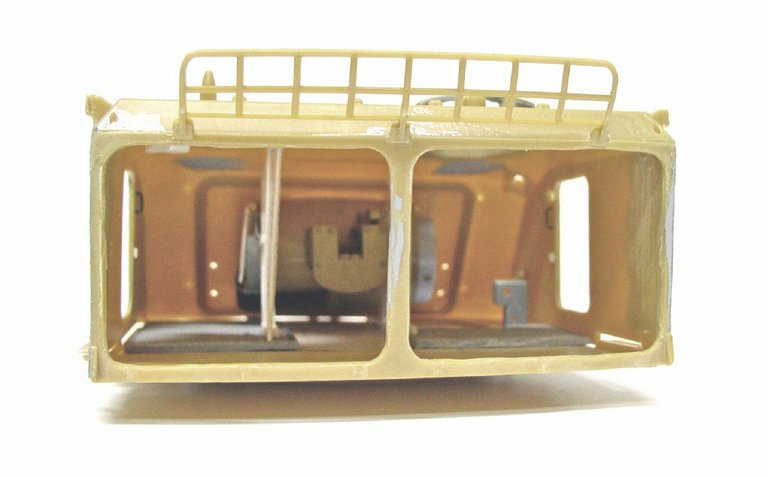
Another view...
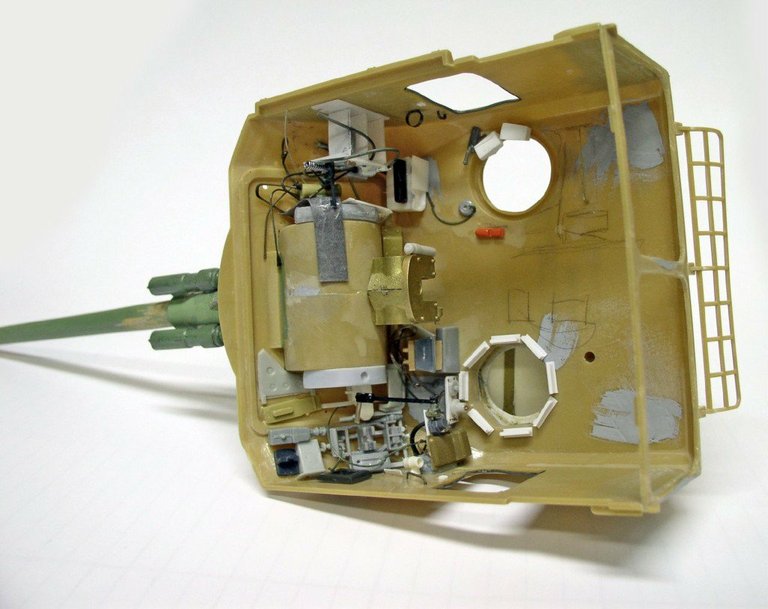
Starting to add detail to the turret ceiling. It’s a complicated job—some parts can only be glued to the floor, others to the ceiling, and everything has to fit together without breaking when the two halves of the turret are glued together!
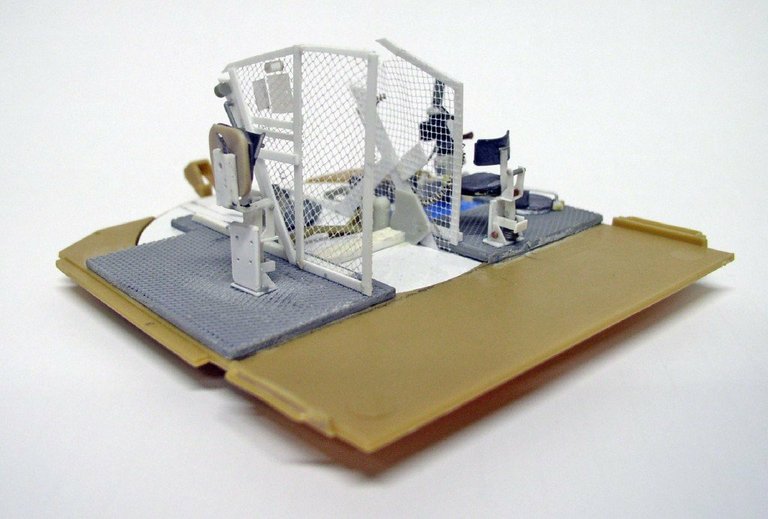
Manufacturing and installation of seats...
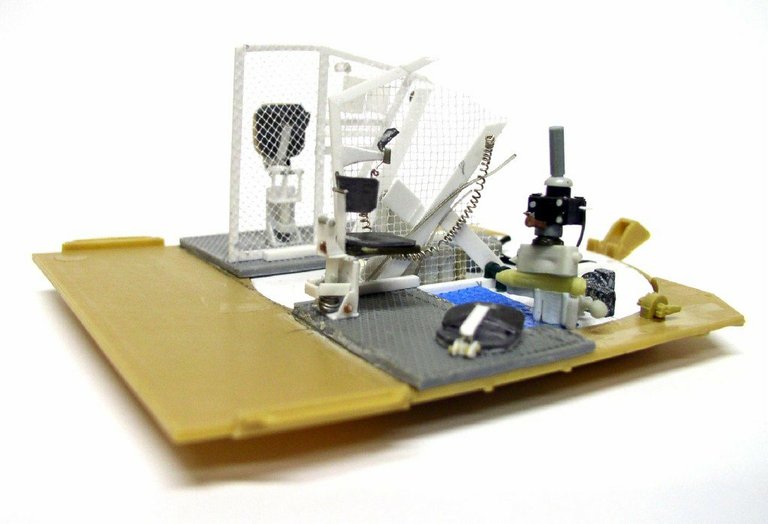
Another view...
The interior is starting to take shape...
Manufacturing the Evergreen plastic ammunition compartment...
Two photos of the ammunition compartment mounted on the turret floor...
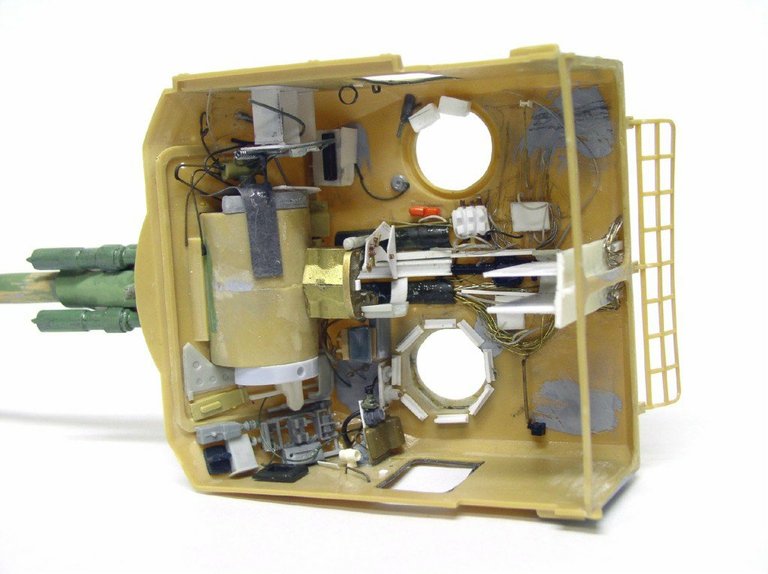
The interior of the completed turret, including the wiring and the automatic loading rail...
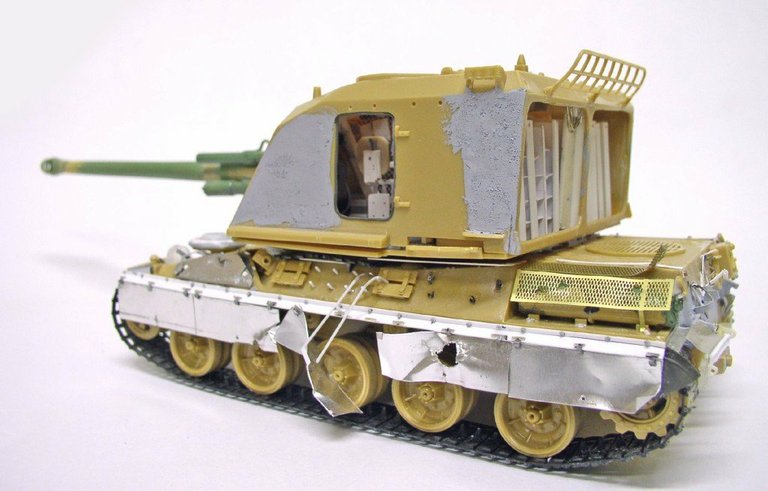
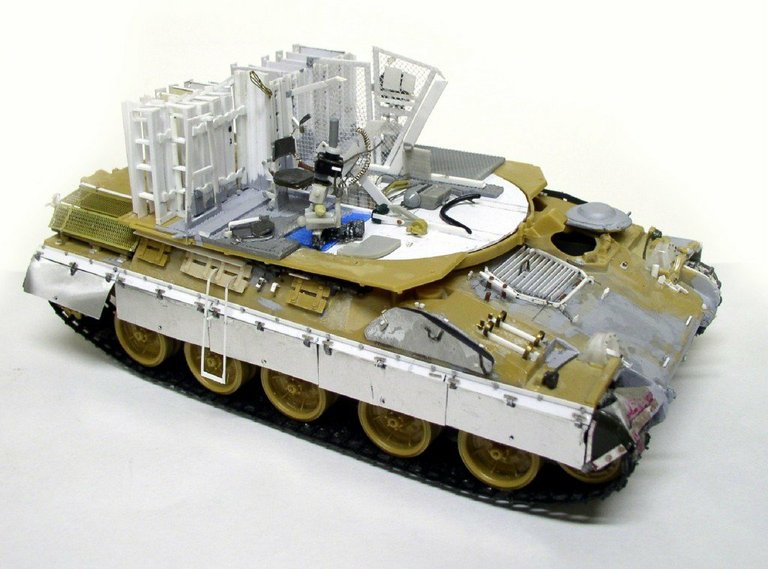
Testing the turret installation...
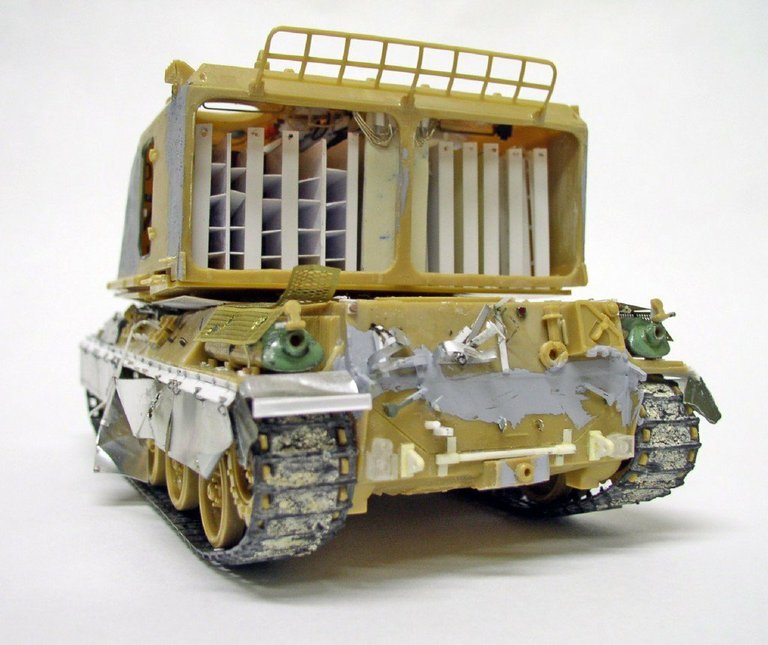
The uneven alignment of the "shelves" is intentional, as they are movable...
Painting/Interiors/Car 1
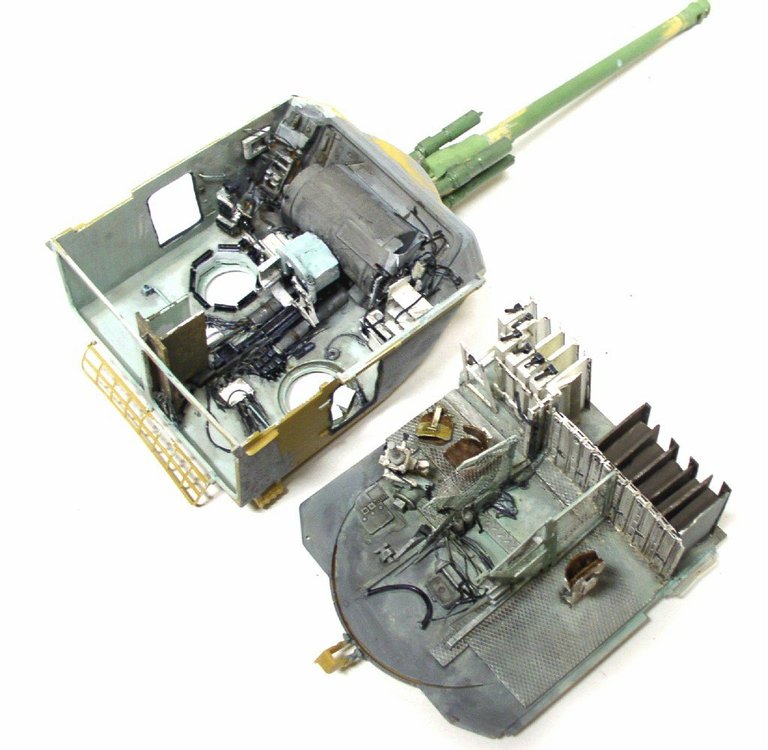
The interior of the turret is painted and shaded before final assembly...
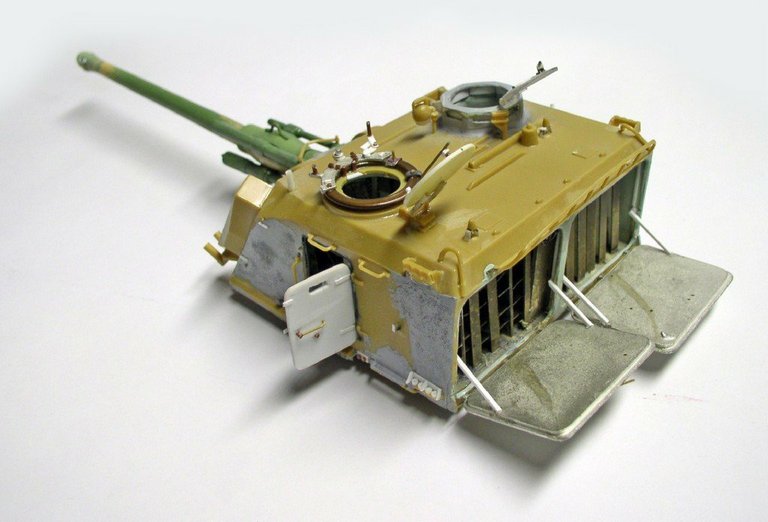
Once the interior is finished, work on the exterior details continues...
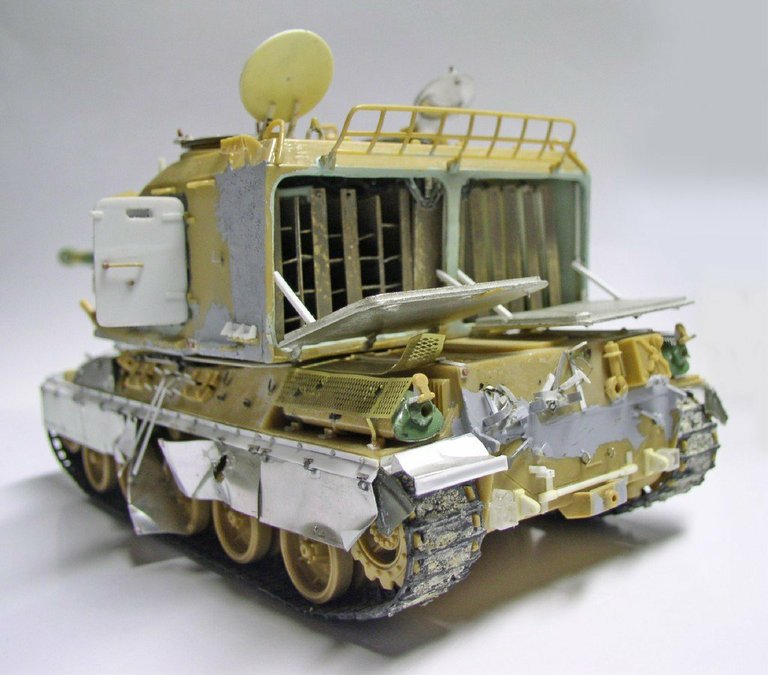
The side doors are made of plastic sheet, while a rubber gasket is glued to the recessed areas. The lead ammunition panels included in the kit are then glued in place using new fasteners...
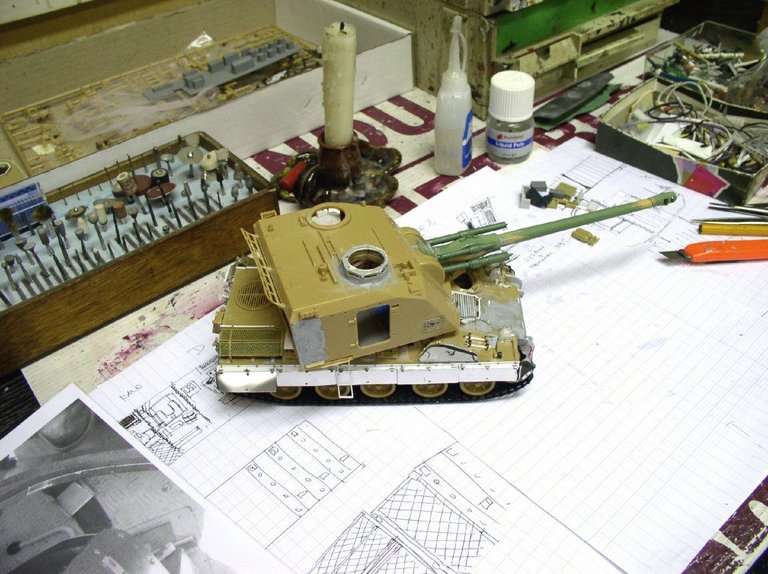
View of the work surface. Drawings are essential for making sense of all this chaos!
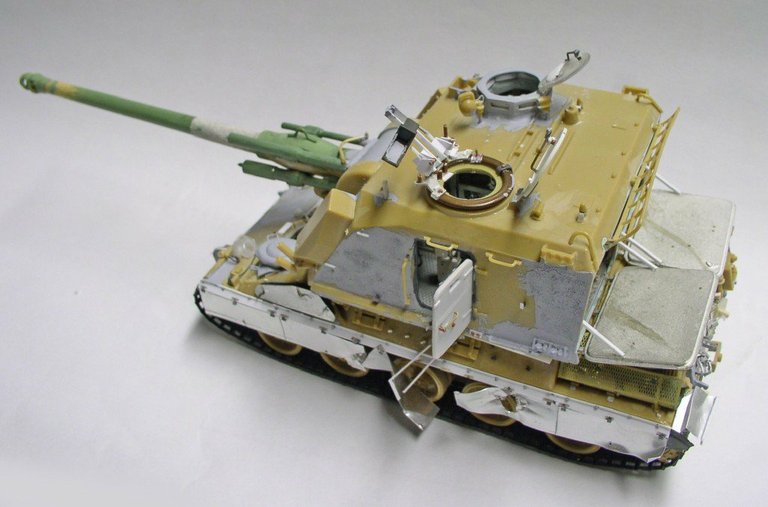
Assembly and gluing of the turret machine gun mount...
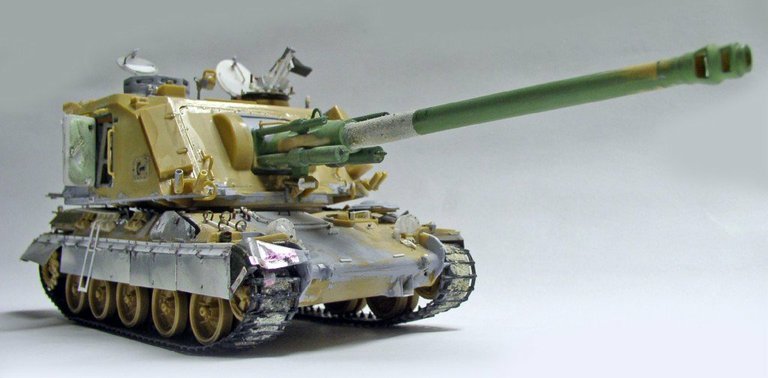
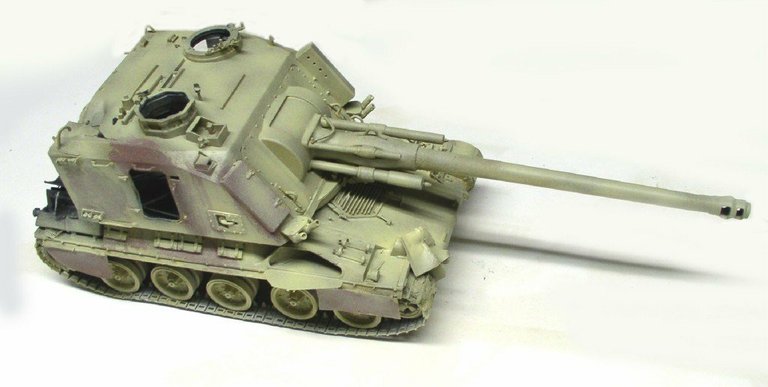
The first tank is finally finished! Phew!
Editing/char2
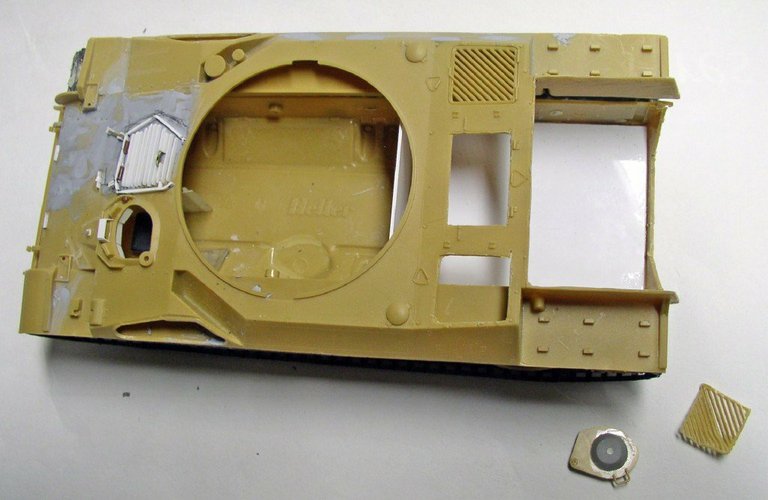
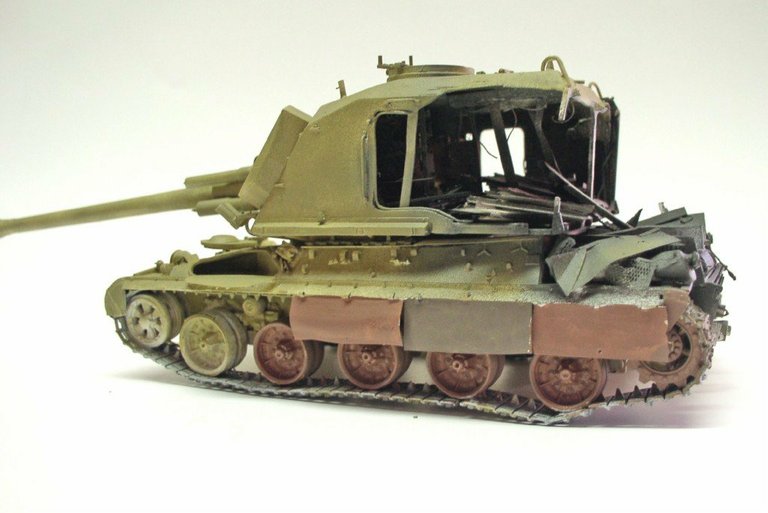
The body of the second vehicle is undergoing the same restoration process, except for the engine compartment, which is severely damaged (so, the more we tear down, the more we have to rebuild!)...
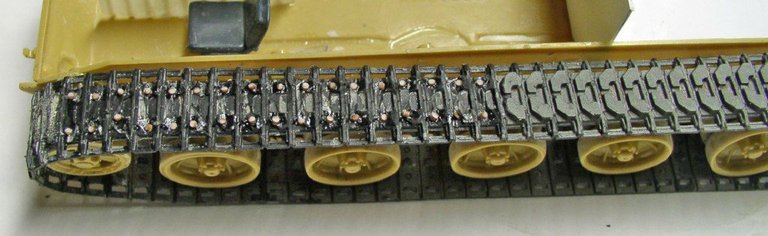
Since part of the piece had burned, the visible pads on the left track were removed with a utility knife and replaced with the fasteners... The rubber treads on the burned wheels were removed with a sander...
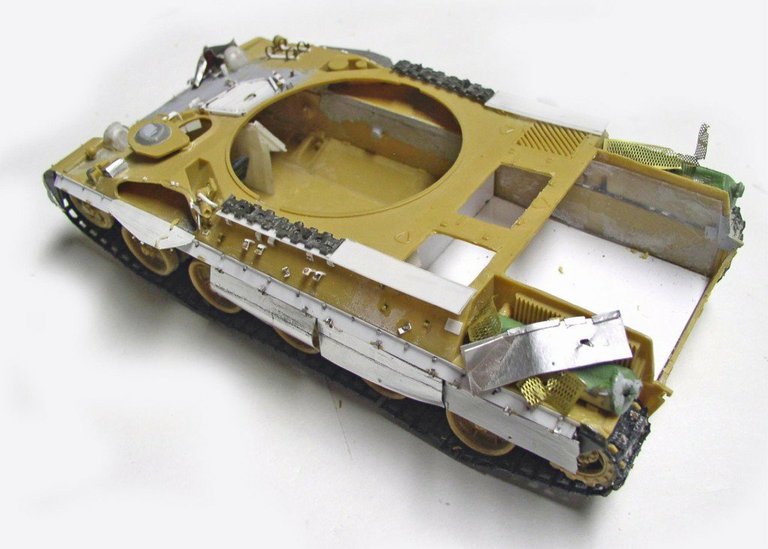
The rear shelf is recessed and lined...
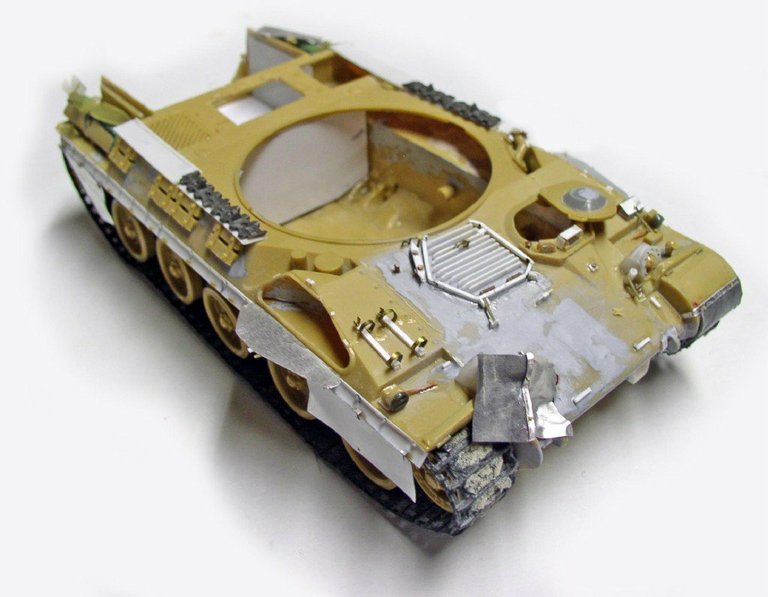
Detailed view of the glacis...
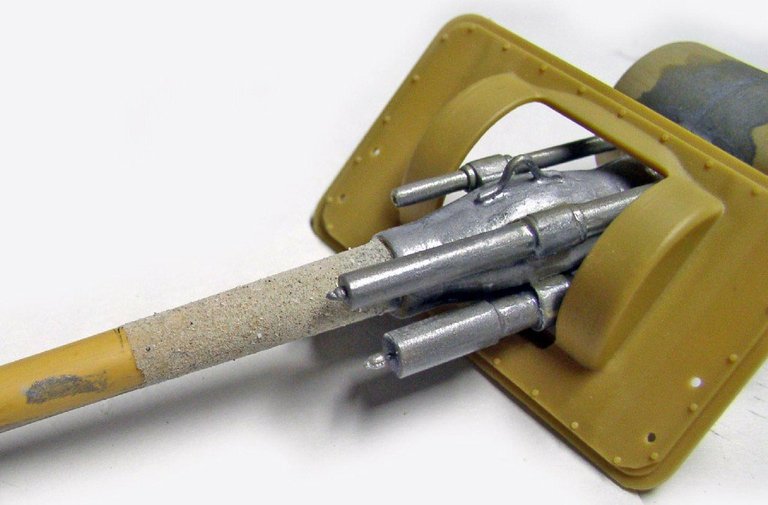
The barrel sleeves are sanded with white glue...
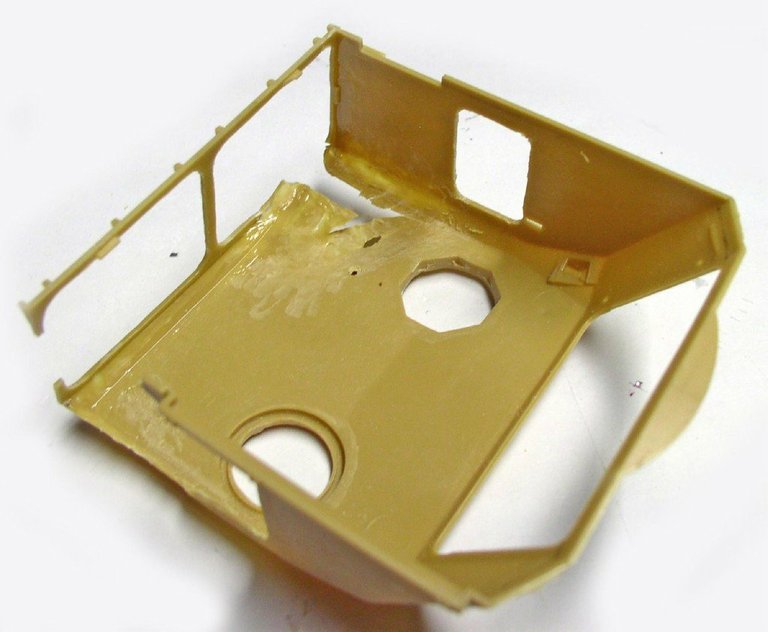
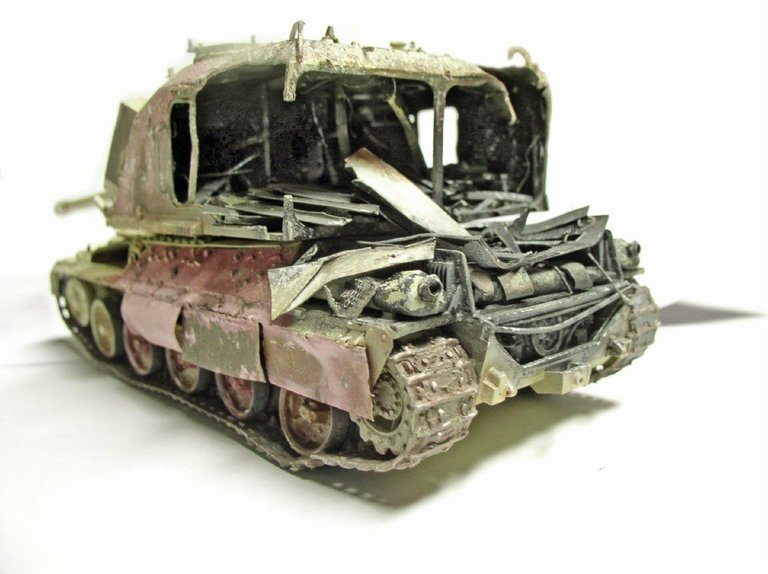
The second turret... Heavily damaged!
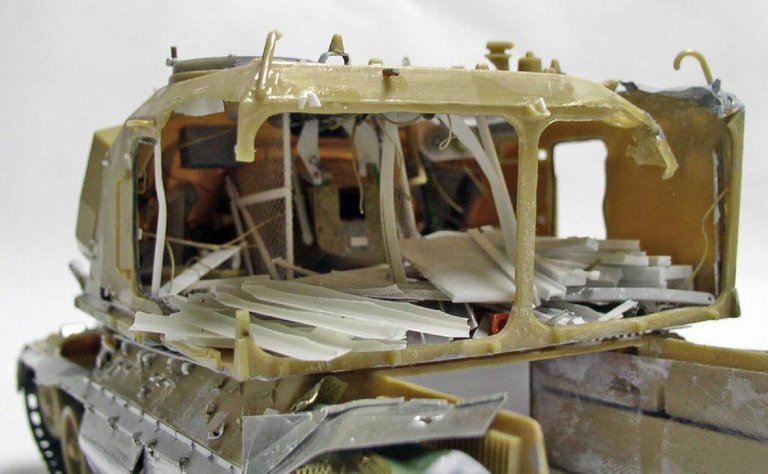
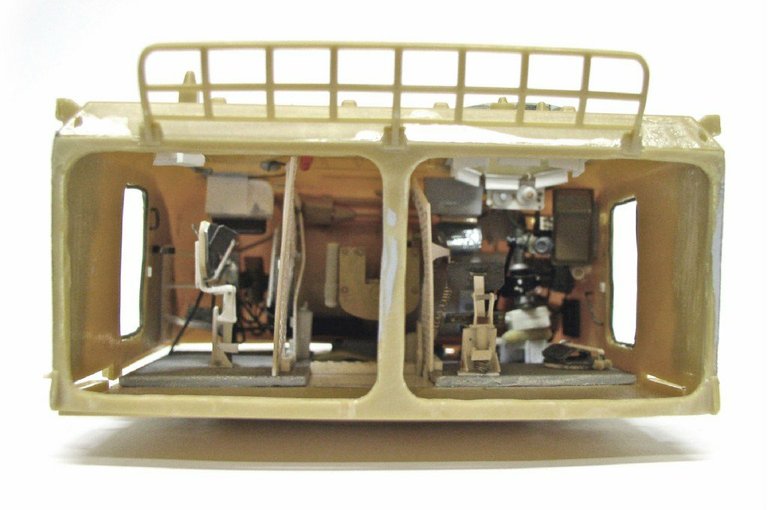
A view of the interior after the various parts have been assembled...
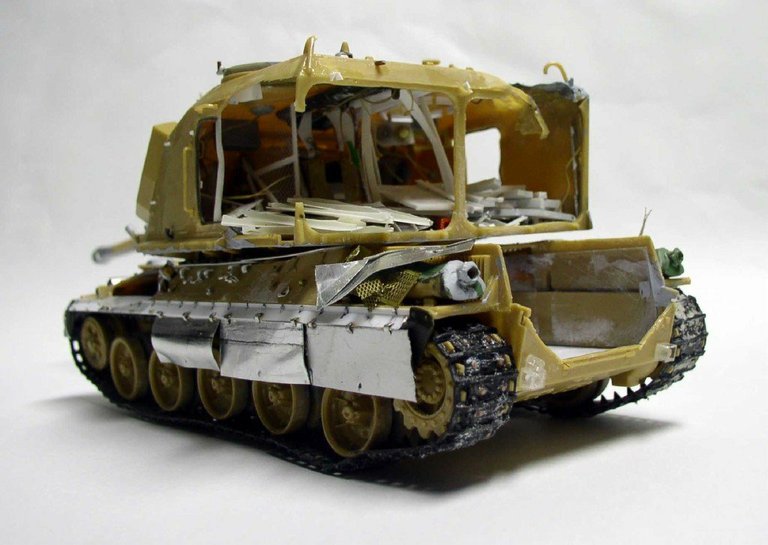
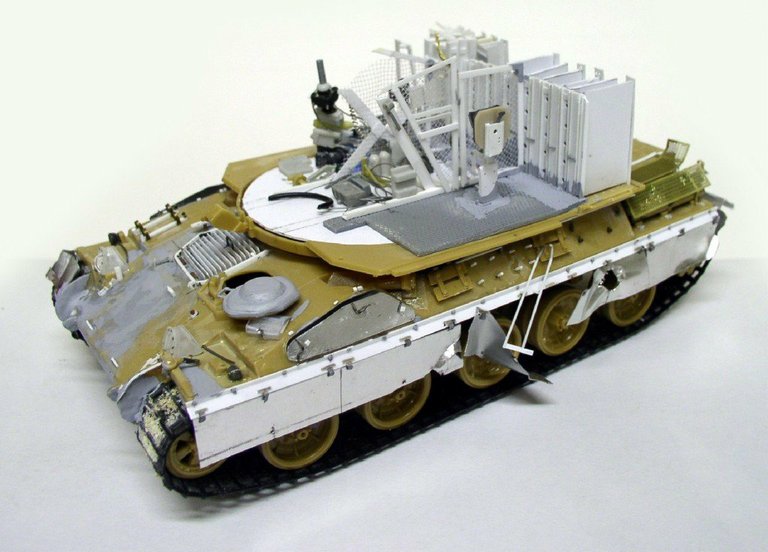
Turret positioning test...
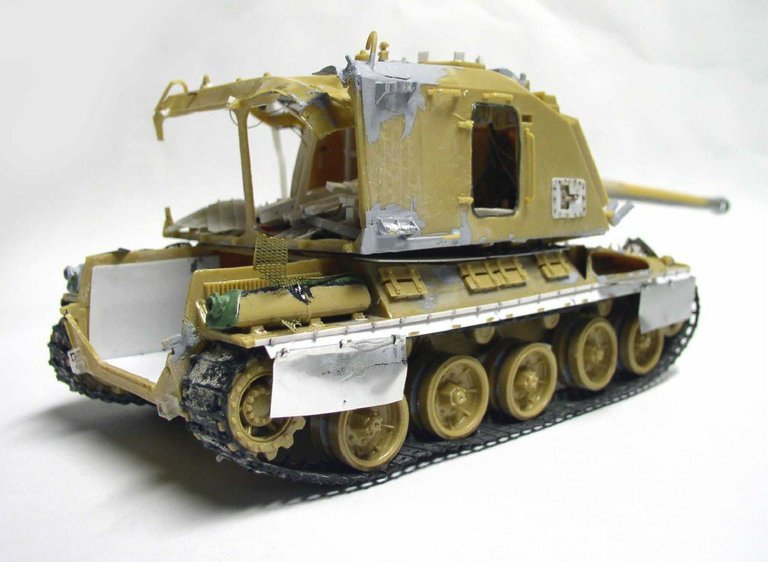
Another view...
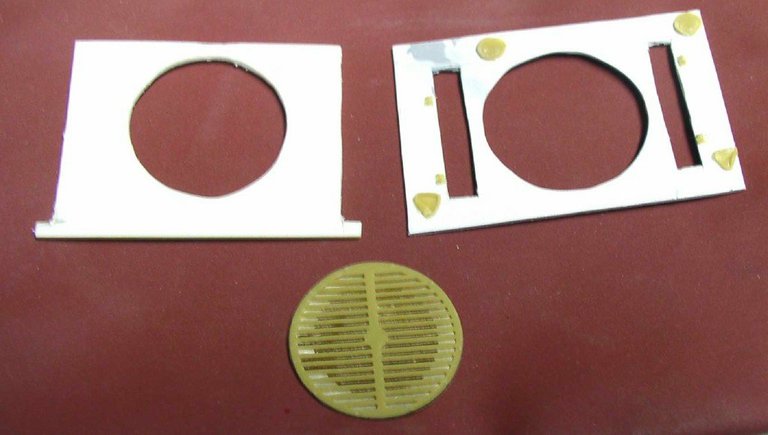
Manufacturing the various engine plates from plastic sheet. The grille from the original kit is cut out and saved...
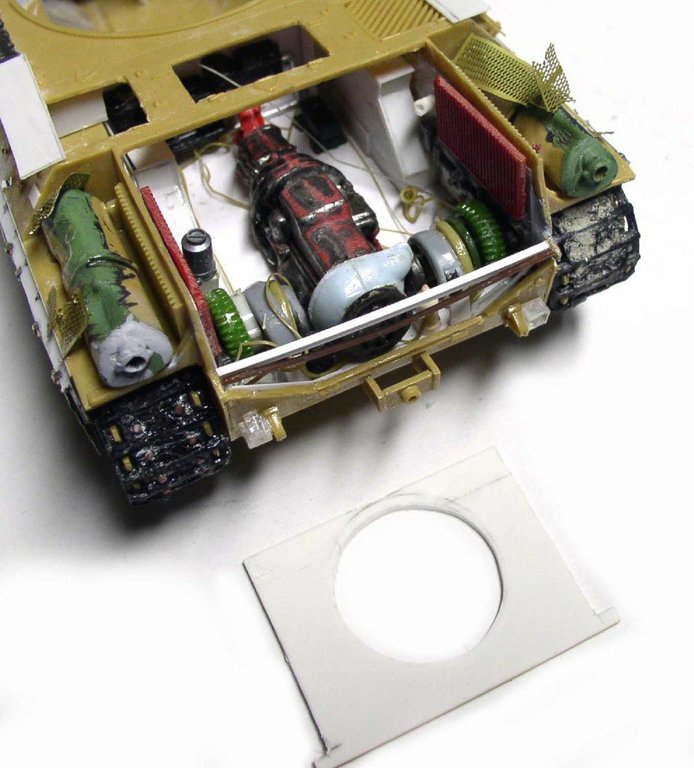
Installation of the engine, transmission, and side air vents... Here, precision isn't a top priority, since most of it will be hidden...
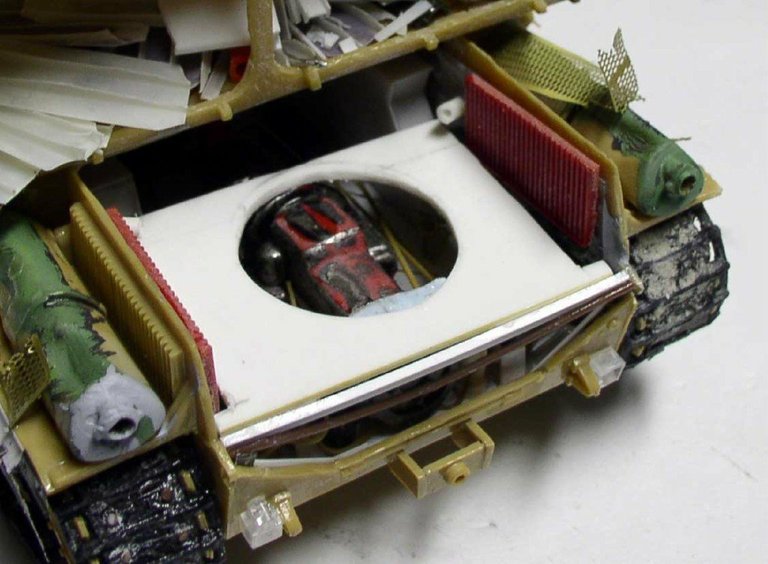
Installation of the first floor...
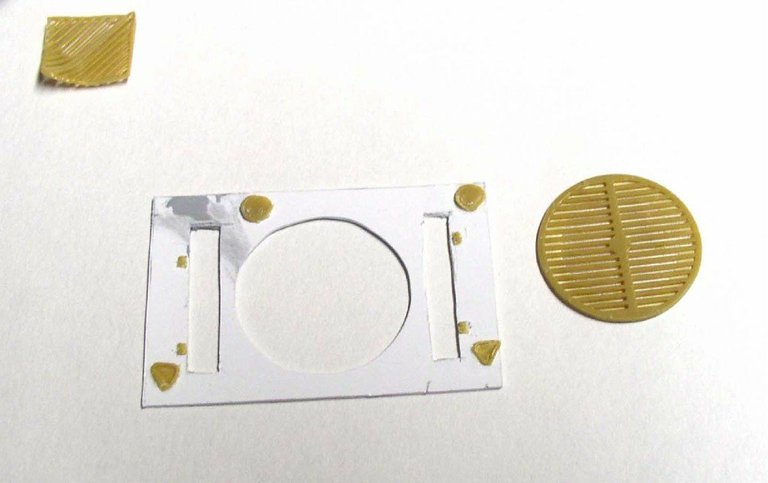
The hood emblem and the cut-out, refined grilles from the original kit...
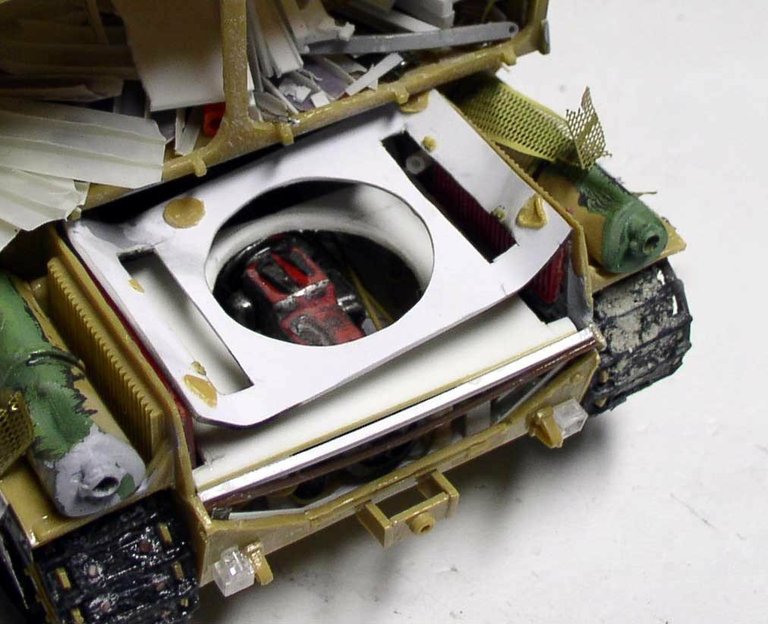
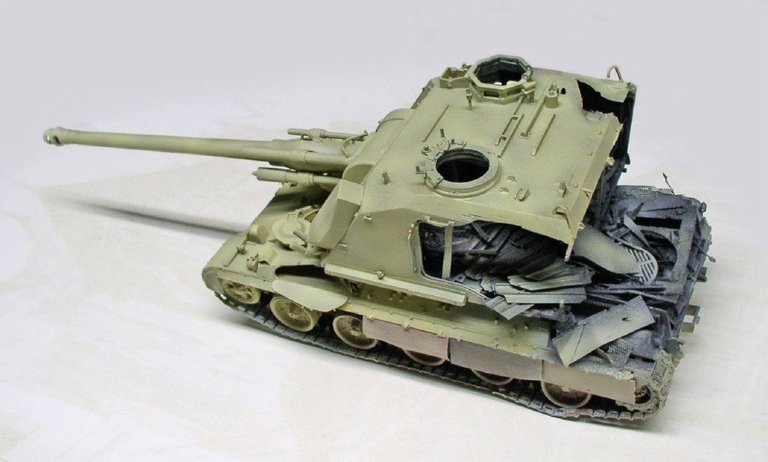
Installing the engine hood panel that was crushed by the explosion...
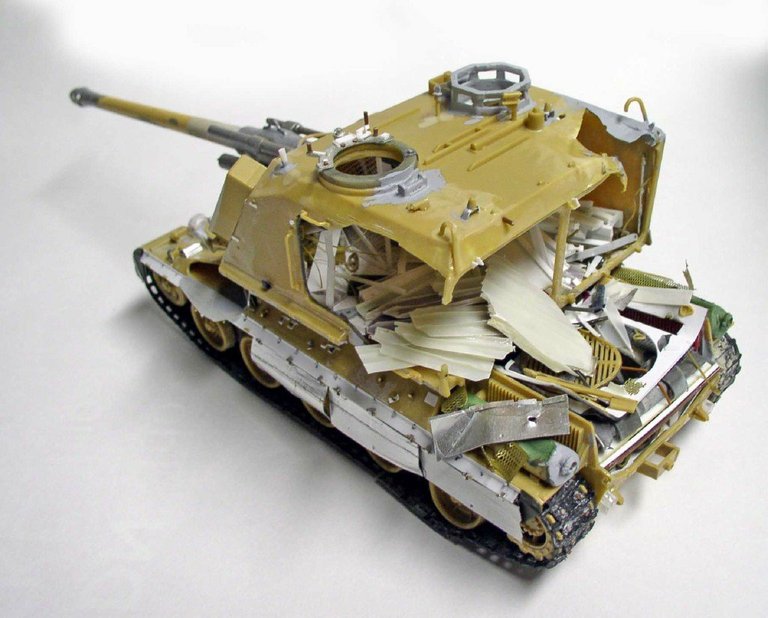
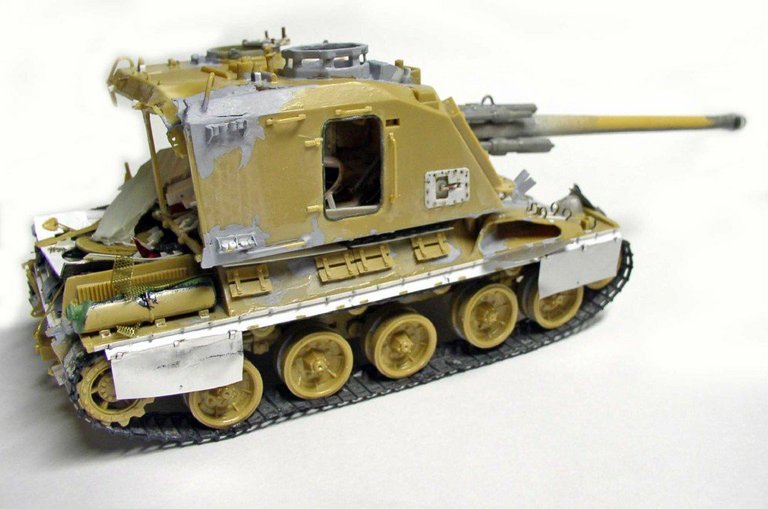
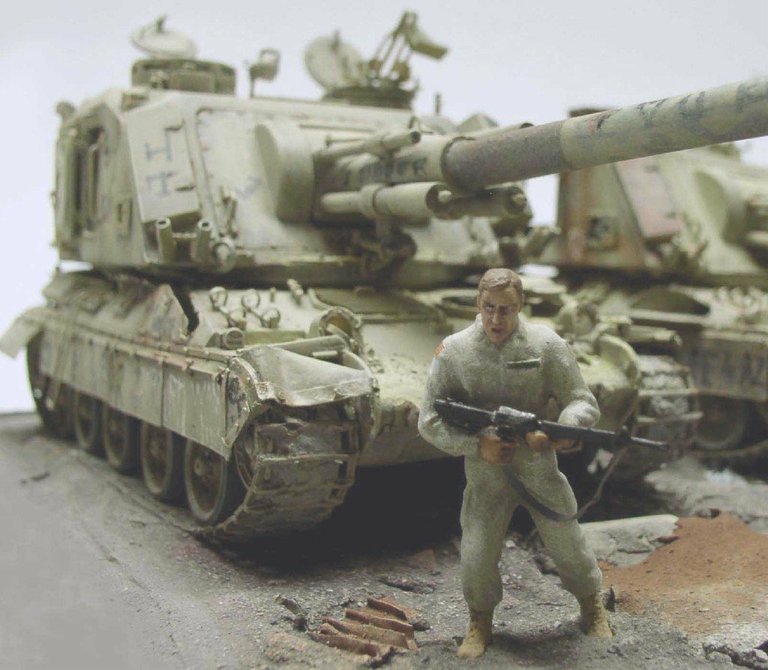
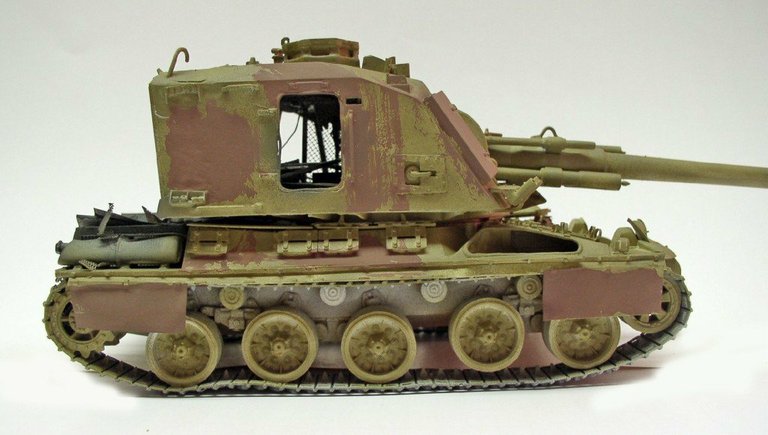
Two views of the finished model...
Painting
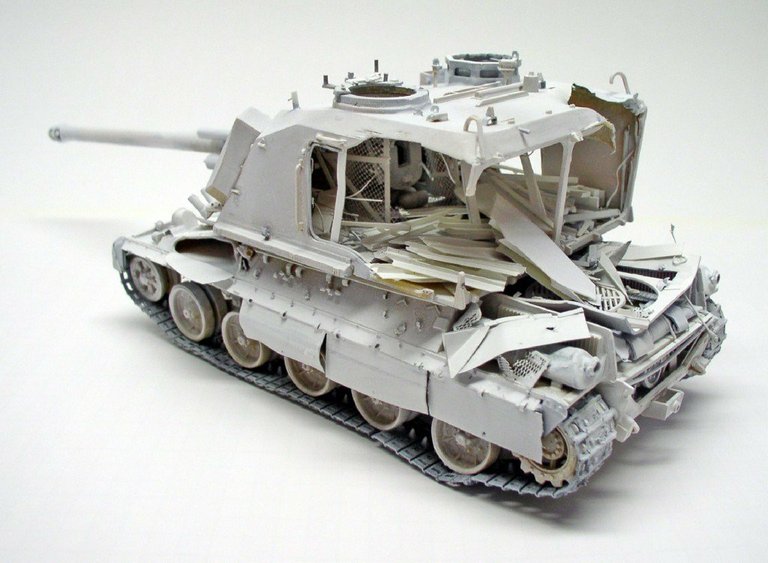
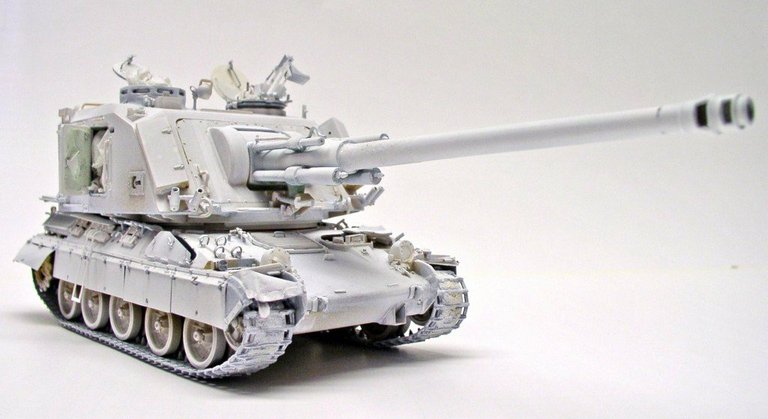
Both tanks are given a coat of acrylic primer from a spray can...
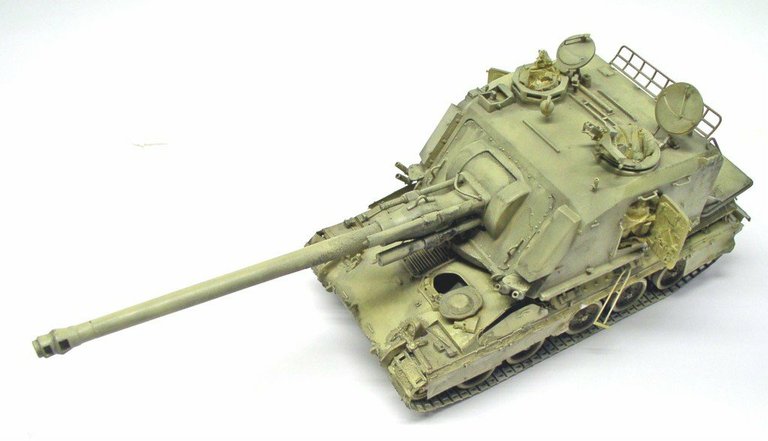
Humbrol oil paint. Airbrushed with 93 and 71 as a base... Then, after it dries, a wash made of 60% black and 98, diluted with white spirit, is applied to the entire surface...
Black paint is sprayed all over the inside of the tank and on the engine compartment...
A base coat of 70 and 98 is applied with a brush to the rusted areas...
Another coat of 103 sprayed as a highlight on the flat areas...
Chip/Acetone
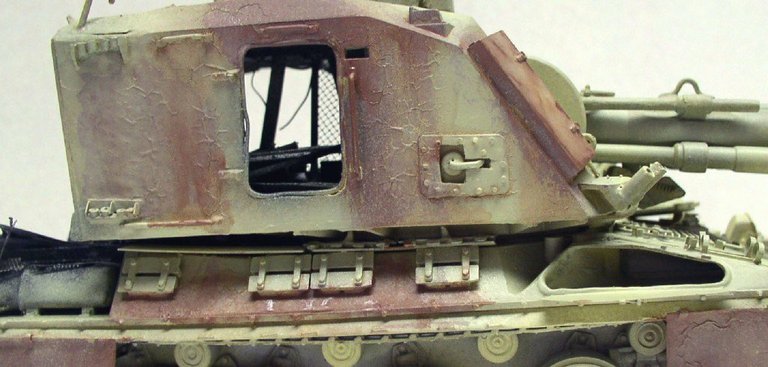
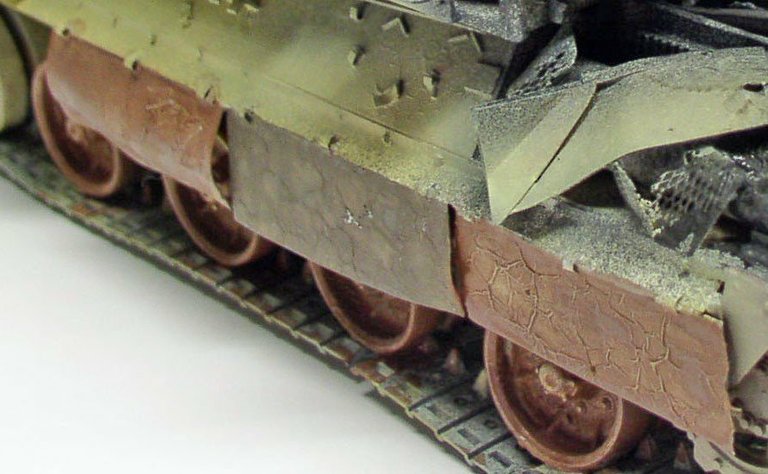
Paint chipping caused by acetone...
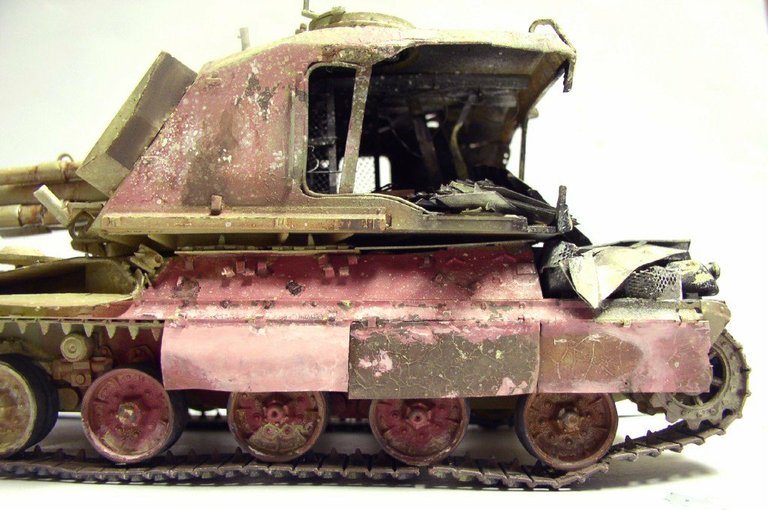
Use a brush to chip away the rust and burnt areas, starting with 107 - 73 - 70 - 98 - 33 - 34...
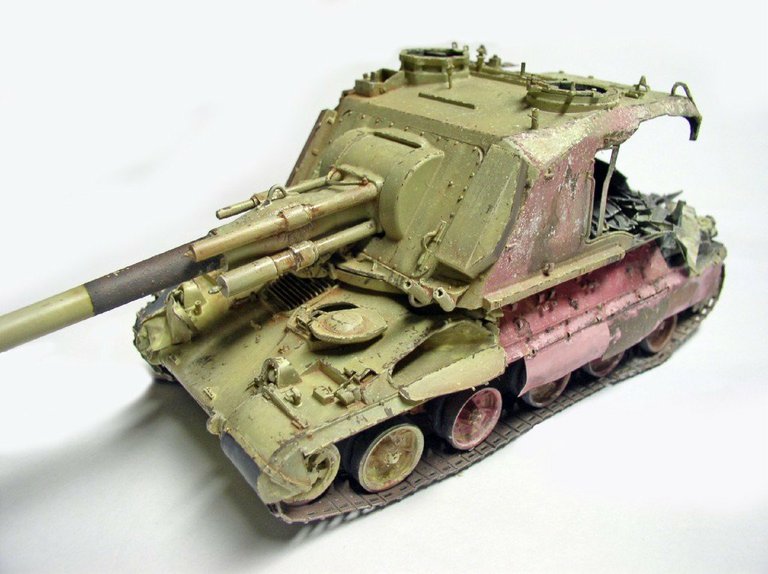
Side view...
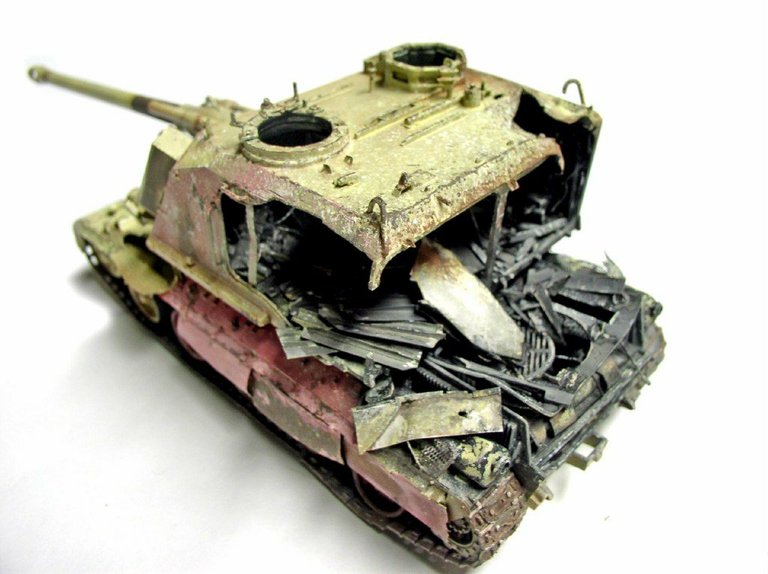
The turret's roof and side walls are also painted. A dry-brush technique using various shades of gray and a dusting effect using 103 are applied to the blackened areas...
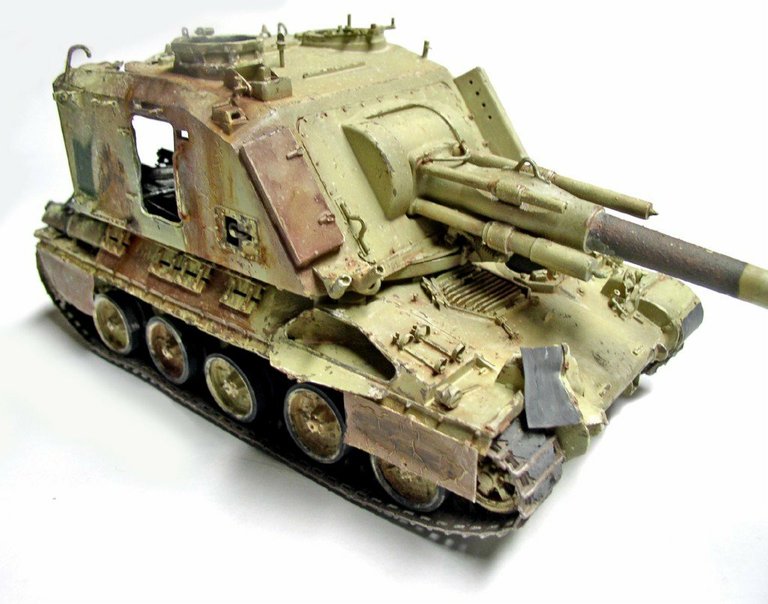
Rust-colored streaks are applied in certain areas using umber and sienna...
Sandblasting
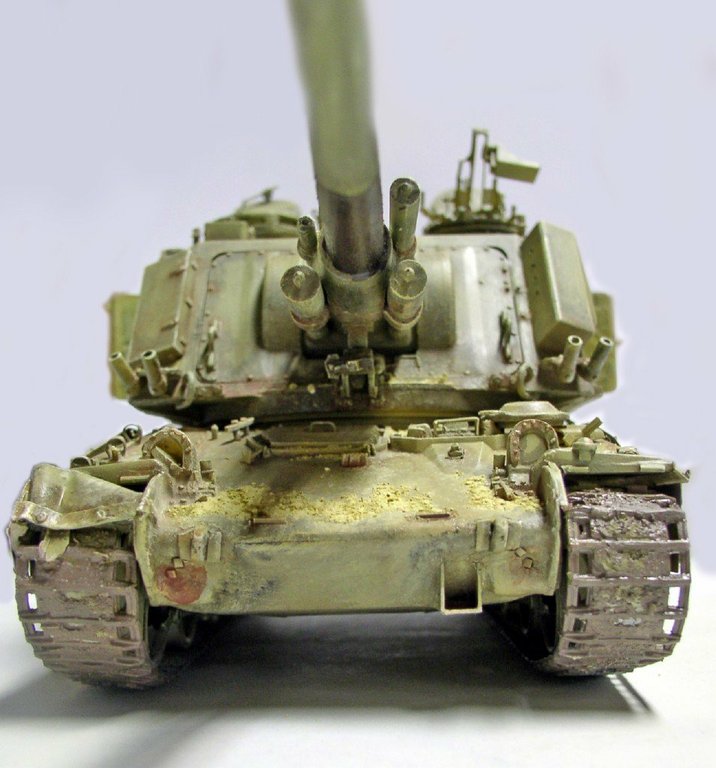
Sand is applied to the front glacis of the tank and then painted...
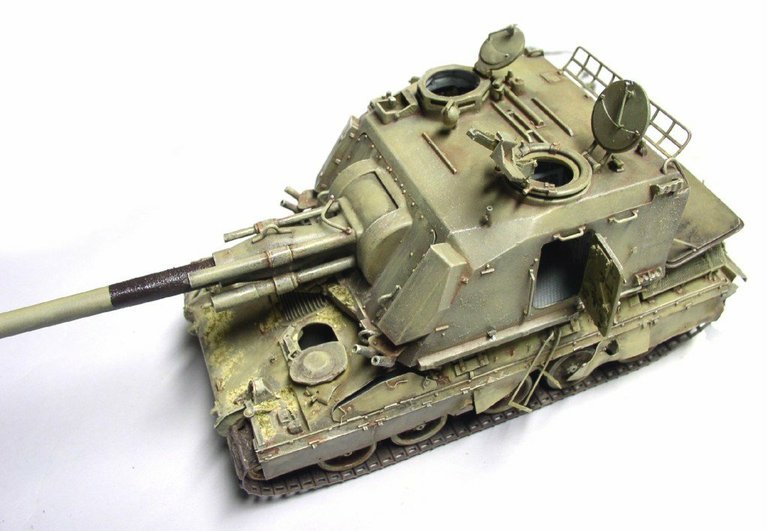
Another view... Here, a 103-based filter was applied to the entire model...
"Tags"
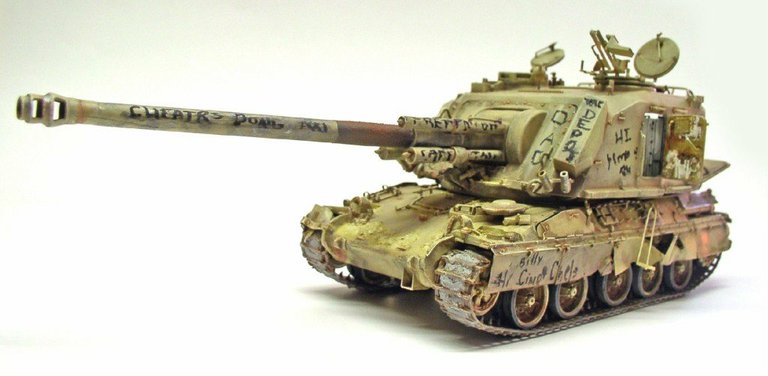
Drawing "tags" using pastels and colored pencils...
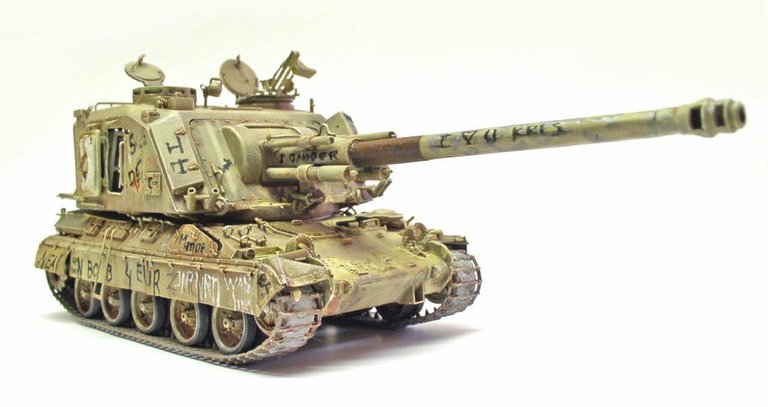
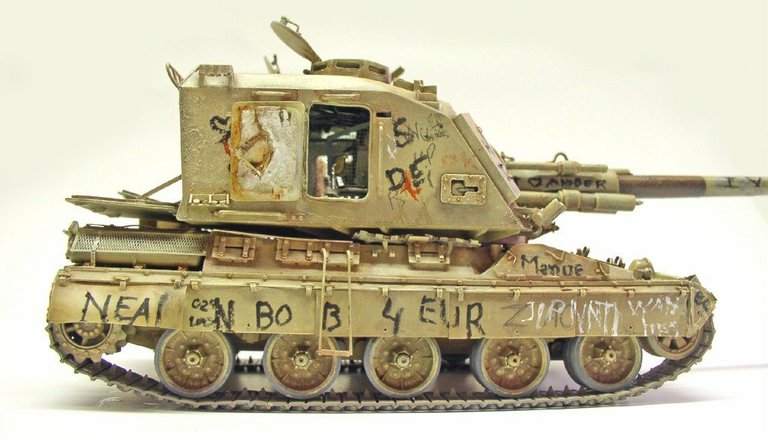
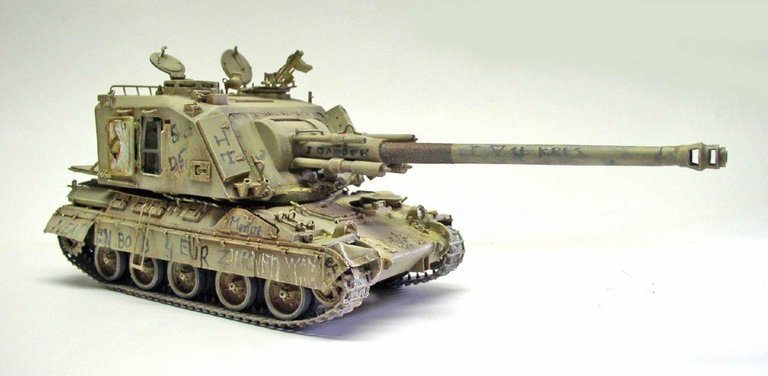
Final coat of paint
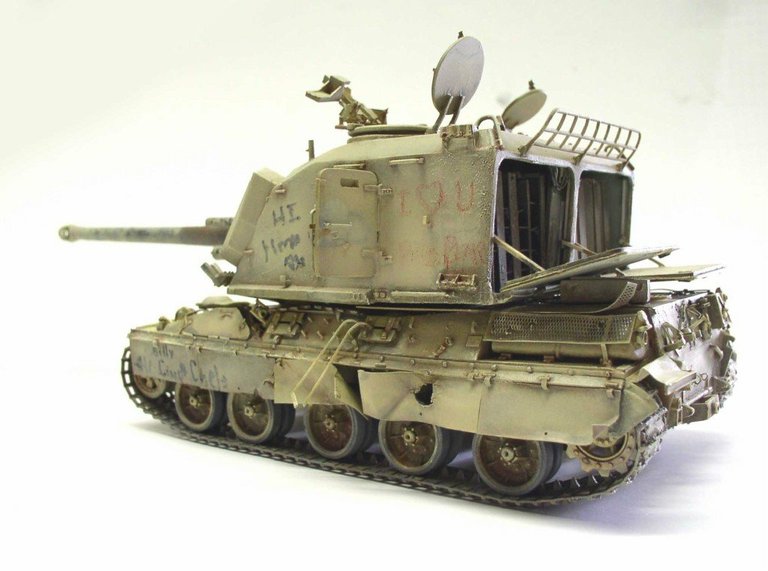
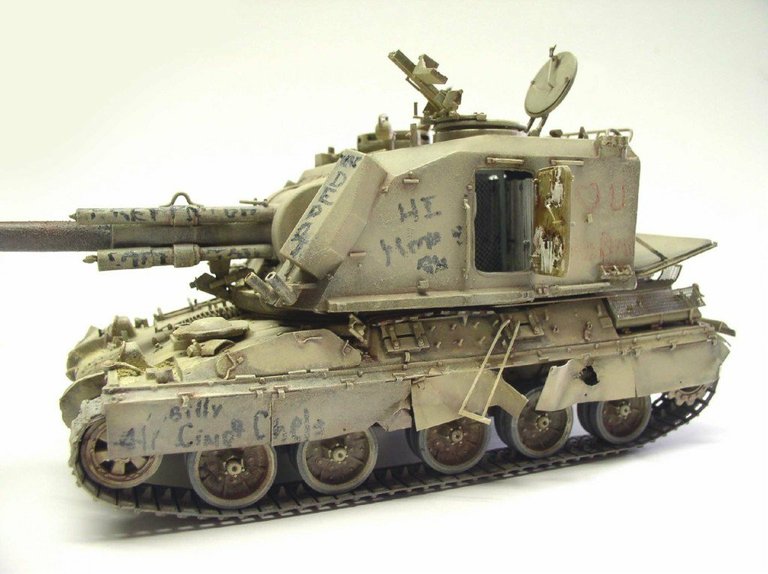
Apply a thin layer of 121 on the raised areas of the flat sections and on the "tags" to soften them and add a dusty finish...
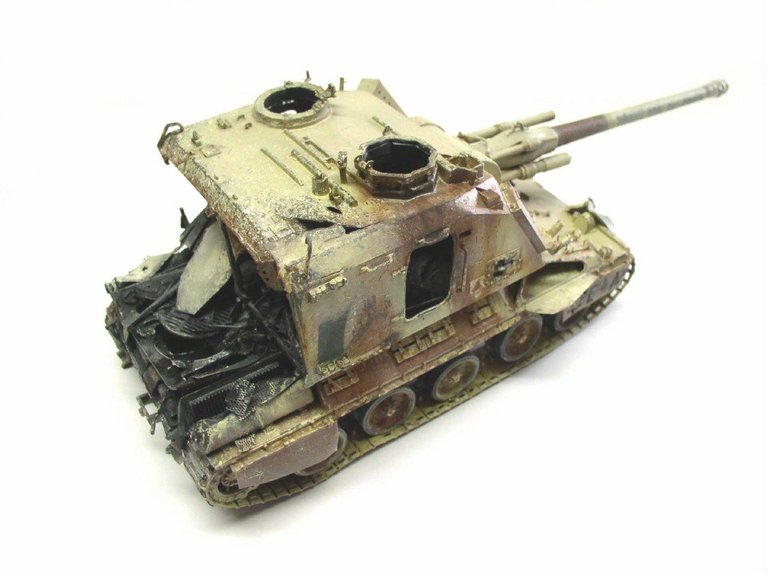
The painting of the vehicles is complete...
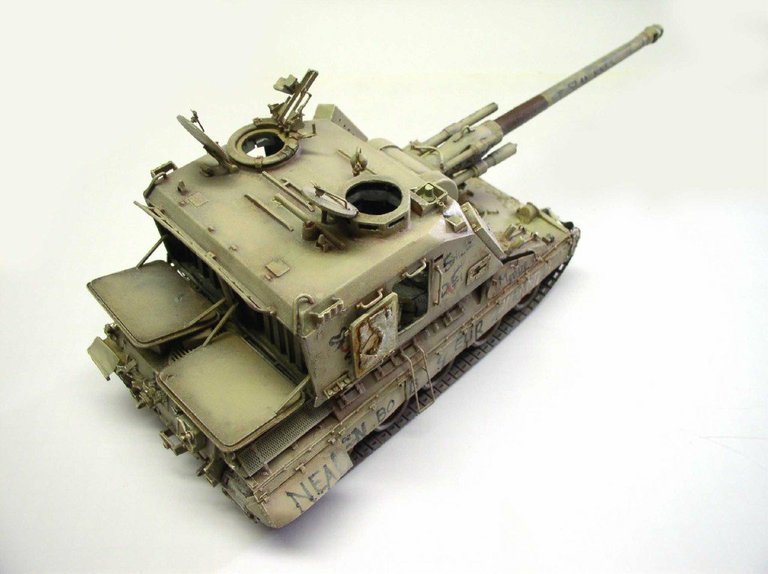
... They're ready to be incorporated into the set...
The Setting
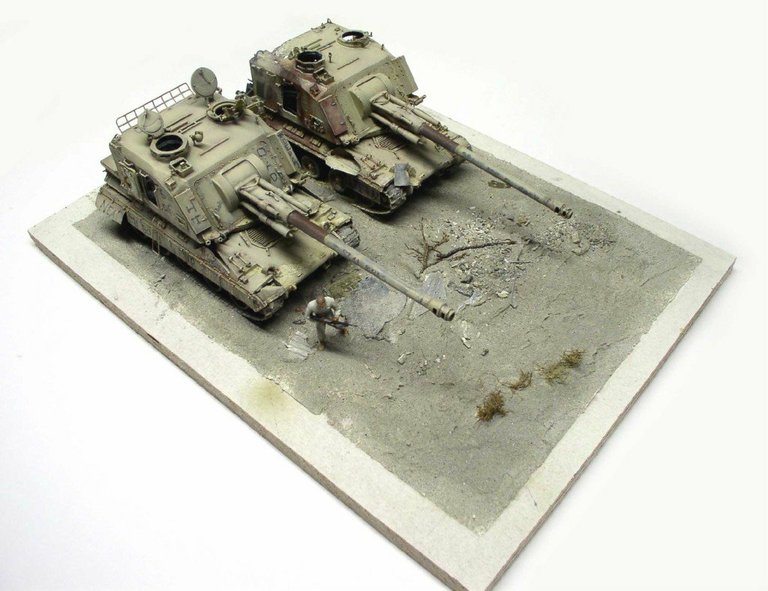
The base is moisture-resistant, primed plywood that will be covered with a mixture of drywall adhesive, various types of sand and small pebbles, as well as metal and plastic debris, etc.
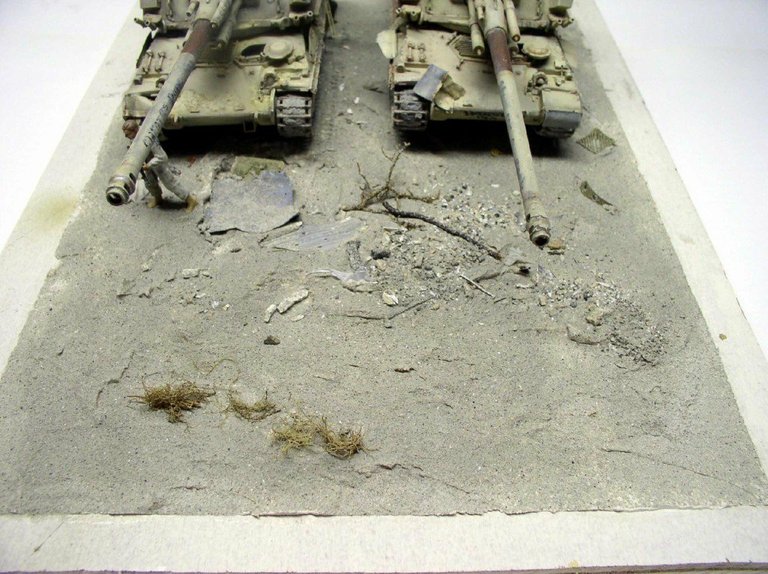
Roots and moss will be used to simulate a branch and tufts of grass...
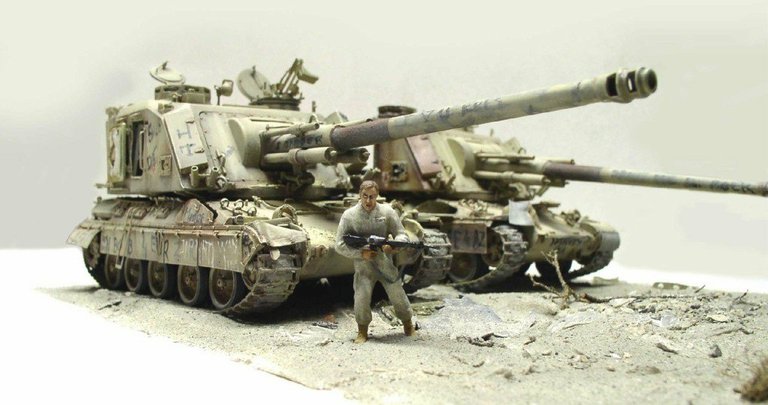
A model will help convey the scale and enormous size of these pieces...
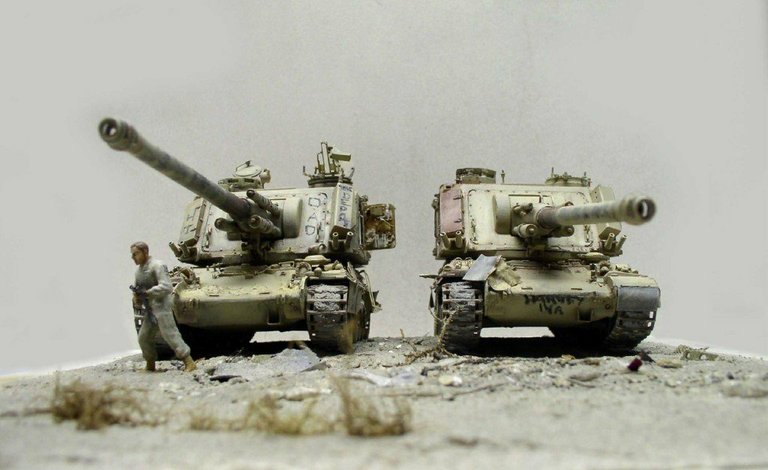
Normally, we avoid placing models parallel to the edge of the diorama. Here, however, the effect is intentional, since the real vehicles are lined up in rows of dozens in the desert, packed closely together...
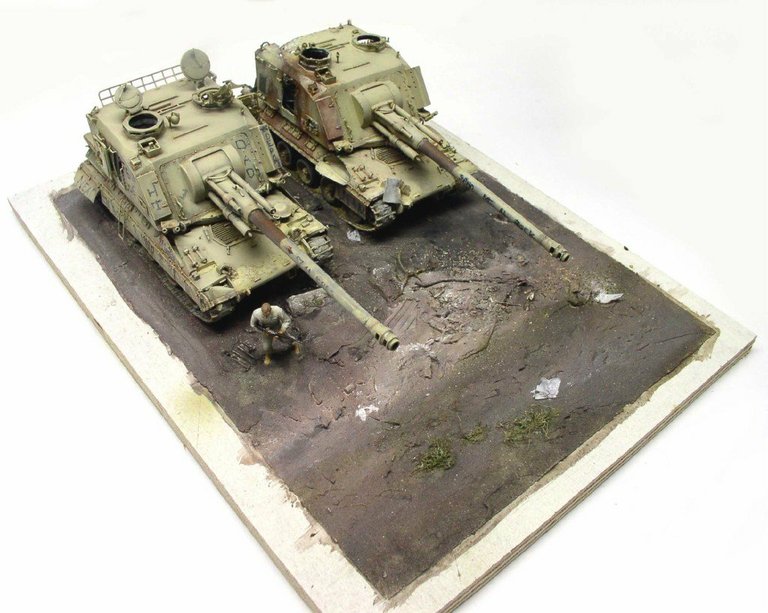
Painting the set. Here, a kind of dried, brown mud...
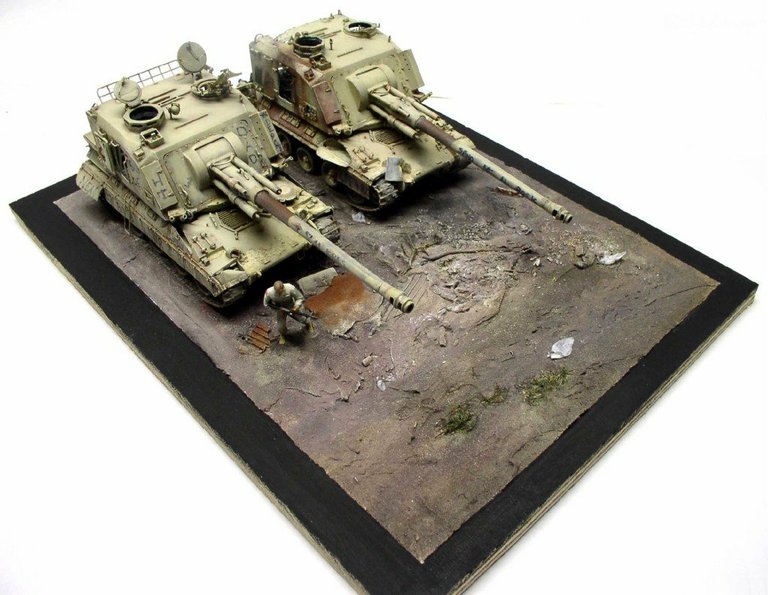
Painting the details and finishing touches. All that's left is the trim...