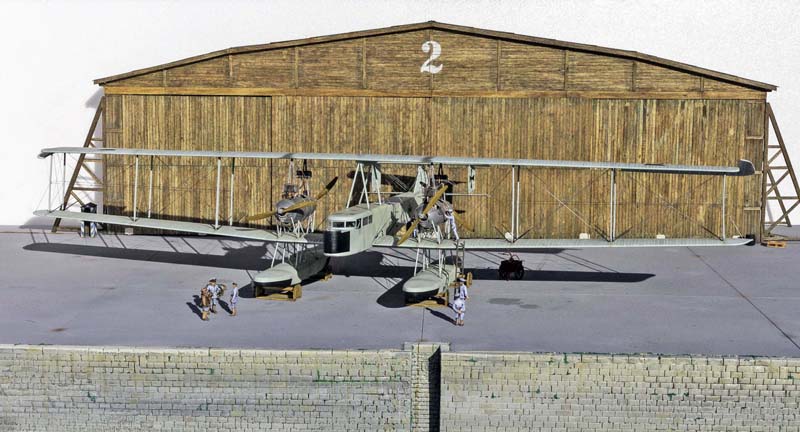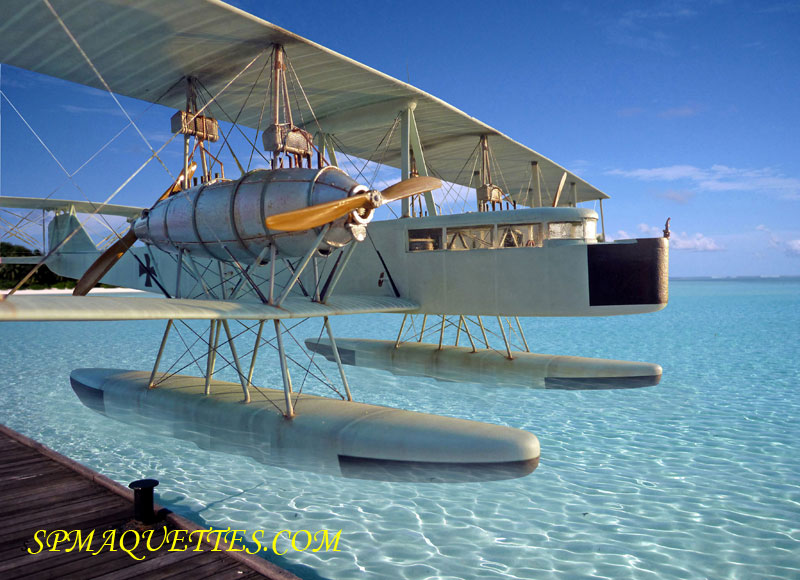
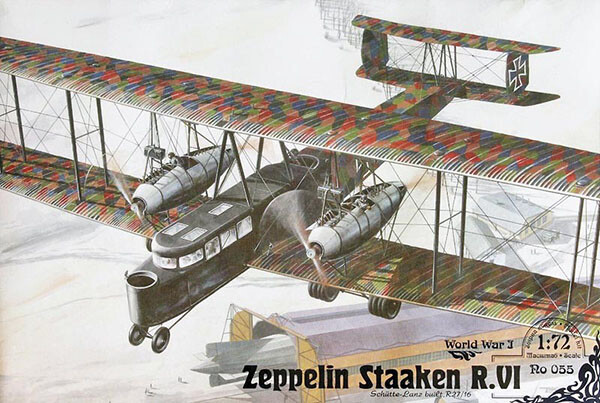
The RODEN model of the Zeppelin Stakken R.VI. My goal was to build a seaplane version—which doesn't exist as a model—to recreate one of the four models built in 1917…
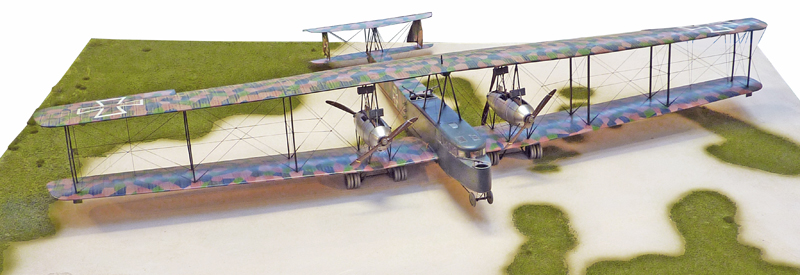
Eric GALLAUD's superb model of the land-based R VI...
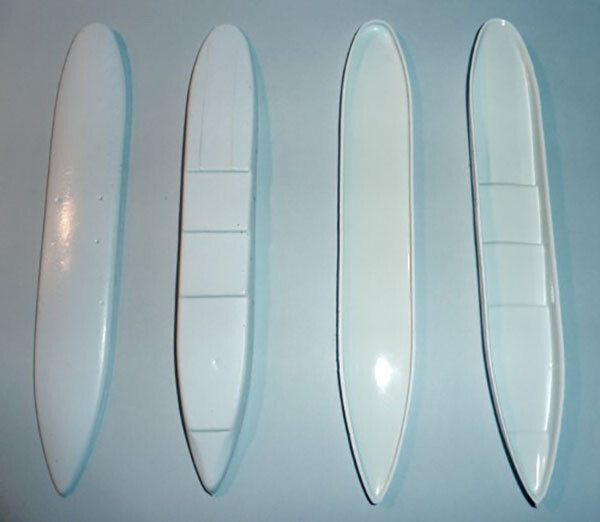
I reworked the thermoformed floats, which came from an old Contrail box...
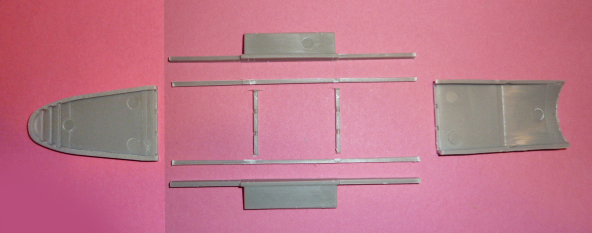
The floor is cut into several pieces, and 2 mm has been shaved off the thickness because the Stakken L did not have the same underside as the Stakken R.VI, nor did it have the gunner’s hatch (one piece cut into eight sections)...
Engines
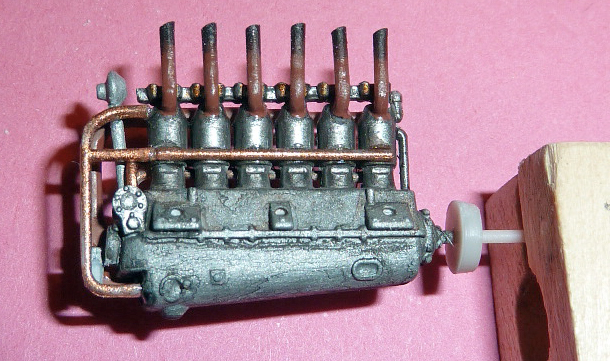 | 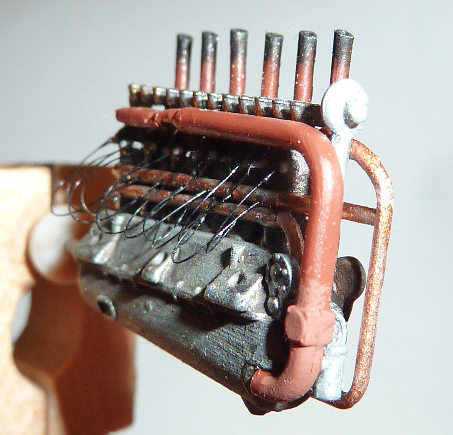 |
Les moteurs sont assemblés, quelques pièces rajoutées comme les bougies, les fils d’allumage, les ressorts des cylindres, etc...
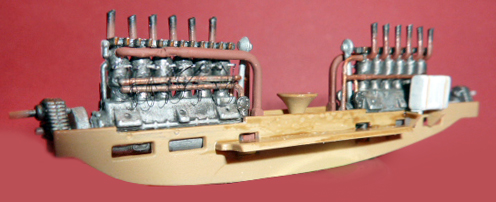
They are then positioned in their mounting brackets inside the engine nacelles. The stool is for the mechanic…
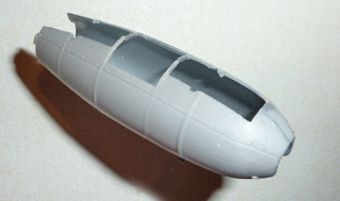
The inside of the gondolas is painted...
The cockpit
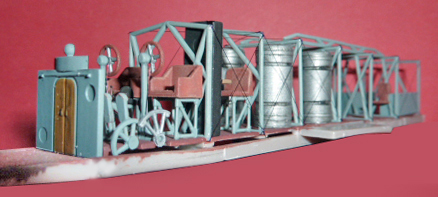 | 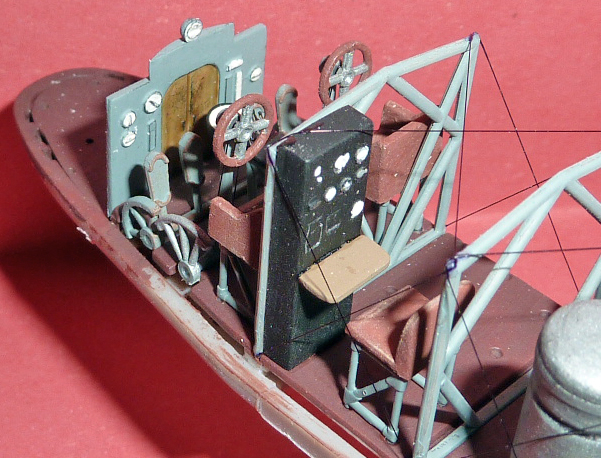 |
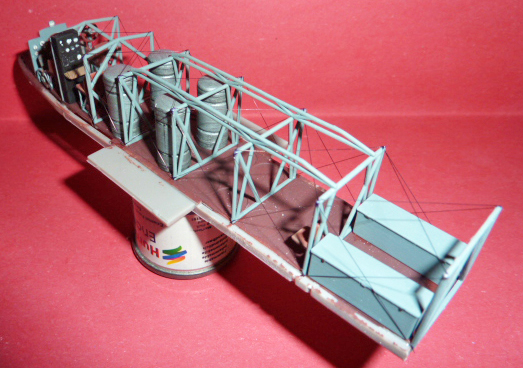
L’intérieur du fuselage est réalisé avec ses bidons, ses caisses, son poste de pilotage et ses haubans...
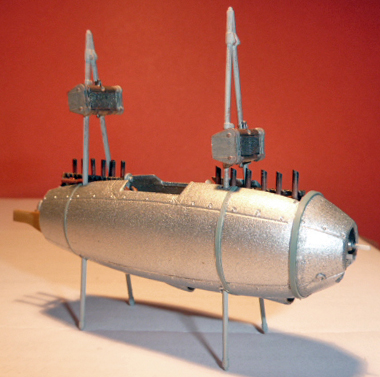 | 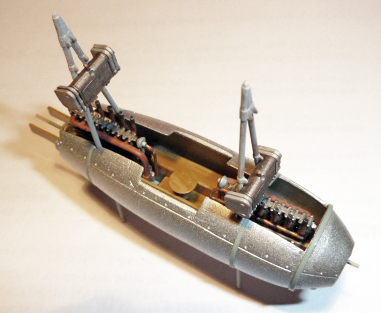 |
Les moteurs sont fixés dans leur nacelle, ainsi que les mats supportant les radiateurs. Les renforts métalliques ceinturant les nacelles seront refaits en carte plastique...
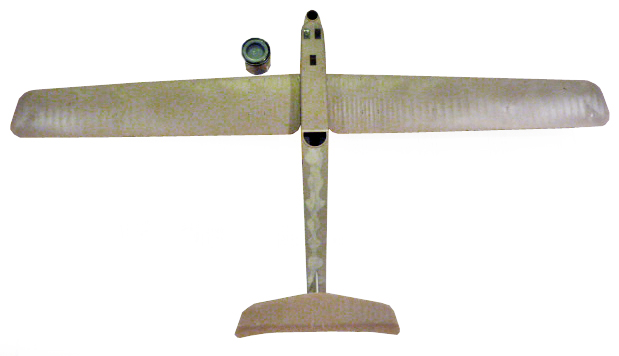
You can imagine the size of the model compared to the paint can (60 cm wingspan and 31 cm long!). Some putty work is needed…
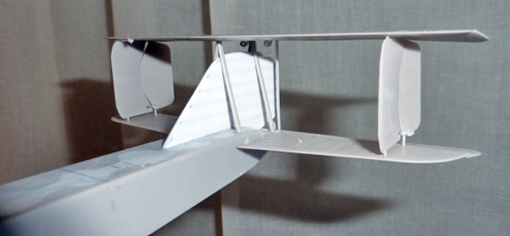
A close-up of the tail…
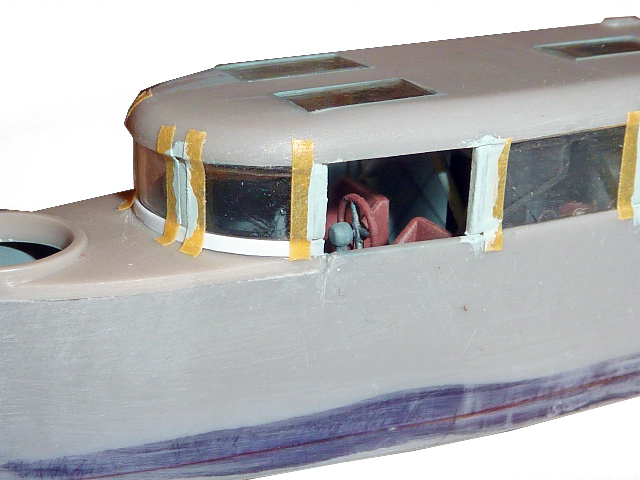
Preparing to paint, including masking the windows…
Painting
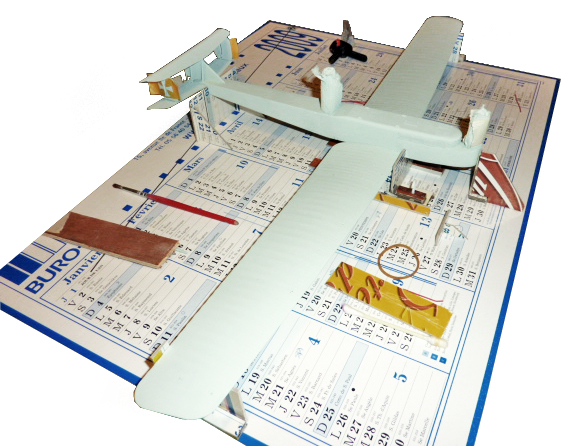
The model is painted with an airbrush and a brush (Humbrol 122). The windows and gunner turrets are protected…
Decals
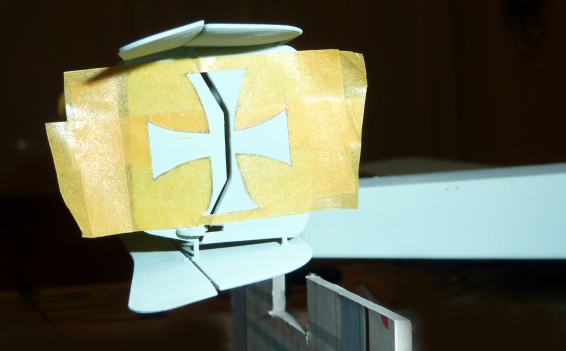
Since there were no decals in the right size for this version, stencils were created for both the fins and the wings…
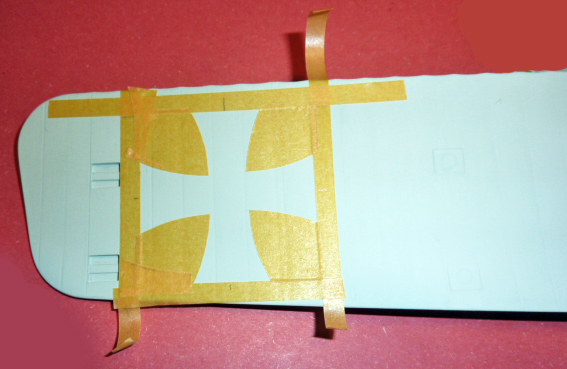 | 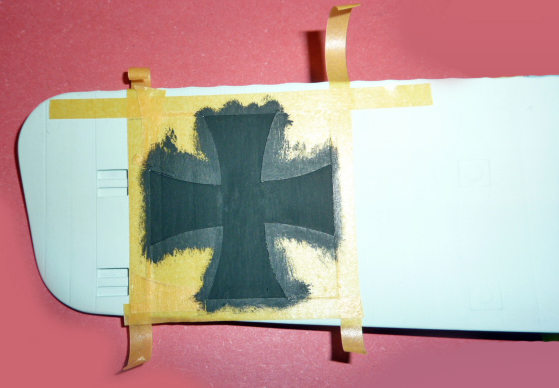 |
Pose des pochoirs et peinture…
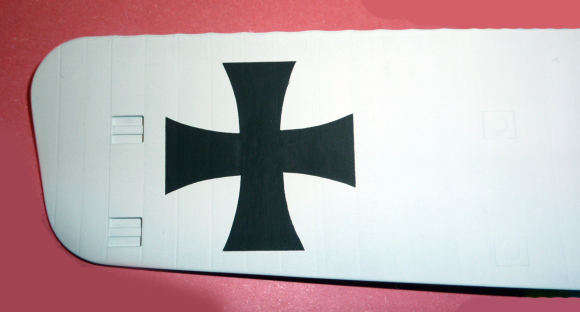 | 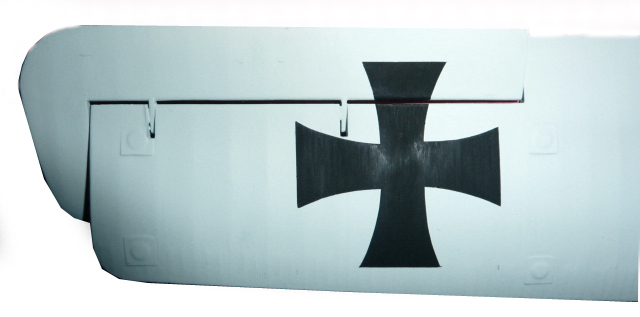 |
Le résultat, les caches retirés…
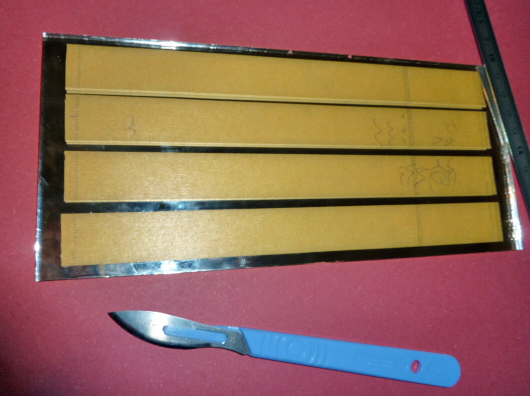 |  |
Collage des bandelettes de masquage sur les ailes...
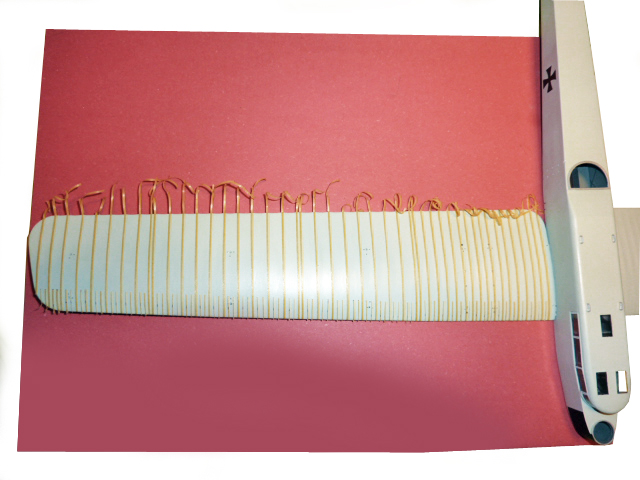 | 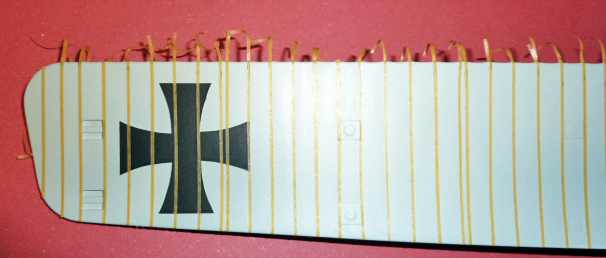 |
Elles sont découpées puis collées une par une...
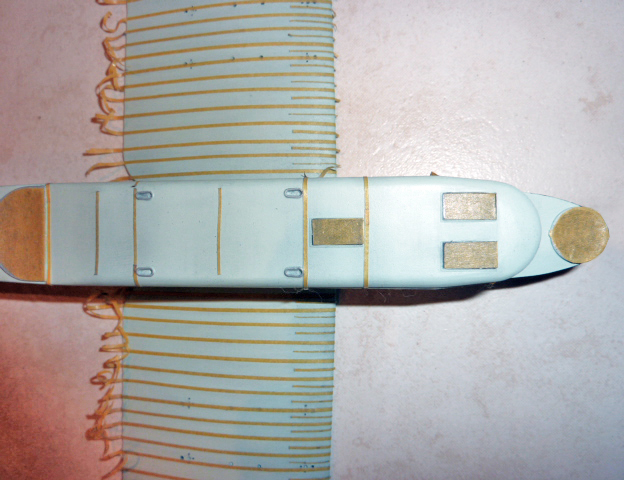
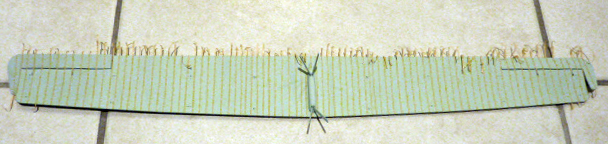
…Wide strips—1 mm wide—with small strips between them, ½ mm wide!...
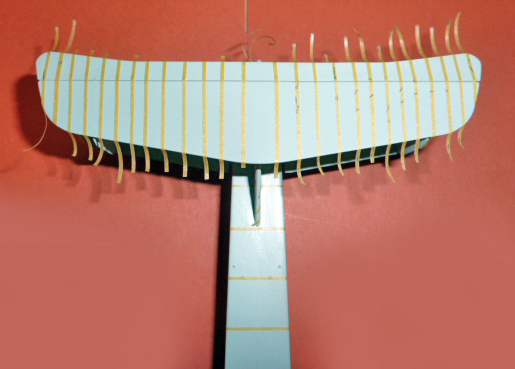
Overview of the tail section…
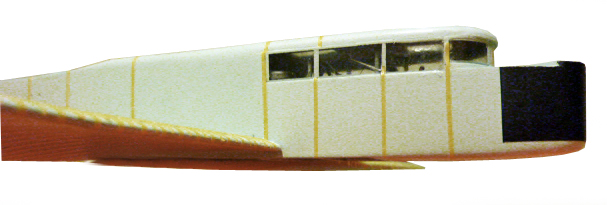 | 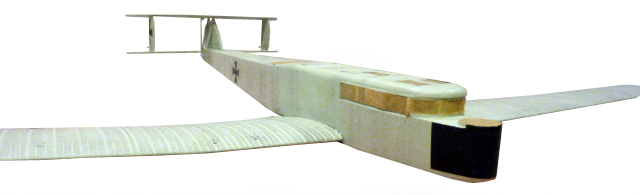 |
Le masquage est terminé. Du pastel gris clair appliqué avec un coton tige permet de faire ressortir les nervures des ailes et structures du fuselage...
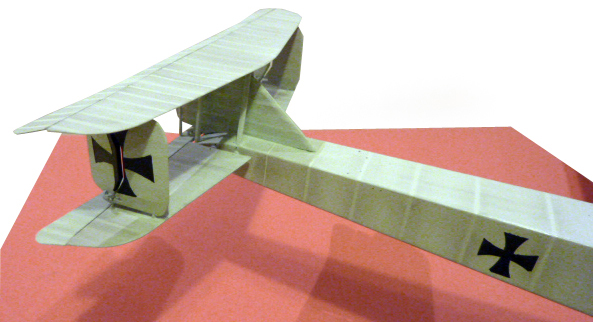 | 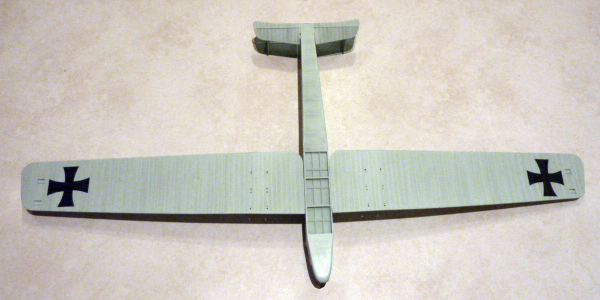 |
…Il ne reste plus que l’aile supérieure à masquer…
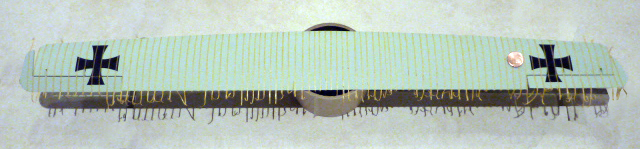
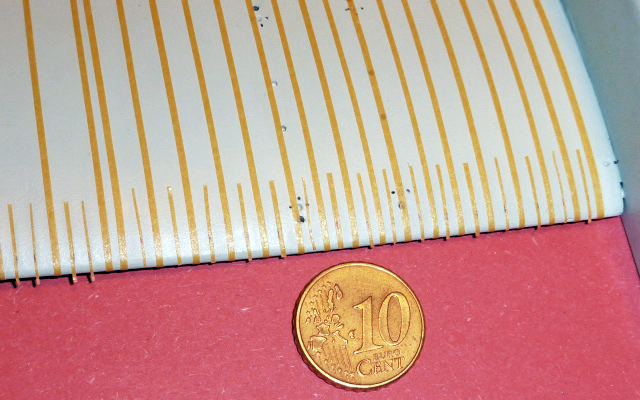
Applying the strips to the upper wing; 11.60 meters of 1-mm-wide strips are glued on, along with about a good meter of ½-mm-wide strips!!! You can get a sense of the scale by comparing it to the 10-centime euro coin shown here…
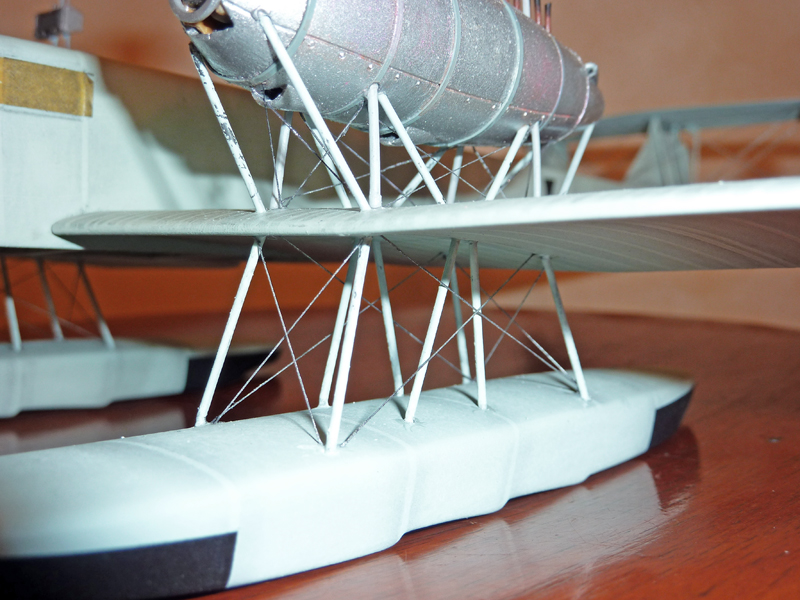
The engine nacelles are attached to the wing, and the cables are positioned...
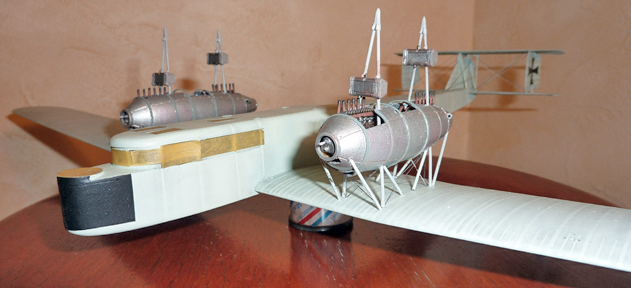
…Some of the gondola mounts are also used to secure the floats…
Tail Section
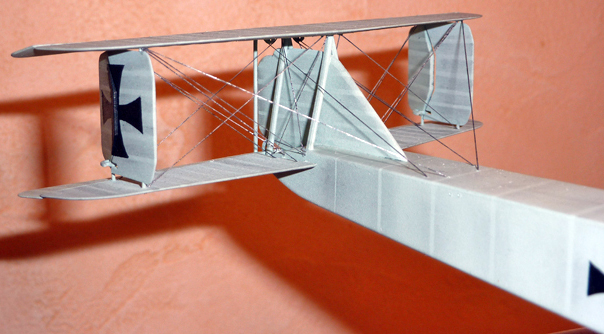
Close-up of the tail section with struts…
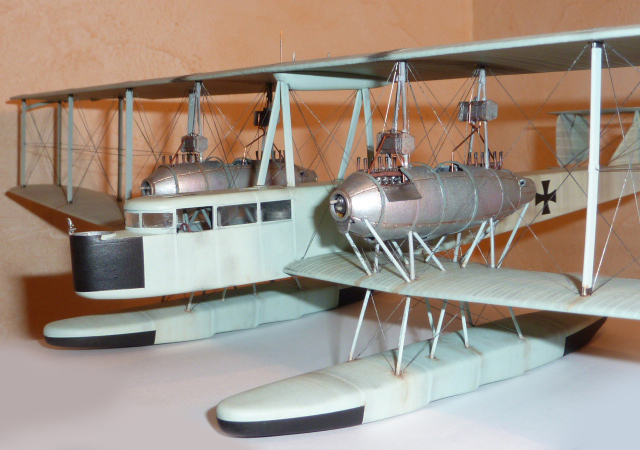
The upper wing is in place and the guy wires are taut…
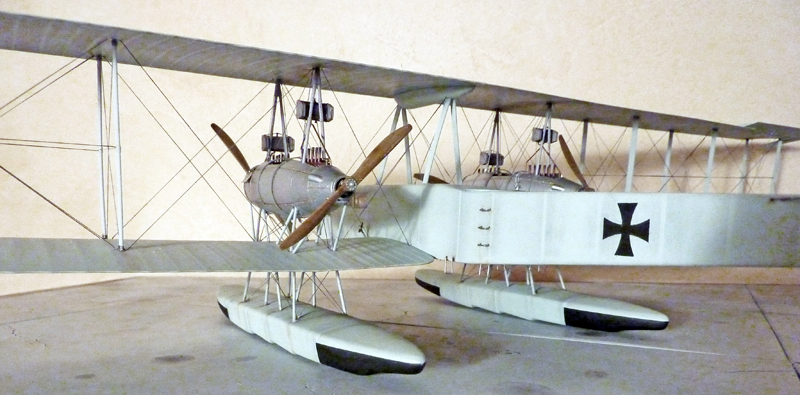
All the guy wires have been installed...
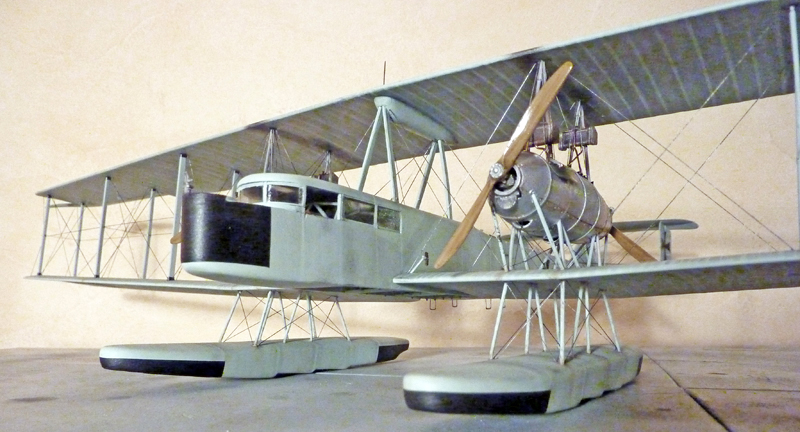
Some 180 hours of work later, the prototype is nearly finished, and the result is a completely original, one-of-a-kind model…
The Setting
The Stakken's wingspan will require an imposing set piece measuring one meter long by sixty centimeters wide.
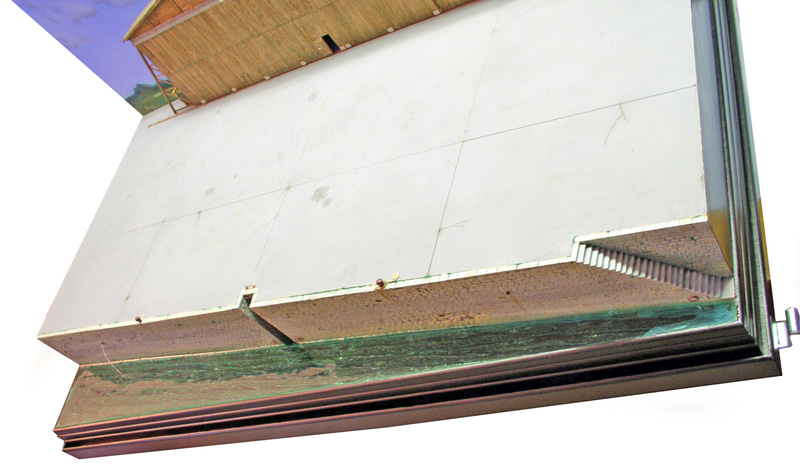
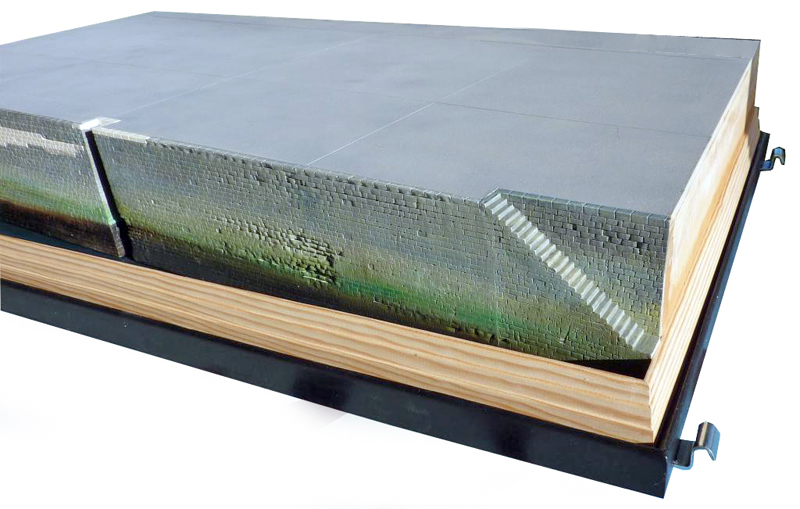
Construction of the platform. Extruded polystyrene with a stone-like texture. Wooden frame. The track consists of cardboard sheets that are cut to size and glued together...
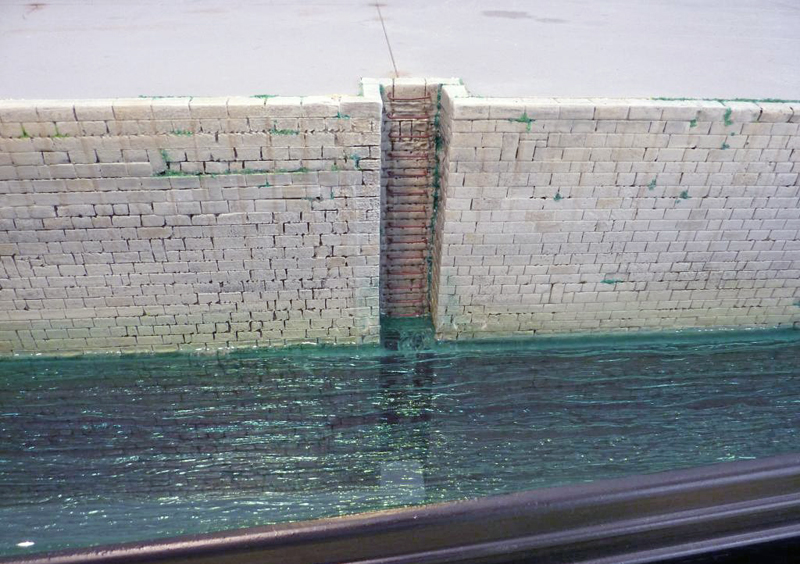
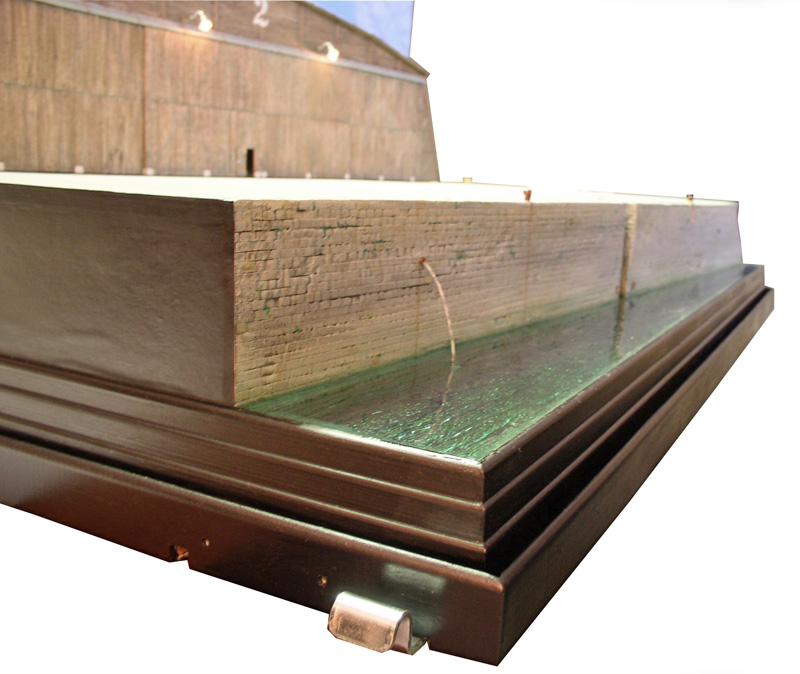
Water. Background painting to simulate the depth of the water. Collage of a ribbed Plexiglas panel to imitate the swell. On the panel, applied a first coat of clear epoxy resin mixed with green and blue stained-glass paint. + Two more coats of clear resin, using a hair dryer to create the swell effect as the resin dried...
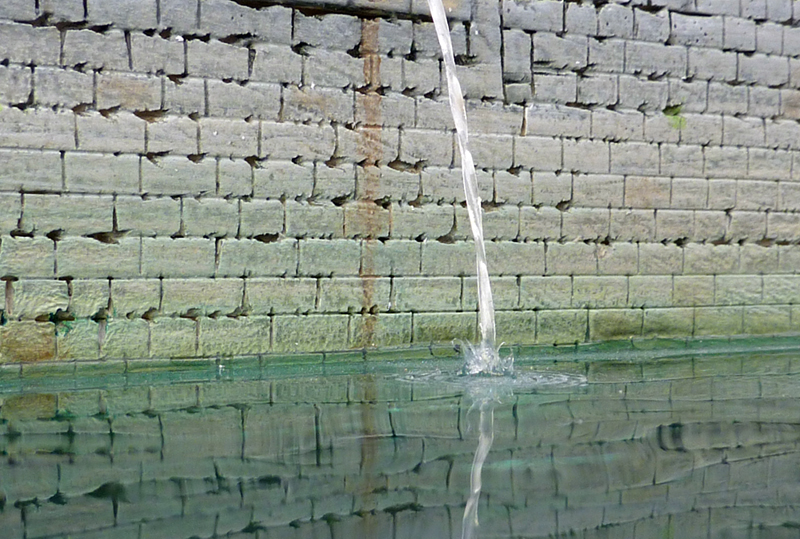
Flowing water is very simple—you just have to think about it. Water coming out of a faucet never flows straight; it swirls. Take two lengths of fishing line, twist them together, and secure them with Super Glue. Drill a hole in the resin, slide in one centimeter of the twisted line, and glue it in place so you can see the force of the stream through the water. The splashing water is made of translucent silicone (for bathroom caulking) applied with a toothpick; before it dries, use the same toothpick to poke holes in it to create spikes of silicone. Around the edges, a few rings are engraved using a dentist’s drill bit mounted on a mini drill...
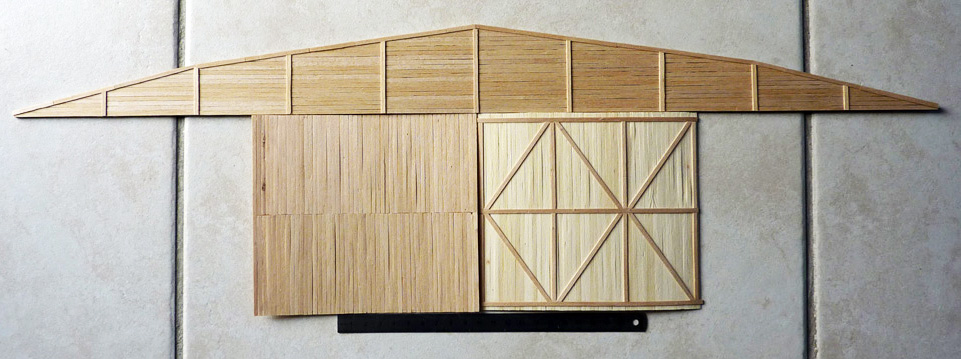
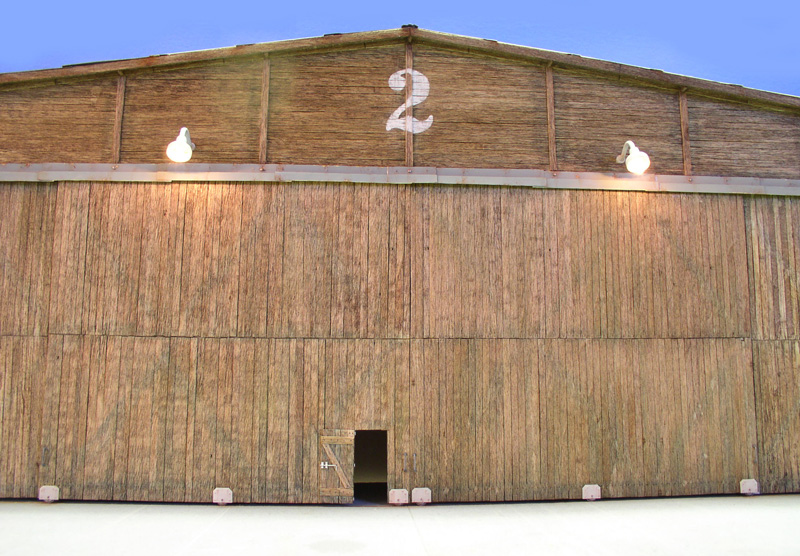
Construction of the hangar. Wooden structure (camembert)...
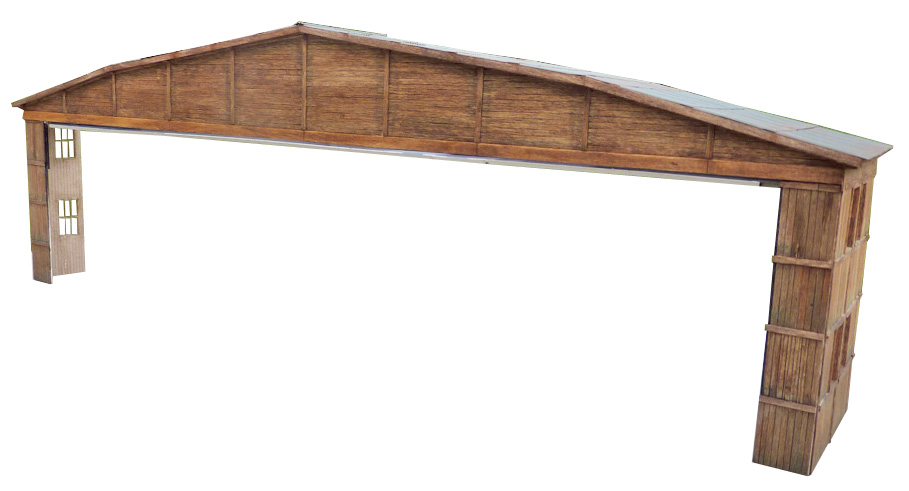
...After removing the staples, soak them in boiling water for 5 minutes, then iron them to make them nice and straight and flat. After sanding them, cut each board to size and attach them to the shed’s frame or to the wooden doors...
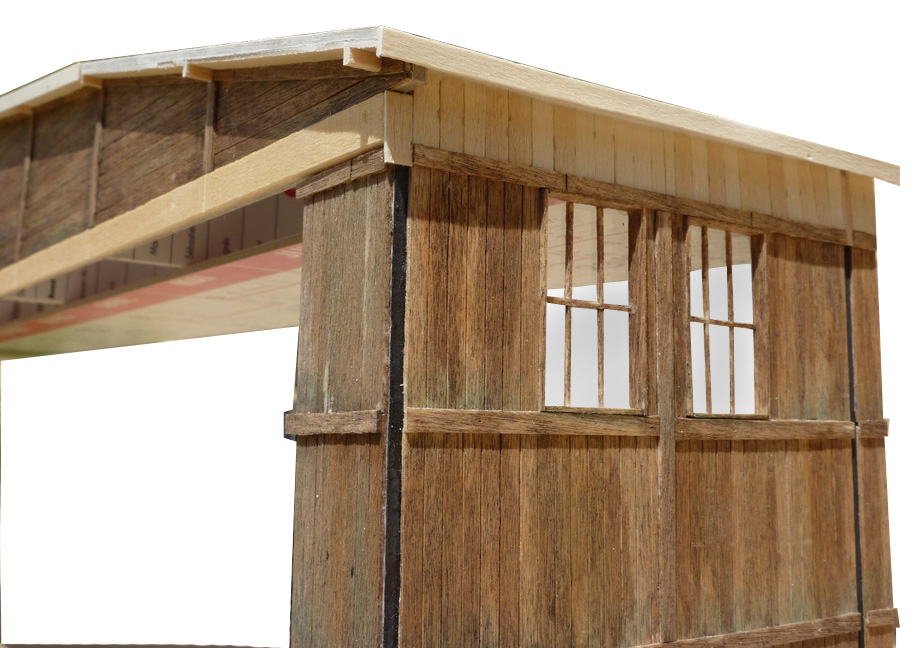 | 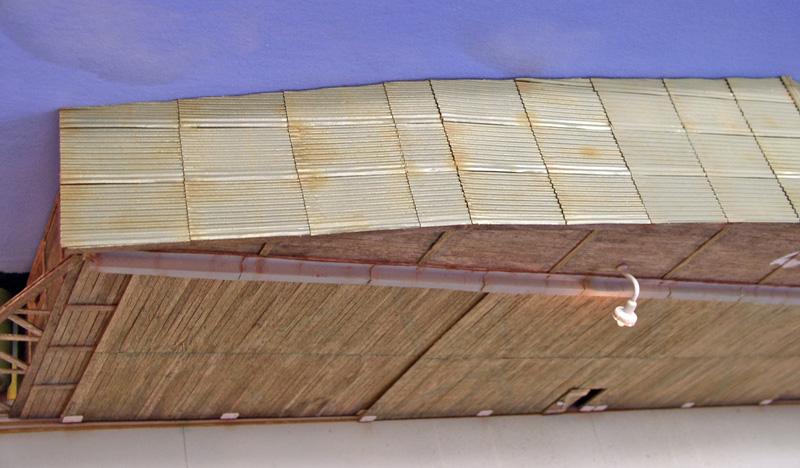 |
La toiture est faite avec du carton ondulé très fin et découpé, acheté en magasin d’art très fin. La protection des rails de guidage des portes est réalisée à partir de boîtes de coca découpées...
Painting/Background
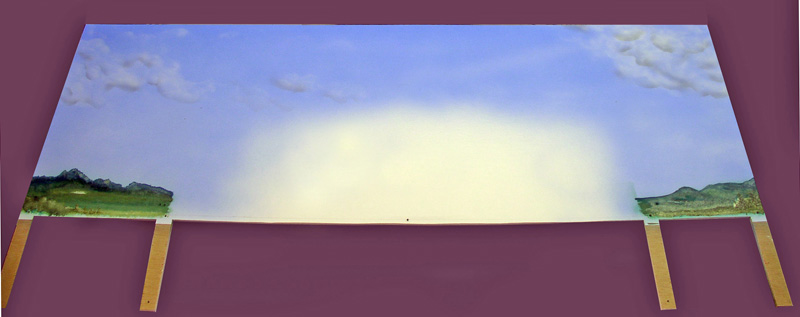
"Trompe l’œil" painting of the backdrop. Drawing paper glued to a plywood panel and painted with acrylics. Clouds created using a stencil…
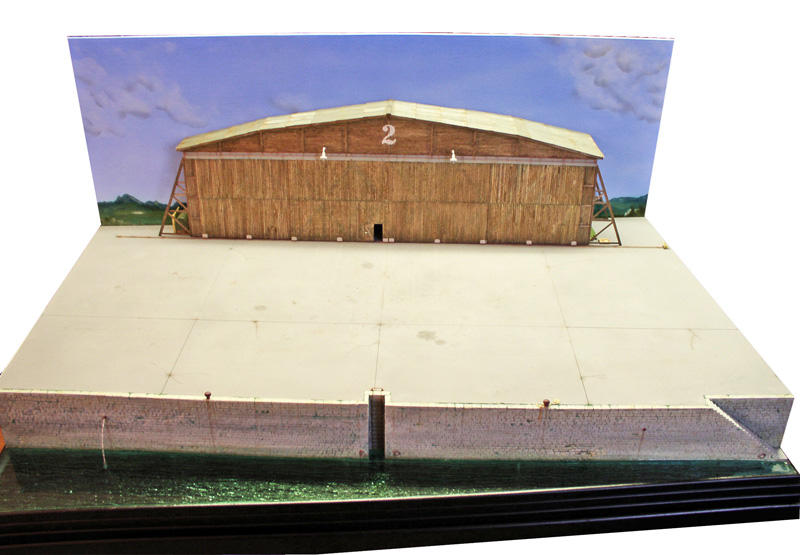
The set is finished...