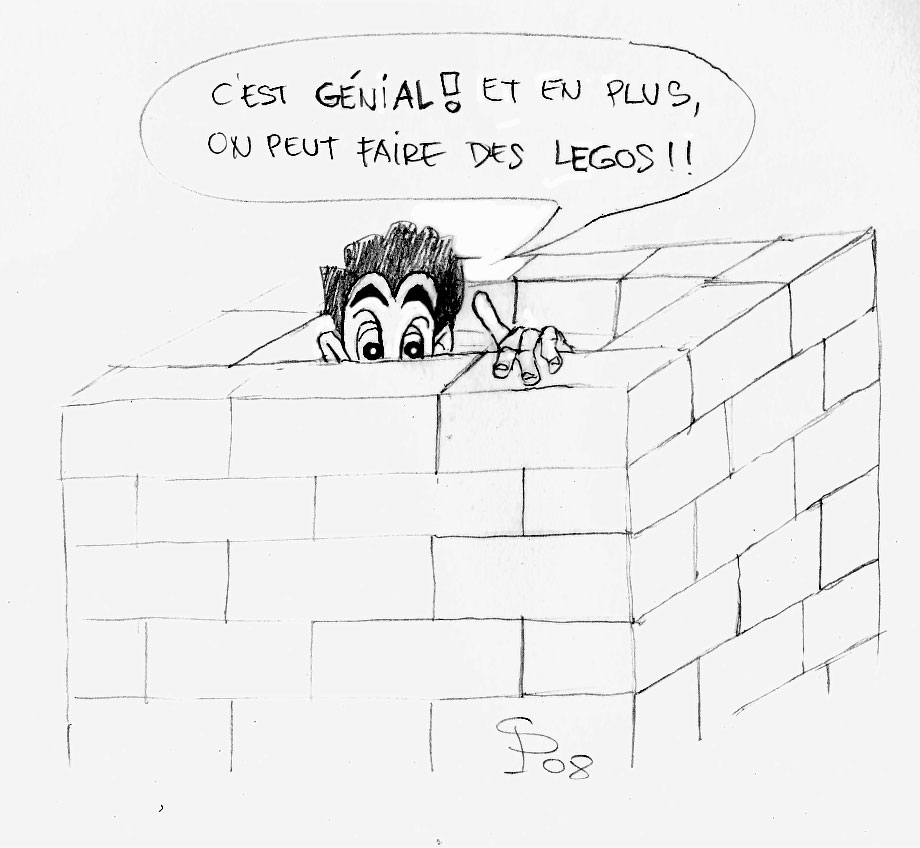
Because of its texture, polystyrene is ideal for creating a wide variety of scenery in model making, as it is easy to handle, carve, and paint. Its only "drawback" is its fragility. It is sold commercially in a wide variety of forms: the names—STYRODUR, STYROFOAM, ROOFMAT, GLASCOFOAM, etc.—are not the names of the material itself but rather brand names. The only thing you need to consider is the density of the material. Color is not an indicator of quality when choosing this product either...
- Prioritize purchasing high- or medium-density foam (low-density foam has a structure similar to that of a very porous stone)...
- The thicknesses available on the market vary quite a bit, but in any case, they are too thick for our usual work. Furthermore, the outer surfaces are glossy because they are coated with a type of varnish that must be removed before any engraving or carving can be done. As a result, the thinner sheets are even less suitable for use...
- The goal of our work is to cut our sheets to custom sizes that better suit our needs, without the drawback of a protective varnish...
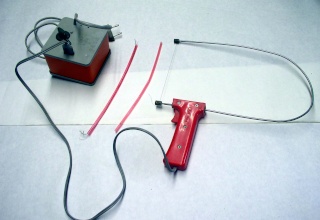
Various types of polystyrene. The essential tool is the Pyrocie...
IMPORTANT NOTE: Always use the thickest wire available (wrapped in red plastic)...
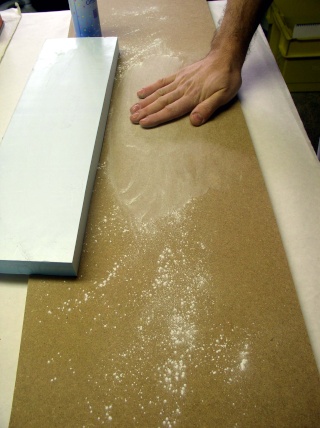
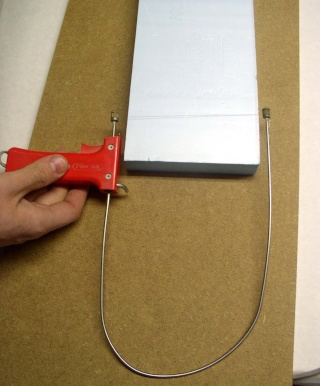
Cut a strip of material across the width of the Pyrocie's jaw...
On a sheet of MDF, plywood, or any other perfectly smooth and clean surface, sprinkle a generous amount of talcum powder...
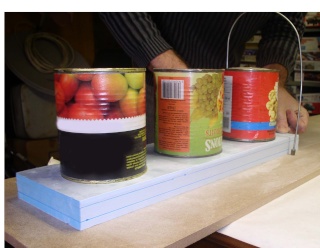
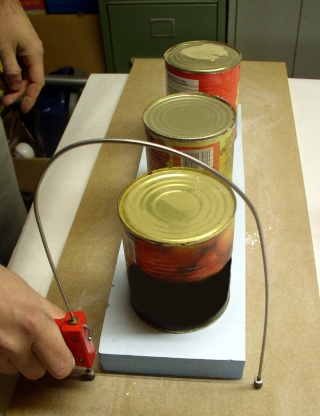
To begin cutting: Hold the pyrocie firmly against the panel, then heat the wire, and slide the plate—AT A CONSTANT SPEED—on which appropriate weights have been placed...
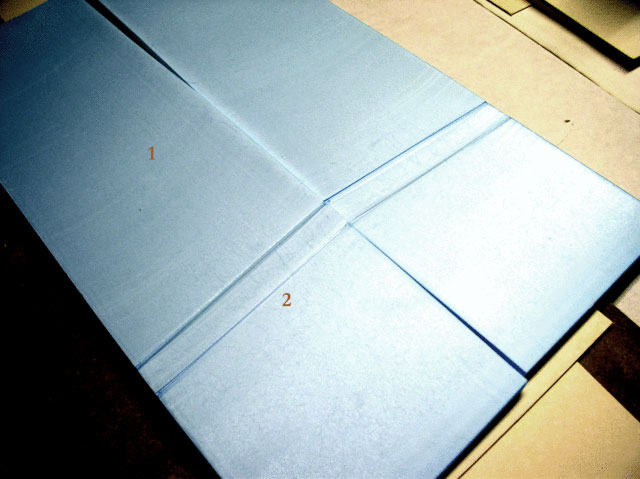
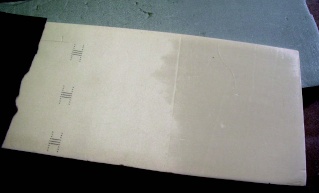
Your first cut will likely have flaws like these:
- Excessive speed: vague.
- Too slow: deep scratches.
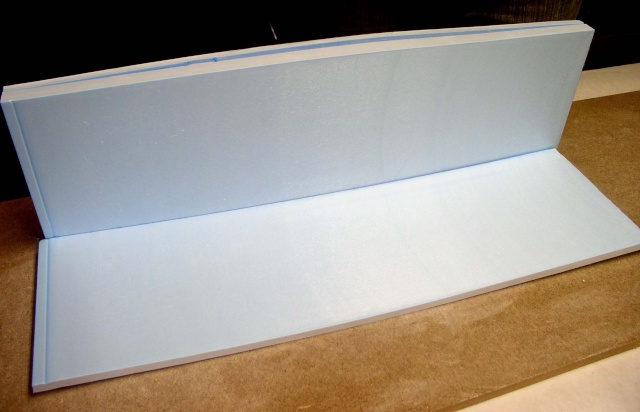
The result once your sheet has been cut correctly:
smooth and even.
It's important to dust with talcum powder between each cut. To create sheets of different thicknesses, insert sheets of cardboard (for example, between the wood panel and the polystyrene sheet...
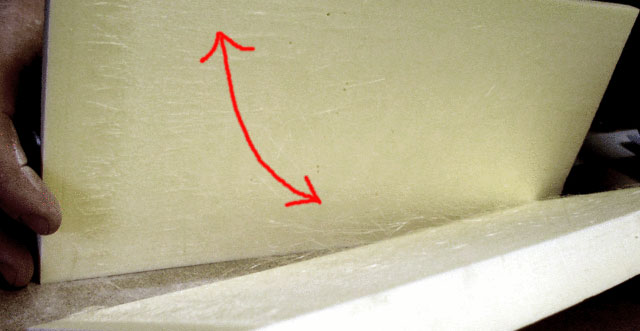
Some types of extruded polystyrene develop strands when the sheet is cut. It is essential to remove them carefully before sanding...
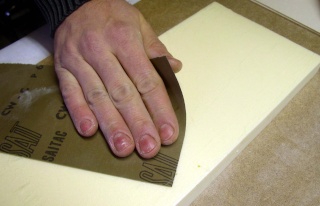
For any remaining irregularities in the cut edges, gently sand them with the pads of your fingertips using wet sandpaper (though in this case, sand dry)—280 to 400 grit, depending on the density of the cut material...
If necessary, you can salvage the outer surfaces of the plate for use by sanding them in the same way...
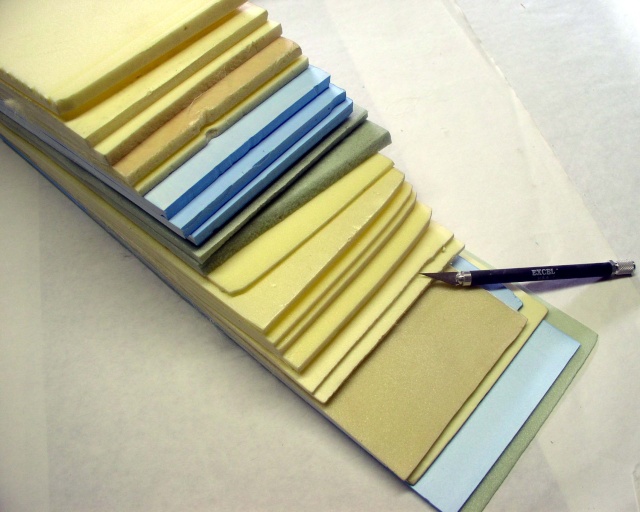
The result obtained after cutting various sheets: a very cost-effective, high-density material available in a wide range of thicknesses...
EXAMPLES OF PRODUCTS MADE FROM EXTRUDED POLYSTYRENE
In this section, we'll explain how to build a classic structure on a 25mm scale for a simulation game: a fortified watchtower...
Engraving
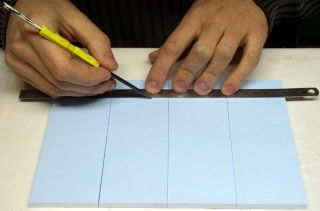
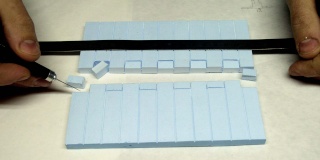
After marking and cutting the four sides of the tower, we mark the joint lines for the stone blocks, and then the stones themselves...
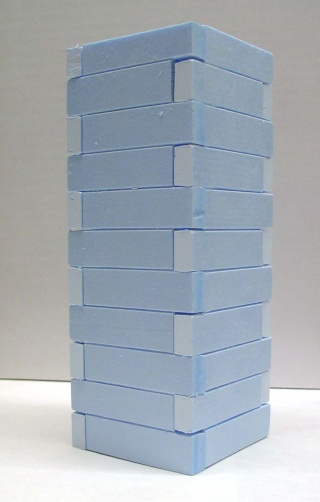
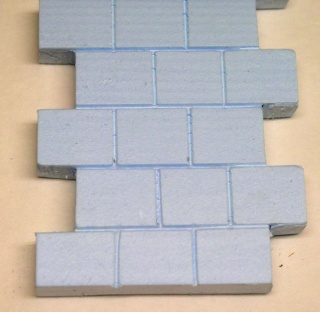
We adjust our corner stones and do a dry run to check...
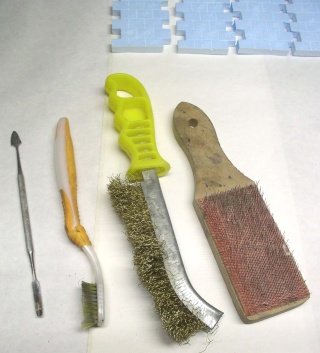
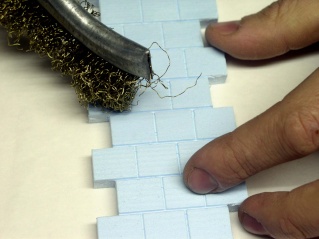
We're going to add texture to the stones. To do this, we'll use three tools:
- The brass weed brush
- A hairbrush and a toothbrush...
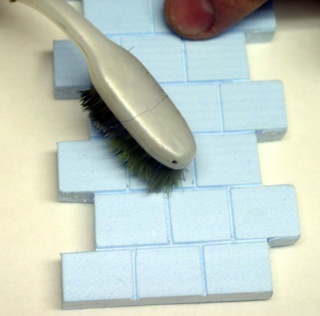
Be sure to mark your stones in a variety of ways...
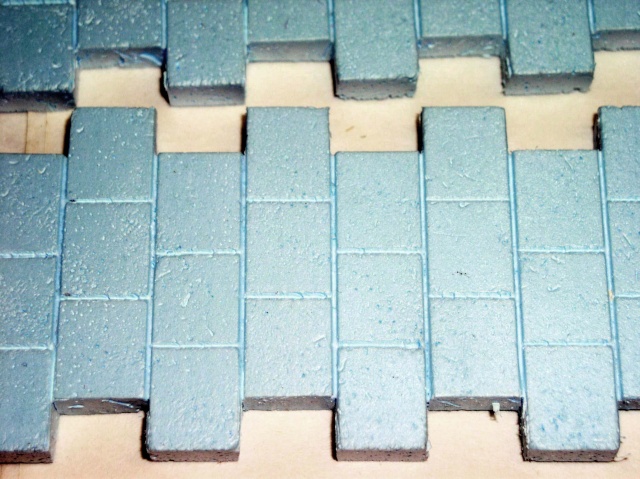
The engraved piece...
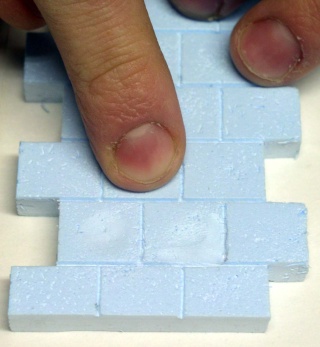
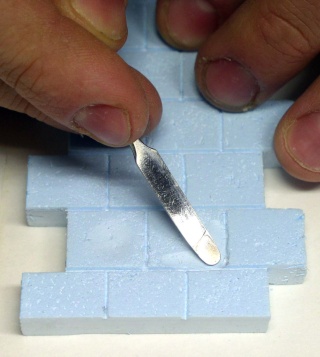
You'll smooth and press the mixture in a variety of ways—both inside each stone and between them. This process will give your stones a more natural look...
Using the fine tip, engrave some signs of wear (cracks, chipped stones)...
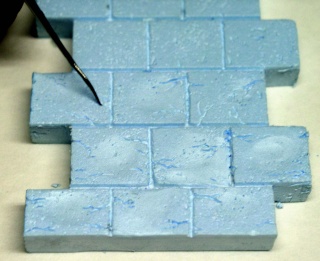
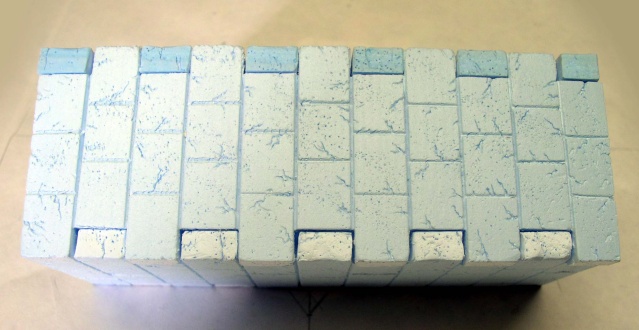
A close-up of the final result before applying wood glue...
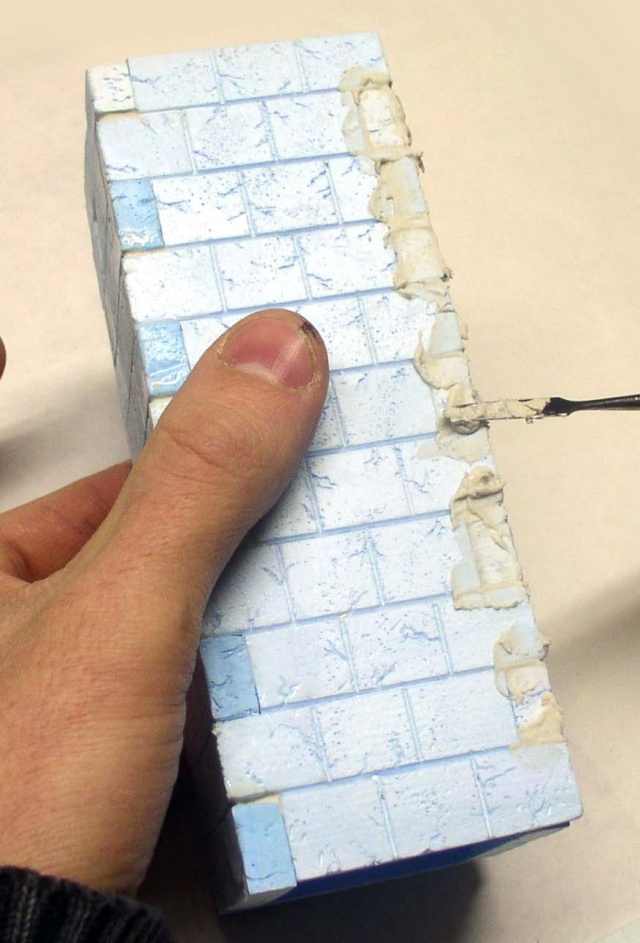
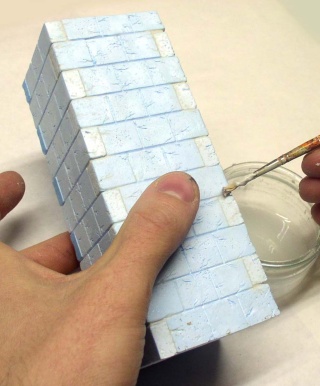
Apply joint compound to the joints. Smooth the joint compound with a brush...
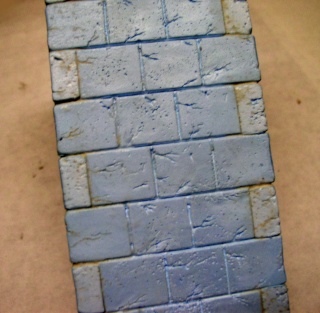
Painting
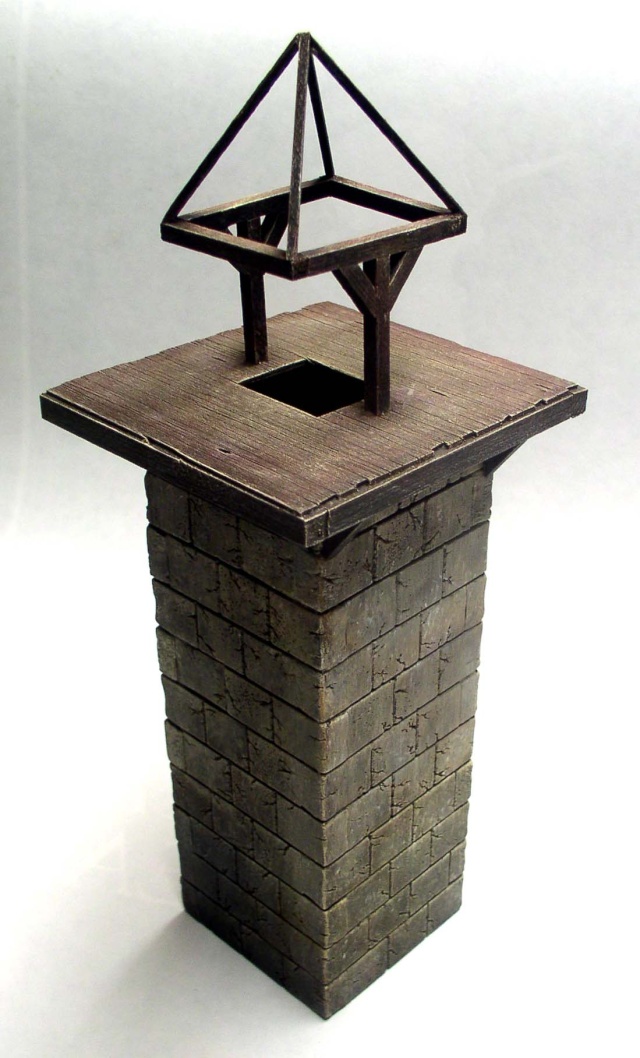
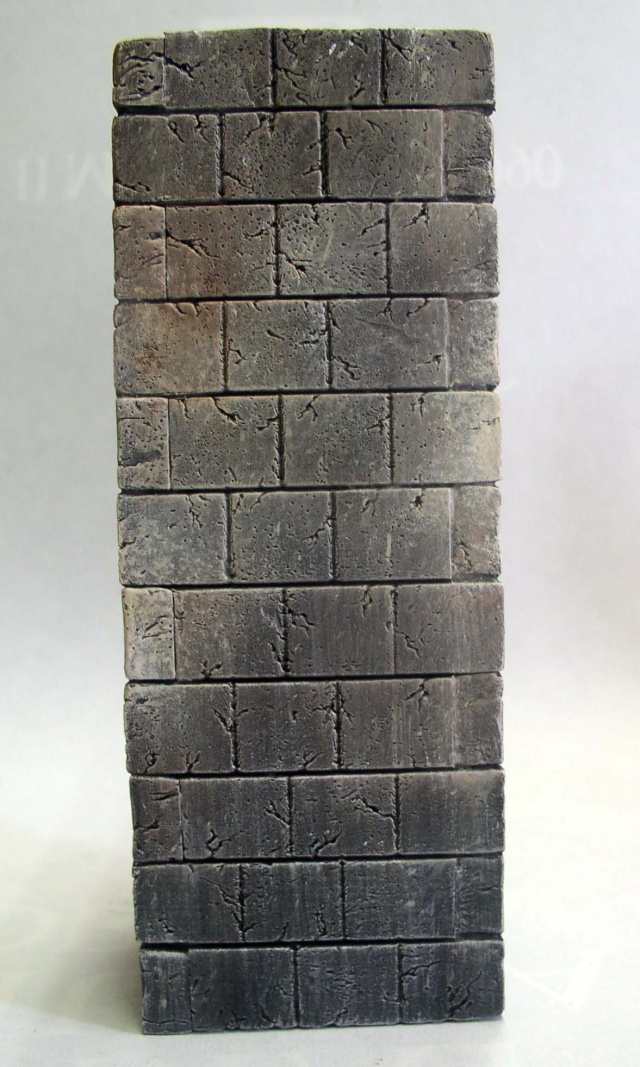
After applying a base coat of matte black, dry brushing is done in the traditional manner, varying the shades slightly. The painting of the tower is complete. All that's left is the slate roof...
Street pavement
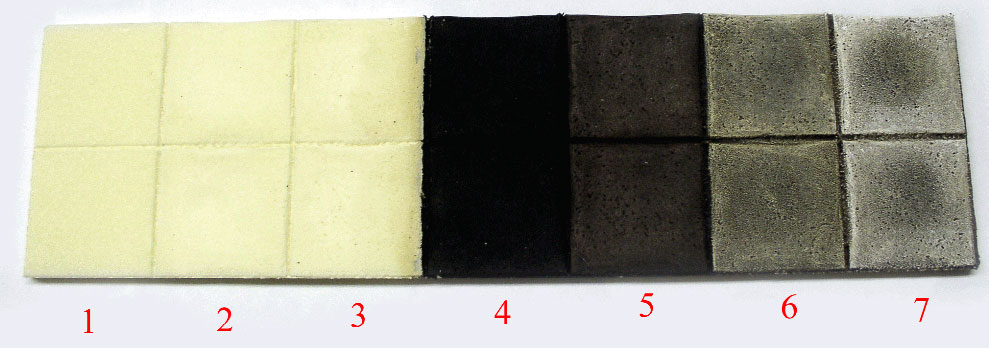
- Marking the pavers.
- Beginning the marbling process and creating textures with a wire brush.
- Smoothing to make Step 2 look more natural—wear on the inner edge of the cobblestones.
- A heavily thinned matte black primer.
- -6 - 7 - Dry brushing using appropriate colors, from dark to light.
Set Design
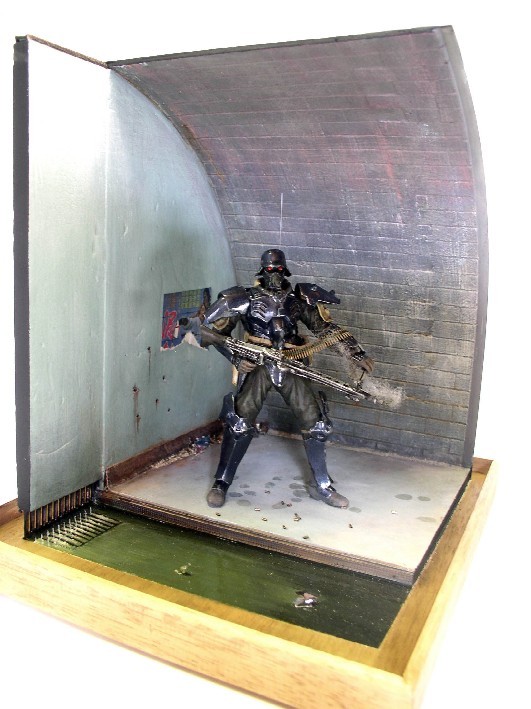
ANOTHER EXAMPLE OF A PROJECT: SEWER DECOR...
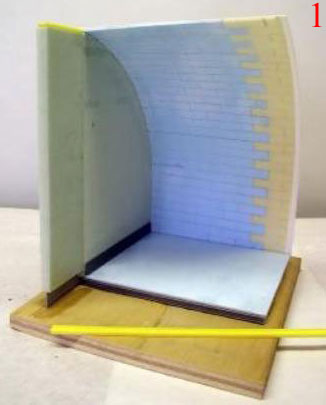
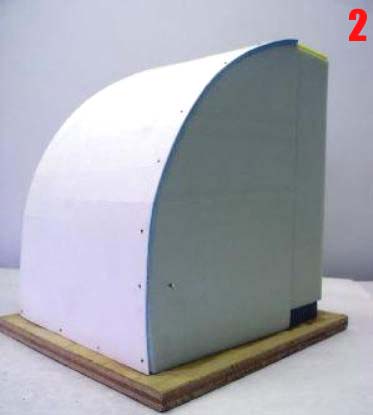
- The display is built on a plywood base. It serves as the figurine's pedestal. Crossbars and a plastic grid are added...
- The polystyrene arch is secured with pins while the wood glue dries...
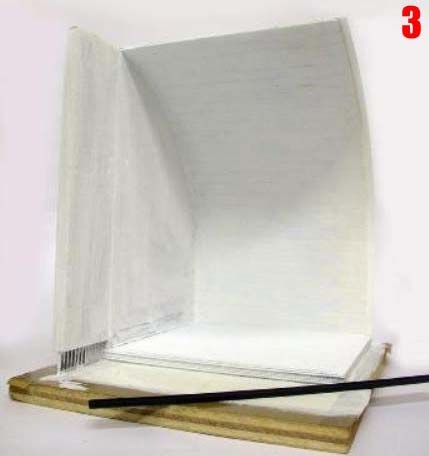
3. Once everything is dry, apply a white acrylic primer so you can then paint with oil paints...
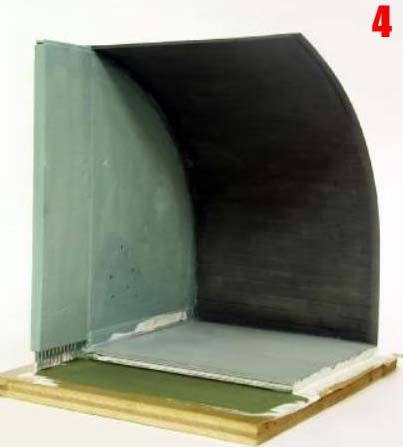
4. The first layers of color are applied using HUMBROL oil-based paint...
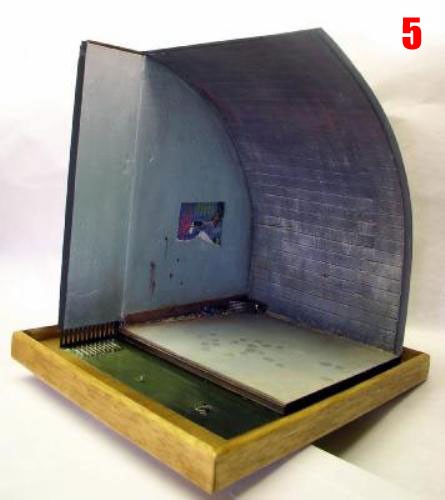
The set is finished...
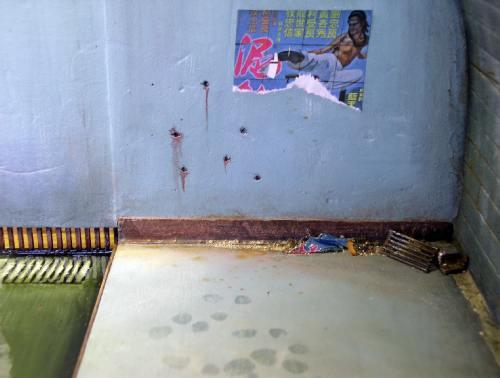
Detail. A torn poster is taped to a wall. Some debris and a little sand are added. The footprints are made with glossy varnish, while three coats will simulate the water in the canal...
You are now free to create any structures, monuments, ruins, or floor coverings as you please, at any scale. Use wood glue to assemble the pieces, and immediately smooth out any excess with a brush and water; otherwise, these areas will form hard spots that are difficult to sand down due to the fragility of the material. Joints should be filled with wall spackle and smoothed in the same way as with wood glue. All painting should preferably be done with water-based (acrylic) paint that contains no chemical solvents; if you are using oil-based paint, apply an acrylic primer first to seal the material...