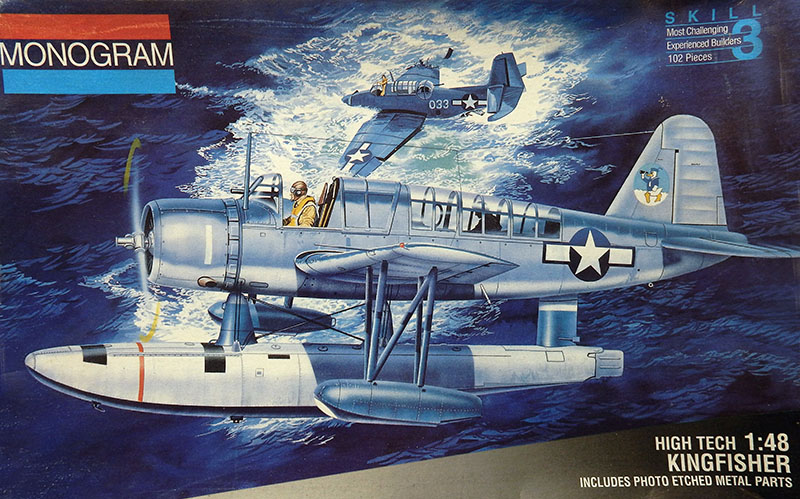
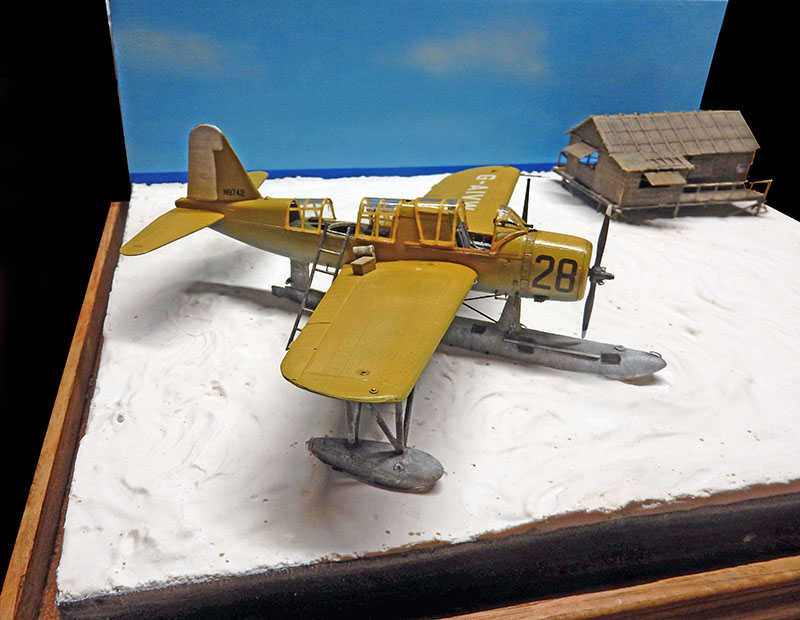
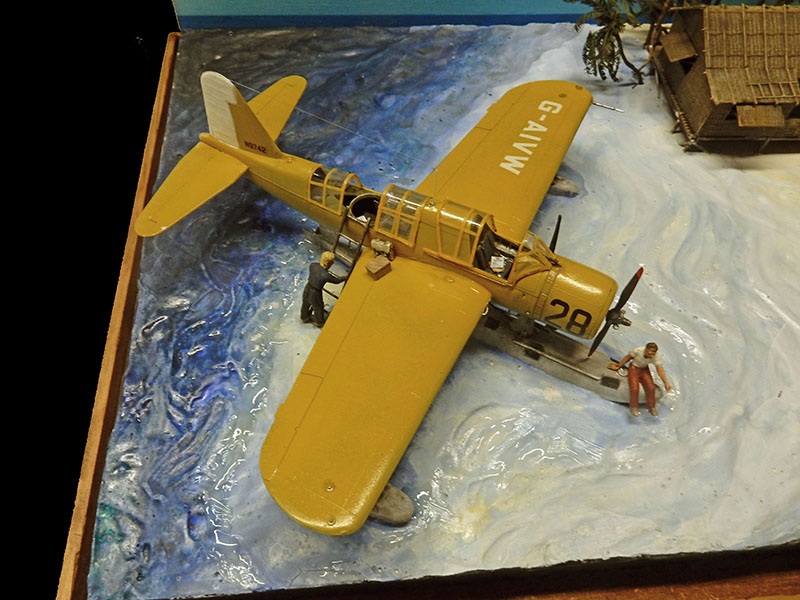
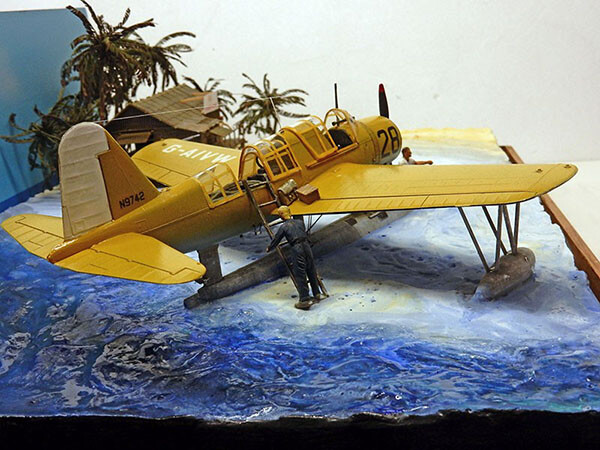
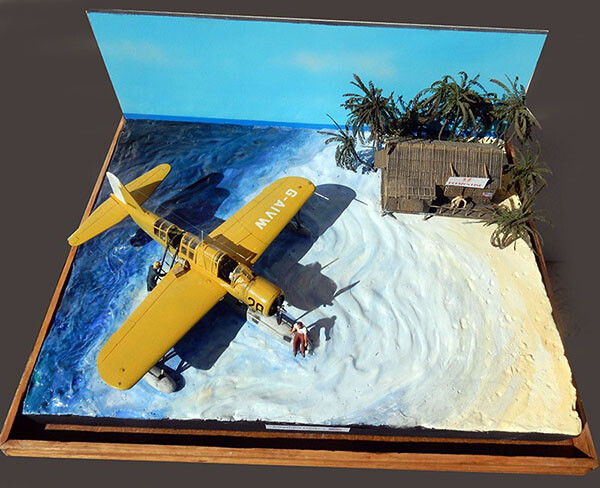
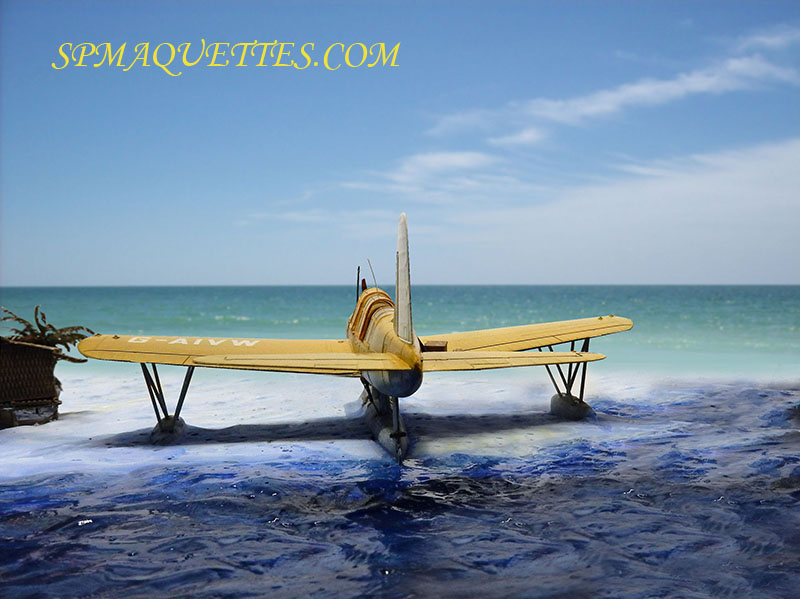
The model—simple for beginners, an old kit from Monogram...
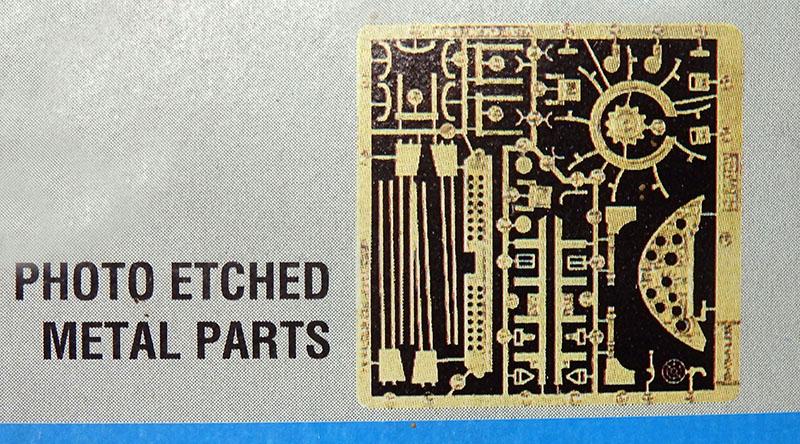
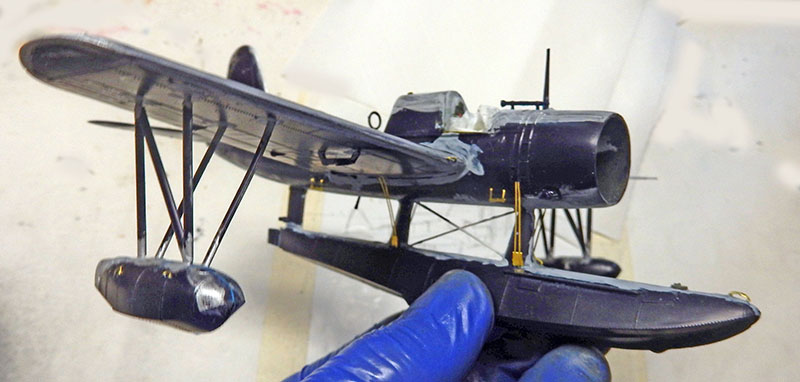
The highlight is the included photo-etched parts, which significantly improve the finish...
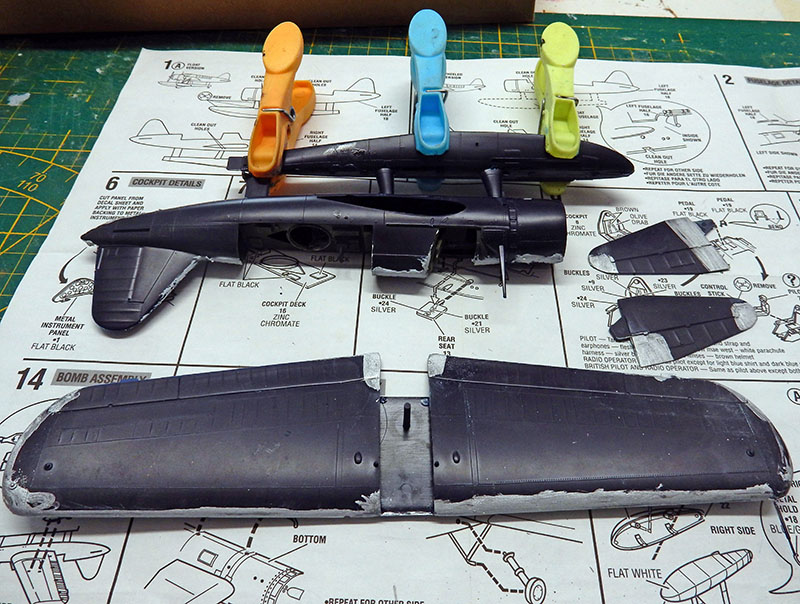
First things first: gluing. The two-piece fuselage includes the center float. You need to align everything properly, then fill the seam all around. Same goes for the wings and tail surfaces...
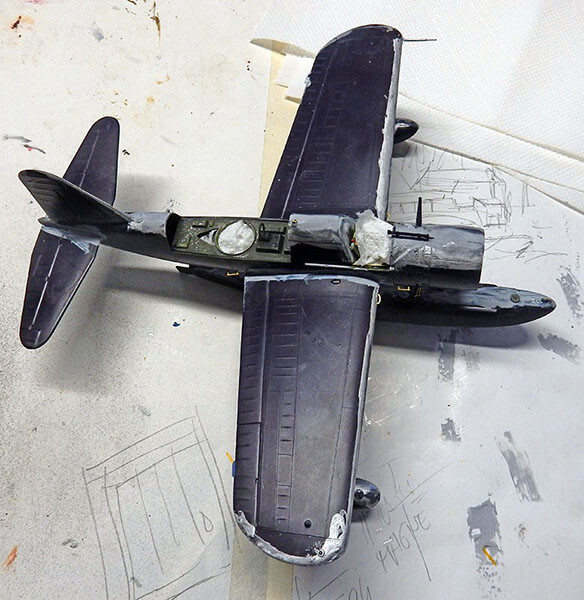
The assembly has been put together and glued. The joints have been sanded, and a coat of paint has been applied to check for any defects...
Before gluing the fuselages together, be sure to install the photo-etched instrument panel, the seats, and the various levers and pedals. The rear machine gun will not be installed. We will also paint the interior...
A photo showed the exterior photo-etched parts. The central crossbars on the float were removed (they were too thick) and replaced with Evergreen brand plastic...
Painting
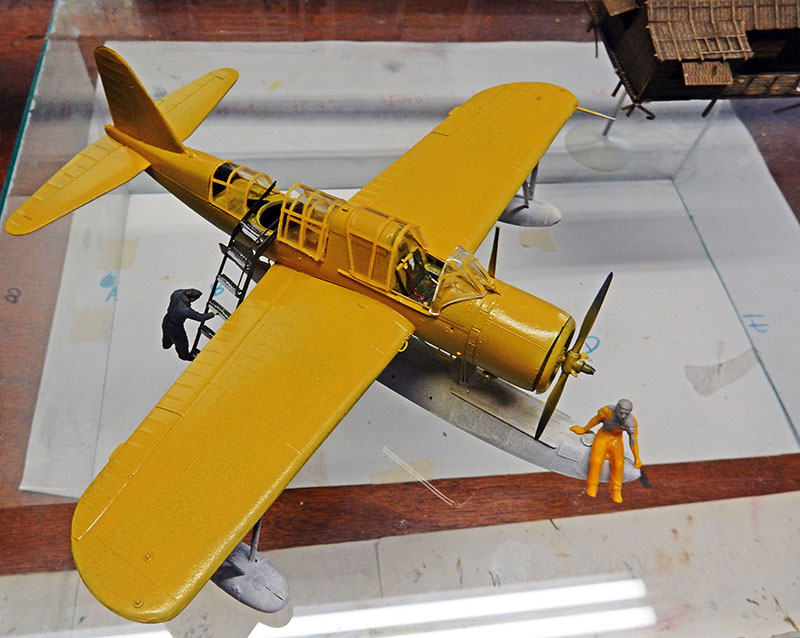
The plane will be painted in a glossy acrylic yellow...
The Setting
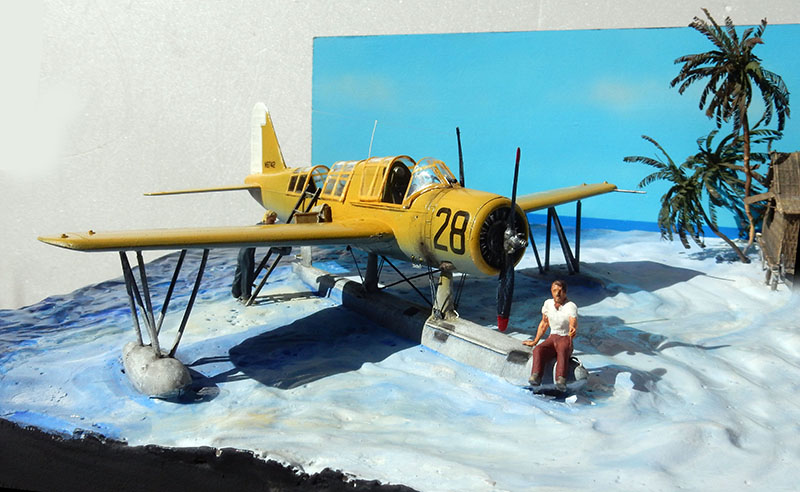
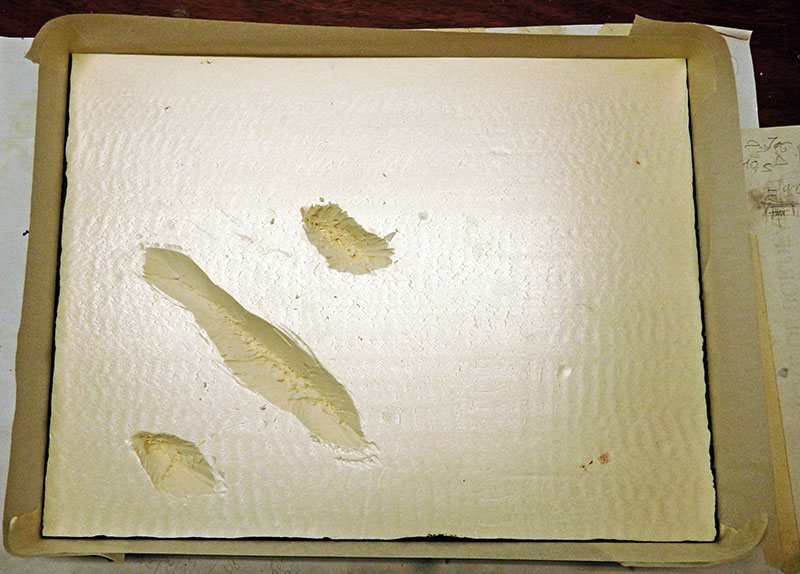
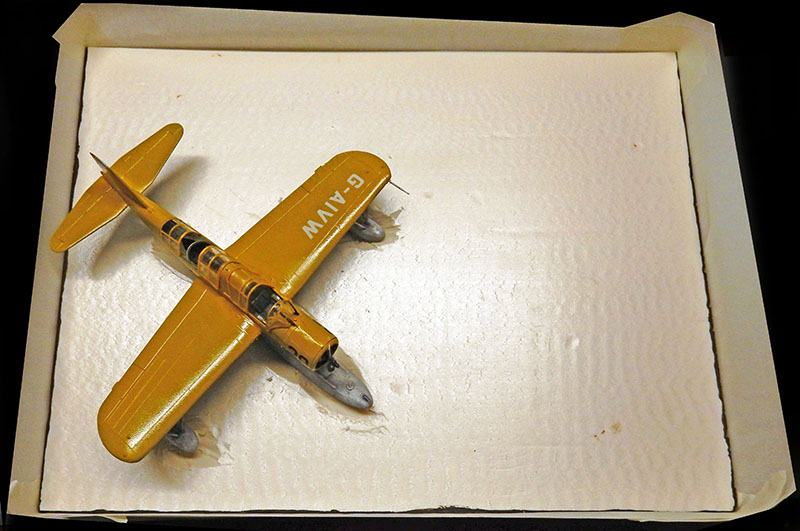
The model is placed on a beach right at the water's edge. We use a sheet of extruded polystyrene into which we carve out the indentations for the three floats to hold the model in place...
Positioning test...
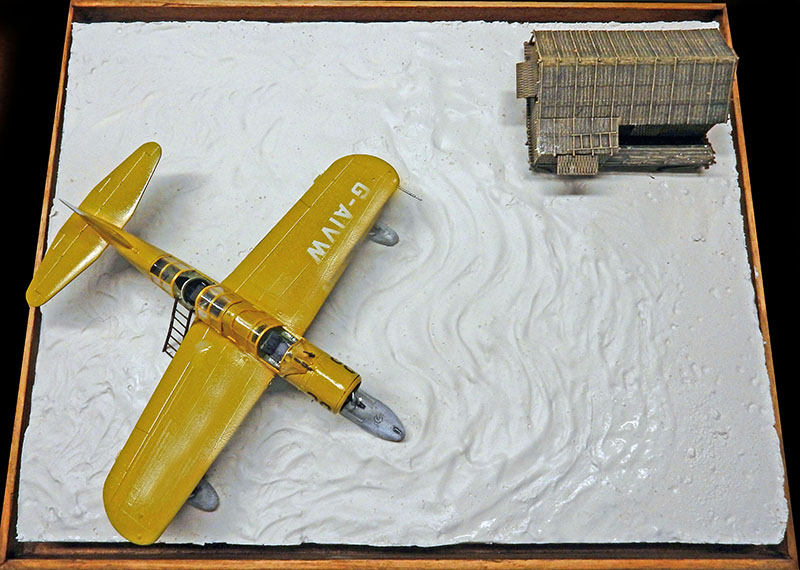
We use crack-filling compound to shape the waves. Since it dries slowly, it gives us time to work on the surface...
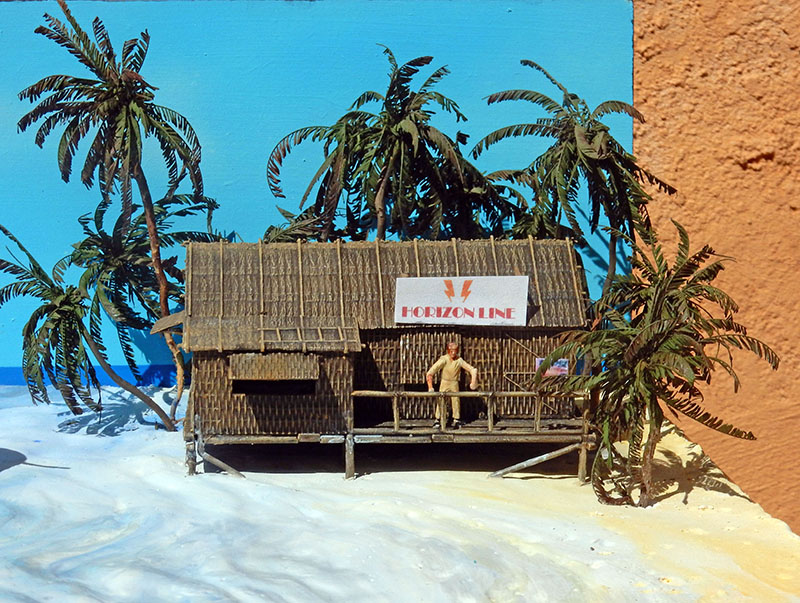
A bamboo house—reused from another diorama—on a 1:72 scale will help create a sense of distance...
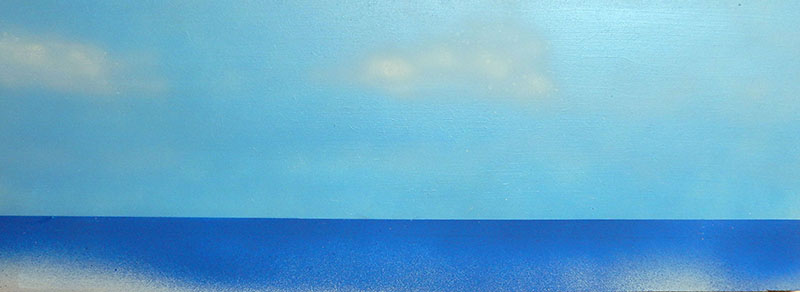
Painting the background of the diorama with acrylic paint...
After drying, glue the airplane and the cockpit to the base using wood glue...
Paint the surface with acrylic paint. Then apply a satin acrylic varnish to the bumps. Once dry, finish with acrylic gel to simulate larger waves and eddies...
Coconut palms—made from mimosa roots and leaves—will complete the decor...
An advertising sign is printed to the correct size...