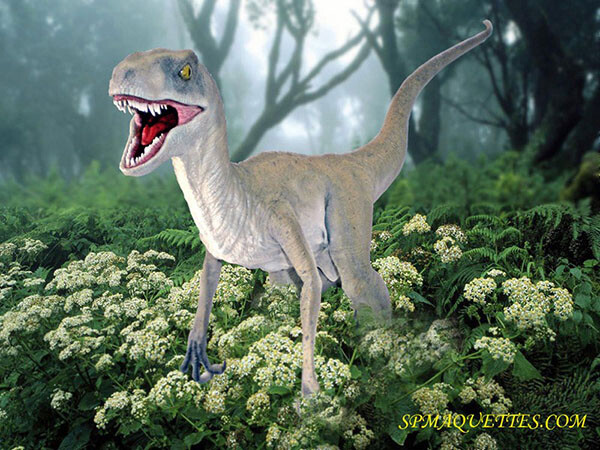
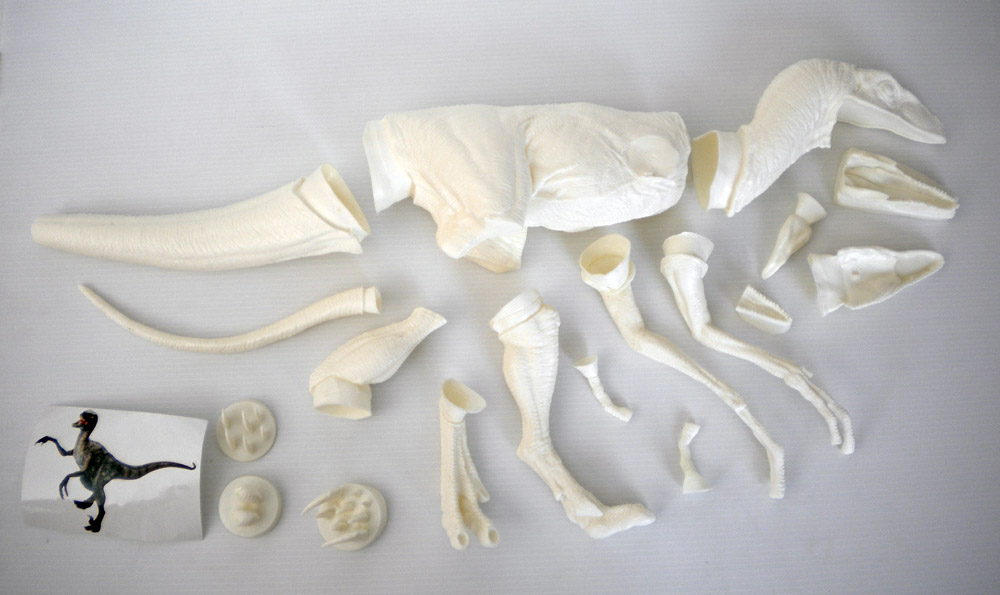
The kit, a vinyl model with highly detailed engraving...
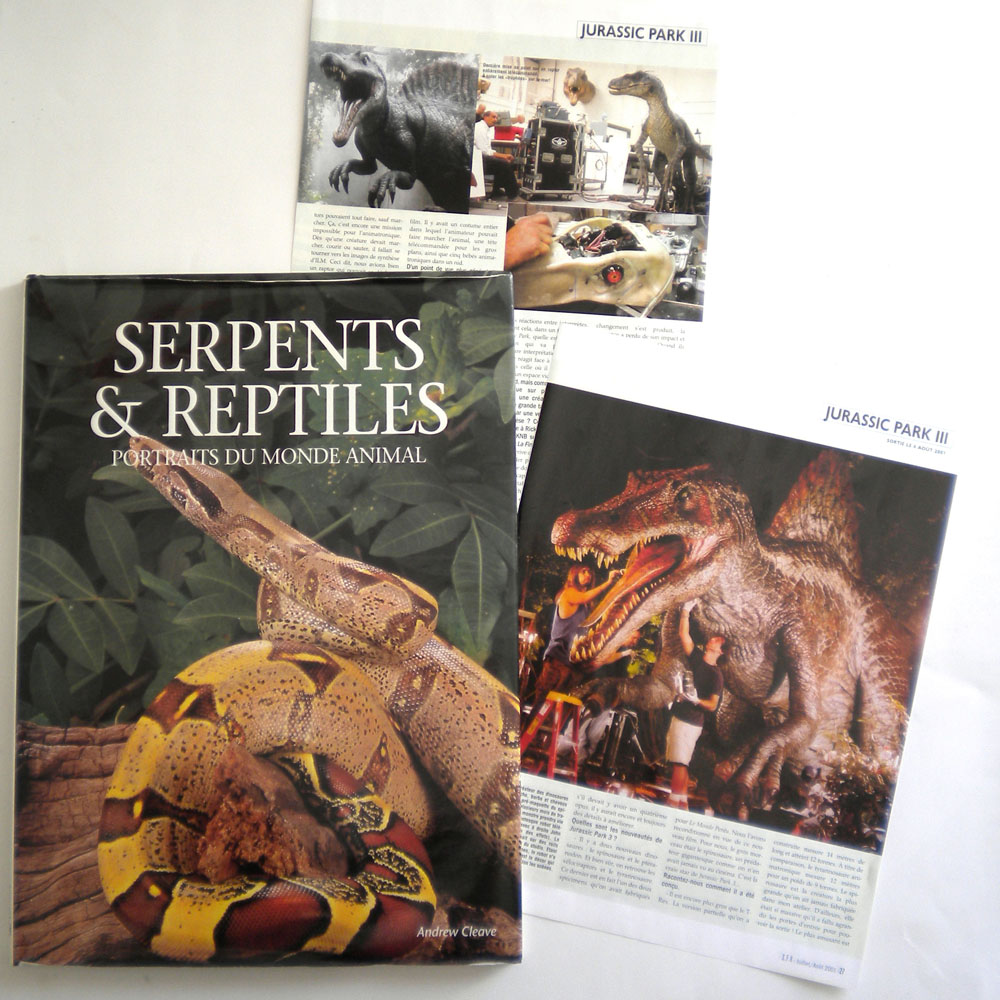
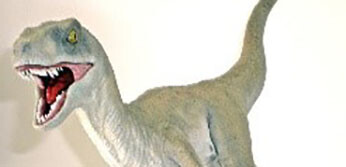
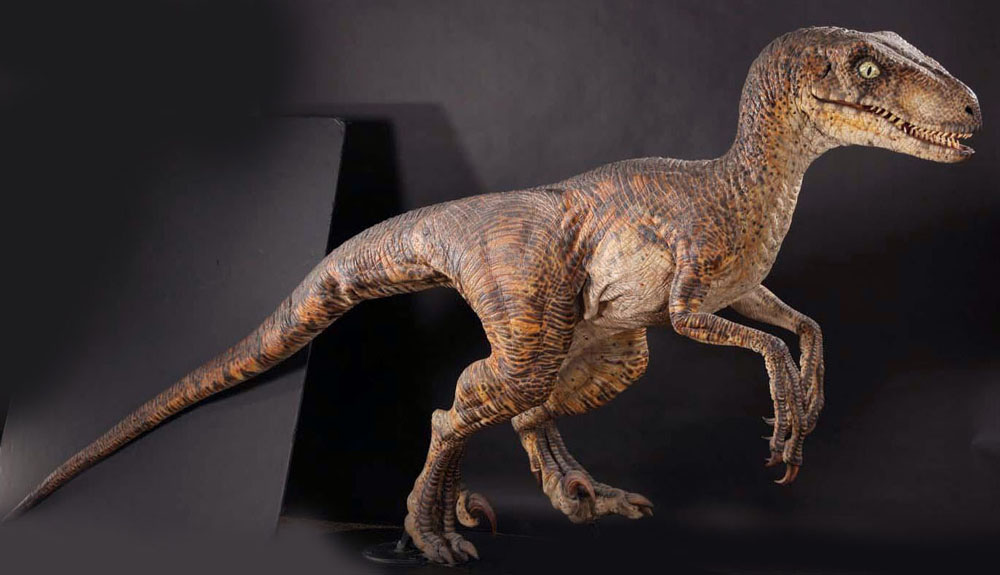
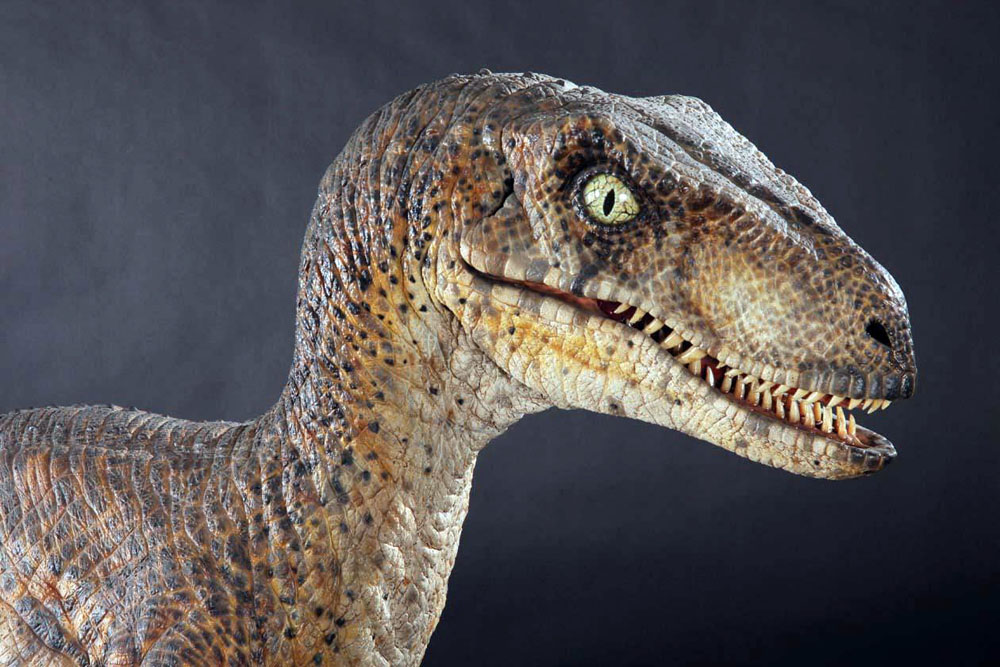
The dinosaur models from the second *Jurassic Park* movie will serve as a color guide without having to copy the subjects exactly (the two photos below)...
 |  | 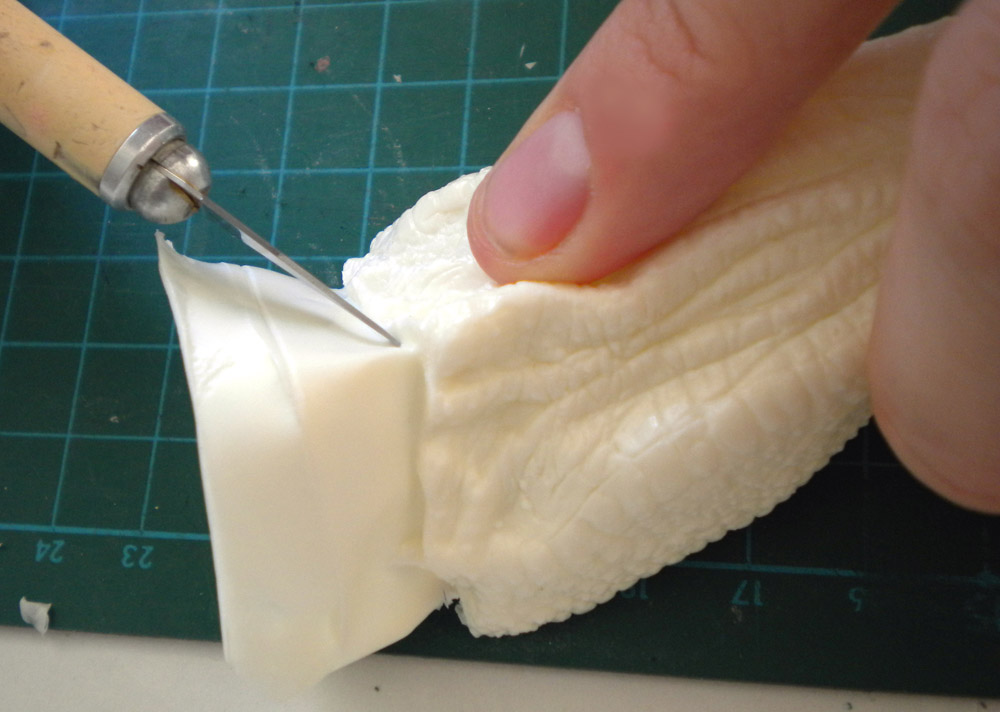 | 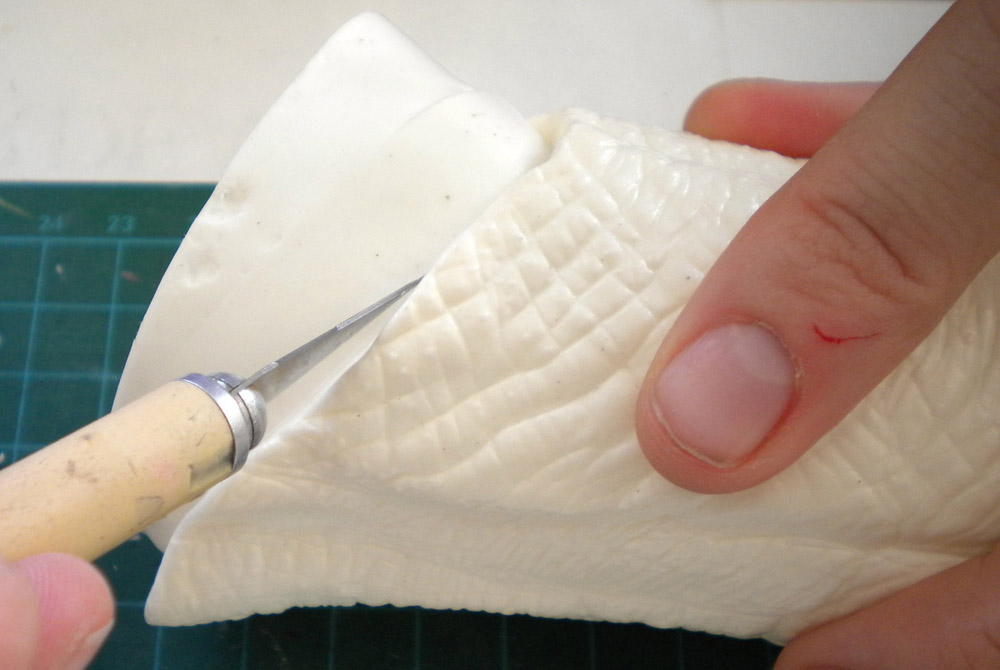 |
Step 1: Trim the edges of the vinyl pieces before gluing them. Use a utility knife and cut as close as possible...
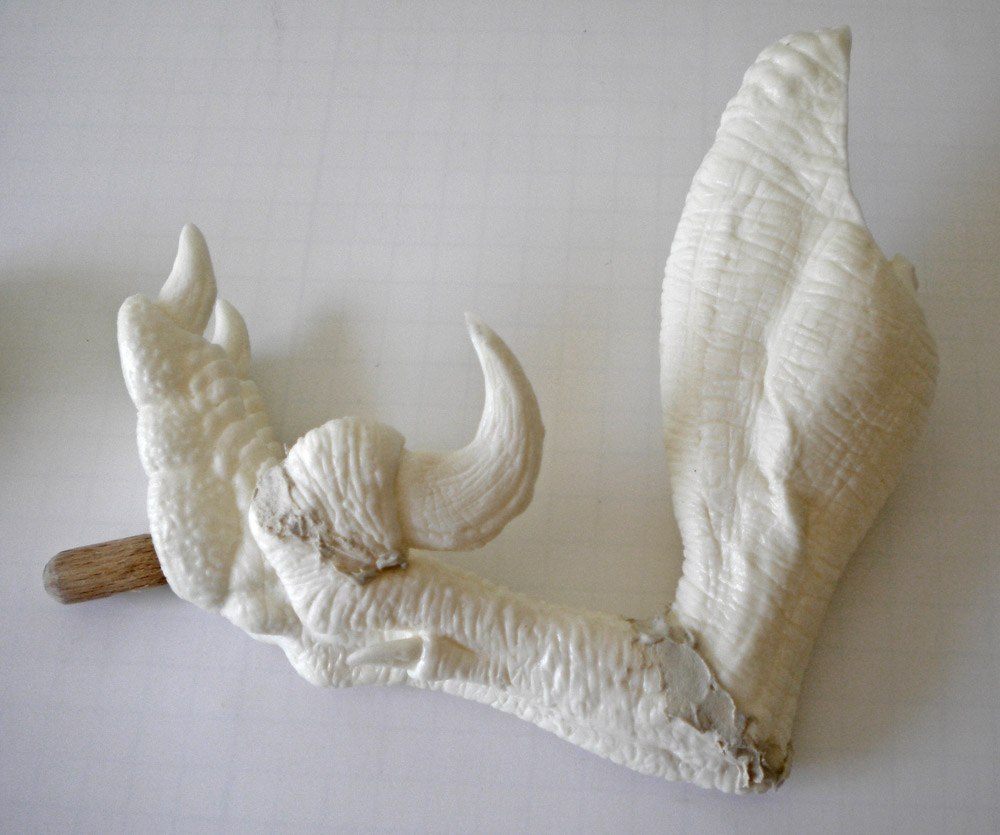 | 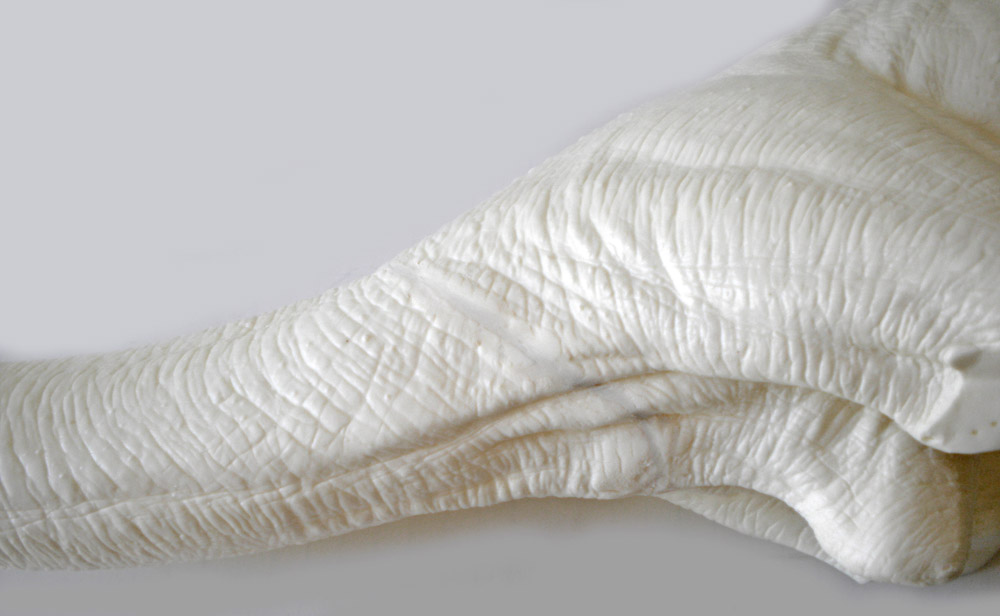 | 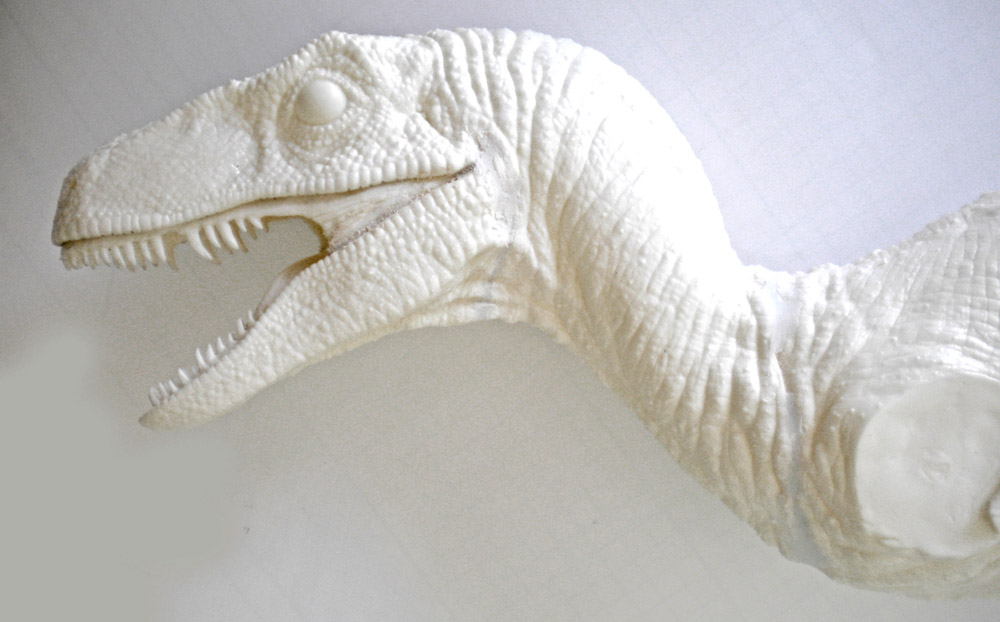 |
After gluing with Superglue, apply a first coat of putty to the seams to hide them...
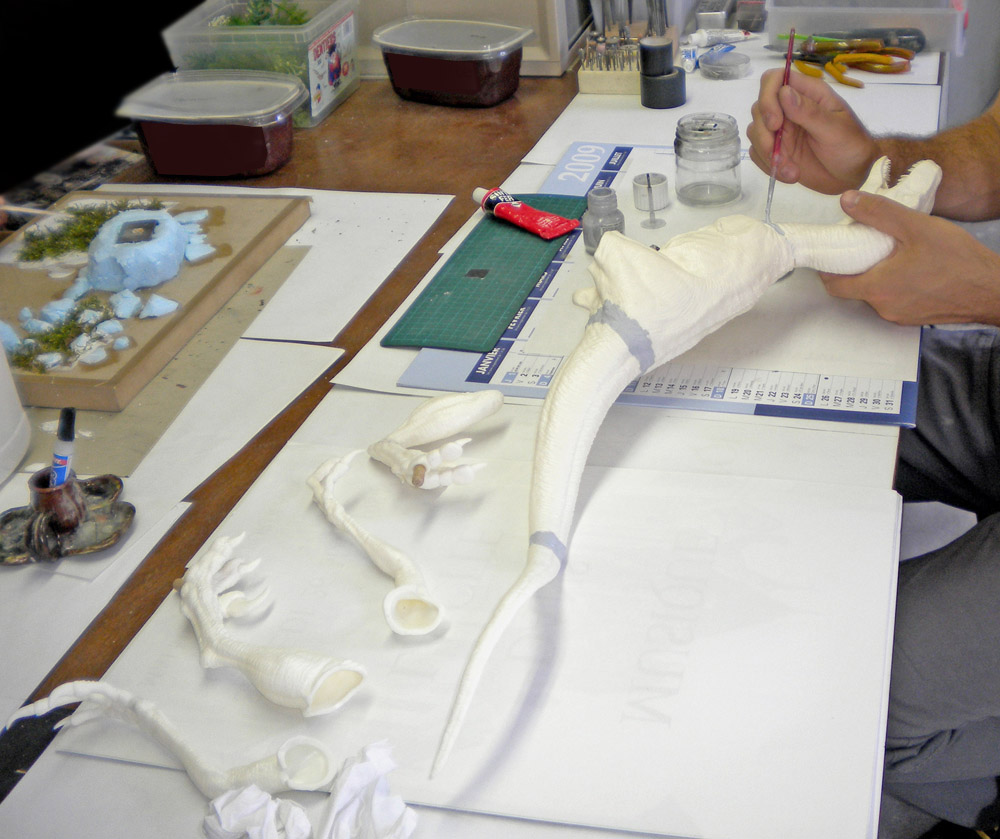
General view showing the gluing and puttying of the subject...
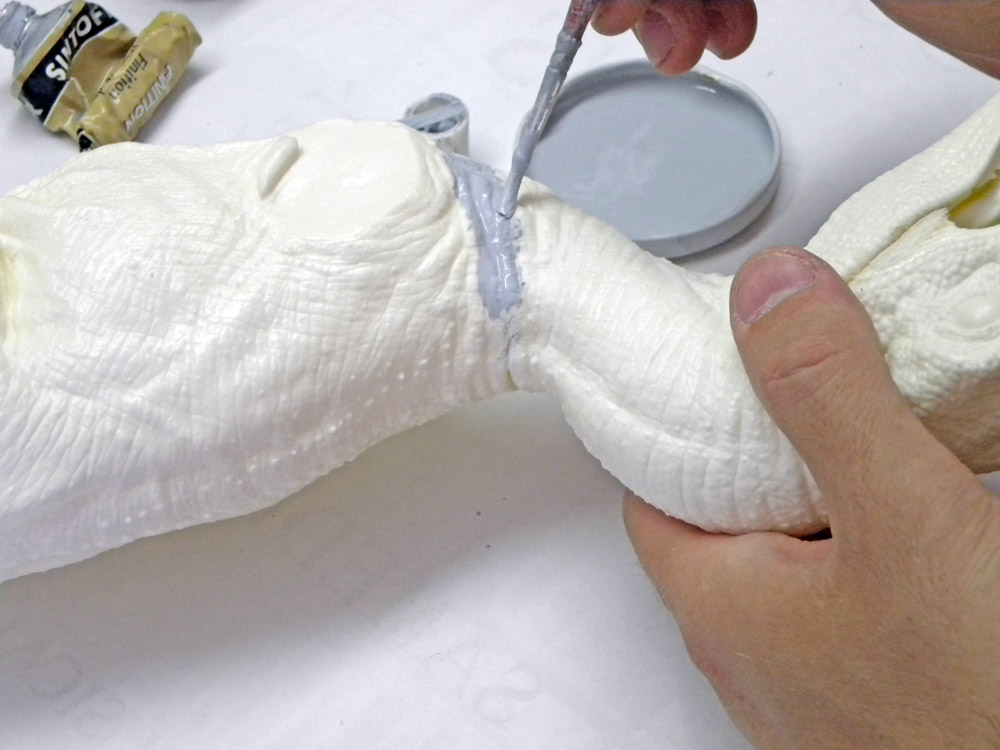 | 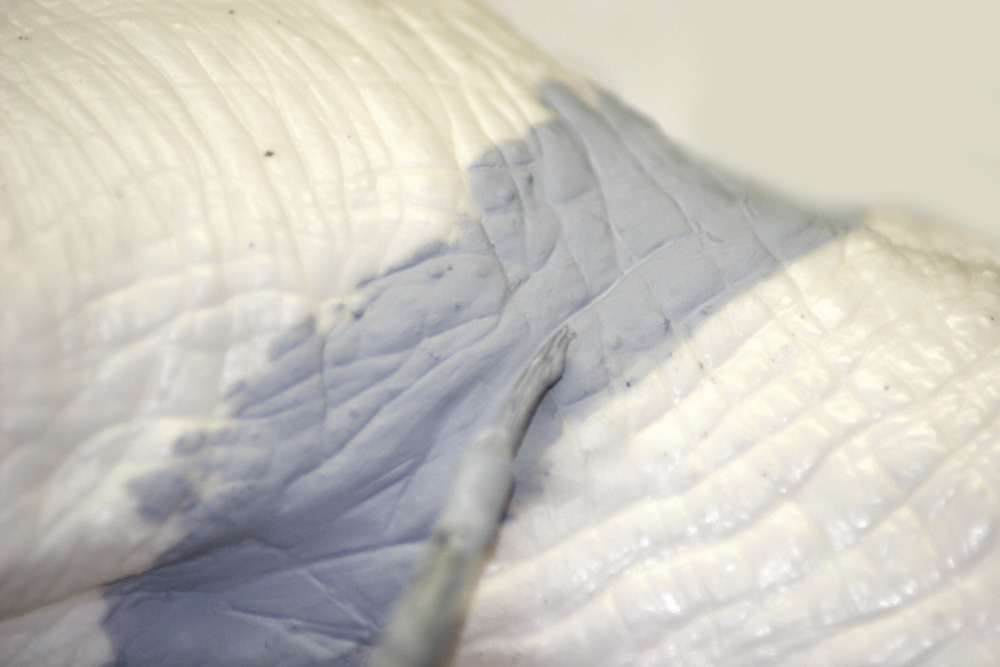 | 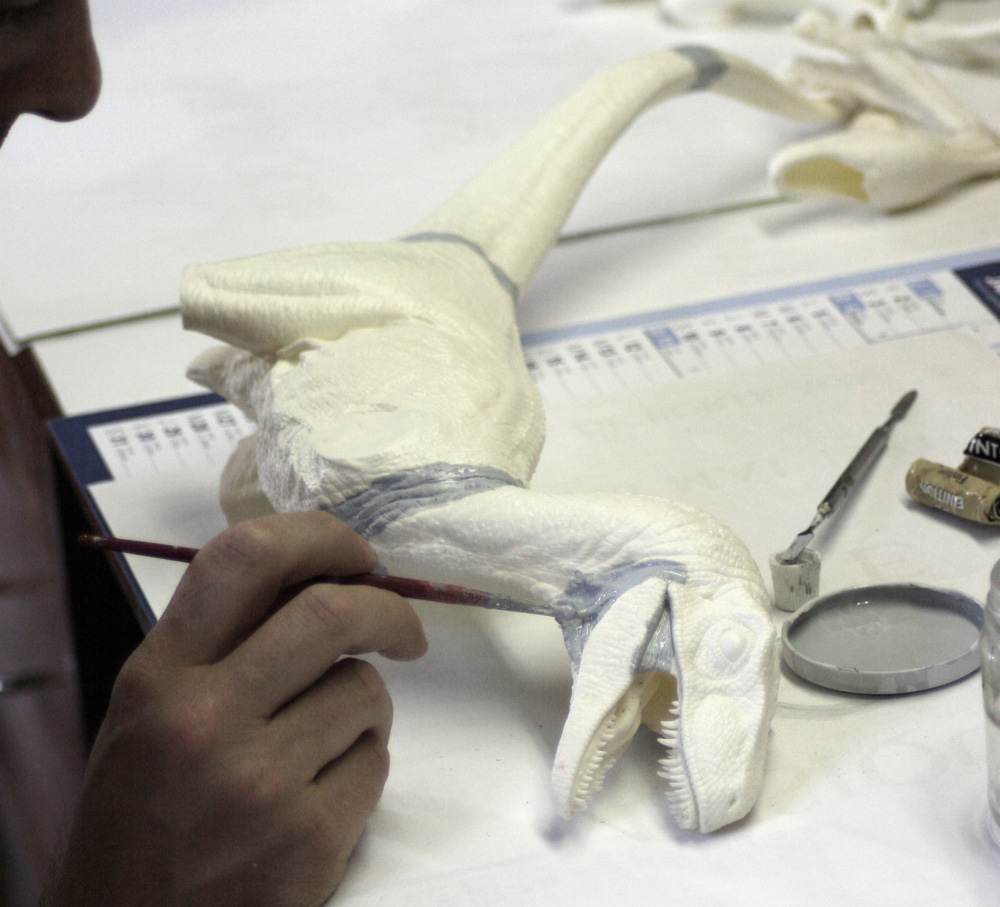 | 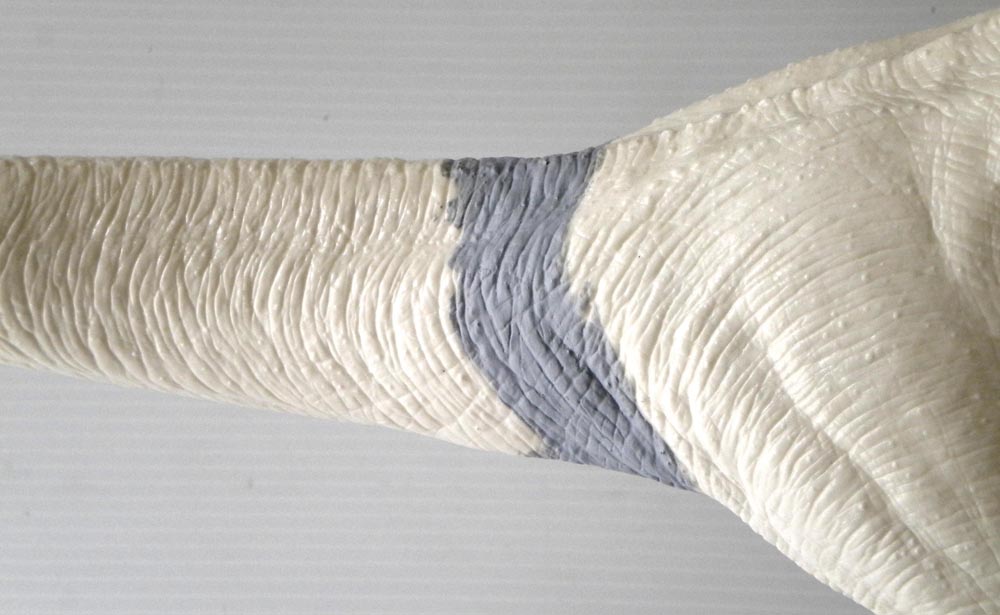 |
Le mastic utilisé est du Sintofer - enduit de finition - dilué à l'Acétone... et lissé au pinceau... Les parties ainsi enduites sont re-gravées pour parfaire les jointures...
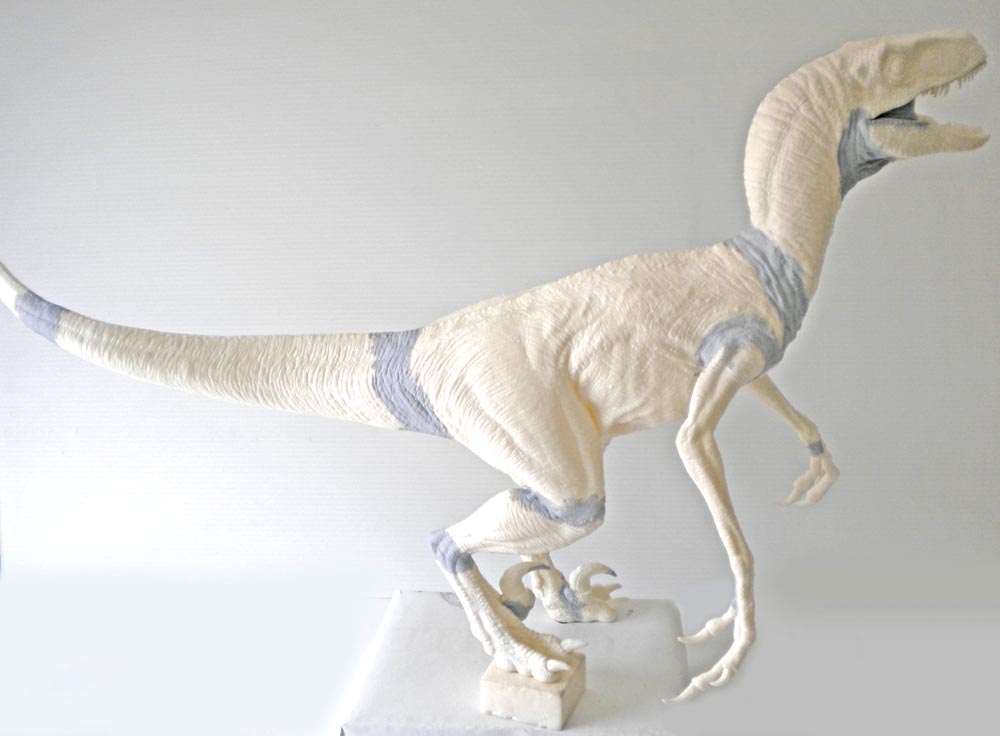
The finished piece, ready for painting...
Painting
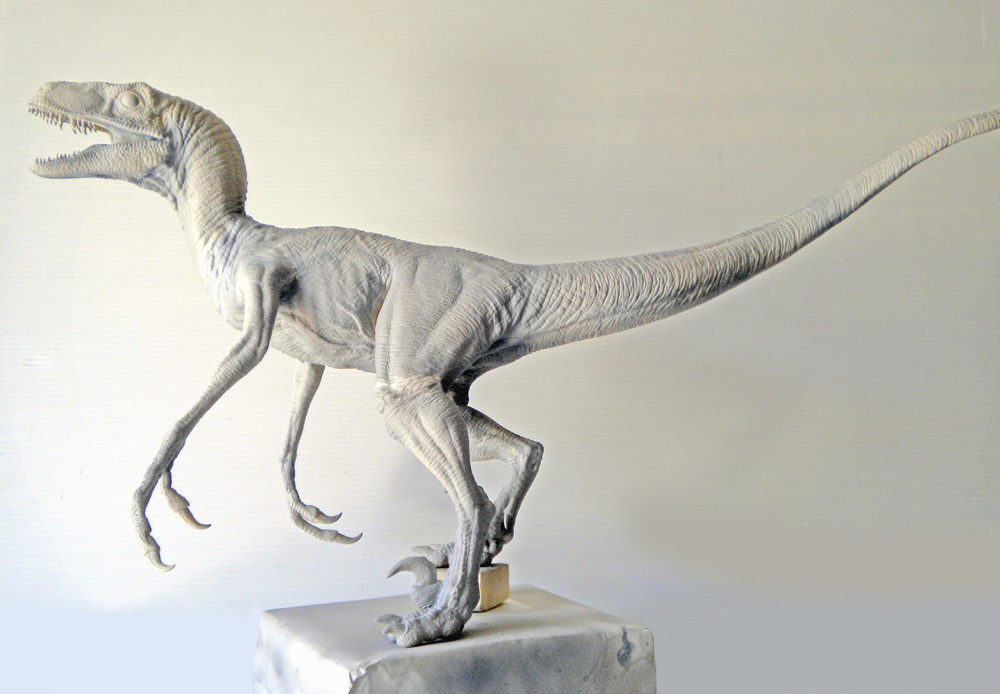
A coat of Humbrol 34 matte white is sprayed on with an airbrush... which will reveal a few imperfections that will need to be touched up...
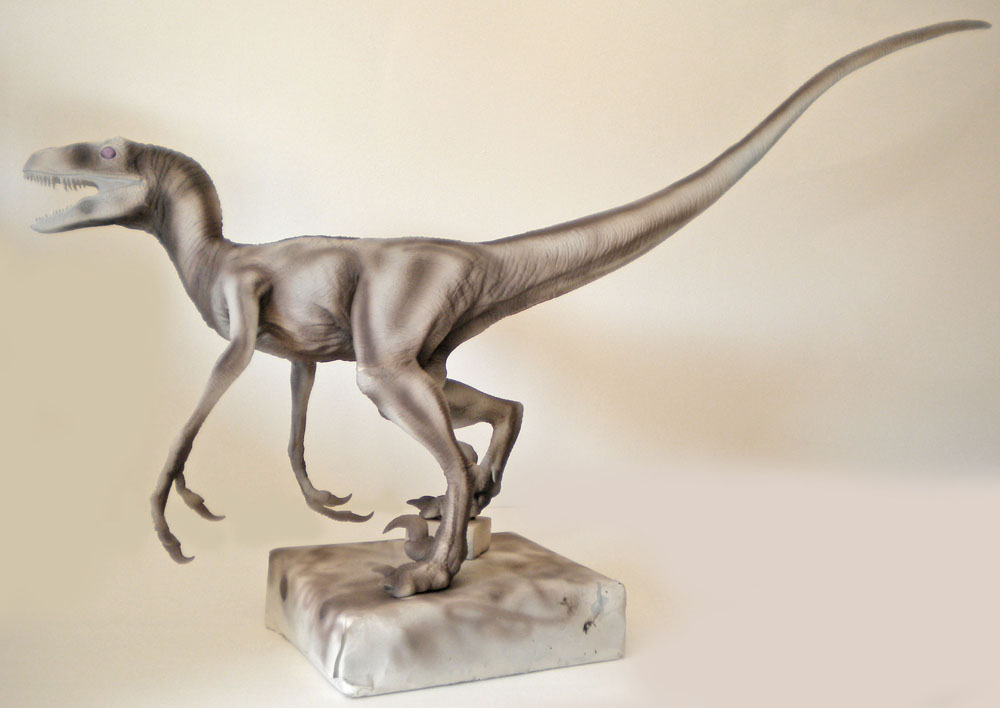
Shading using Humbrol 160 brown/red...
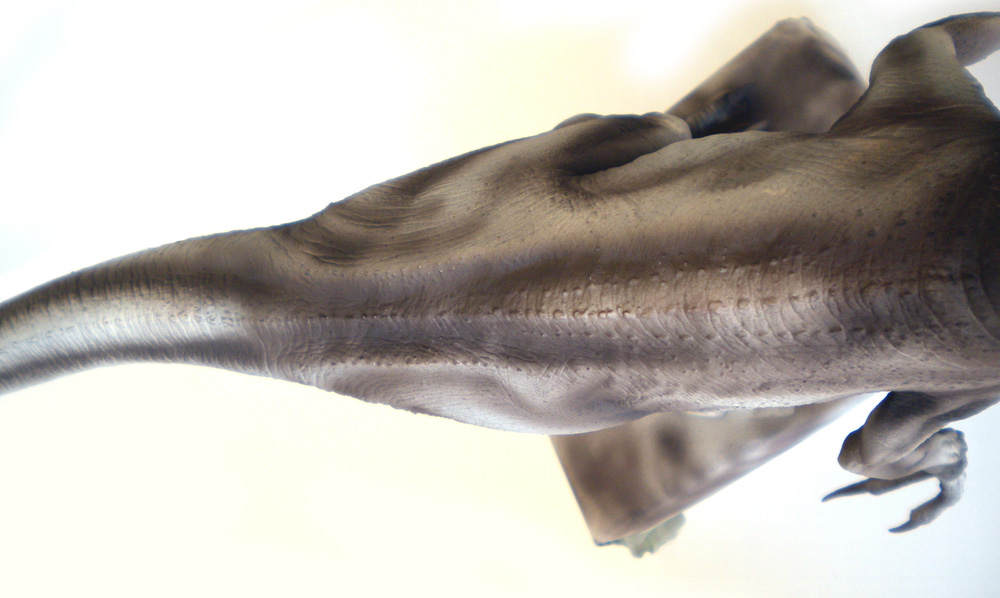 | 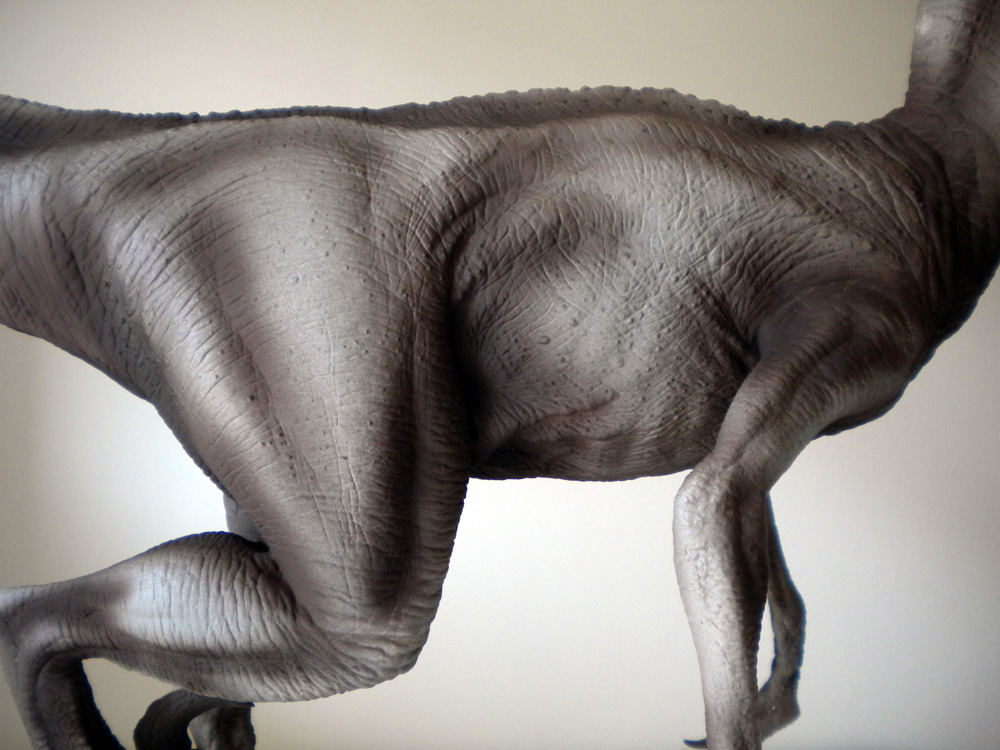 |
Deux vues montrant le détail de l'ombrage...
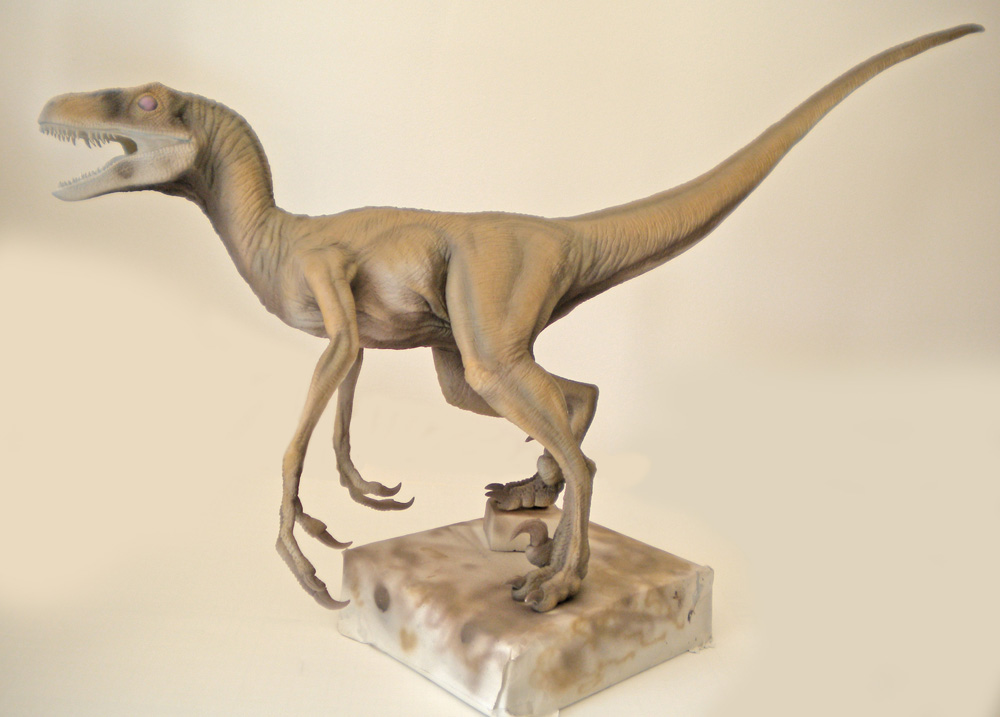
I'm starting to paint using Humbrol 110 brown...
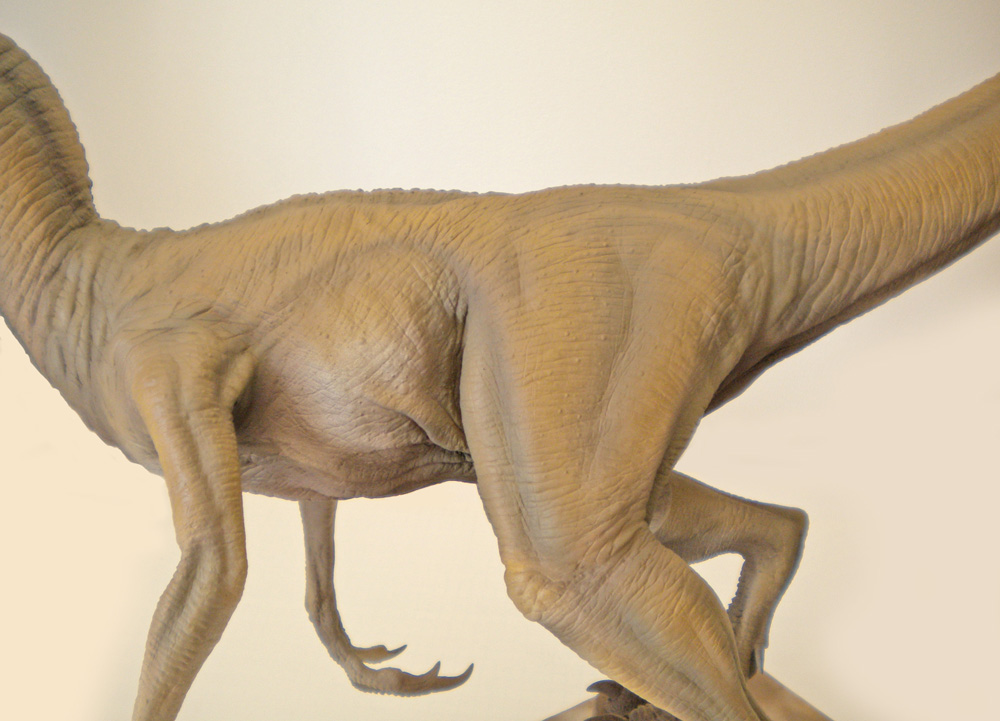
Details of the painting...
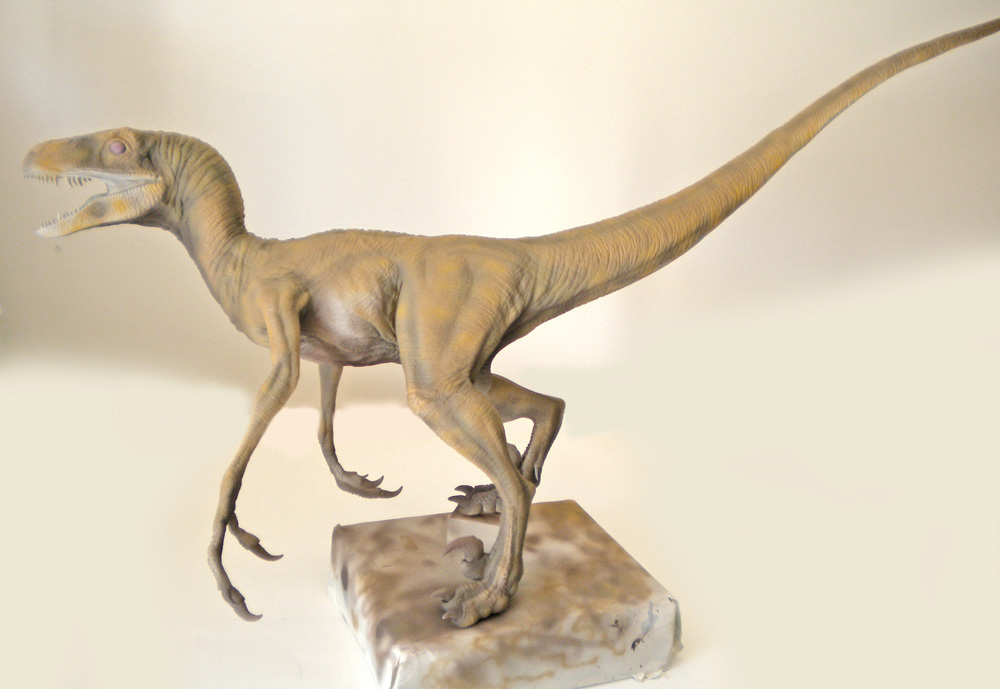
Shades of Humbrol 63 yellow are then added...
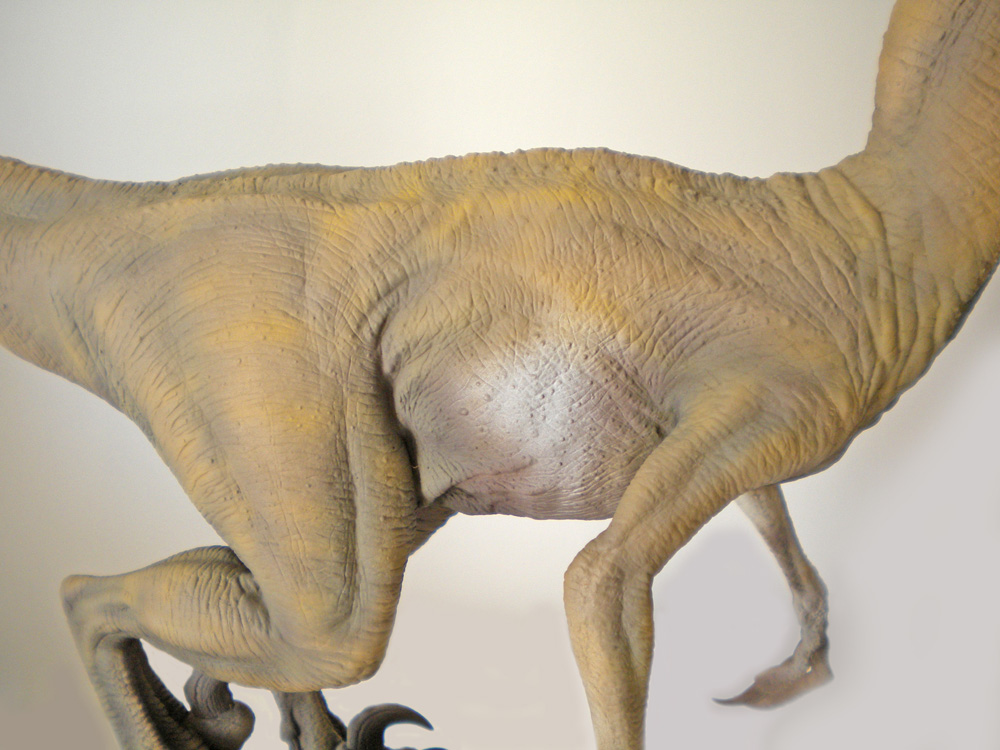 | 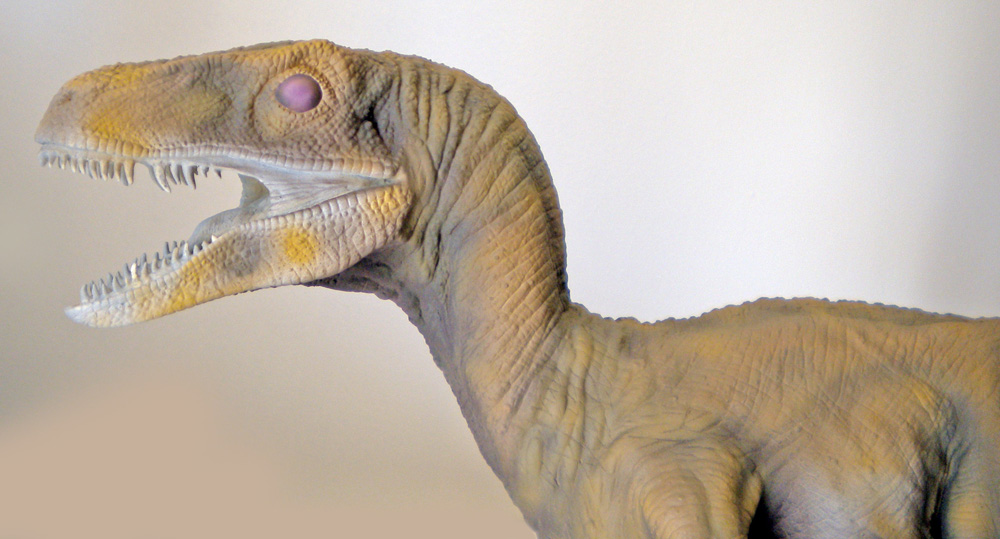 |
Détails...
Speckles
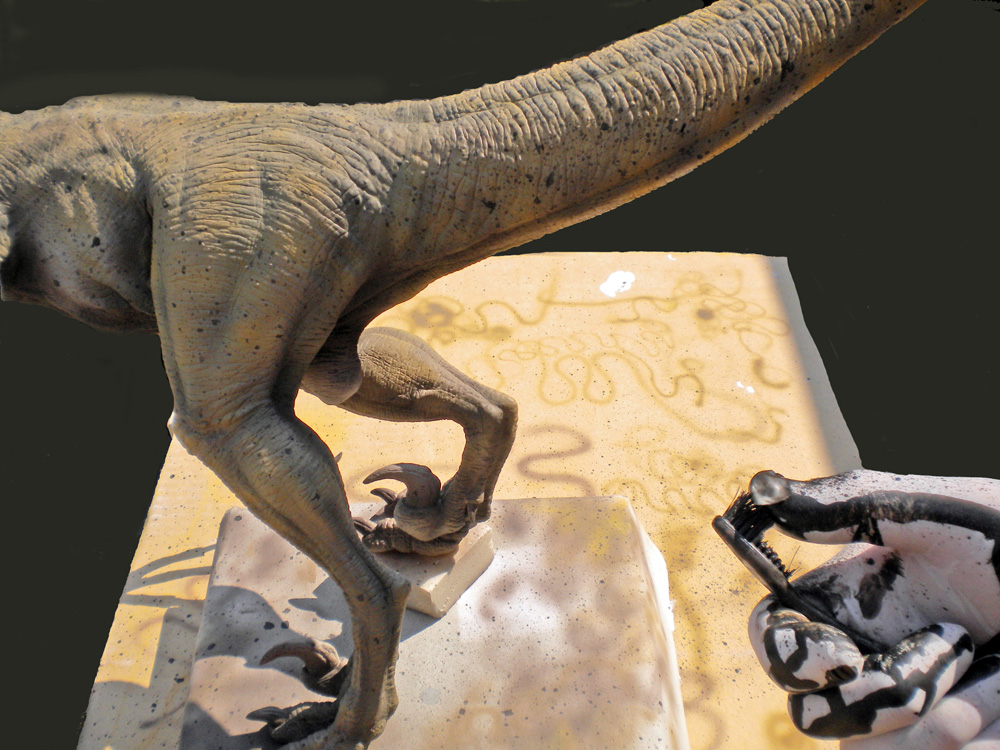
Speckles: Here, they are created using matte black—rust 113 and sand 63. In this case, we’re using an old toothbrush, but you can also spray them on with an airbrush using a speckle nozzle...
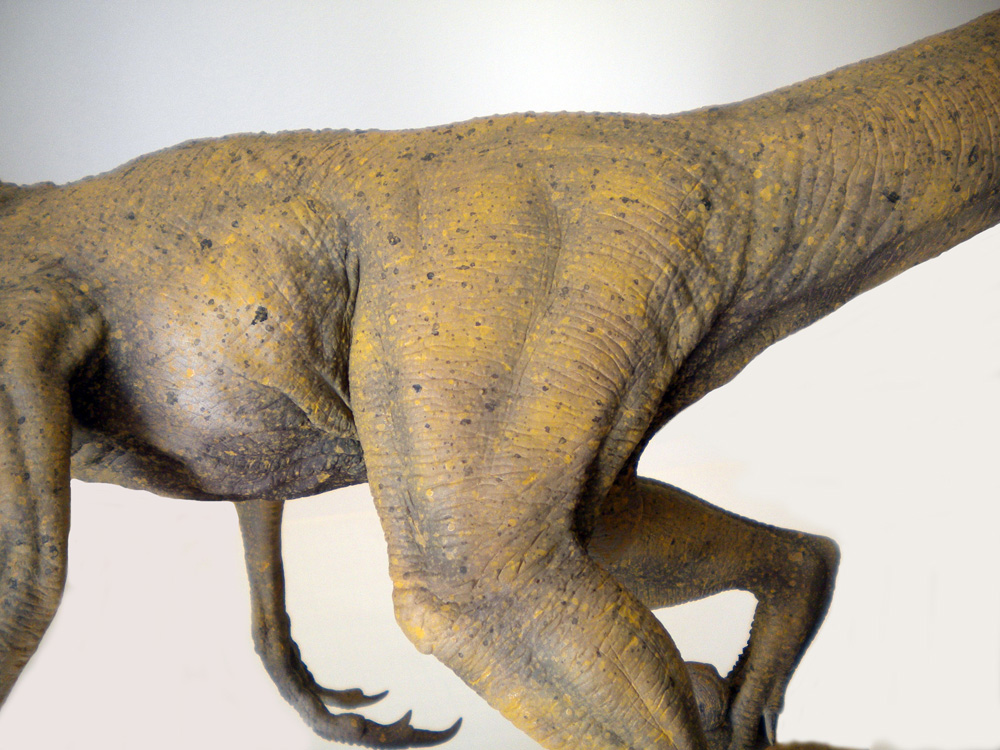
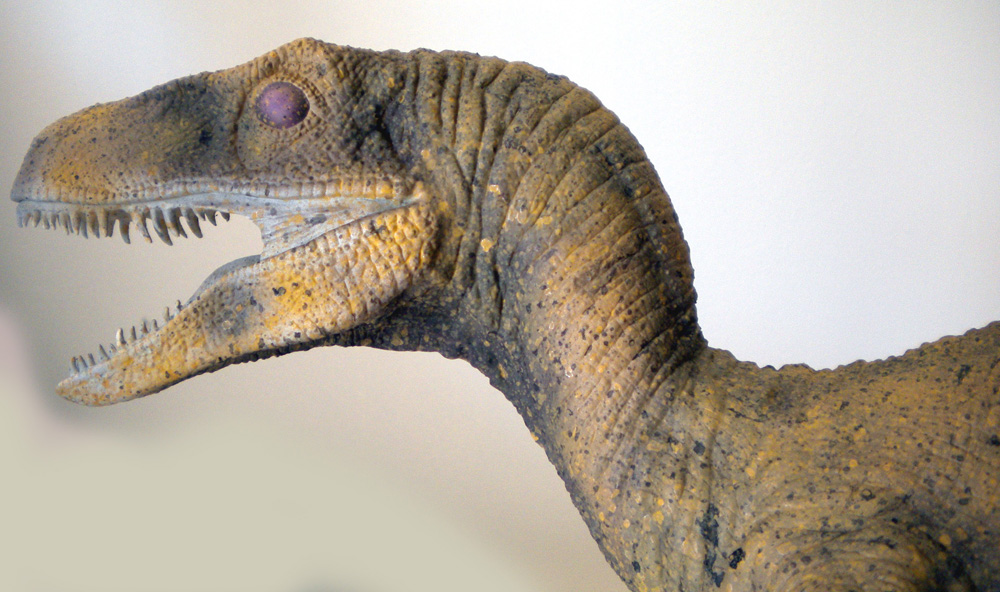
Two close-ups showing the result after drying...
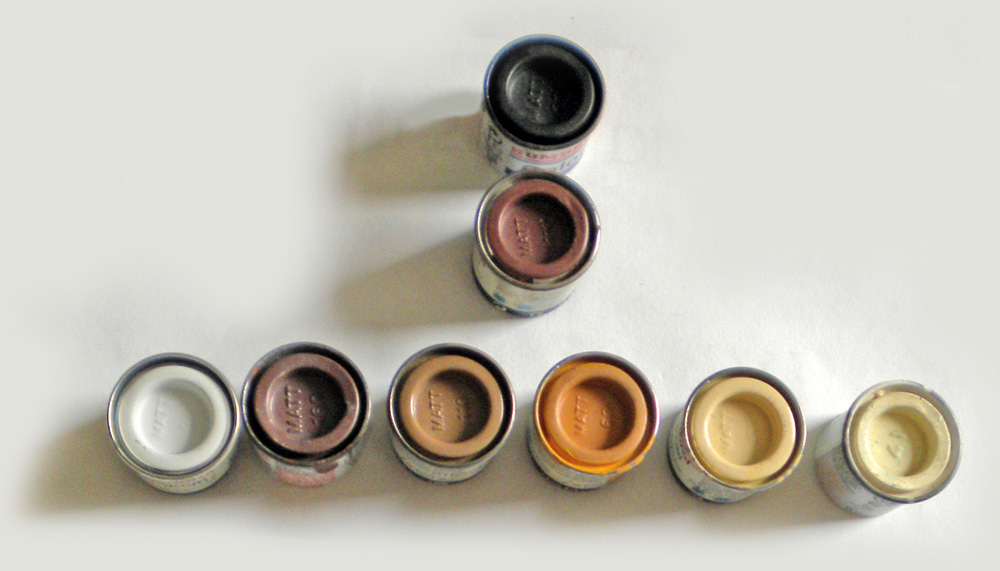
A selection of Humbrol colors used for the entire kit...
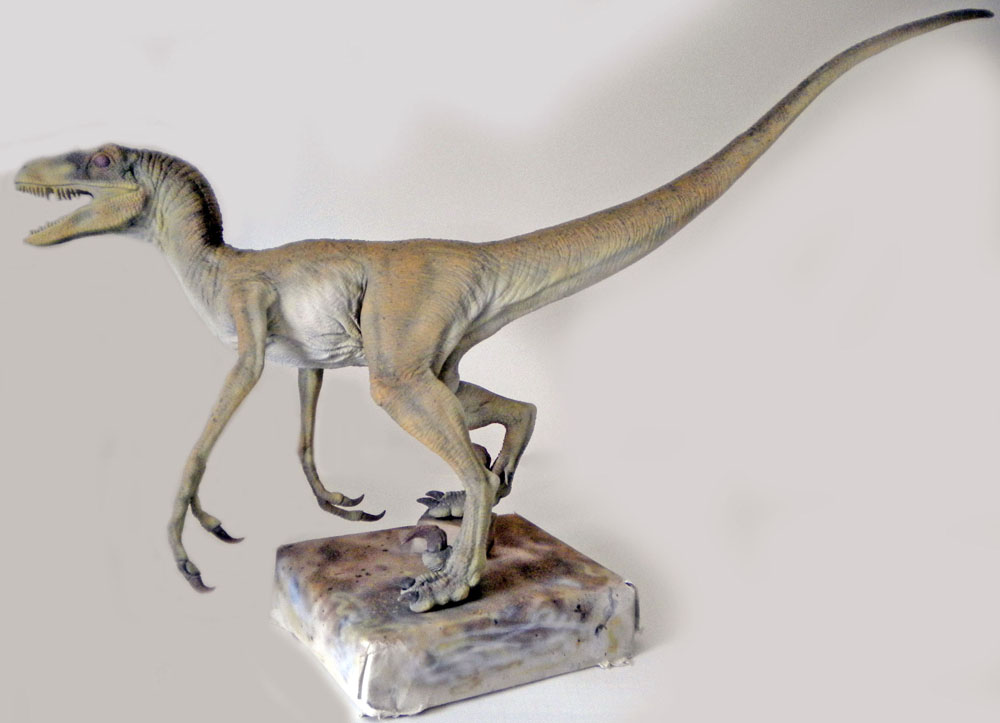
The light-colored areas on the underside of the animal are airbrushed with ivory 41 - 103 - 22 - and then with matte white...
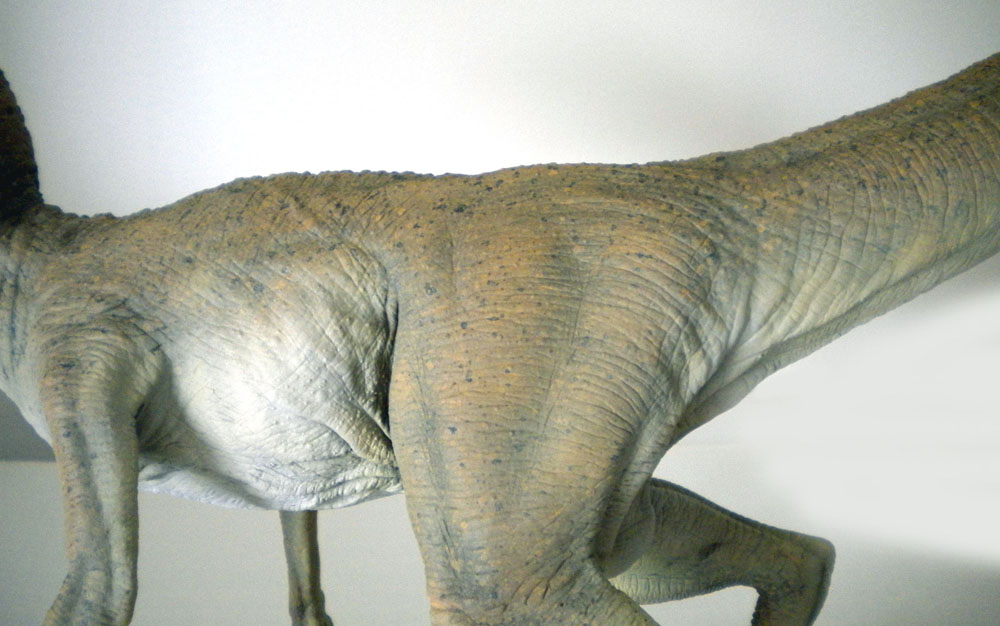
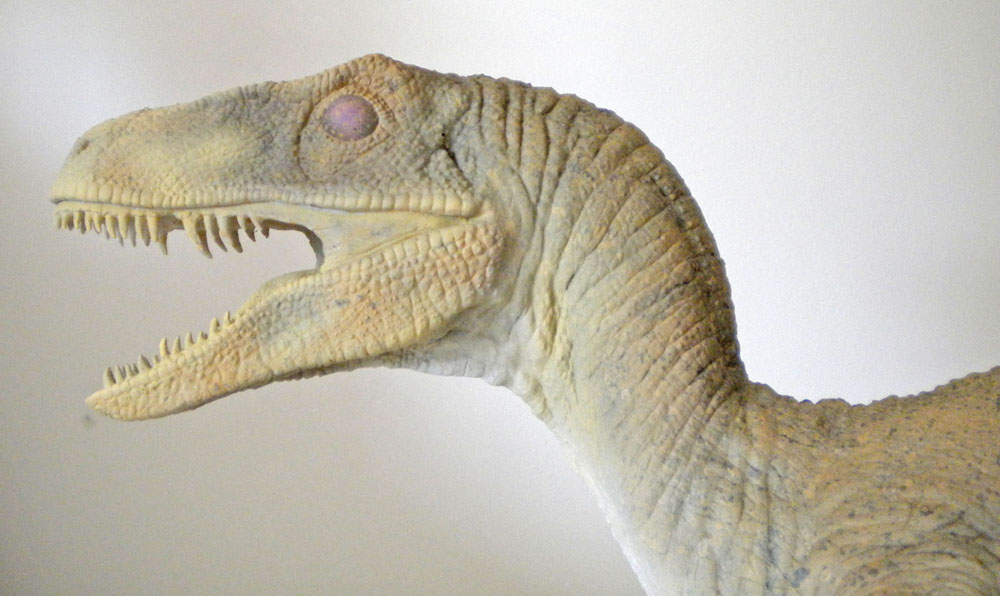
Details...
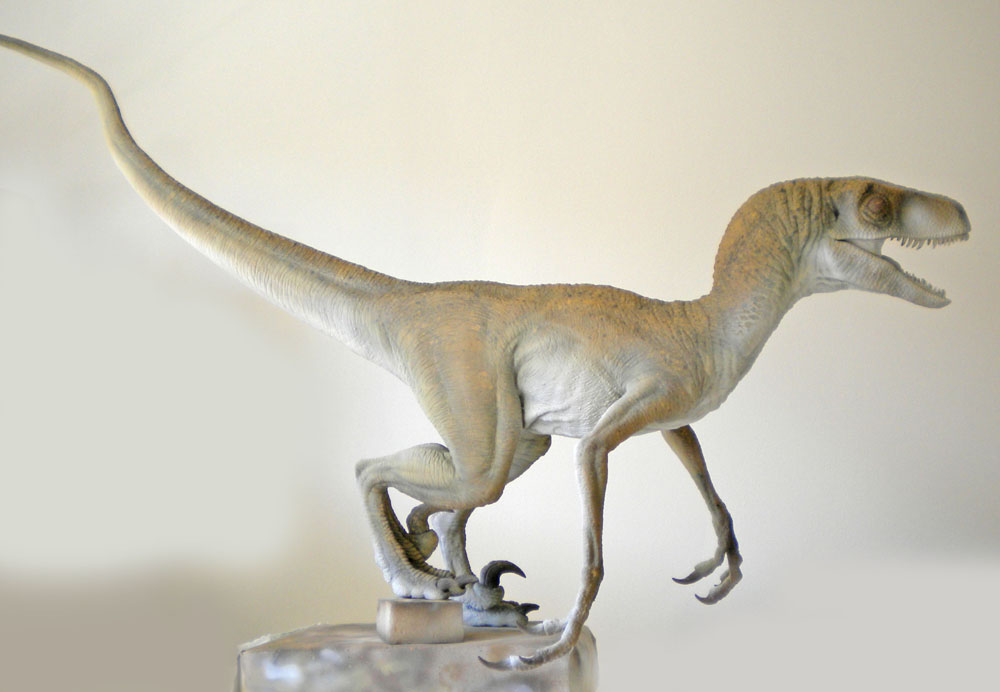
A wash made of white—Brown 110—and matte black was applied to the raised areas to highlight...
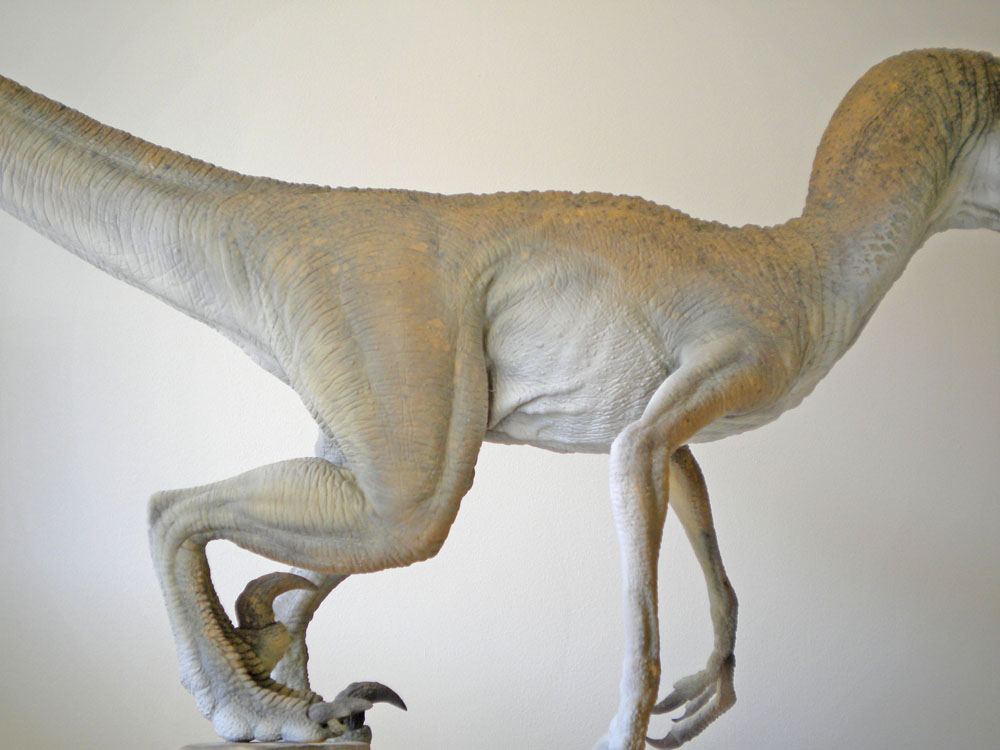
A dry-brushing technique using ivory and white will then highlight the light areas...
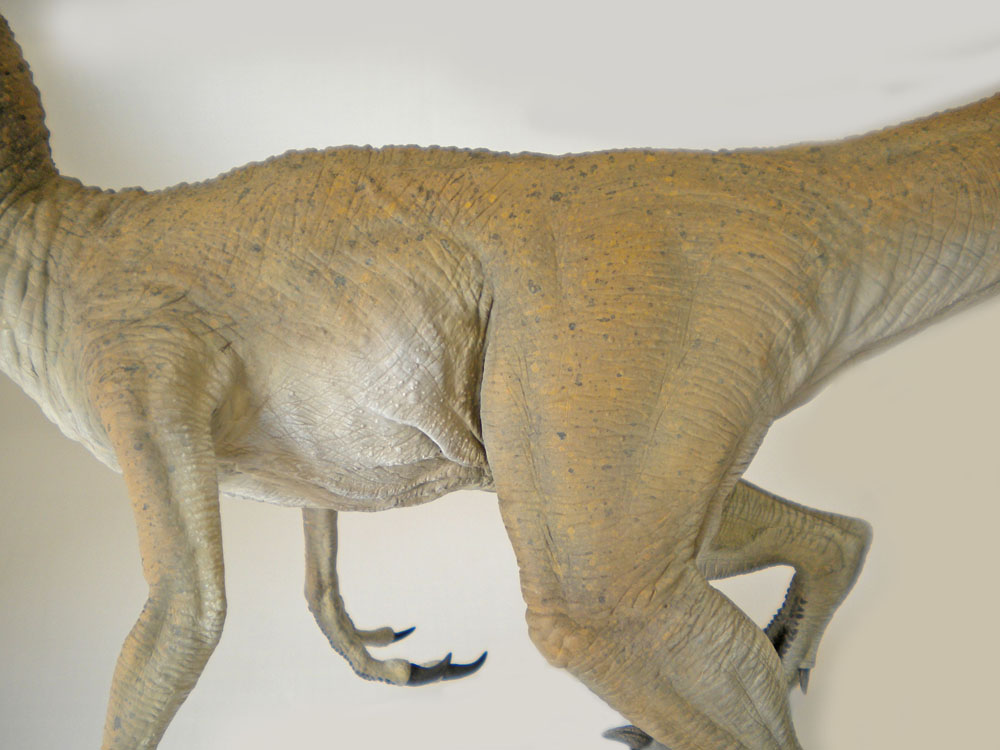
Details...
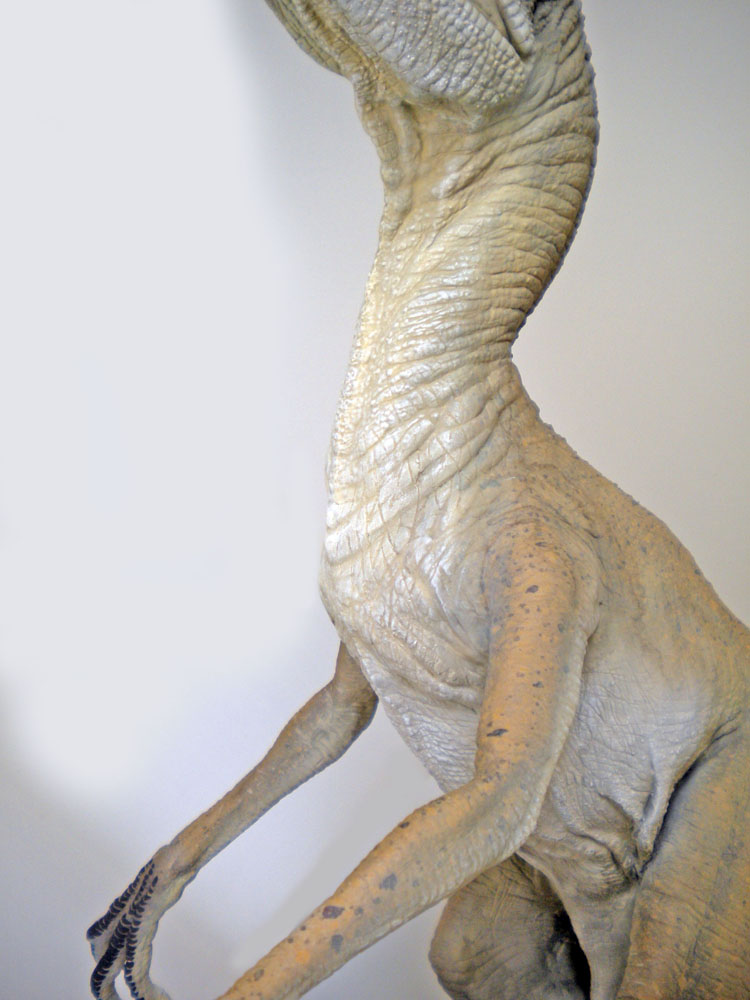
You can clearly see in the photo how the brushing brings out the colors and highlights the details...
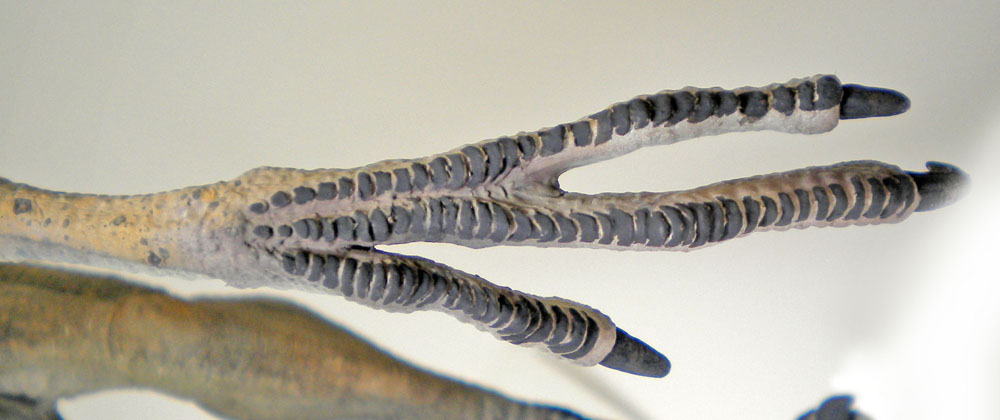
The legs: the claws and bony plates are painted matte black...
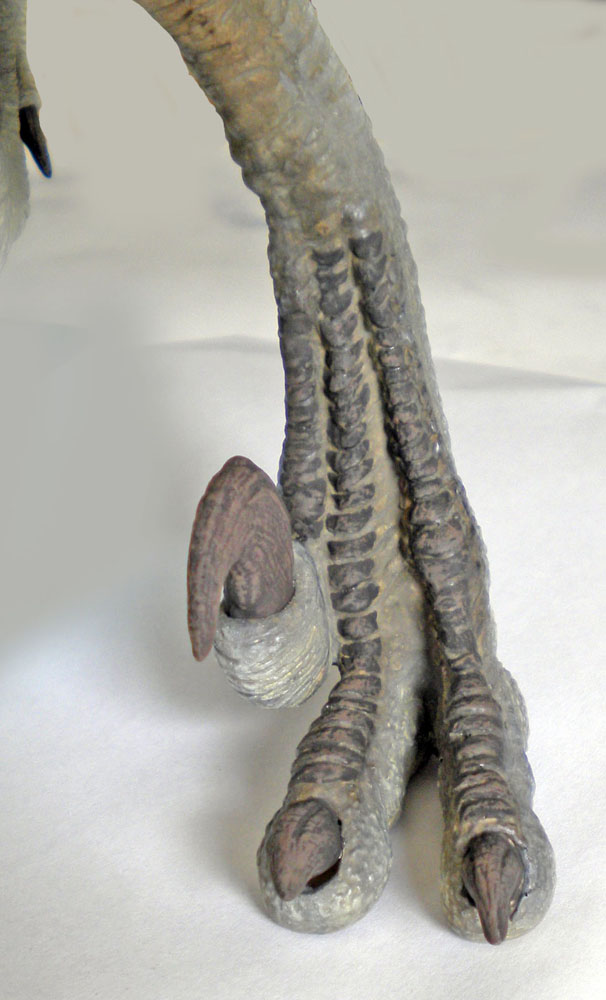
An initial lightening is achieved using a mixture of 110, 160, and a drop of white...
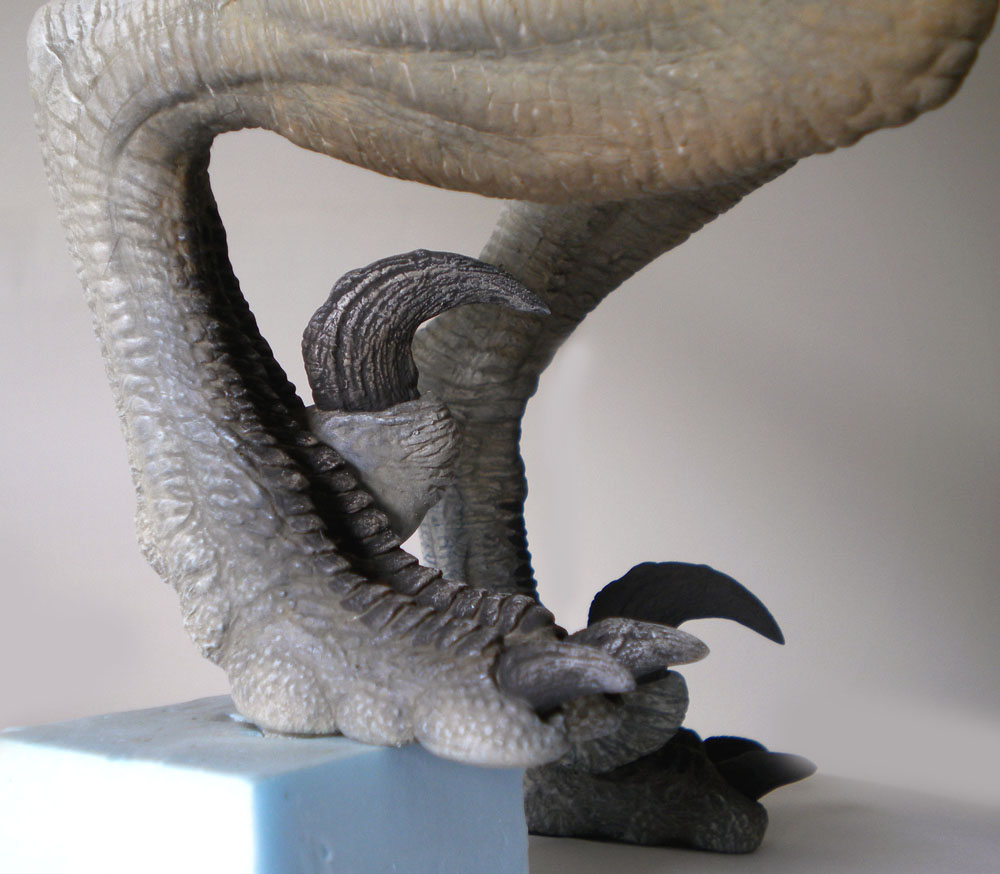
Dry-brush with white... then apply a wash to even out the overall look...
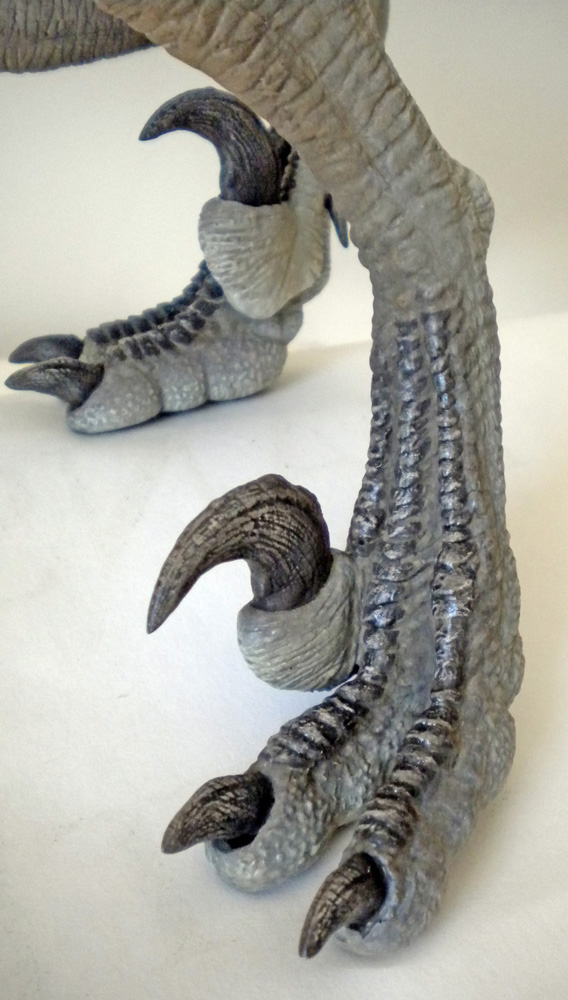
A satin-finish nail polish with a touch of black will enhance your nails and claws...
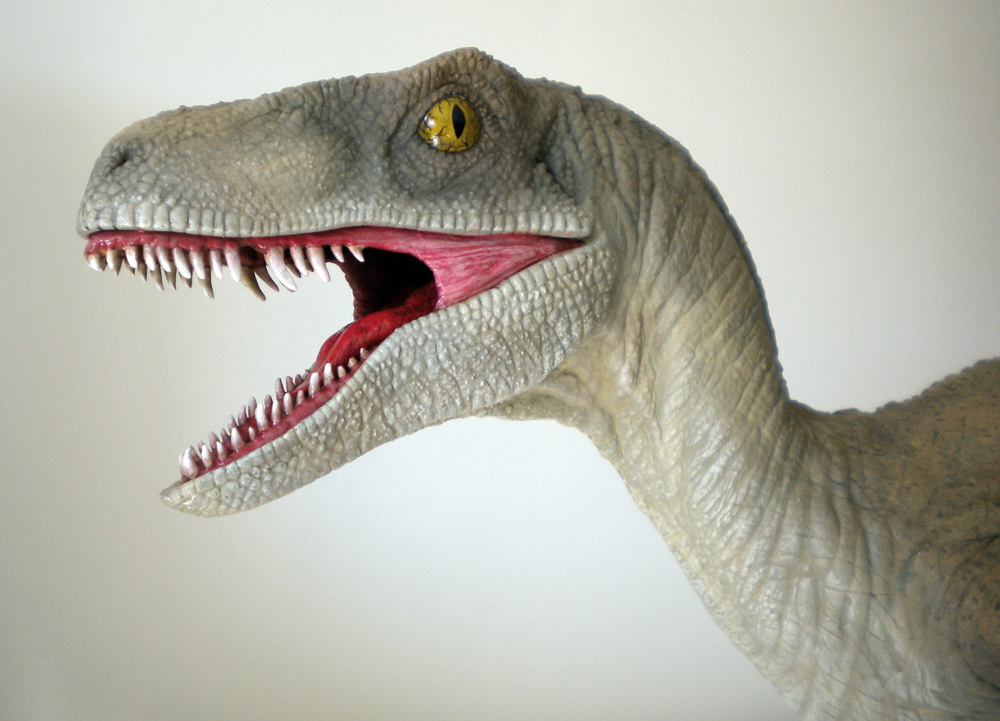
The inside of the mouth and the gums are painted with Red 160 and Red 60. Then we lighten the area for the first time with Red 60 mixed with white. Next comes a wash made of Red 60 and Wine Yellow 73. Finally, a second highlight using Red, Flesh 61, and white...
The teeth are painted in Beige 103. They are highlighted at the base with Matte 22, then with Matte White...
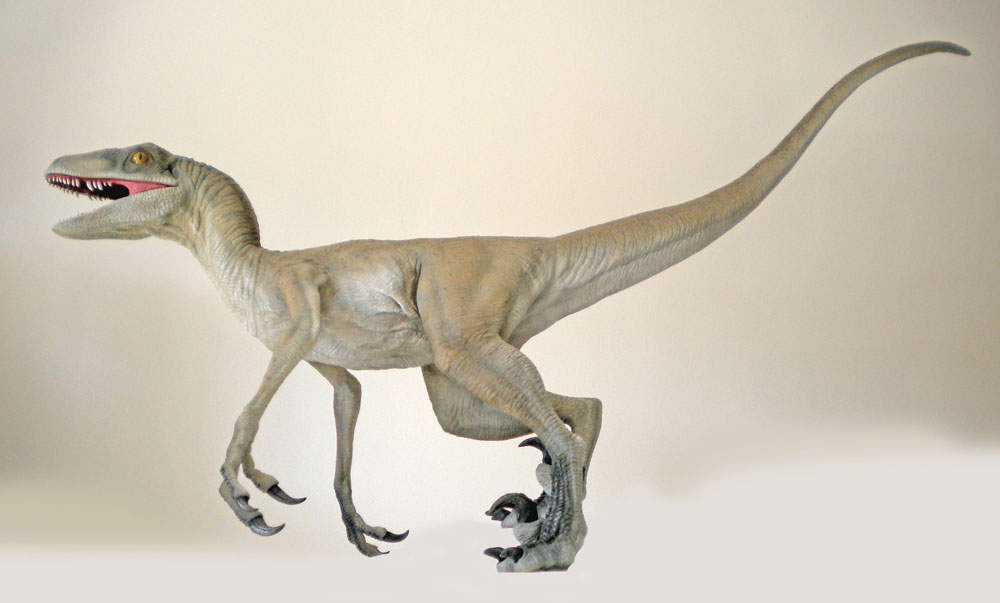
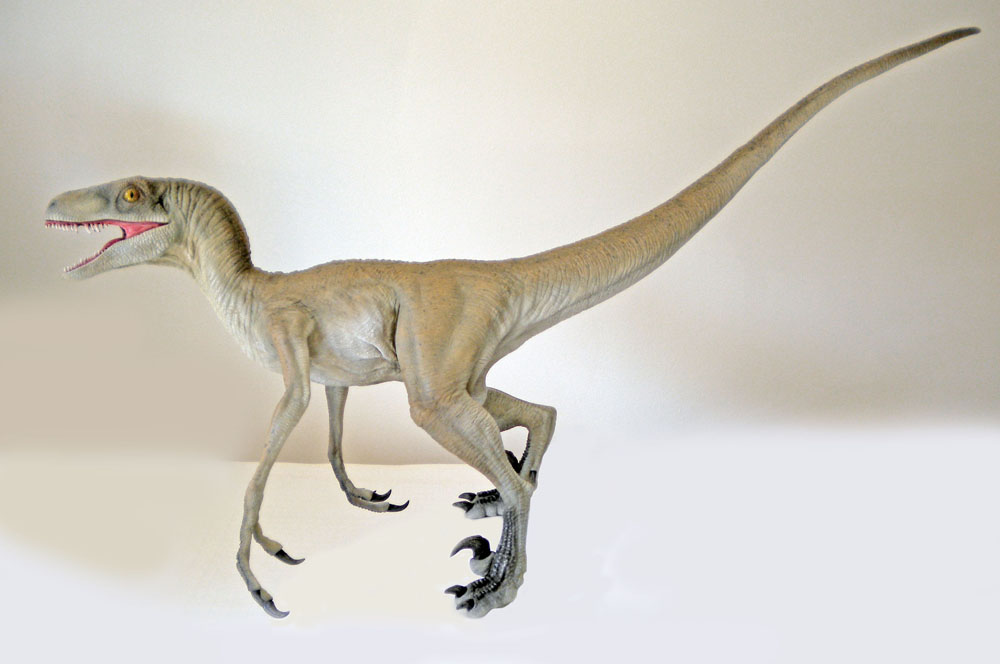
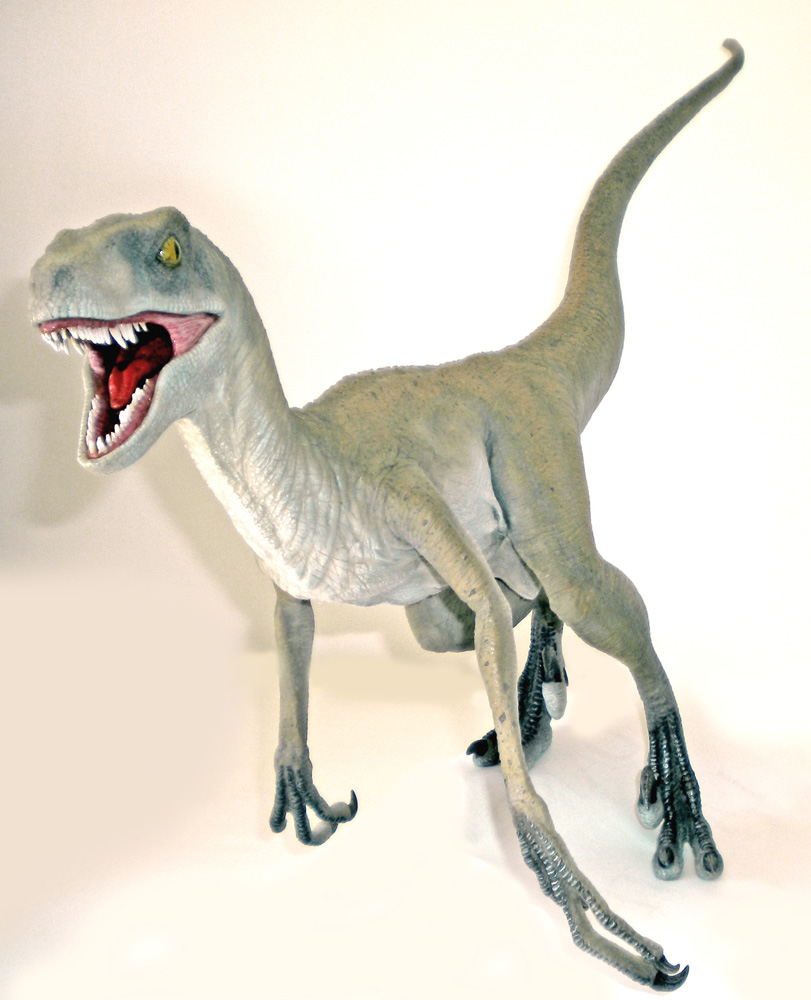
The painting of the subject is finished...