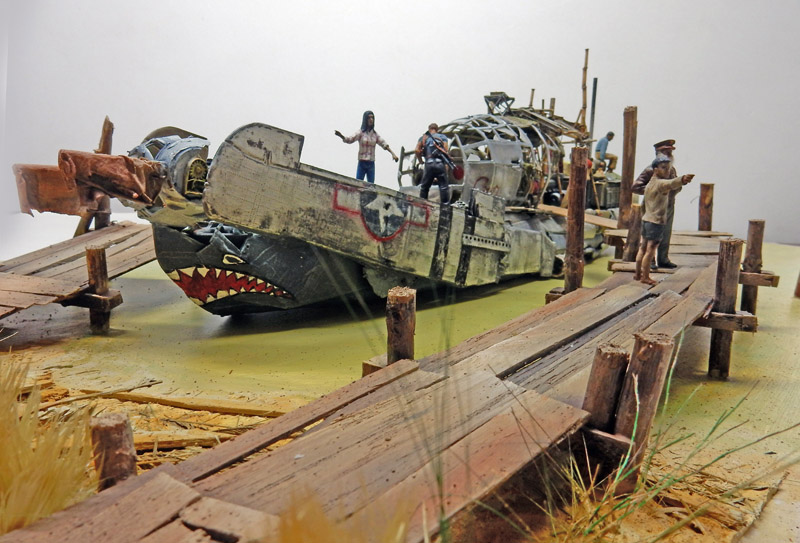
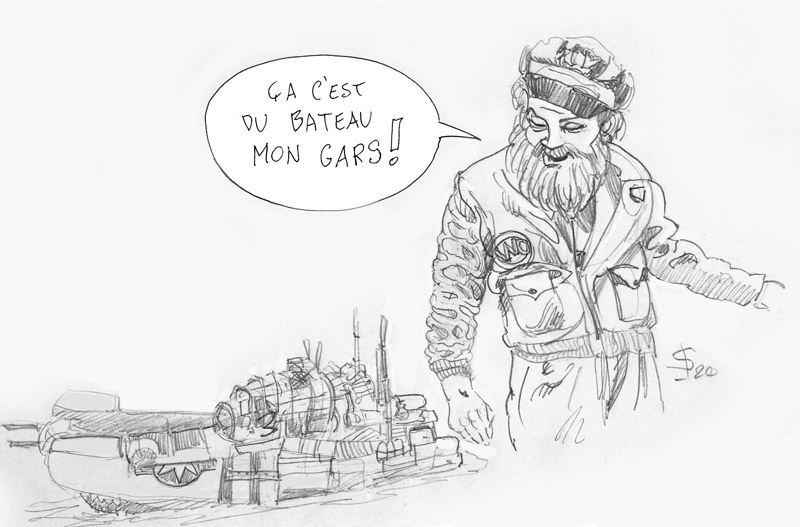
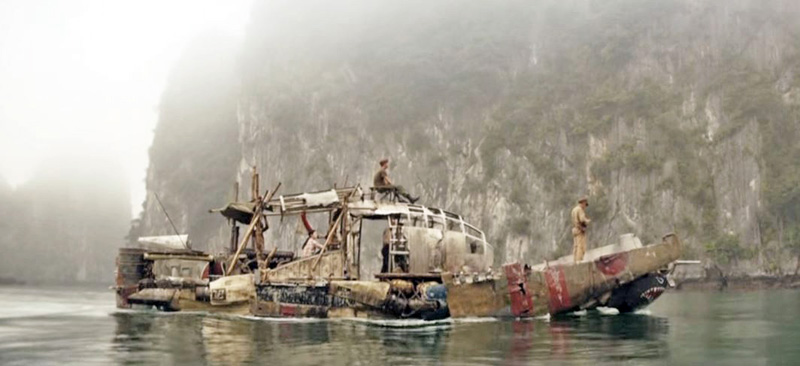
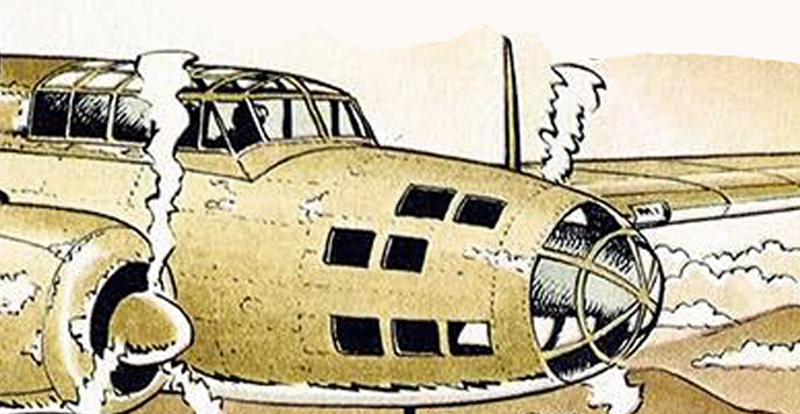
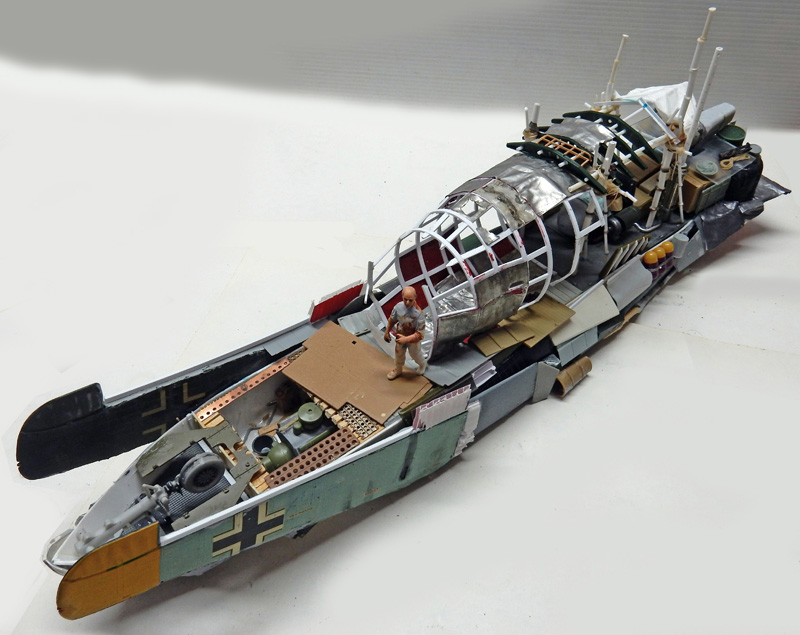
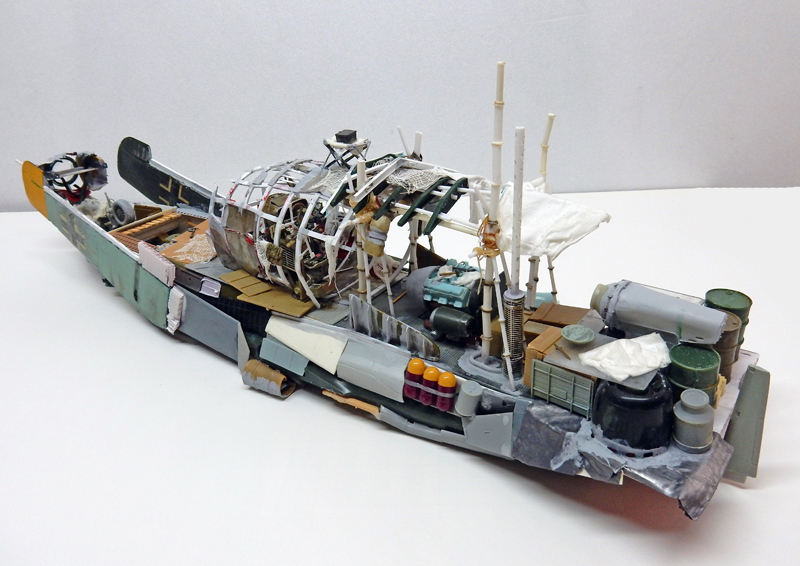
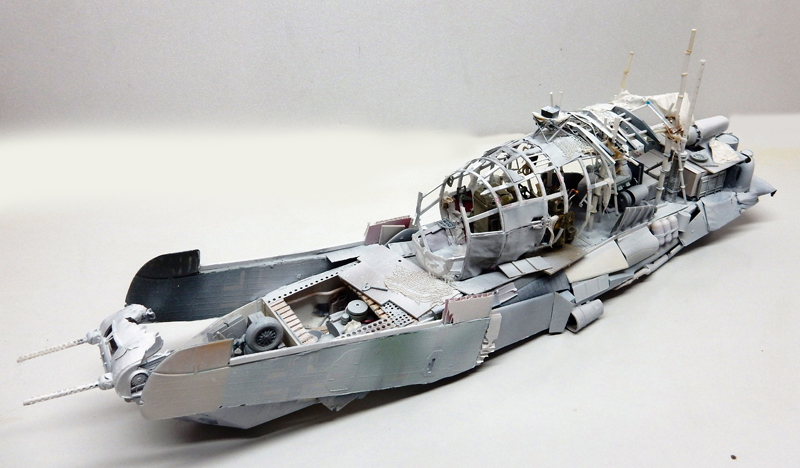
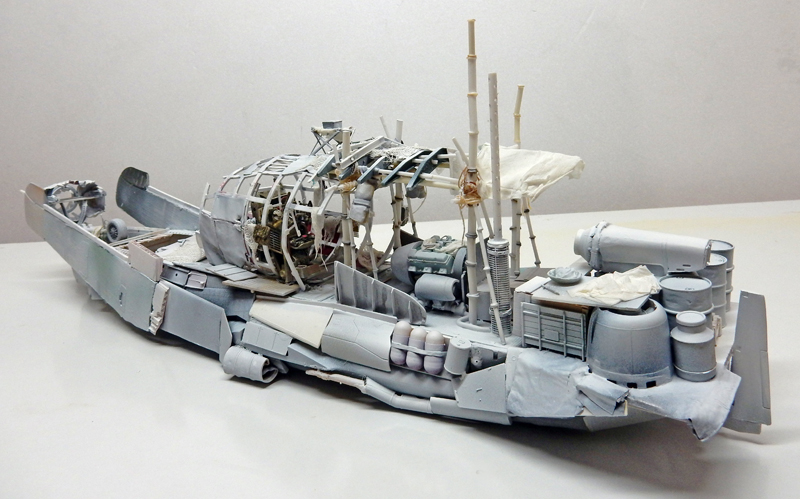
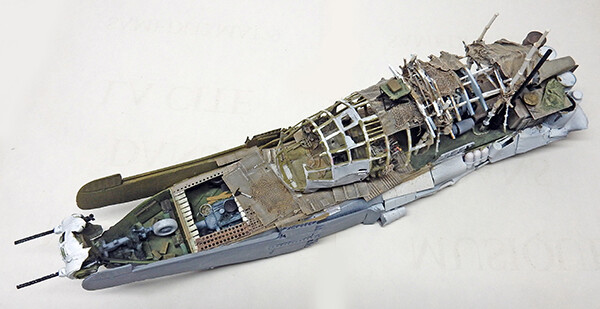
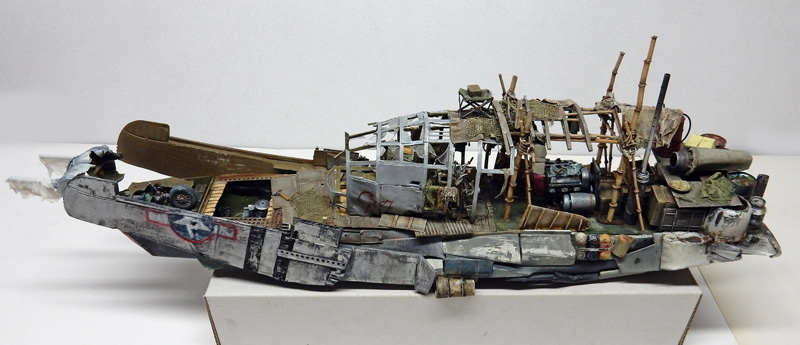
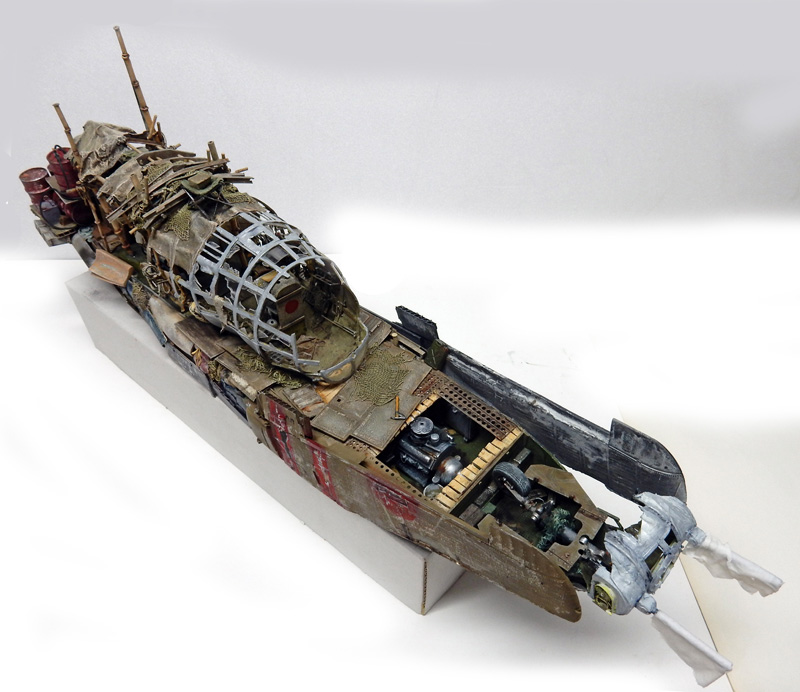
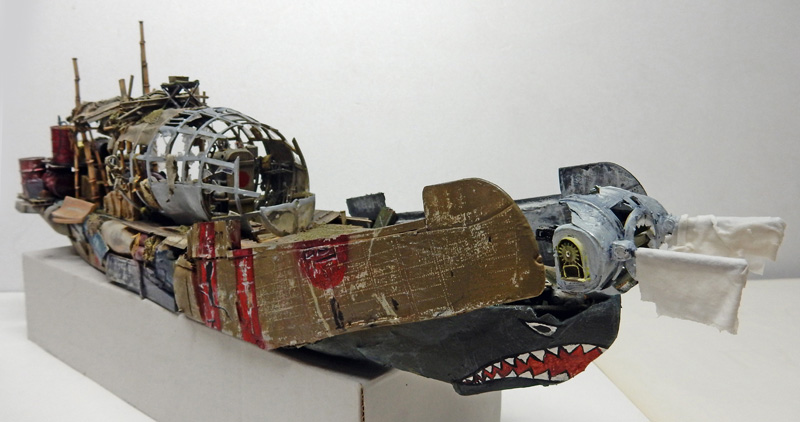
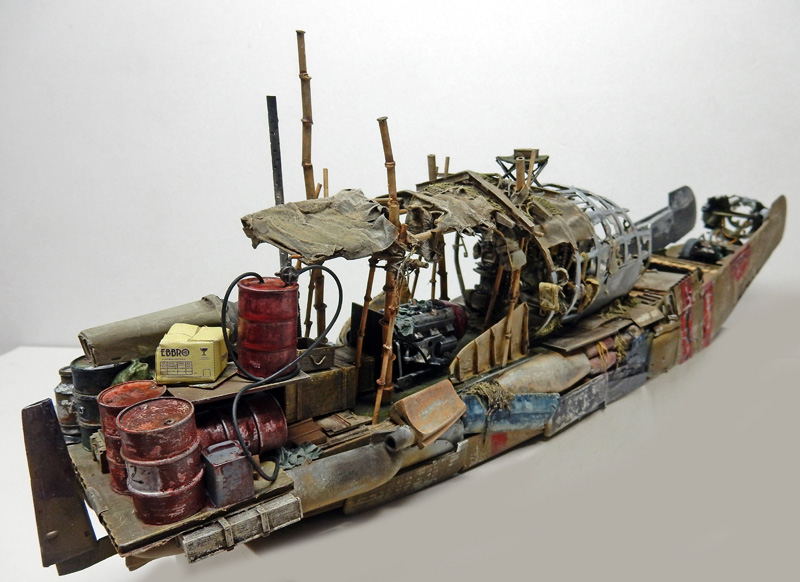
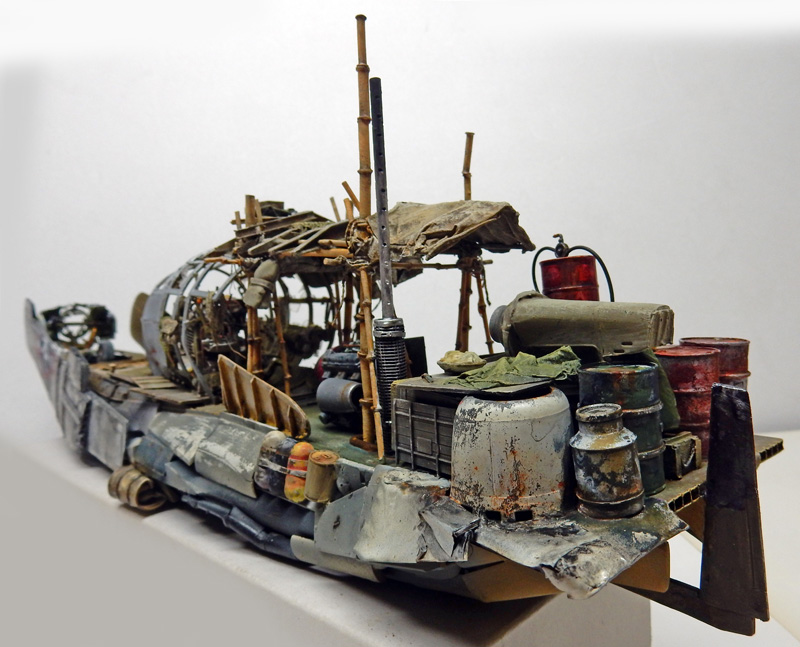
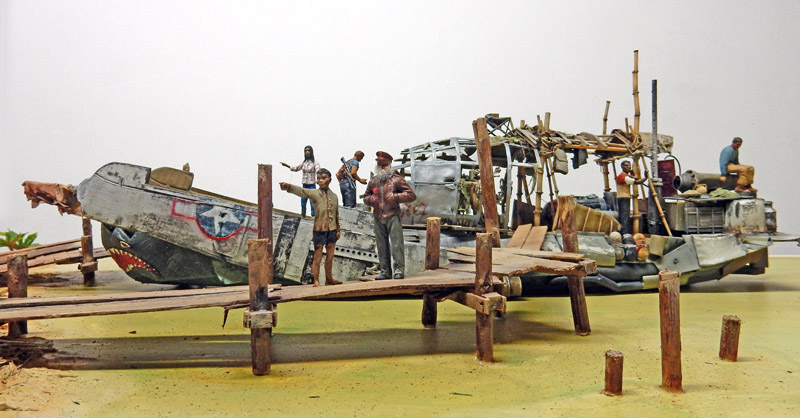
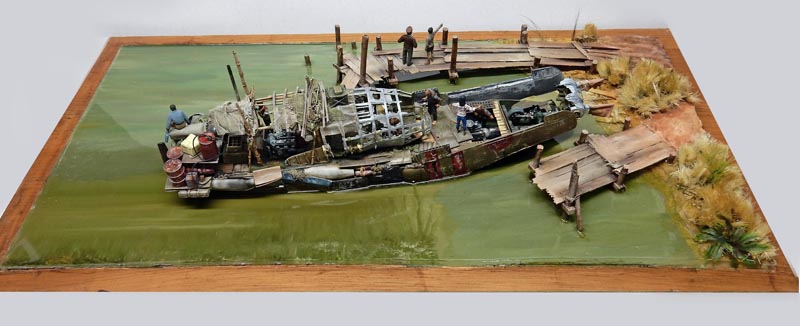
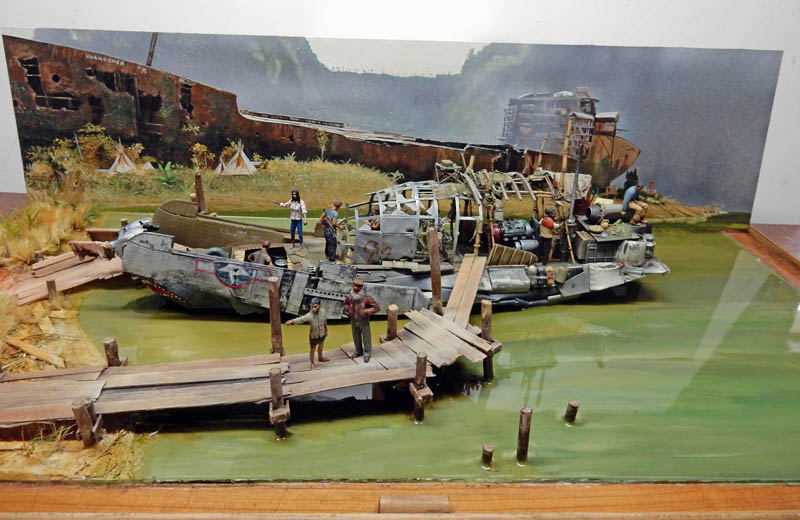
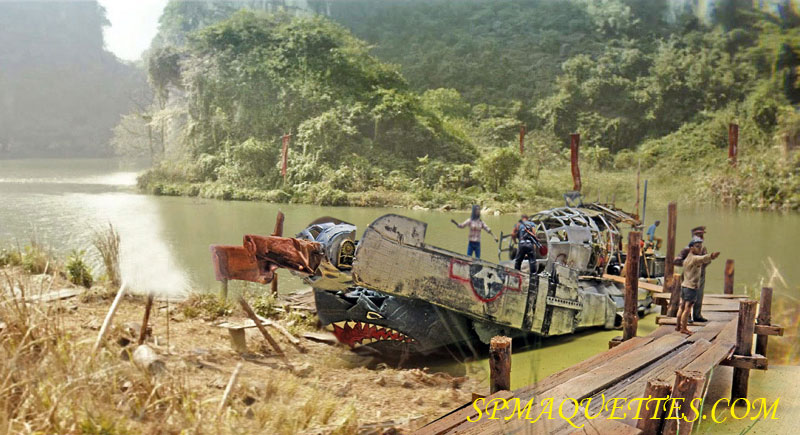
Skull Island: a 2017 adventure film that tells the story of a group of explorers in 1973—accompanied by military personnel—who set out to discover an unknown island in the Pacific where a giant ape reigns. Yet another King Kong remake... A movie best viewed as an adventure comic book. In short, the heroes’ ship offers an opportunity to create a unique diorama...
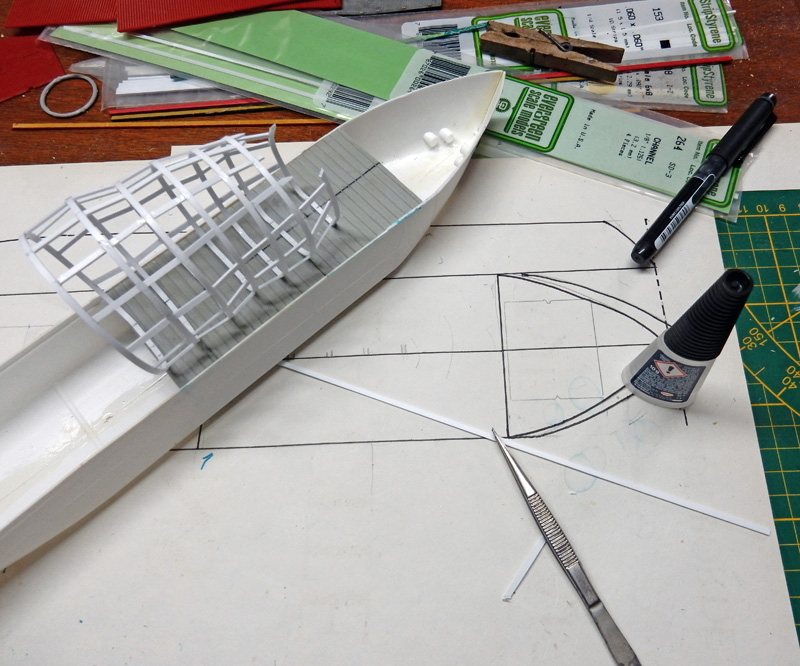
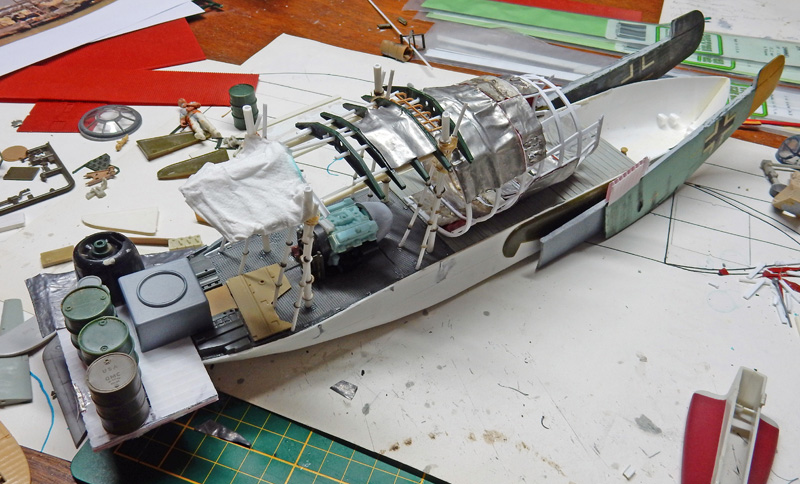
Since there is no model to go by, we'll have to rely on the photos for the construction. A boat hull will serve as the base for this vessel, which looks more like a raft than a boat...
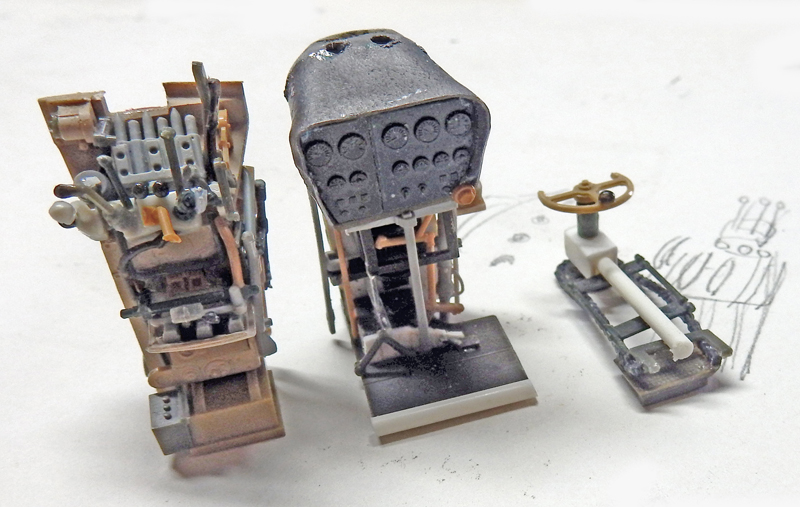
The cockpit nacelle is from a Japanese Mitsubishi G4M BETTY bomber, with a frame made from Evergreen rod...
Scrap parts and accessories on a 1/35 scale will be used to complete the set...
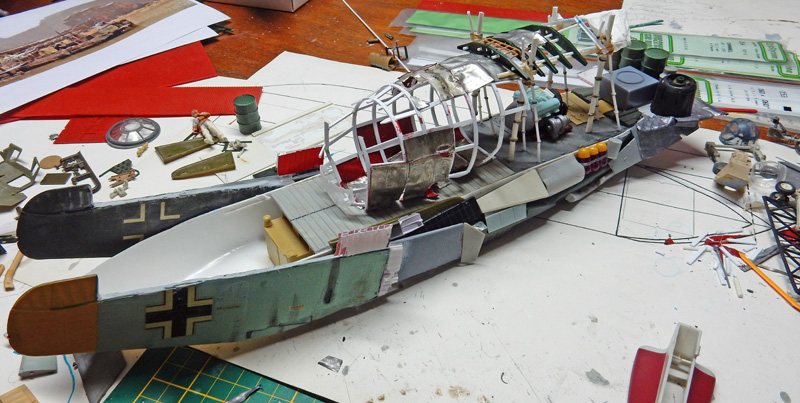
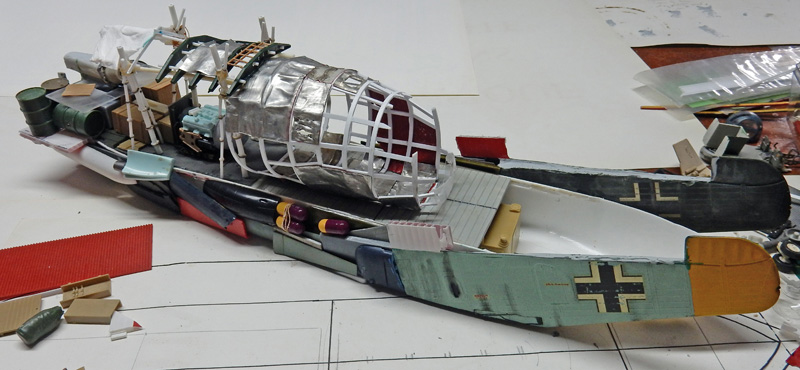
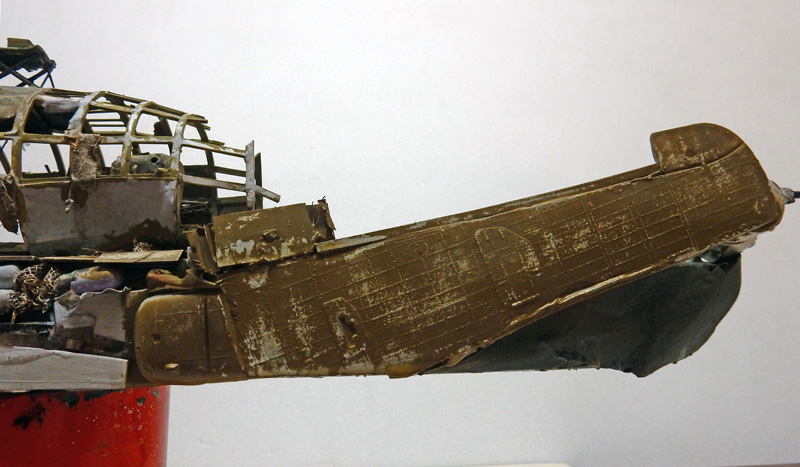
The airplane wings are cut out and put in place...
One comes from the American fighter, the other from the Japanese one...
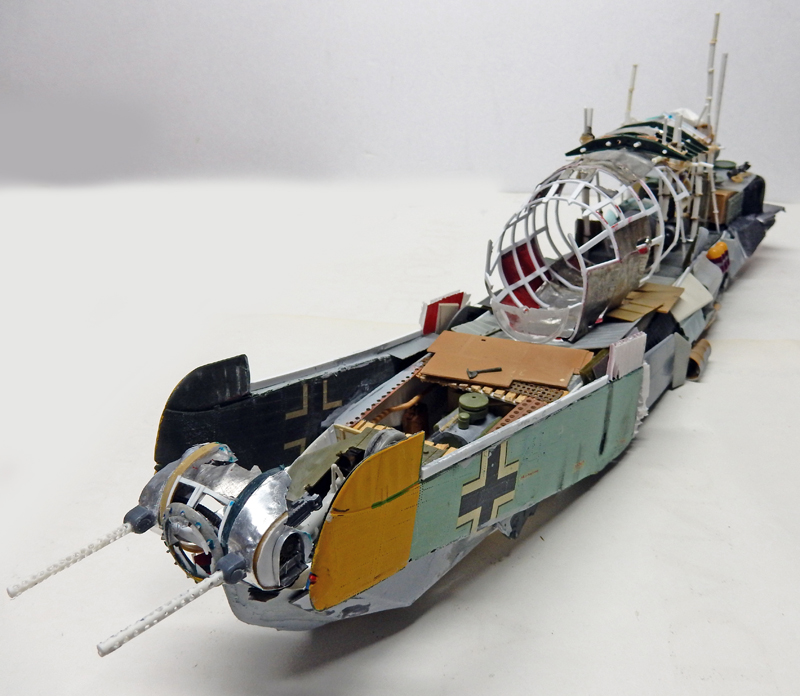
Installation of a nose landing gear to support the B-17 turret and installation of an engine in the cargo hold...
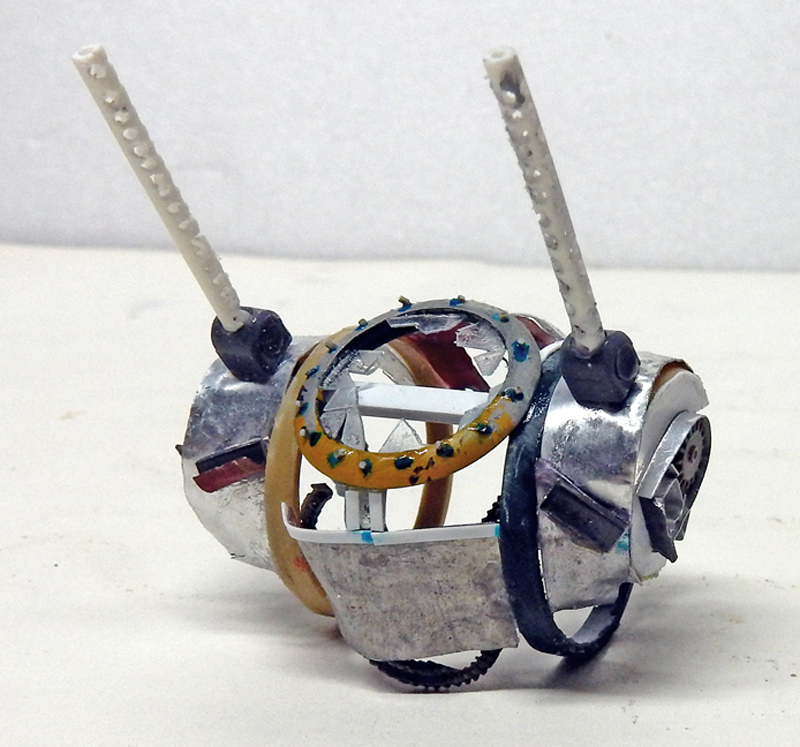
The B-17's turret. Lead sheet is used for the trim...
Installation of the turret equipped with its two 50mm machine guns...
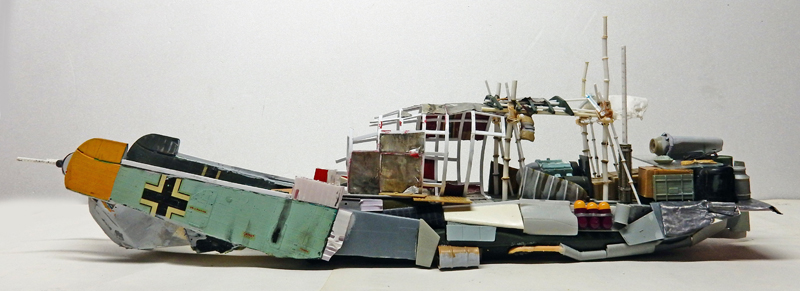
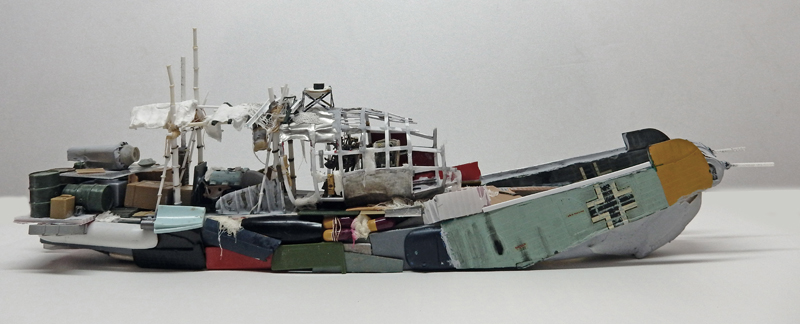
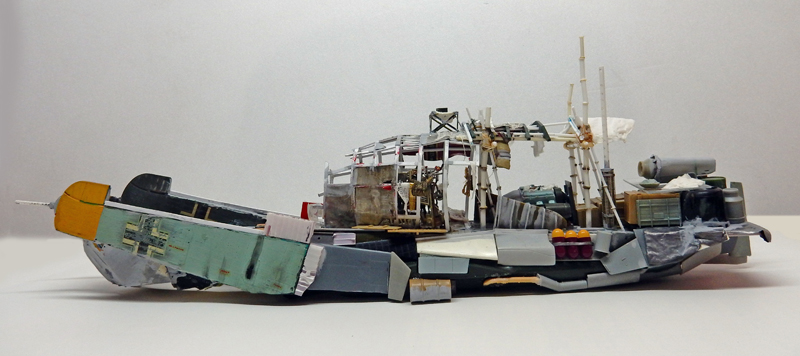
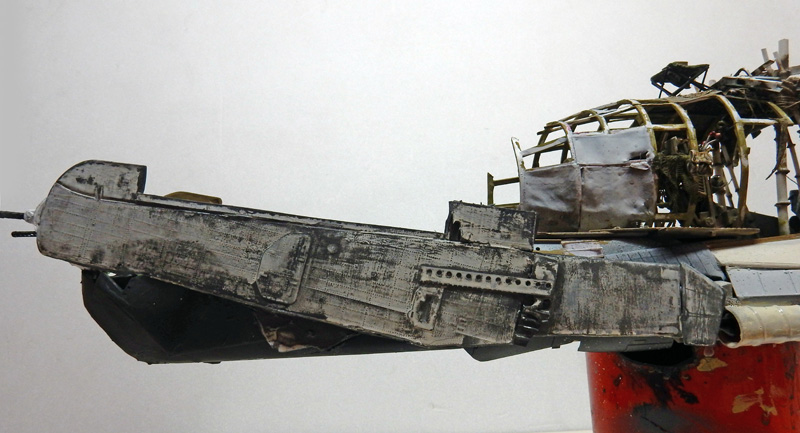
Side view showing the building's irregular shape. A P-51 Mustang engine is mounted on the rear deck...
Creating the Betty's cockpit...
... And implementation...
The assembly is complete...
The model is given a base coat of matte white acrylic paint...
This allows you to see the overall appearance and any possible flaws...
Painting
The deck, the hold, the tarps, and the wooden parts are painted with various Humbrol oil-based paints. Army greens, beige, and brown—all dry-brushed with lighter colors as a final touch...
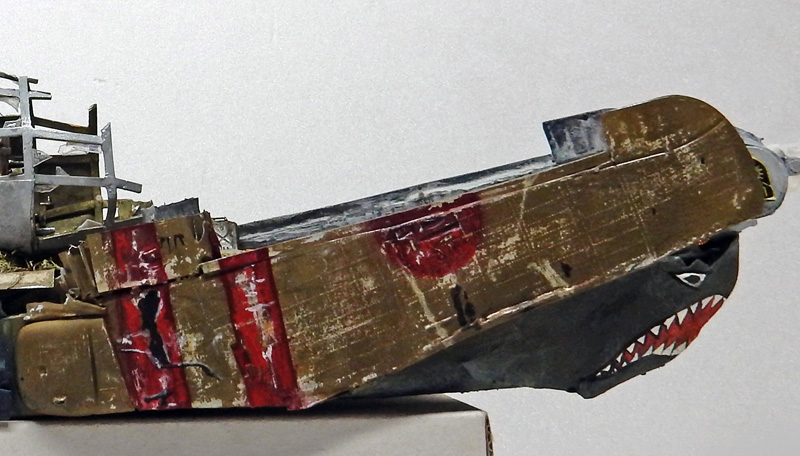
The side panels and wings are painted with hairspray—in this case, Tamiya XF49 khaki acrylic over a gray base for the wing of the Japanese Zero...
The markings were created using Tamiya X7 Red. The tears were painted using a "trompe-l'œil" technique. The nose of the stern was painted by hand...
The P51's wing is painted with Tamiya XF66 light gray over a base coat of Humbrol 91 dark green...
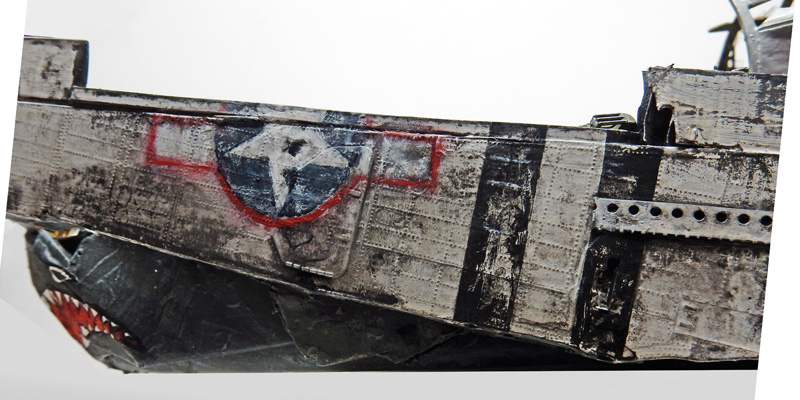
The roundel and stripes are airbrushed using stencils and then touched up with a brush...
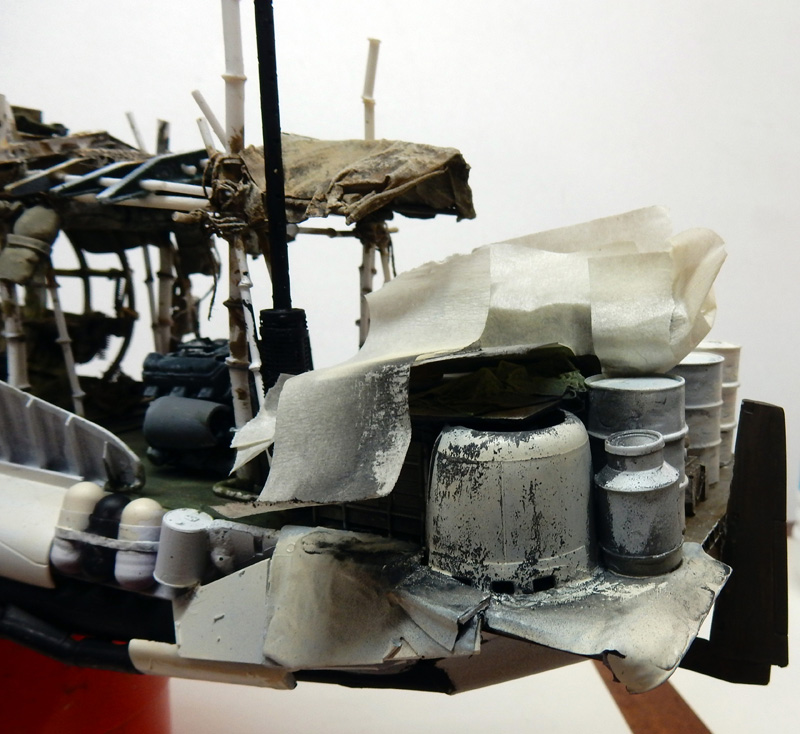
The barrels and the propeller housing at the stern are also treated with hairspray...
Painting various small accessories: cartridge belts, tools, engines, hold floors...
More views...
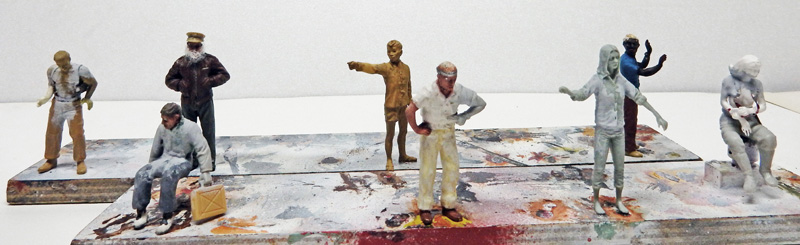
The figurines
The figurines will be modified to resemble the actors in the movie as closely as possible...
The Setting
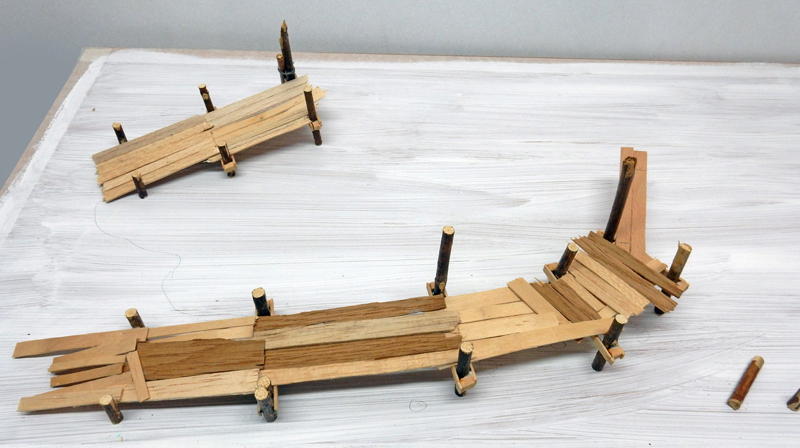
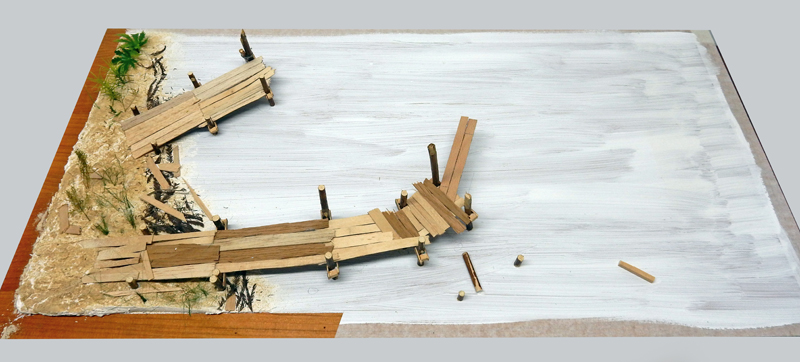
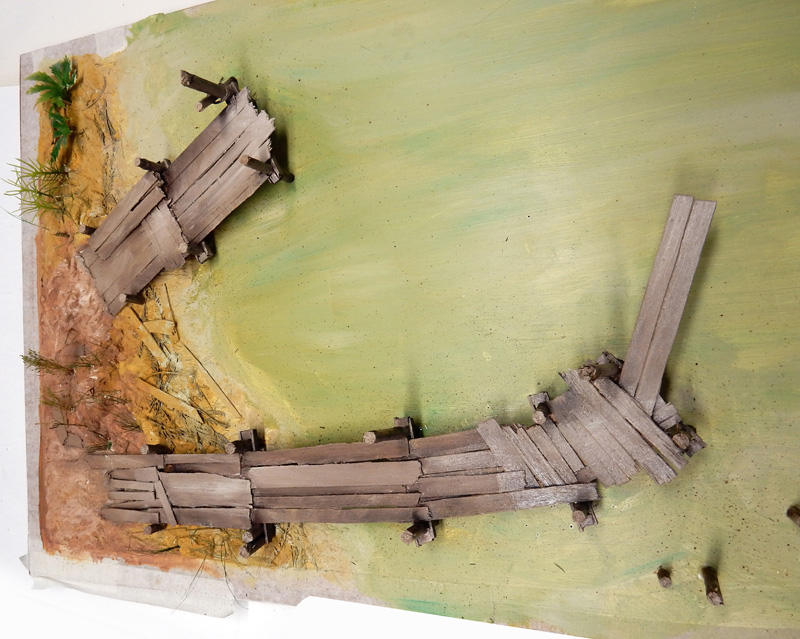
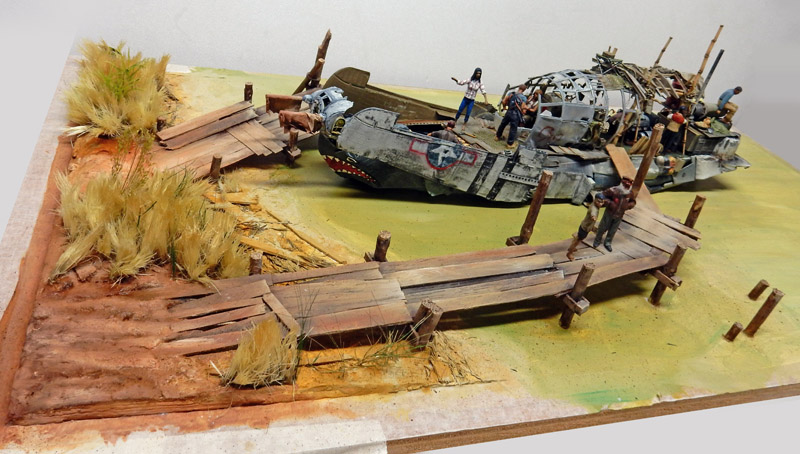
The set is a plywood panel measuring 80 cm by 60 cm, on which we'll build a riverbank and some docks...
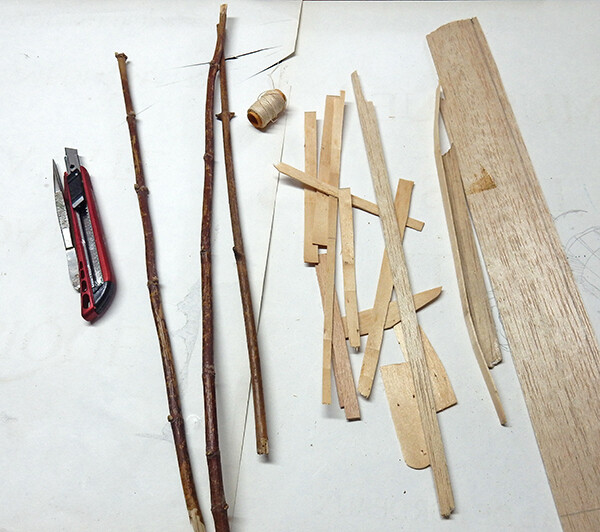
Balsa wood is used, but you can also use cut-up Camembert boxes...
The riverbank is set up—tile adhesive and a few dried and plastic plants are attached...
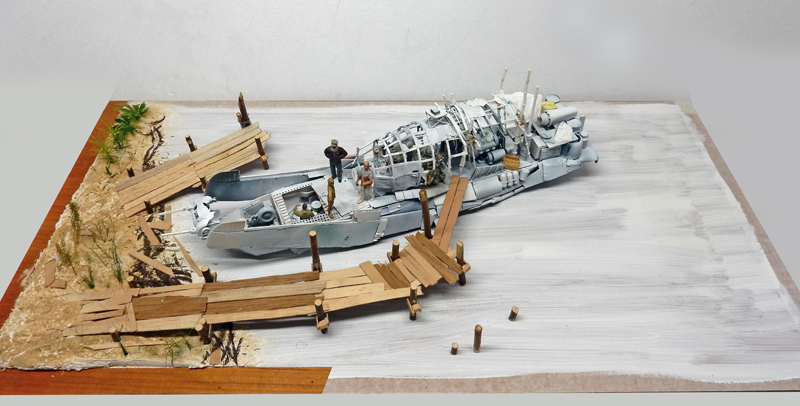
Positioning test...
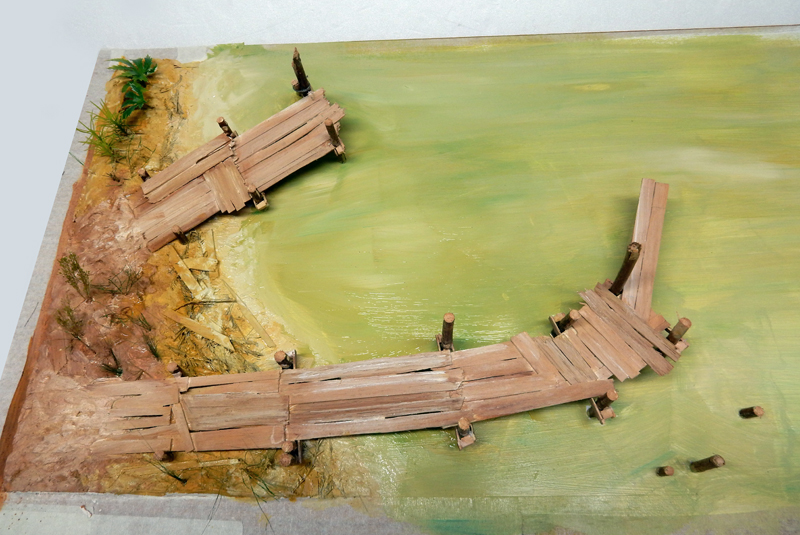
Painting the entire piece with Liquitex acrylic paint...
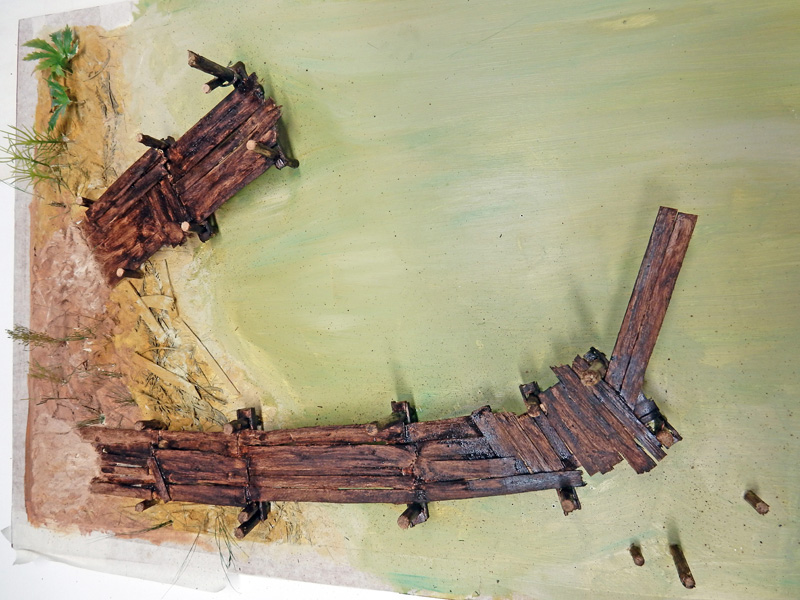
Highly diluted black and brown stains mixed with oil were applied to the pontoons...
After they are completely dry, the pontoons are painted with Winsor & Newton oil-based paint...
Setting up the miniatures...
Dried artichoke leaves are glued on to add some greenery to the whole thing...
Resin
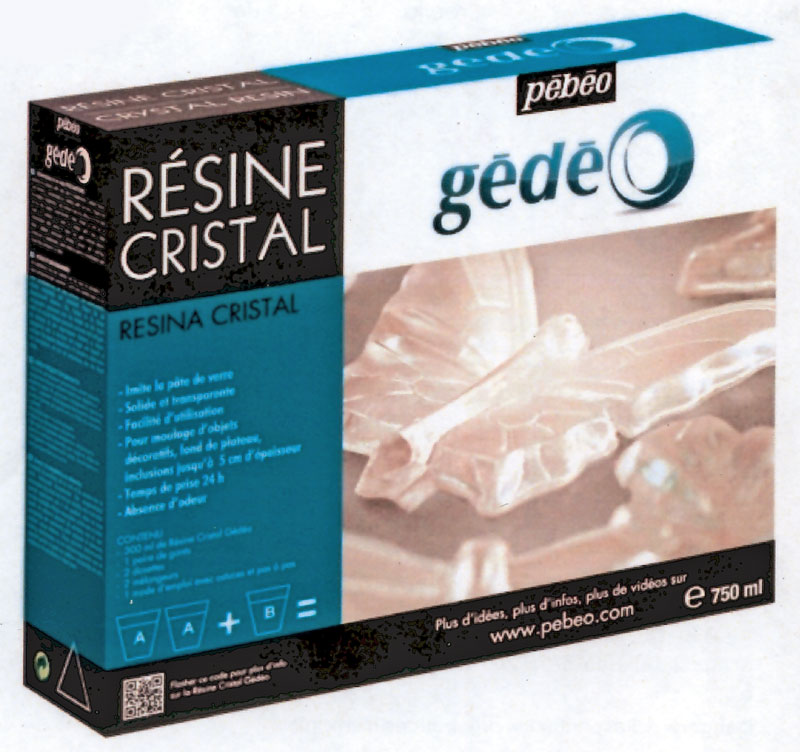
Here, we're going to use Pébéo's Crystal resin...
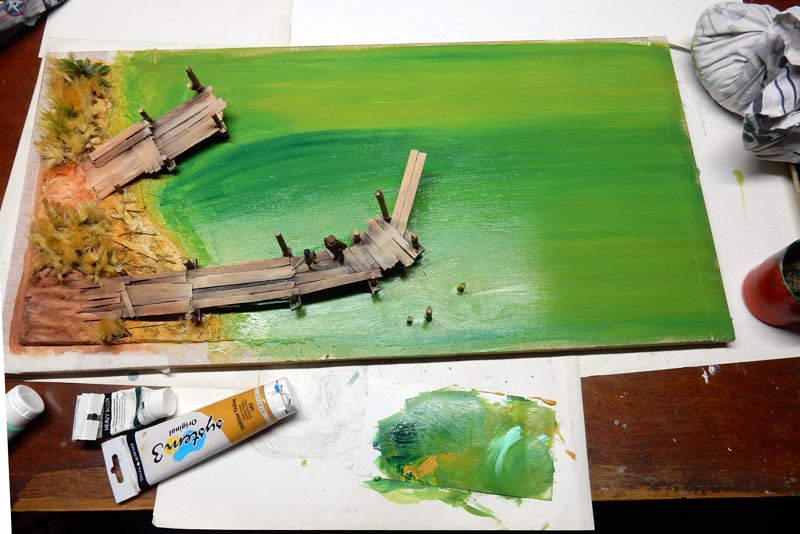
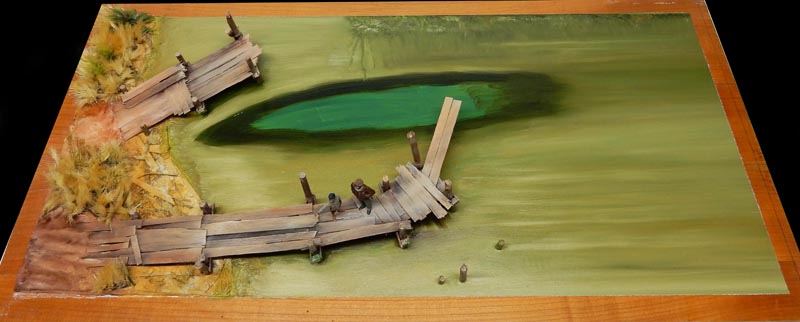
First, after masking the edges, the seabed is painted using various shades of acrylic paint...
Finishing the paint job. A shadow is painted under the boat's hull...
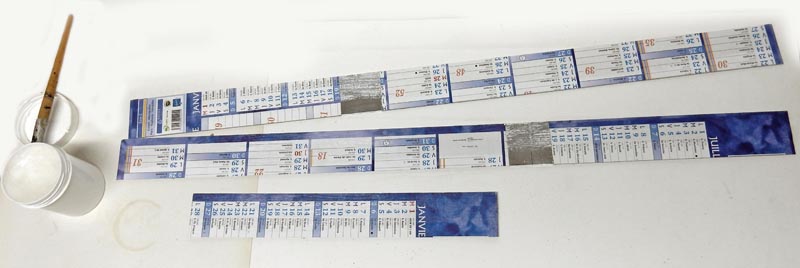
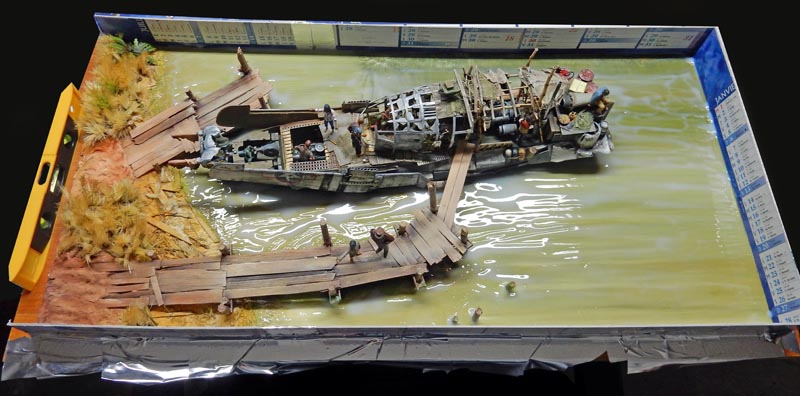
Make a frame out of thick cardboard coated with petroleum jelly to make it easier to remove the resin from the mold once it has dried. Use metal tape to seal the edges. Be sure to seal it tightly. The resin tends to seep into even the smallest gaps...
Applying several coats of acrylic wood varnish (allowing each coat to dry completely before applying the next)...
The finished diorama. High-quality resin, good finish, easy to use. Expect to pay around 40 euros for 750 ml...
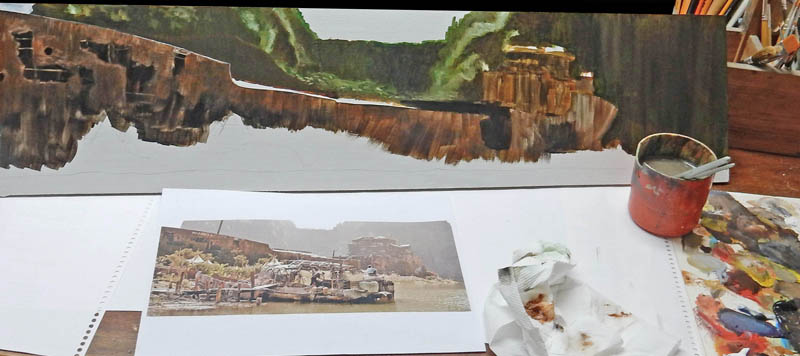
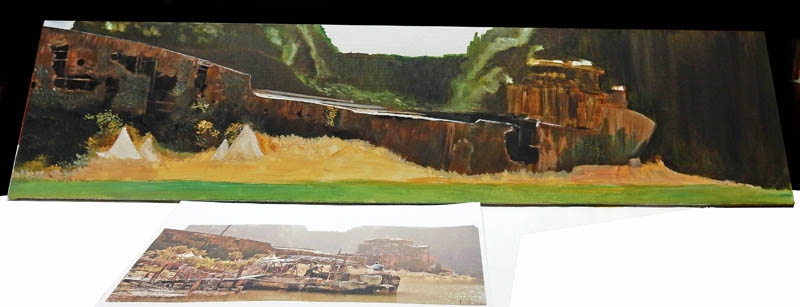
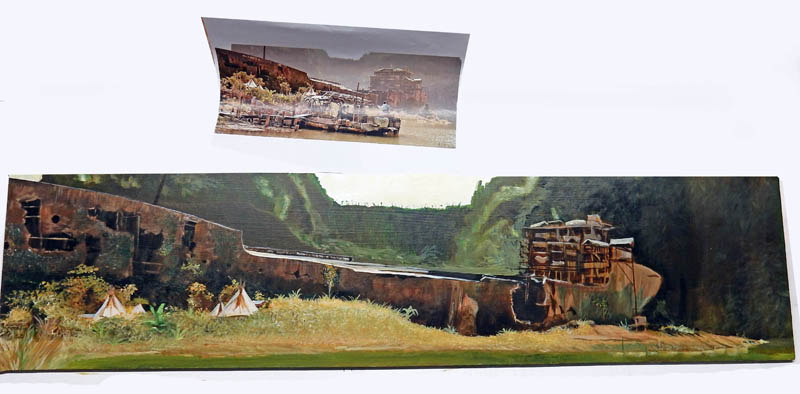
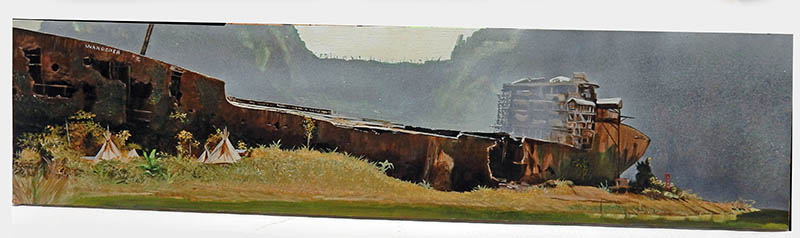
Painting the background.
A 1-centimeter-thick particleboard panel, the same length as the diorama scene and primed white, will be used to decorate the background of the diorama...
Acrylic painting. A still from the movie will serve as a model for the background...