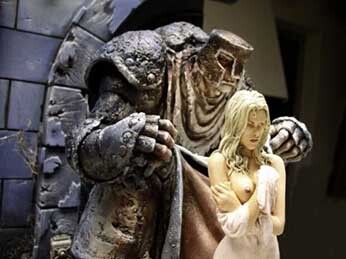

Summon Guardian - scale 1/8


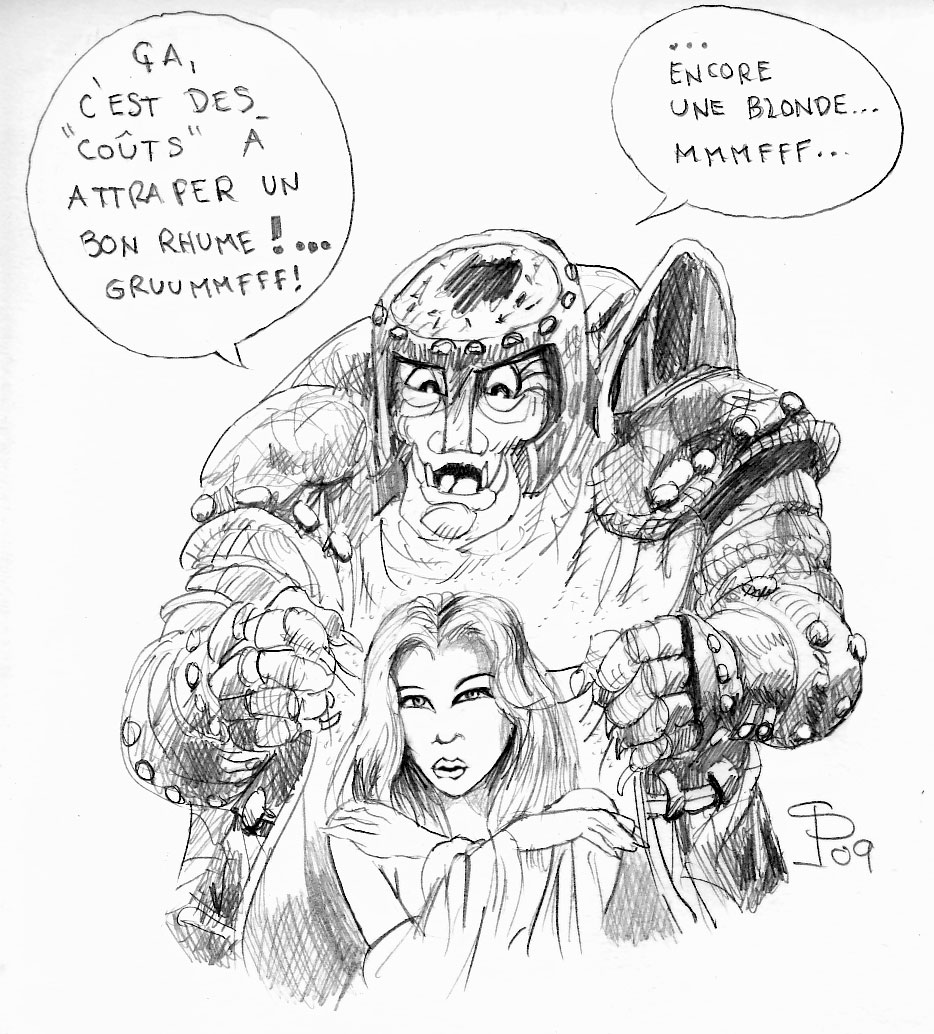
Now that's a cold-catching story ! Another blonde, huummm... !


Fantasy illustration by Luis Royo, featuring a radiant young woman protected by a colossal warrior

A vinyl figurine inspired by a famous painting by Luis Royo... The interesting part was recreating the lighting from the original painting on the figurine. Or at least trying my best to do so. "Zenithal" lighting—a very trendy term right now among figurine artists and creators of "elaborate" dioramas (the old classical painters must be laughing their heads off)...

Just like in the "Conan the Eat Man" tutorial, we'll tackle the lighting section by section based on the main light source...
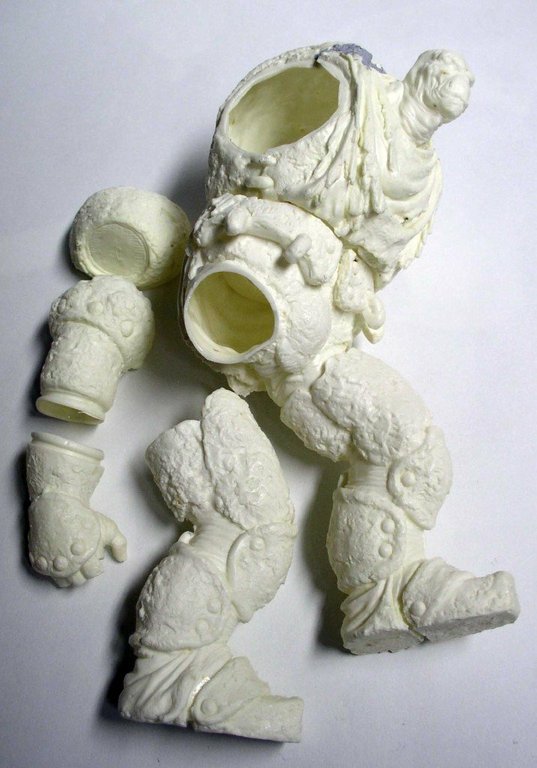
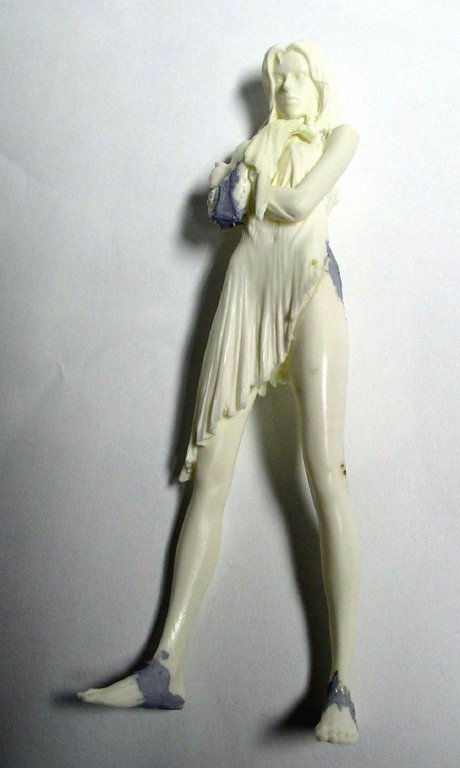
Unpainted resin parts of the Summon Guardian Luis Royo figurine before assemblyUnpainted resin figurine of a woman in a draped dress; parts assembled before painting

Both methods. Vinyl is a flexible material that can be immersed in boiling water if a piece becomes misshapen, and the defect can be easily corrected. The adhesive is Super Glue...

The putty used here is Tamiya, but fine body filler diluted with acetone will also work very well and offers much better value for the money...

Smooth toilet paper coated with white glue will serve as the "seam" for the monster's scarf as well as certain parts of its body...

Painting of a Woman
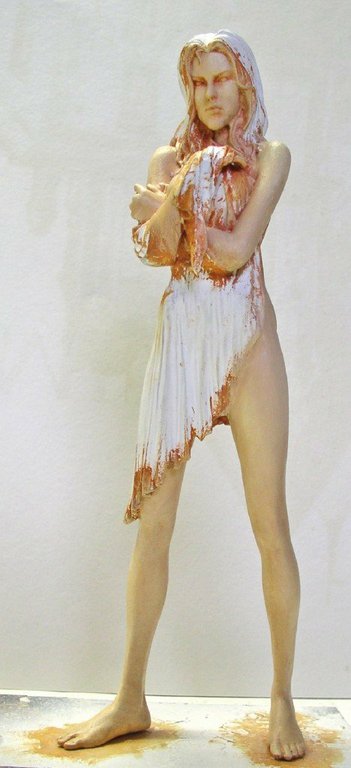
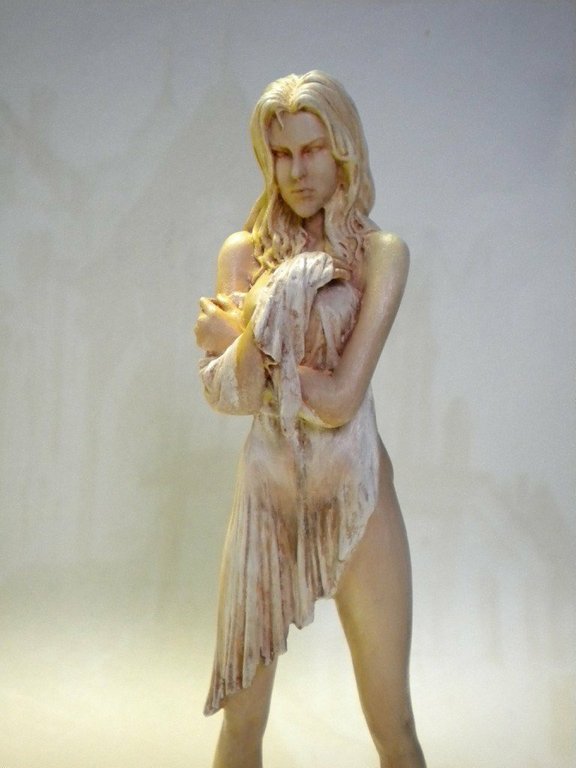
Painted figurine of a woman with long hair wearing a torn white dressResin figurine of a woman with long hair wearing a torn, draped dress

After applying a white acrylic primer with a spray can to both figures—Caution: Oil and thinner damage vinyl, so always use an acrylic primer if you plan to paint with oil afterward...
The paint used will be Winsor & Newton alkyd paints in tubes. We always start with the flesh tones. Base—Sienna—Naples Yellow—White, and a little Burnt Umber... After letting the paint dry for a good fifteen minutes, blend the colors together (always working from the darkest to the lightest). Above is a test on the hair and the dress, starting to build up some transparency...

Top photo: highlighting the dress's transparency. The shadow of her hair and face...
Above: view from... the back! The dress's first pronounced transparency effect...
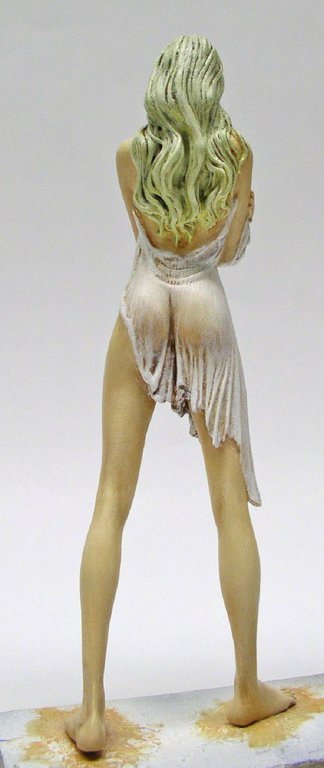
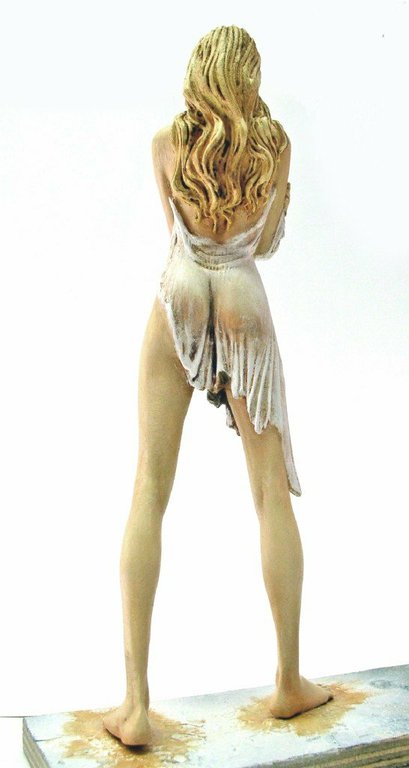
A painted figurine of a woman with long green hair, seen from the back, wearing a white dressPainted figurine viewed from the back, a woman with long blond hair wearing a white draped garment
Top photo: The effect is accentuated on the flesh-colored areas. Above: The white of the dress is highlighted for the finishing touch...

Monster Lighting

Monster Lightning
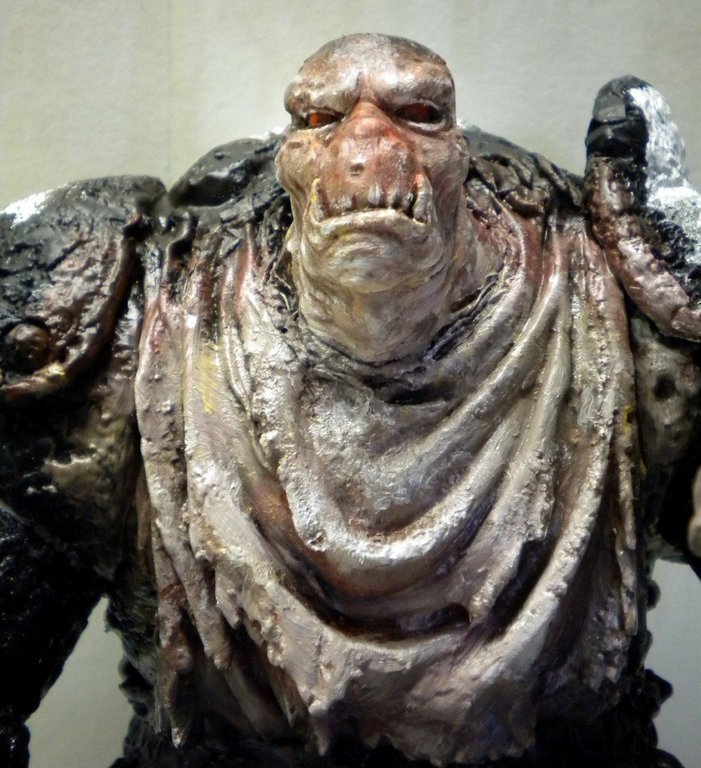
Close-up of the Luis Royo figurine showing the monster's torso with red eyesThe monster... We start with the face and the point where the light comes from—the plexus...

The monster... We start with the face and the point of the light source—the plexus...
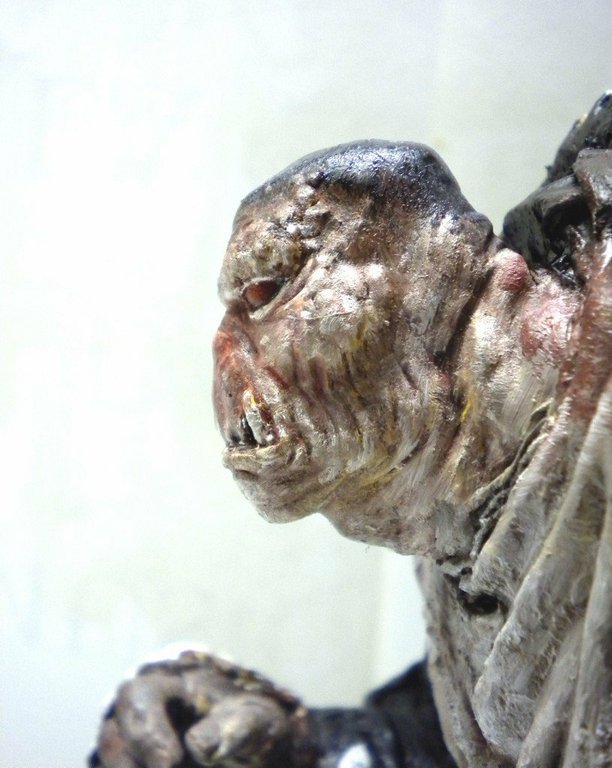
Close-up of the grimacing face of the painted monstrous creature figurine
Keep in mind that the light comes from below the face, not from directly in front or from the side. The contours of the face allow for some interesting effects...

It's important to keep in mind that the light comes from beneath the face, not from the front or the side. The contours of the face create some interesting effects...
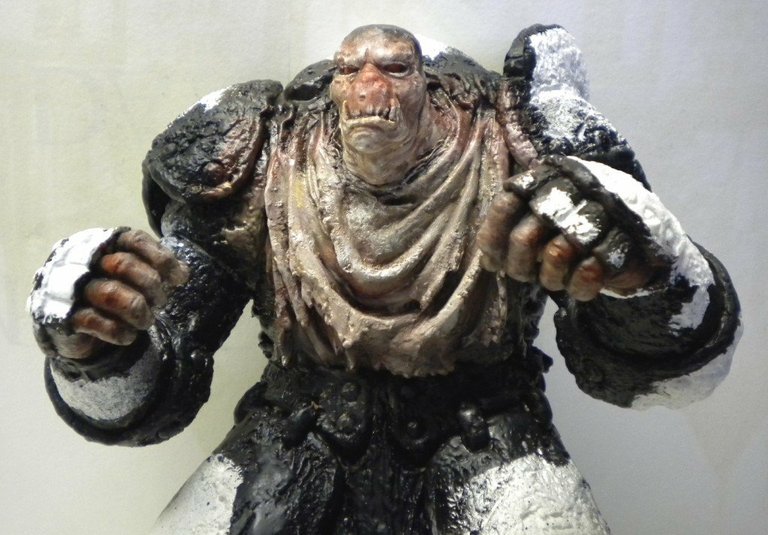
Painted figurine of a muscular, monstrous warrior in dark armor, with clenched fistsHere we're using the same basic colors as for the young girl, plus Indian red and black. We're sticking to warm colors ranging from pure white to a nearly black brown...

First part finished... Let it dry for 24 hours...
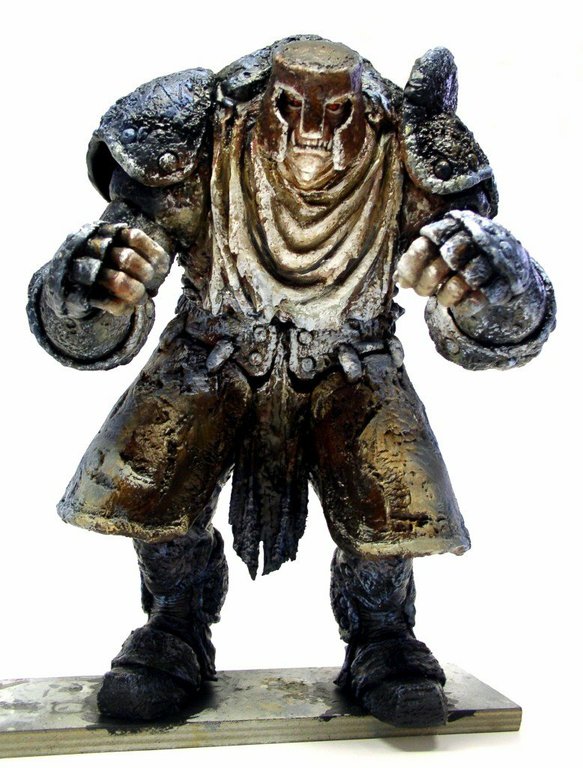
Painted figurine of a monstrous warrior with a skull for a head and clenched fists, on a baseNext, we use Winsor blue, which we darken or lighten with the other hues depending on the lighting, based on Luis Royo’s chart. Here, the photo was not taken with a flash. It’s solely the paint effect that creates this look...

Cape Paint

Painting the Cape
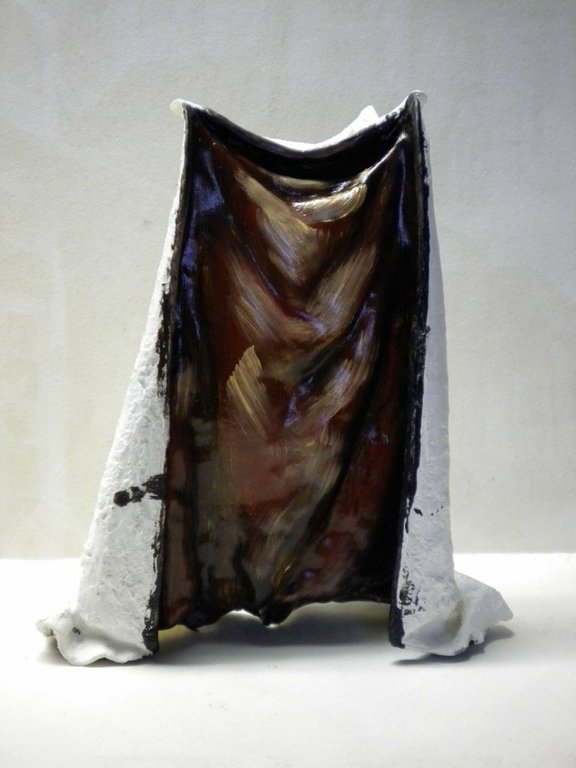
A figurine cape painted in shades of brown and purple, with a detailed interior and an unpainted white reverse sideApplying the different colors. An initial blend of umber, sienna, and Naples yellow has already been applied. Here, I’m applying touches of Naples yellow and white to further accentuate the lighting. I let the solvents dry between blends so that the colors mix more effectively...

The Setting

The set
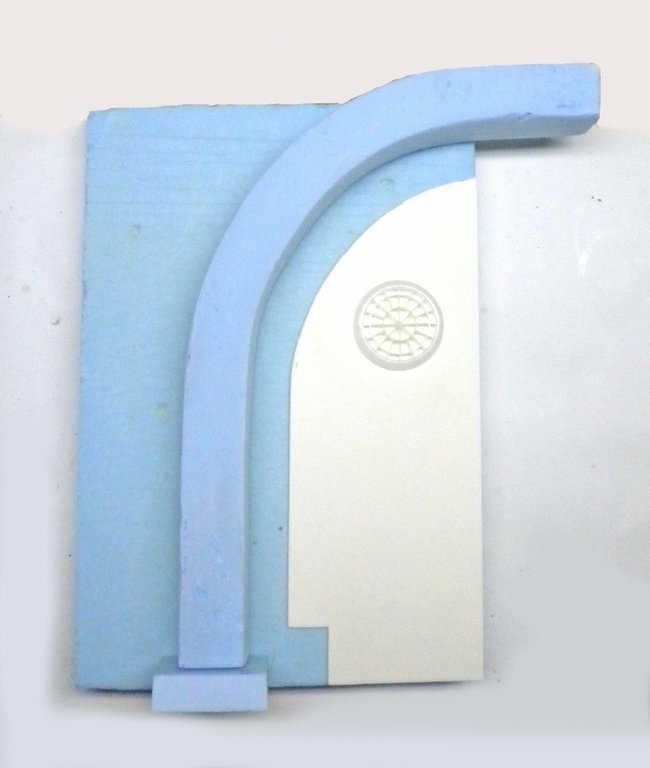
Blue foam base decoration, sculpted with an arch and an engraved rosette, for a figurineExtruded polystyrene prop based on the example from the tutorial created using this material. The base: a stone arch surrounding a doorway...

Extruded polystyrene decoration as shown in the tutorial created for this material. The base: a stone arch surrounding a door...
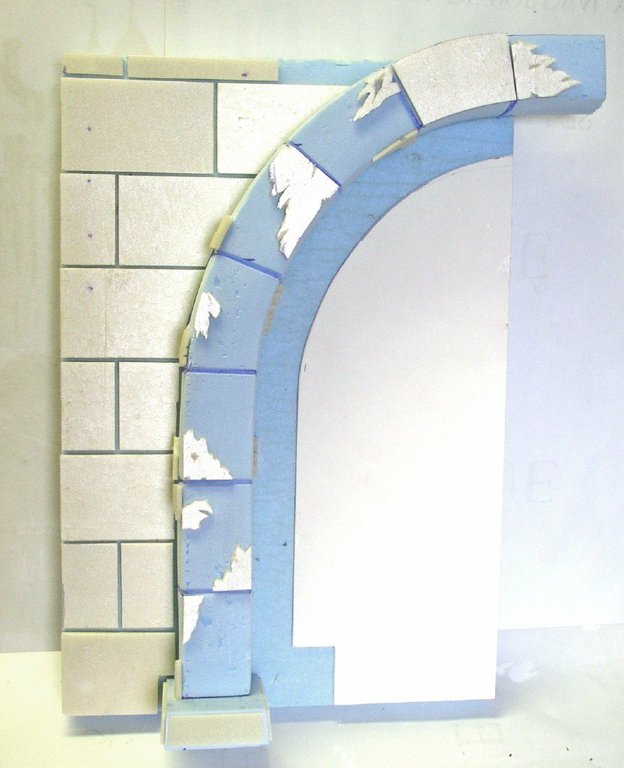
Stone wall and carved polystyrene arch for a miniature diorama under constructionThe wall is adorned with partially damaged slabs, as is the arch. The slabs are also made of thin extruded polystyrene...

The wall is adorned with partially damaged tiles, as is the arch. The slabs are also made of fine extruded polystyrene...
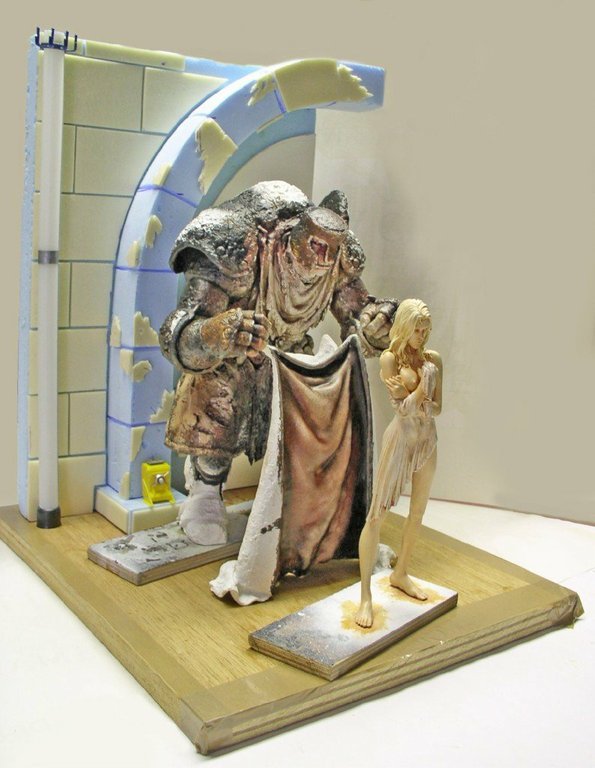
Diorama featuring a monstrous warrior holding out a cloak to a young woman in front of an archA quick setup to get an idea of the layout. The base is made of plywood...

A little setup to get an idea of the layout. The base is made of wood...
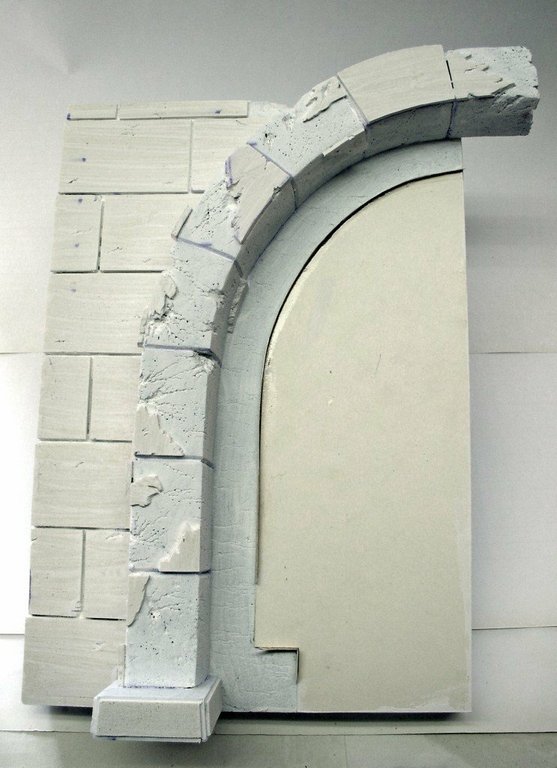
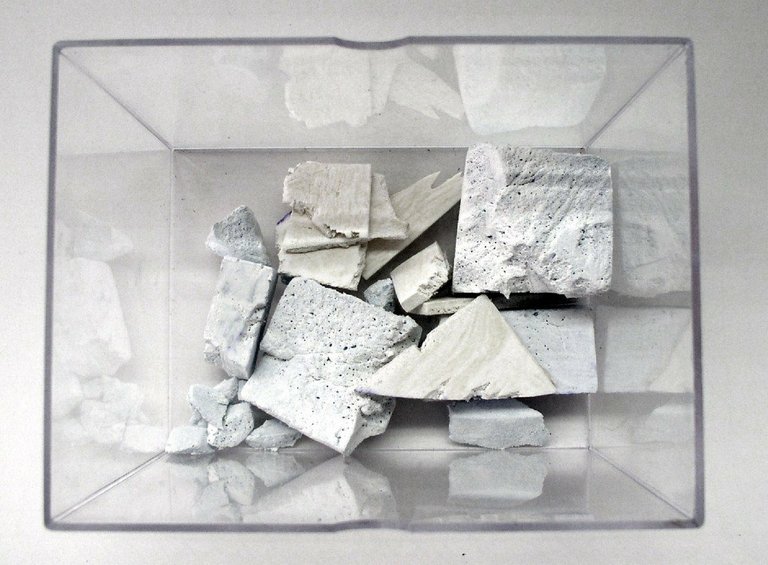
Model of a base depicting an unpainted carved stone arch with a brick wallFragmented pieces of white plaster collected in a clear plastic boxWhite acrylic primer (same protection as for vinyl) and the debris that will end up on the set...

White acrylic primer (provides the same protection as for vinyl) and debris that will end up on the decor...
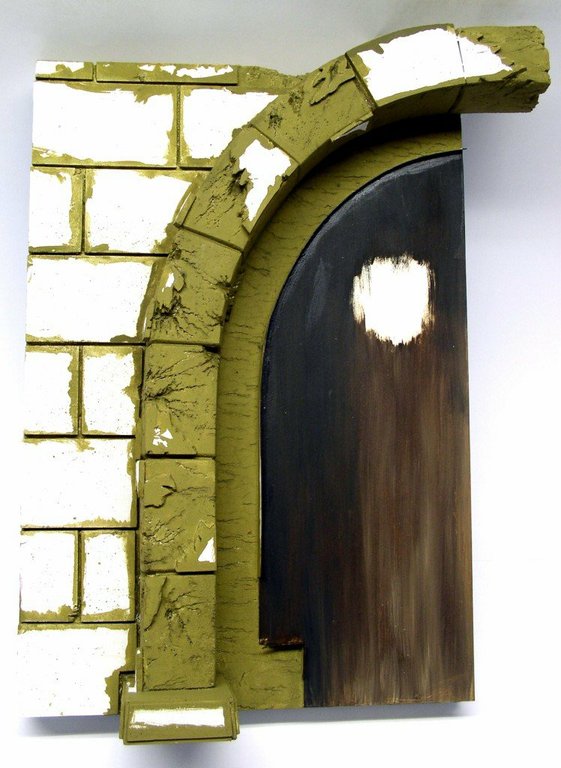
Base decoration in progress, featuring a brick wall and a stone arch framing a doorwayFirst coat of Humbrol 84 primer... Painting the door with Winsor oil-based paint...

First base coat: Humbrol 84... Winsor oil-based door paint...
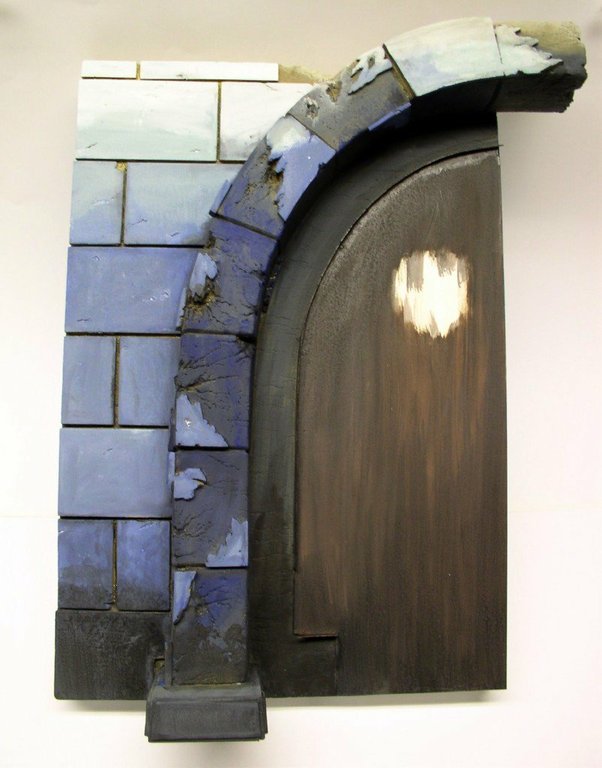
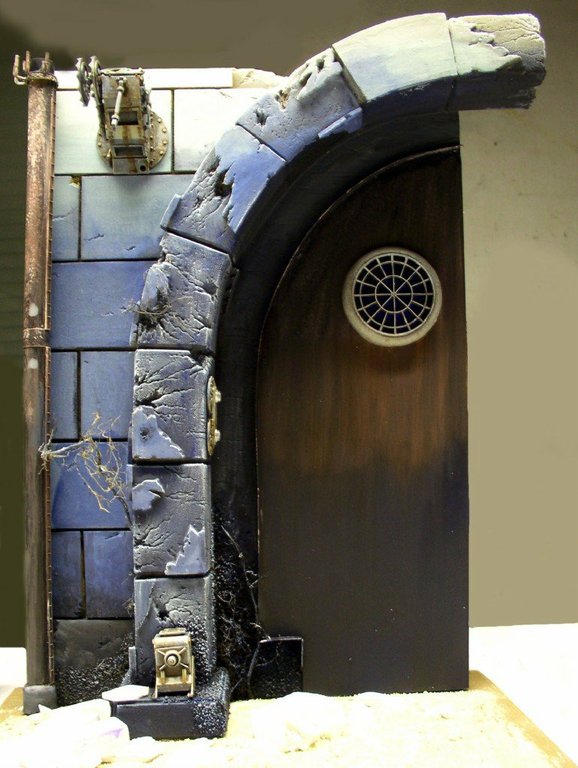
Diorama base with a painted blue brick arch and a dark arched doorwayInitial lighting using cool colors. Here, I added a lighting effect at the top of the wall that doesn't detract from the overall look...

Initial lighting effects based on cool colors. Here, I've added a lighting effect at the top of the wall that doesn't detract from the overall effect.
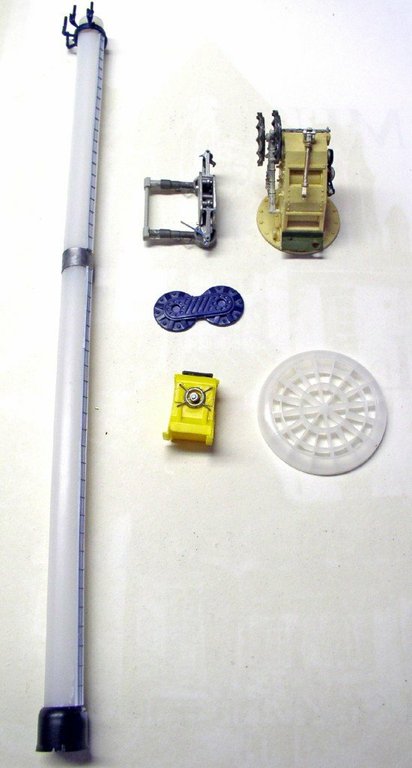
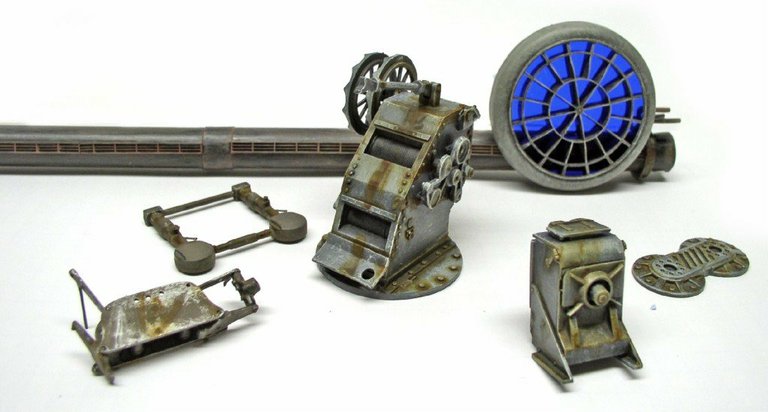
Figurine parts being assembled and painted on a light-colored backgroundA figurine with weathered, painted metal parts and a blue circular element in the background"Postmodern" accessories unique to Luis Royo's universe will be added to the set. On the right, the painting and signs of wear are complete... The window is a cappuccino pod for a coffee maker (nothing goes to waste!)...

Painting moss and branches...
Stone base decoration featuring an arch, a blue brick wall, and a vaulted doorwayThe door has a bluish gradient halfway up—which isn't very noticeable here—and the walls are accented with lighting...

The door has a bluish tint halfway up, barely visible here... and the walls are brightly lit...
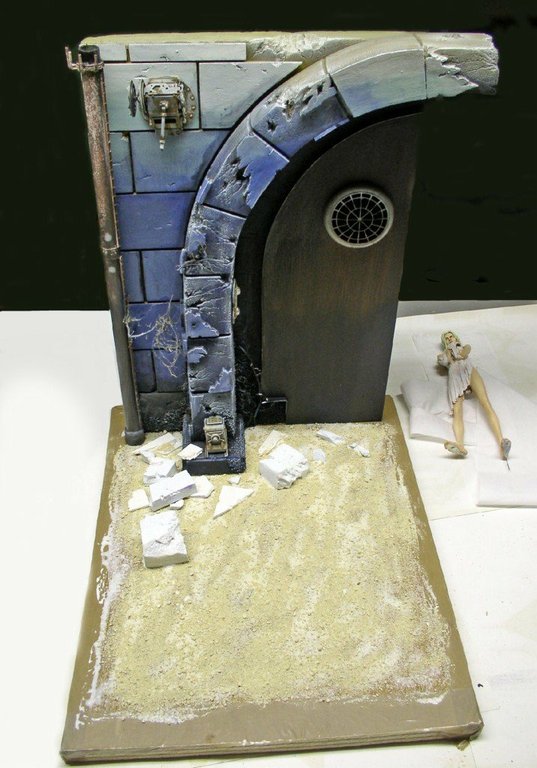
Diorama backdrop featuring a bluish stone wall with an arched doorway and a figurine currently being paintedThe debris was glued together, and sand was sprinkled on the base—a wooden panel...

The debris was glued together, and sand was sprinkled over the base—a wooden panel...
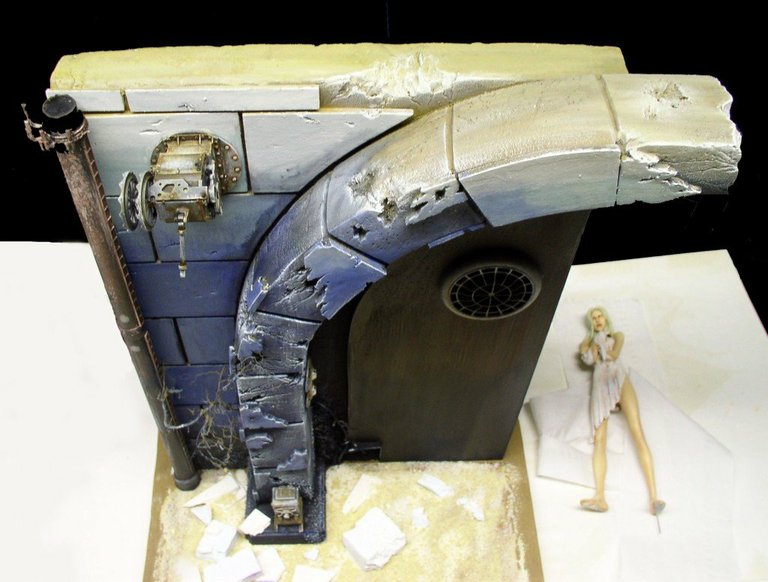
Wall-mounted diorama made of bluish stone, featuring an arch and a painted female figurine on the rightA close-up of the natural light on the arch and the top of the wall...

Column and accessory details...
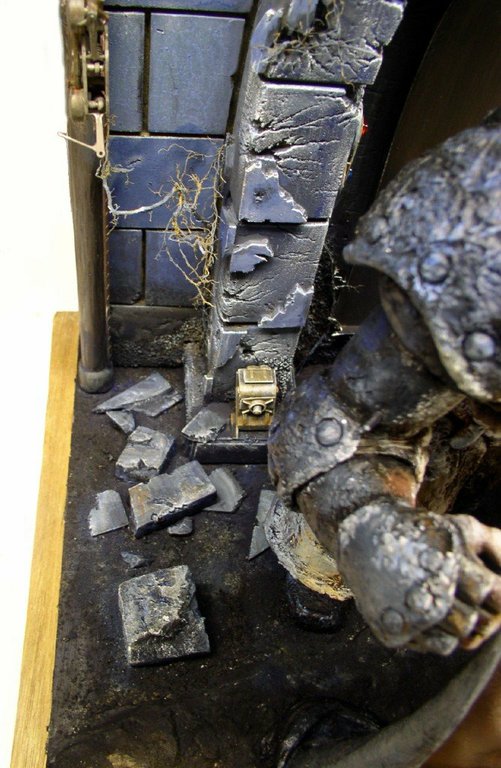
Diorama featuring a painted figurine with broken cobblestones and a golden box near a stone wallClose-up of the base and the debris...

Detail of the base and debris...
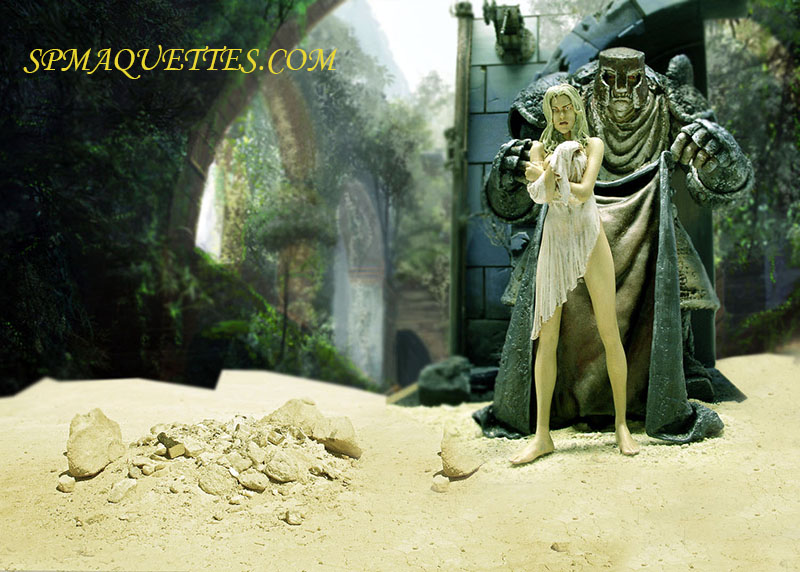
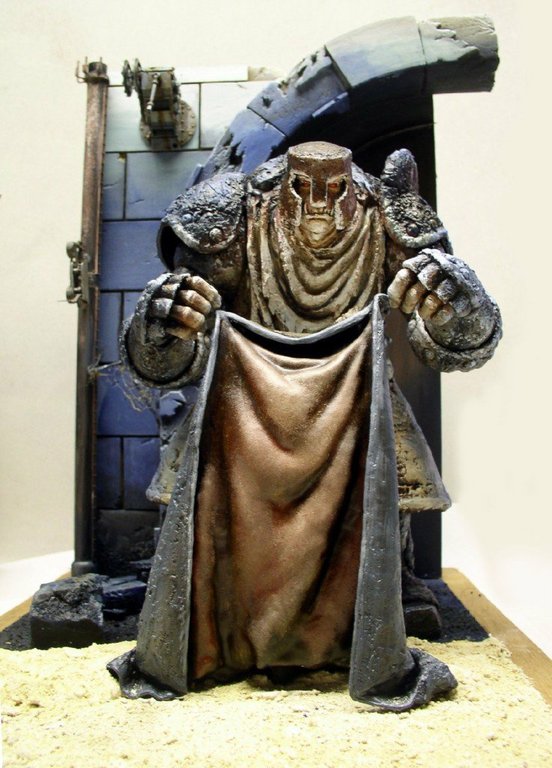
Figurine of a hooded guard holding a cloak in front of a stone wallThe monster in place. The base will be painted gradually from the back toward the front so that the various shades created by the lighting can be checked. Since the main light source is located at the front...

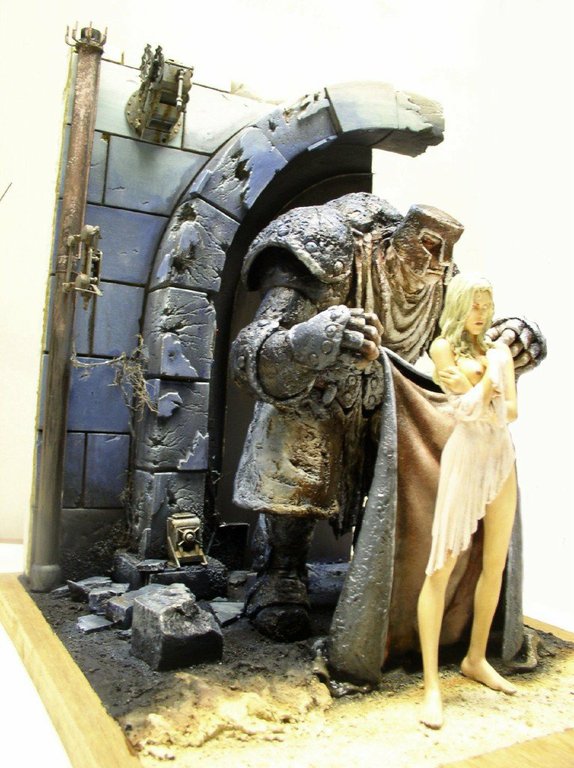
Diorama of a monstrous guardian protecting a young woman in front of a ruined stone arch

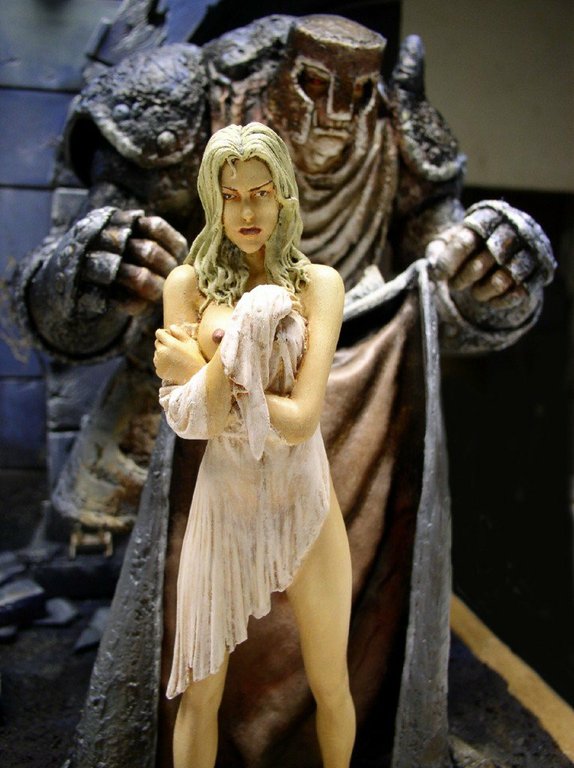
A painted figurine of a blonde woman in a torn dress standing in front of a monstrous guard brandishing a cape

A figurine of a blonde woman in a torn white dress standing near a stone colossus amid ruins