Star-Wars "Snowspeeder" - 1/35 scale

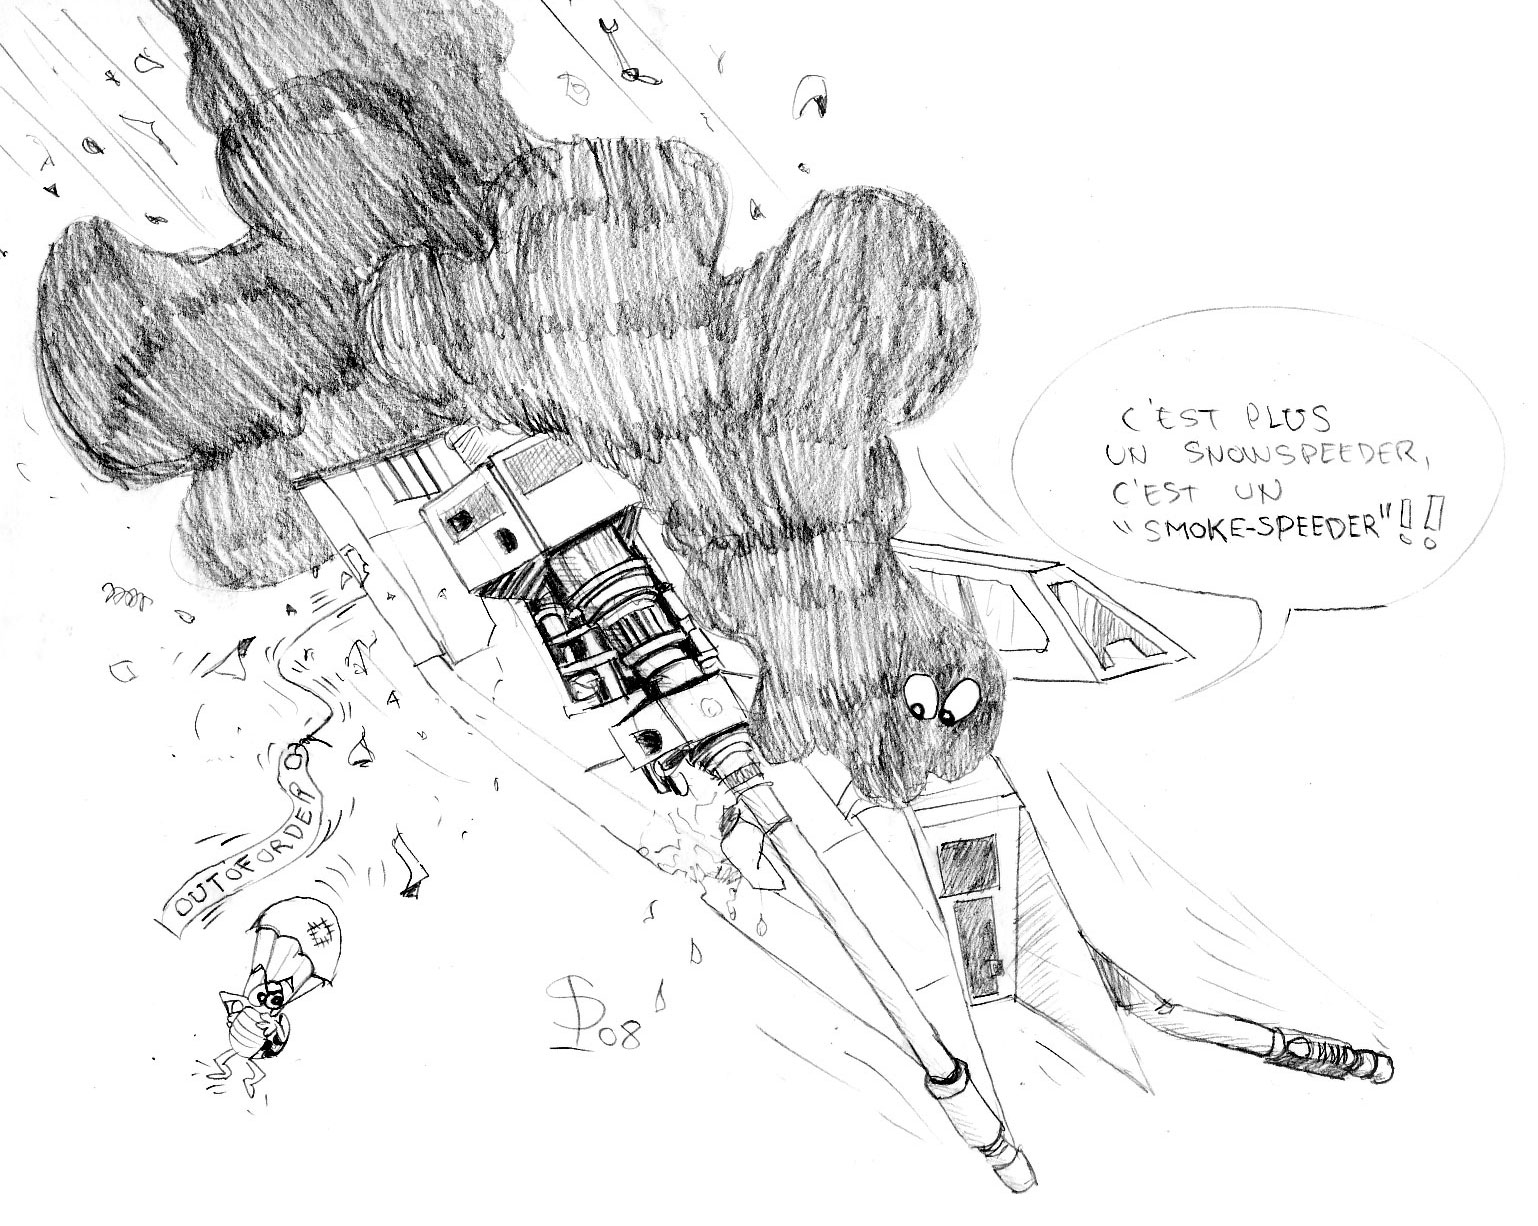
"It's no longer a "Snowspeeder", it's a "Smokespeeder" !"

The "Snowspeeder" by MPC—a plastic model kit at a scale of... 1/35 (approximately)—is rather basic. So it's going to be upgraded and, for a change, damaged...
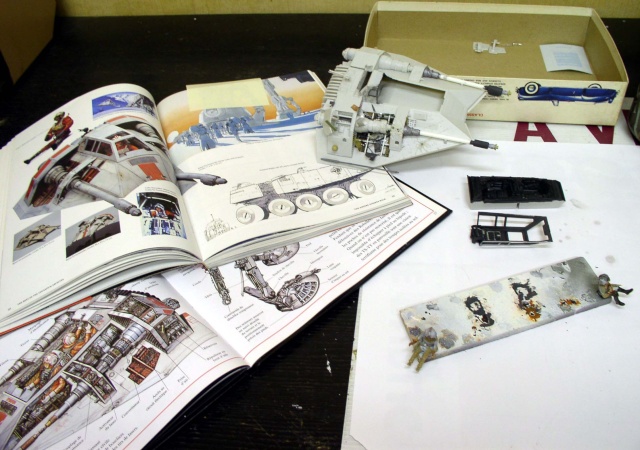
Snowspeeder model under construction on a workbench, with an open instruction manual and painted partsGood documentation is important to start with... Especially since I wanted to go into a bit more detail about the inside of the damaged barrel...

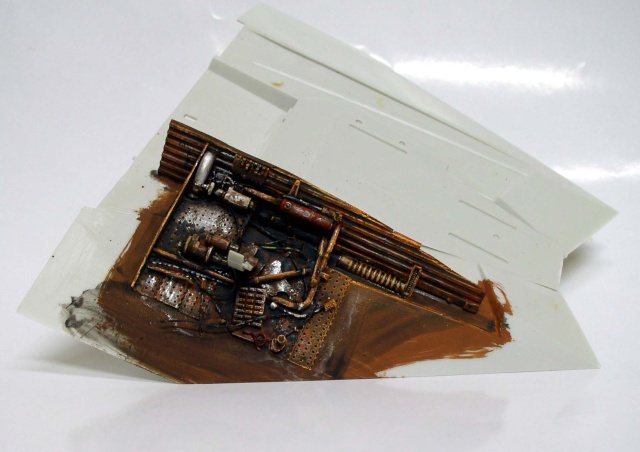
The first step after cutting out the parts—the pieces from the spare parts box will come in handy here. First, the lower wing is detailed, then the upper wing, and then the barrel...
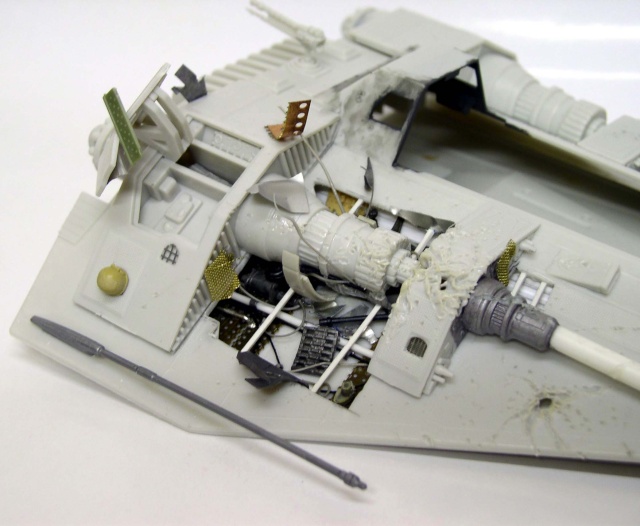
Snowspeeder model under construction, showing the interior details of the fuselage with photo-etched parts and piping
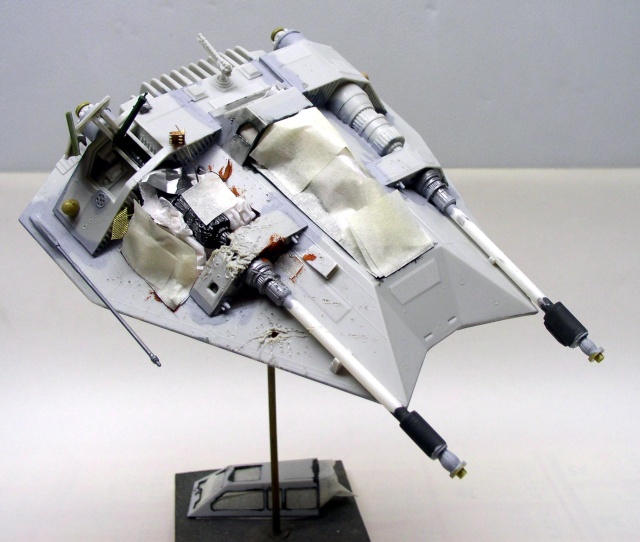
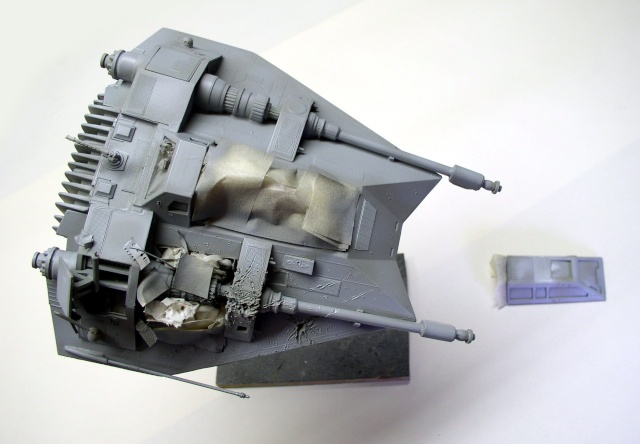
As the aircraft is in free fall, parts torn off by the high speed are stuck to the top...
The faded and rough-looking gun barrels are remade using Evergreen...

Cockpit
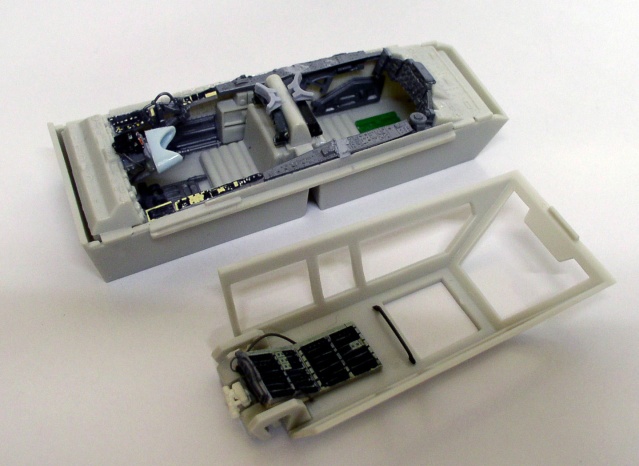
Painted cockpit and fuselage of the Snowspeeder model being assembled

Let's move on to the cockpit, which is only very lightly detailed...
The goal wasn't to create an exact replica of the ship's interior like the "die-hard" Star Wars fans would want, but to make a realistic cockpit...
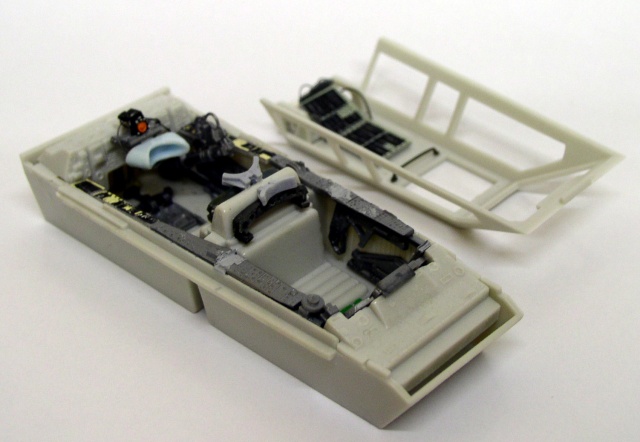
Snowspeeder cockpit being assembled with photo-etched parts and painted cockpit details
Aircraft instrument panels and gauges will allow for more realistic navigation and add depth...

Aircraft panels and dials will allow us to create a more substantial layout and add depth...
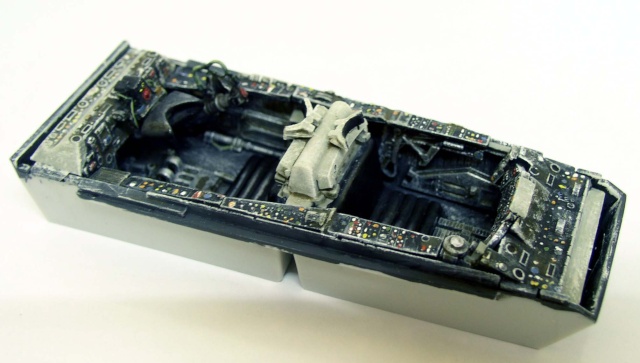
Snowspeeder cockpit painted with details of the console and pilot's seat
The cockpit is painted and ready to be installed...

The cockpit has been painted and is ready to be installed...
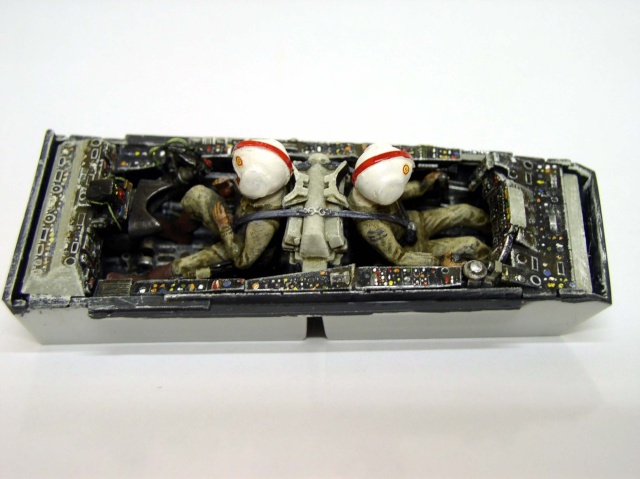
Open Snowspeeder cockpit with two painted pilots wearing helmets and a detailed instrument panelSince the cockpit is a fake—and, by the way, the included pilots are "squashed" and unusable—others will be a better replacement...
Tank crew helmets that have been slightly modified to resemble those from the movie will be used for the heads, while the bodies of German soldiers in winter uniforms will complete the set.

The two parts are glued together after the cockpit has been installed. The barrel tubes are rebuilt using Evergreen...
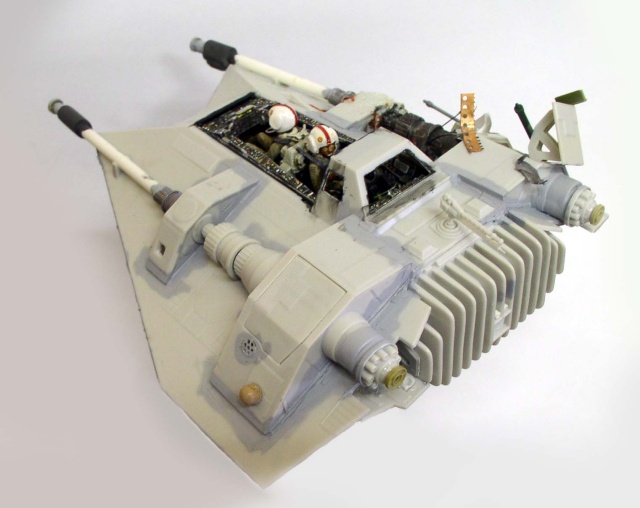
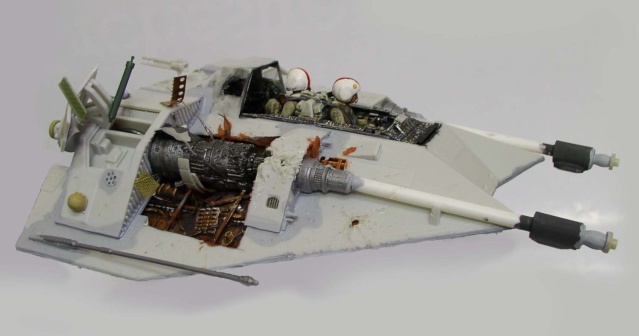
White-painted Snowspeeder model, with open cockpit and cannons, three-quarter rear viewWe check the glue joints, because the model is old, so it's not always easy to see where the pieces fit together... We make up for this by brushing on putty diluted with glue...

Open Snowspeeder model showing the cockpit and detailed internal mechanics, with two pilots

Snowspeeder model engine compartment with brown rust patina on the white fuselageEverything is ready; we can start painting the exterior. The inside of the wing was painted before assembly to make things easier—see the tutorial patina As for the technique...


Painting

Painting
Painted Snowspeeder model with battle damage and side cannons, mounted on a baseThe cockpit and the damaged section are protected with body shop tape...

Top view of a gray Snowspeeder model under construction, with the cockpit open

The model will be painted with a medium gray Humbrol (photo), followed by a lighter gray...
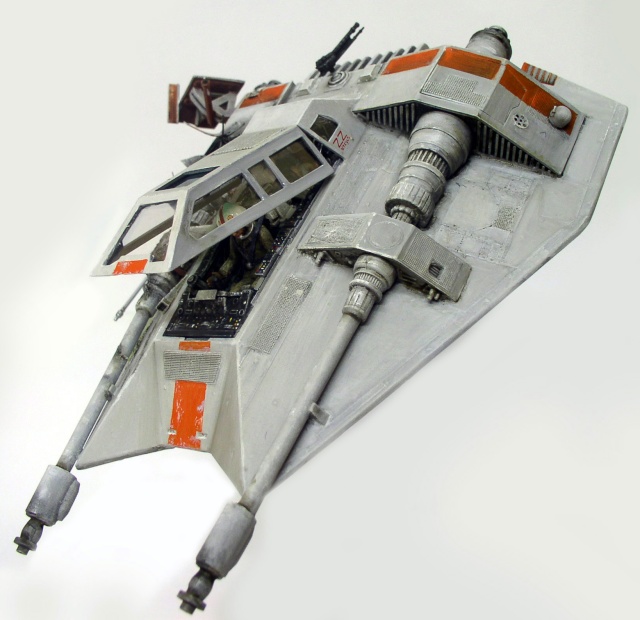
Model of a weathered gray Snowspeeder with orange markings, open cockpit, three-quarter view

After applying the usual washes, the model is touched up with a brush using Windsor & Newton artist's oil to add highlights and the orange markings...
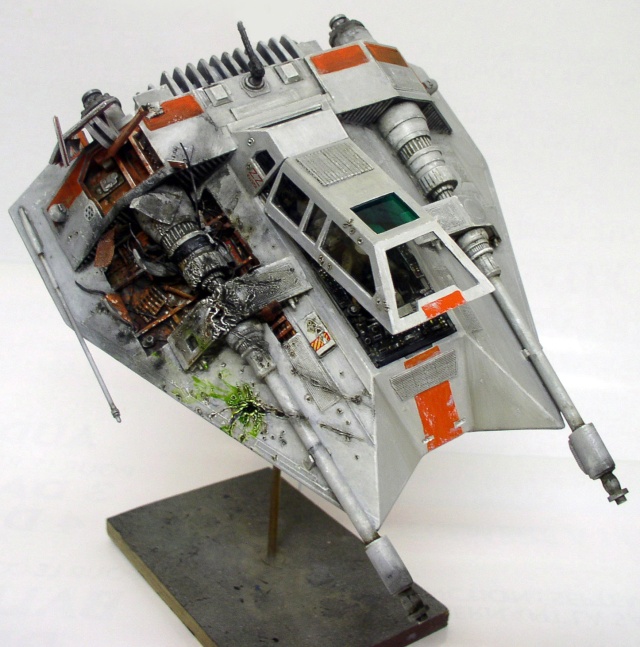
Model of a weathered gray Snowspeeder with visible engine damage, mounted on a base

The painting is finished. Black pastel will be used to simulate smoke trails, and translucent green Tamiya paint will be used to represent the liquid leaking from the tank...
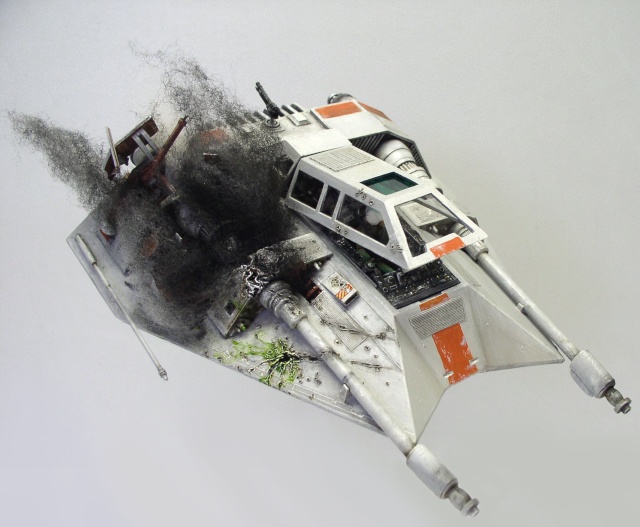
Model of a gray and orange Snowspeeder lying on the ground with a black smoke effect

We add some airbrushed aquarium filter for the smoke, and the model is finished...