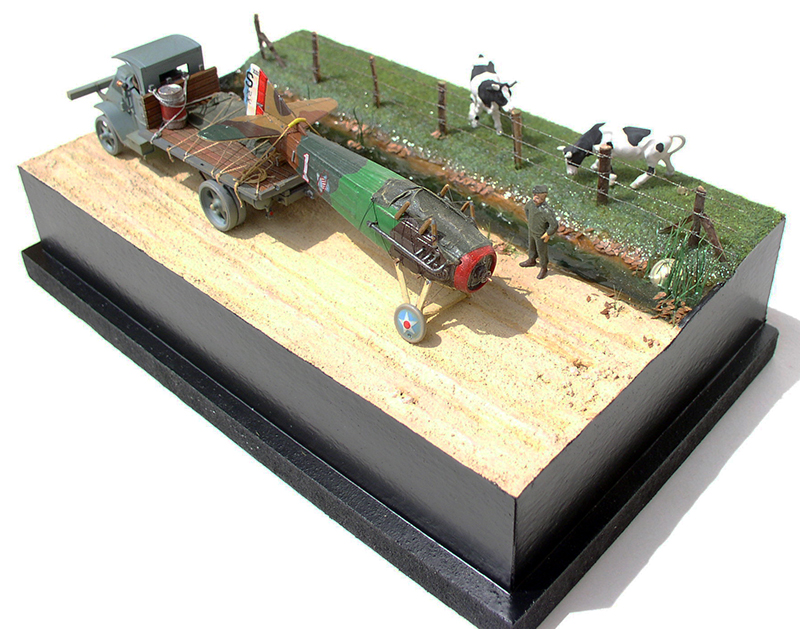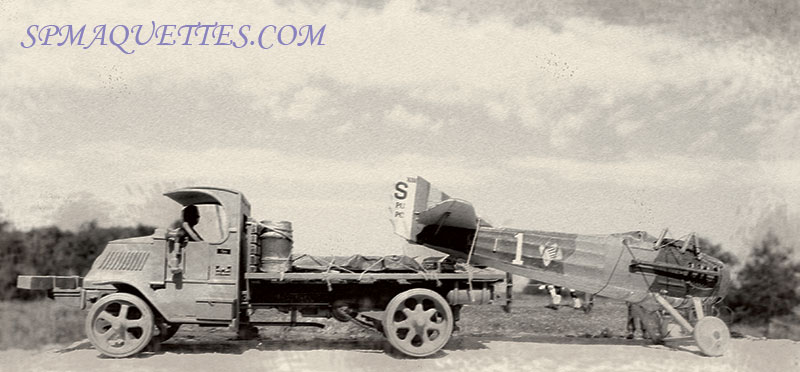
I was inspired by a photo I saw a few years ago to create this diorama.
In the photo, we could see an Albatros D.III or D.V—the angle of the shot didn’t allow us to clearly make out the vertical stabilizer—being towed by a flatbed truck, with the plane missing a wheel...
I thought to myself that this mishap could have happened to anyone, since those devices weren't as sturdy as the ones from our generation, and the terrain and trails weren't as passable...
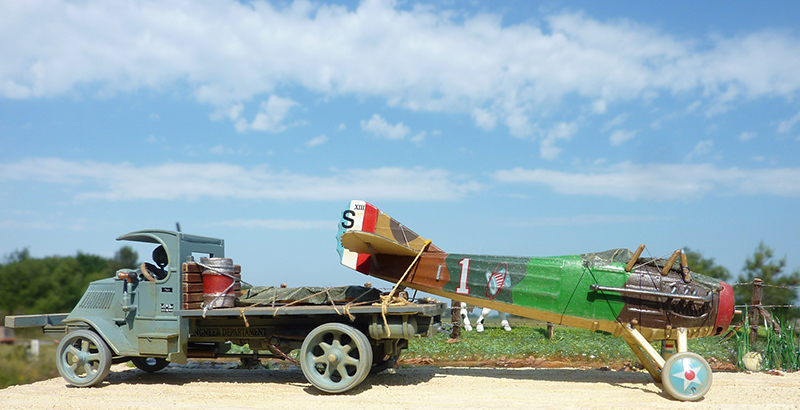
So, I went with the Spad XIII flown by American ace Eddie Rickenbacker, towed by a Mack AC truck—let's keep it American!
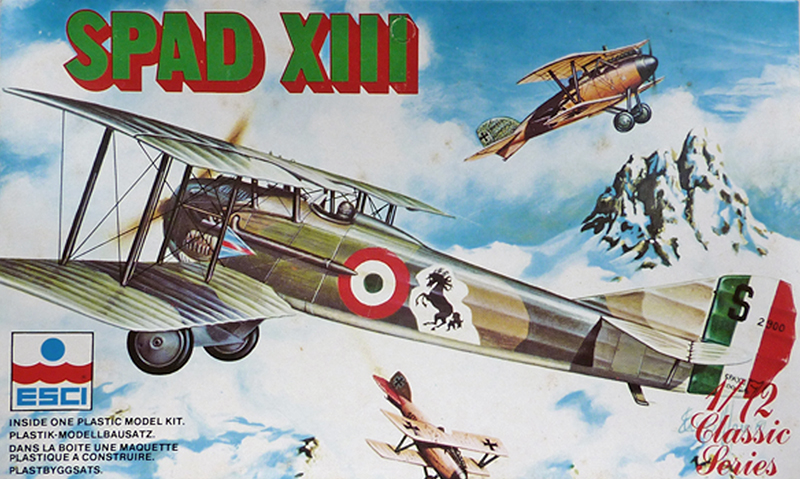
Still in 1/72 scale, I dug out an old model of the Spad XIII by Esci, a brand that no longer exists and can only be found at swap meets—often just to get rid of it— a rarity of sorts, requiring very little work since the wings had been removed—often for ground transport—and the cockpit and engine were covered with a tarp...
With the truck driver looking quite flustered, here is the result of those dozens of hours spent on the project—two-thirds of which were devoted to the diorama, including details such as the dead leaves swept up by the wind, some of which end up in the ditch, and the barbed-wire fence, all made from scratch....
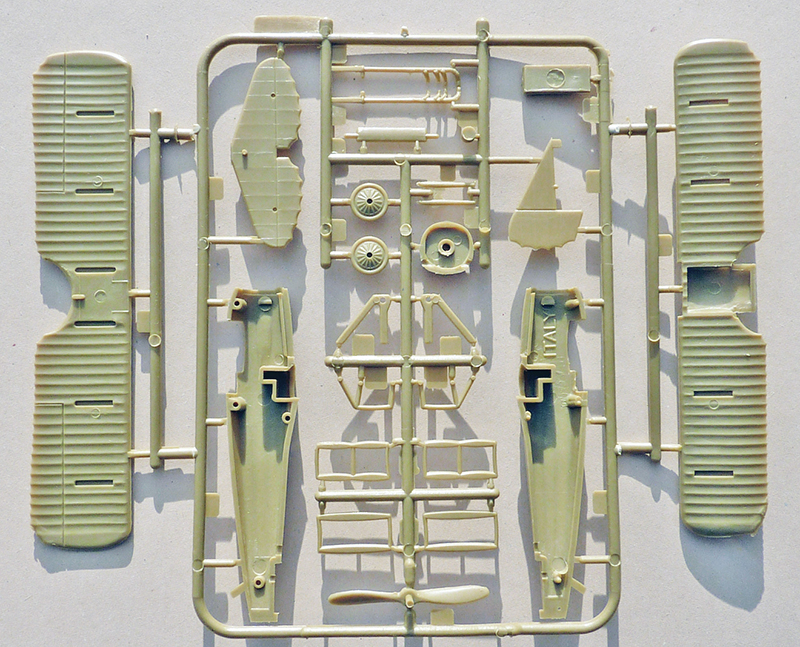
Here are the sprues for the Esci Spad XIII—they're nowhere near as good as Eduard or Roden... And for the seat, just a piece of plastic...
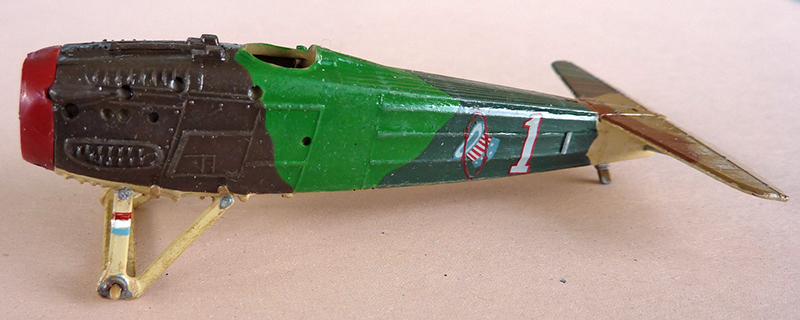
The Esci Spad XIII only comes with the markings for Italian ace Francesco Baracca, so I searched through my archives and was able to find the decals I needed in a Revell kit from 1974...
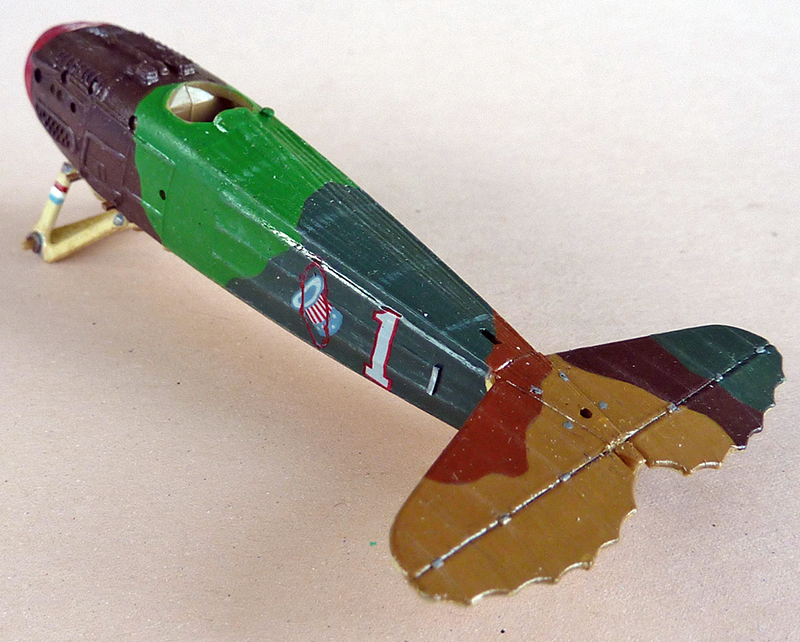
Assembling the Spad was, for the most part, relatively simple.
However, I had to lightly sand down the ribs on the fuselage and tailplane because they were too pronounced.
The landing gear and fuselage struts were refined.
I did not build the cockpit since it was going to be covered up.
A few small details were added, but nothing more.
The decals were applied, and I had to repaint the oval around the American cap red because the Revell decal was white.
Each of the blue-white-red stripes on the landing gear—and only on one side—is less than 1/2 mm wide.
The ends of the exhaust pipes will be cut off, even though most Spads had long exhaust pipes with tapered ends.
THE TRUCK
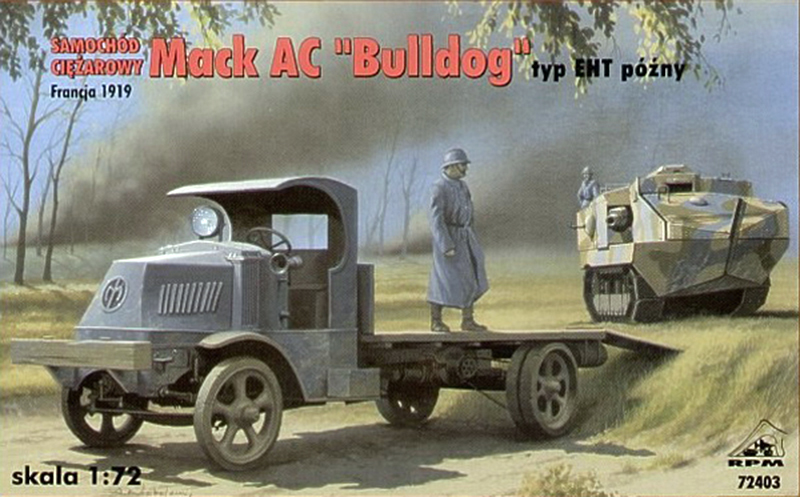
The Mack AC comes from the RPM brand, which is much newer...
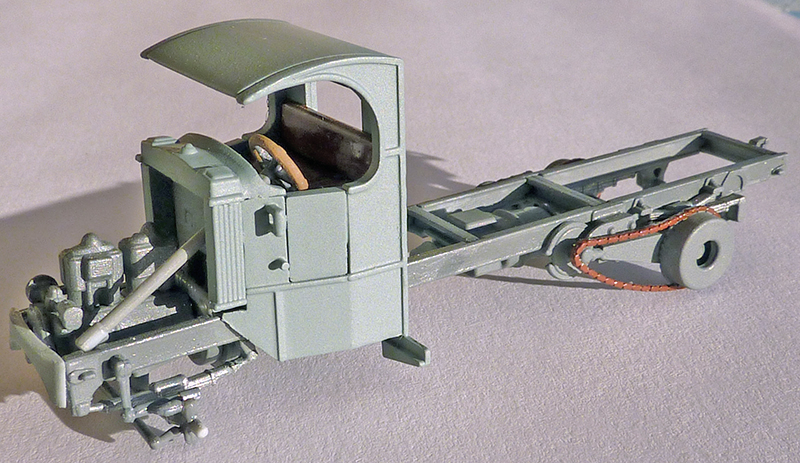
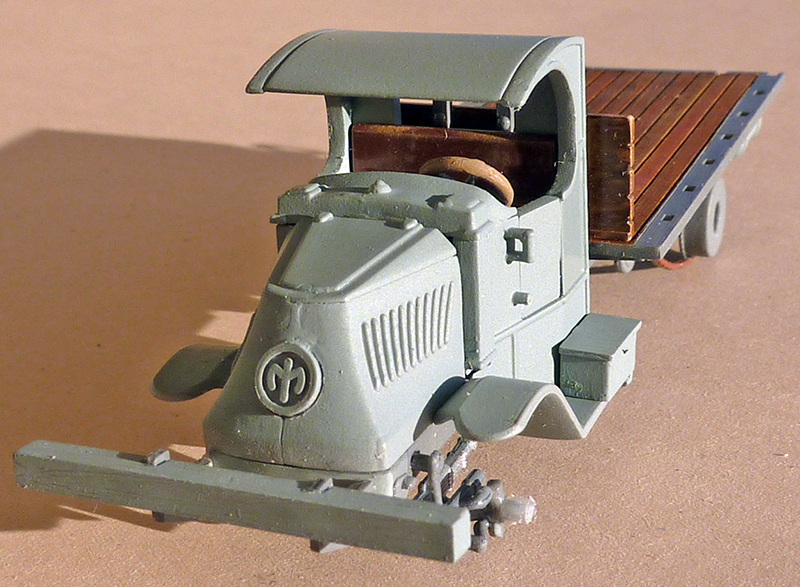
Already well underway:
Already well underway:
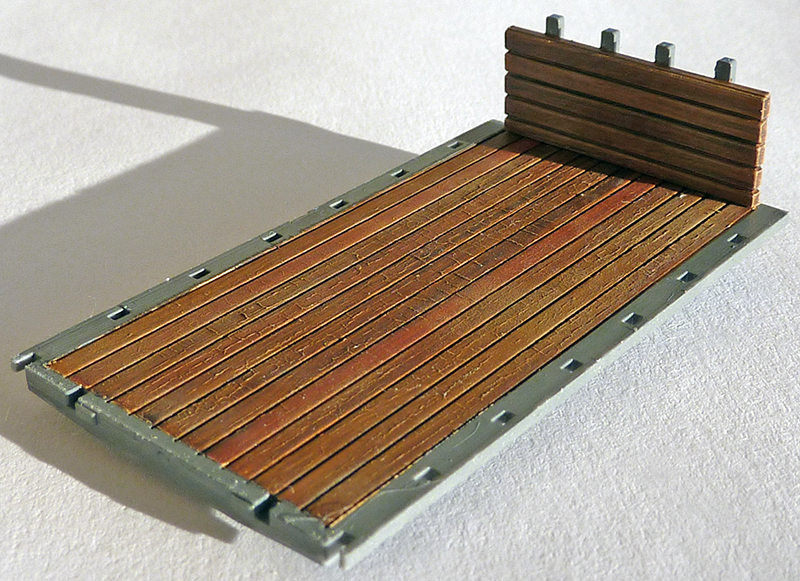
The tray is painted with oil paint to give it a wood-like finish, and then I applied a varnish that had a strange reaction—crackles appeared, which isn't unpleasant and actually looks quite realistic...
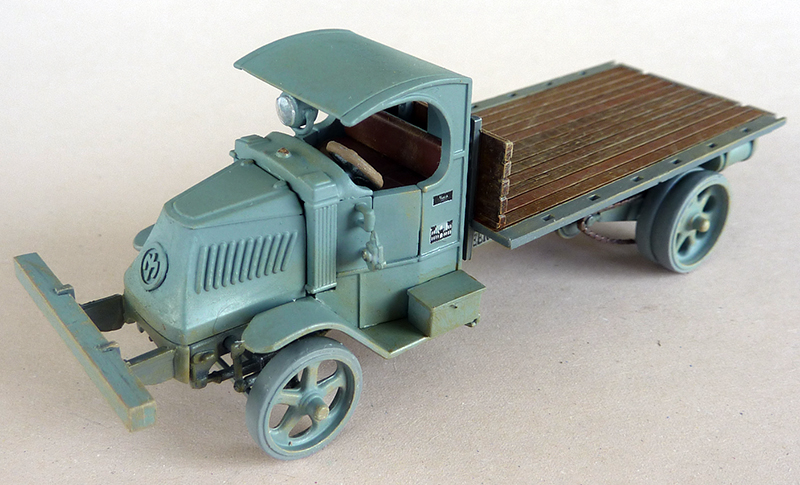
The platform mounted on the chassis.
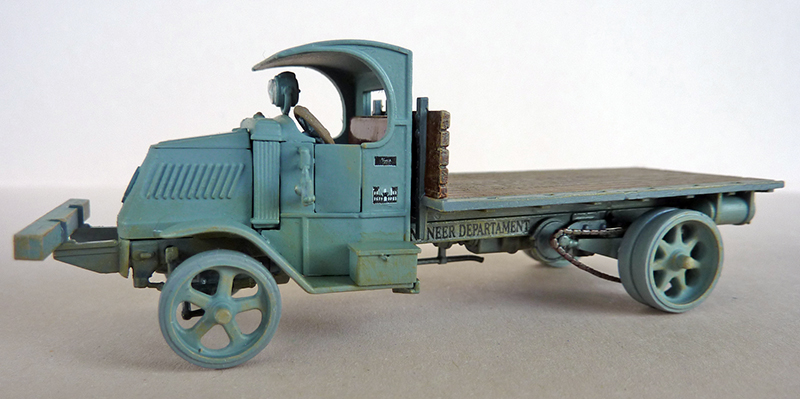
The underside. A light patina was applied... The glass for the large headlight was die-cut from Rodoid. The curved effect is due solely to the pressure applied during cutting...
THE SETTING
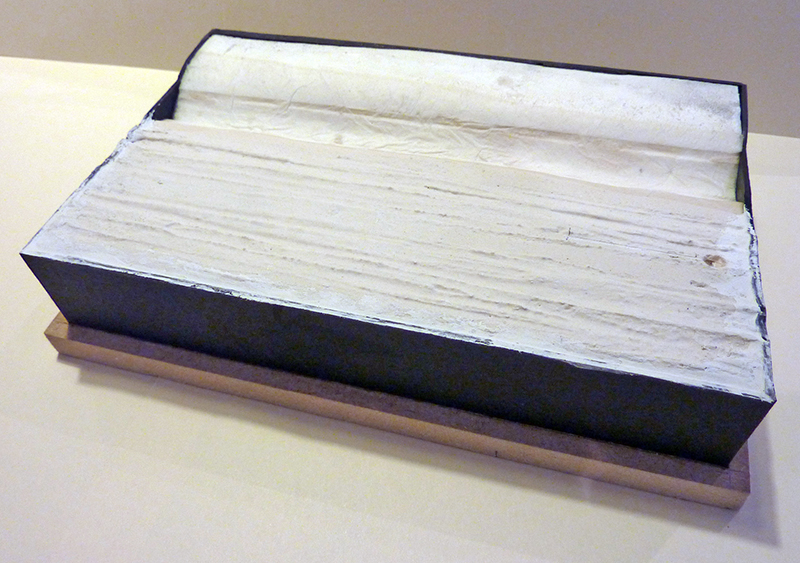
The base is carved from extruded polystyrene; the ditch is carved into it, and the road is situated below the pasture.
The whole thing is boxed up using somewhat thick cardboard...
I coated the road with plaster, and before it dried completely, I simulated the outlines of various tire tracks...
The bottom of the ditch is painted brown, and then the pasture—which all model railroad enthusiasts are familiar with—is glued on...
Once it was completely dry, I poured Pébéo’s “Gédéo” Crystal Resin (available at art supply stores or Cultura), to which I added a few drops of green India ink, blue, and brown ink to simulate the seabed, to a thickness of about 2 mm...
You can replace the ink with stained-glass paint...
Given the surface area, two drops of each color were enough...
I prefer to wait 24 hours to ensure it dries thoroughly.... For
the aquatic vegetation, I cut thin strips from an aluminum food tray, painted them, and then glued them onto the resin...
That’s when I incorporated the Spad’s propeller...
Once dry, I applied a second coat of resin, without ink...
And once it was dry again, I applied a third coat of resin, still without ink, and before the final drying—you have to be patient—I created a slight wave with a hair dryer...
If there are no plastic or resin parts, you can blow hot air—the resin is easy to work with—otherwise, use cold air...
You have to go over it several times with the hair dryer, because the resin tends to become very smooth again...
To my dismay, when I made my final resin pour, I saw it moistening the pasture. It was spreading through the grass...
The grass was too shiny at that point, so I waited until it was completely dry before painting the grass again, blade by blade—just kidding... The
wooden posts are made from small oak branches, cut into quarters...
A small tree stump was added to the side of the road...
The plaster on the road is covered with sifted cat litter, secured with wood glue diluted with water...
Larger clumps of cat litter were used to make the pebbles along the edge of the ditch and on the road around the pothole...
BARBED WIRE
Barbed wire
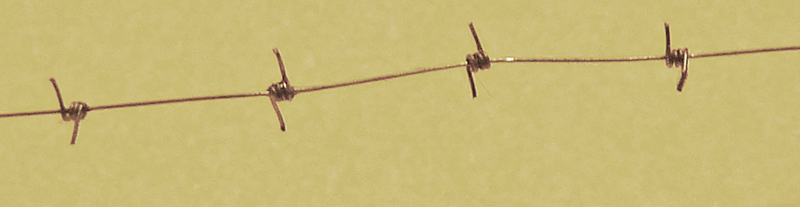
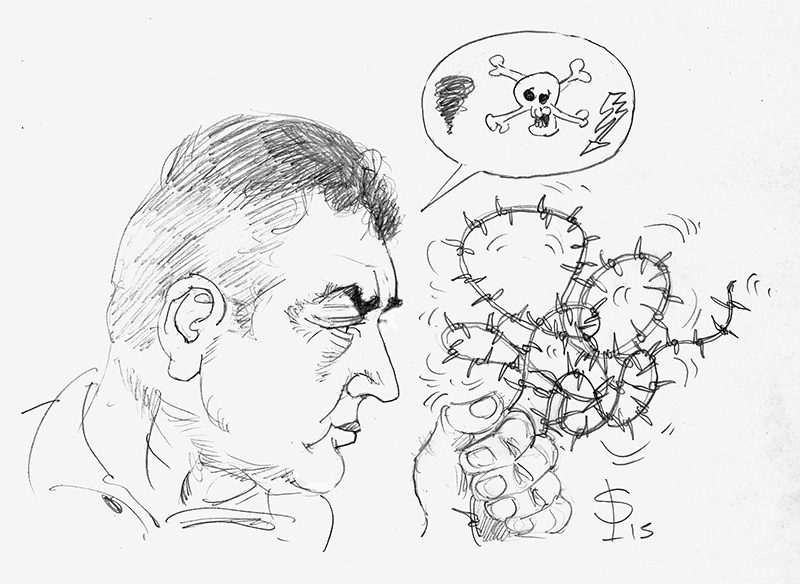
The most interesting part: the barbed wire. There are several types of barbed wire—single, double, and so on.
I opted for single-prong barbed wire, with each prong spaced 30 cm apart, which is 4 mm per 72.
Here is the pattern:
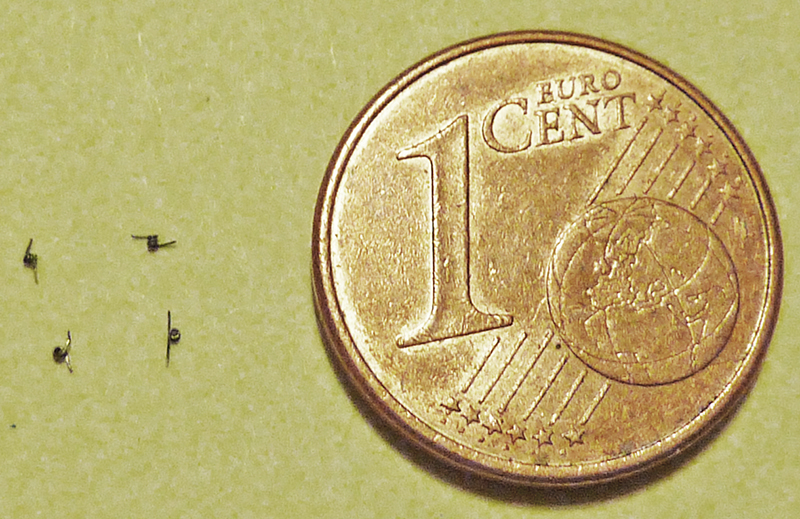
I attached two needles to a piece of wood and tied a strand of electrical wire to it...
I cut 2- to 3-centimeter lengths of stripped coaxial cable (antenna wire), and since I needed three lengths to represent the fence, I needed 175 of them!!! I wrapped the pieces of coaxial cable around the electrical wire, making three loops...
It took several hours to wind these threads...
To make sure all the prongs were the same length, I lined up each loop against the edge of my metal ruler and cut it with a utility knife.
I flipped the loop over and repeated the process. Be careful—it might snap...
Still several hours to go to reach 175...
On a sheet of paper, I drew a line and marked it every 4 mm...
I took a length of coaxial wire, threaded these little pins onto it, and applied a tiny drop of cyanolite to each pin every 4 mm...
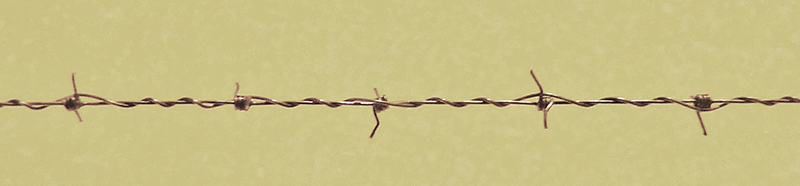
Once it was the right length, I wound a second strand of Coaxial wire around the first one, securing it with the spikes. And my barbed wire was finished! Pure scratch-built!
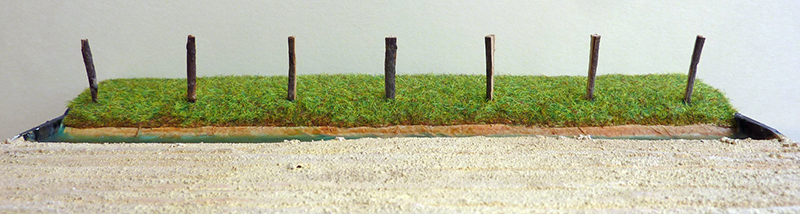
I tried to secure this barbed wire, just like in real life, using a U-shaped bracket on the post—still using coaxial cable—but I had to drill two holes with a 0.3 mm drill bit for each U-bracket. I made one hole before wrapping the barbed wire around the post, just as I had planned...
For the others, I drilled just one hole and made a loop with 0.05 mm fishing line to tighten the barbed wire, then added a drop of Cyanolite...
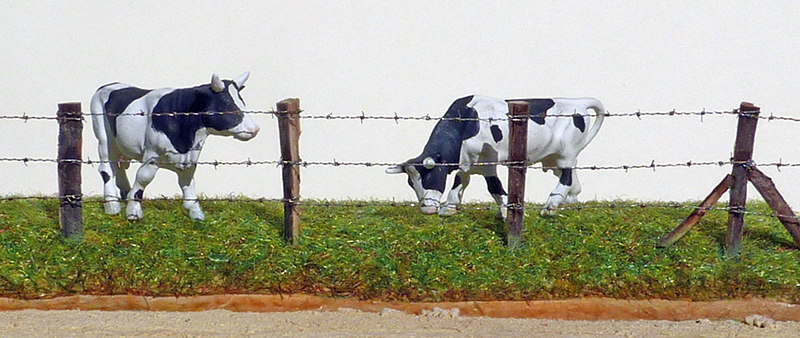
The cows have a very subtle patina, and I think it's the sunlight that makes them look so beautiful. It's not like all cows are muddy or covered in manure!
THE LEAVES
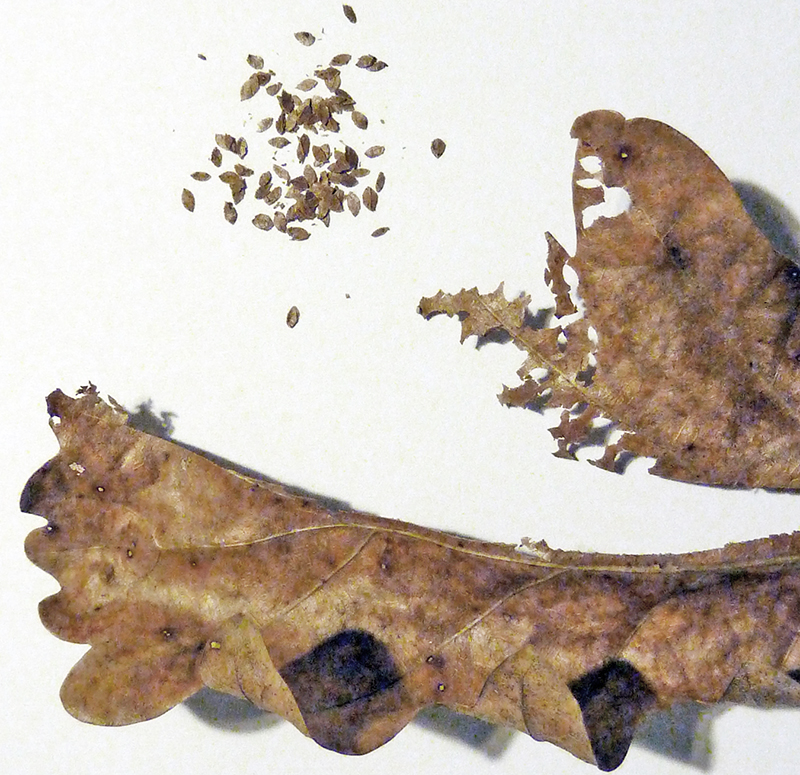
To create the fallen leaves blown by the wind, I tested several types of leaves: reed, fern, and oak. The reed leaves are too veined, the fern leaves curl up, and the tips are pointed, so I chose the oak leaves. Taking the leaf veins into account, I cut out my leaves using a linocut gouge. Since the gouge is U-shaped, it takes two passes to cut out a single leaf...
It’s still a very time-consuming process...
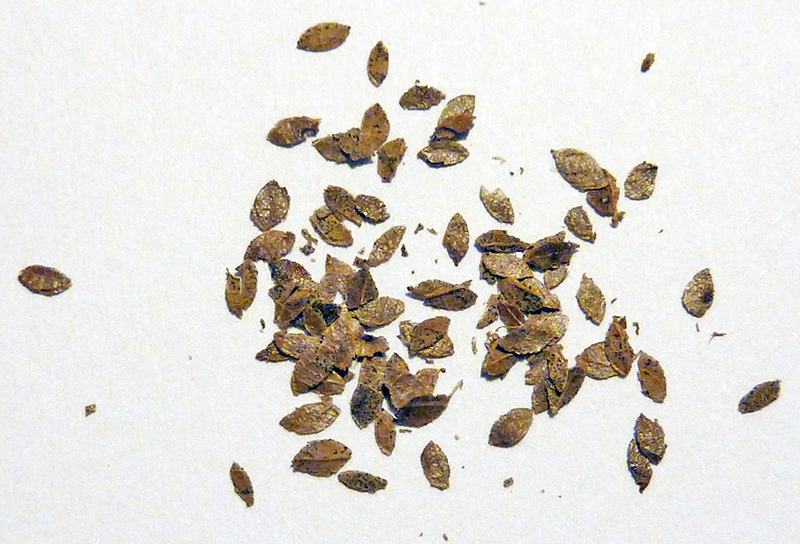
Once they were all cut out, they were glued one by one—using wood glue—onto the road, against the stump, or onto a few pebbles, and into the water on one side only, as if the wind had blown them all in the same direction...