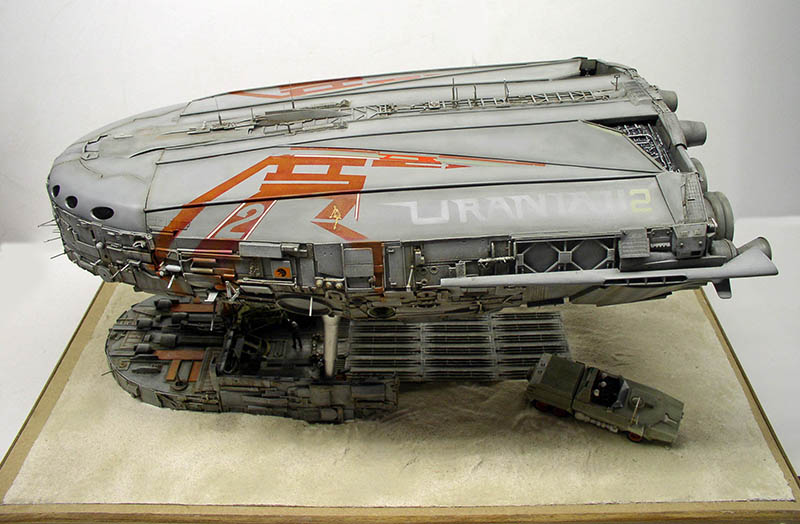
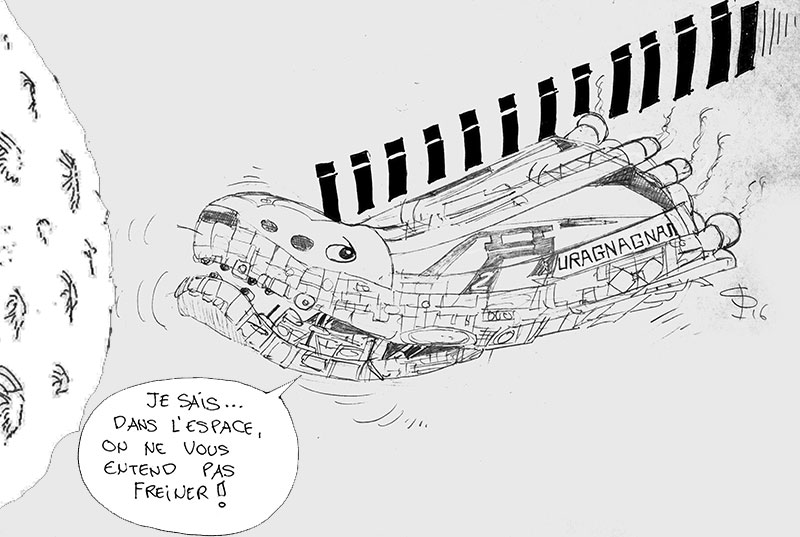
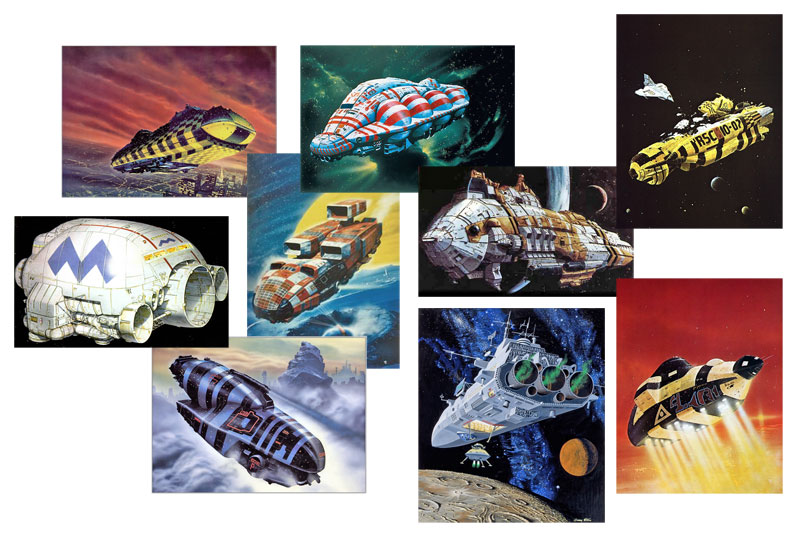
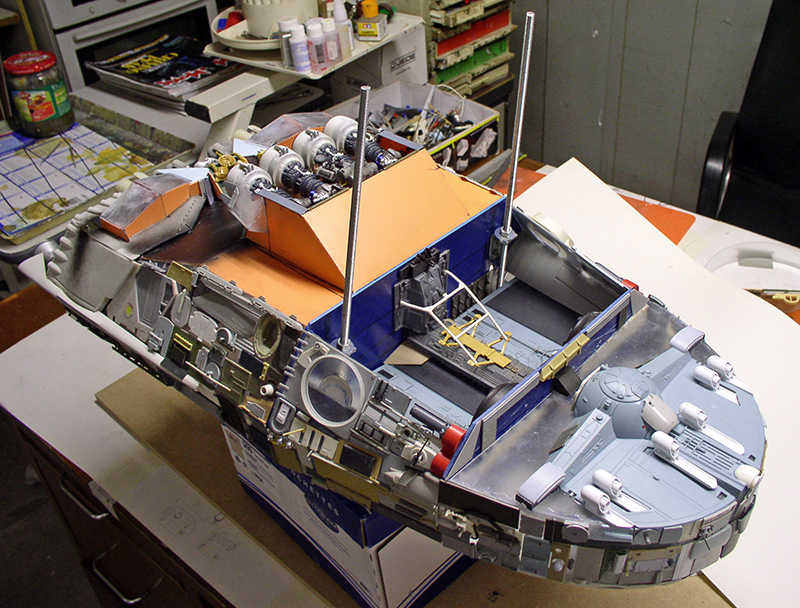
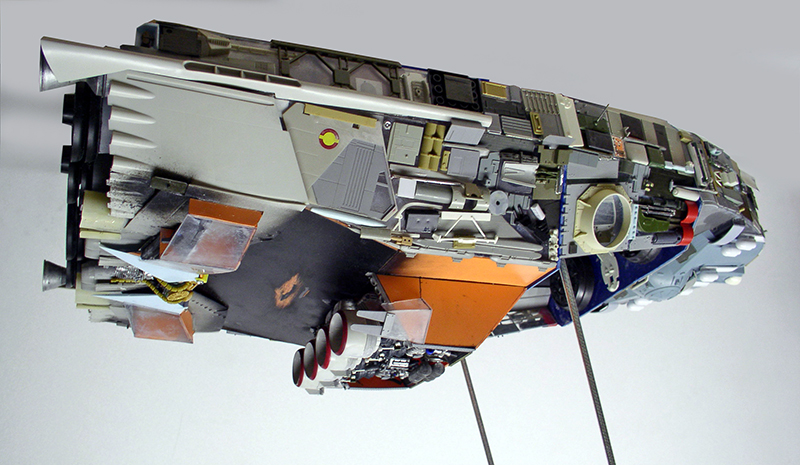
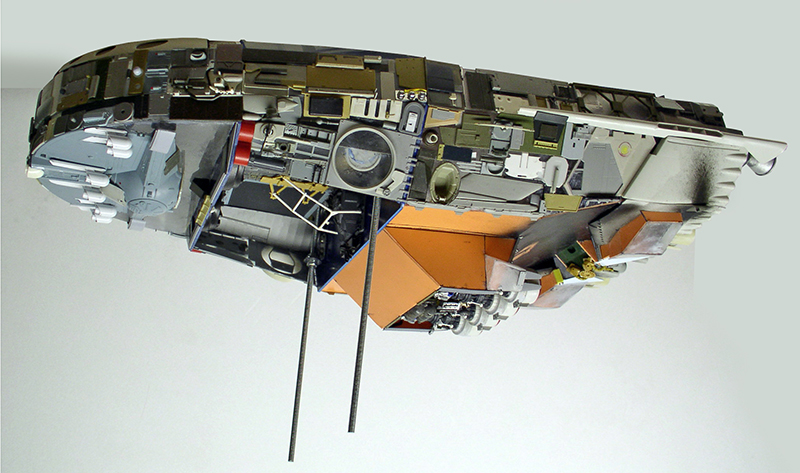
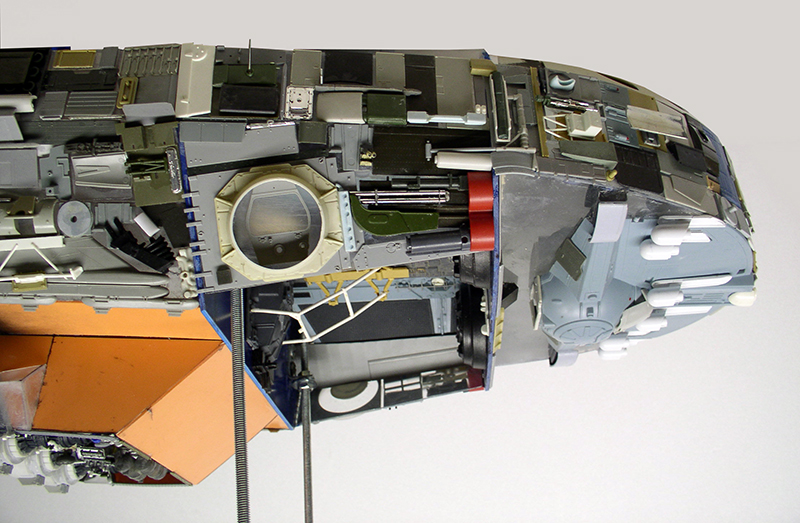
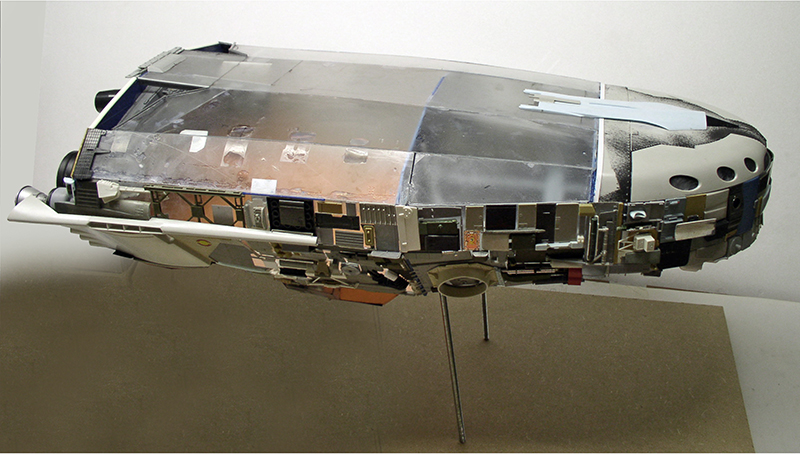
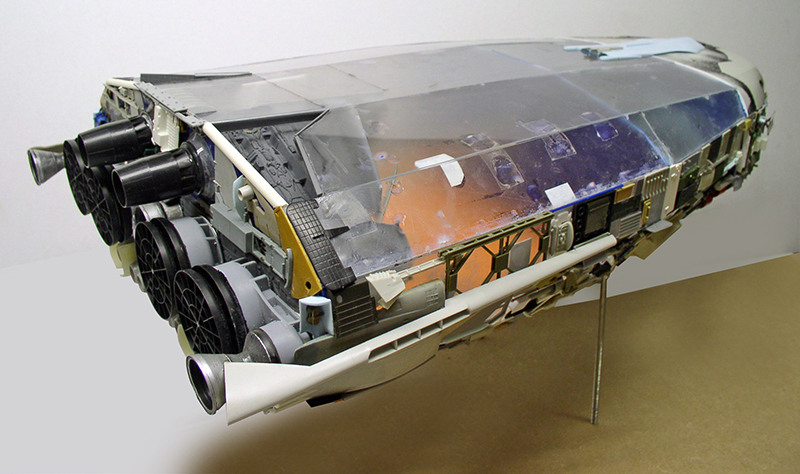
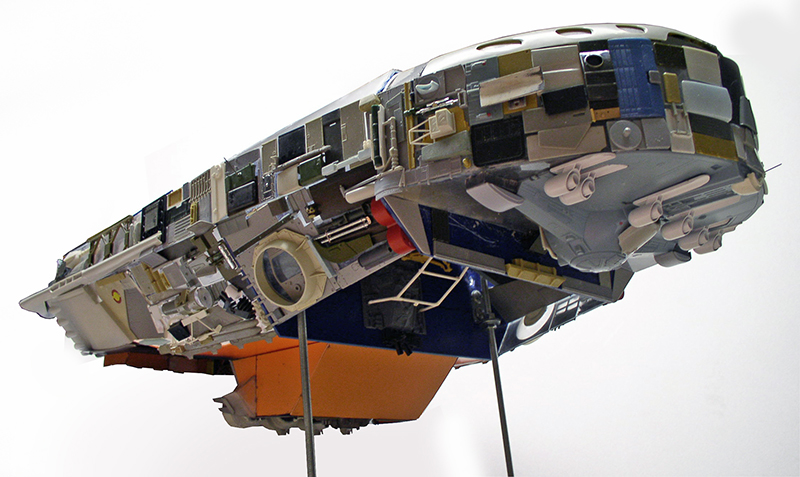
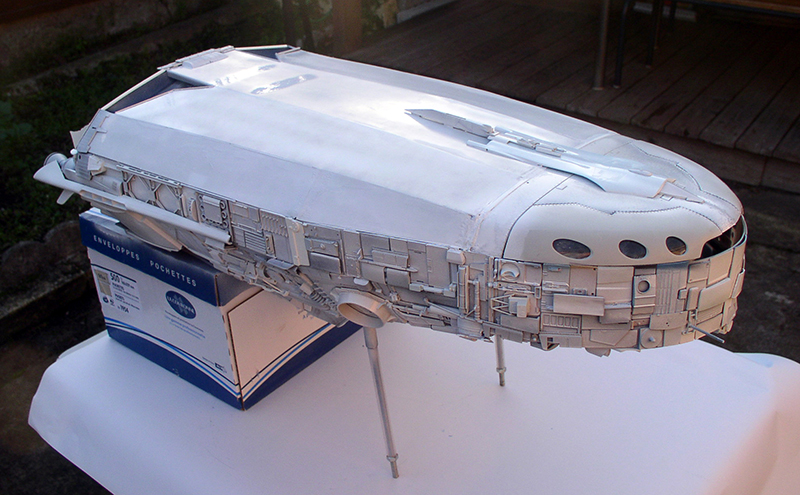
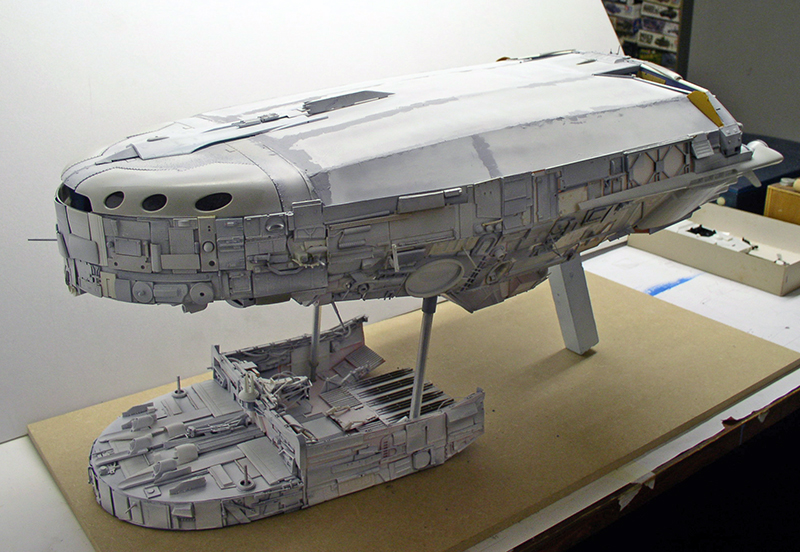
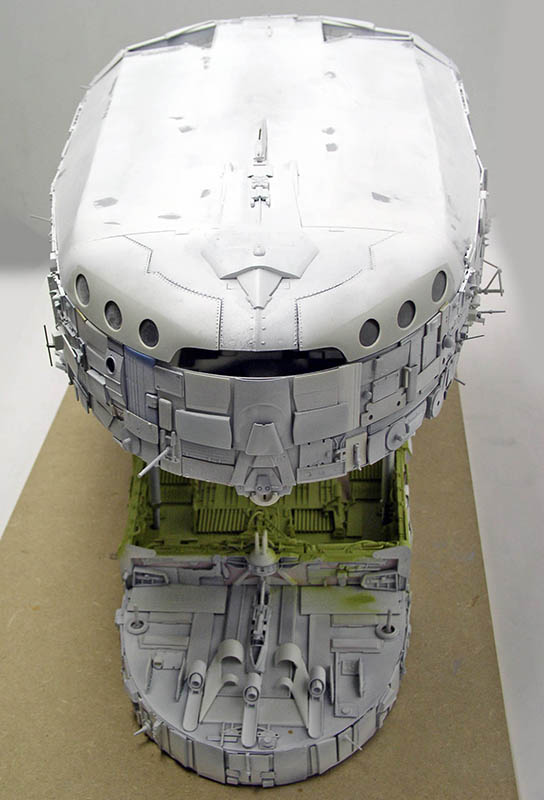
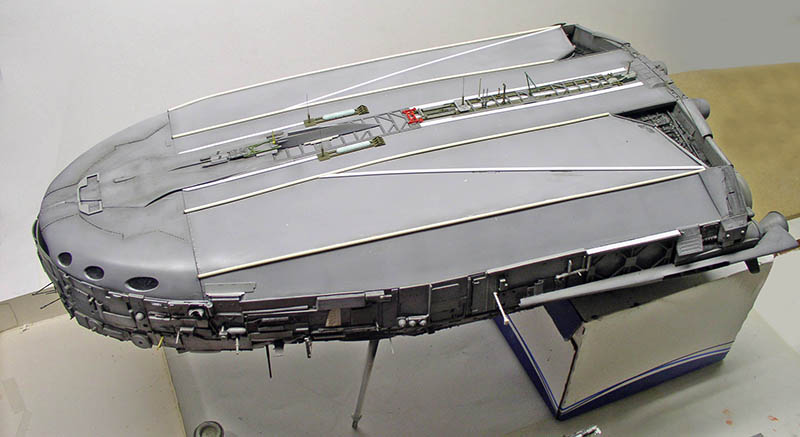
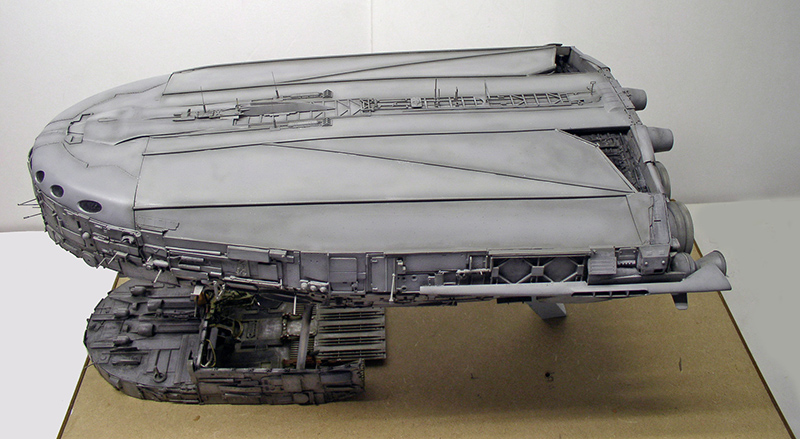
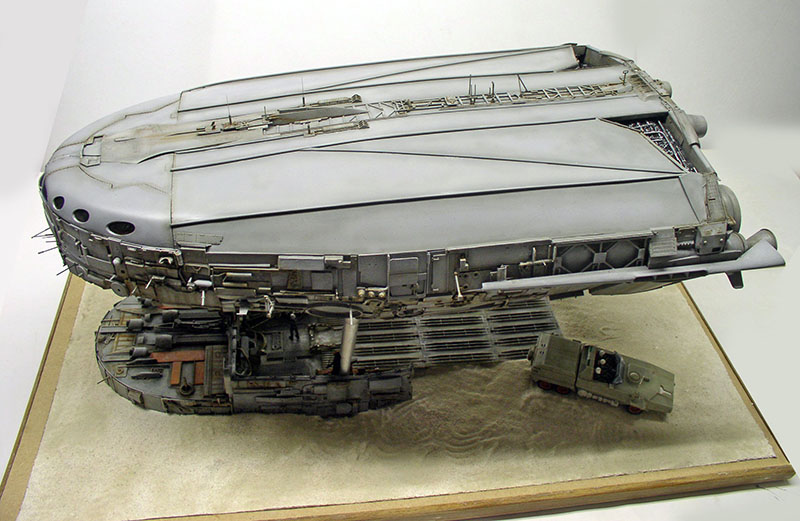
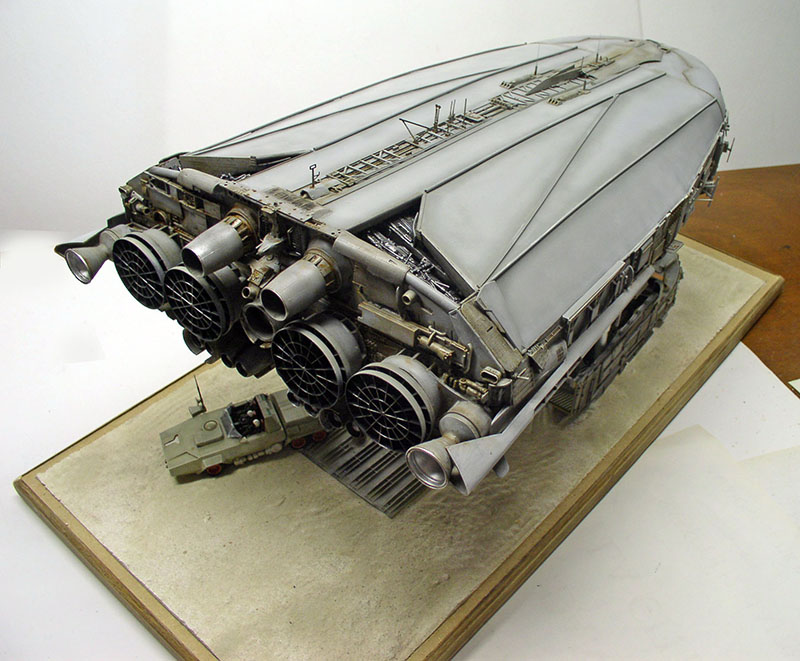
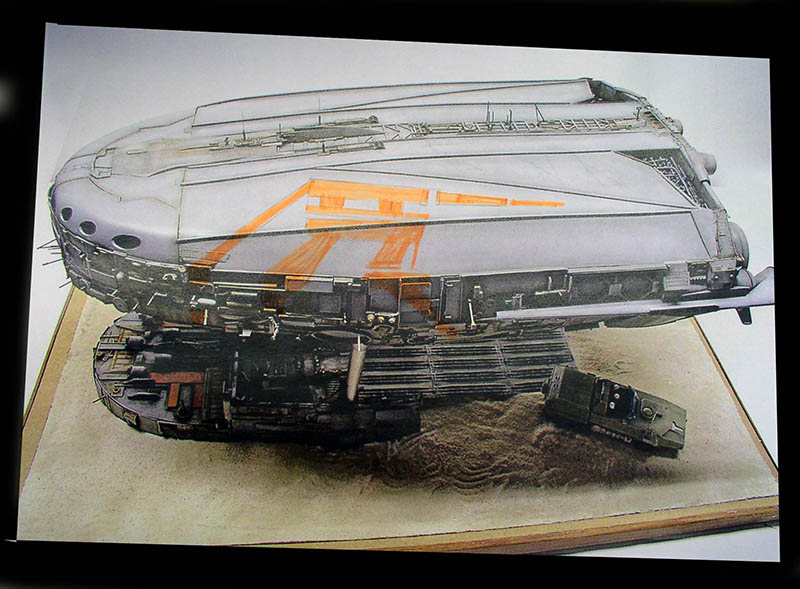
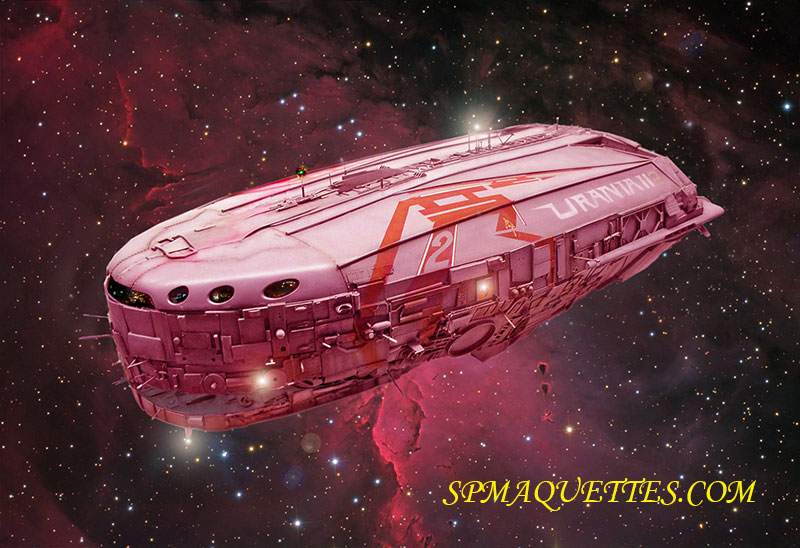
I know, but... In space, we can't hear you brake!Inspired by the paintings of sci-fi artists from the 1970s through the 1990s, notably Chris FOSS...
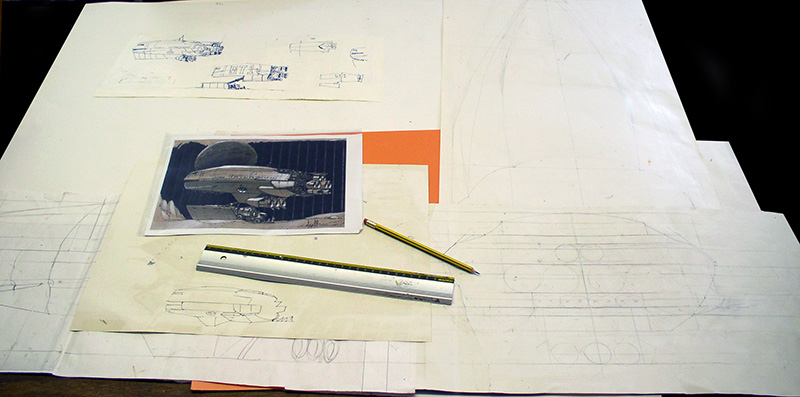
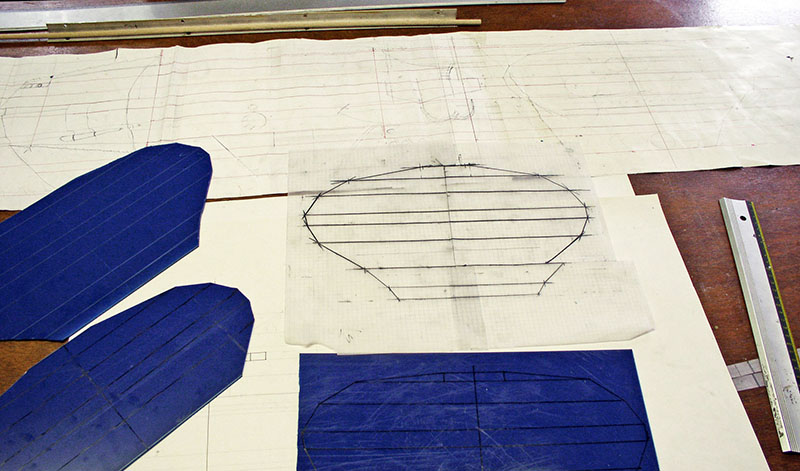
Build a spaceship that doesn't look like a hair dryer or... anything... The challenge was on. Images from 1970s illustrators and a few sketches helped us form an initial idea. First of all, we need blueprints. At least a cross-section and a rear view to determine the placement of the engines...
Three cutouts made from thick plastic card will serve as templates for the entire project...
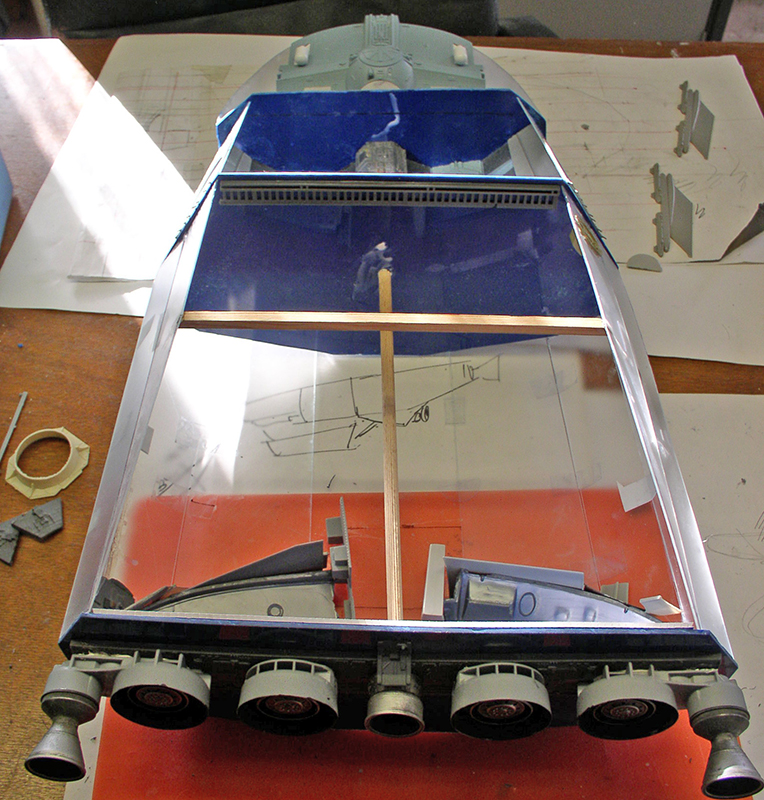
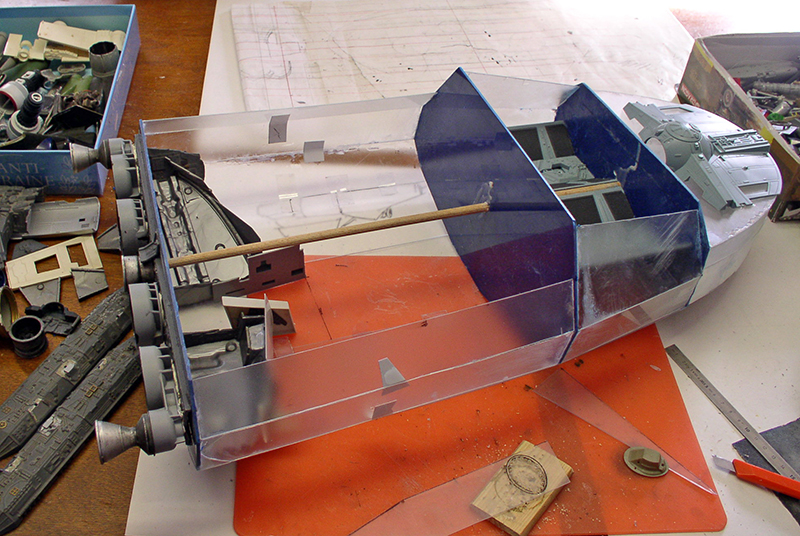
Wooden rods will serve as the "backbone" to hold the plastic walls in place.
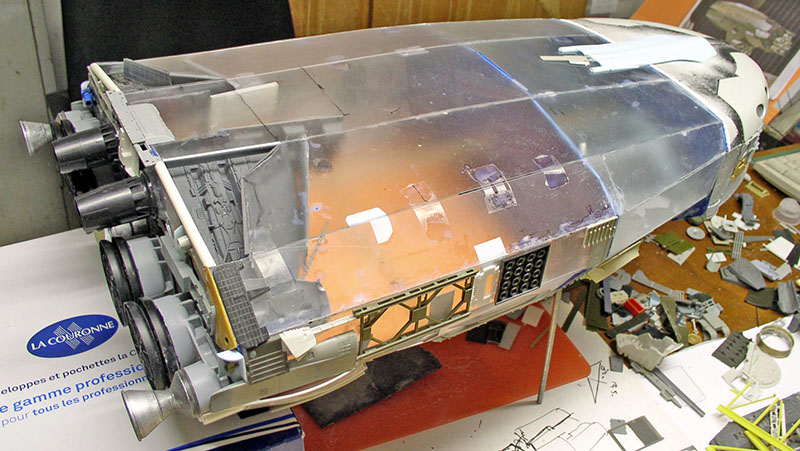
The first pieces are arranged and glued in place...
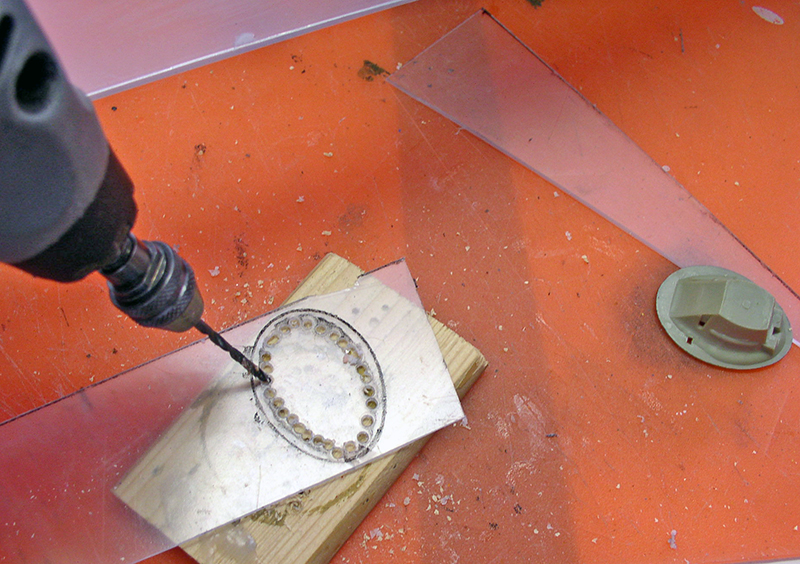
A space for an airlock has been cut out; the piece on the right will fit into it...
The shape of the "nose" and the cockpit has been finalized...
...As well as the general shapes...
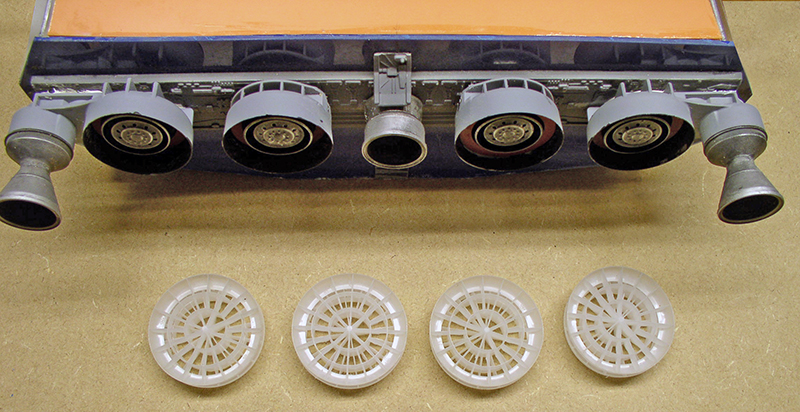
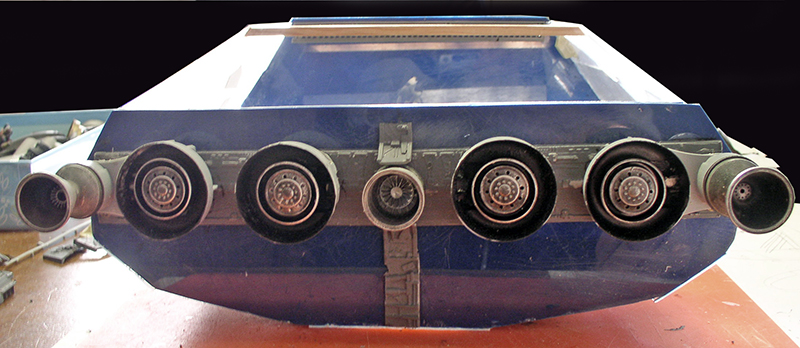
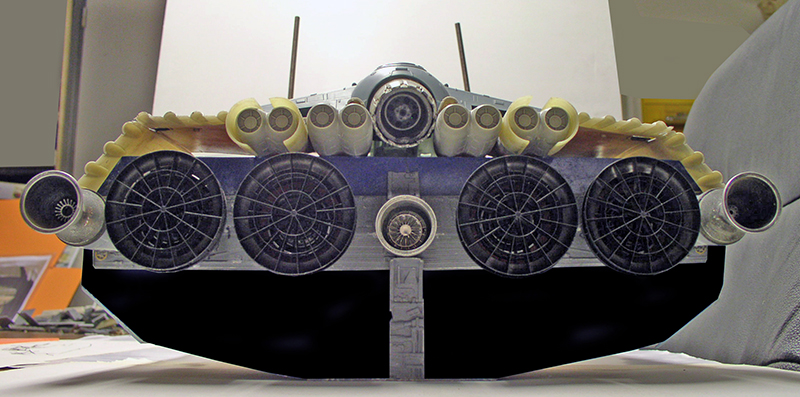
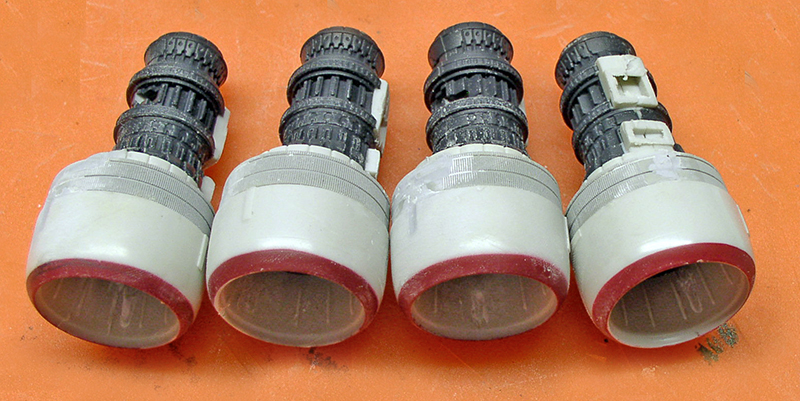
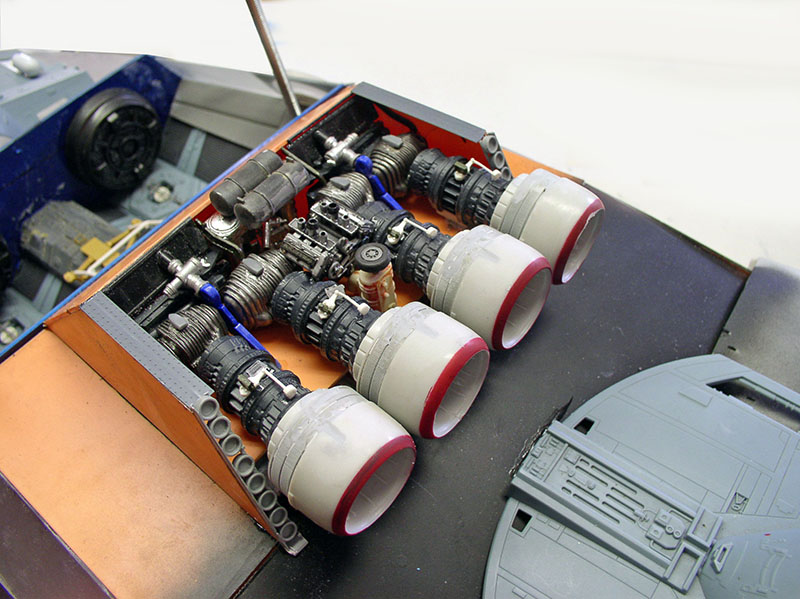
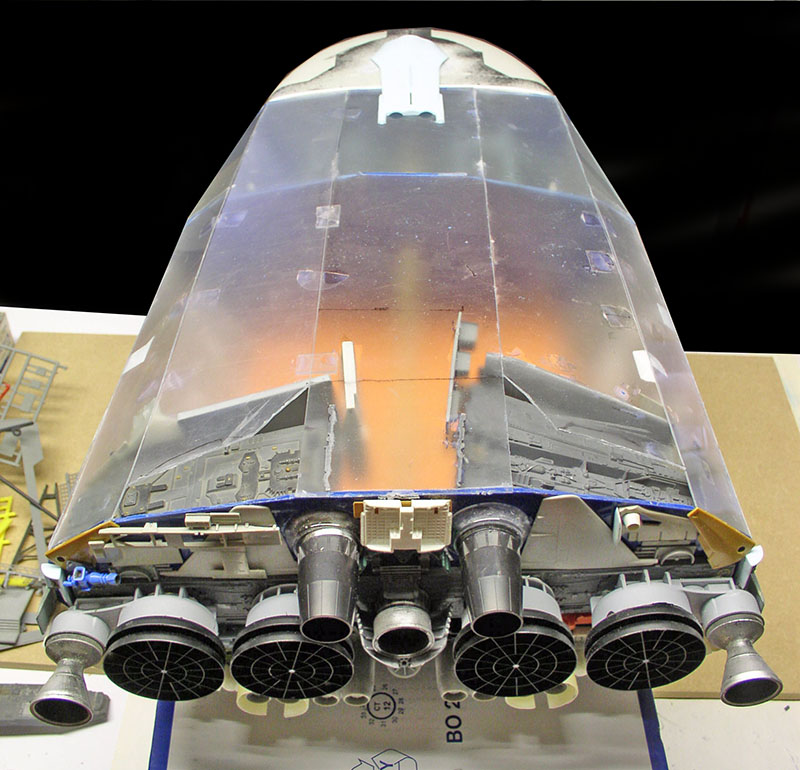
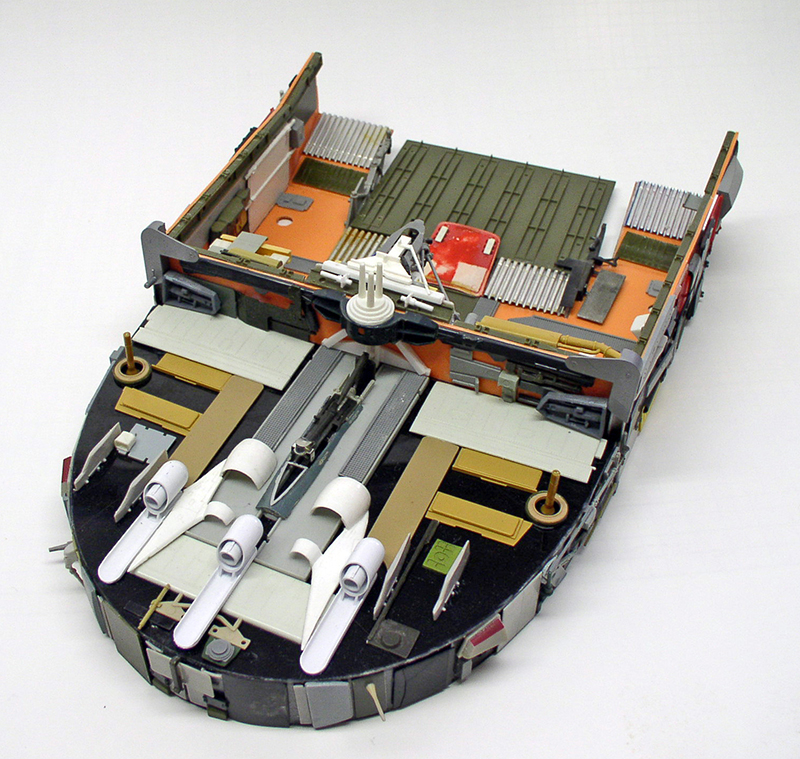
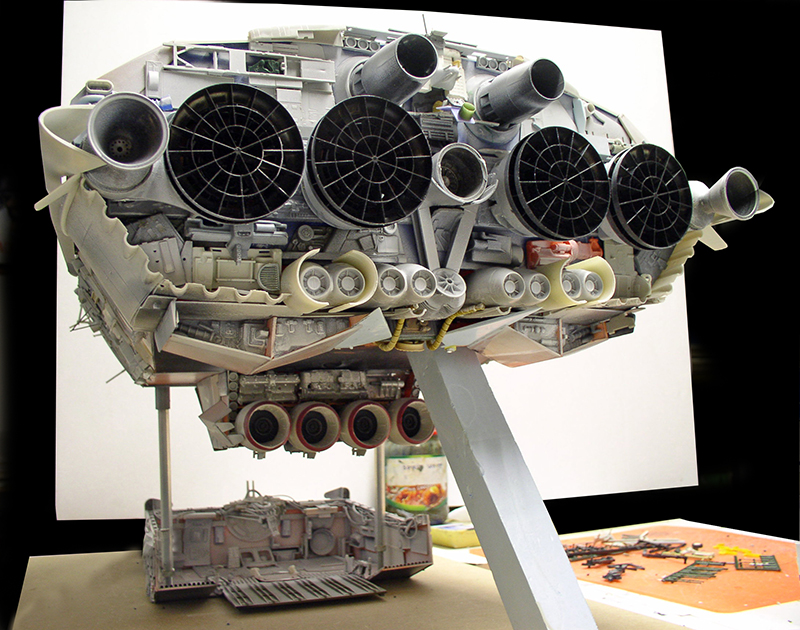
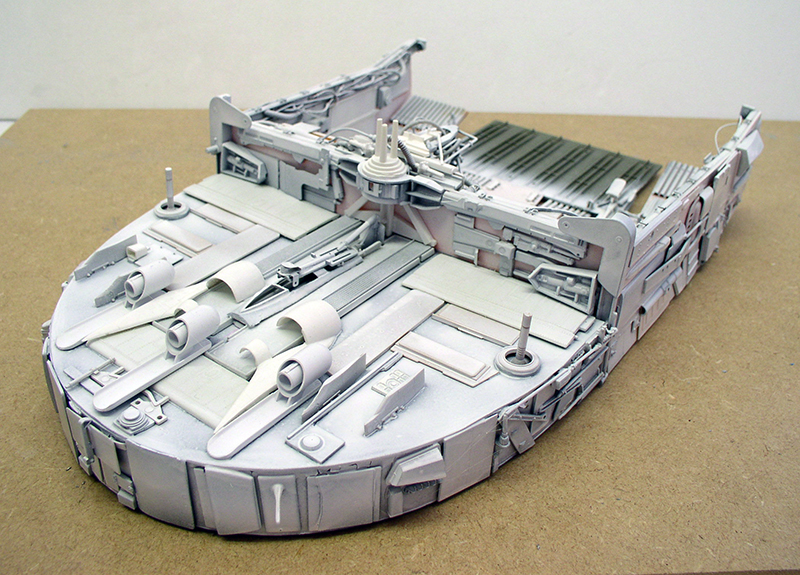
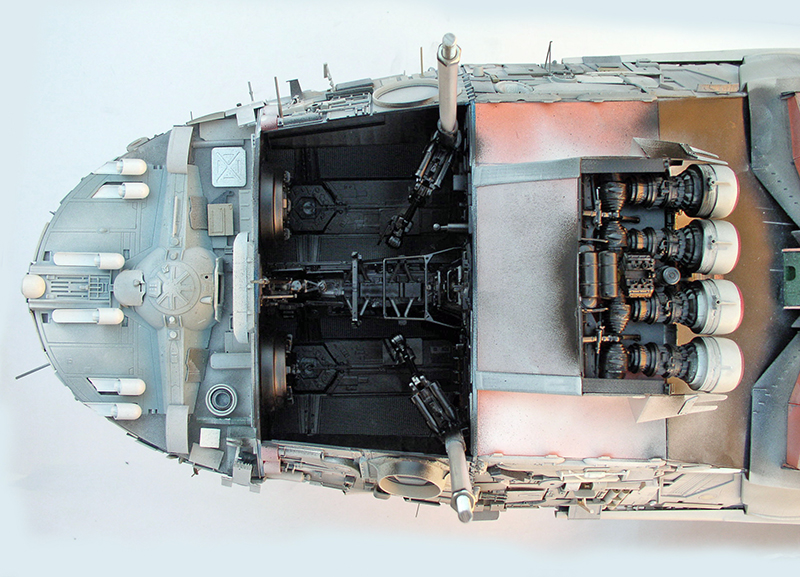
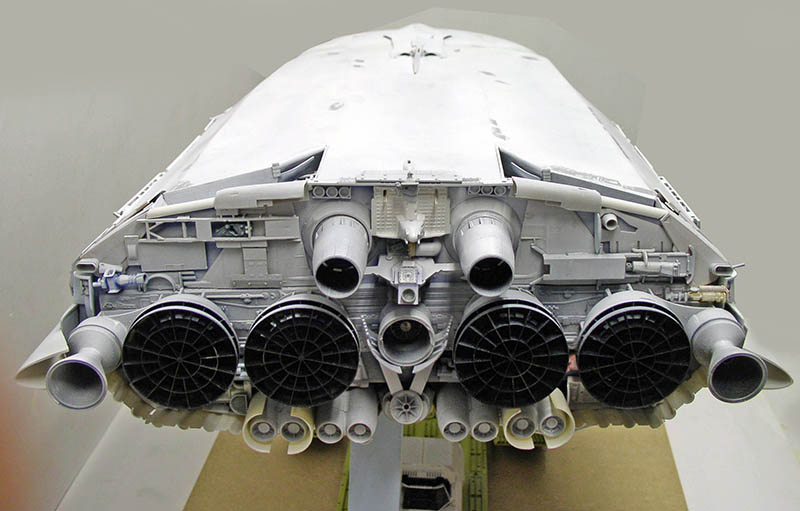
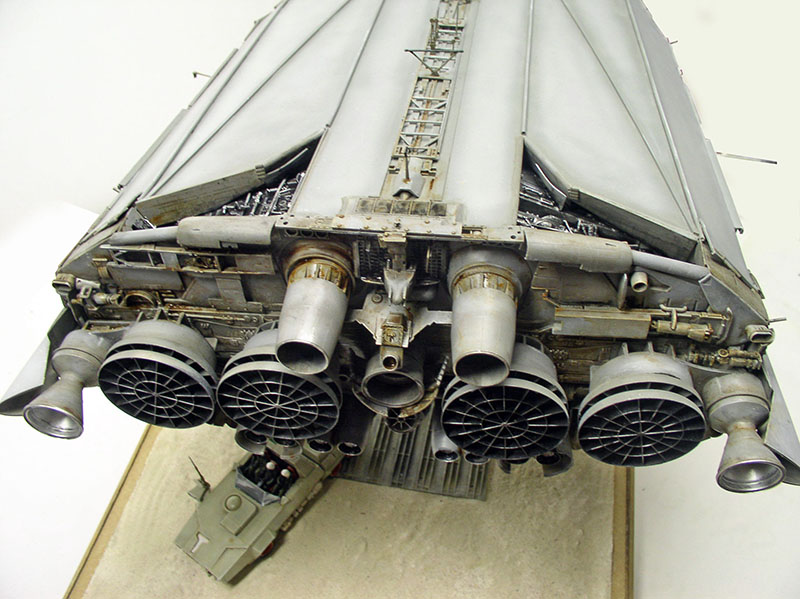
The main reactors are made from chemical anchors. The protective covers are cappuccino pods with the filters removed. The side nozzles are 1/6-scale Formula 1 wheel rims...
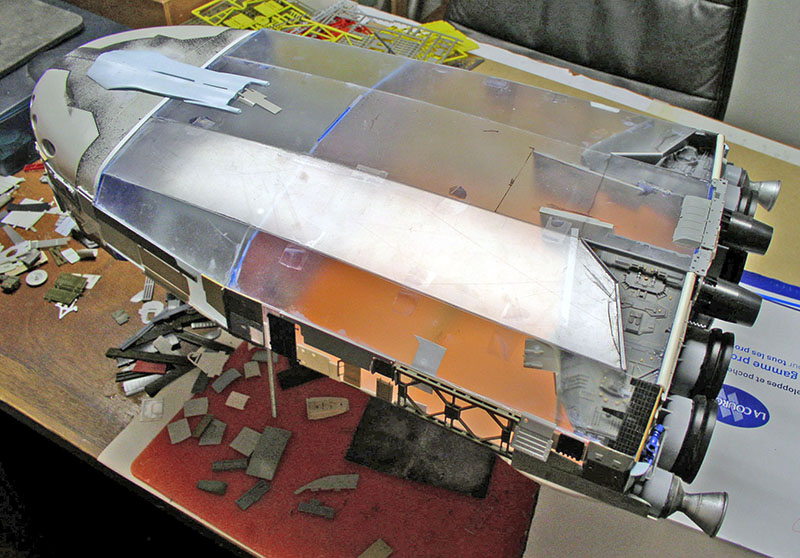
Another view...
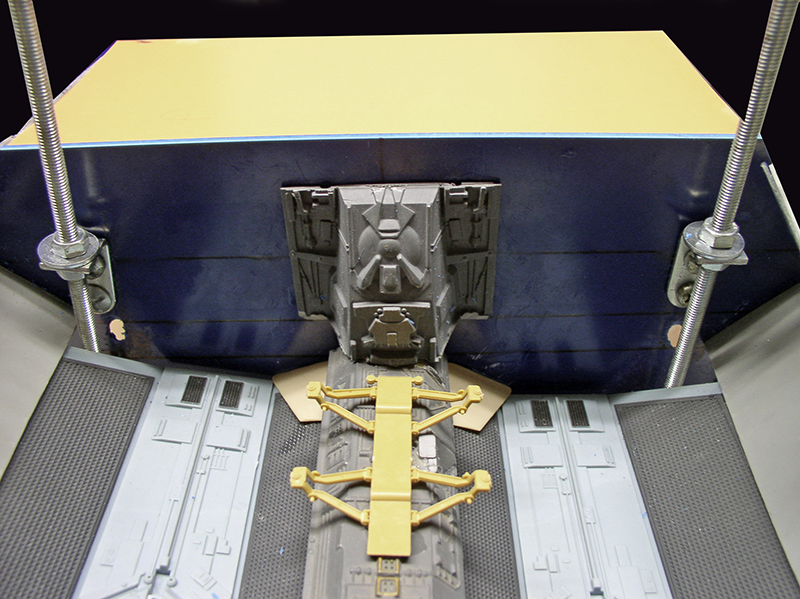
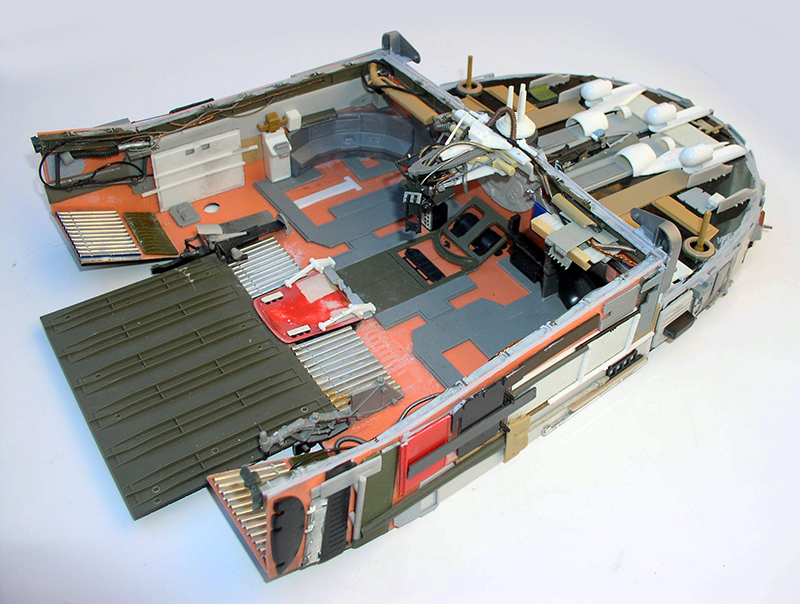
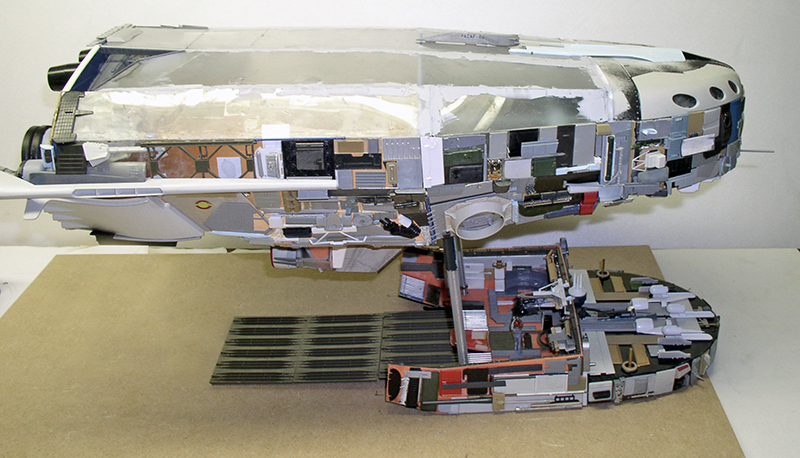
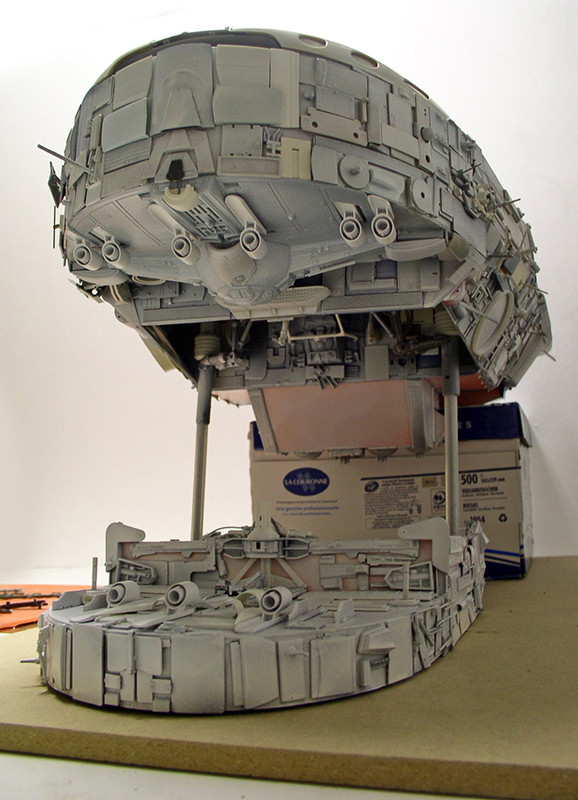
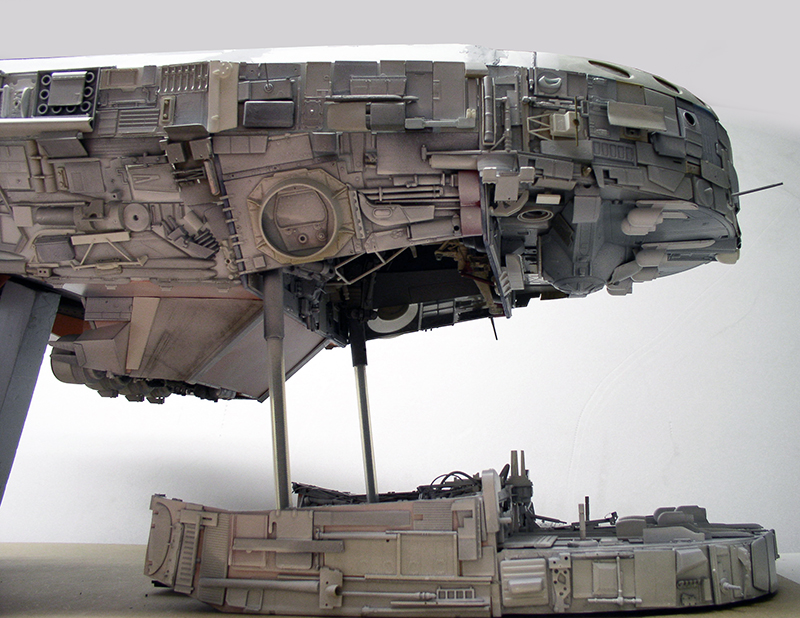
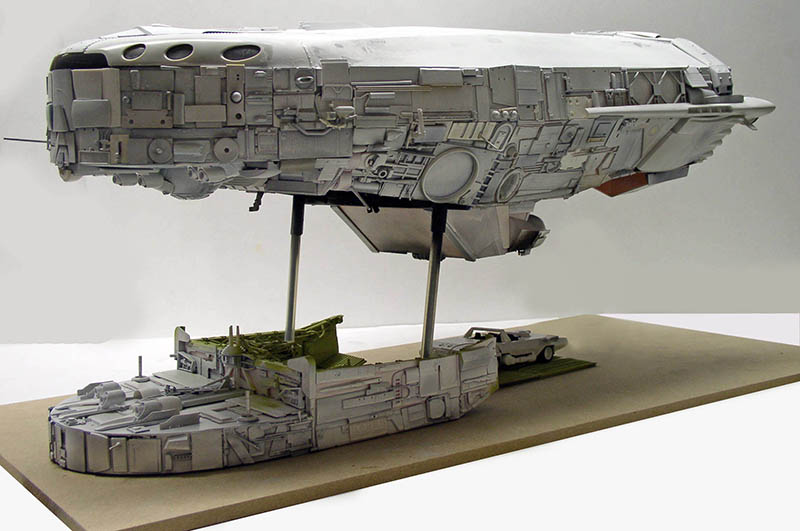
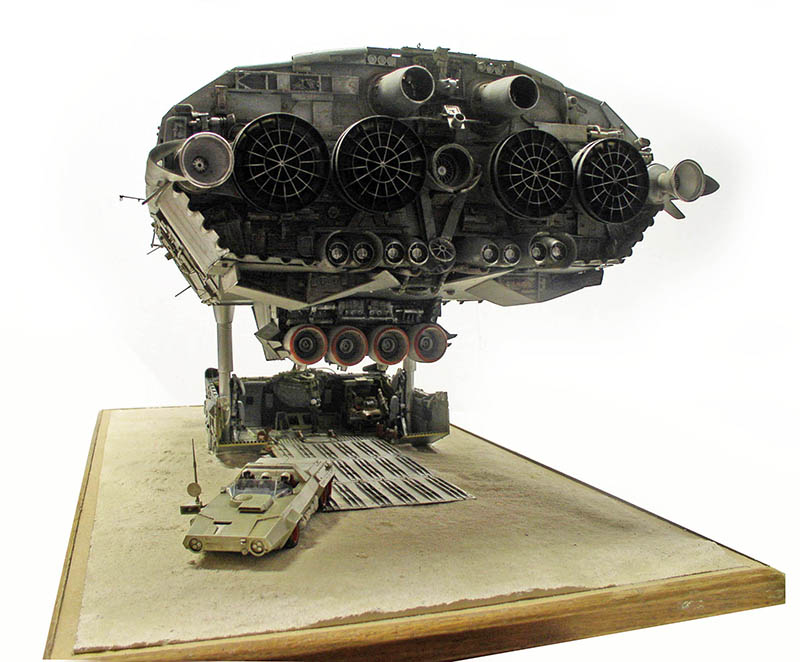
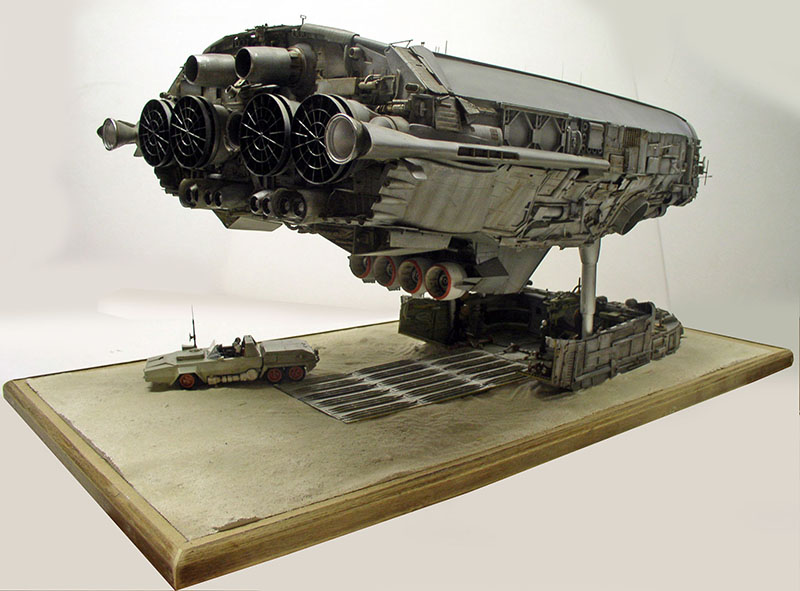
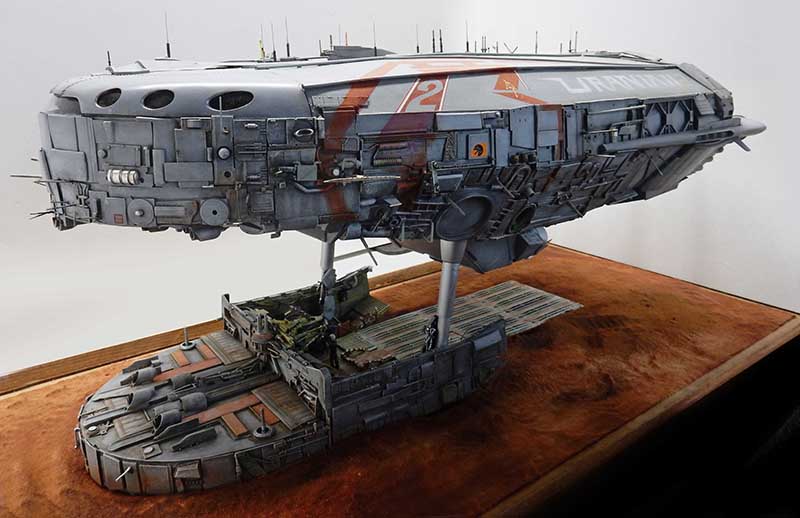
The vessel will be placed above the ground with its hatch open. Jacks will hold it aloft. Threaded rods secured to brackets with screws, washers, and nuts will form a solid base...
More views...
Addition of additional engines (B-52 parts)...
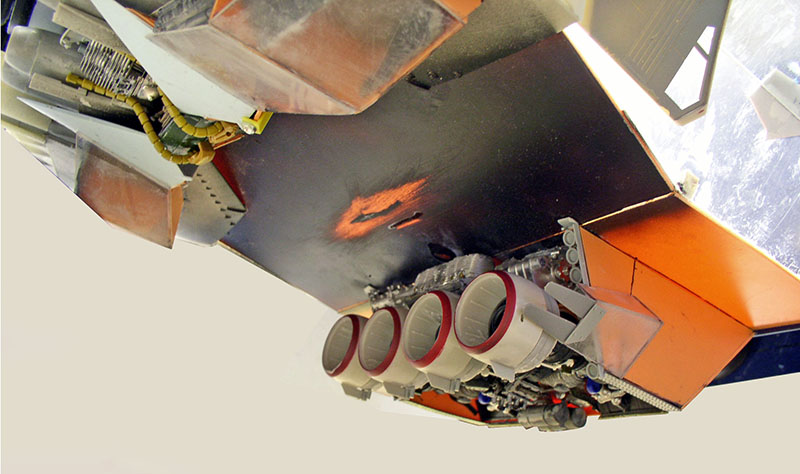
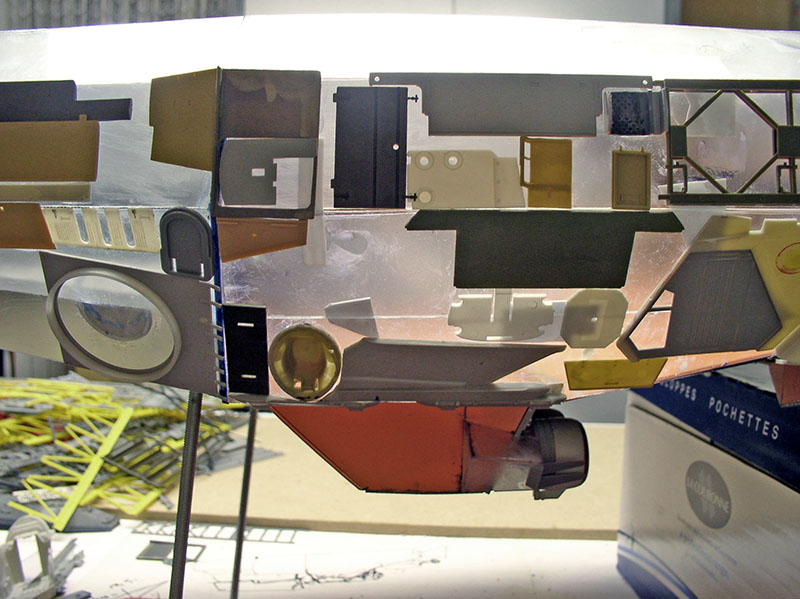
A view from below. Manufacturing the thrust reactor housing...
These are borrowed from Star Wars...
Setup. Large-scale motorcycle parts will complete the display...
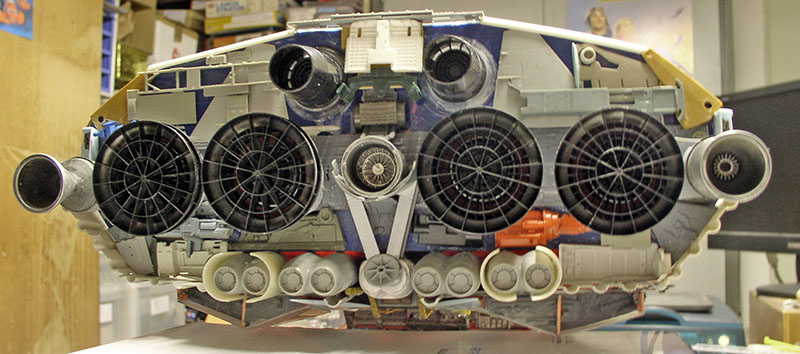
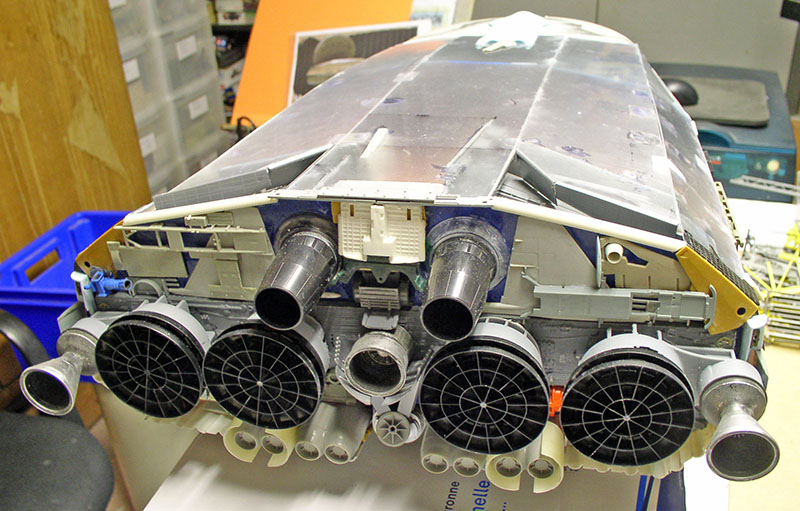
We're continuing to add details to the rear facade...
The thrust reactors in position...
Design
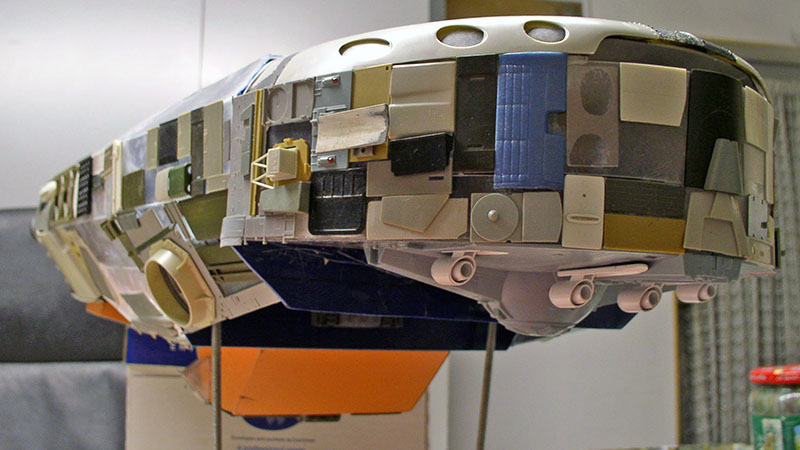
Two views of the rear facade, which is taking shape...
Let's continue detailing the aircraft around the perimeter...
That's the concept behind the models from the first Star Wars movies.
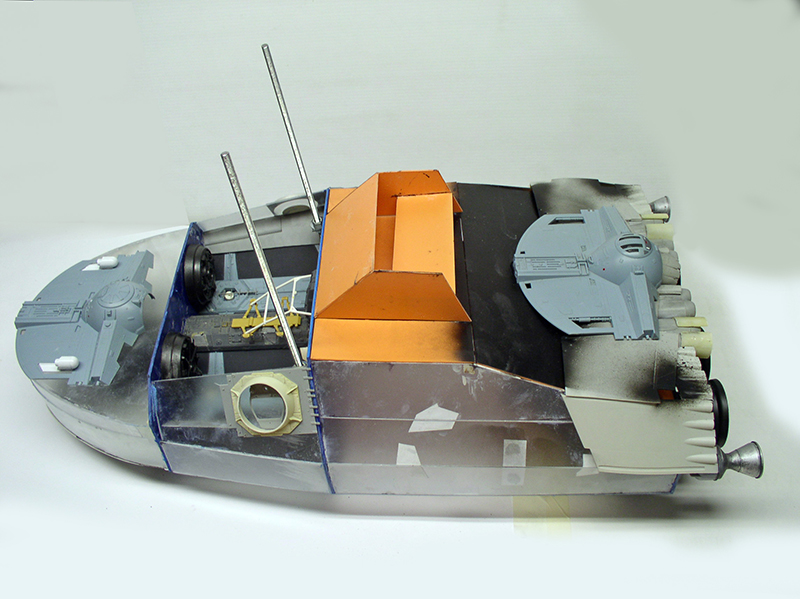
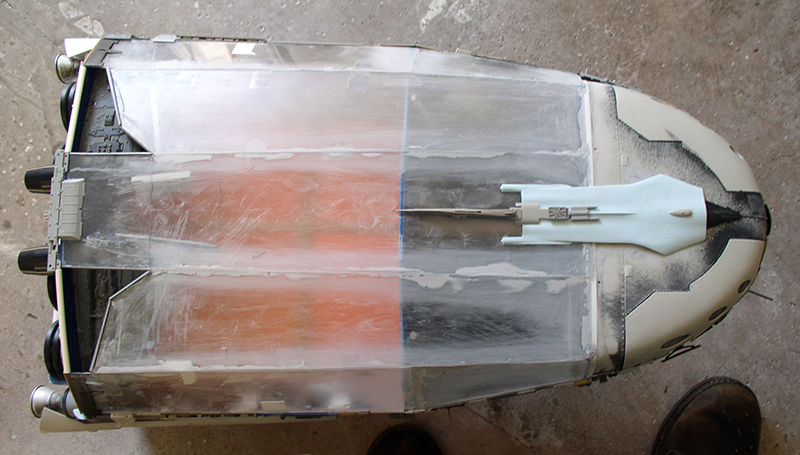
The main body is made from wood and plastic, and then detailed using dozens of parts from various model kits...
A view of all the glued-together pieces...
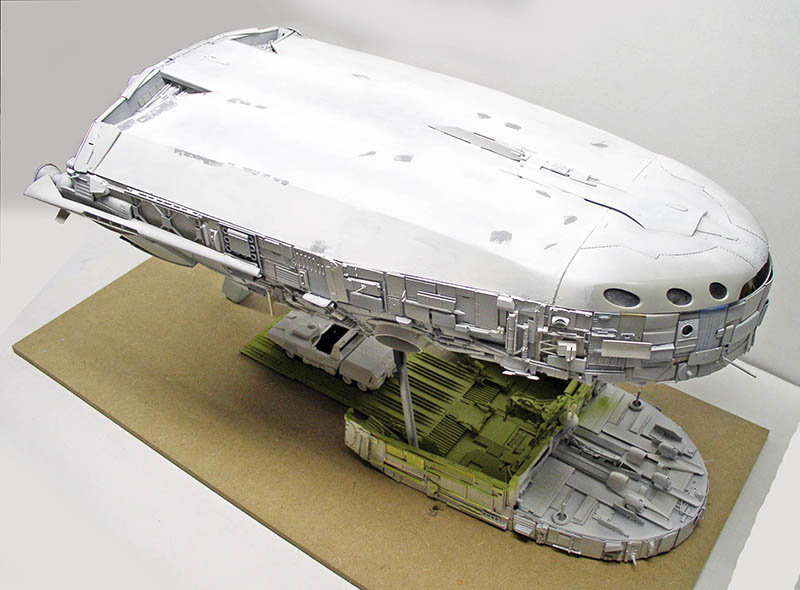
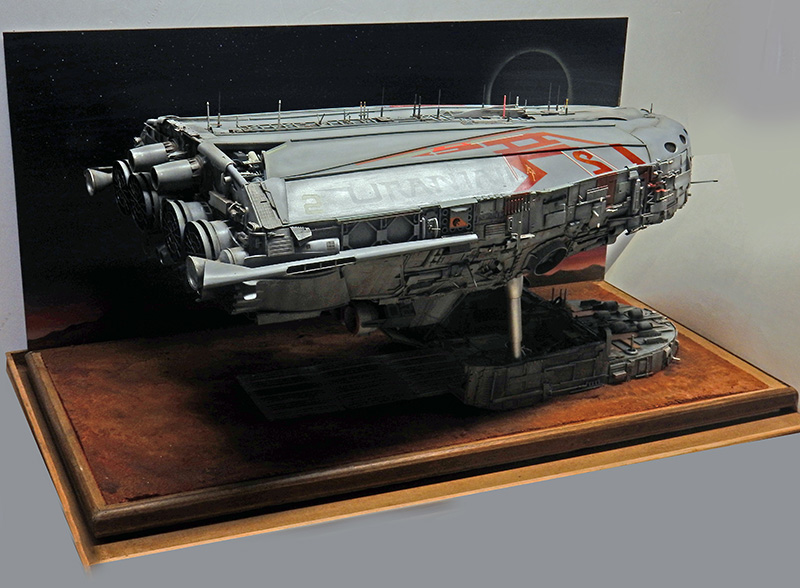
The main assembly is complete... Note that the craft is 70 cm long...
More views...
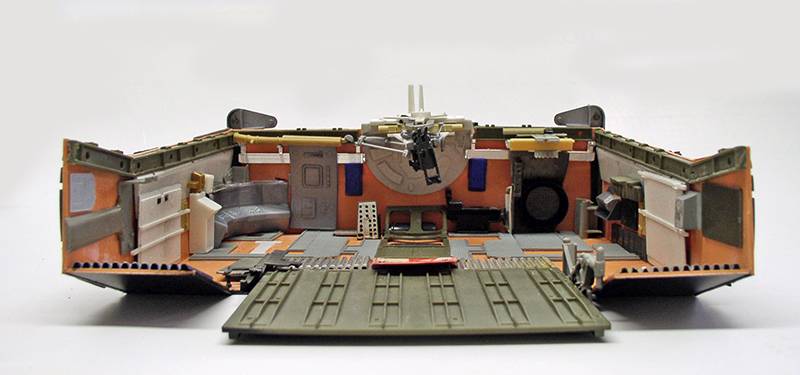
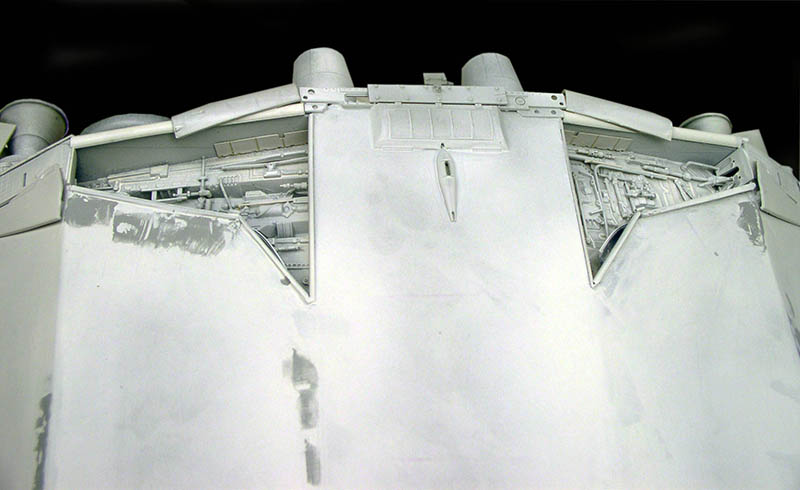
The removable wedge
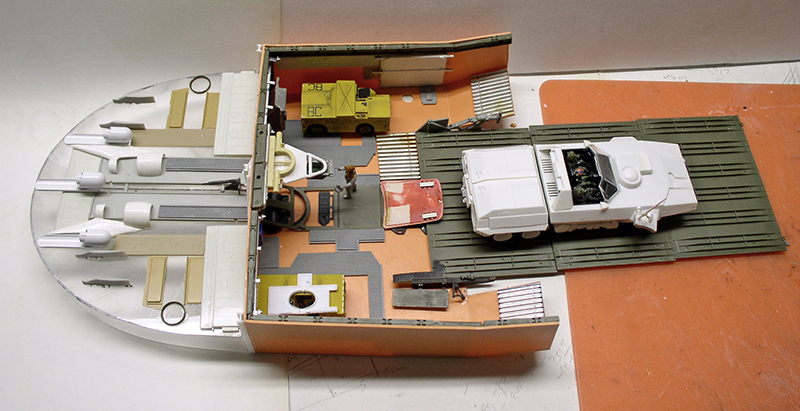
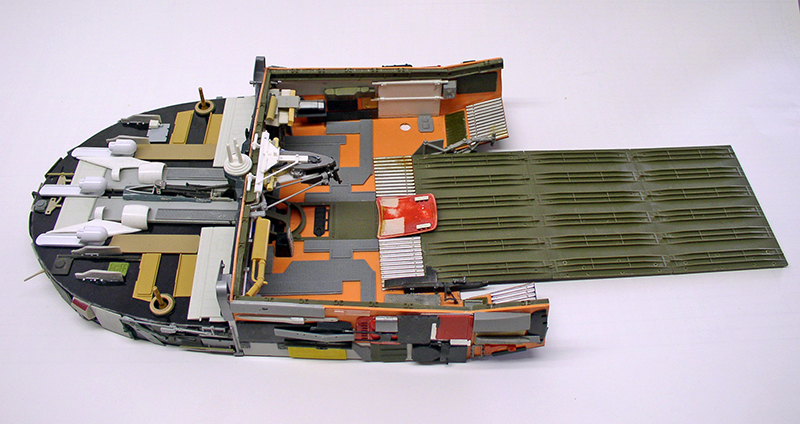
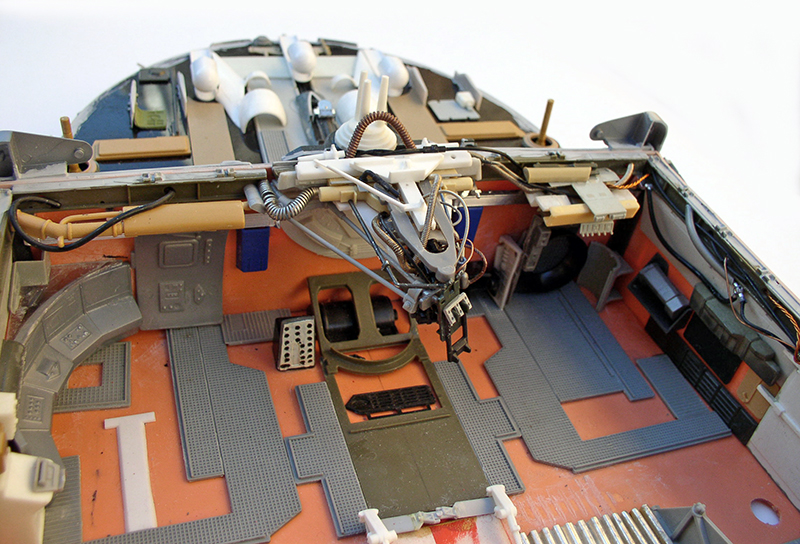
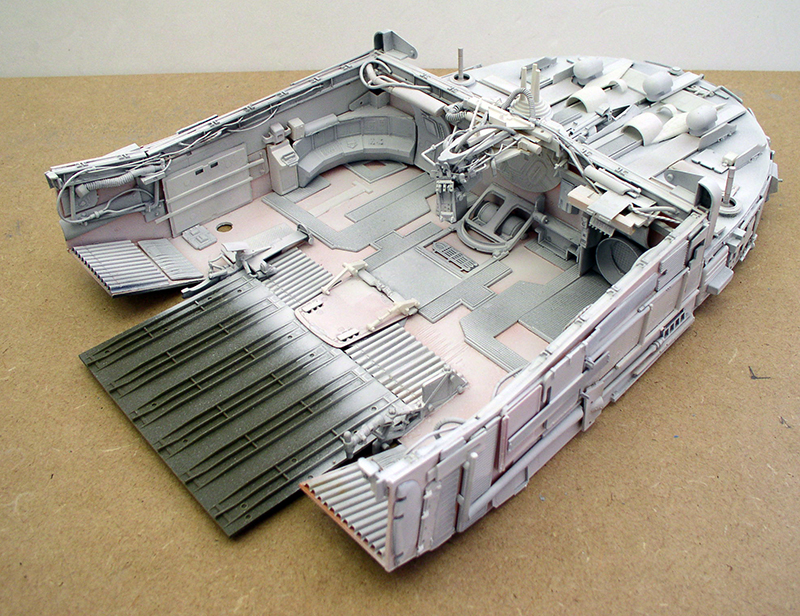
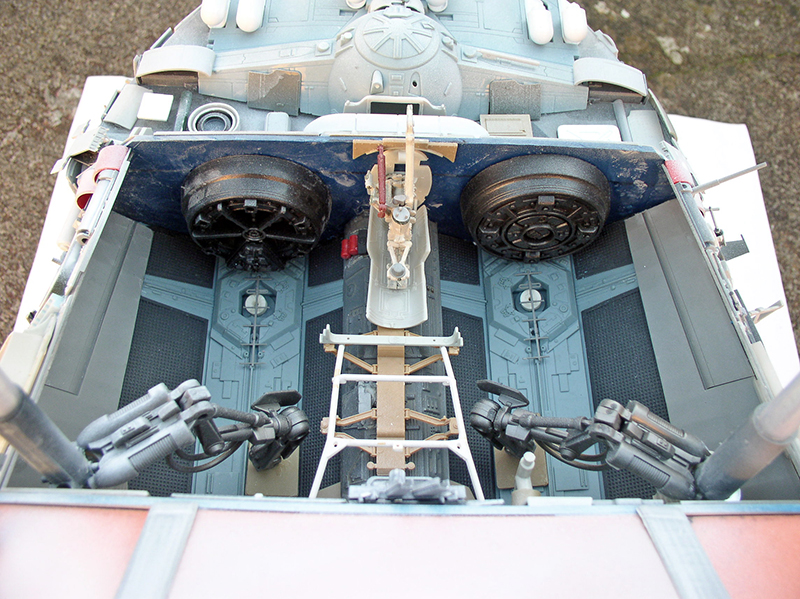
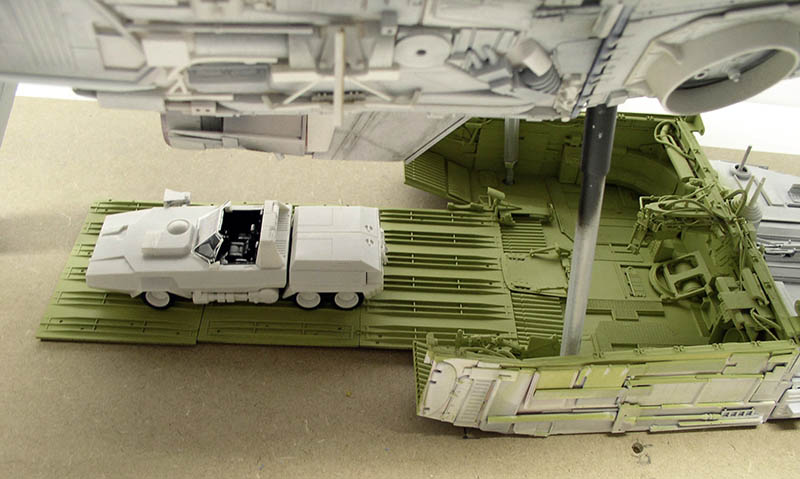
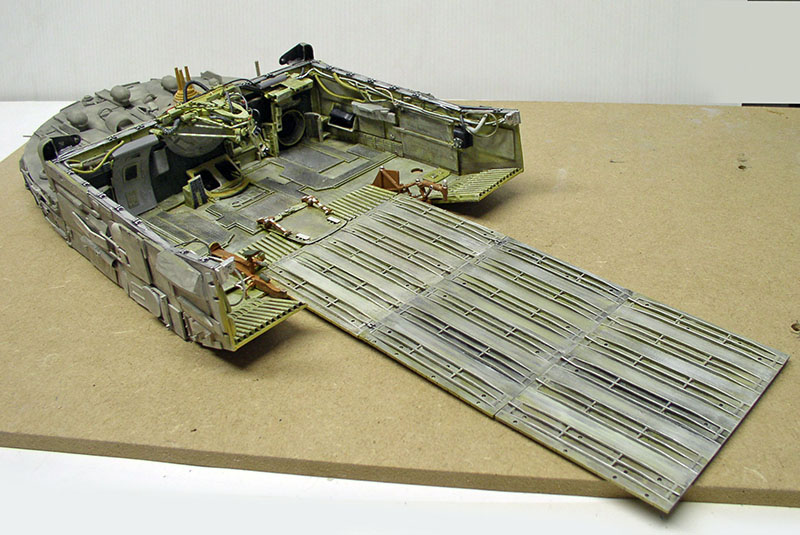
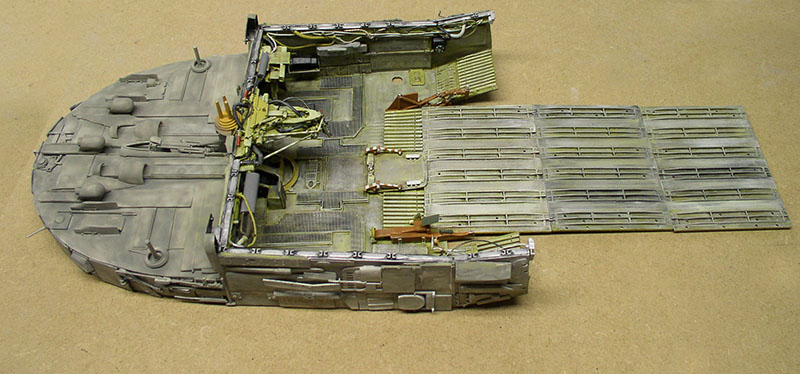
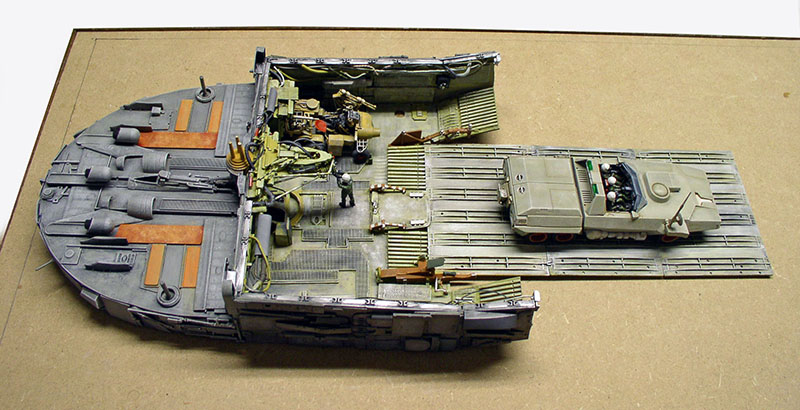
The spacecraft's removable ramp lowers equipment to the ground using its retractable jacks. It is made of plastic...
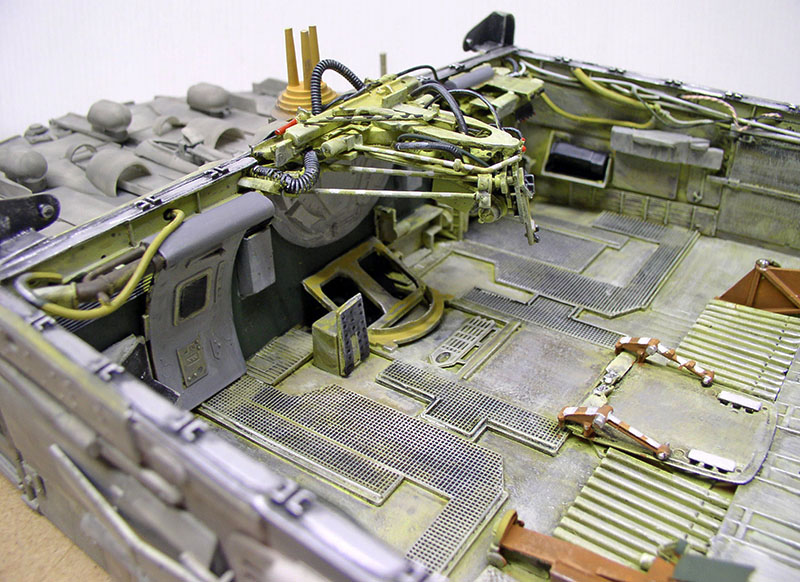
It is also illustrated with various parts...
We're adding wiring around the perimeter...
Details...
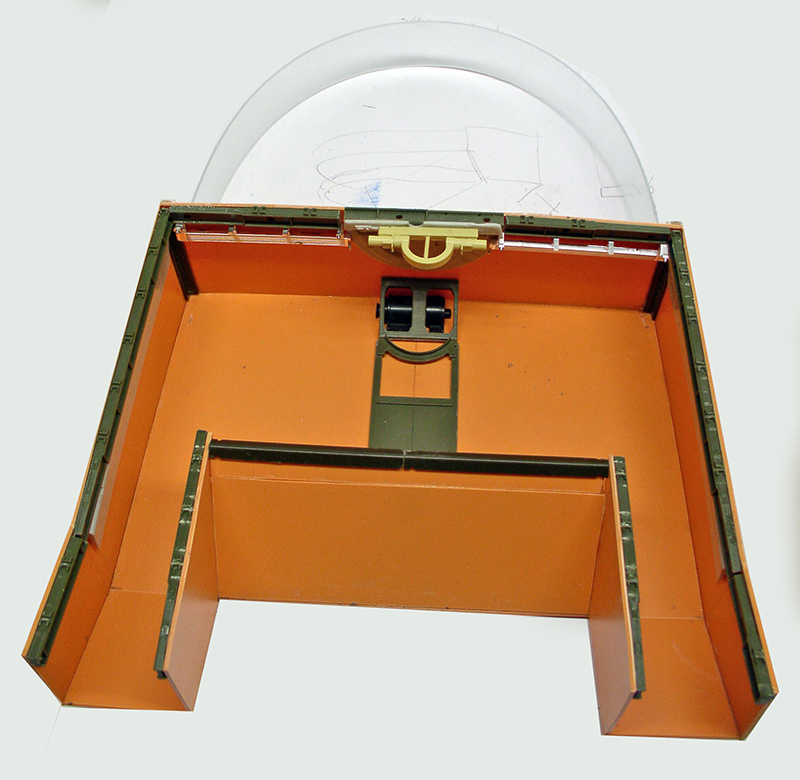
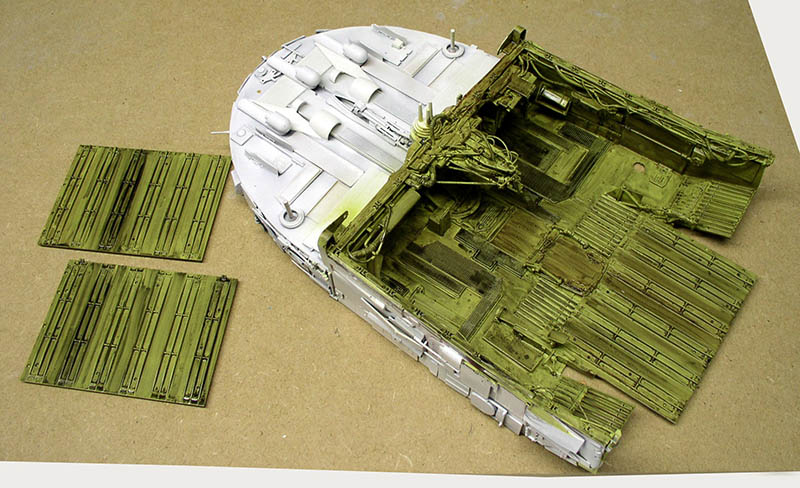
A view of the hold laid out on the ground...
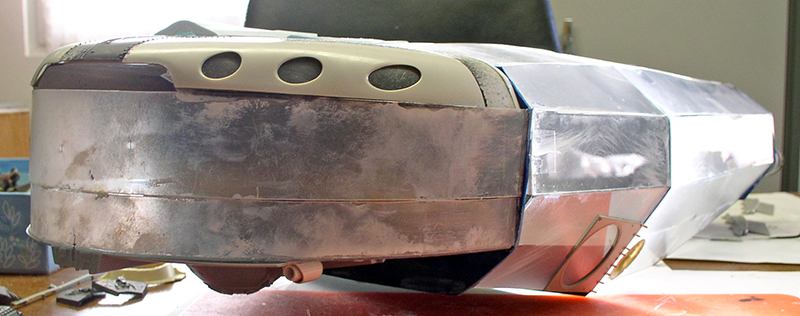
The smooth surfaces and edges are sanded...
Paint Primer
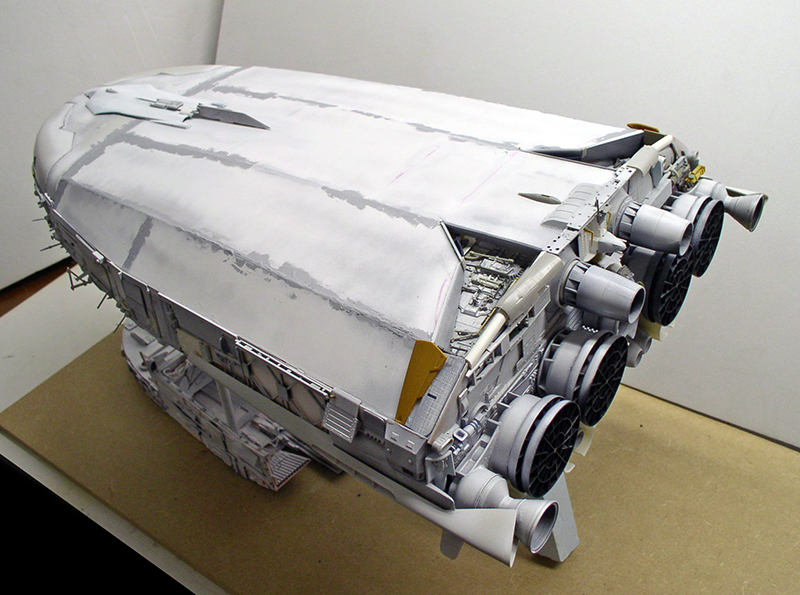
Initial primer coats and successive sanding sessions...
View from below...
Rear view...
More sanding of the hull...
The keel has been primed...
Adding parts to the top of the cylinders...
...and a close-up of the wedge...
Paint the inside of the hold with matte black spray paint...
Accessories
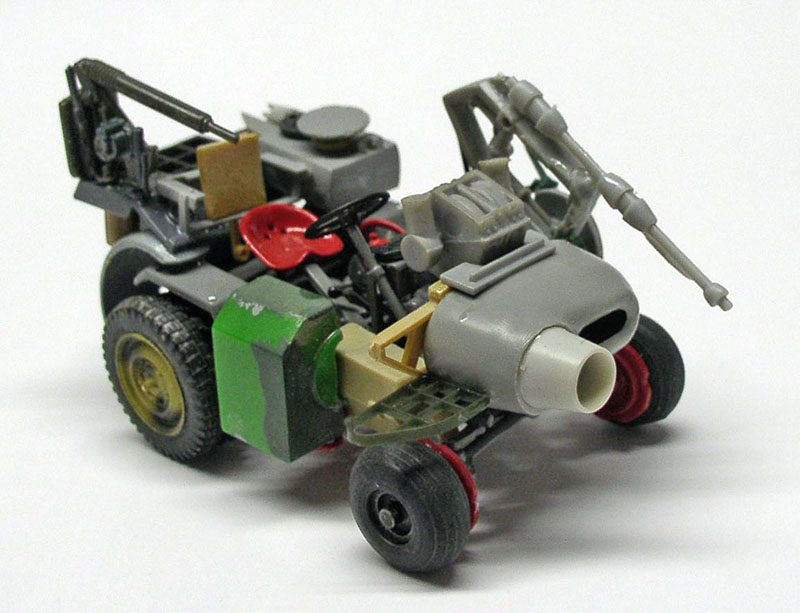
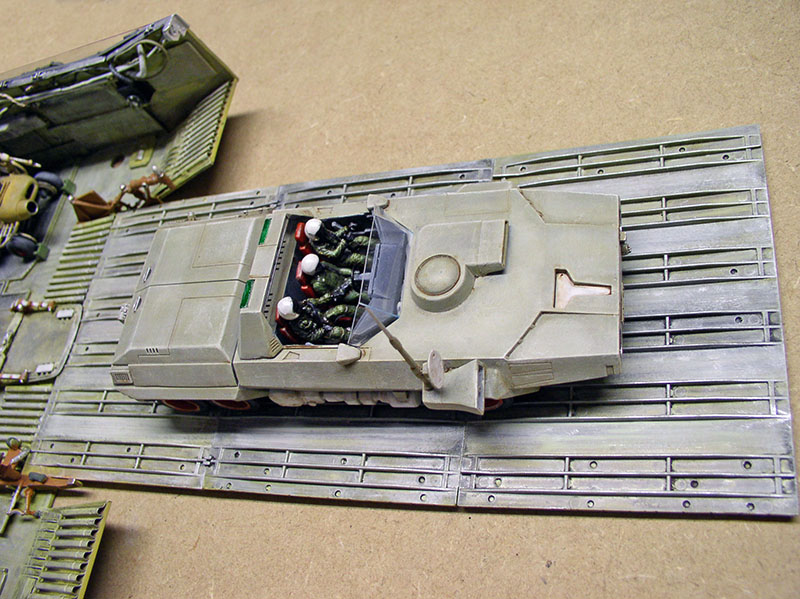
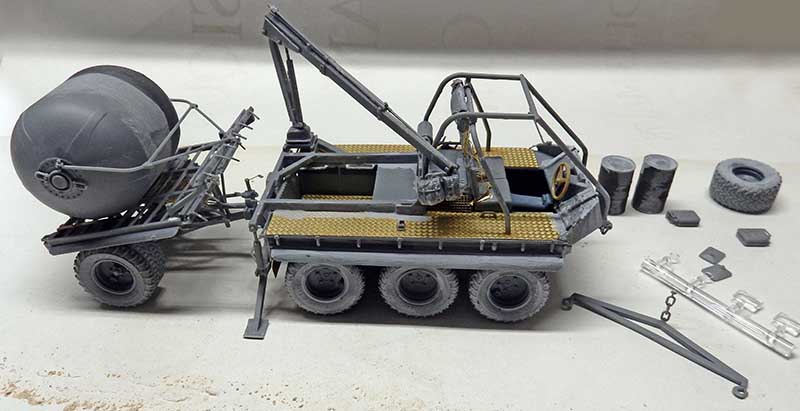
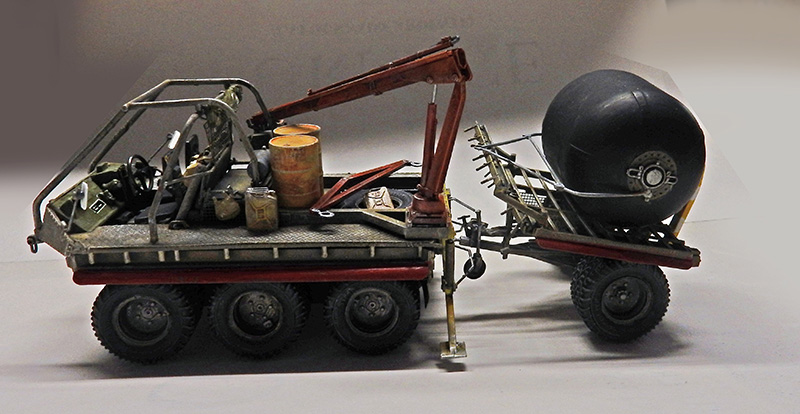
A farm tractor converted into a research vehicle, stored in the lower hold below ground level...
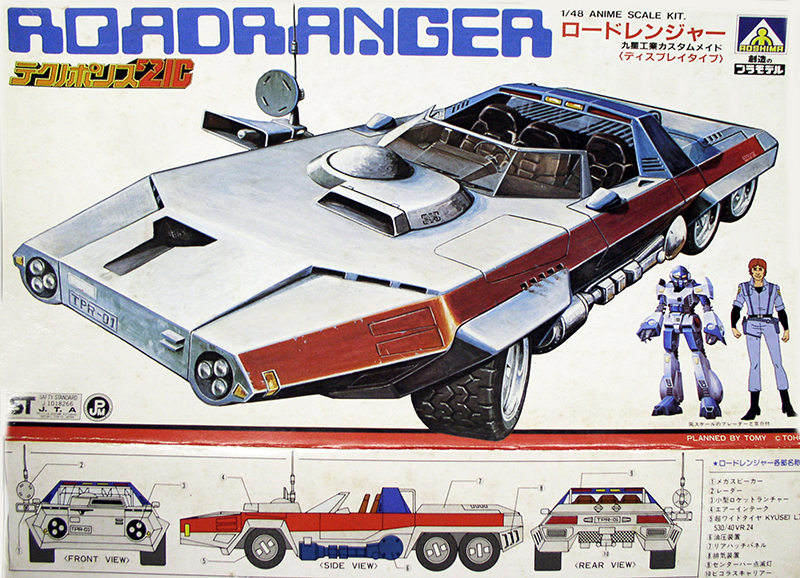
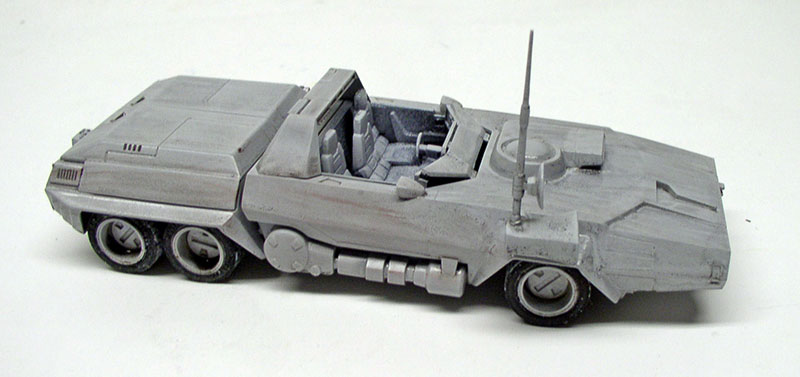
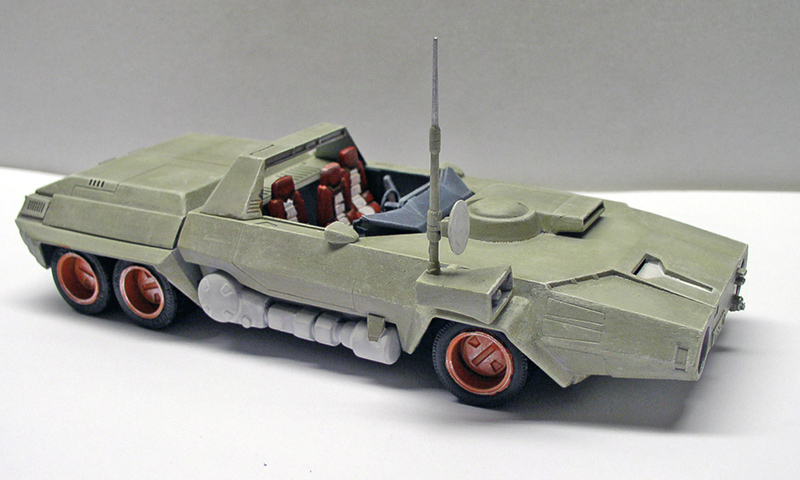
A 1/48-scale Roadranger from Aoshima will serve as the exploration vehicle...
It is painted with Humbrol 147 oil paint...
Dry brush using beige 168 and white 34...
A finish made from Terre d'Ombre has been applied. Jet pilots will serve as the crew...
Finishes
Re-sanding the hull and filling the gaps...
Front view...
...and back...
Finishing and detailing the top of the hull...
Painting
Hobby Color acrylic primers: gray FS 36 231 & FS 36 375. Dry brush with Humbrol gray 127–147 + white 34...
The lower part of the keel is sprayed with a coat of green paint...
Juices made with Humbrol matte black and chocolate 98...
Then dry brush in lighter shades...
...and painting the various elements...
Details...
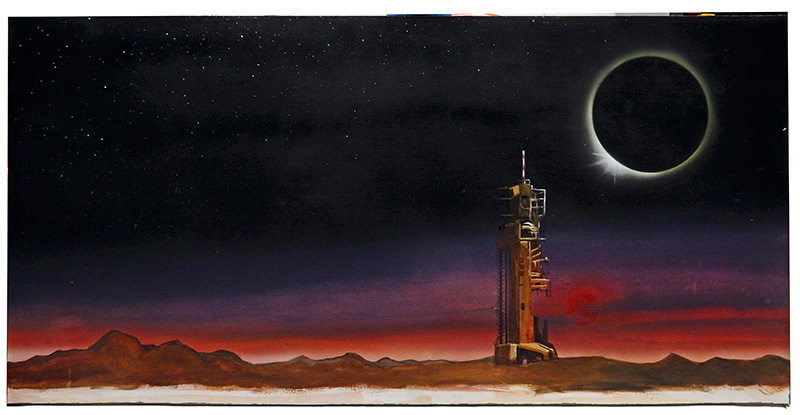
The Setting
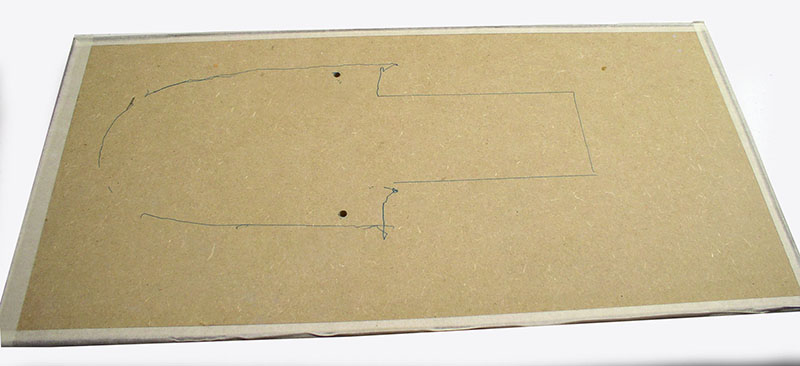
The base is a wooden panel measuring 82 cm by 41 cm. Holes have been drilled for the threaded support rods...
The wedge serves as a guide for marking...
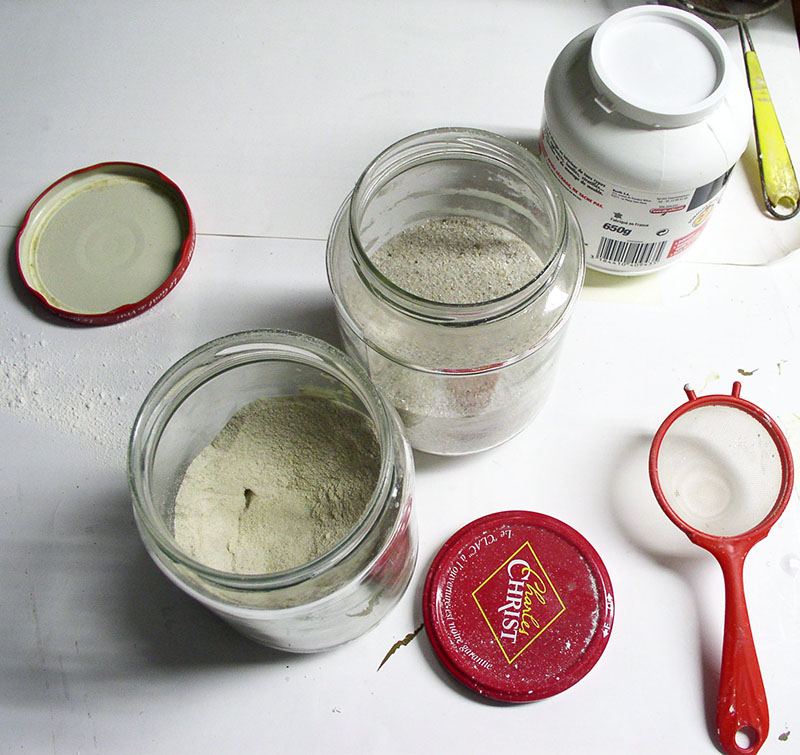
We're preparing powders and sand of various textures for the set, which will be a sandy floor...
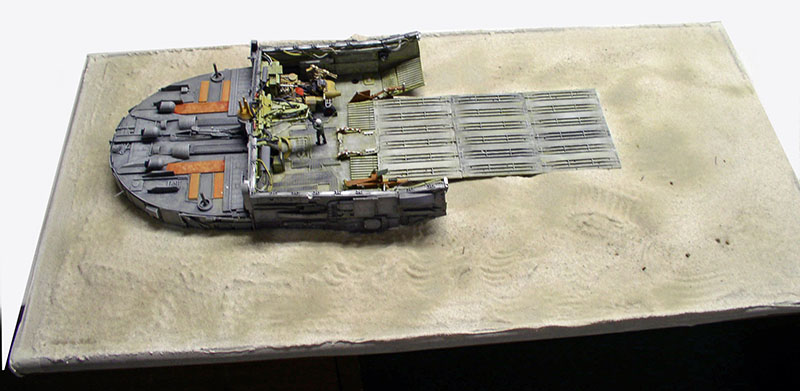
Next, prepare a fairly runny plaster mixture, add wood glue, and after spreading it out, sprinkle the mixture with the sieve and the various textures. Then spray the entire surface with very runny white glue...
A view of the finished floor...
The ship, in turn, is painted with a mixture of umber and sienna, applied with a fine brush to the recesses and details...
Logos
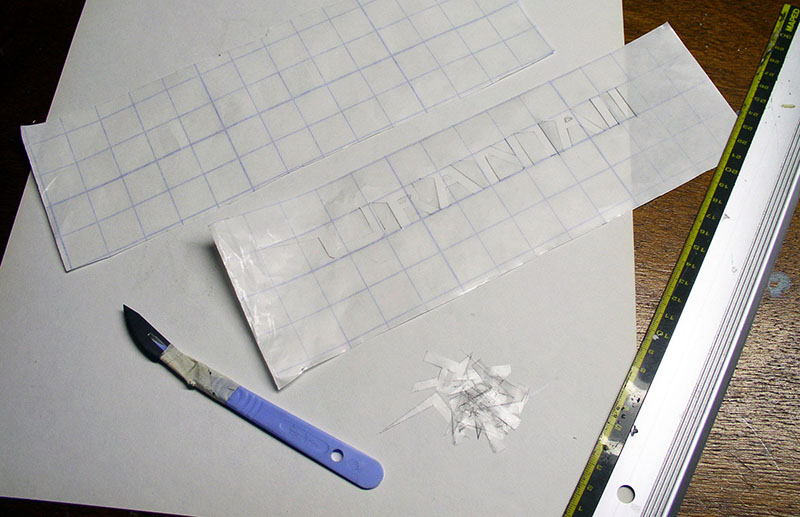
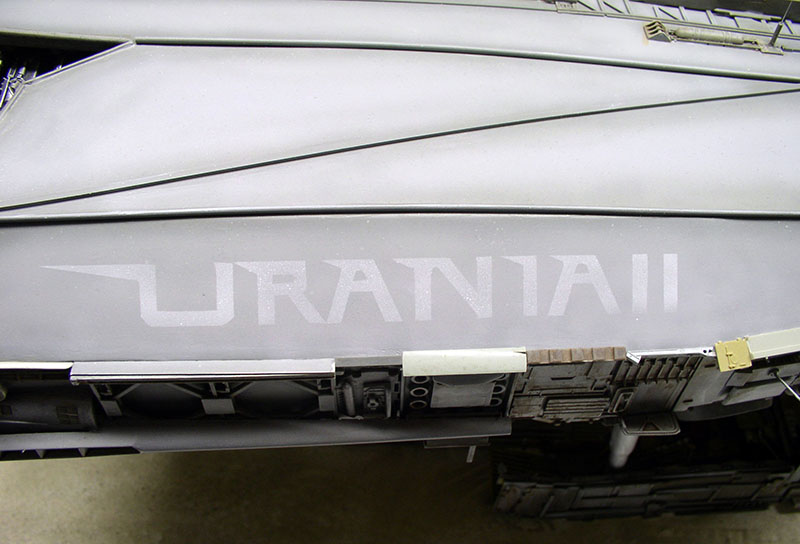
After trying out various designs, a logo was chosen for the top of the hull...
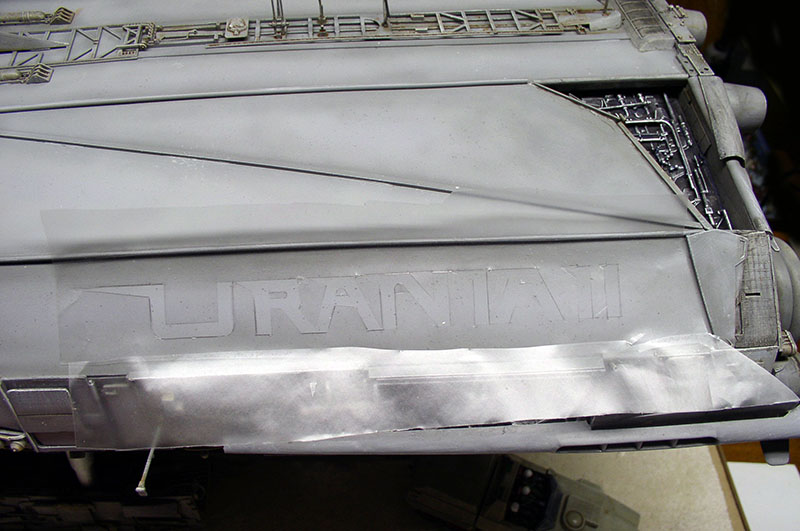
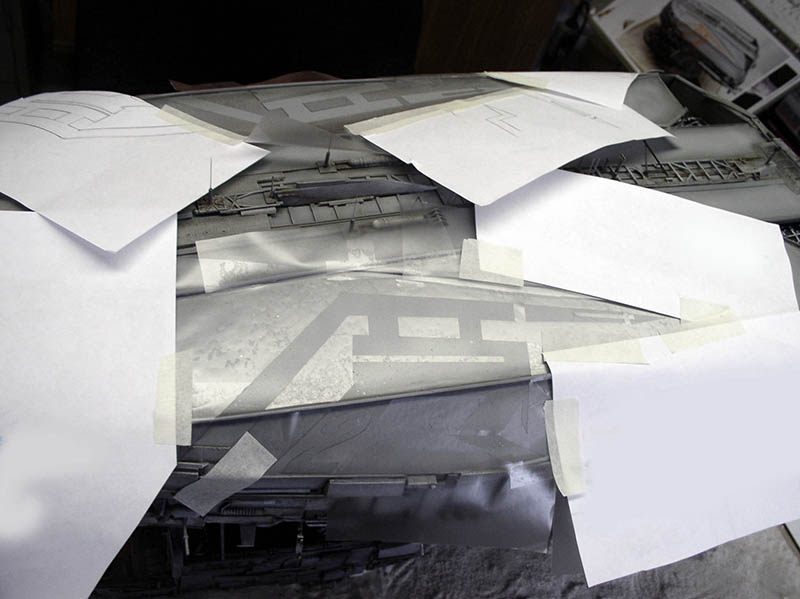
We use airbrush masking film to create the stencils...
This very thin film adheres easily without peeling off the paint...
The result: a light white that won't be too "blinding"...
Same process for the second logo...
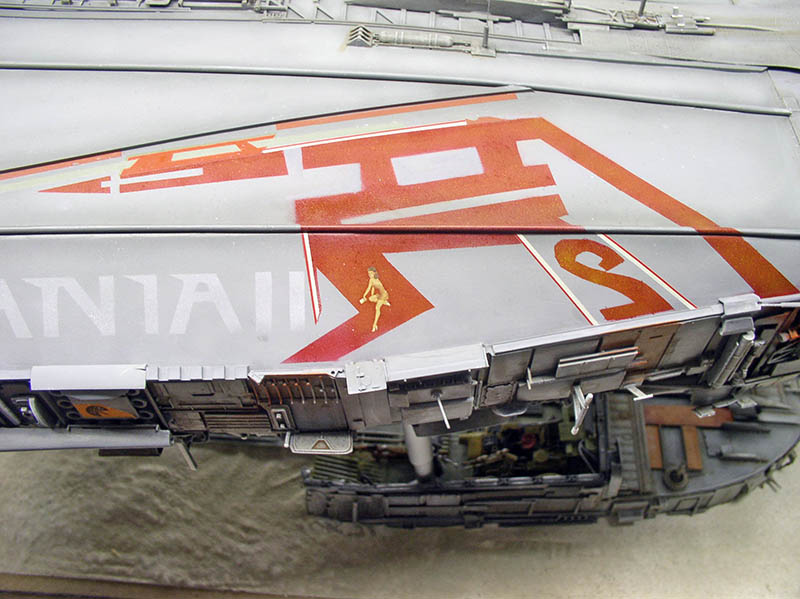
Removing acrylic red...
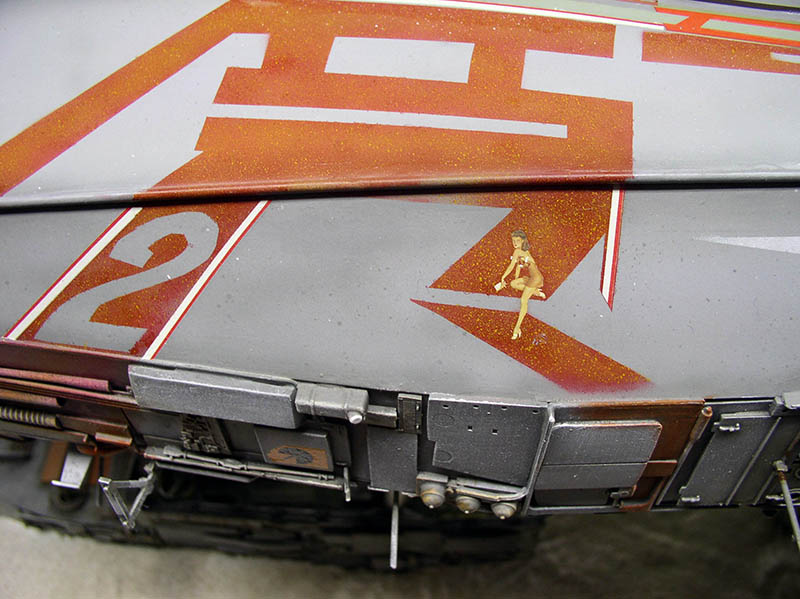
We finish it off with orange spray paint in specks and some added striping and pin-up decals...
The model is finished...
Some changes will be made, including: the reddish color of the floor, which is being repainted with acrylic paint...
...The "Roadranger" is being phased out in favor of another, more suitable vehicle...