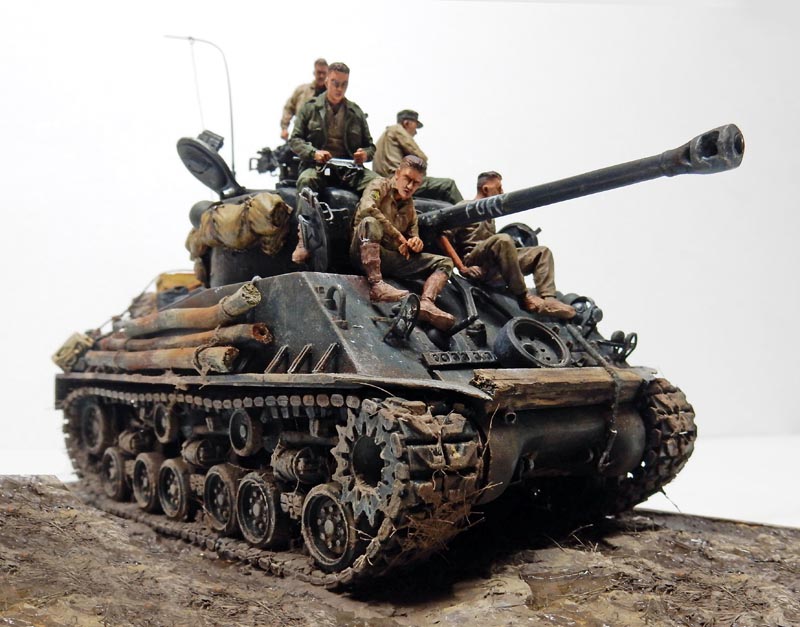
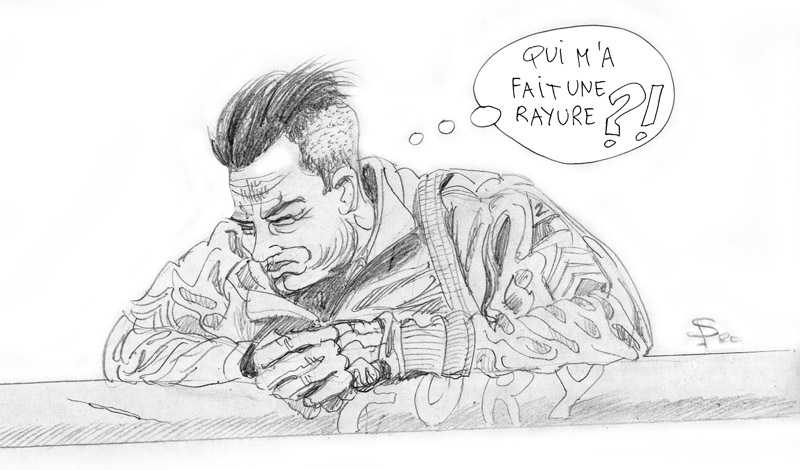
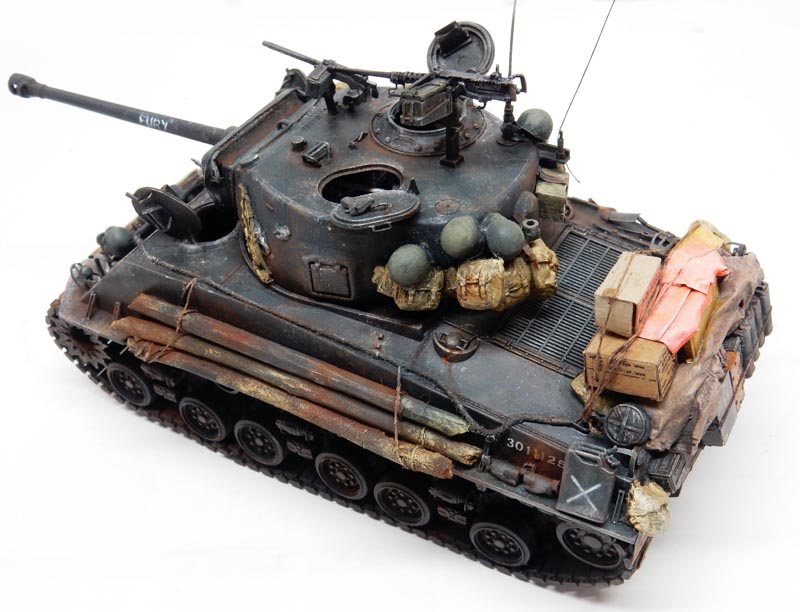
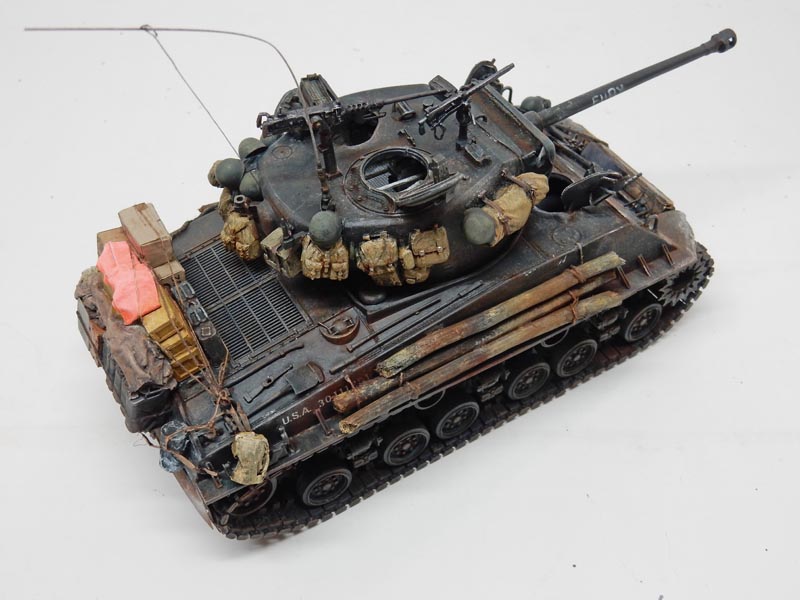
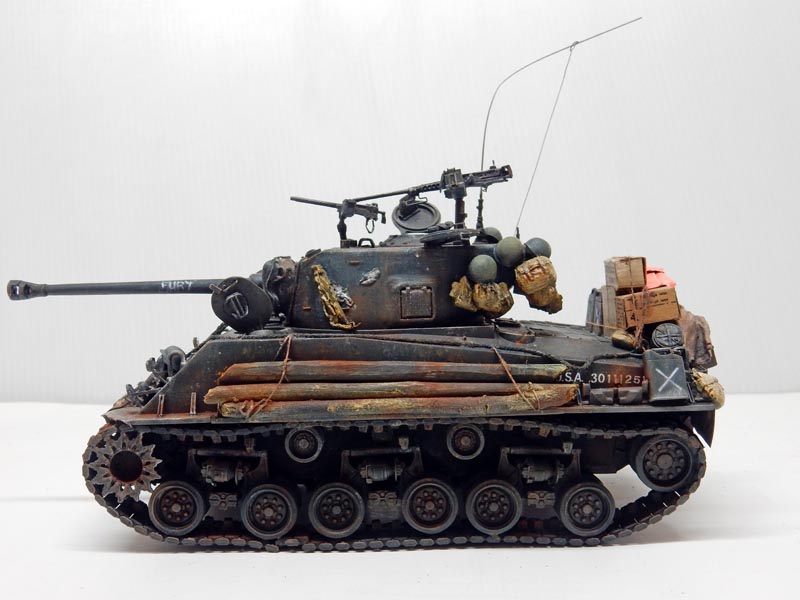
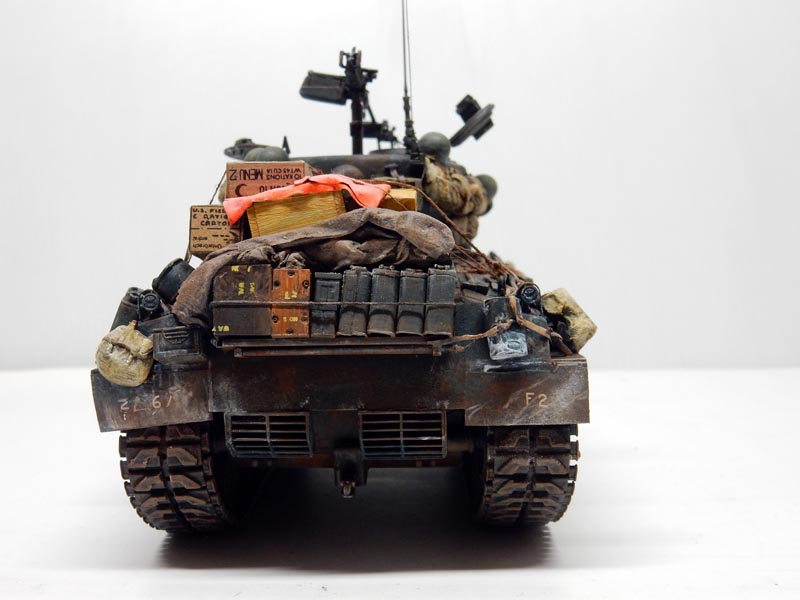
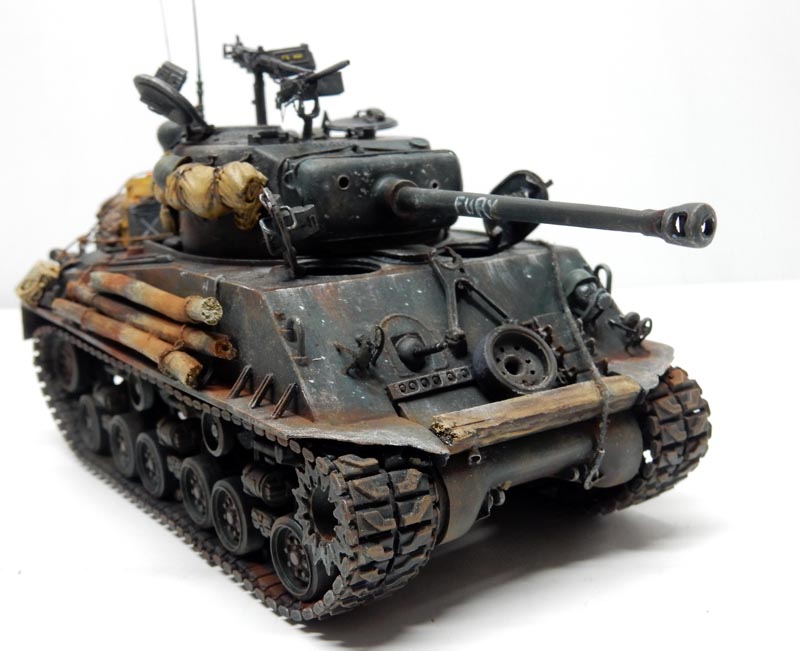
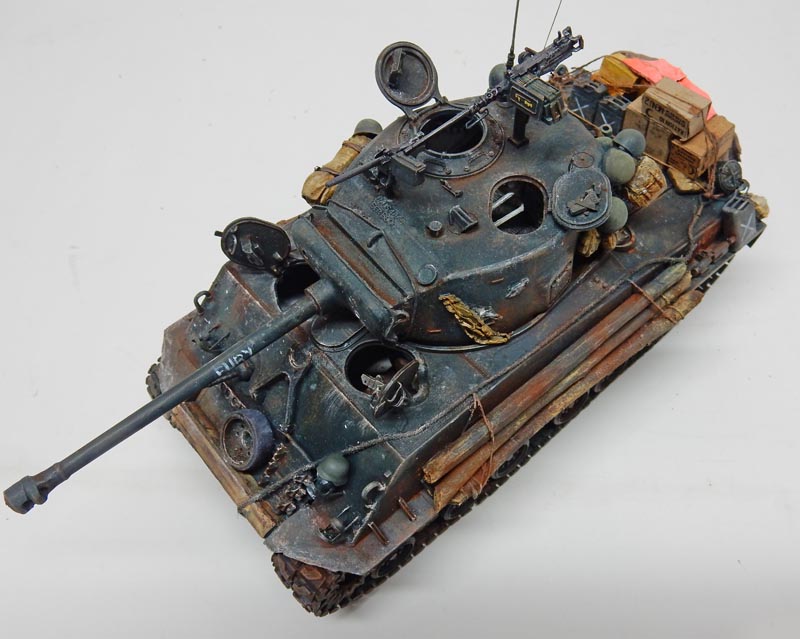
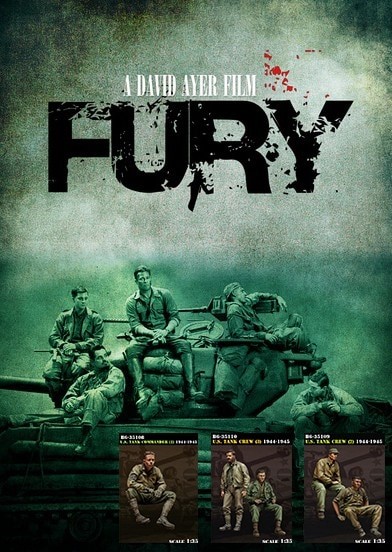
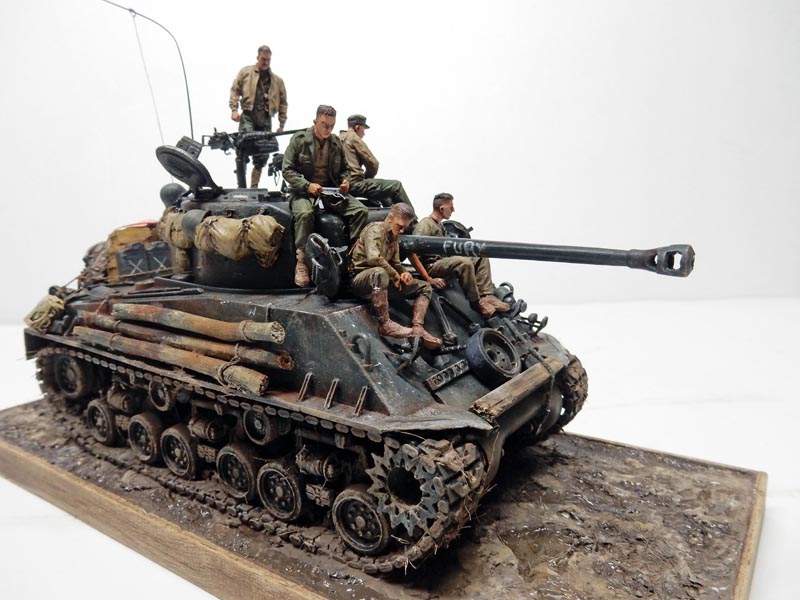
The film "Fury" chronicles, over a short period, the life of the crew of a Sherman tank in April 1945, amid the German collapse, and highlights this vehicle, the spearhead of the U.S. Army during World War II...
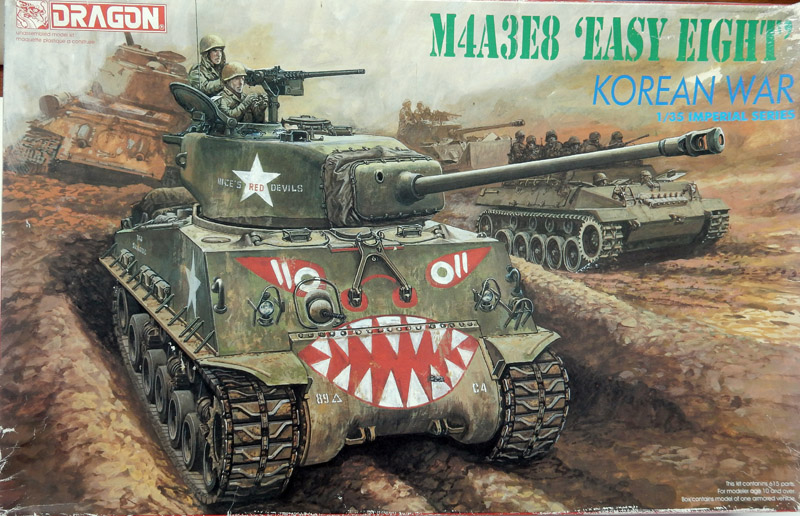
The "Easy Eights," of which there were few remaining at the end of the war, were used notably during the Korean War. The kit from Dragon—released in 1994—a brand renowned for the quality of its model castings, albeit at a higher price—was chosen...
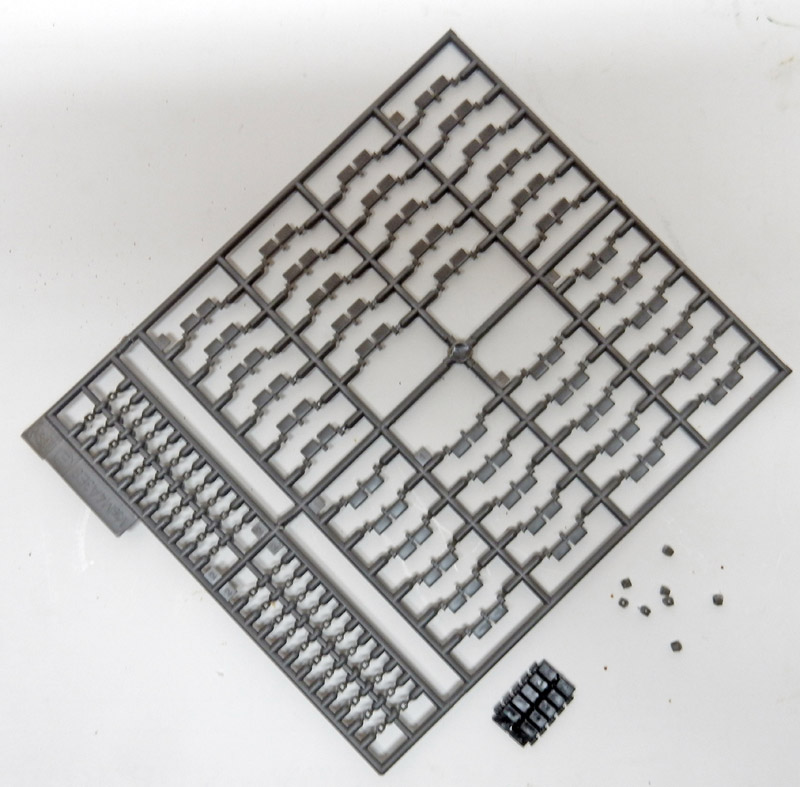
First problem
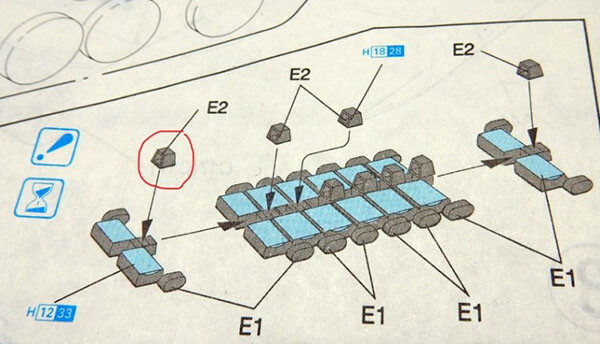
This wouldn't be a problem if we didn't have to attach—to each skate—that little hollow tab, whose four sides we have to sand down to remove the seam before securing it with Super Glue... And there are dozens of them!!!
Needless to say, the gluing process isn't easy,
especially since you first have to secure the undercarriage to get a sense of where to place it in relation to
the curves of the skids.
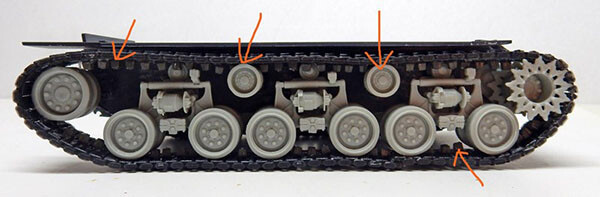
Second problem: the two central idler rollers have no markings to guide their attachment to the hull (an oversight?!). So, without the track, it’s impossible to know their exact center position—and vice versa!
In the end, the problem was solved by using another set of one-piece tracks, from which the mismatched lugs were cut off with a utility knife and replaced with Dragon lugs, which were glued into place one by one... A painstaking process on soft plastic...
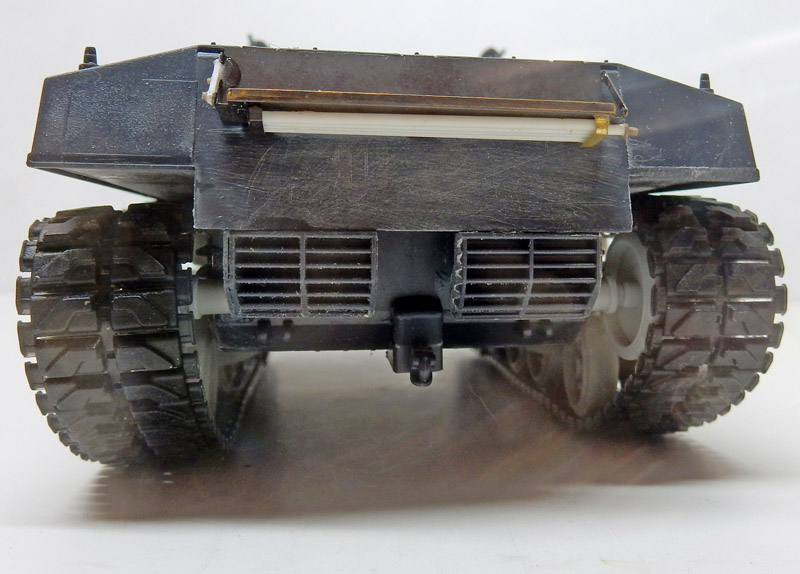
The engine grille is also cut into two separate pieces before being glued together...
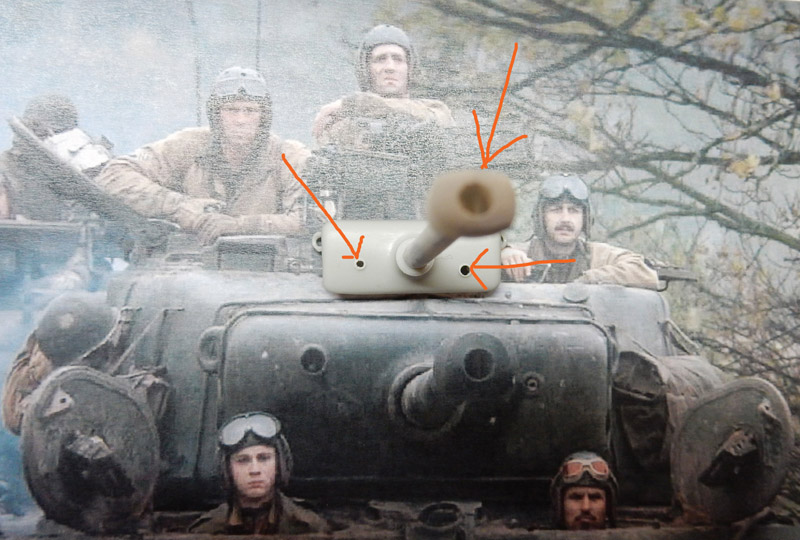
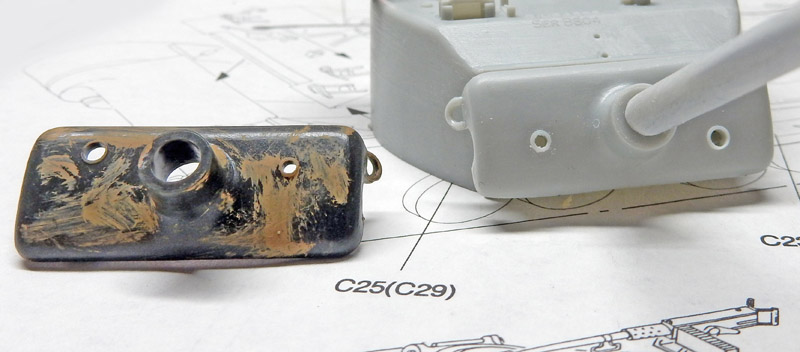
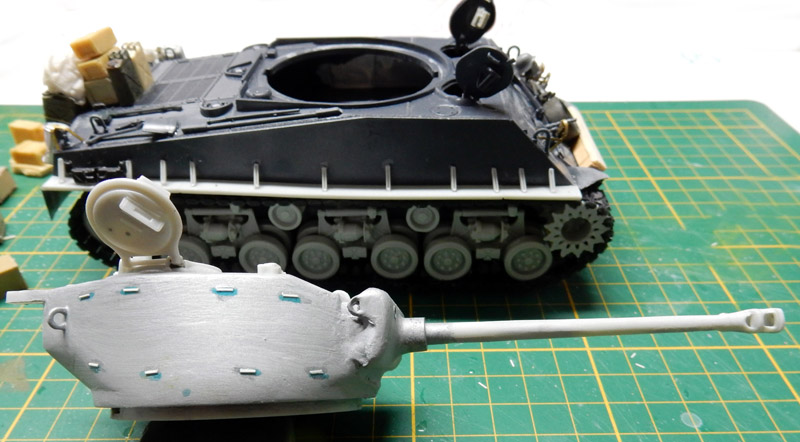
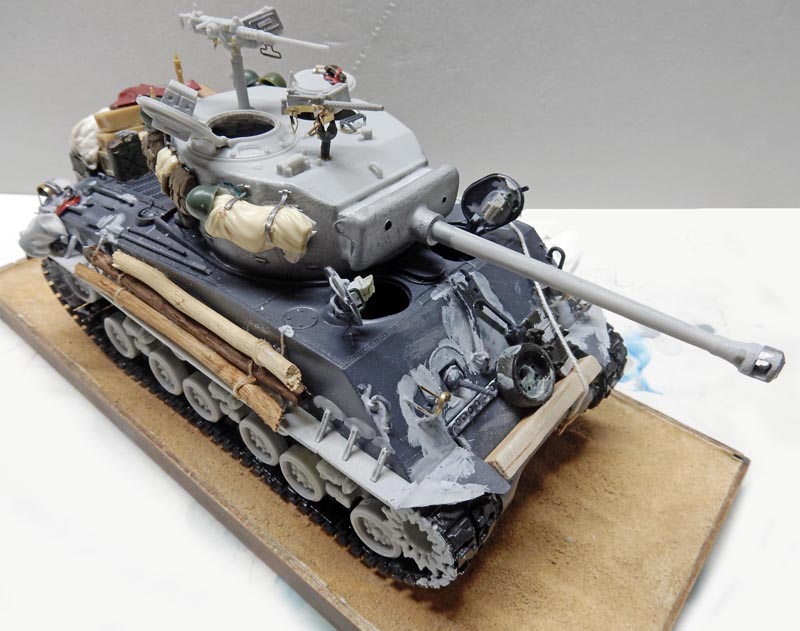
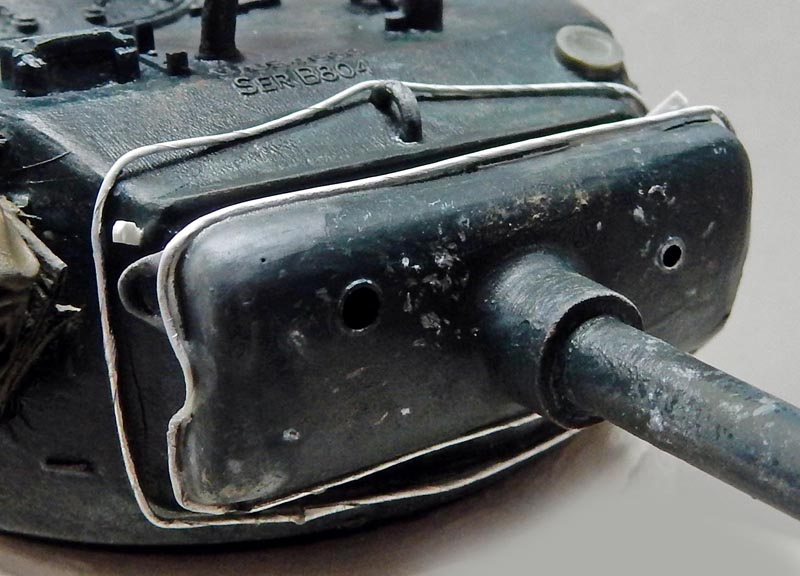
Third problem : Let's move on to the barrel mask: compared to the photo, the sight holes don't line up, and the muzzle brake looks more like the one on a Panzer than on a Sherman...
In other words: it's all wrong. It's impossible to turn it upside down. It's been replaced with an Italeri part from the surplus box...
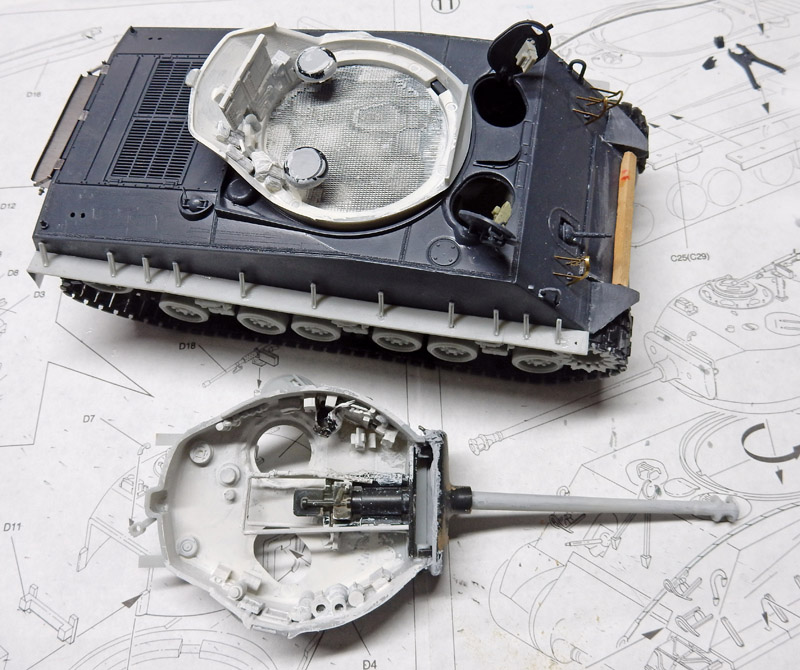
Fourth problem : In a model of this quality, the turret is closed and does not open into the interior of the hull.
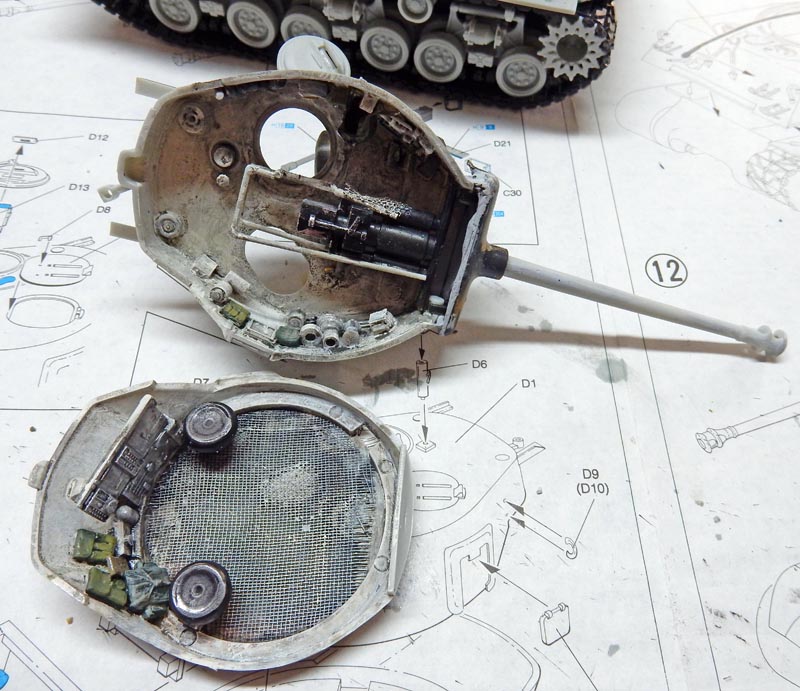
The gun barrel ends at the mask. There is no breech or other details if we want to leave the hatches open... Seats will be installed in the hull for the driver and the gunner, visible from the turret pits...
So we built a floor flush with the turret (we could also have removed the floor), then a complete rear compartment and interior fittings, including the seats. The whole thing is painted and weathered before assembly...
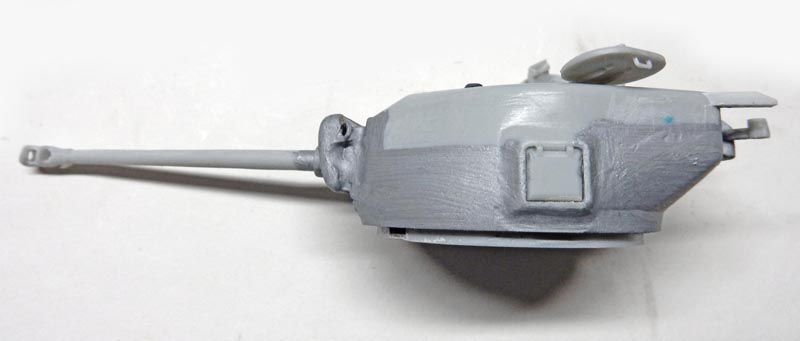
The two parts of the turret are glued together, and you must be sure to fill the seam all around and then sand it down until it's no longer visible.
(Left: after sanding; right: before sanding)...
Mounting handles are glued to the sides; they are made from Evergreen strips...
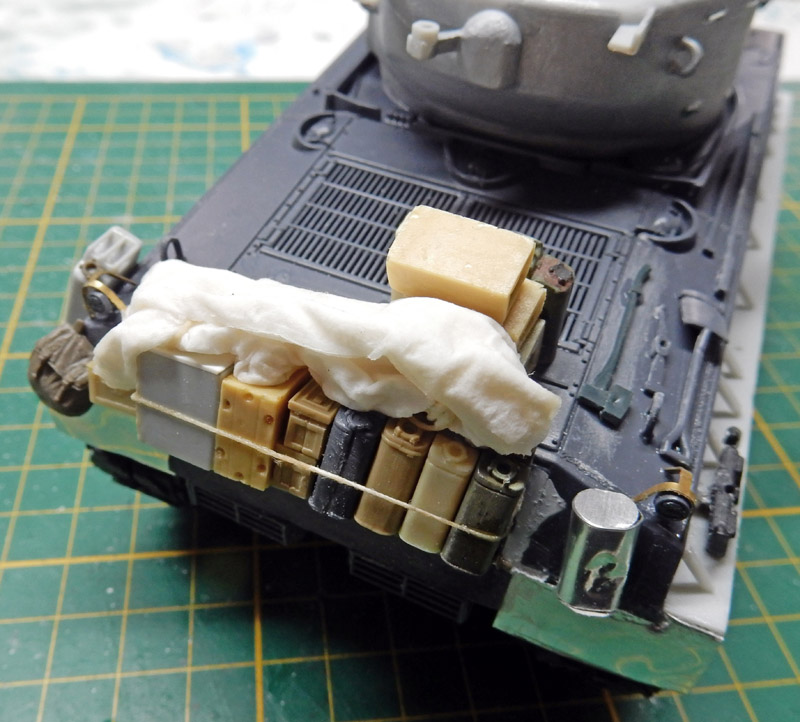
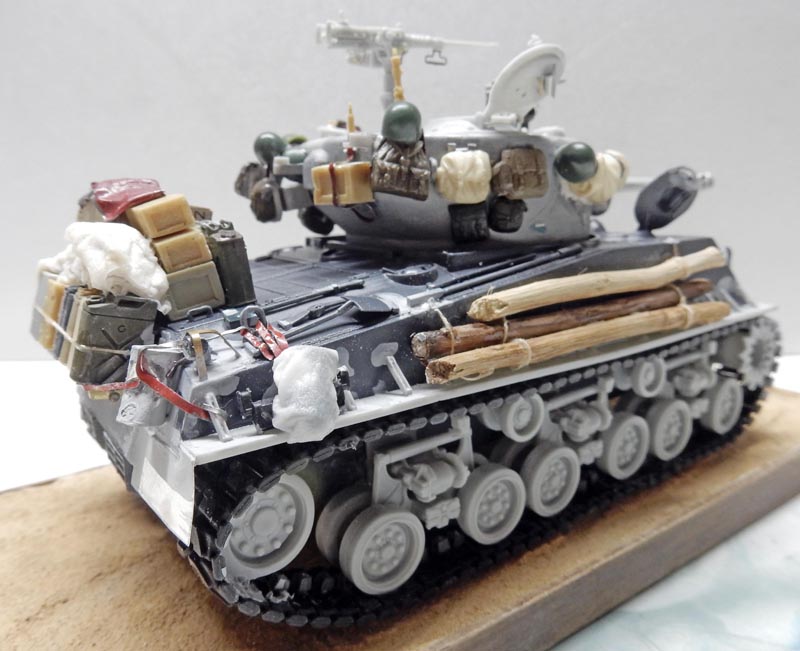
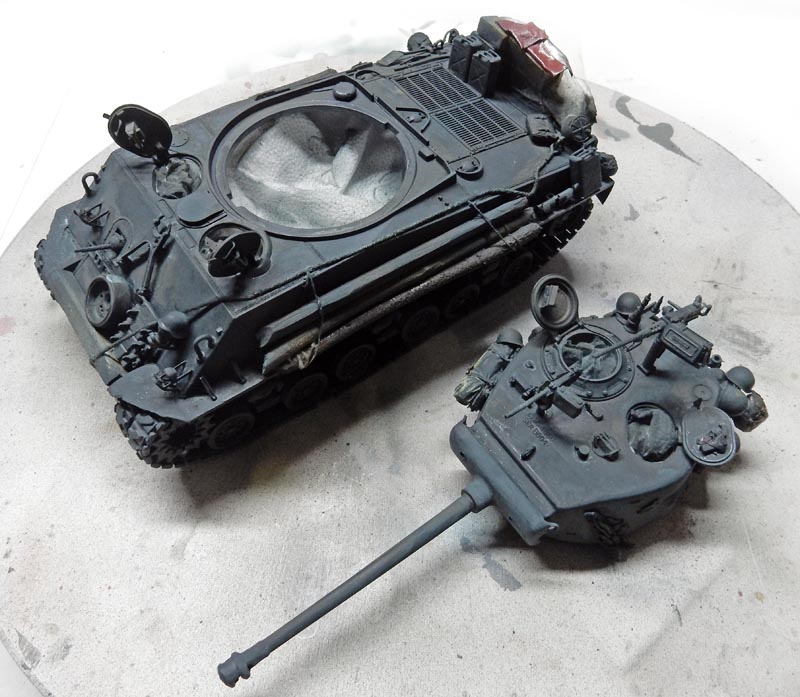
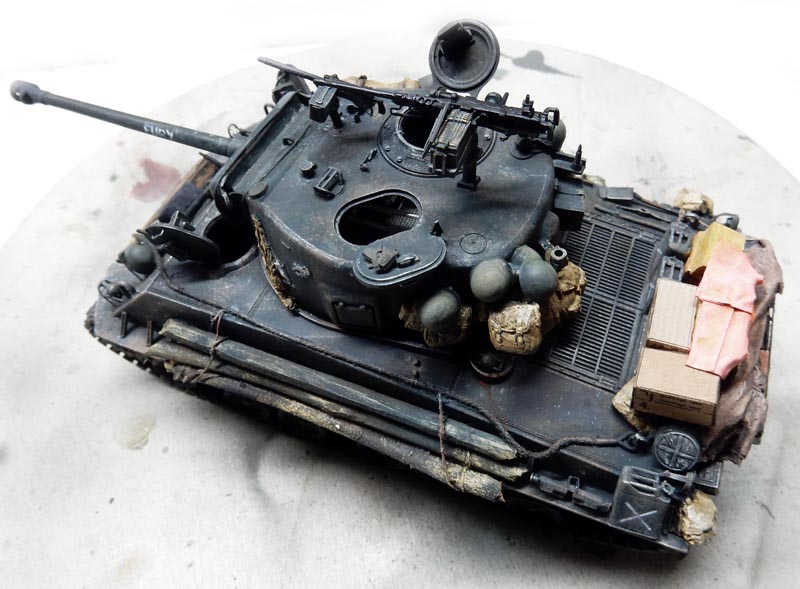
Rear deck layout. Photo-etched arches for the lights; a tarp made of toilet paper moistened with wood glue. The can on the right is made of metal. The rear fenders have also been remade out of metal...
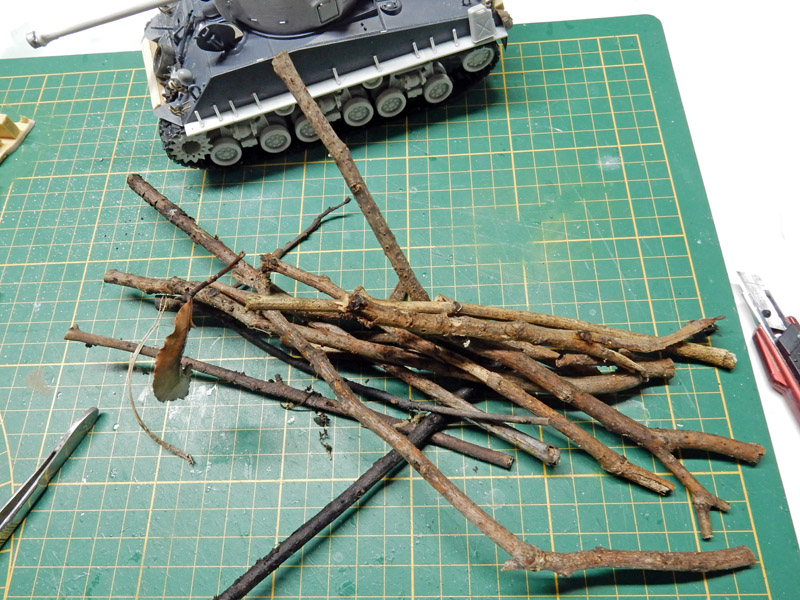
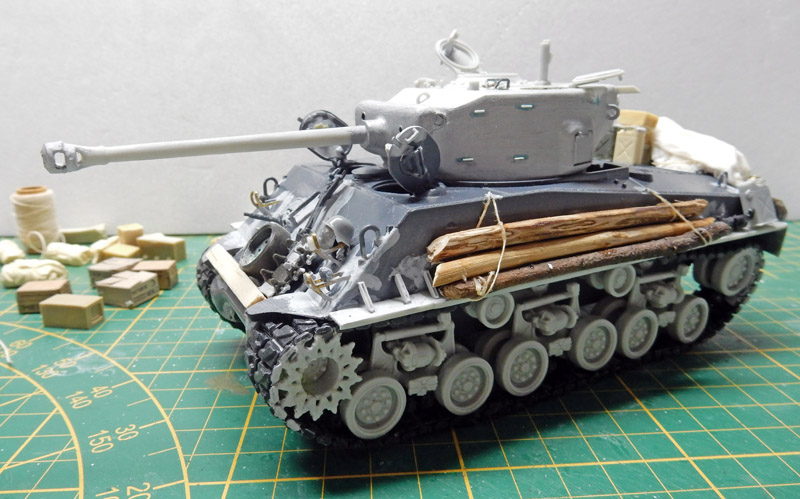
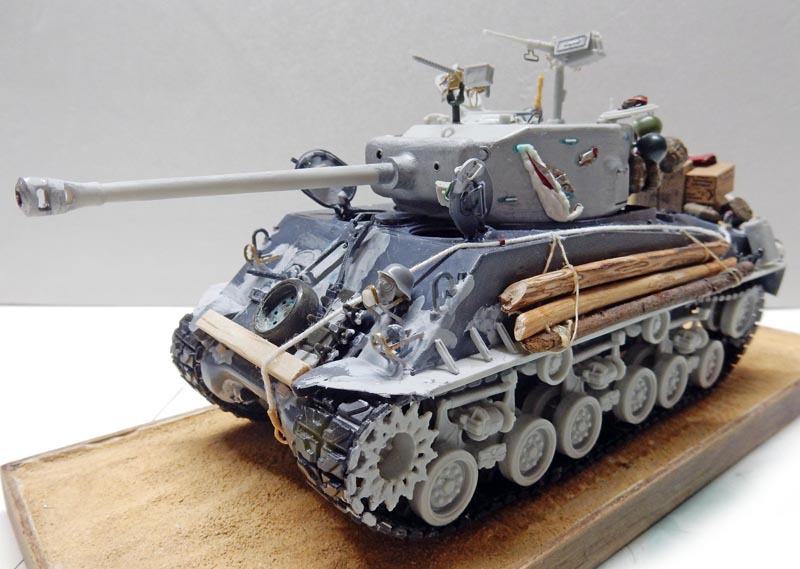
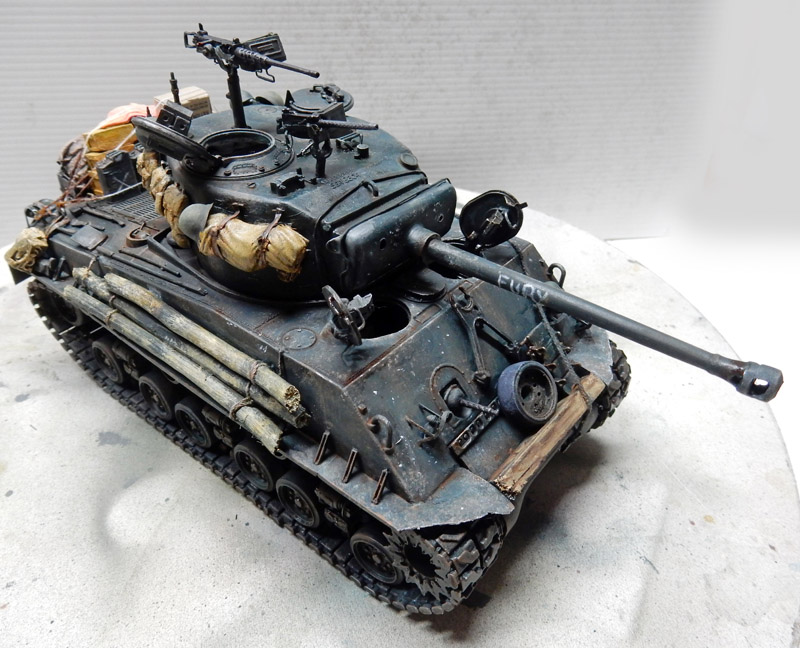
The side logs that protect the body. Small dead branches with the bark removed, cut to the right size...
The whole thing is adjusted using ropes...
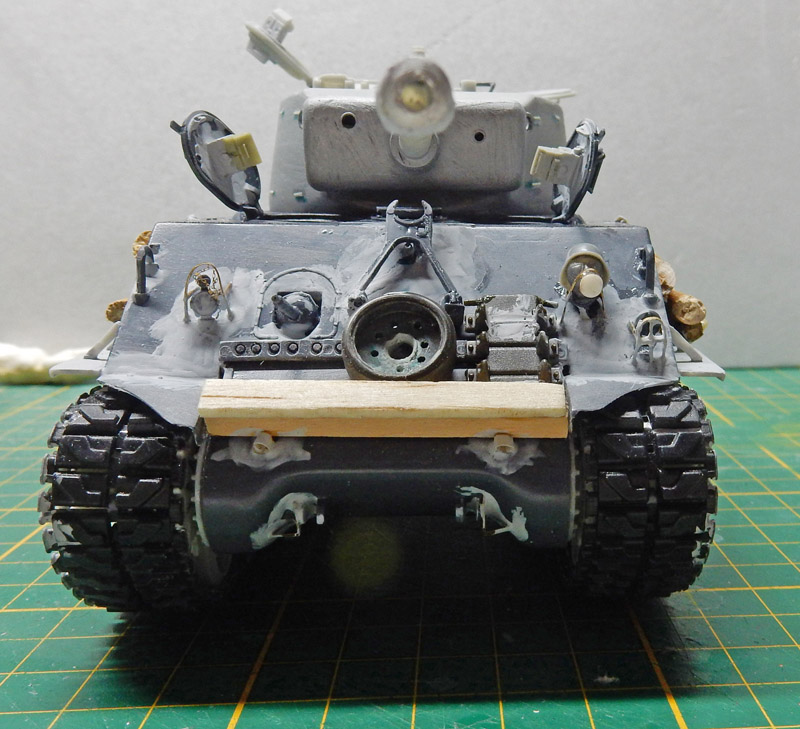
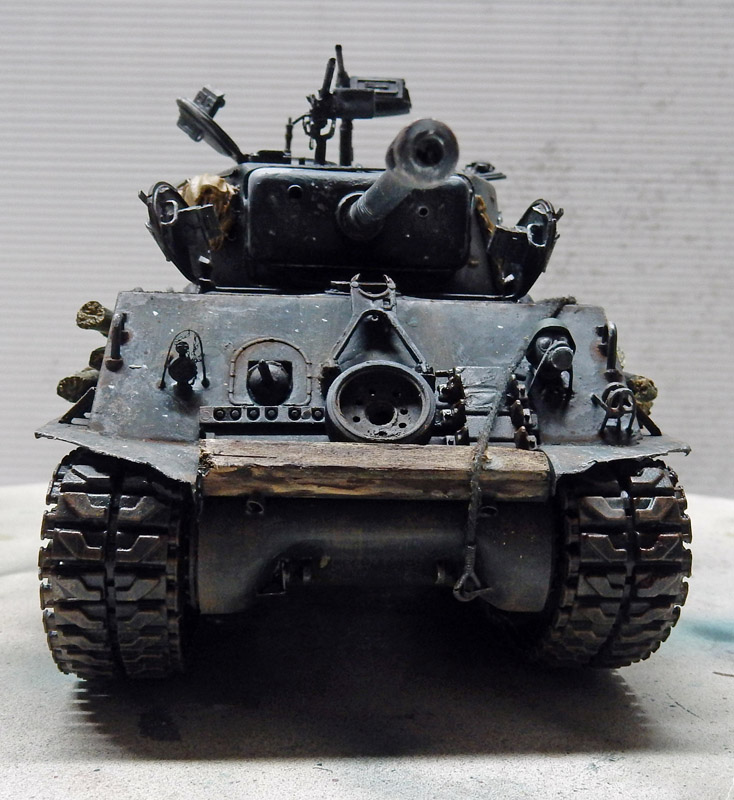
The front beam is a piece of balsa wood that has been trimmed to size. Metal brackets are attached to hold it in place. A German helmet and a gas mask are added to the right front turret, along with hatch peepholes. The “spare” road wheel, not included, comes from another kit...
Fifth Problem : The front fenders are too short compared to the side fender extensions. First, they are thinned down with a grinder (they’re much too thick for the scale), and then a piece is glued on to match the fender extension...
Rear view...
The muzzle brake has been modified. The equipment has been attached... Everything that can be painted directly on the model has been put in place and glued...
Painting
It’s worth noting the tank’s odd color as seen in the film, which leans more toward midnight blue than the army green of the Shermans (I can confirm this for the “nitpickers”!). And this isn’t a result of the film itself. Photos from the set confirm this color. This suggests that the tank must have been sourced from surplus stock for the film or must have been repurposed in the meantime… Unless it saw action in Korea in 1950 and retained that color…
In short, the color is a mix of Tamiya XF61 and Hobby Color H54 navy blue...
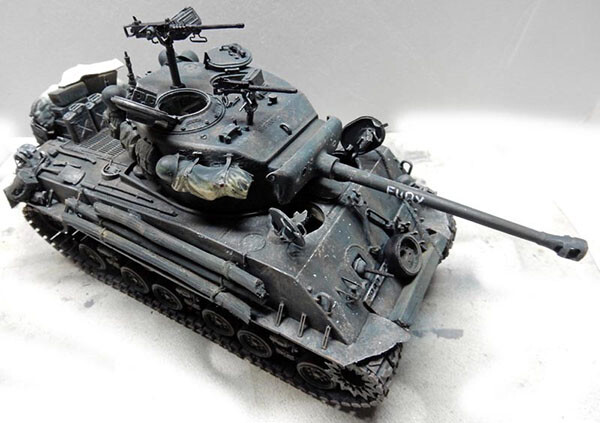
Next, we apply a light dry-brushing with XF61, slightly thinned. The name "Fury" is painted on the barrel in white. Dots of white simulate bullet impacts on the body...
Since the gun muzzle’s watertight cover is missing (strange, isn’t it, for a tank in the field? But acceptable for a movie...), tabs are added, the wiring is made of metal wire, and the whole thing is glued together...
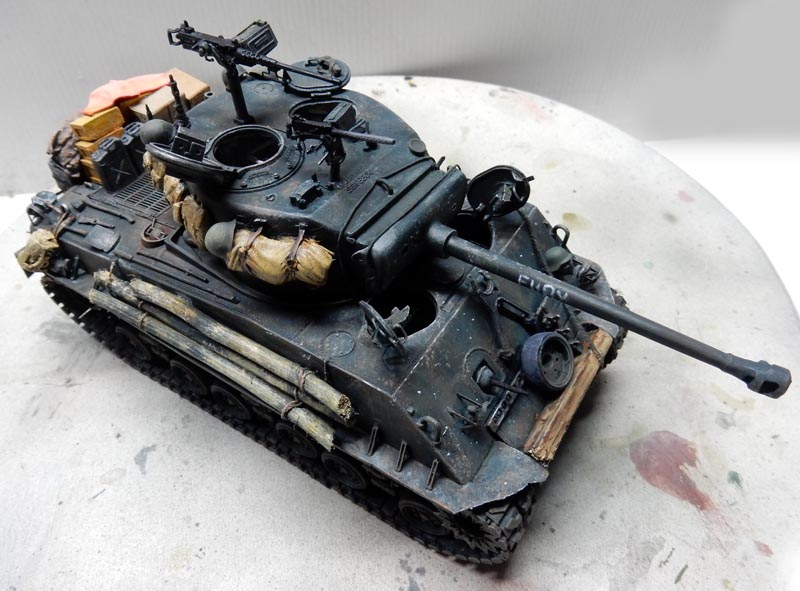
The entire vehicle was painted with a very diluted mixture of umber and a little sienna in oil. I've started painting the front luggage racks and crossbar...
Painting of packs, helmets, and boxes. Cardboard boxes are secured...
Front view showing the impacts on the glacis...
Other effects on the hull and turret as a whole...
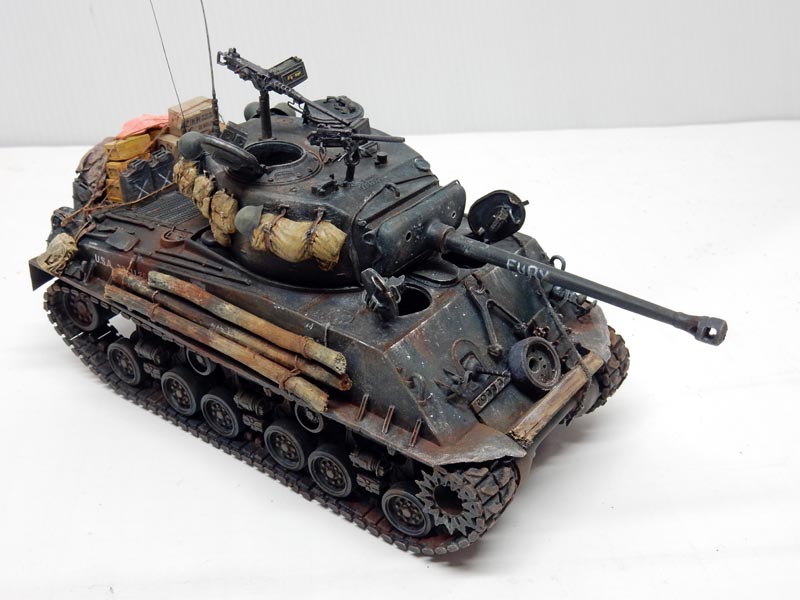
Apply the decals to the sides and rear of the body. Pastel powder is used to accentuate the dirt and rust...
3/4 rear right view. The aerial reconnaissance marker is a folded sheet of lead painted fluorescent red. As a bit of trivia, the Germans quickly figured out the meaning of this symbol and applied it to their tanks, forcing the Allies to change the colors every day using a code...
In another view, the machine guns have been rubbed with graphite to accentuate the metallic effect...
You can see bullet holes in the turret that destroyed the side armor...
Above are three views showing the finishes. The barrel and the turret edges have been treated with a satin varnish. You can see a sheen in these areas where the crew often leaned...
The Setting
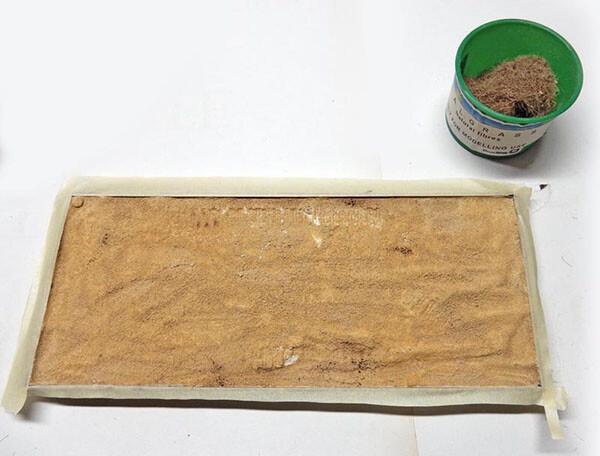
A simple, used balsa wood base that's about to get a second life...
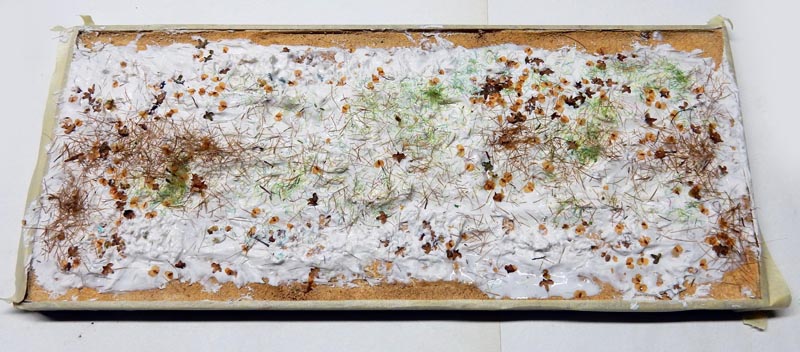
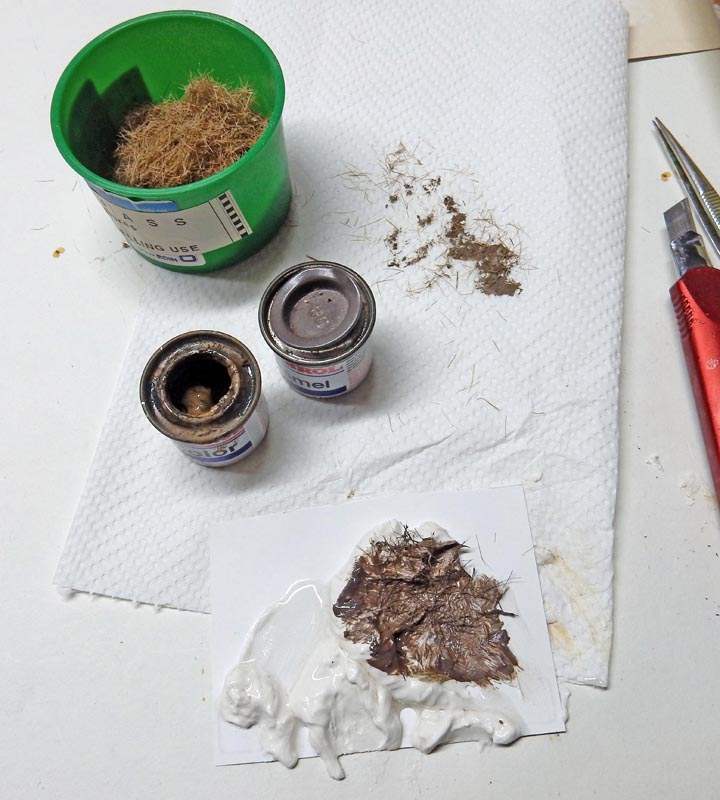
It is coated with diluted tile adhesive, onto which various flocked textures are applied, and then the tracks are imprinted...
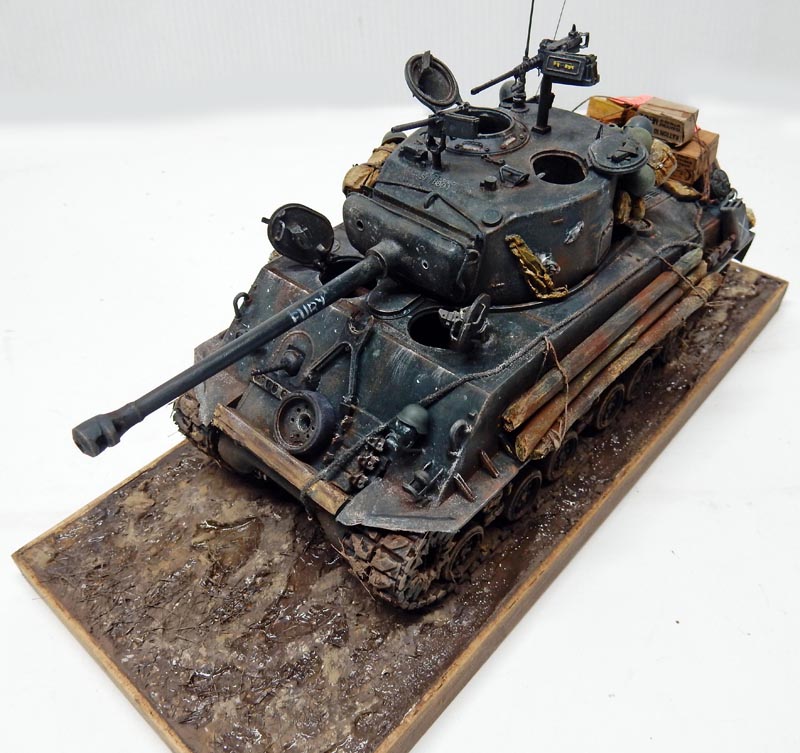
We use Humbrol Brown 29 and 98 to make a sort of paste, which we apply to the tank's hull and running gear (using a light hand on the running gear)...
Once it is completely dry, apply a glossy, clear wood varnish to the water holes...
The figurines
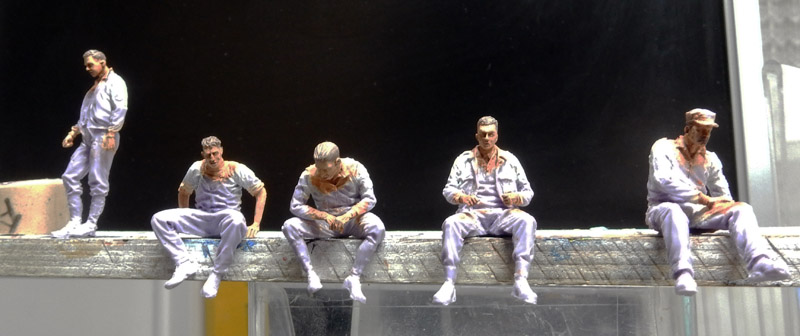
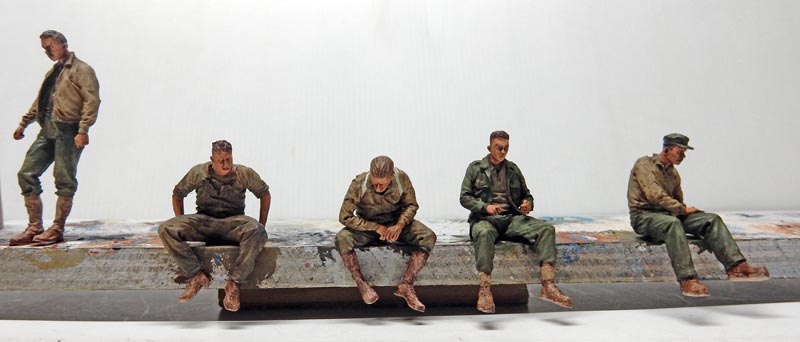
Assembly and painting of the resin crew figures. Don't forget the insignia and stripes. Humbrol oil paints for the uniforms and Winsor & Newton for the skin and hair...
... And implementation...
All in all, this kit requires a lot of work, so I wouldn't recommend it to beginners... or to anyone, for that matter...