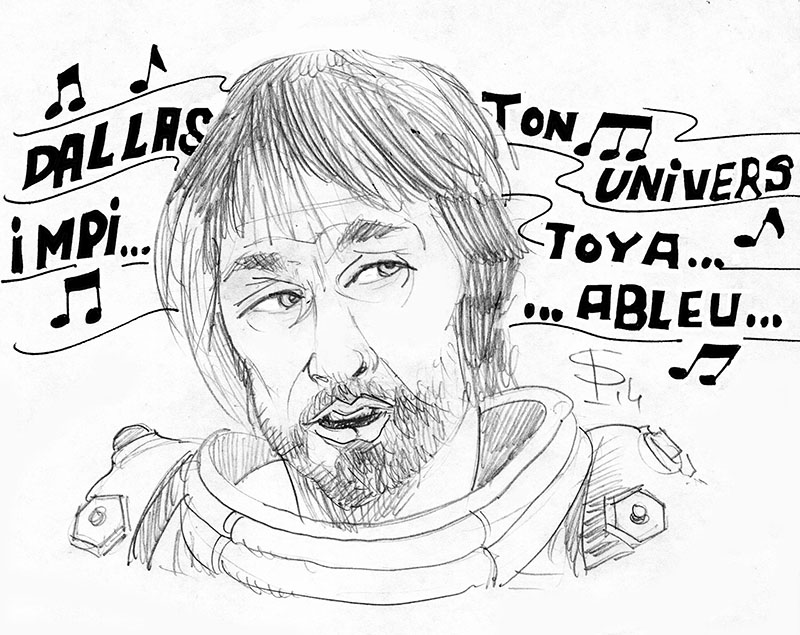
"Dallas, your merciless universe, euuuueeeee!"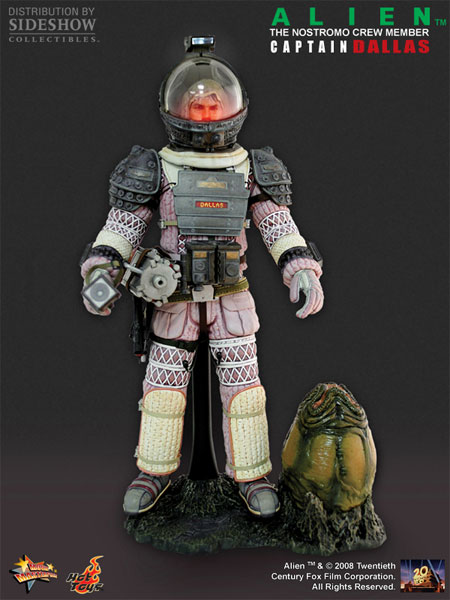
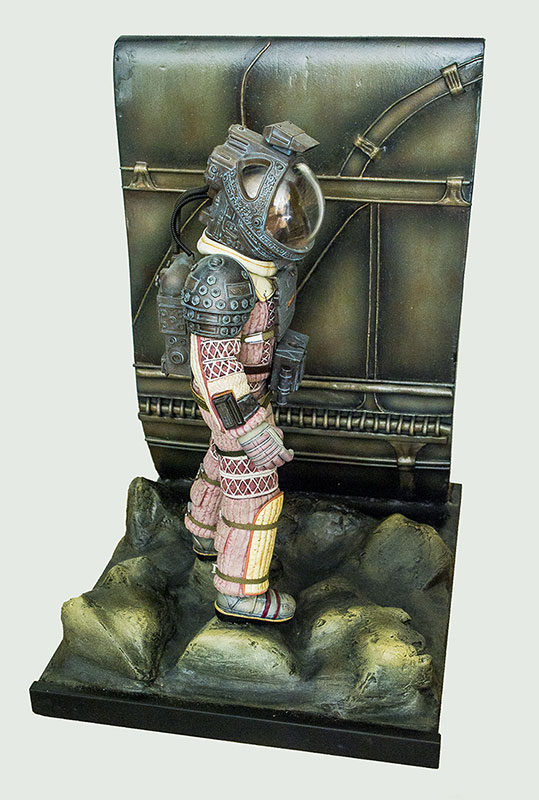
The goal of our project is to showcase the HOT TOYS doll of the character Dallas from the first *Alien* movie. To do this, we will build, as cost-effectively as possible, a set piece representing a section of the alien spaceship...
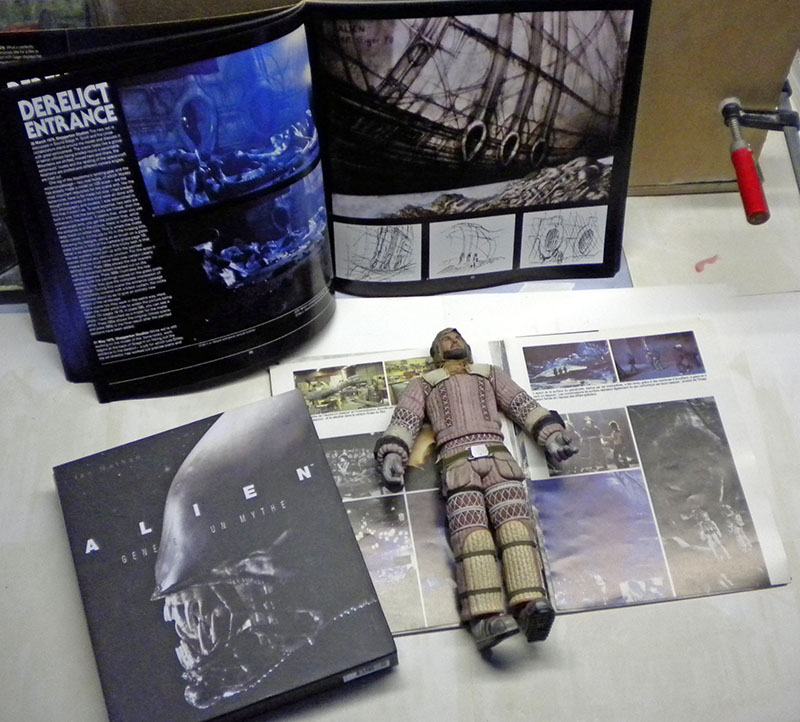
The reference materials used will be *Giger’s Alien* (Titan Books edition), *Alien: The Genesis of a Myth* (Huginn & Muninn), and the special issue on the film from the original *Métal Hurlant* magazine...
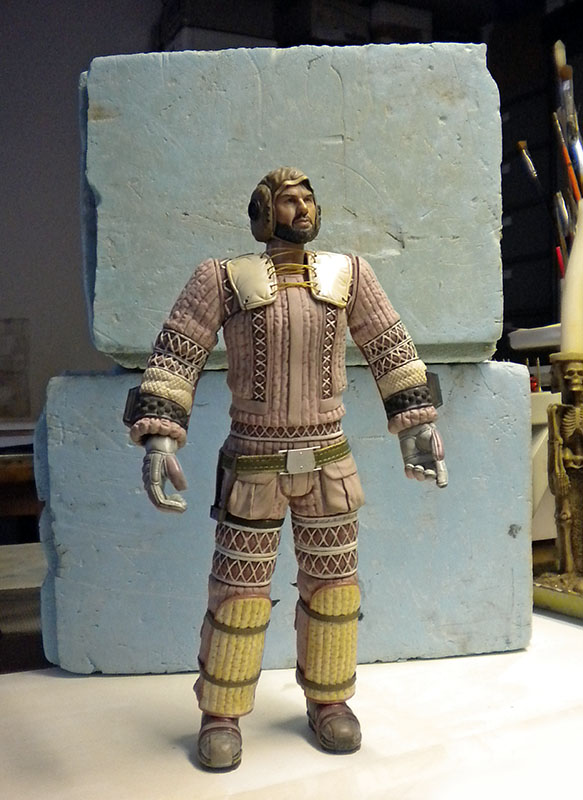
The oxygen tank is sanded to remove the seams, and the colored logos and buttons are masked off; it is then repainted...
The same process was applied to the control box, where some buttons were redone and others that were missing were added...
Same goes for the helmet...
DECOR
Two pieces of high-density extruded polystyrene are glued to two pieces of plywood using wood glue. They were first shaped using a sanding block...
Filler is used to texture and harden/protect the polystyrene...
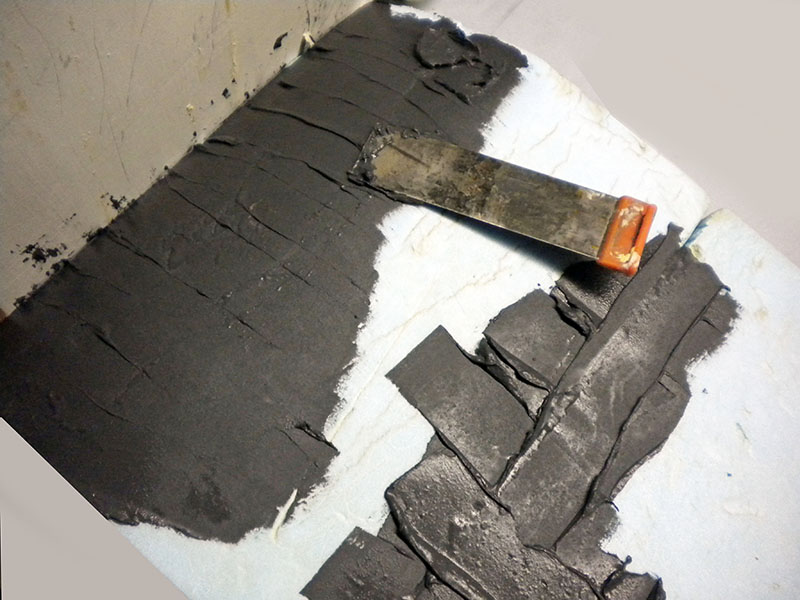
The latter is dyed with black acrylic paint during the mixing process...
The result...
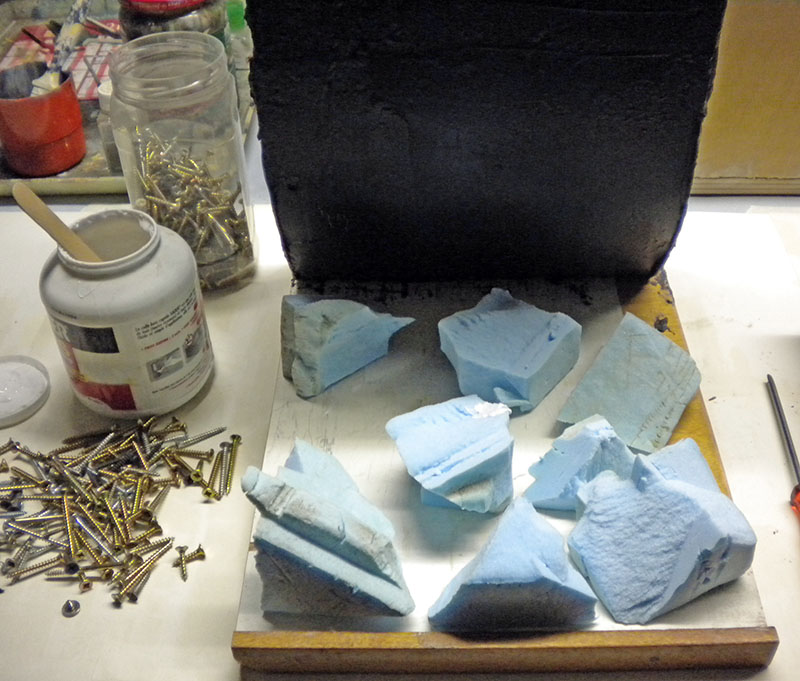
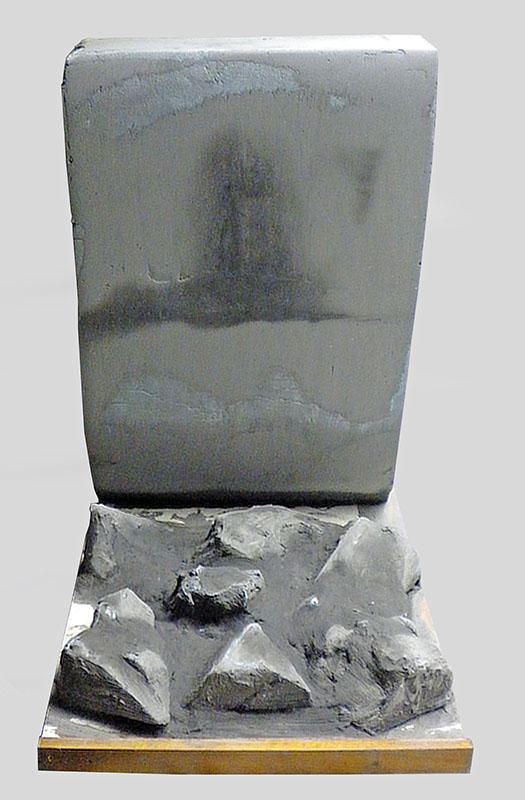
Sand the design with dry sandpaper (grit 120 to 240) to even out the surface...
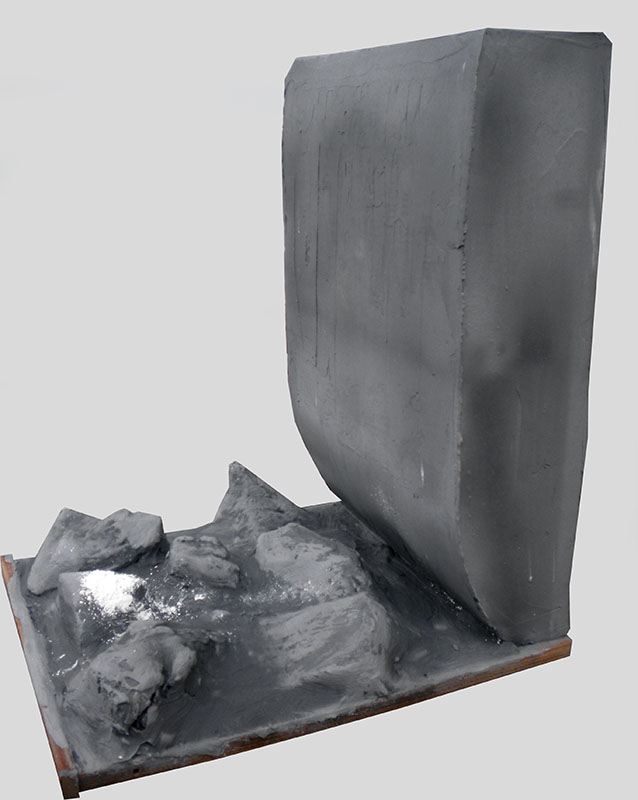
There may be some areas where the material is missing; just apply another coat. Let it dry, then sand it down, and so on...
Sand and apply putty between and on the rocks as needed, using a putty knife and brush to smooth it out...
TEXTURING
PREPARATION OF THE SHIP'S HULL
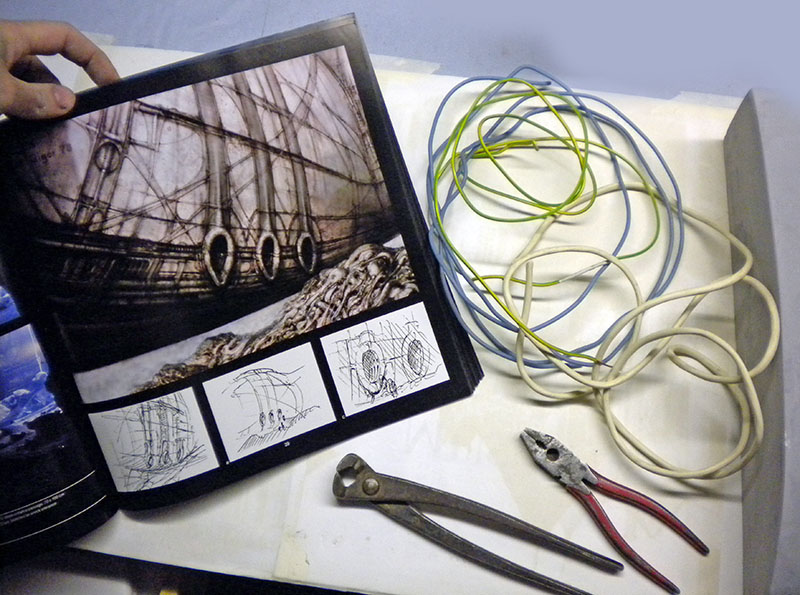
We'll use electrical wire and air-drying modeling clay to do this...
You place strips of dough, electrical wire, pieces of wire cut into rings on top of the strip, etc...
The idea is to use the photos from the movie as inspiration to stay on track...
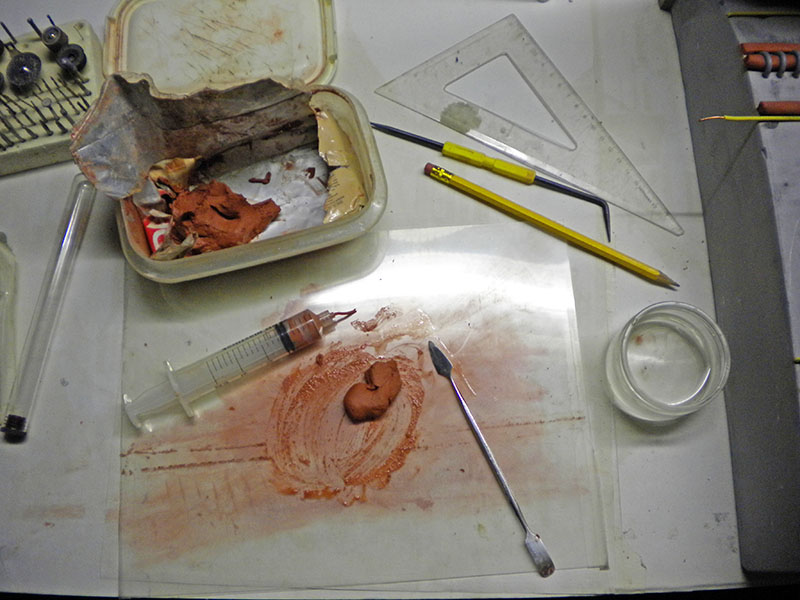
We "soften" the dough slightly with water so we can put it into a syringe to create the finest details...
Use the syringe to apply the strips, smooth them out, and attach them to the model using diluted wood glue; use a brush...
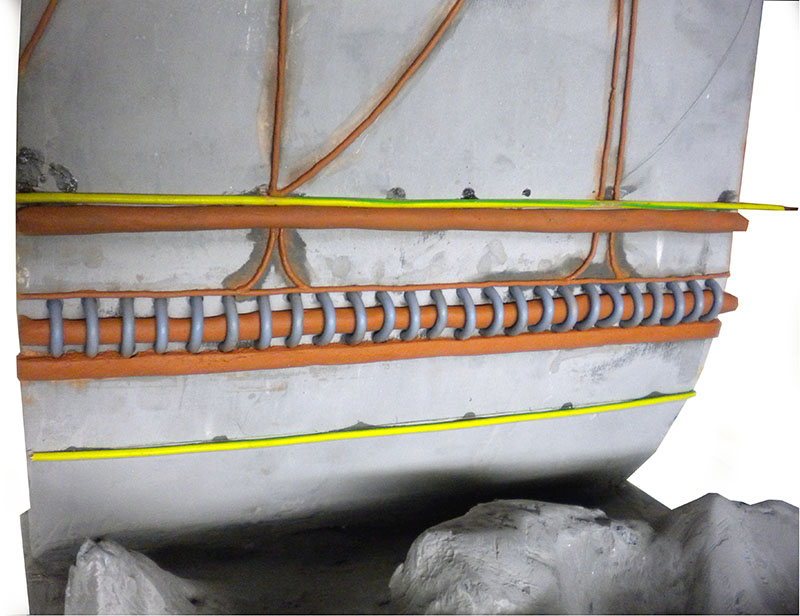
Flatten the rolls of dough on a smooth surface, then cut trapezoids or strips from them and carefully place them on the model in the appropriate spots. Smooth them out with a damp brush, attach them with wood glue, etc...
PAINTING
We managed to find two sparse studio photos of the set without lighting; we'll use them as a reference to determine our colors. Prime the entire set with matte black...
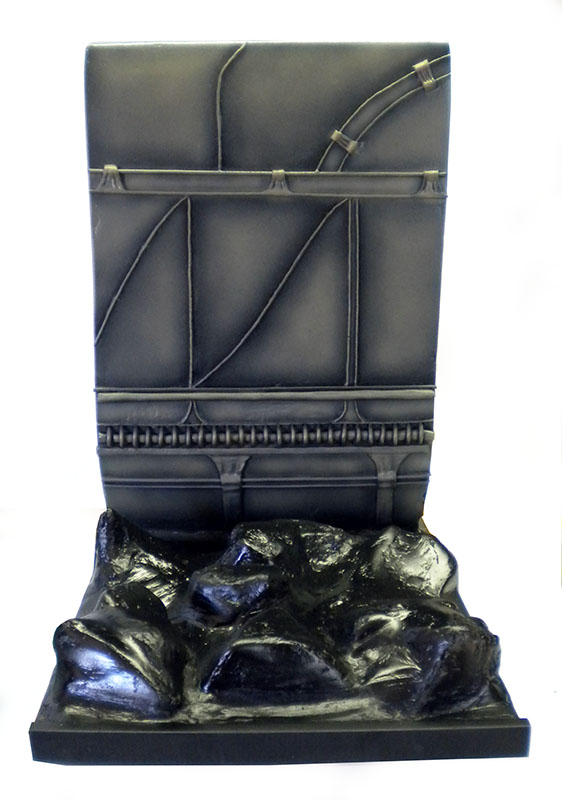
We lighten the inside of the panels with an airbrush using a mixture of HUMBRO 29 brown and HUMBRO 33 black...
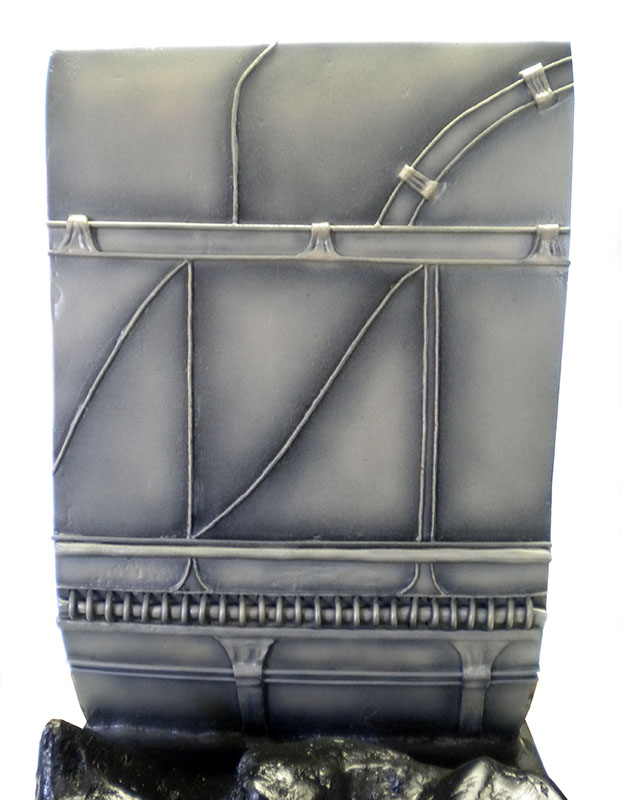
We continue lightening the area with the airbrush using a lighter color, HUMBROL 93 brown...
We lighten it once again with a light beige HUMBROL 121...
GLACIS
We're making GLACIS (see here)...
A first layer of red glaze is applied with a brush in various places using small, subtle strokes. Wait a few seconds for it to dry a little, then “blend” it with the remaining paint from before. The goal is to achieve color effects, not drips. These effects can also be created with an airbrush (easier) but are more restrictive...
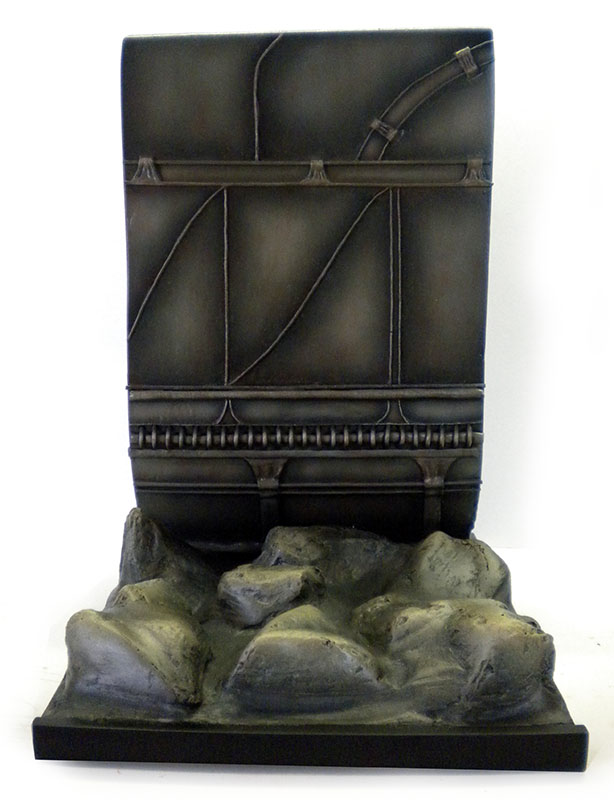
A final overall wash (HUMBROL 29 brown) was applied with an airbrush to the entire model, paying special attention to recessed areas and small details...
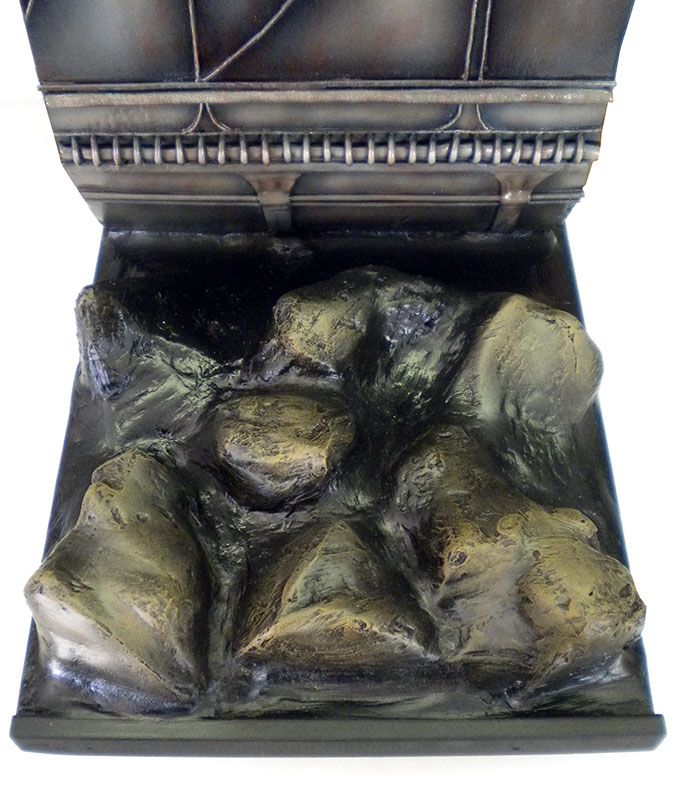
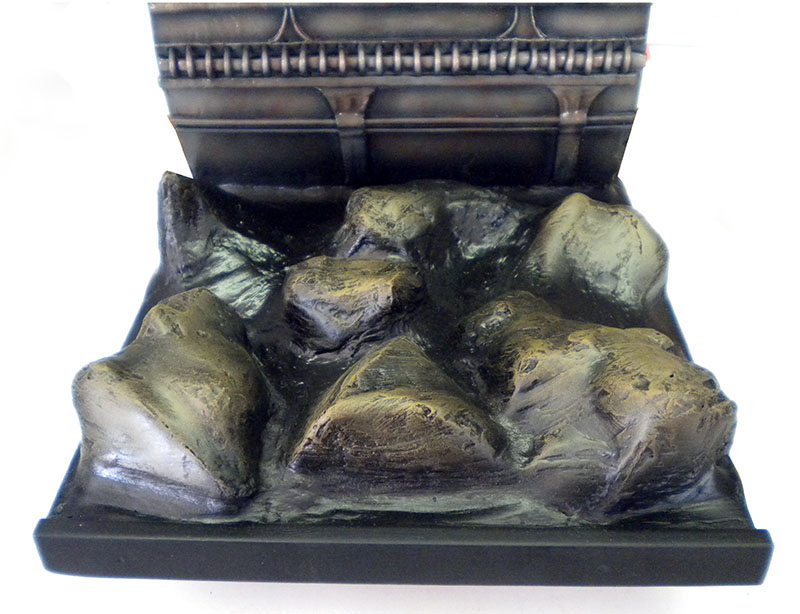
We gradually paint and lighten the rocks using dry-brushing, starting with HUMBROL 29 brown and working toward HUMBROL 103 beige...
