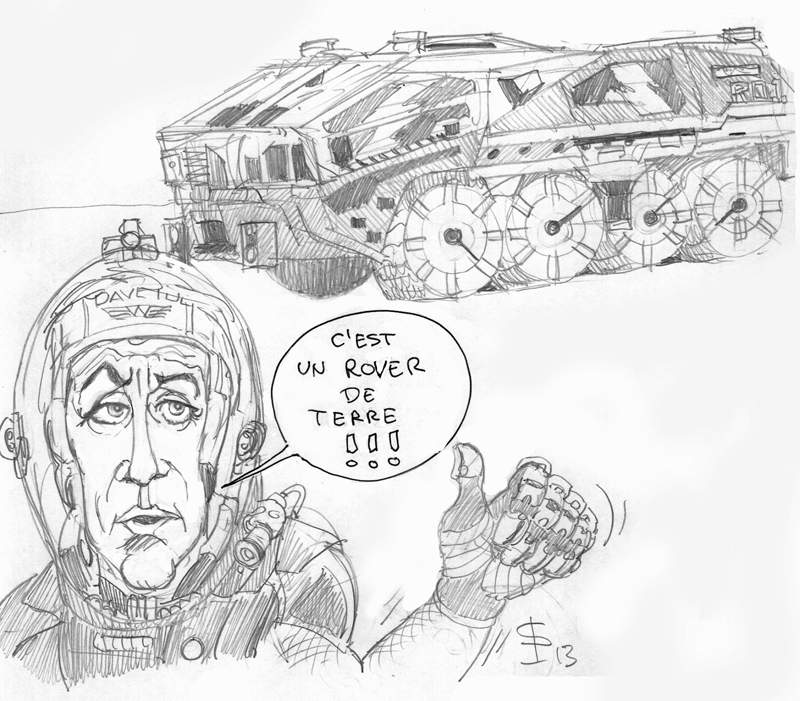
THE ROVER
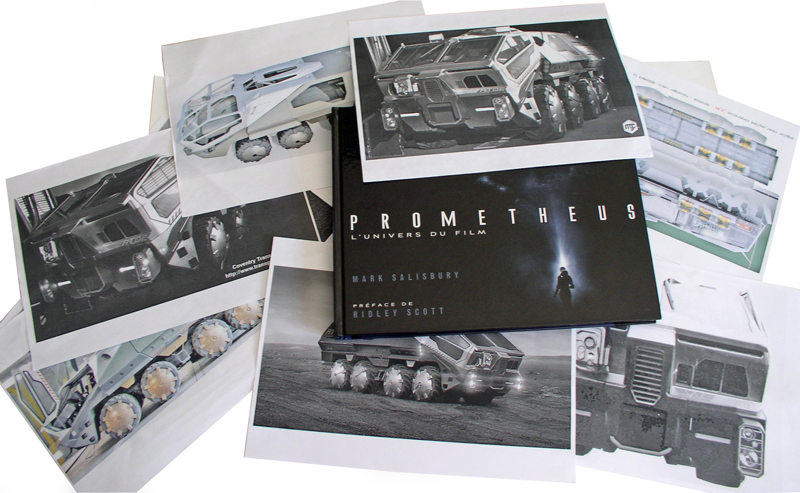
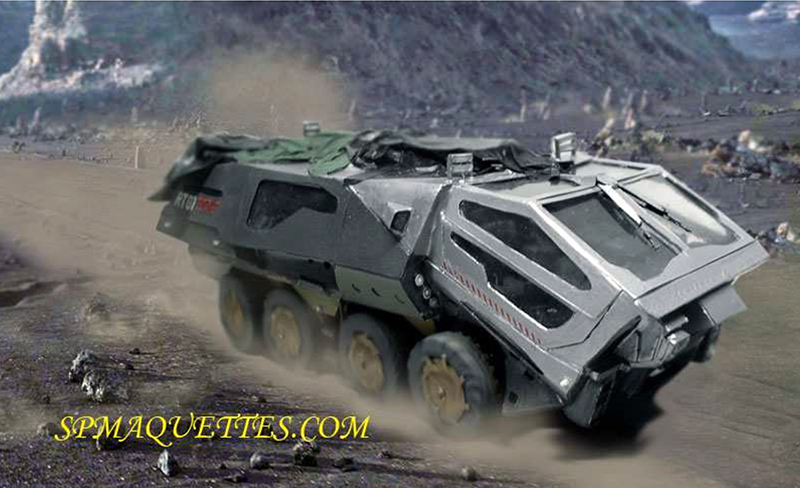
Ridley Scott's film provided an opportunity to revisit sci-fi vehicles (Universal Soldier - Fortress)...
In the absence of a blueprint, the documentation proved to be essential—if not absolutely crucial. A side view allowed the photocopier to get close to the correct scale...
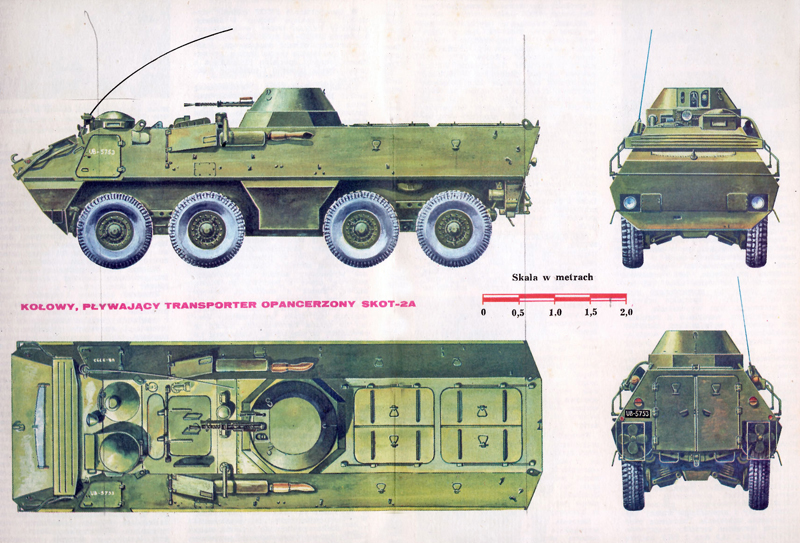
Since the base comes from Czech troop transports, it could be this one...
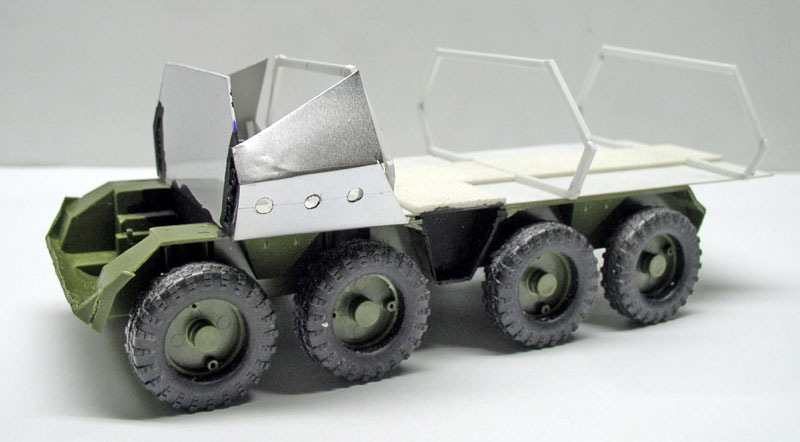
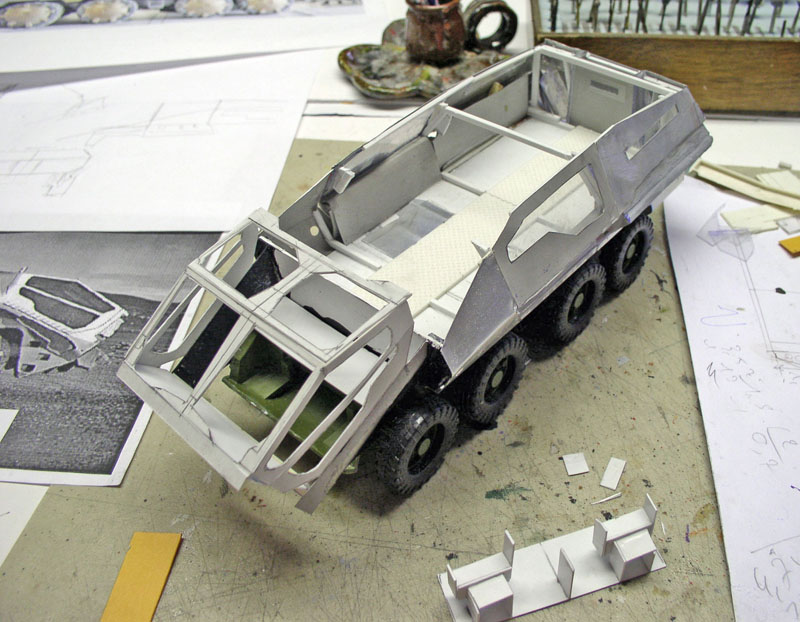
Start of construction: The base is an Italeri BTR-80, which most closely resembles the original vehicle. We built a floor out of plastic card, then a frame; thin offset metal sheet was used to cover the model (it would later turn out that this wasn’t a good idea...).
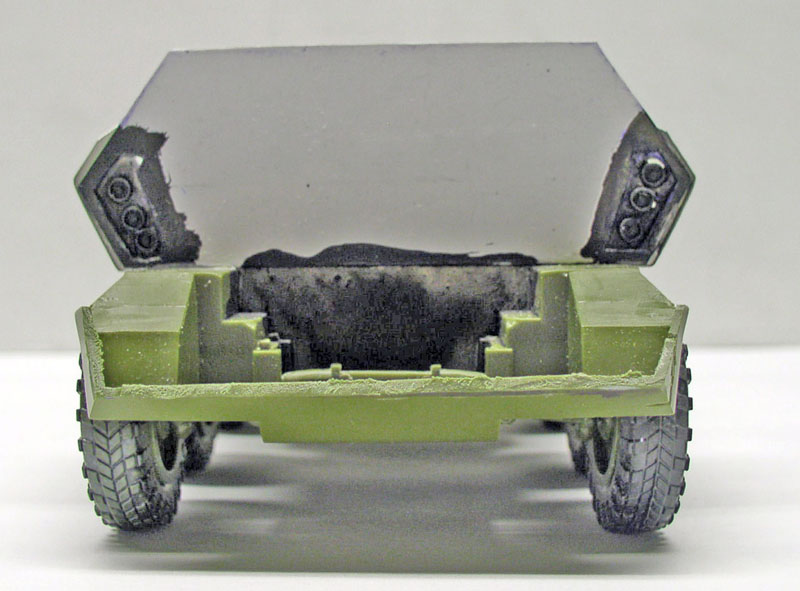
A front view showing the partition between the cockpit and the rear passenger compartment—a partition that will be cut out later—which allows for the attachment of the frame and the side lights. The front section of the BTR's chassis has been cut out...
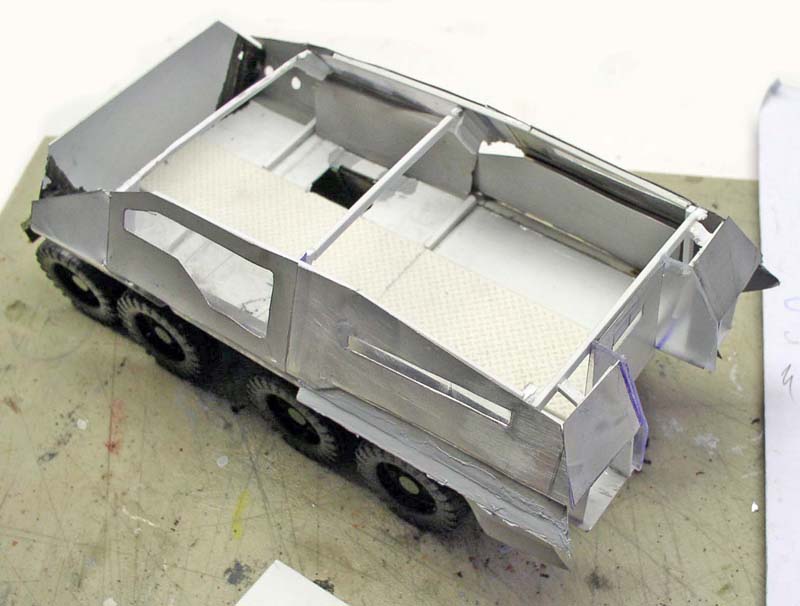
Manufacturing and installation of side panels and rear compartments...
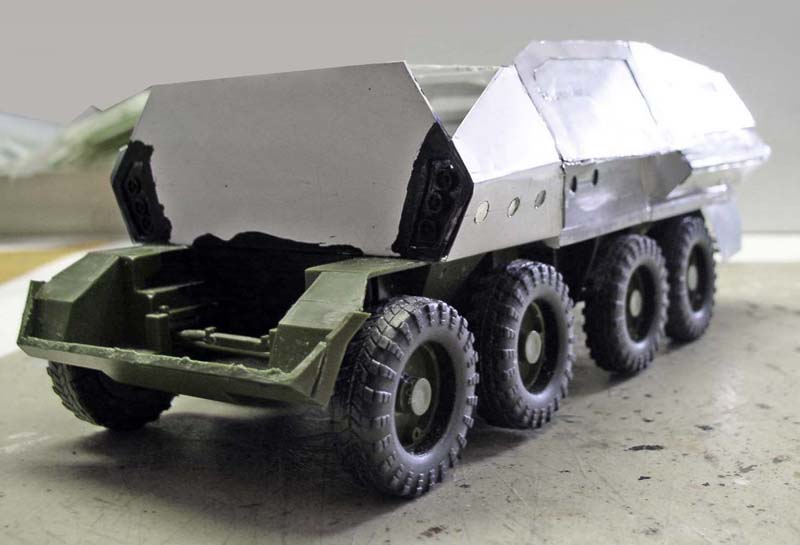
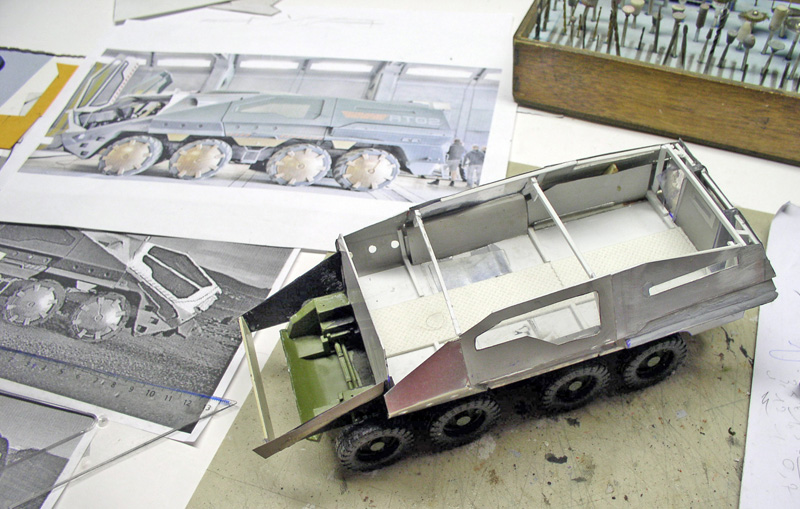
Manufacturing the front extension that will house the cab...
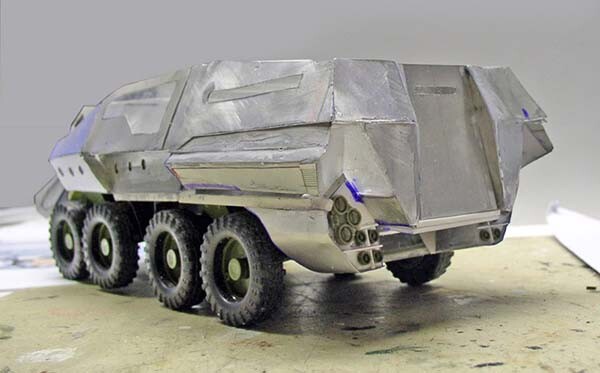
A view showing the rear set of lights...
Templates
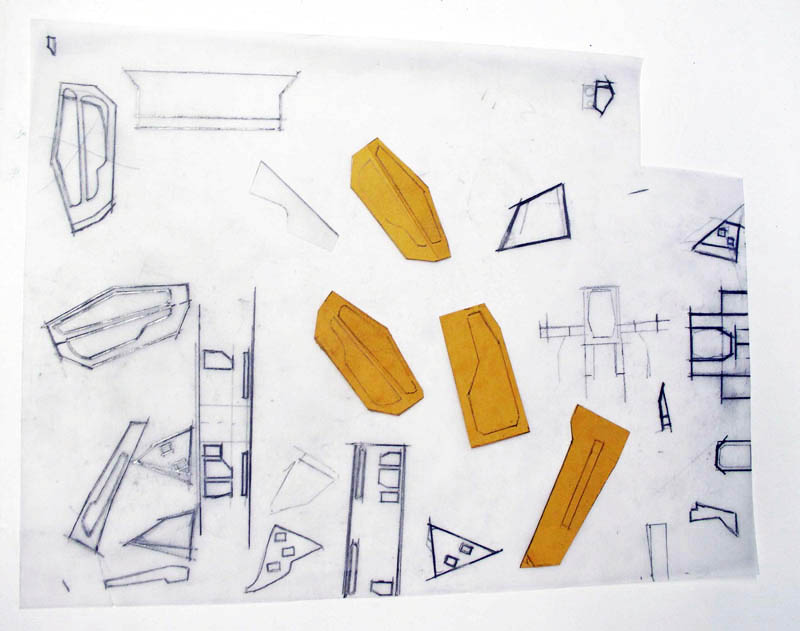
Templates are cut out of cardboard, and once the correct shape has been determined, they are made from plastic or metal...
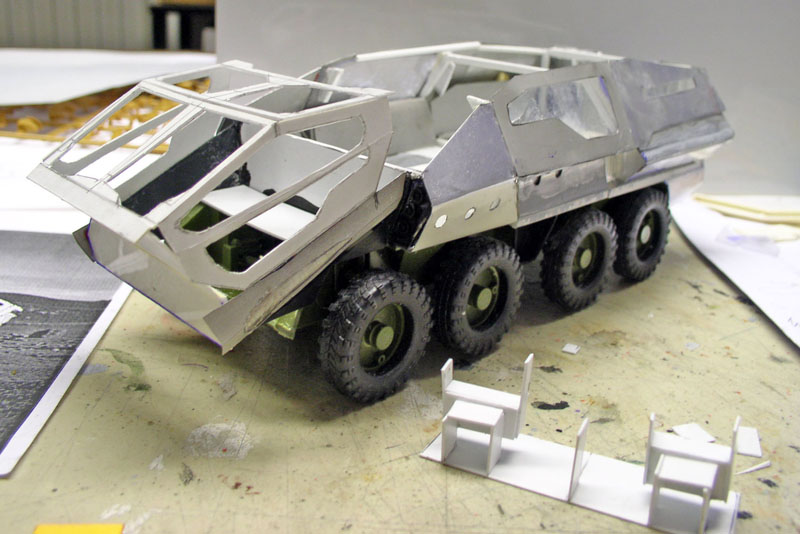
Construction of the cockpit and instrument panel...
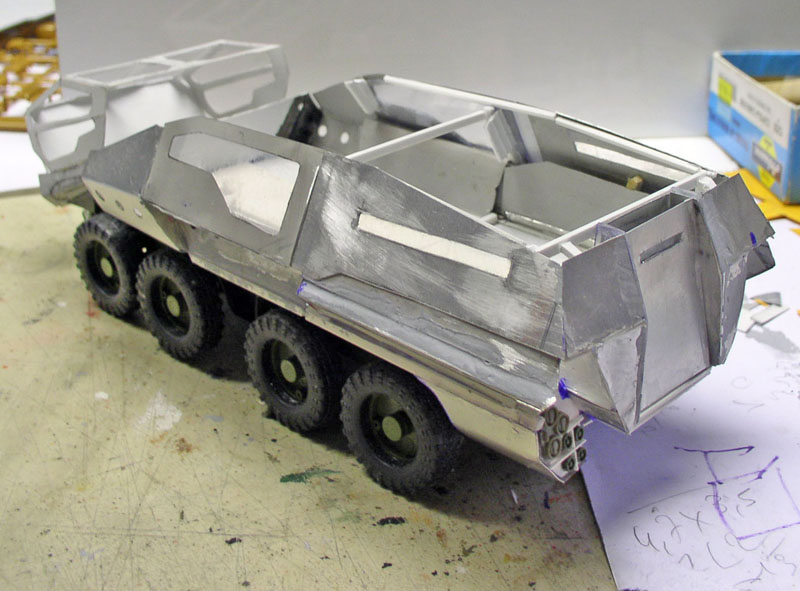
Dashboard/Seats
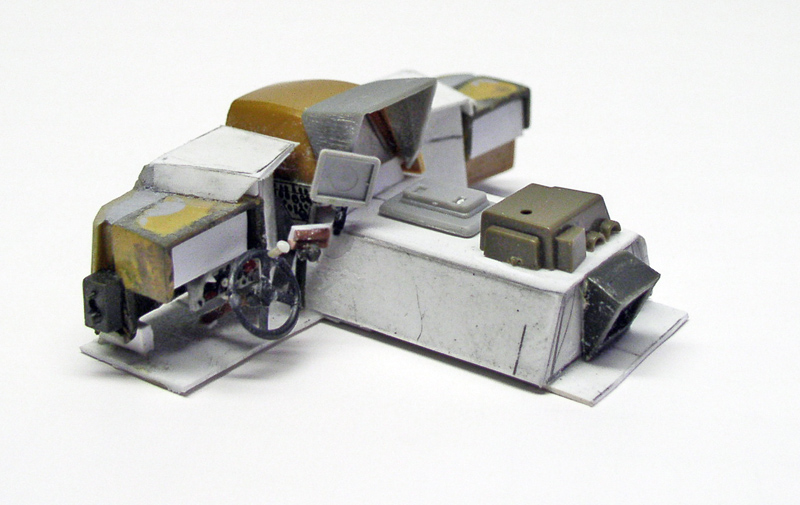
The dashboard is assembled with its accessories...
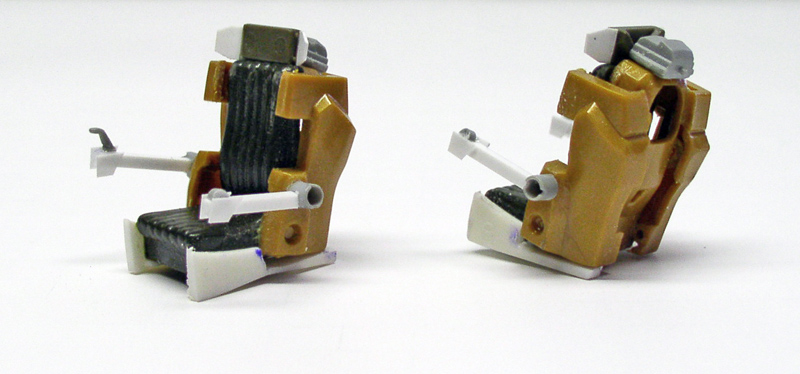
The two seats in the cabin...
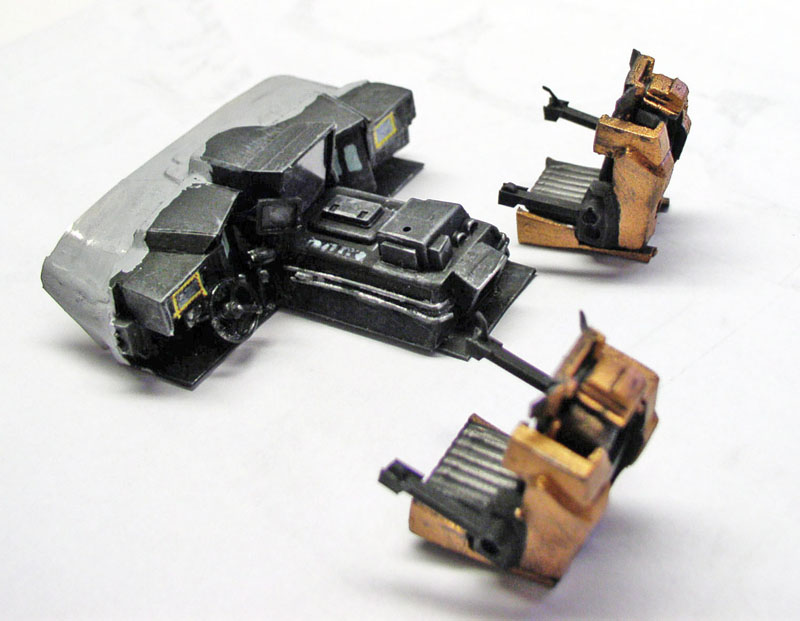
The entire unit is painted and given a patina finish before being installed in the cabin...
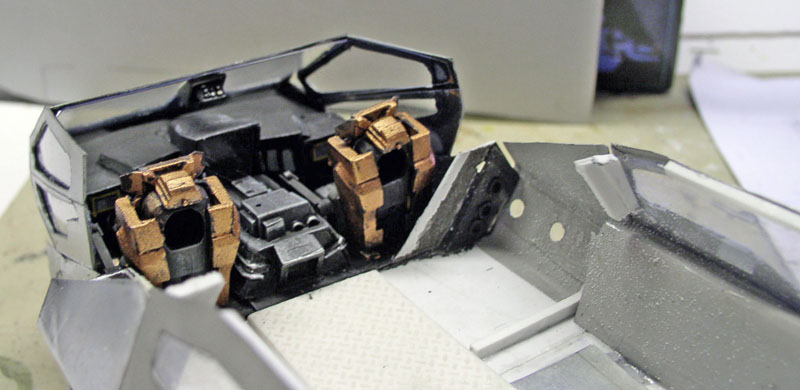
Everything is positioned exactly where it should be, down to the millimeter. The right-hand seat will be straightened when it's glued in place...
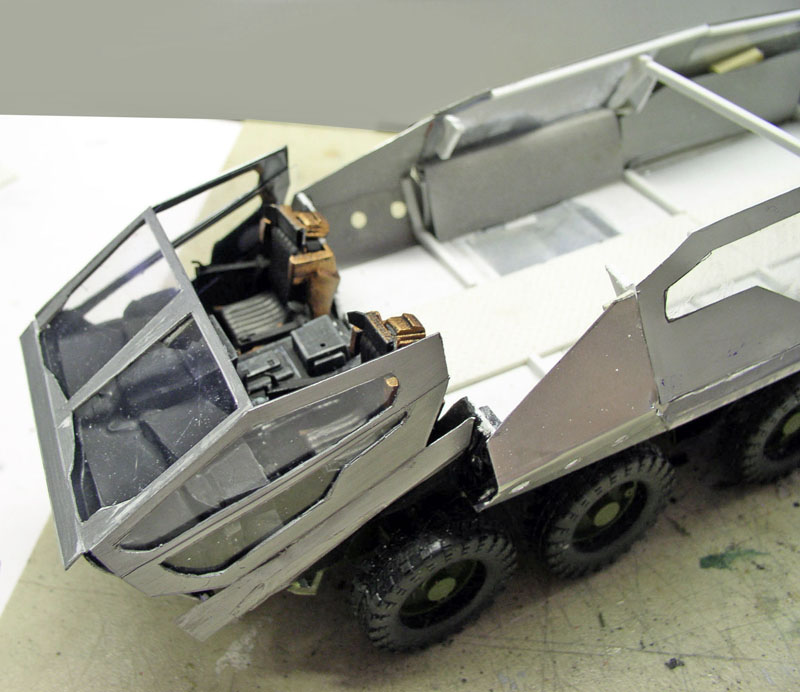
Another view...
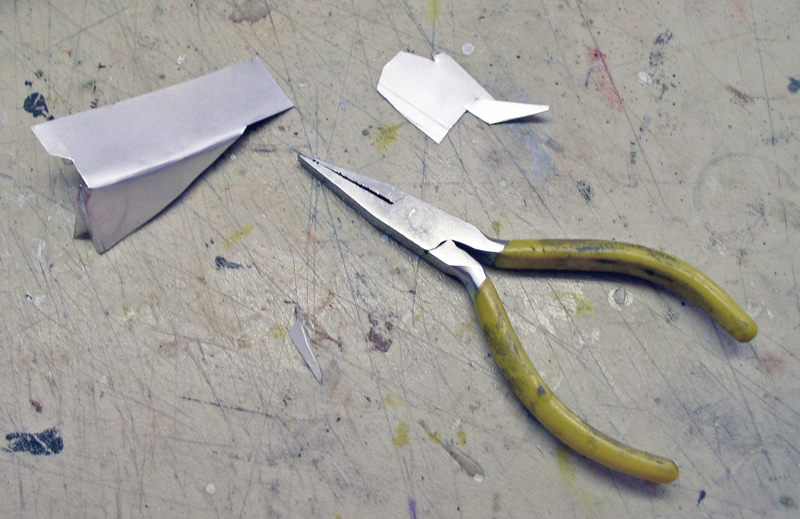
Flat-nose pliers with smooth jaws were used to bend the metal without damaging it for the curved sections...
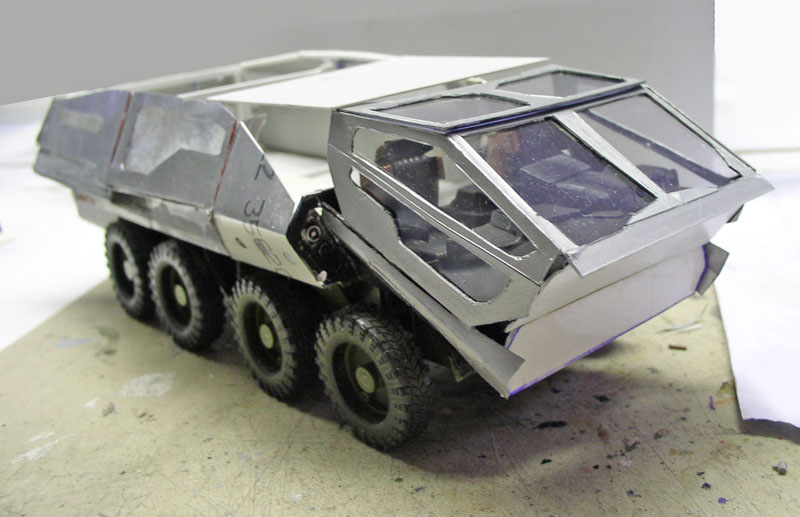
The elements are in place...
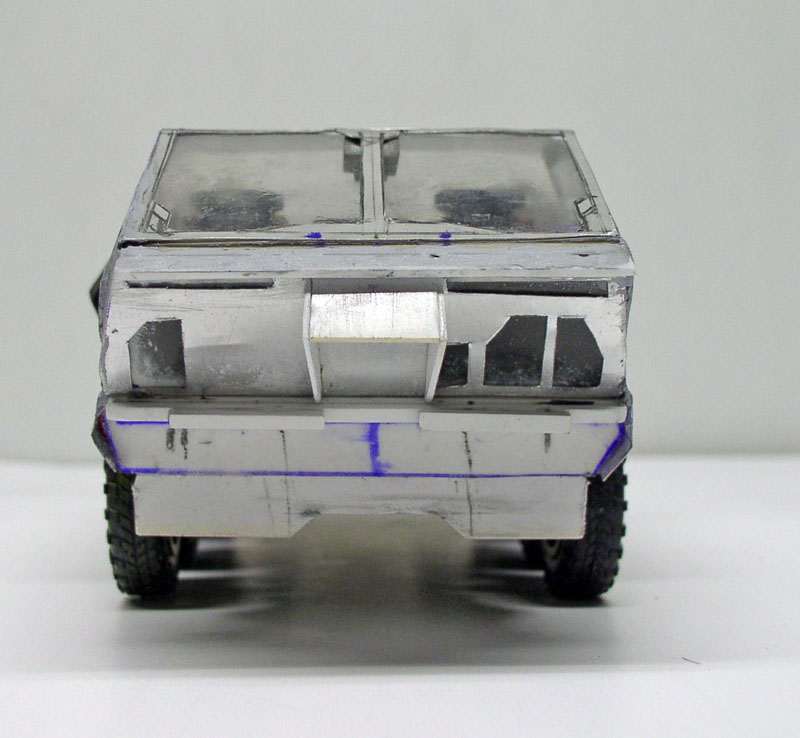
The front glacis is installed with the openings...
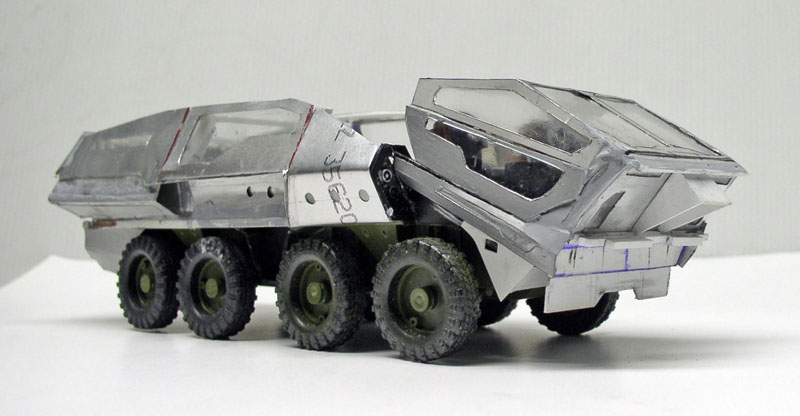 | 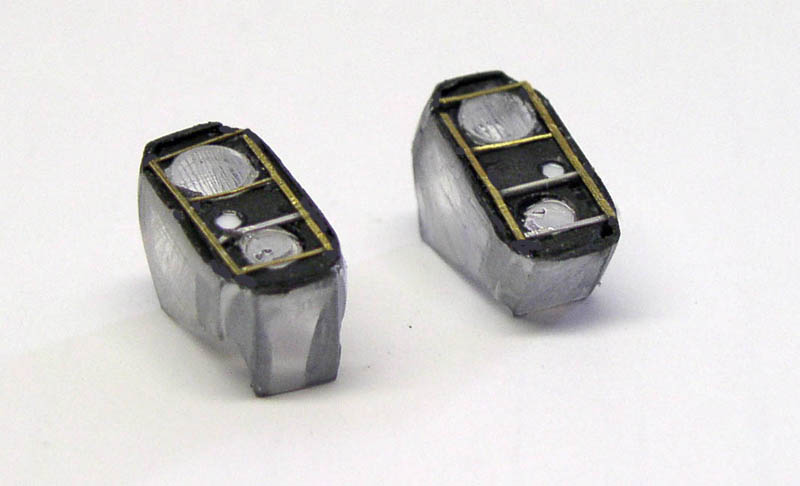 |
Manufacturing headlight housings...
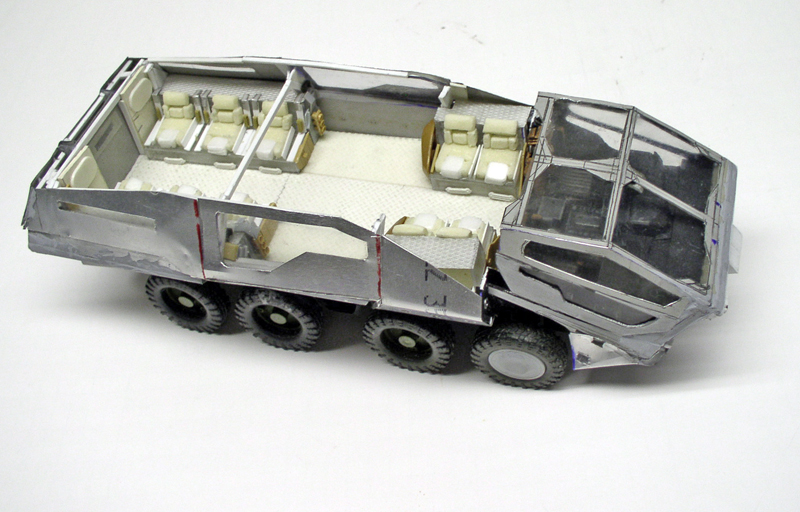
Let's go back inside. The passenger seats are made of extruded polyester and glued together with wood glue...
Painting/Interiors
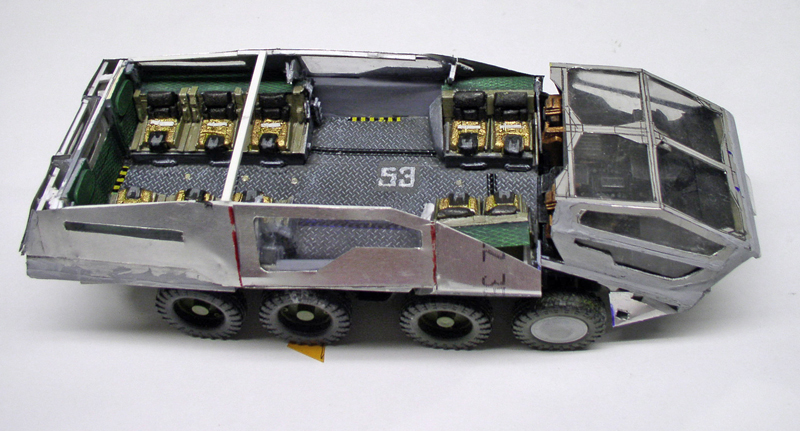
Then I painted the whole thing: acrylic for the seats, Humbrol oil paint for the rest...
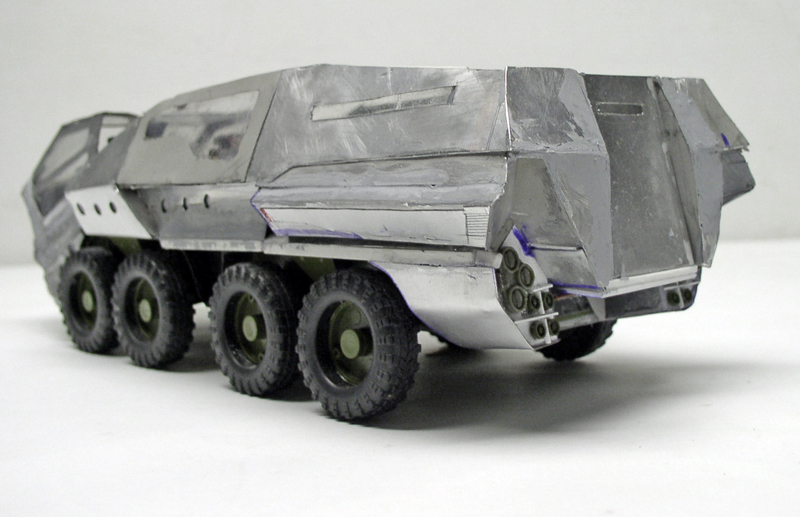
A complete view. All that's missing is the top... The problem with metal is the filler. It doesn't hold up well to sanding, and getting flawless seams isn't easy at all...
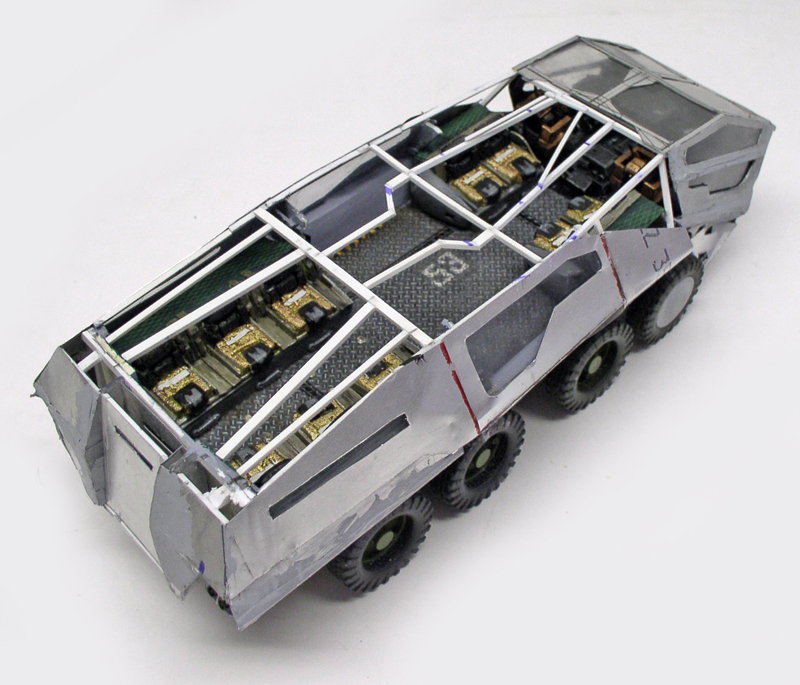
We're building a roof frame...
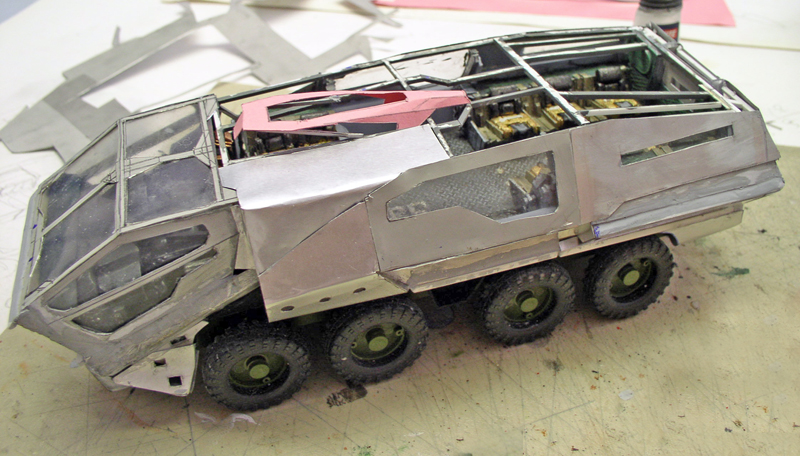
Test fitting of the roof cockpit template...
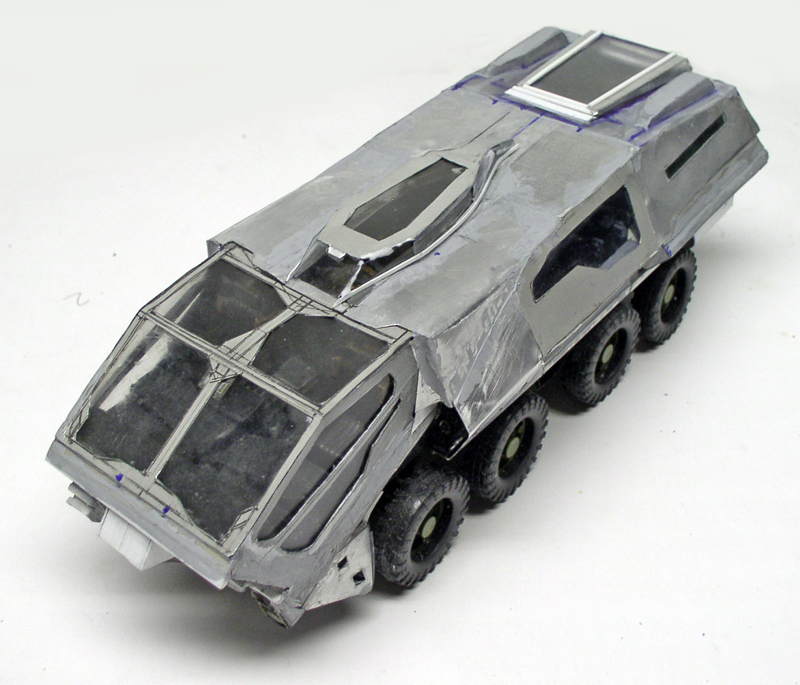
Finishing the upper part...
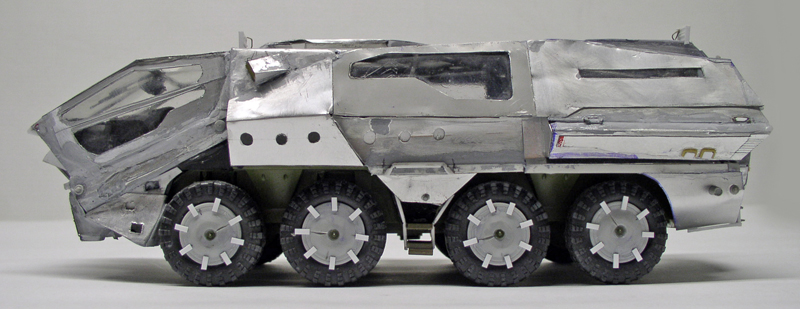 | 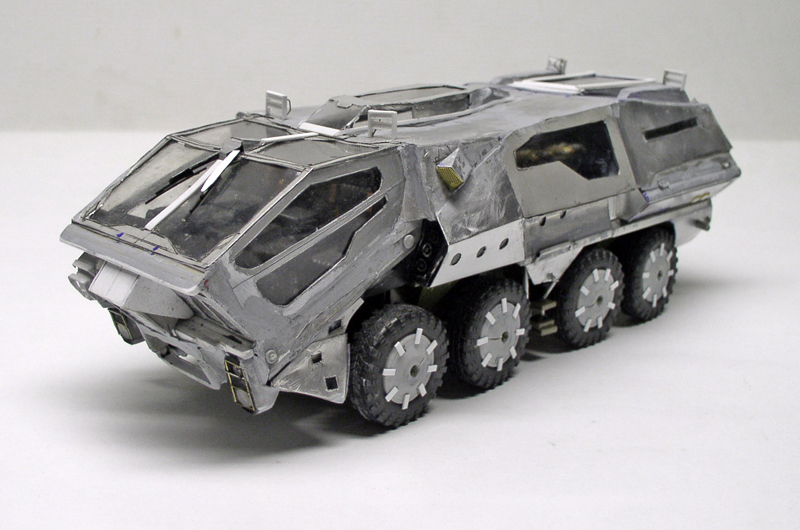 |
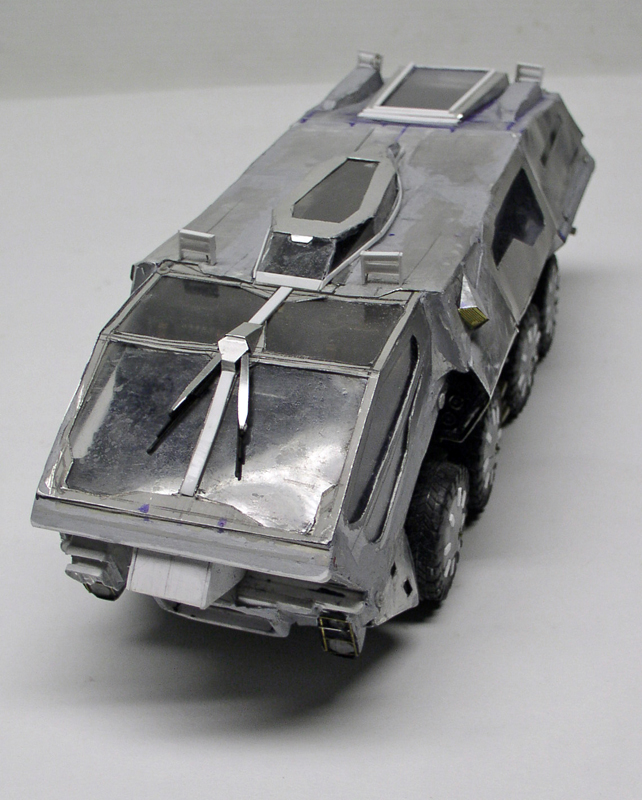
Installing the wheel covers with their tabs...
The problem with soft metal is precisely its lack of rigidity. If you press too hard, it warps. And there’s plenty of handling involved with this type of scratch-built model!
The lesson to be learned is that you should build the structure out of plastic sheet and use metal only for the curved parts. This minimizes warping, as well as problems with delicate joints and putty work...
Thin acetate sheets helped improve the overall result, but some flaws still remain...
Painting/Rover
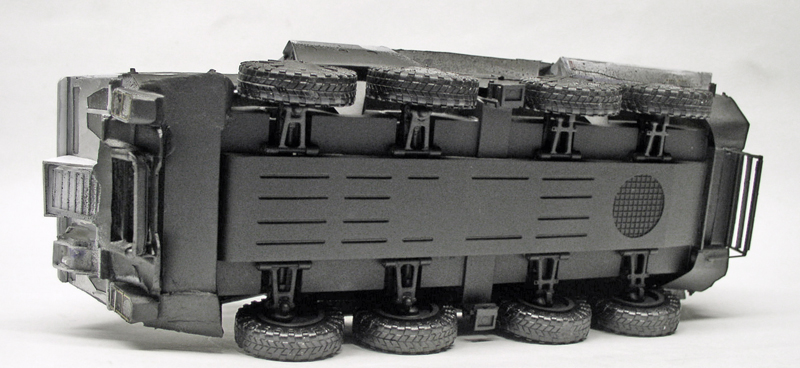
Humbrol Matte Black for the chassis...
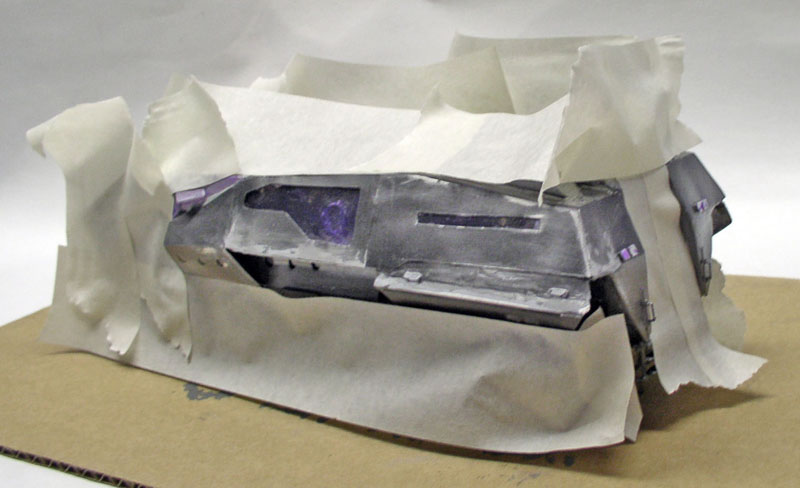
We use Maskol (liquid rubber) on all glass surfaces...
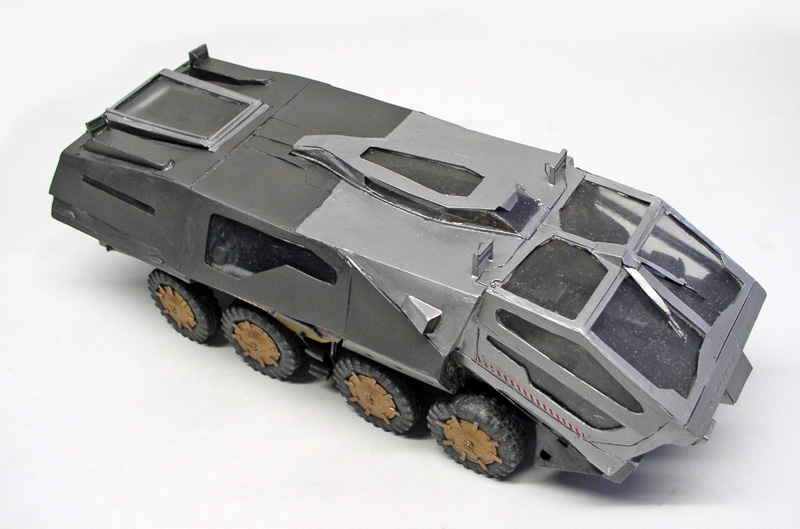
The vehicle is painted with Model Master oil-based metallic black and silver. The rims are painted with Humbrol using Base 12 Copper and a few drops of Yellow 62...
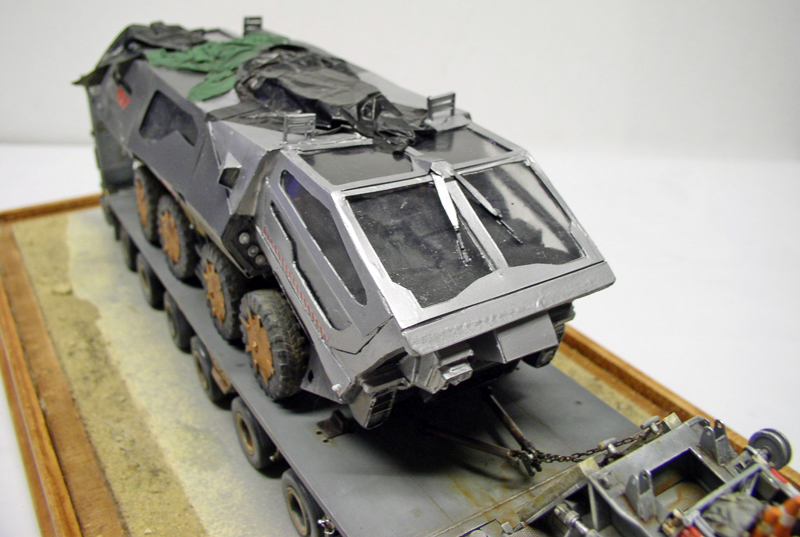
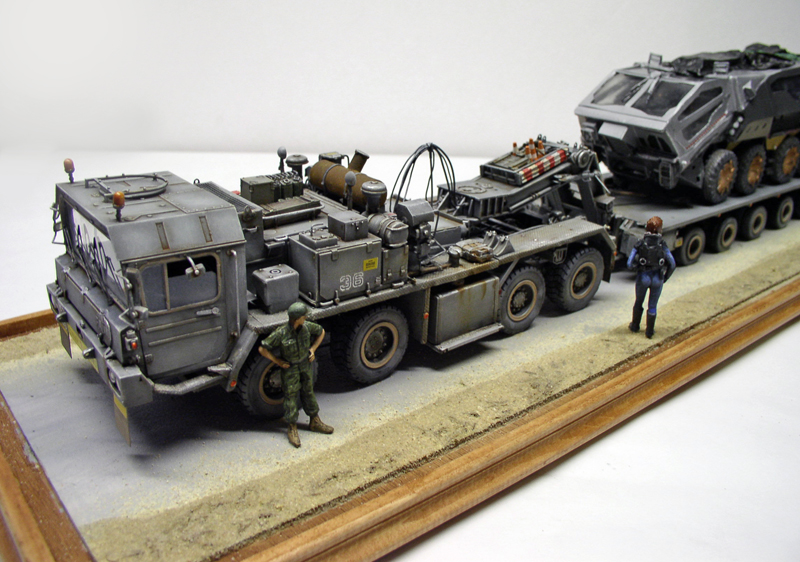
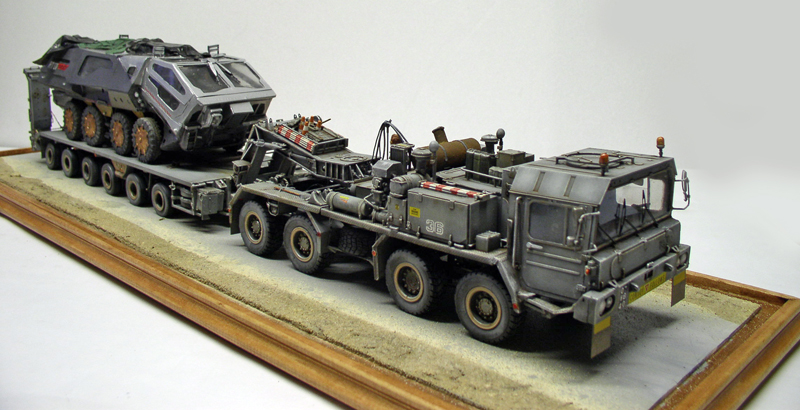
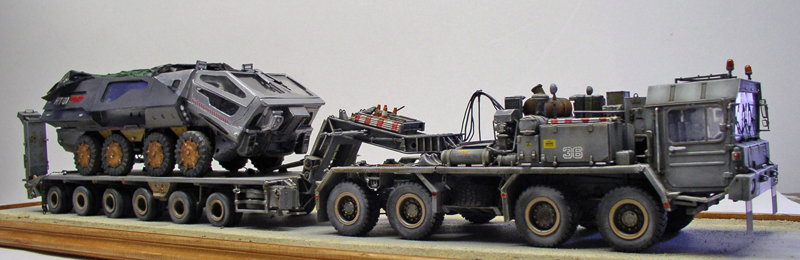
The Rover mounted on the tank transporter's trailer. A plastic sheet is glued to the top, along with another made of toilet paper soaked in wood glue and painted once dry...
Editing/Faun
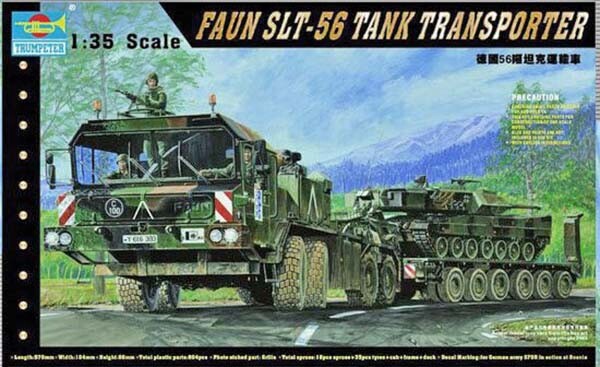
The Trumpeter model kit is superb! The instructions aren't always very clear, but it's superb! Lots of parts. Not recommended for beginners...
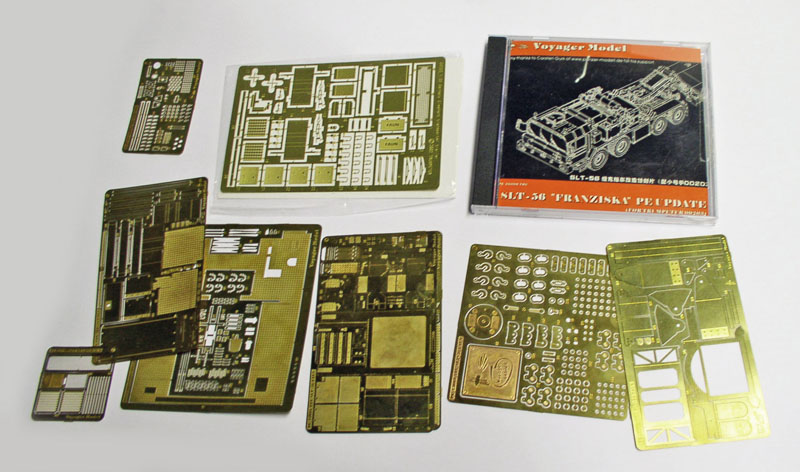
To complicate matters, the kit shown here was purchased as part of a bundle that included a Voyager Model photo-etched parts set in addition to the photo-etched parts included in the box. That set is still superior in terms of finish, though...
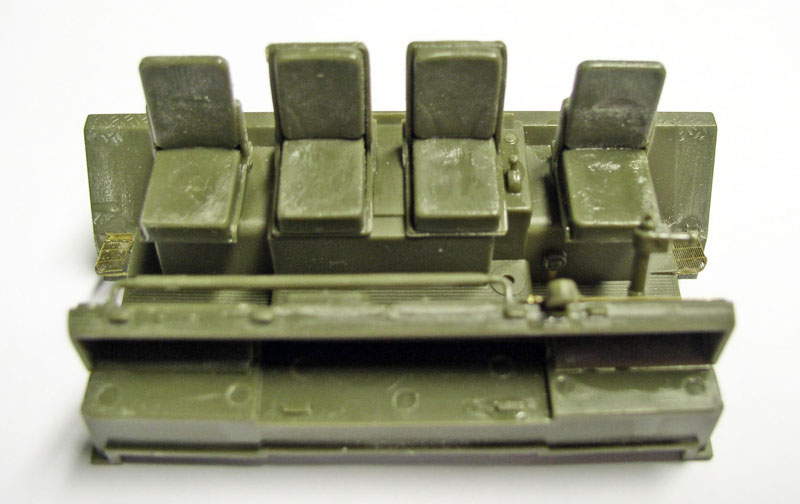
We'll start by assembling the interior of the cab. The seat cushions have been ground down and sanded to give them a worn look. You can see the photo-etched running boards on either side...
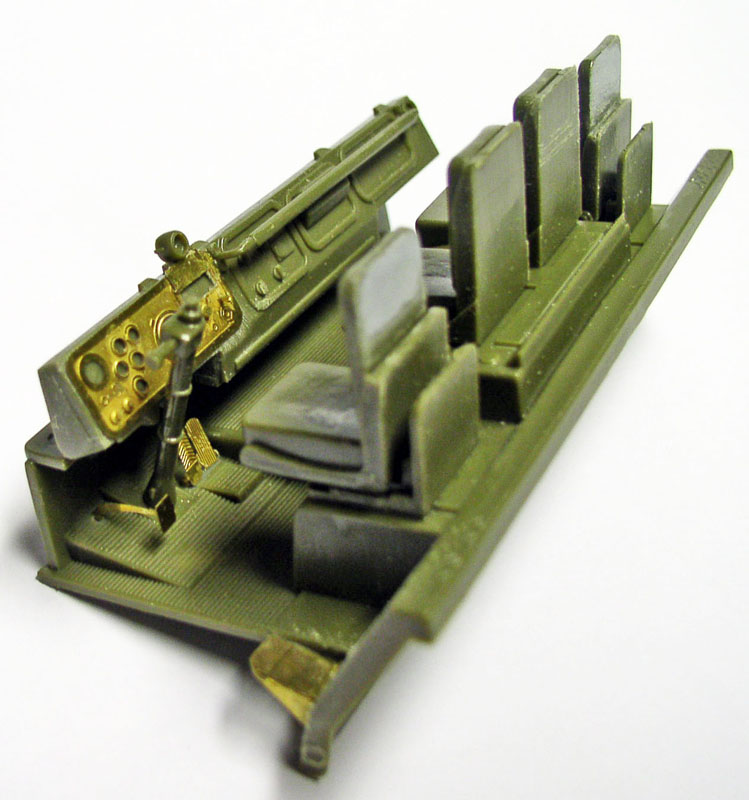
Installation of the dashboard and pedals. The old one was ground down and sanded...
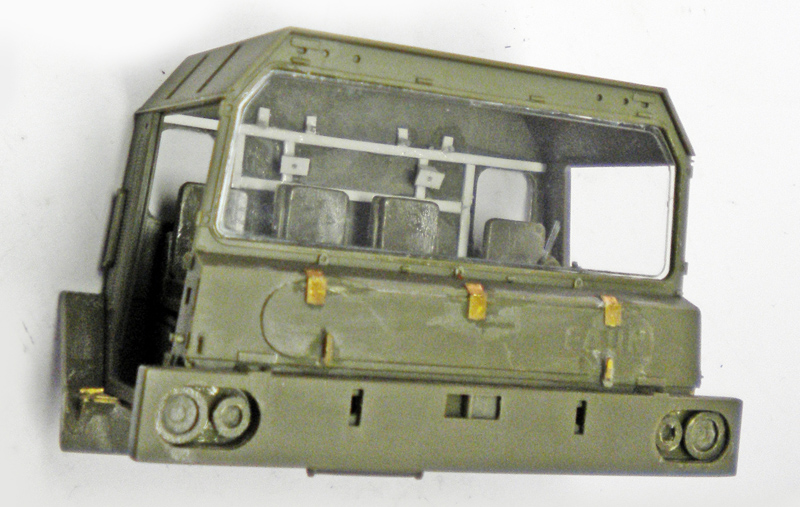
Inside the cabin, clearly visible, there are missing reinforcement bars and fasteners made of Evergreen...
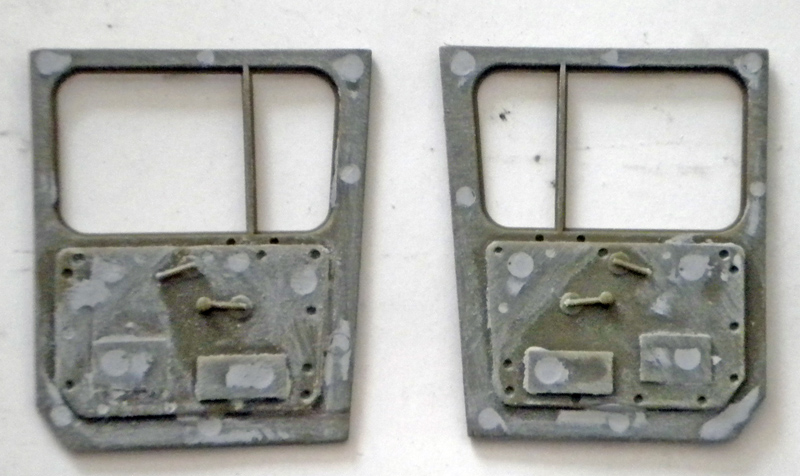
On the inside of the doors, all mold lines must be filled and sanded down...
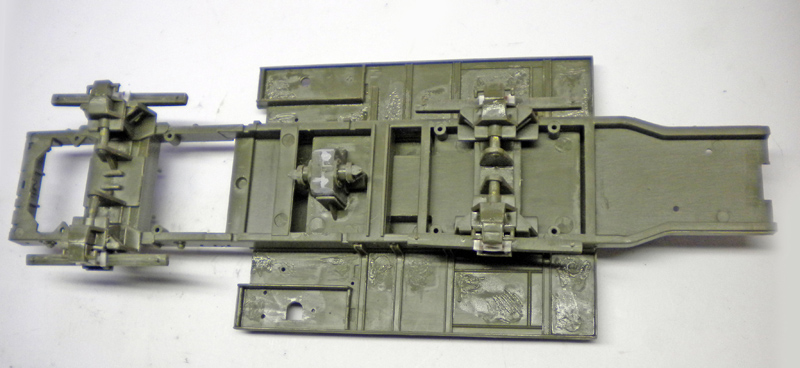
A view of the underside of the tractor's chassis. Traces of the molding process have also been removed...
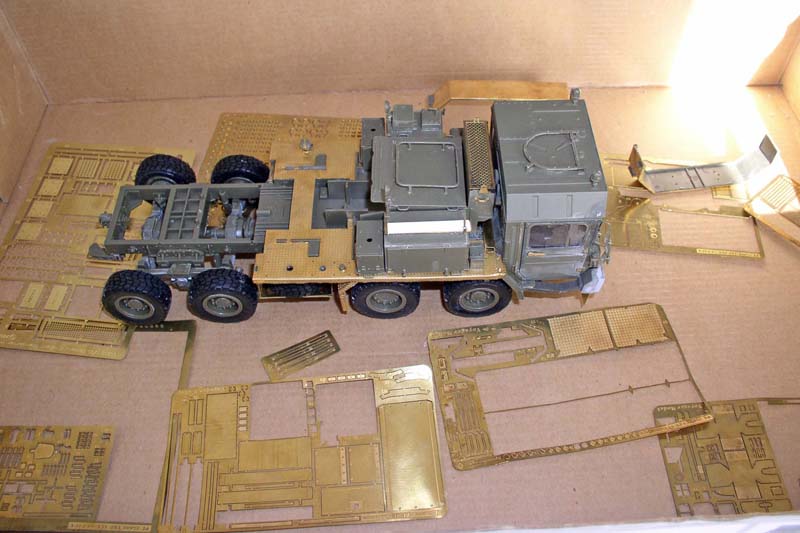
The assembly of the cut-out photo includes parts such as the fenders, which must be adjusted with precision...
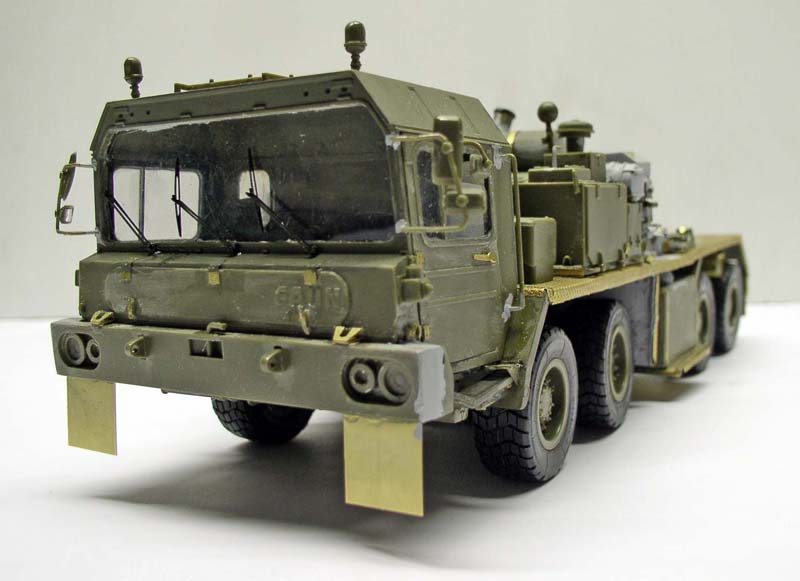
Front view. The added mud flaps are just for looks—they rarely come with them. Installing the three photo-etched windshield wiper blades is a moment of deep meditation!
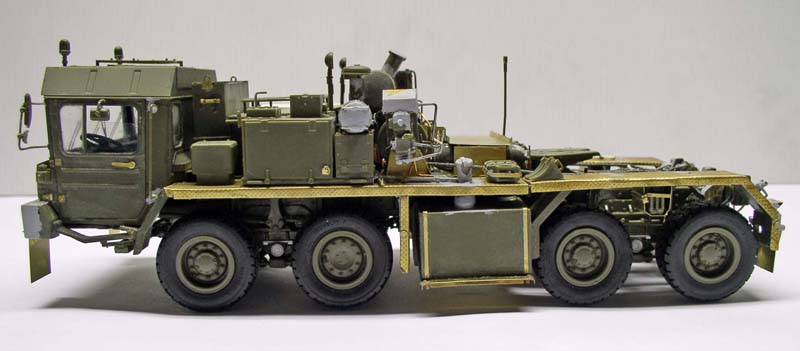
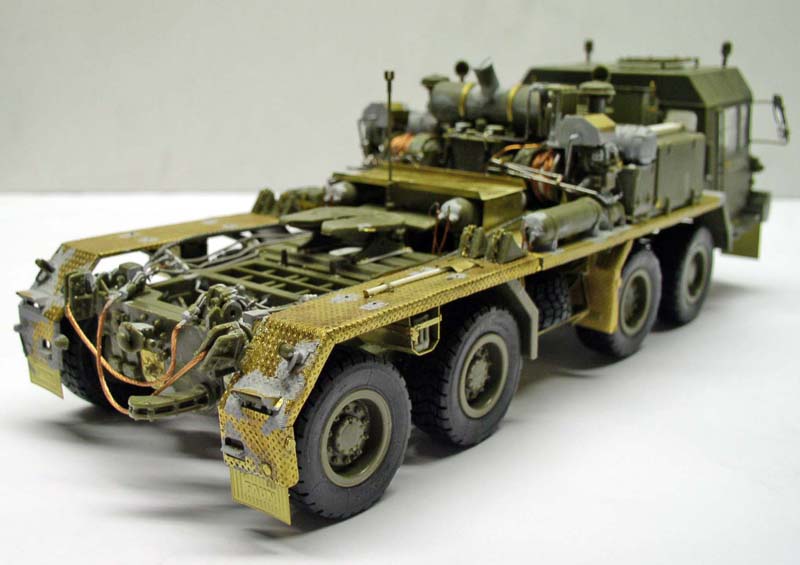
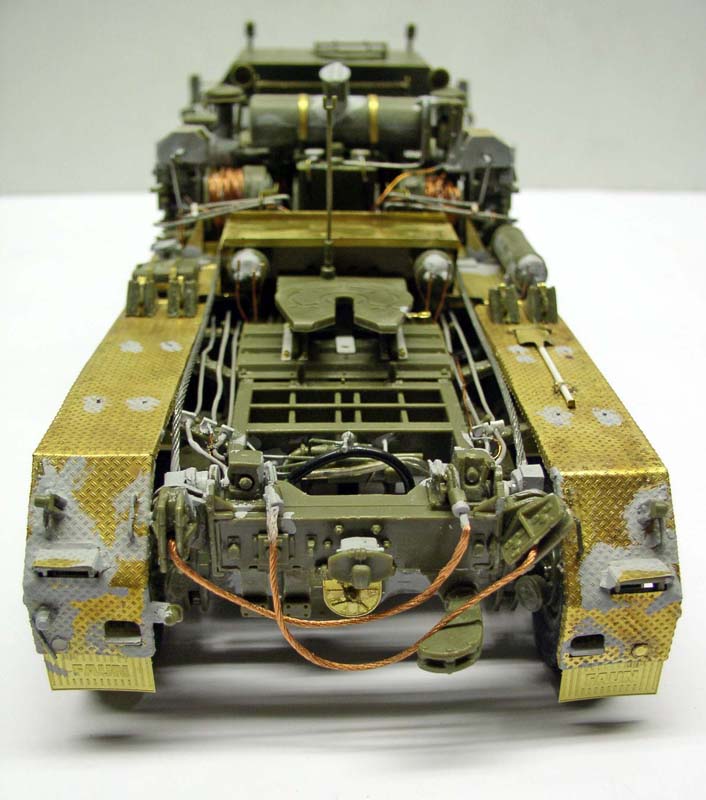
Installing the winches and wiring required a great deal of care...
After doing some research online—since the plan was vague on this point—and after finding two superb models with improved details, it turned out that both had different mounting configurations and... were incorrect! Nothing beats the documentation from the actual vehicle!!!
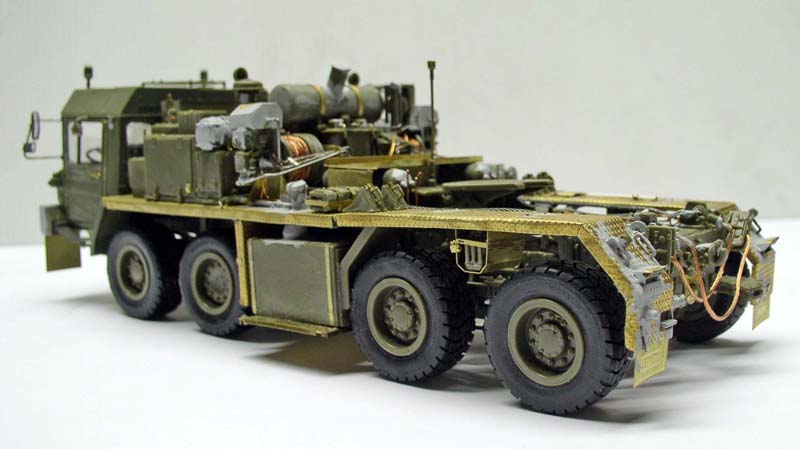
Despite the cutout photo, some parts need to be improved or created to make them look more realistic...
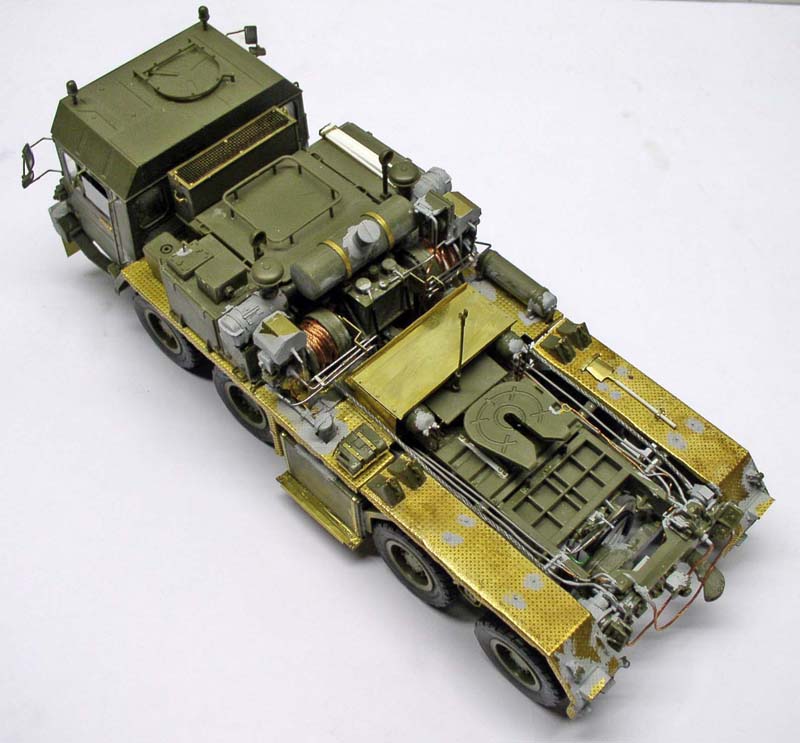
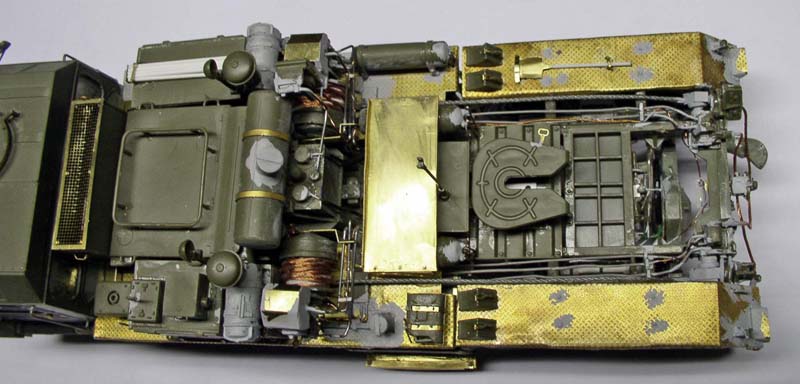
Two top views showing the added parts. After gluing, liquid filler is applied to certain areas to improve the joints and eliminate a few minor imperfections...
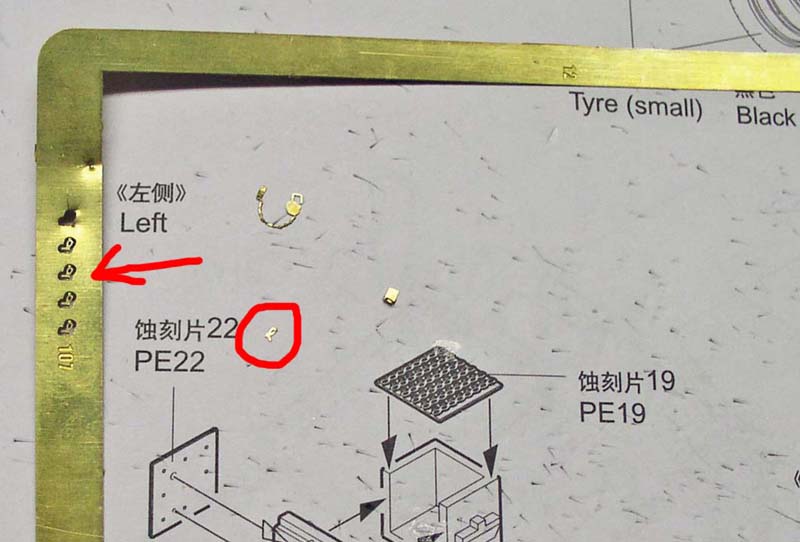
A photo showing the tiny size of some photo-etched parts—in this case, trunk fasteners...
Painting
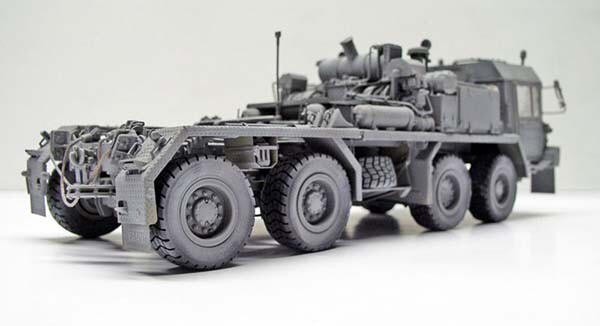
I decided that my model would be gray (sci-fi) rather than the usual camouflage pattern typical of this vehicle. After the usual coat of primer, the Humbrol oil-based base coat consists of 140 and 128 to lighten the color...
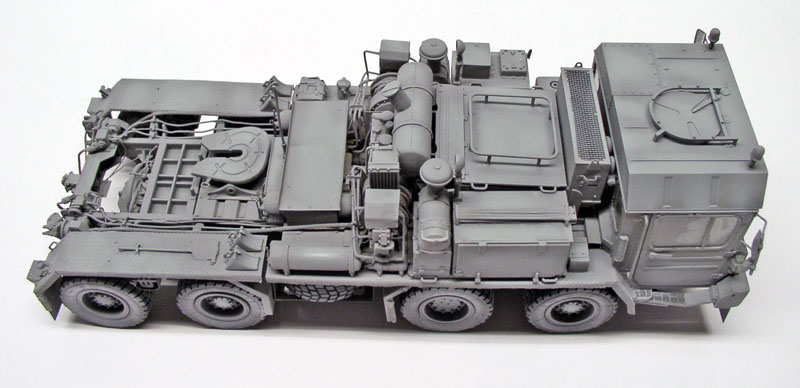
A view of the base coat; you can clearly see the lighter highlight layer...
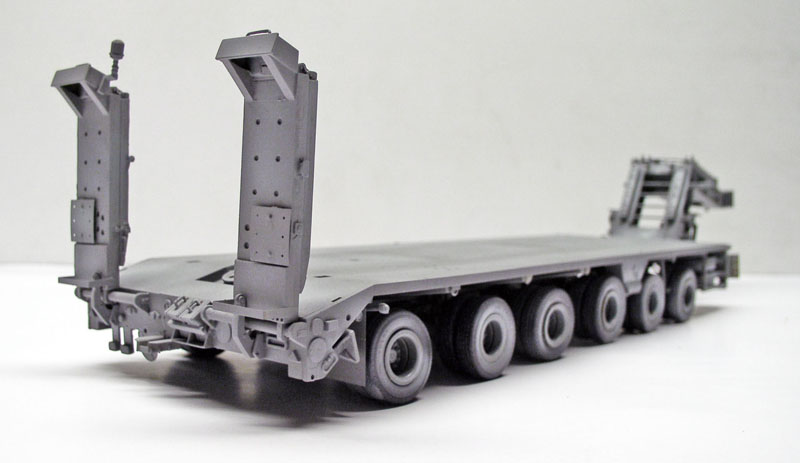
The trailer, which was built and detailed just like the tractor, meets the same fate...
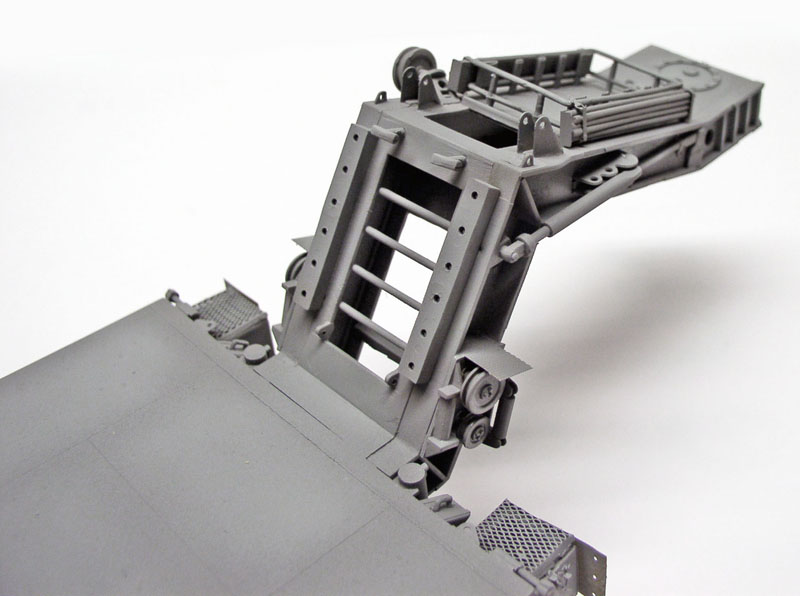
A view of the "duckbill"...
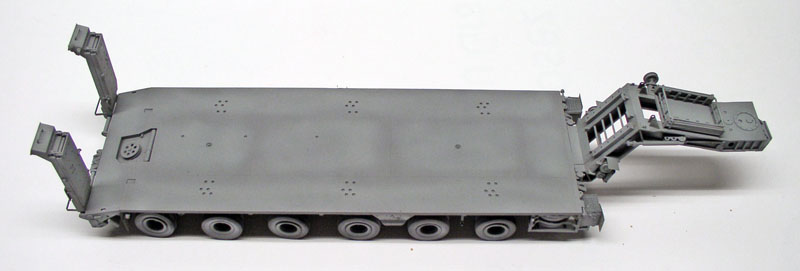
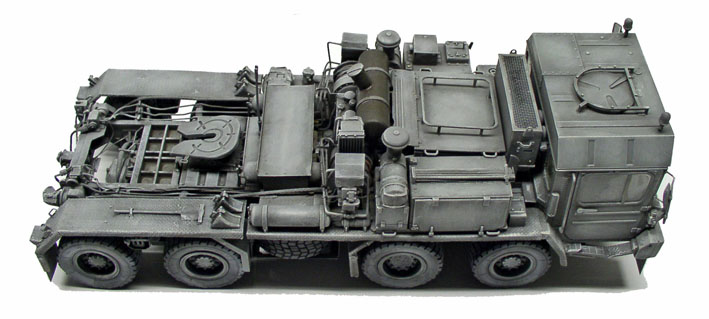
Next, we continue by applying a dry brush stroke—using a flat sable brush—with a mixture of 40 and 147...
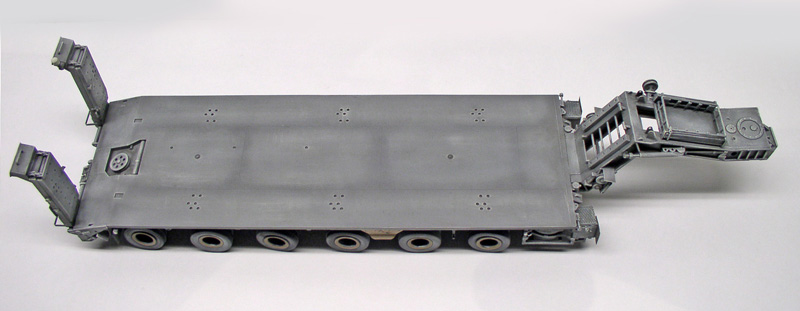
Same goes for the trailer...
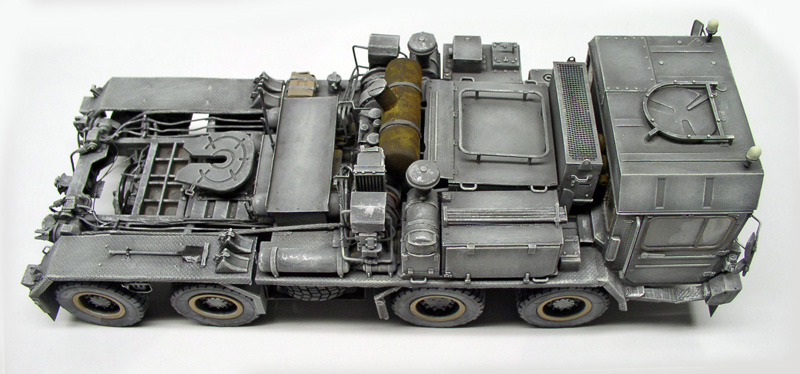
...then HU10 gray and a little white...
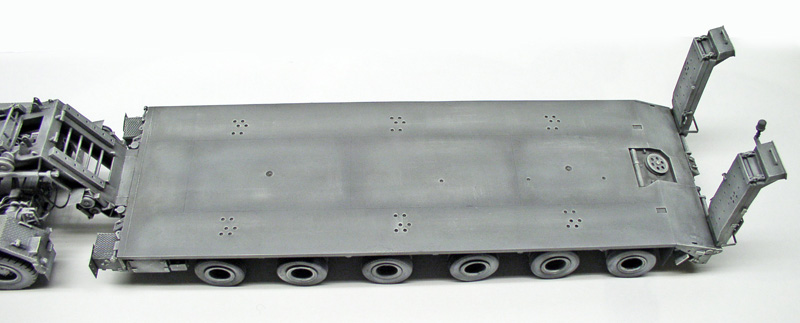
Juices
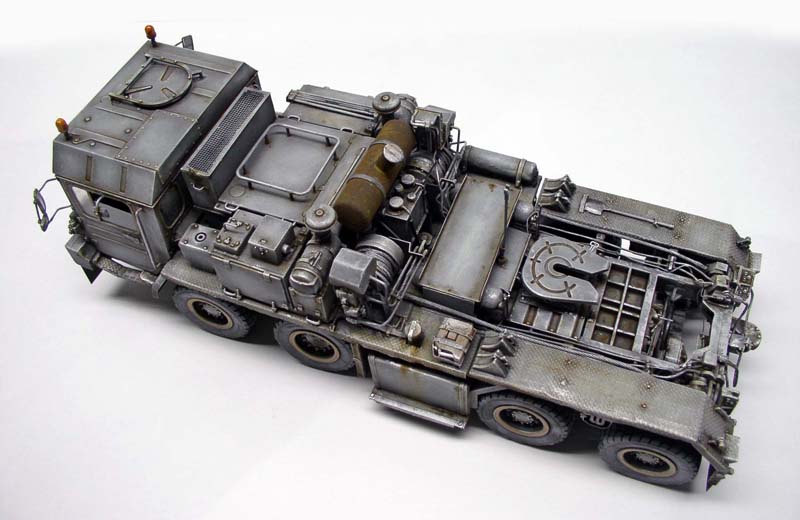
Once the brushing is finished, apply a small amount of a wash made from umber, sienna, and a little black...
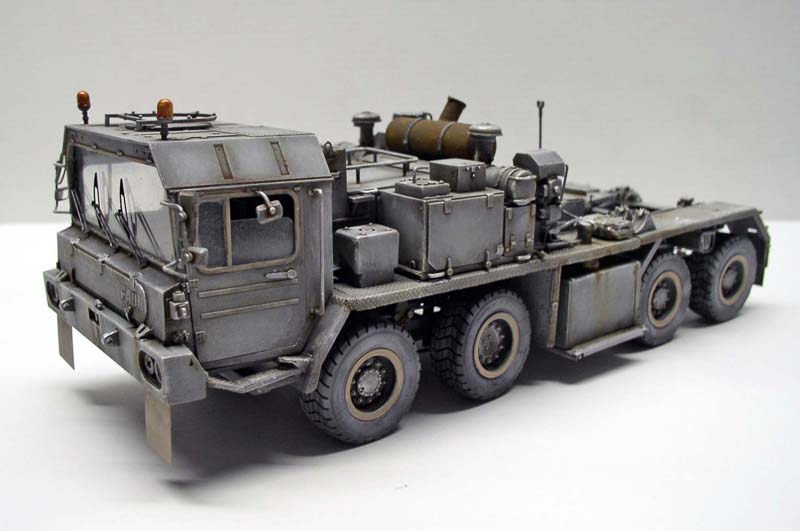
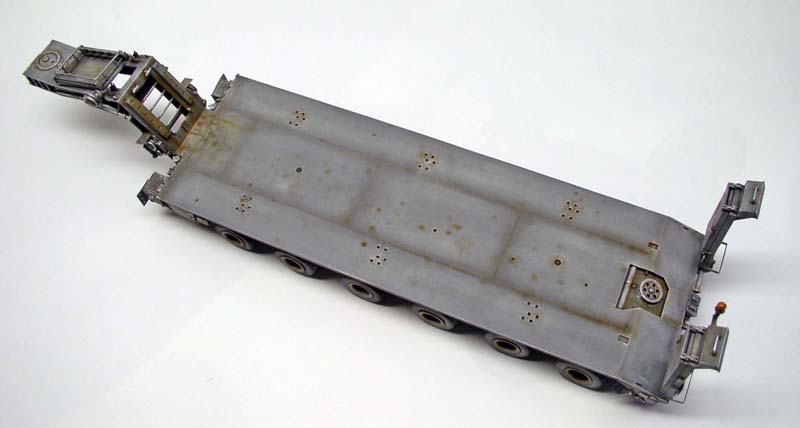
Rust Effect
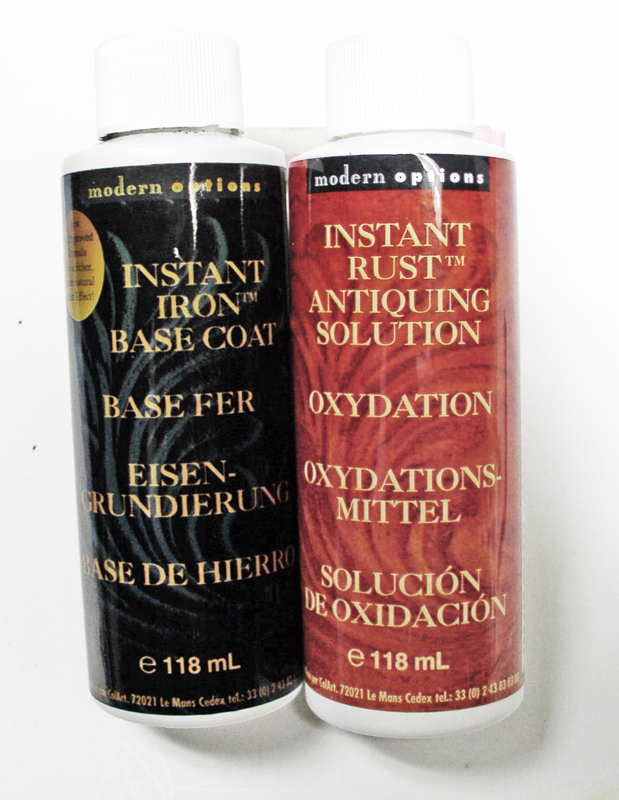
Here's an interesting product for model builders. Test conducted on the Faun's exhaust pipe...
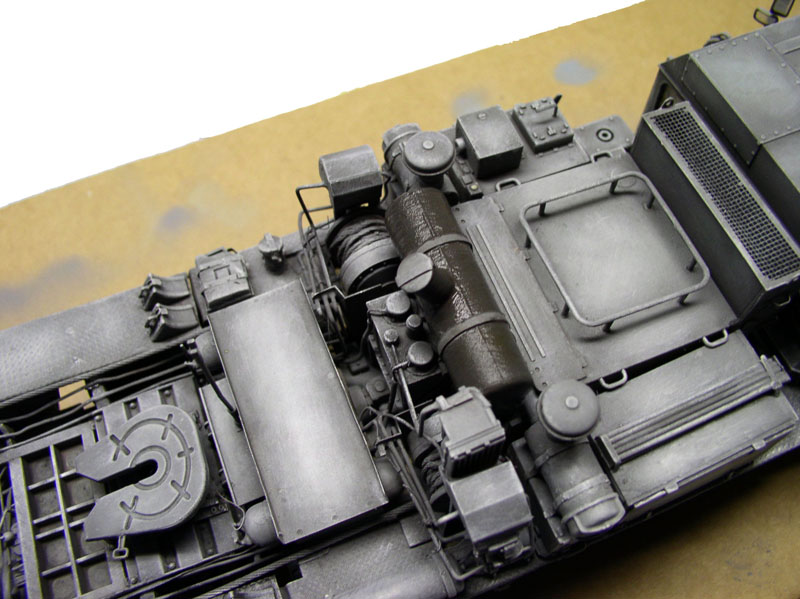
Apply a coat of gray (from the black bottle) and let it dry for 24 hours...
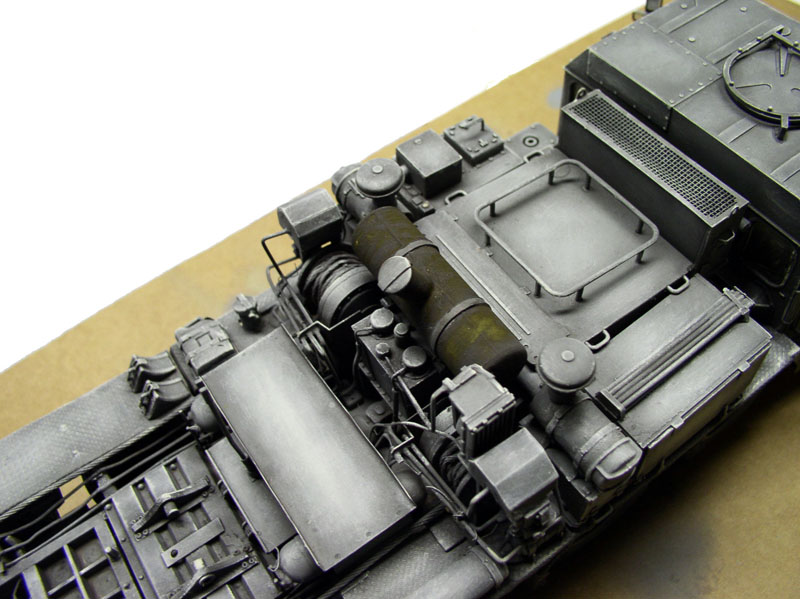
Next, apply a coat from the second bottle and let it dry for a day as well...
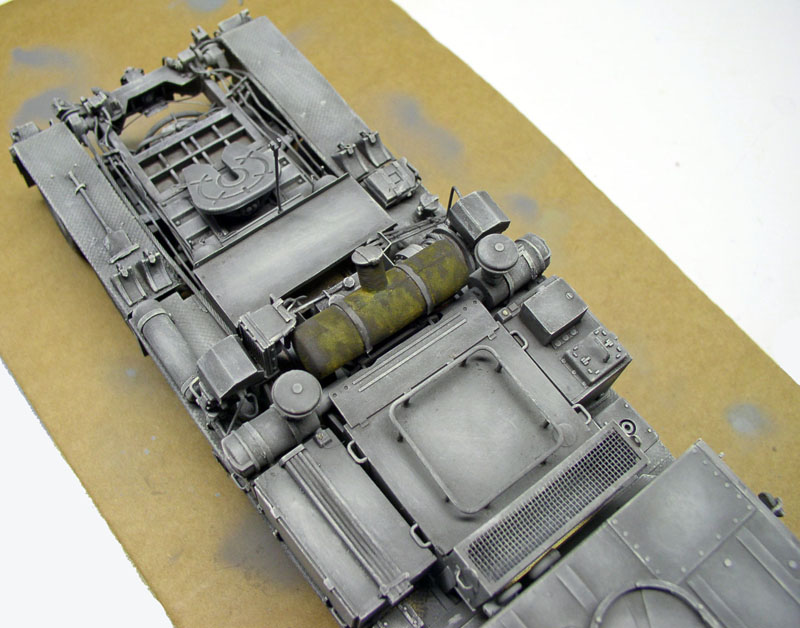
As the paint dries, you'll notice subtle shades that can be accentuated by adding layers or focusing on certain areas...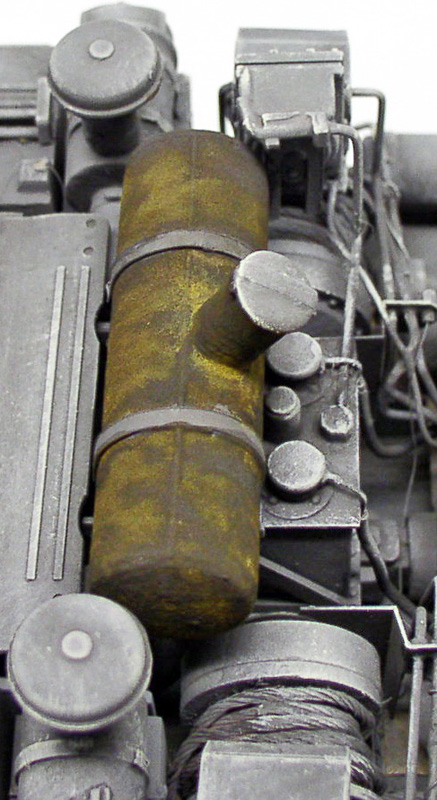
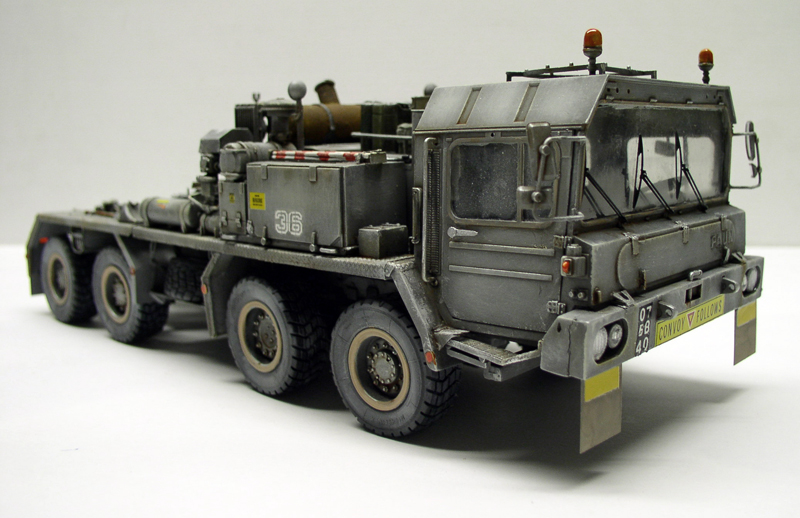
Markings are added...
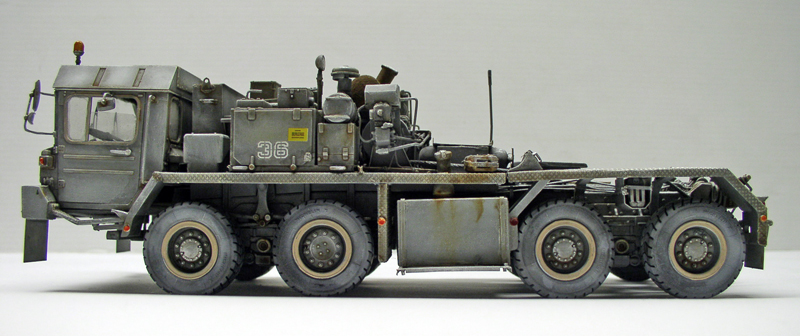
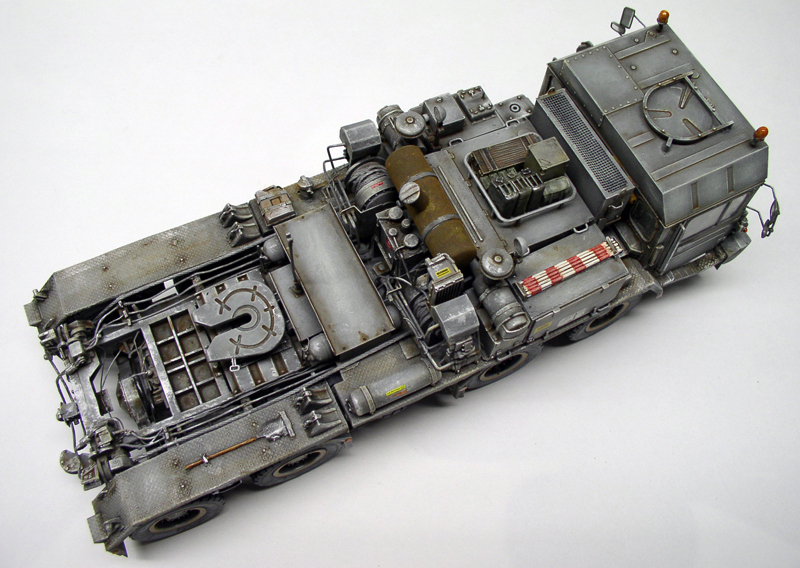
Installing the accessories...
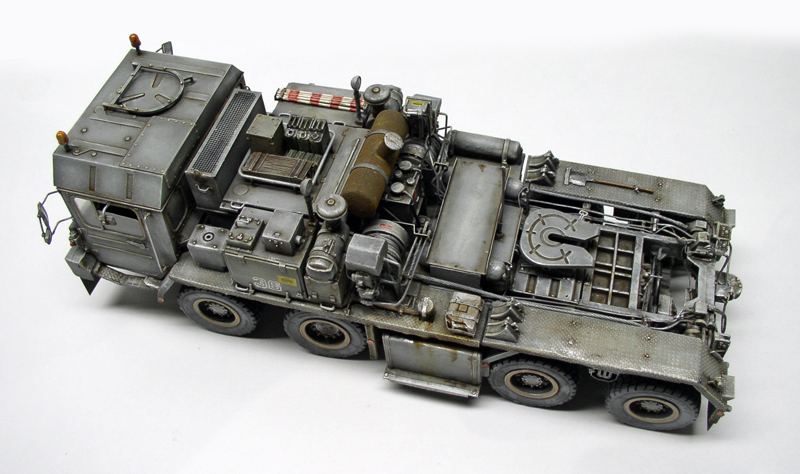
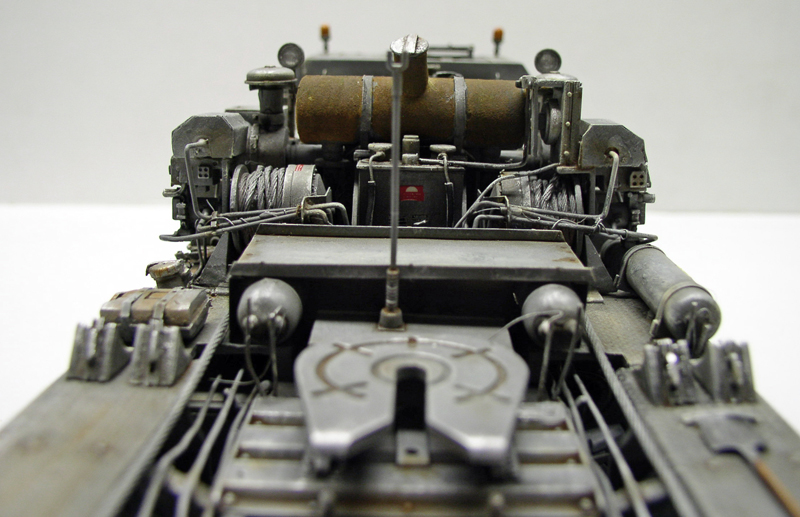
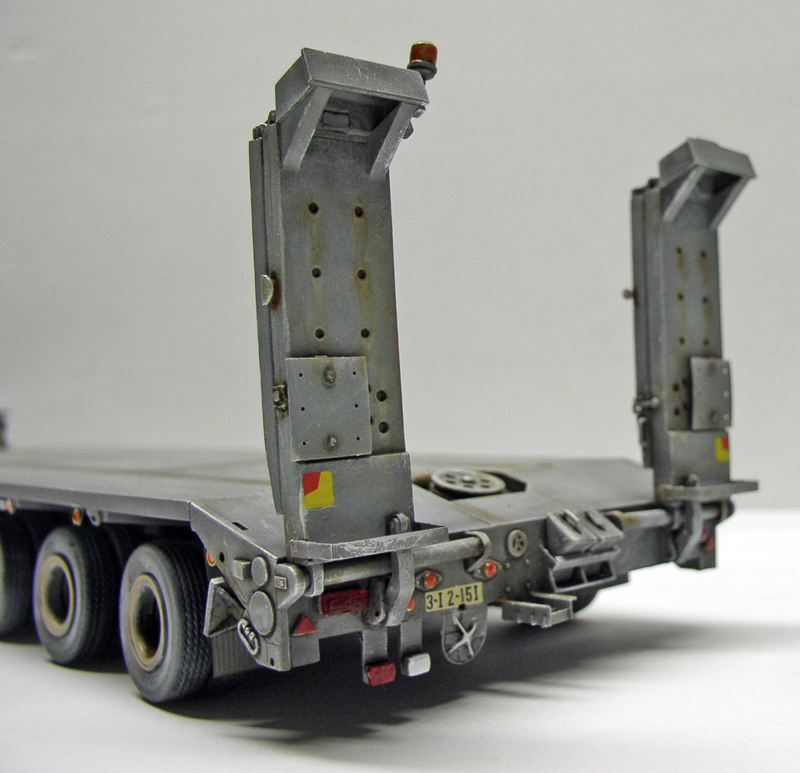
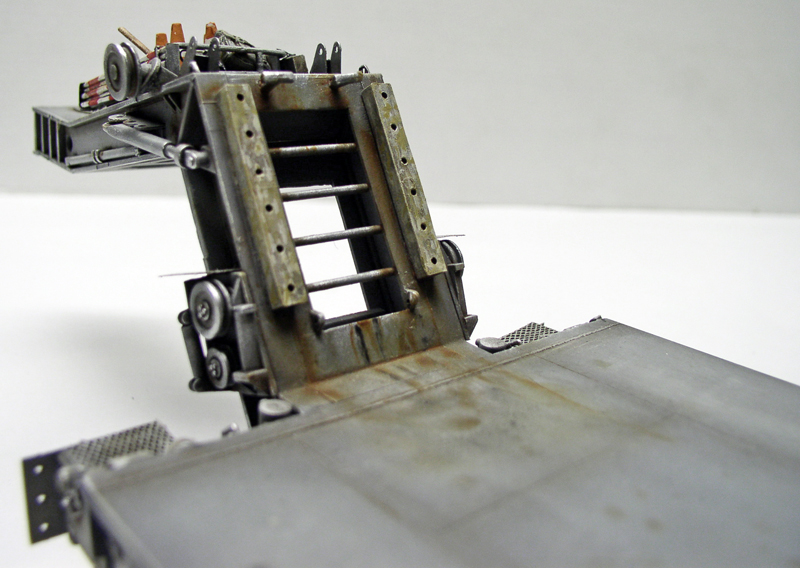
Note the wooden planks on the spire...
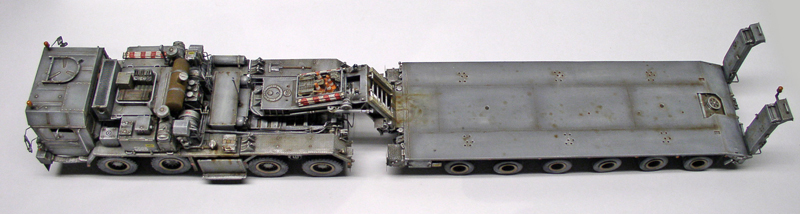
The vehicle is finished and ready to accommodate the Rover...
The figurines
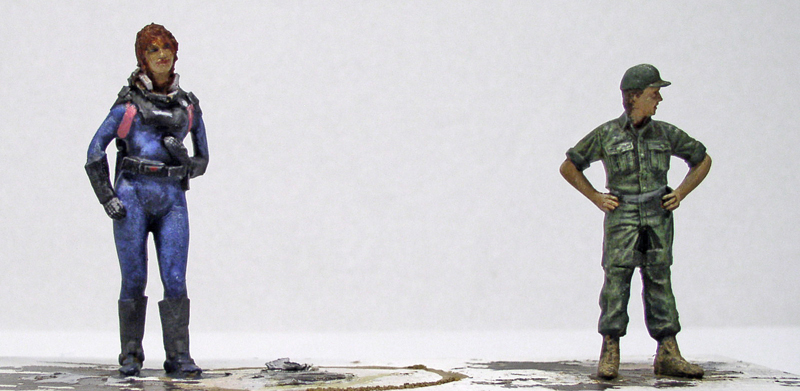
Two modified figurines—the film's heroine and the truck driver—will complete the scene...