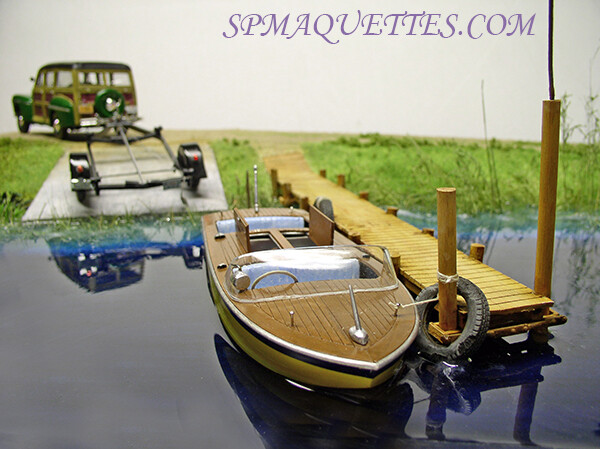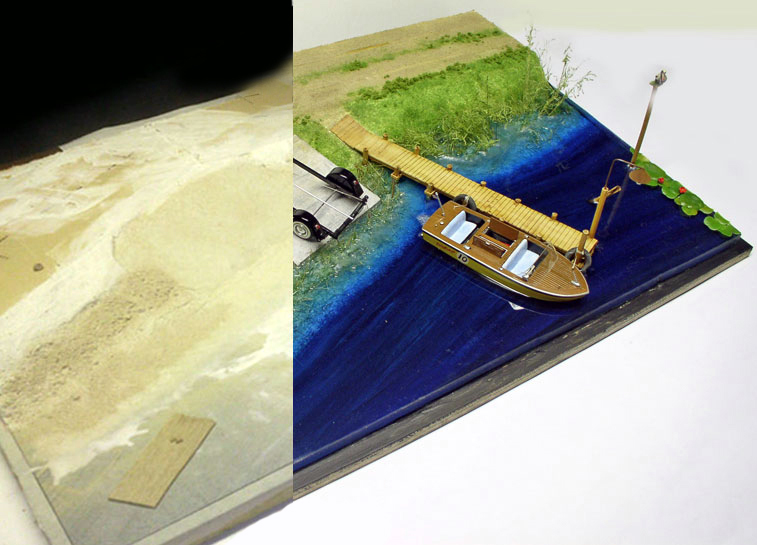
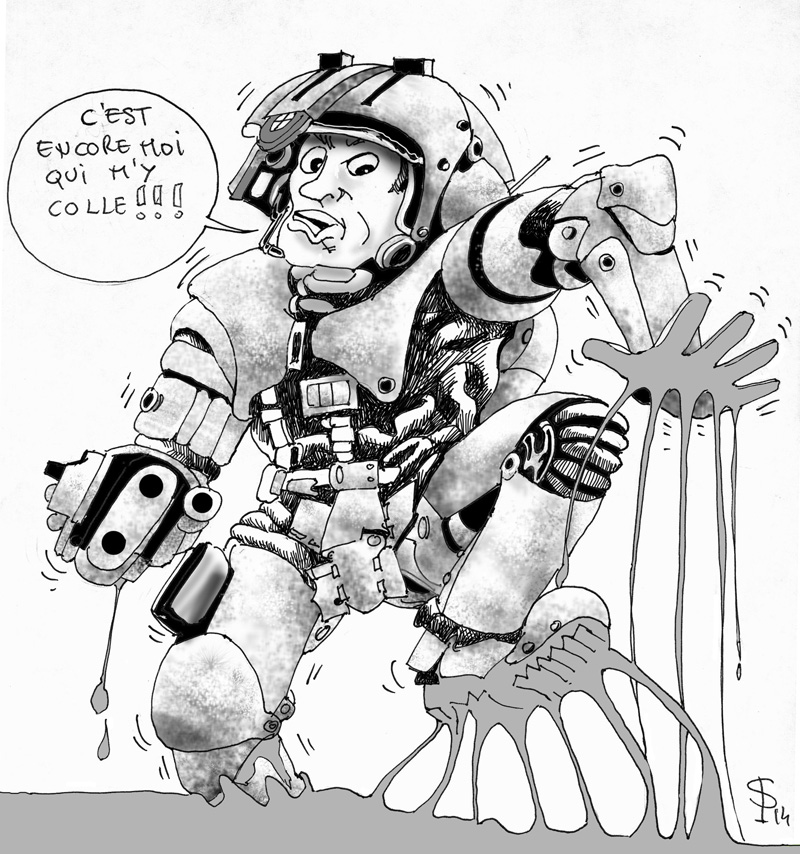
It's me again!!!
Creating resin water effects on a model isn't always easy, but the end result is worth the effort. It requires a great deal of precision in measuring out the ingredients and proper preparation of the surface. There are several products that aren't always easy to work with—all of which are toxic—and their measurements must be followed down to the gram....
Some are sold in small quantities and can be prepared quickly, making it easy to quickly create small bodies of water, such as ponds, streams, etc.
Resin is always sold with a hardener that allows the material to cure through a chemical reaction. Too much hardener and it will crack (or worse: uncontrolled heating, release of toxic fumes, etc.), not enough, and it will NEVER harden and will remain a poison, emitting harmful vapors year-round—even if some are odorless and seem harmless...
Here, we're going to test the CRYSTAL - EC161 resin and its W242 catalyst, sold by ESPRIT COMPOSITE in Paris, which is ideal for this type of work...
We turned to this company because, objectively speaking, it is currently the best supplier on the market for composite materials used in art casting (the author of this article has fifteen years of experience in the field), and what’s more, they offer technical support and very reasonable prices, even for small quantities...
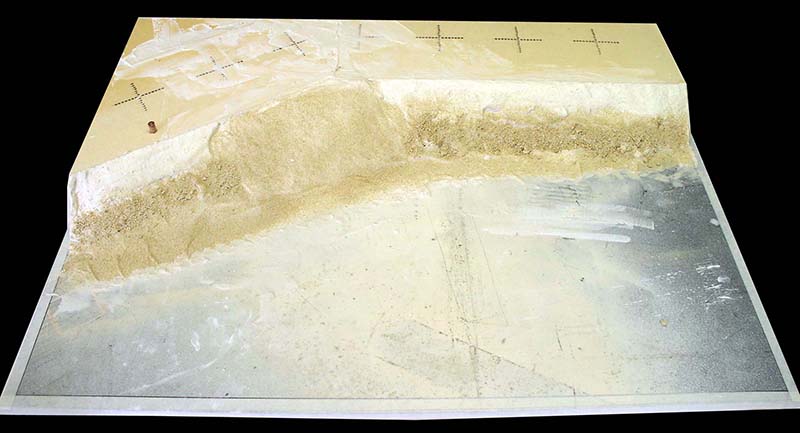
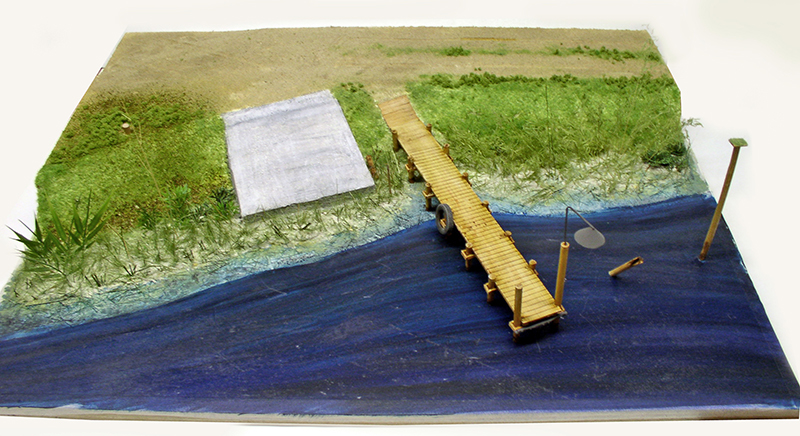
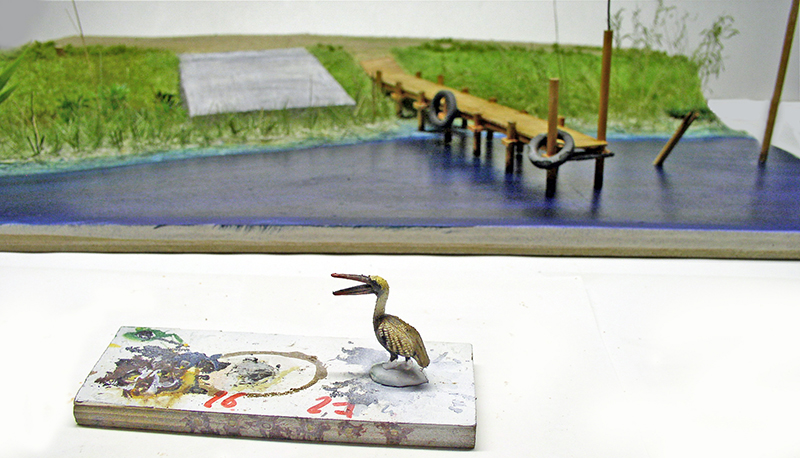
The future structure consists of a 2-cm-thick plywood panel measuring 65 cm by 45 cm. It is a raised riverbank featuring a wooden pontoon and a concrete ramp to allow a vehicle to drive up to the water’s edge to launch a boat. The entire structure is built to a 1/24 scale...
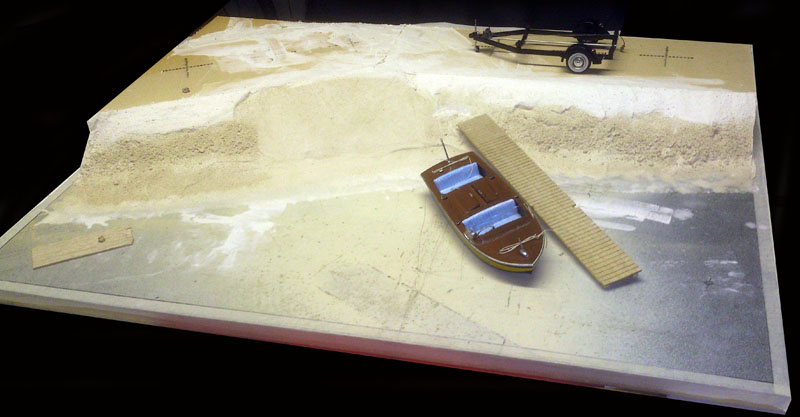
The embankment is made from extruded polystyrene, plaster of Paris, and various small pebbles collected here and there...
The pontoon
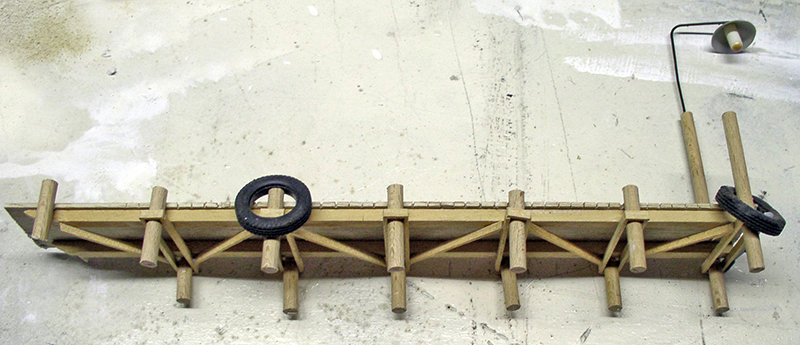
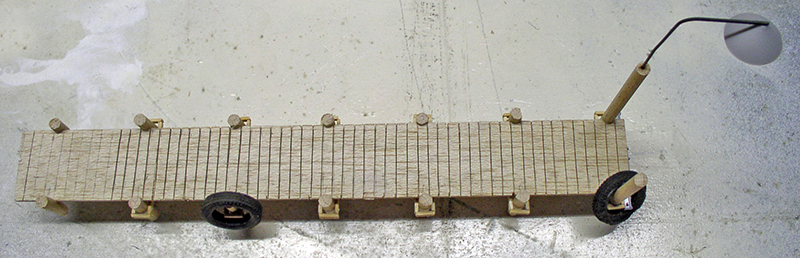
The Riverbank
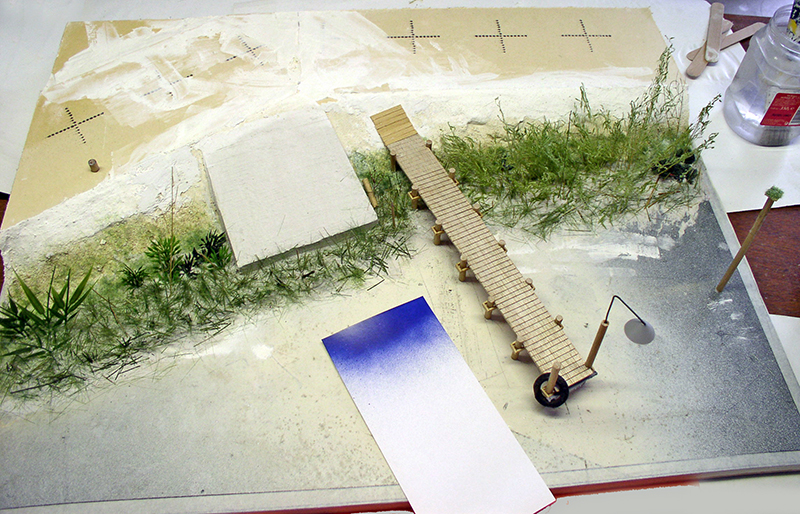
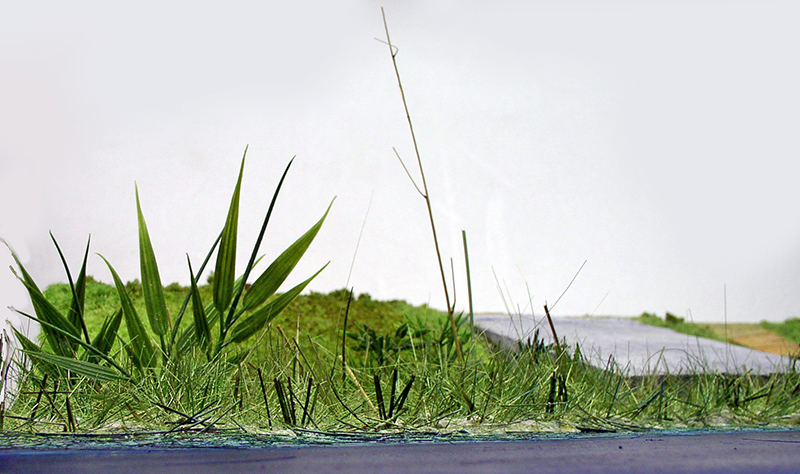
The bank is made up of various types of flocking, dried grass, plastic plants, and small pebbles. Testing the future background color...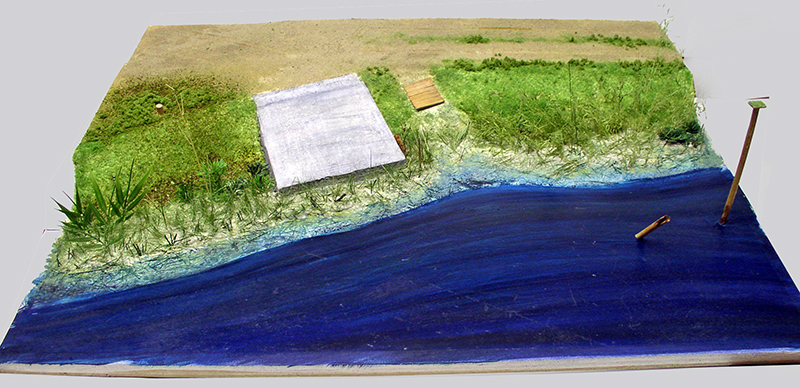
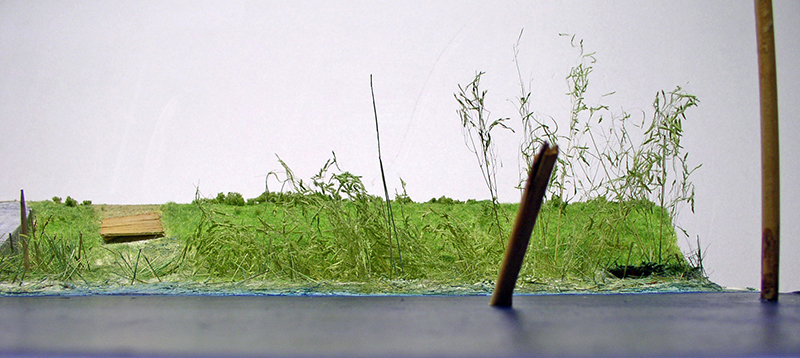
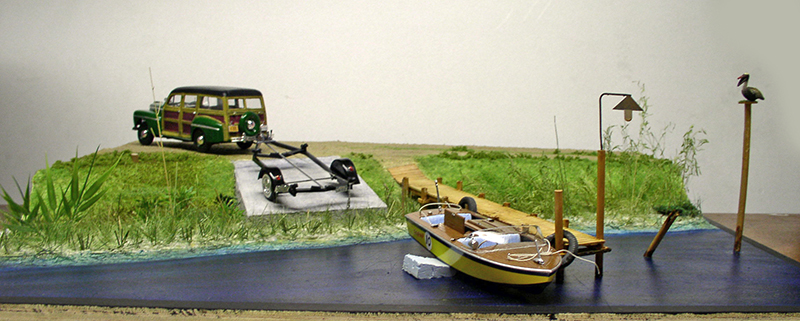
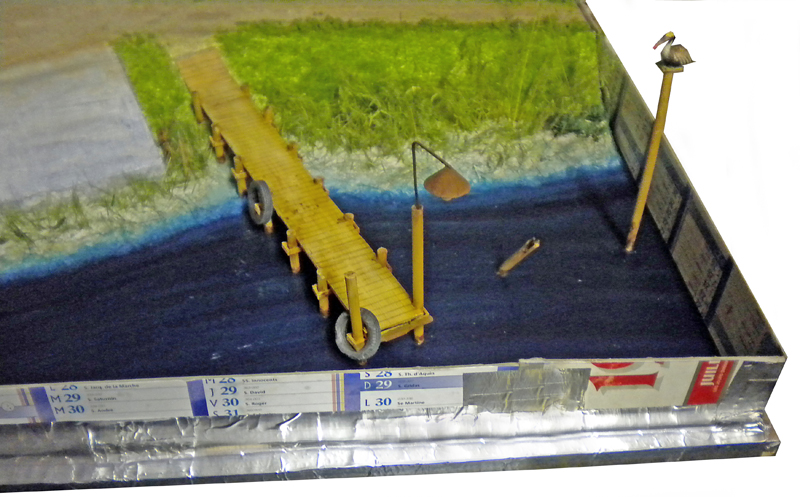
IMPORTANT: The work surface must be PERFECTLY level for the resin to be evenly distributed throughout. Check the level and make adjustments...
To do this, first calculate the area of your surface (simply length times width for a rectangle, or use other area formulas as appropriate; work in mm). Then multiply by the desired height (always in mm). This will give you a volume in mm³.
Technical tip: Your shape may not be a perfect quadrilateral, so there are two ways to calculate its area:
-1- Either you break down your surface area into as many calculable geometric shapes (squares, rectangles, triangles, etc.) as possible, then calculate the area of each shape and add them together to get the total surface area; you can then calculate your volume.
-2- Either you estimate an average shape, which you measure in this way.
REMINDER: 1,000 grams = 1 kg = 1 dcm³
Calculation example: Your display measures 380 mm long by 250 mm wide. This gives you an area of 95,000 mm². If you want the water level in your setup to be 10 mm, multiply the area by the height to get a volume of 950,000 mm³. This is equivalent to 950 dcm³, which is 0.950 kg, or 950 grams. There you go—that’s why we do all this: electronic scales measure in grams, and you have to be very precise when measuring out ingredients.
Pitfall to Avoid: To determine the correct mixing ratios, you need to think in terms of the total mixture! In other words, don’t just say to yourself, “I need this many mm³ of resin, so that’s the amount I need!” No! That’s wrong! Because you’ve left out the hardener in your final calculation. This is a common mistake made by beginners, who end up ordering and buying far more resin than they actually need.
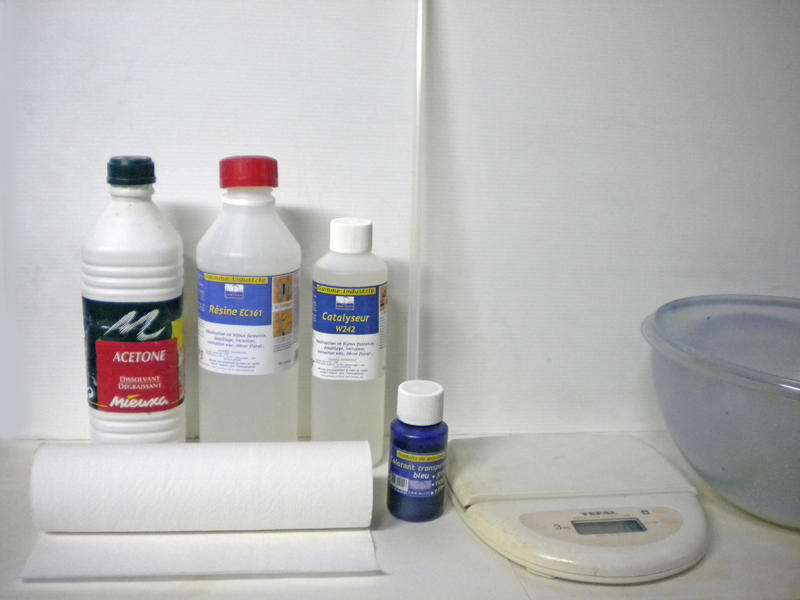
The tools include a scale for weighing the product, a large plastic basin, and a plastic stirring stick. Blue food coloring, acetone for cleaning everything, and the indispensable paper towels. Don't forget the latex gloves and a mask, either...
Preparation
Generally, you apply layers of three to five mm at a time. If you're pouring concrete in your garage between October and March, five mm is possible. The rest of the year, no more than three mm...
Before you begin, calculate and neatly write down the mixing ratios needed for each coat...
(Simply recalculate the volume, but this time for the height of each layer—so 3 or 5 mm high. Note that the last layer may be slightly more or less if necessary.)...
From there, calculate the proportions of resin and hardener according to the instructions in the product's technical data sheet and write them down...
Casting/Resin
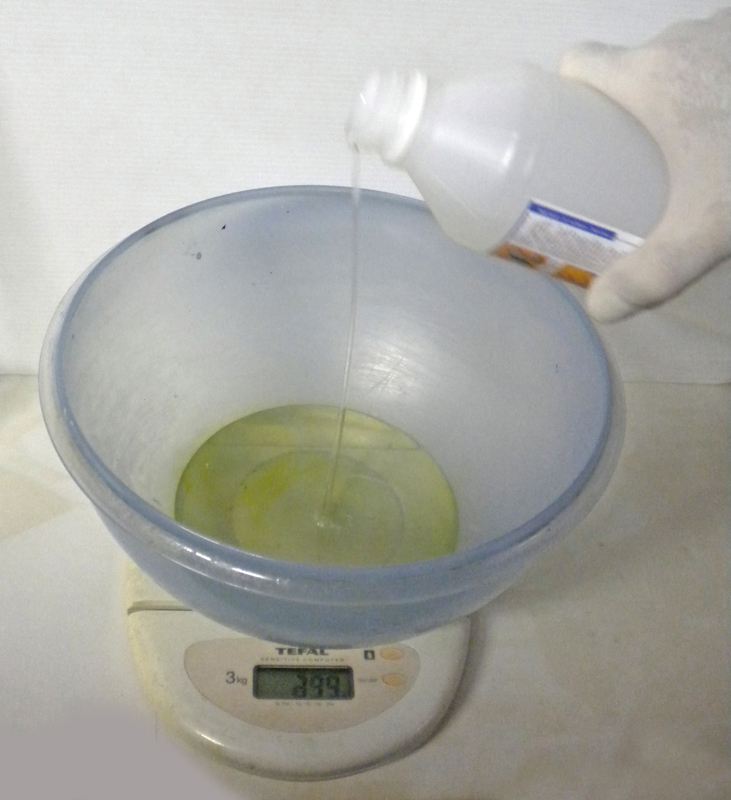
Turn on the scale, place the bowl on it, reset the tare to zero, and pour in the required amount of resin...
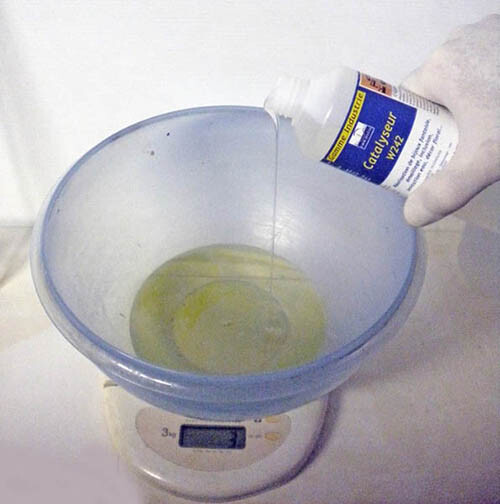
Then reset the tare to zero and add the corresponding amount of hardener...
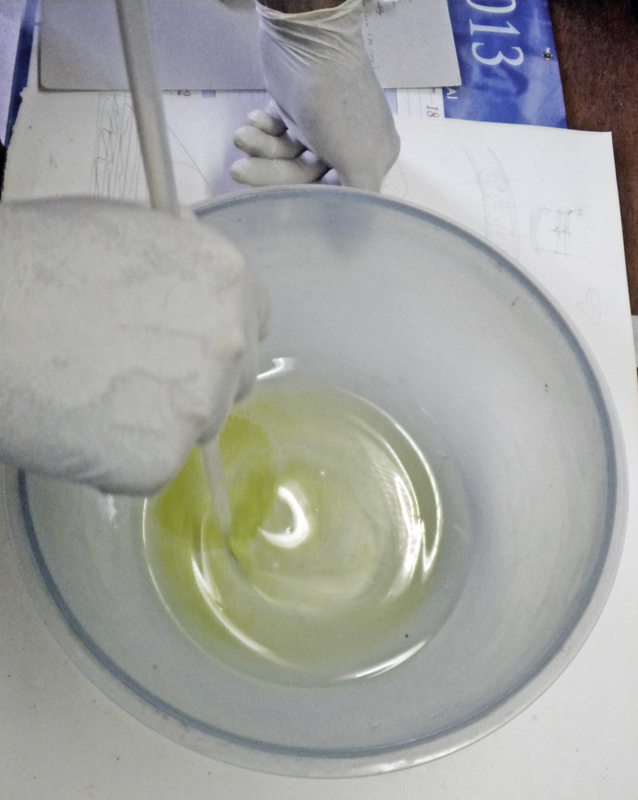
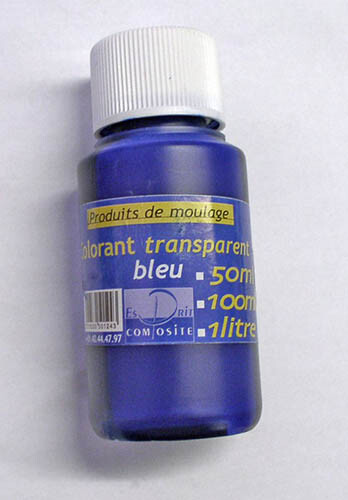
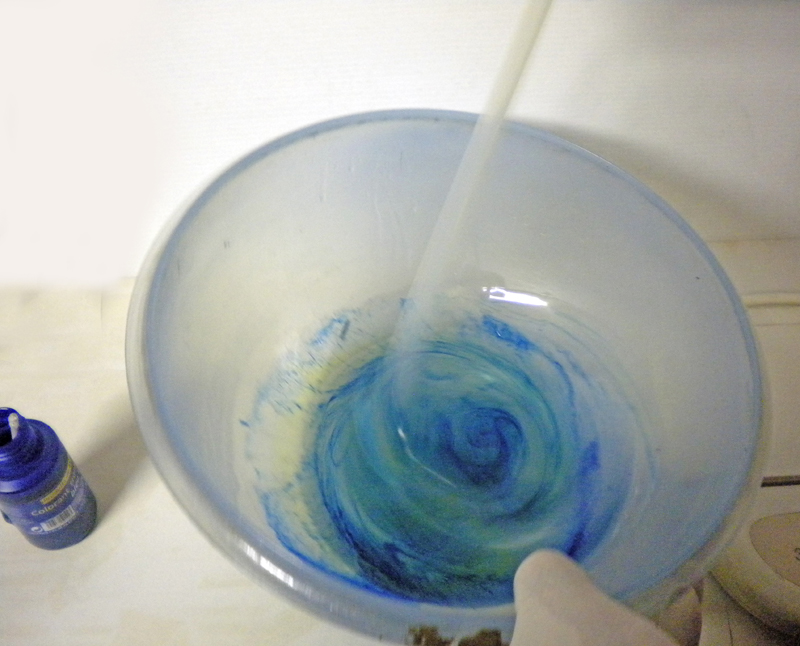
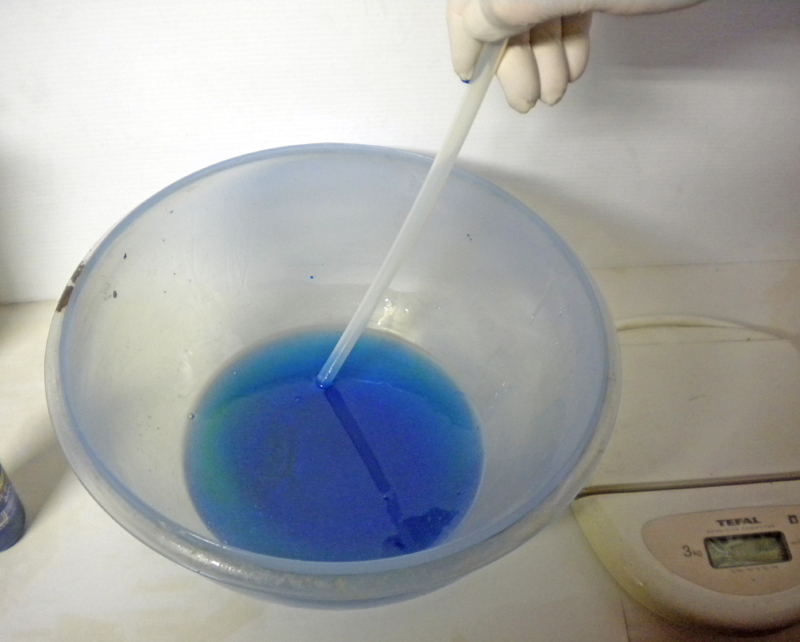
We use a coloring agent that we mix in small amounts with the resin to add a sense of depth to the water...
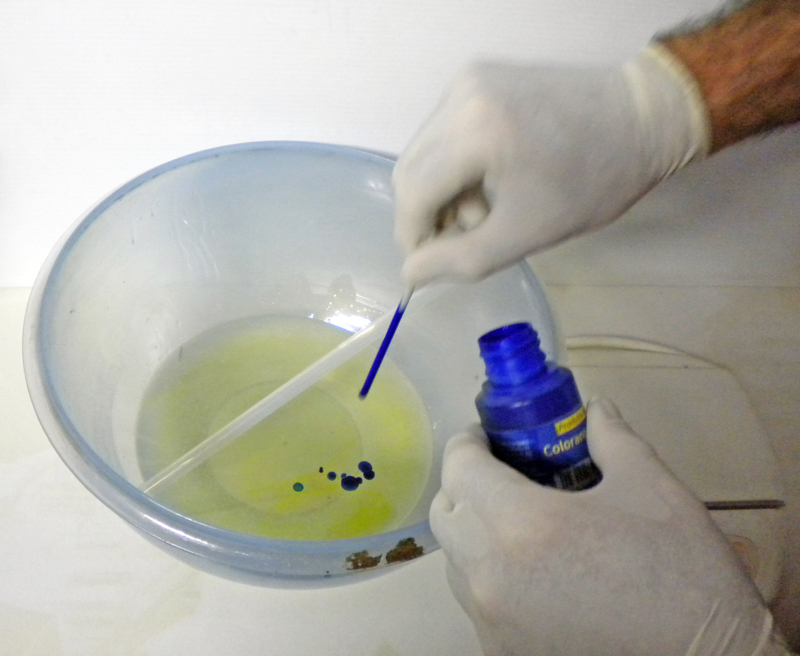
Add the food coloring carefully, a little at a time...
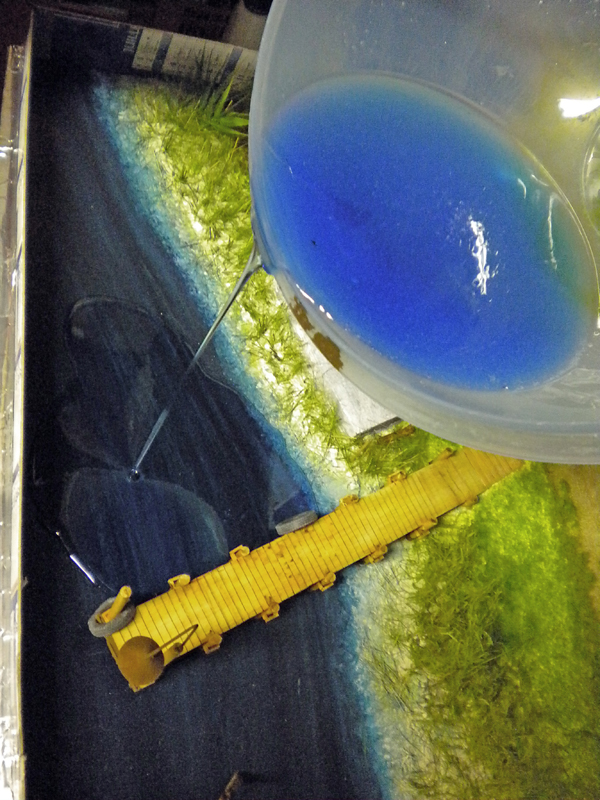
Pour the resin onto the lowest point of the model, in as thin a stream as possible...
This will cause any remaining air bubbles that may have formed during mixing to disappear...
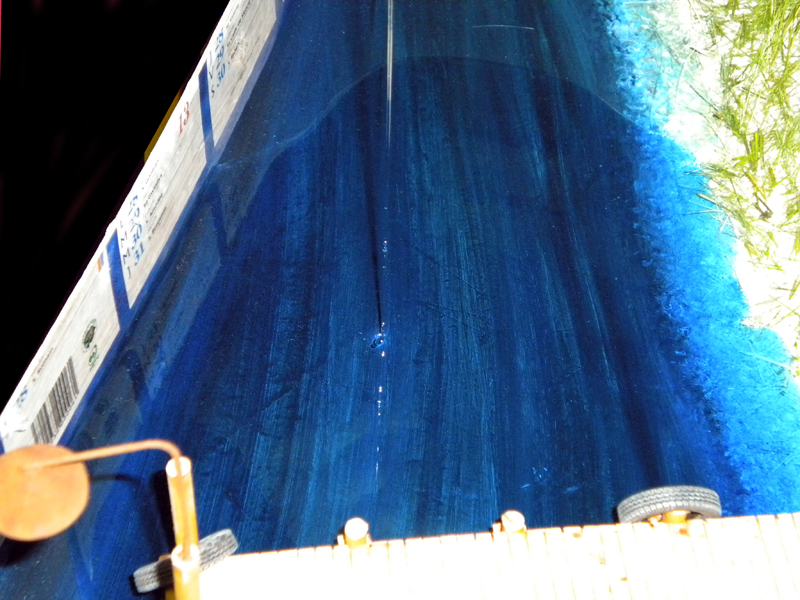
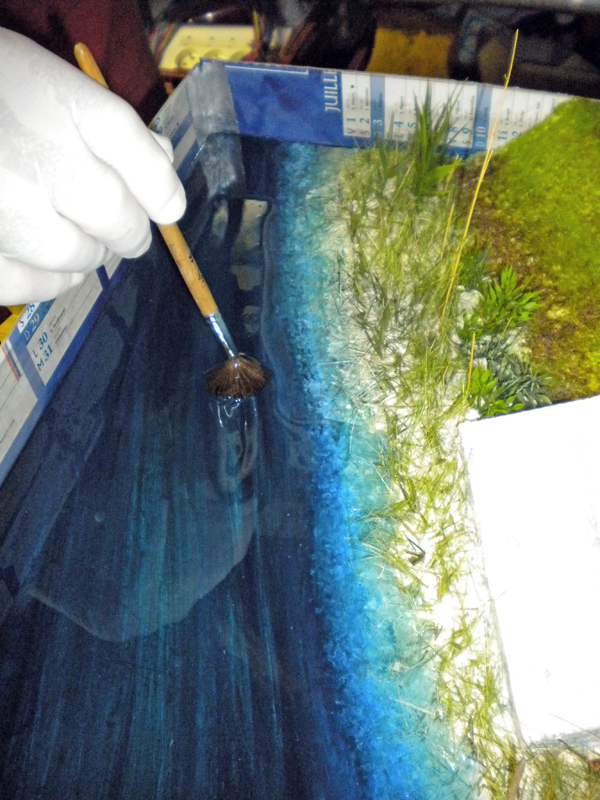
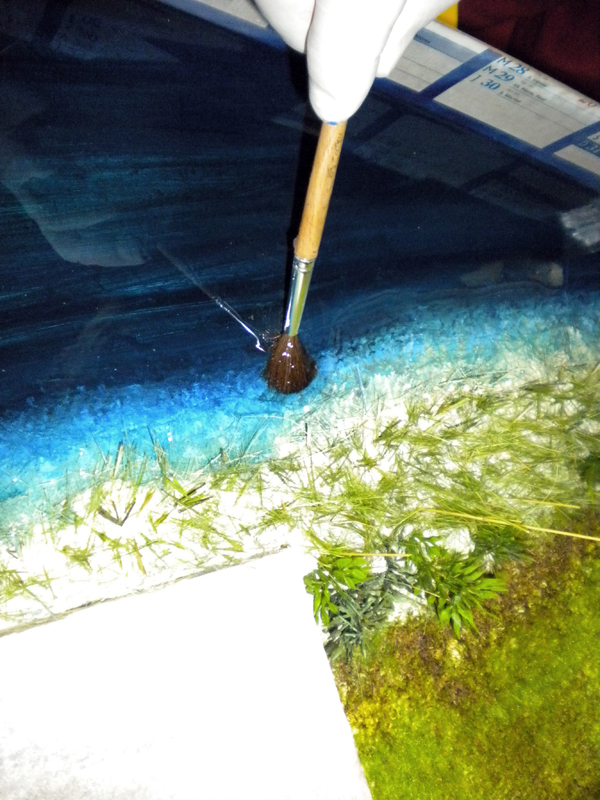
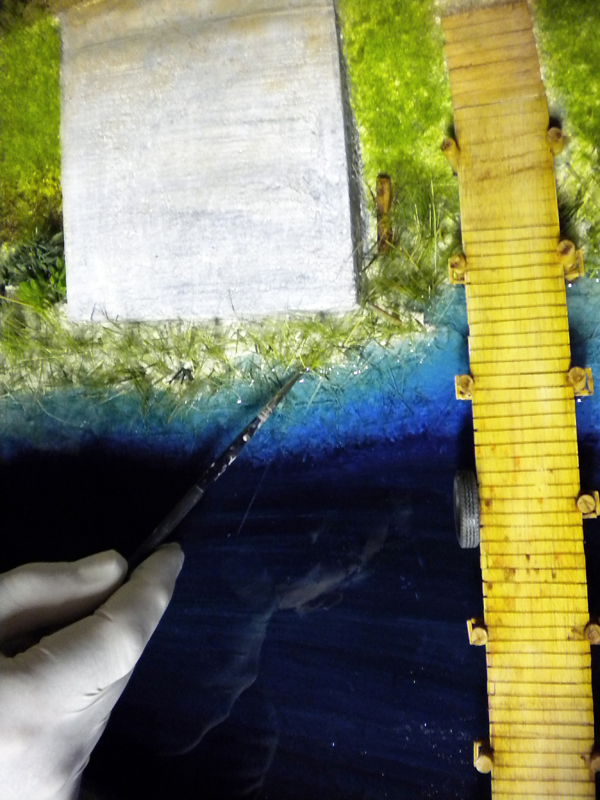
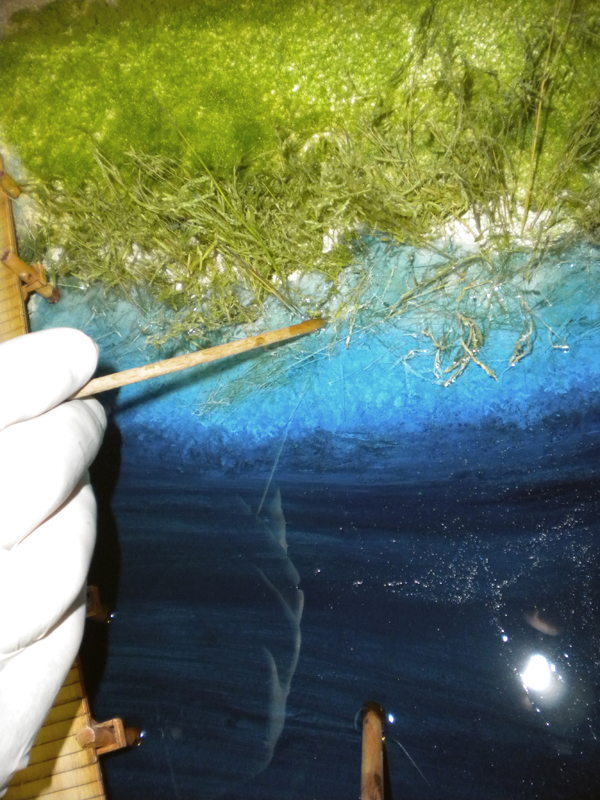
"The help" given to the resin so it can seep into all the nooks and crannies is because the resin is always a little oily and might not reach every spot...
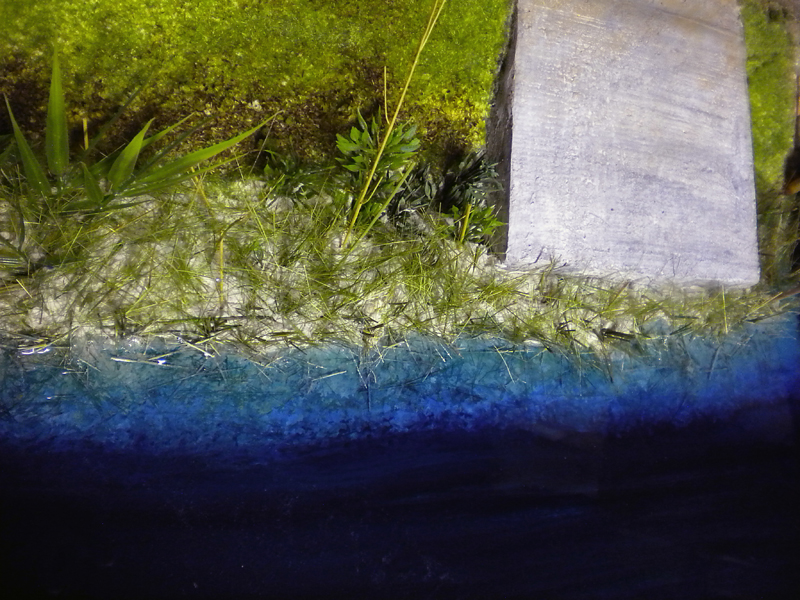
IMPORTANT: Never "scrape" the bottom of the basin, as uncured resin may still remain on the sides...
Once the resin has completely cured, immediately clean the tools and containers that will be reused with acetone. Contaminated acetone and/or unused resin residue should be absorbed with cat litter or sawdust, then discarded...
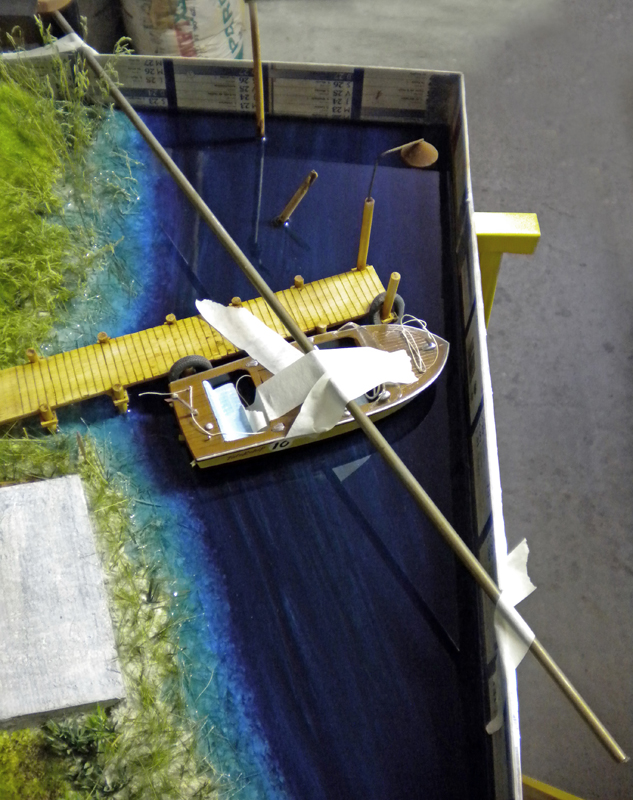
An "elaborate" mounting system is designed so that the boat remains perfectly horizontal and does not move at all during the pouring process...
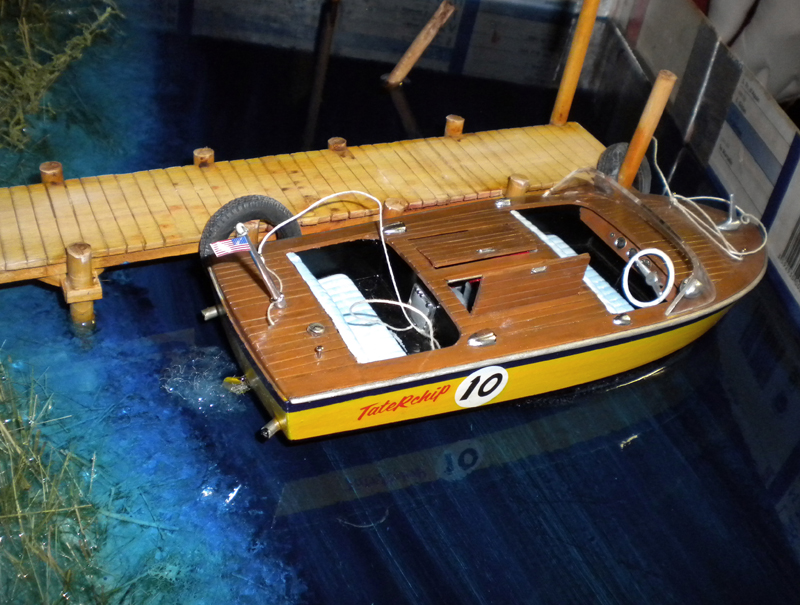
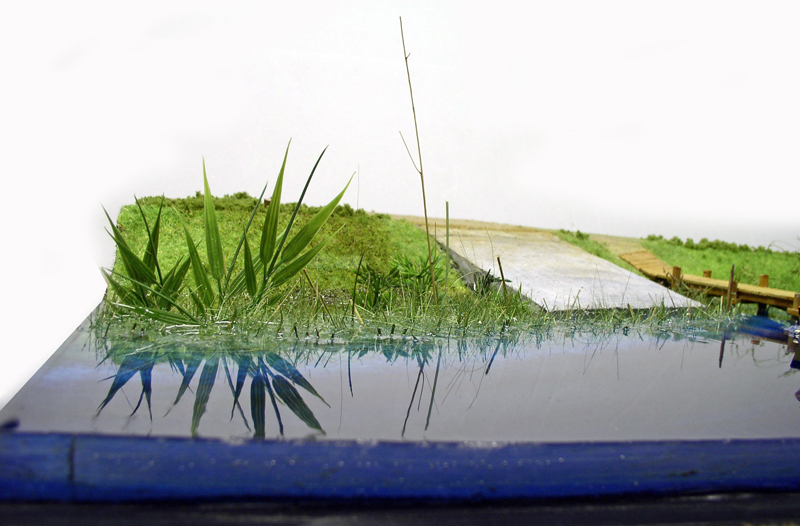
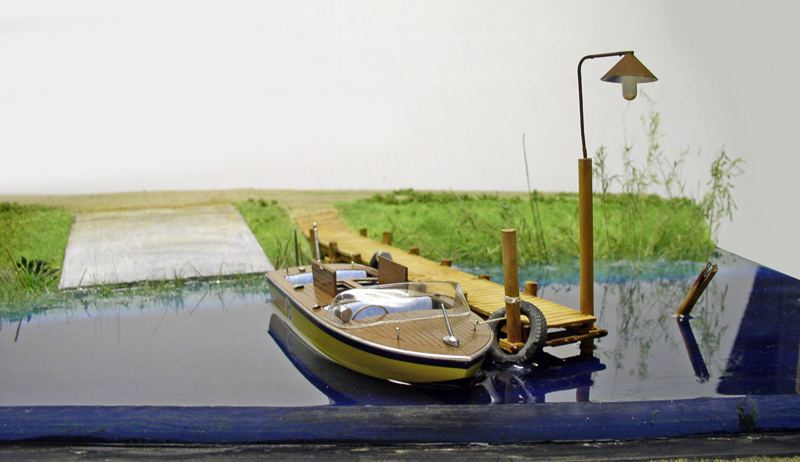
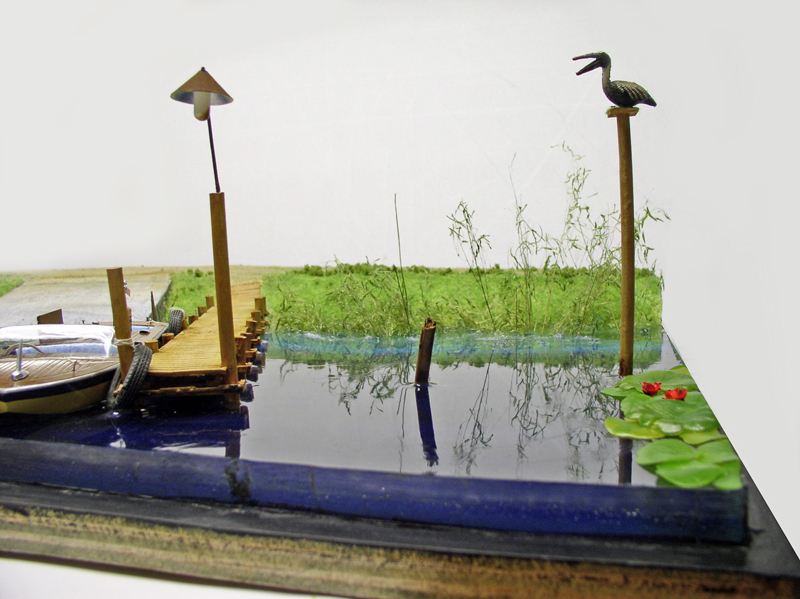
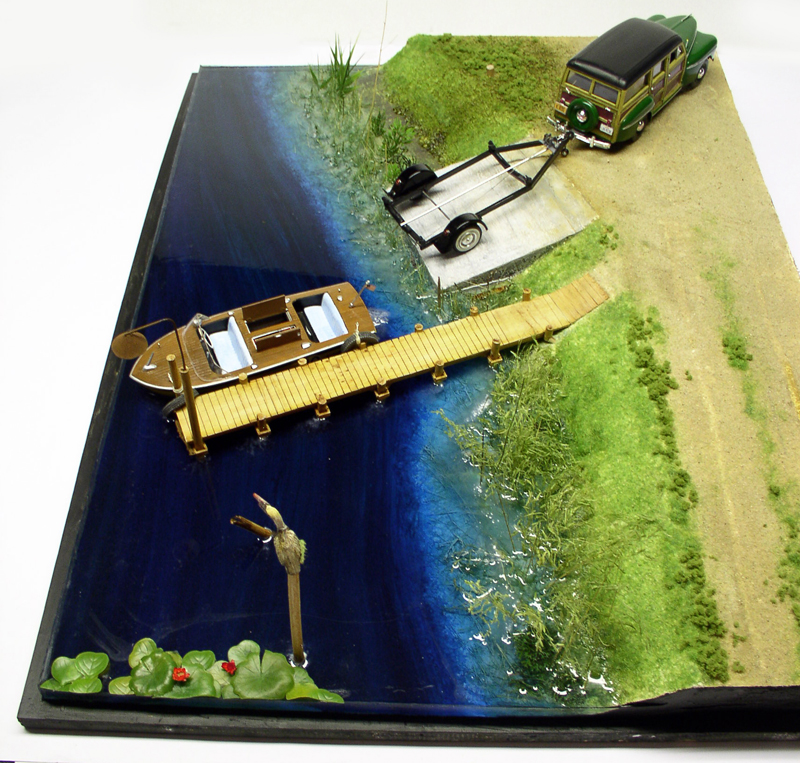
It is good practice to protect your resin with a high-quality glossy polyurethane varnish (such as marine, automotive, or, better yet, aerospace grade) that will not yellow. This is because the resin remains slightly inhibited when exposed to air and can attract dust...