
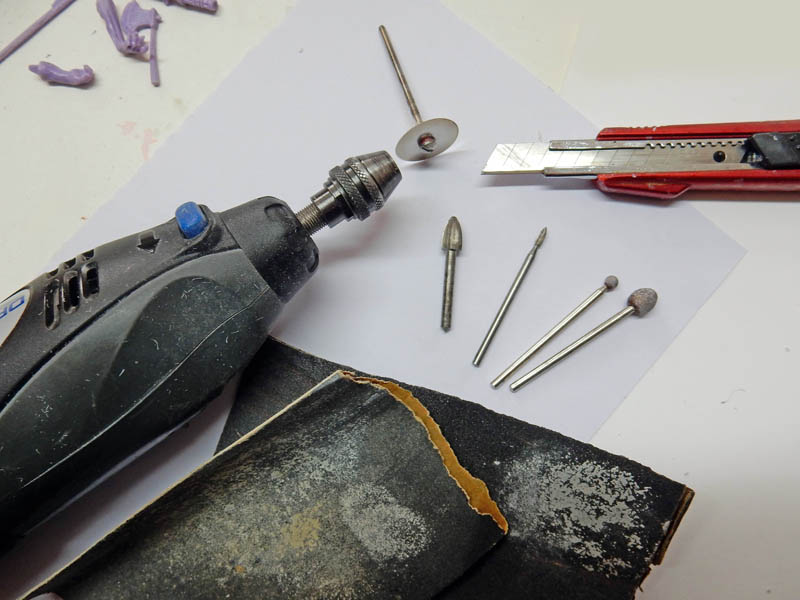
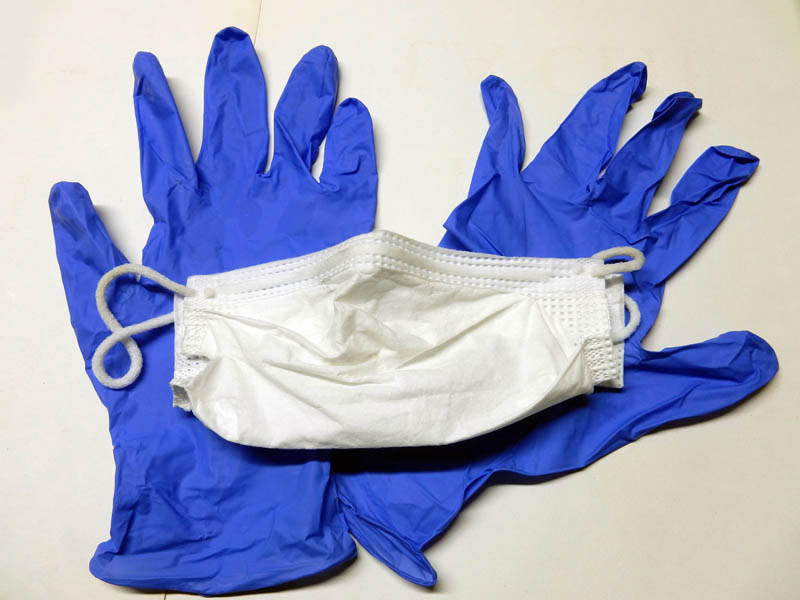
So, if you regularly work with this material—especially when cutting and sanding thick pieces—it’s best to take precautions. Also, if you’re pouring resin into molds, you must protect yourself from the fumes.
It's clear that if you're just working on a figure here and there, there's no risk...
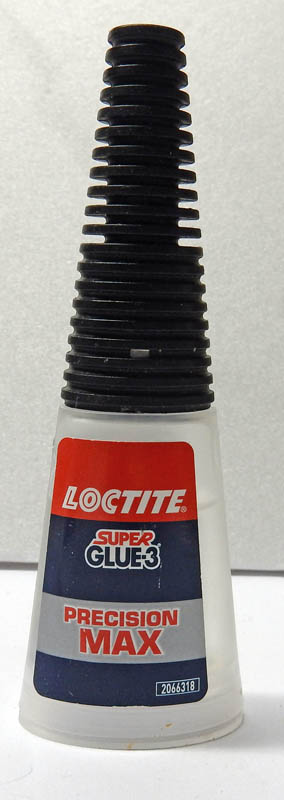 |
This is because liquid plastic glue does not adhere to resin. However, "cyano" is often used for plastic, lead, or photo-etched parts—especially for thin and fragile pieces.
This product is also carcinogenic. So, if you spend hours with your nose right over your projects, you’d better wear a mask (especially since, with COVID, we’re getting used to wearing masks!)...
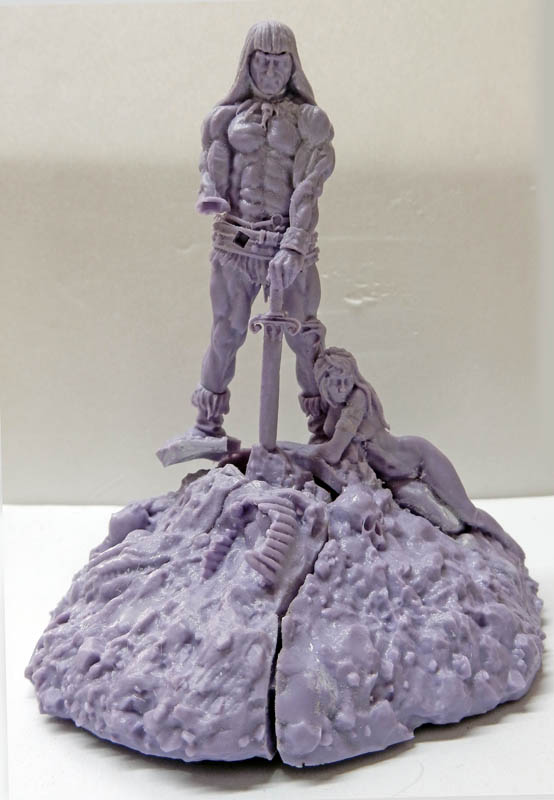
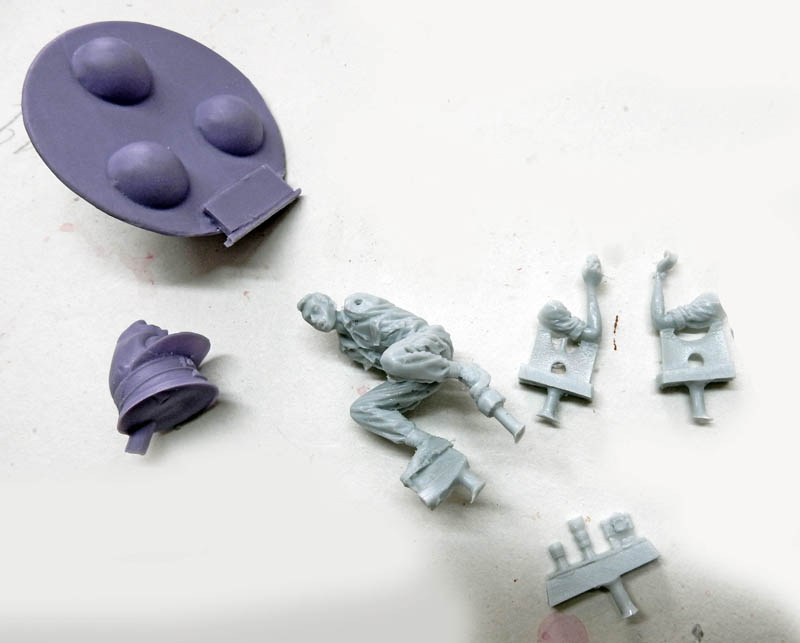
Example of a 1/24-scale resin part purchased from a store. Here is an extreme example. Of course, not all resin parts necessarily have drawbacks, and some even require very little trimming and are of very high quality. I mention this so as not to discourage beginners.
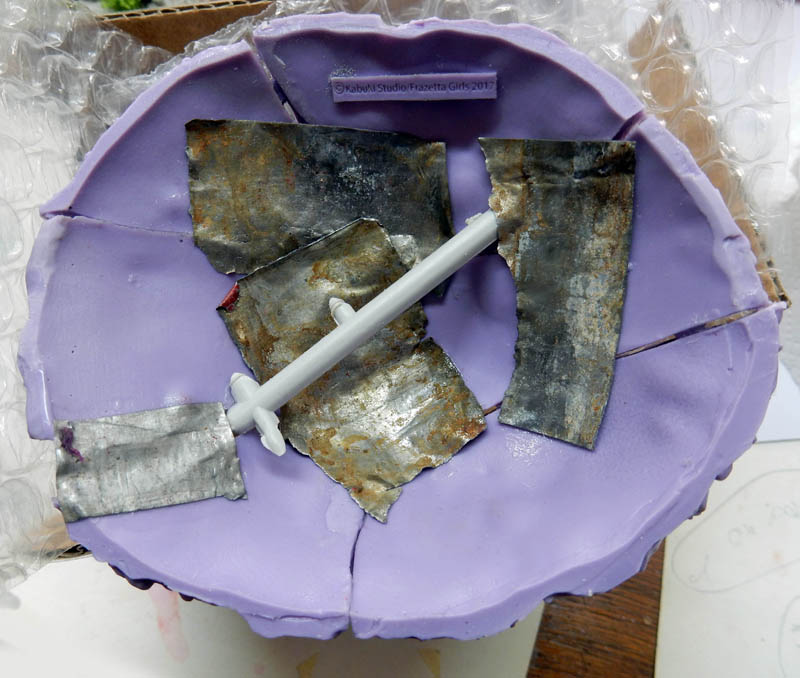
Here, despite the quality of the sculpture, the five-part base doesn't fit together... Worse yet, the fit between the figurine's foot and the decorative element attached to the other pieces doesn't line up! As a result, the figurine’s right foot—which was molded together with the base—had to be cut away. The foot is then glued to the leg so that it can be adjusted later to fit the base...
The same problem applies to the base of the sword, which is stuck in the ground. The piece of ground is cut out and glued to the blade...
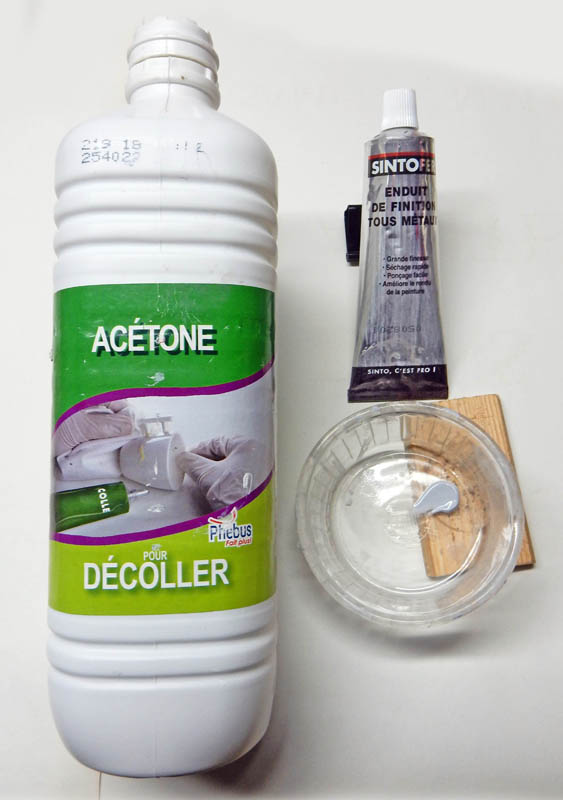 |
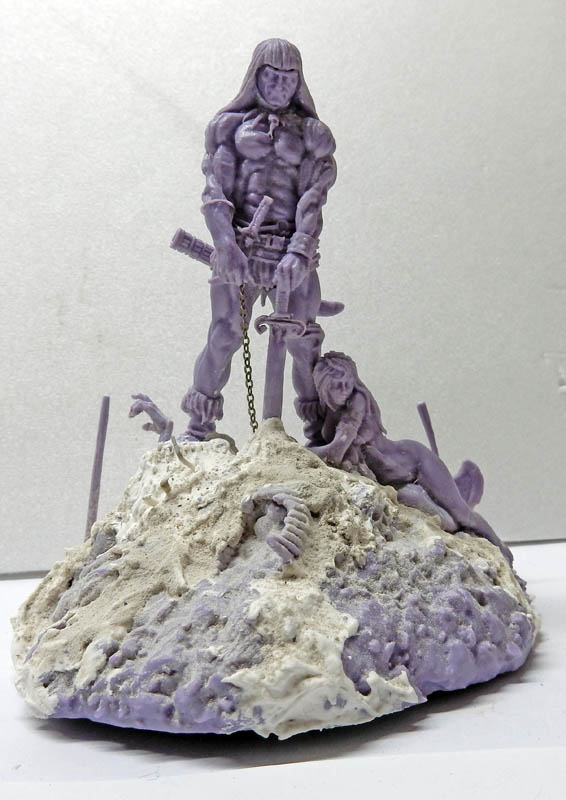
We'll use a brush to apply liquid caulk to the joints and gaps in the room to achieve a perfect finish.
There are commercially available products sold in bottles as ready-to-use solutions, such as "Mr. Surfacer."
But it's more economical to do it yourself. Any figurine—whether made of resin, lead, or plastic—is improved and guaranteed to have a flawless finish.
The fine-grit body filler sold at big-box home improvement stores is well worth the money compared to the small tubes sold at model shops in terms of quality, price, and quantity.
So, to proceed, pour a small amount of acetone into a glass container. Tilt the glass and pour the putty onto one side. Then, using a brush, gradually mix the putty into the acetone until it reaches the desired consistency, and apply it immediately to the part. Note that acetone labeled “substitute” is now available. Do not use it; it does not have the same properties as regular acetone.
It's best to start with a small amount and add more as needed, depending on the size of the room you're plastering.
After use, clean the brush and the container with acetone.
Let everything dry for at least 24 hours.
It's worth noting that not only the figurines, but also all the various vehicles are treated this way...
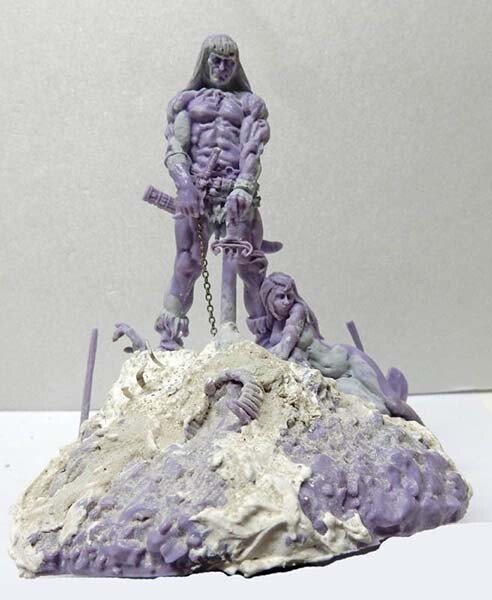
The figurines were coated with liquid putty in certain areas, especially on the added parts of the body. This also helps identify any defects...
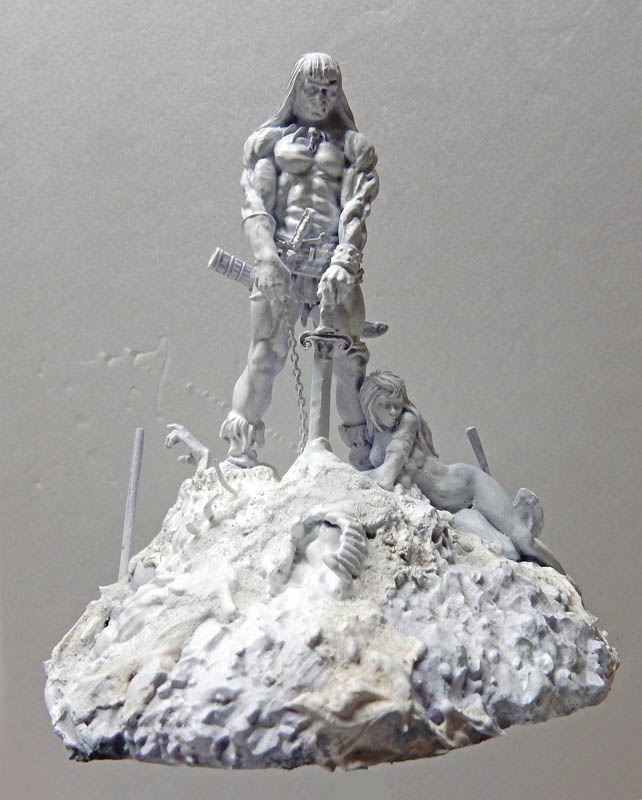
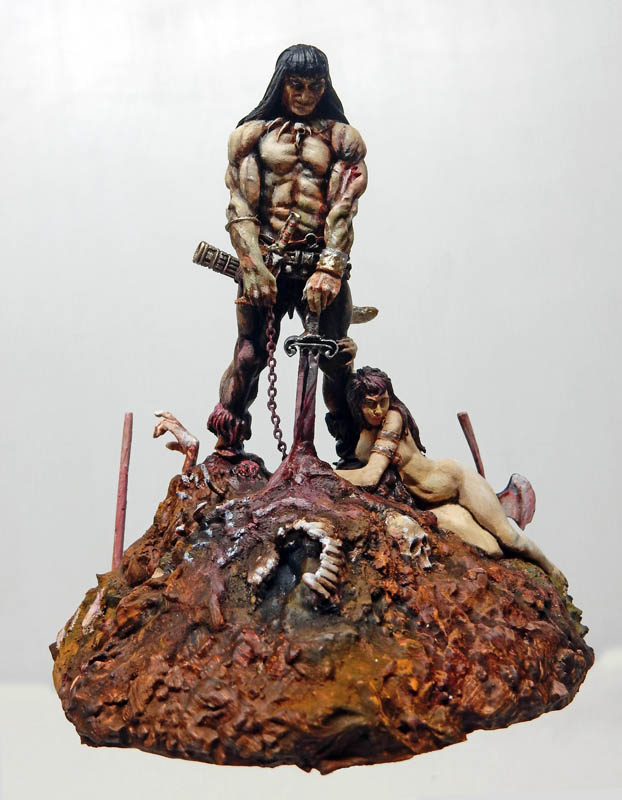
Il ne reste plus qu'à effectuer un travail de peinture pour la mettre en valeur...