I don't like mussels!
In other tutorials, we've shown you the tools and materials needed for wax sculpting, as well as an example of how to do it by creating a fossilized animal skull...
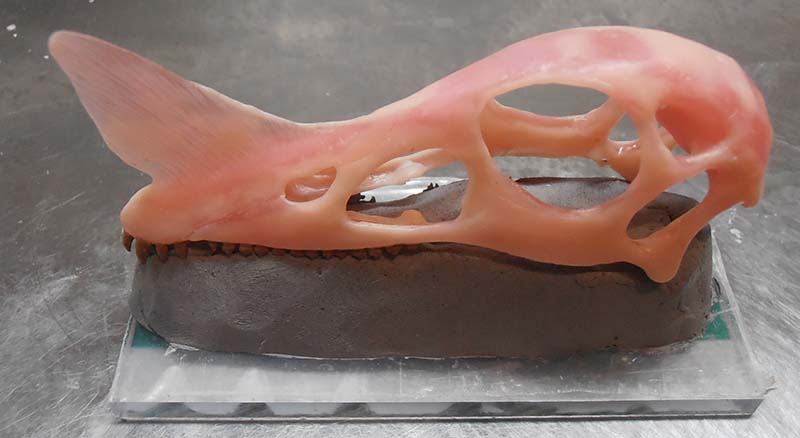
In the tutorial “Making a Flexible Silicone Elastomer Mold,” we’ve already explained the concept of undercuts using Squig’s master model...
In this particular case, the problem is the same: we must not let the elastomer “trap” an arch or septum of the skull. Unlike the tutorial on the squig—where the material used for the original sculpture was very hard and very sturdy—we won’t be using modeling clay to create our parting line here. Modeling clay is too sticky to be applied and cleaned up properly without damaging the wax...
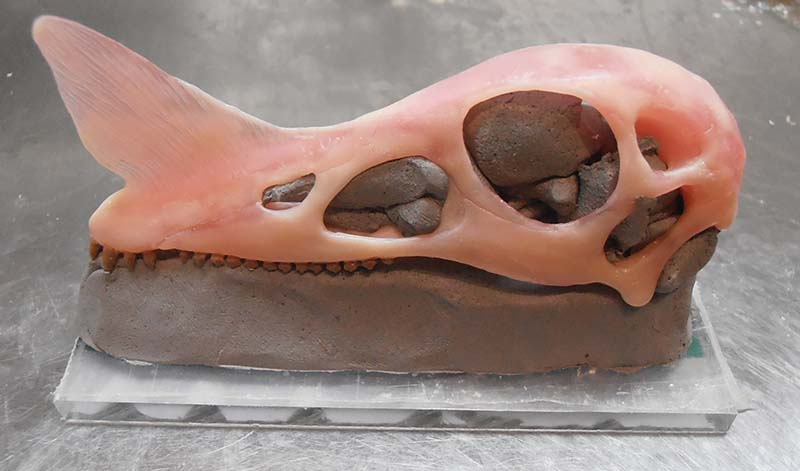
We'll go with clay, because it's easy to clean with water—it's that simple! And water doesn't damage the wax...
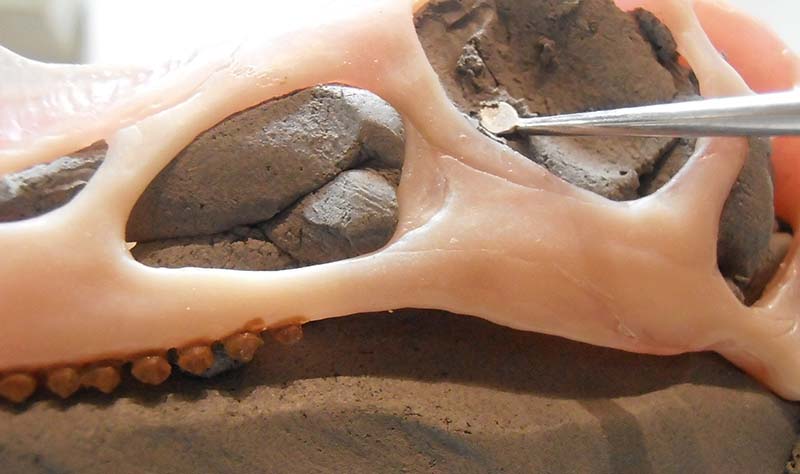
This will make it easier to define the parting line and to clean the mold when casting the second side...
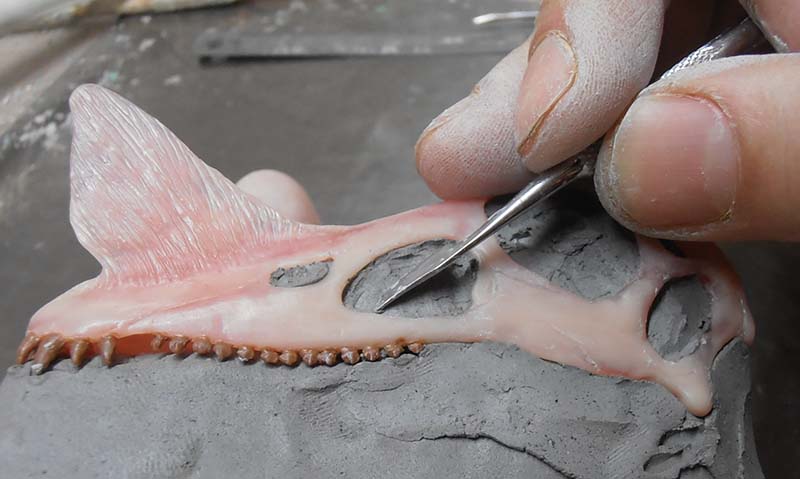
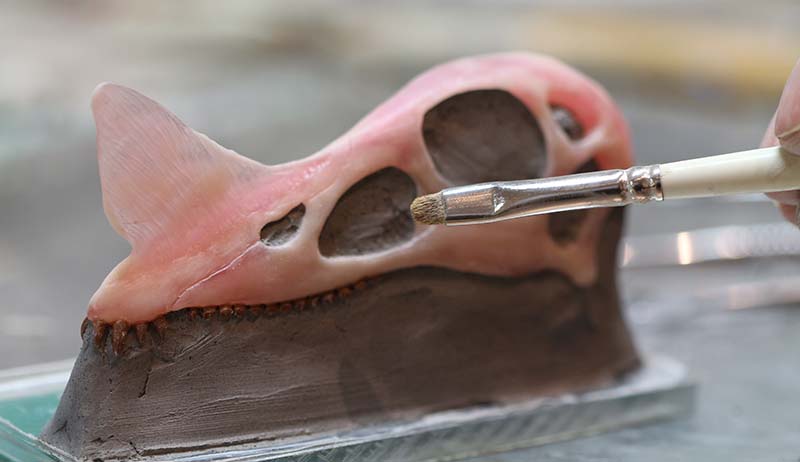
FORMWORK
To make the formwork, of course, it’s best to use a non-porous material (smooth cardboard, MDF covered with aluminum foil, Novolam, etc.), as has already been explained for the squig...
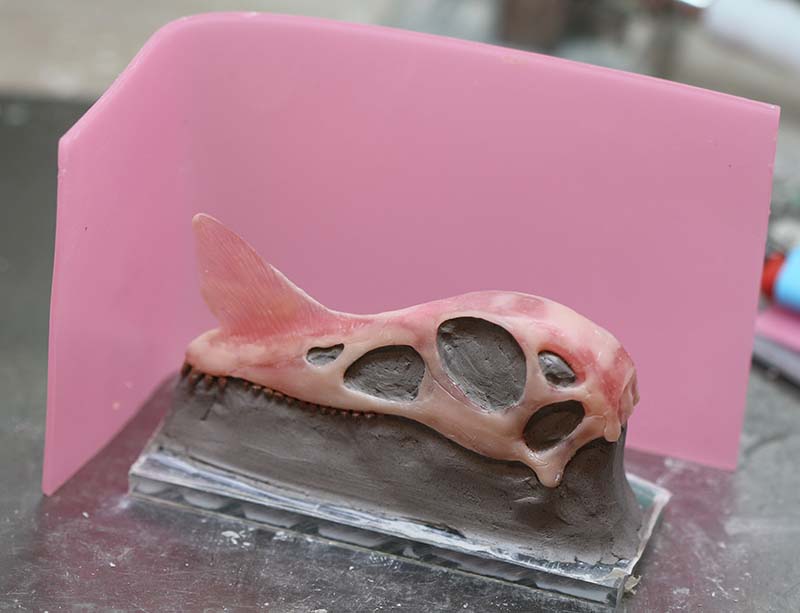
The heated wax knife is then run very carefully all around the base of the plate to ensure a perfect seal...
As mentioned in the introduction, the basics and technical knowledge have already been covered in the tutorial “Making a Flexible Mold…”...
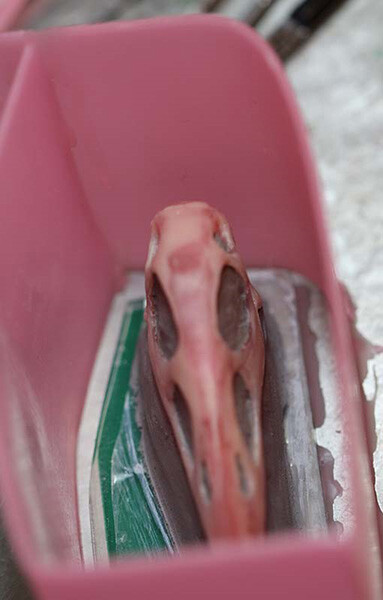 | 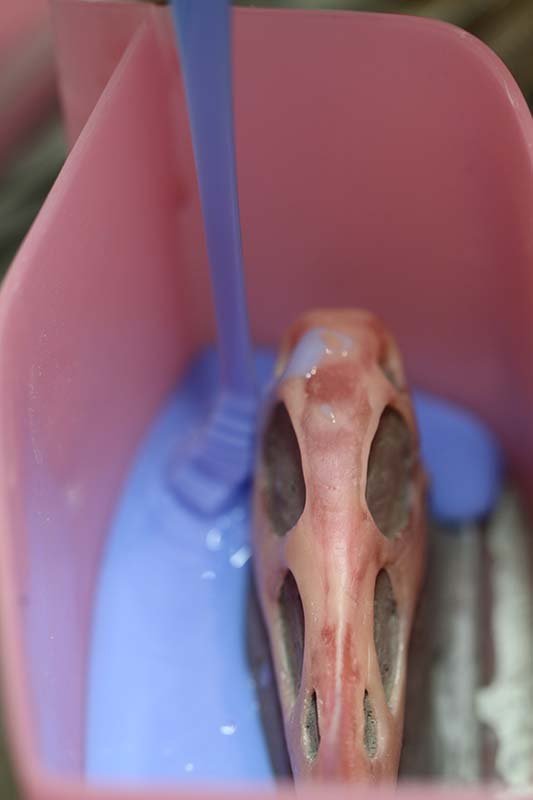 |
Since the materials and techniques used to sculpt this skull fall within the field of dental prosthetics, we’ll continue in the same vein by using a duplication silicone specific to this field (Laboshop elastomer, priced at about 50 euros for 1.7 kg), which will be prepared in a vacuum mixer. But of course, any other basic RTV silicone will work just fine with proper preparation and “de-airing,” as explained for the squig...
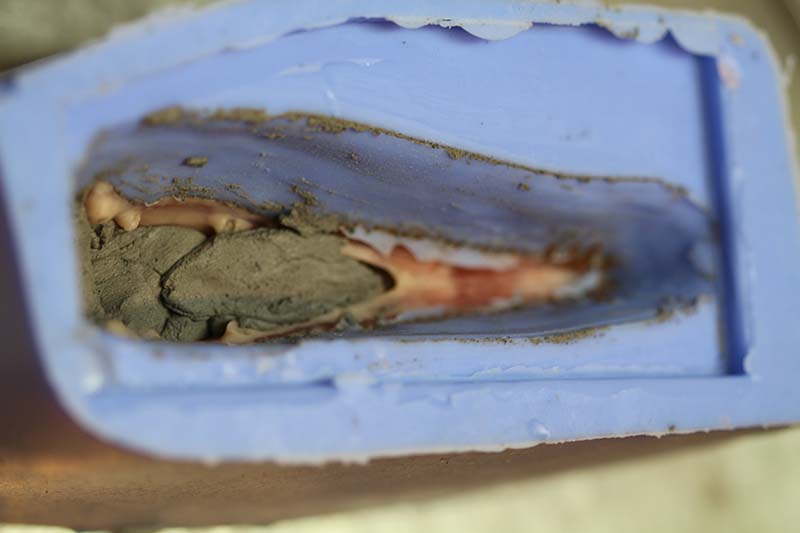
The elastomer pouring technique will remain the same in all cases—let’s be sure to reiterate this: pour in a thin stream starting from the lowest point of the formwork...
This way, the elastomer will rise gradually and cover every detail one by one. Let it cure according to the technical data sheet (generally between 24 and 36 hours for standard RTVs; for ours, less than half an hour). Once the curing time has elapsed, you can remove the mold and begin taking out the clay—gently, because let’s not forget that the wax model is, after all, quite fragile...
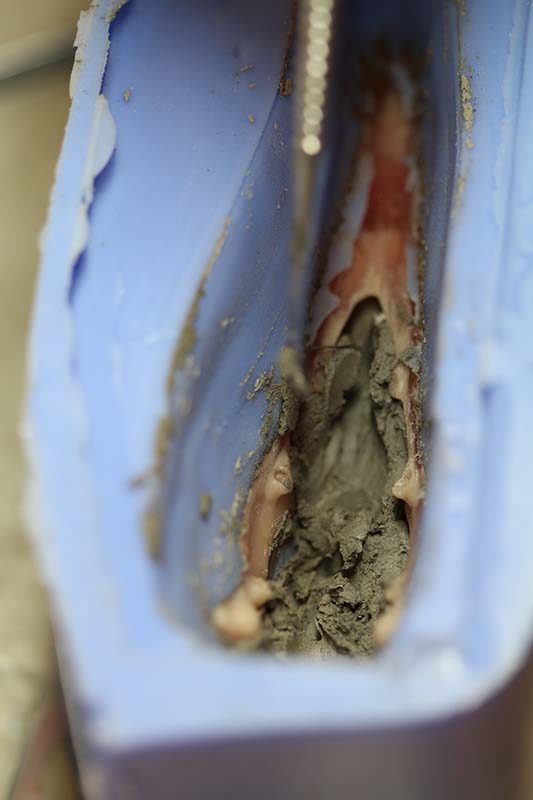 |
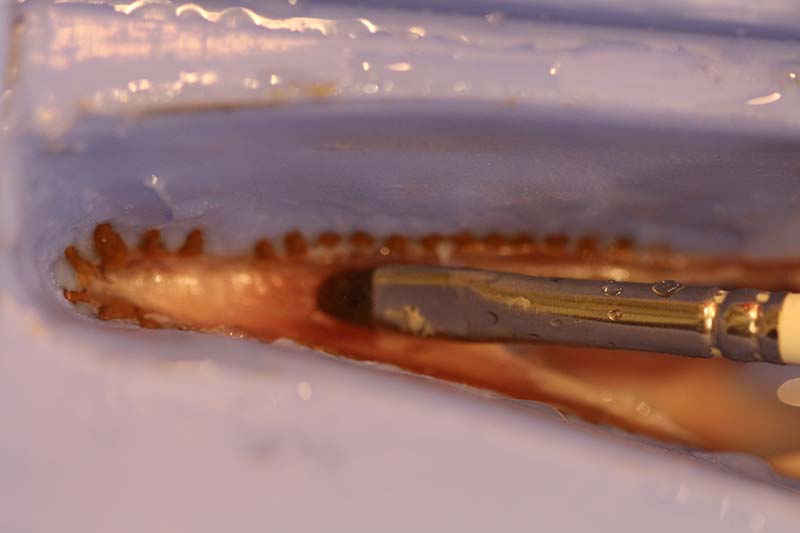
Let the mold dry thoroughly, and then—to prevent the two halves of the mold from sticking together—apply a thin layer of petroleum jelly all over it with a brush...
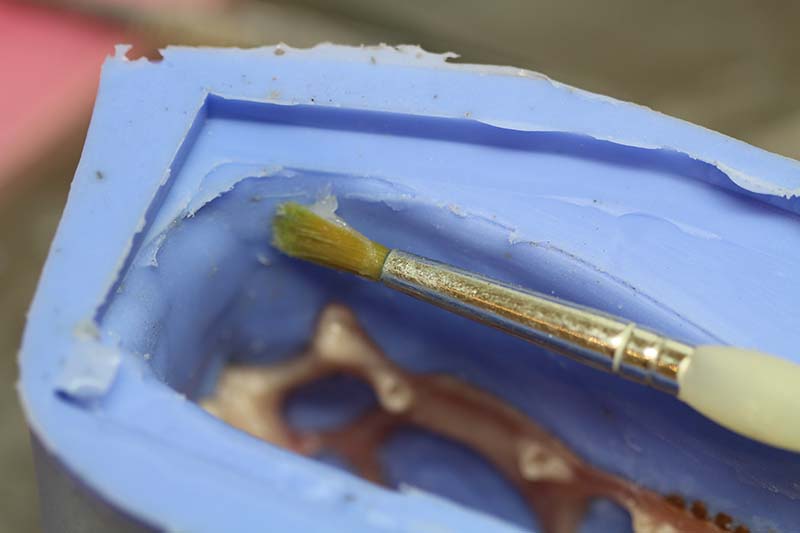
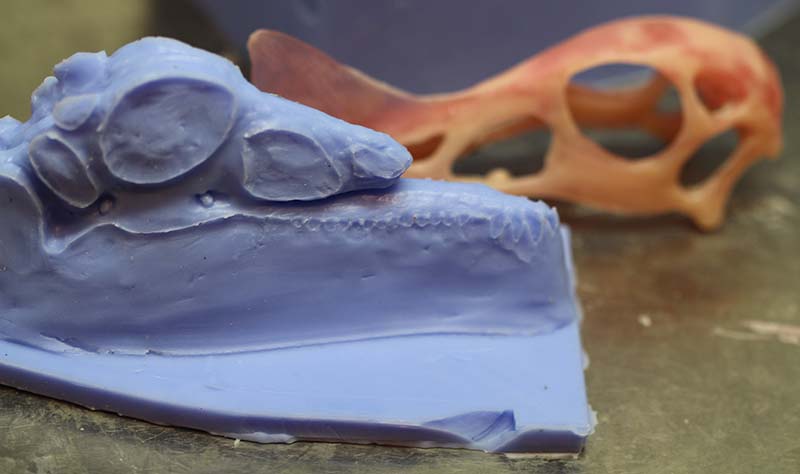
The mold should be stored flat in a cool, dry place, preferably with either the master model inside or the first cast that is deemed satisfactory. Since our model is made of wax, it is best to place a resin cast inside the mold before storing it...
CASTING and DEBURRING
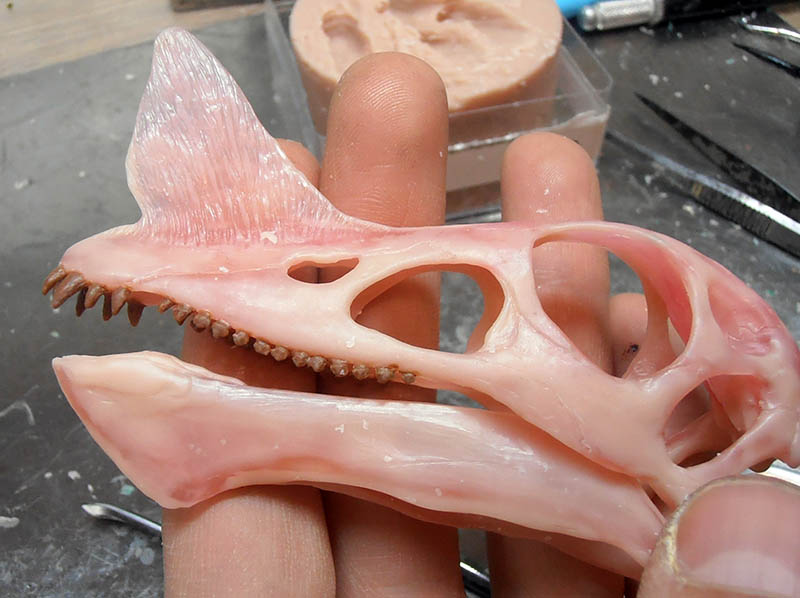
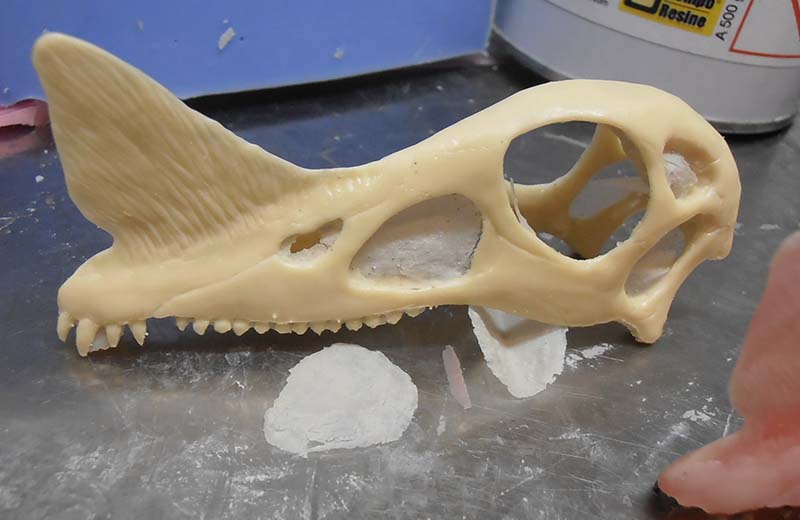
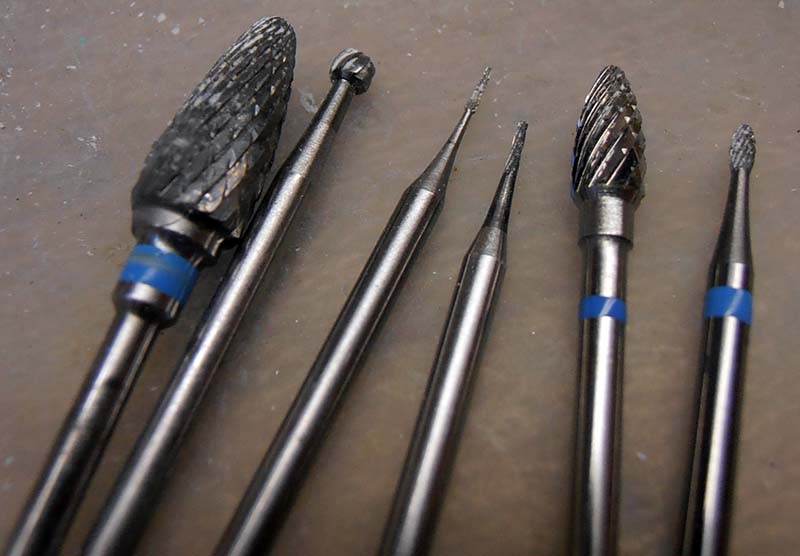
We won't go over the "basics" of casting here; please refer to the relevant tutorial, where everything is explained from A to Z. One thing to keep in mind, however, is the relative delicacy of the casting you'll be making...
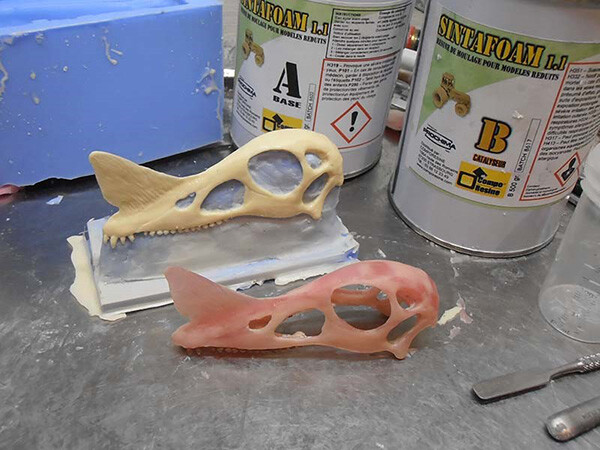
Therefore, both fluidity and pot life must be taken into account. In fact, given the fineness of the sculpture, the casting material must be very fluid but also must not harden too quickly (ambient temperature is important); otherwise, it won’t have enough time to fill in the details and allow air bubbles to escape (depending on whether you’re using a vacuum chamber or pouring
directly into the mold). Be sure to always allow the material to cure for longer than the time indicated on the product data sheet...
 | 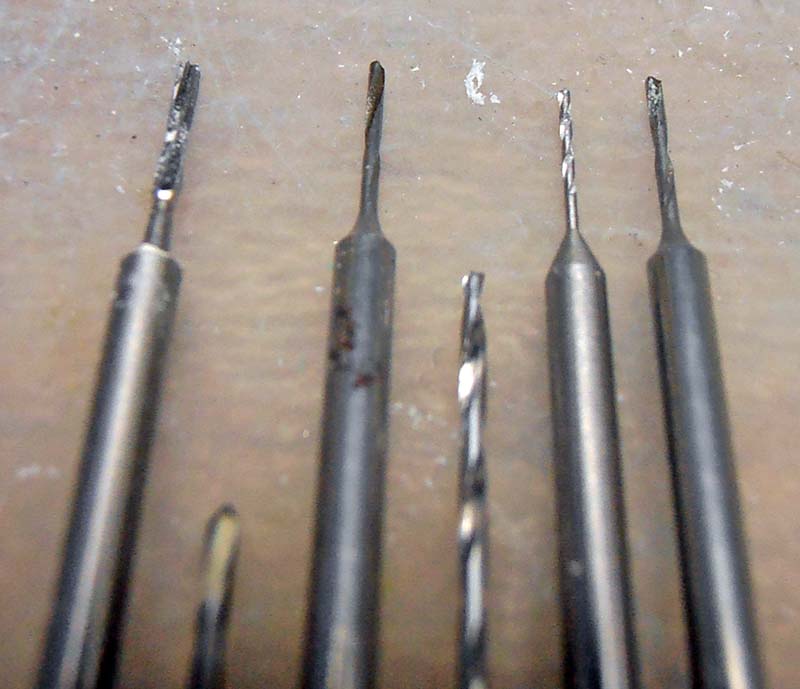 |
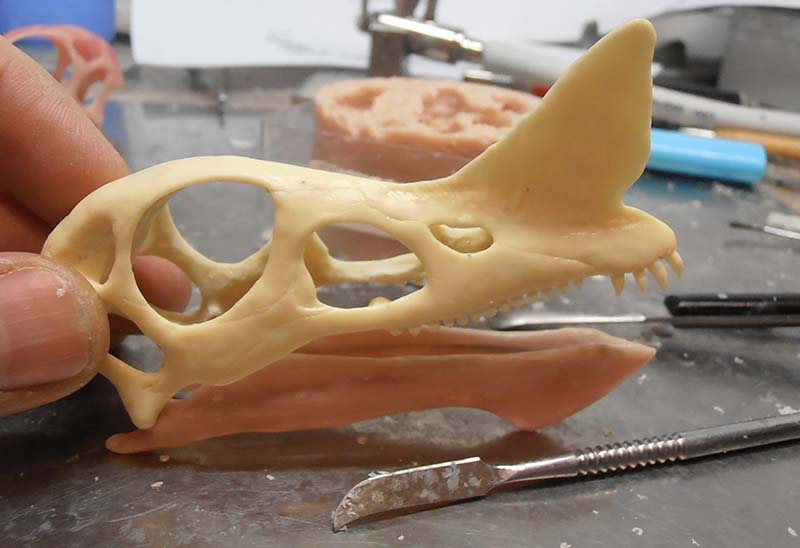
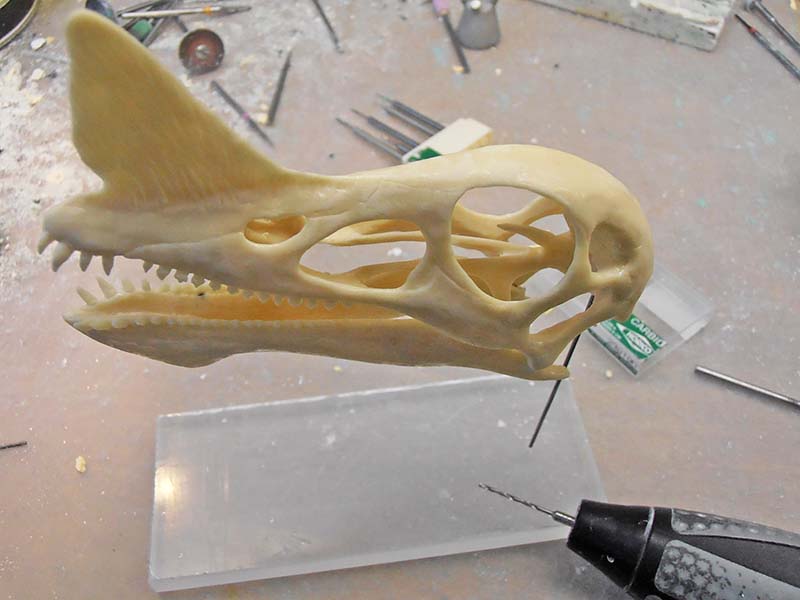
Now I can finish the jaw and work on the inside of the skull. Since there’s no information about this part of the existing fossil, I’m generally drawing inspiration from other pterosaur fossils... This extrapolation certainly has no scientific validity, but it does make the sculpture presentable. Movies and artistic illustrations were the first to attempt to bring extinct creatures back to life, and I’m following in their footsteps...
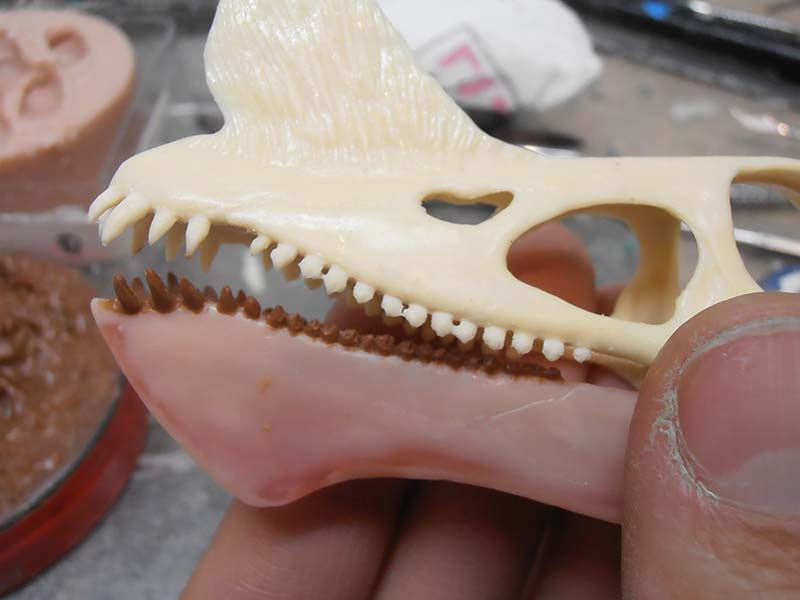
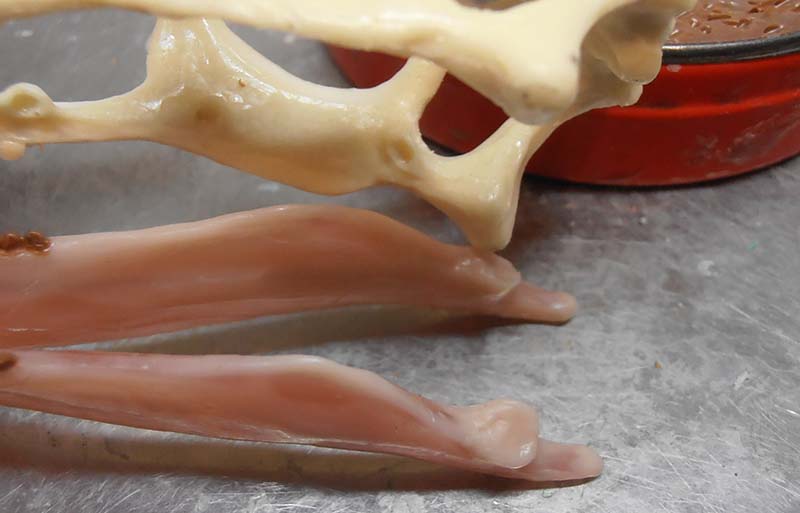
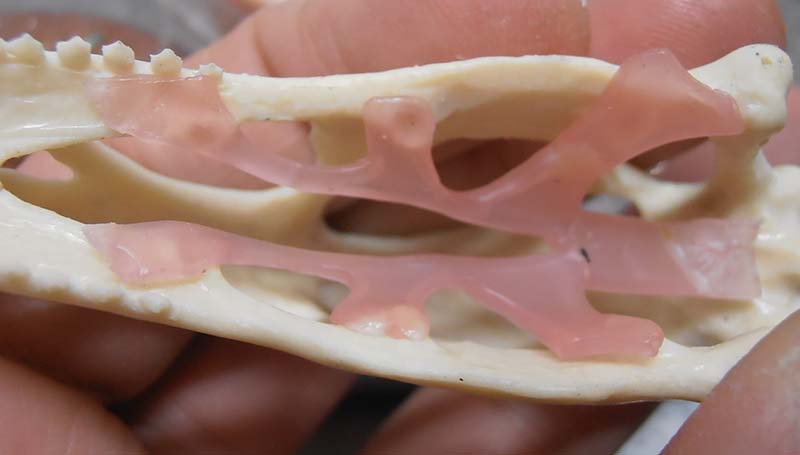
A drop of hot wax is applied to form the condyles of the jaw. This ensures a perfect fit (or almost)...
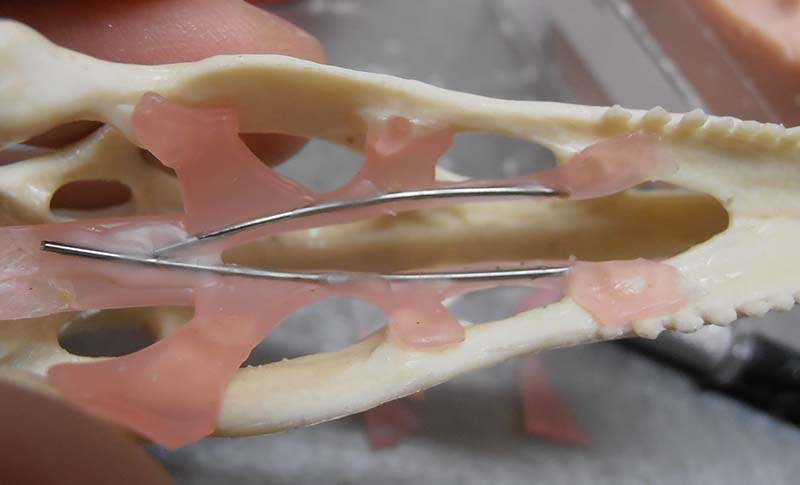
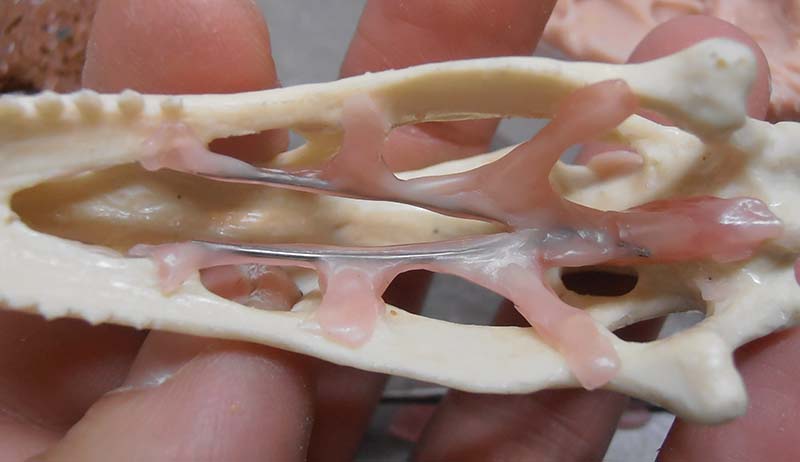
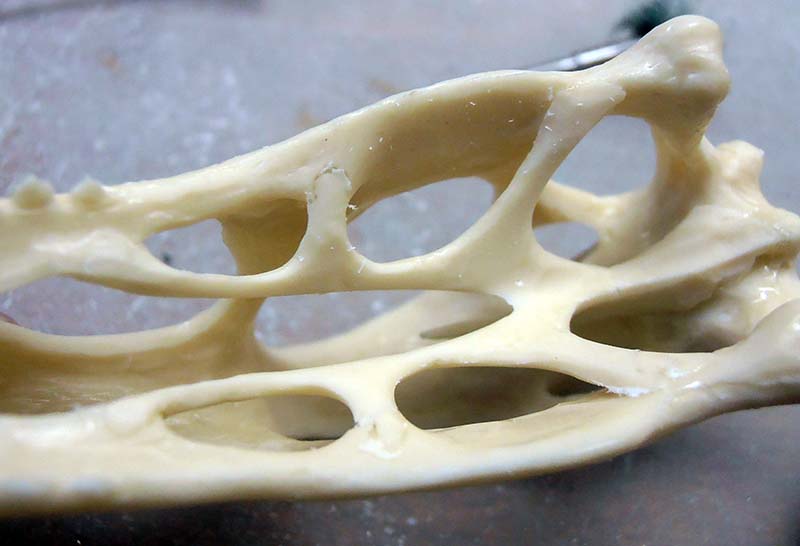
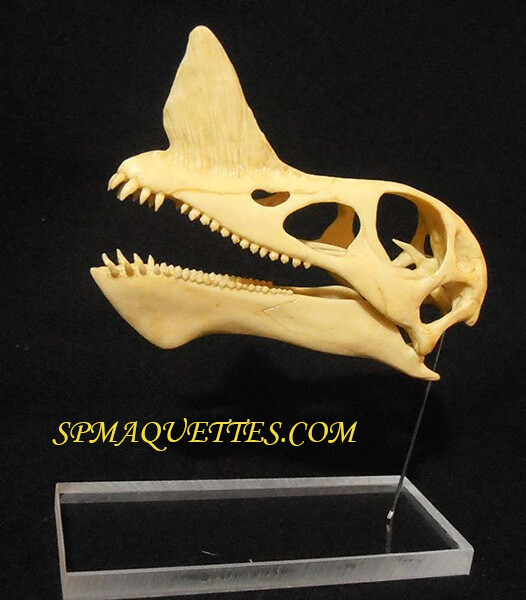
The finished piece...
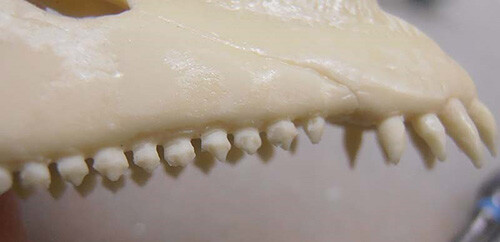 | 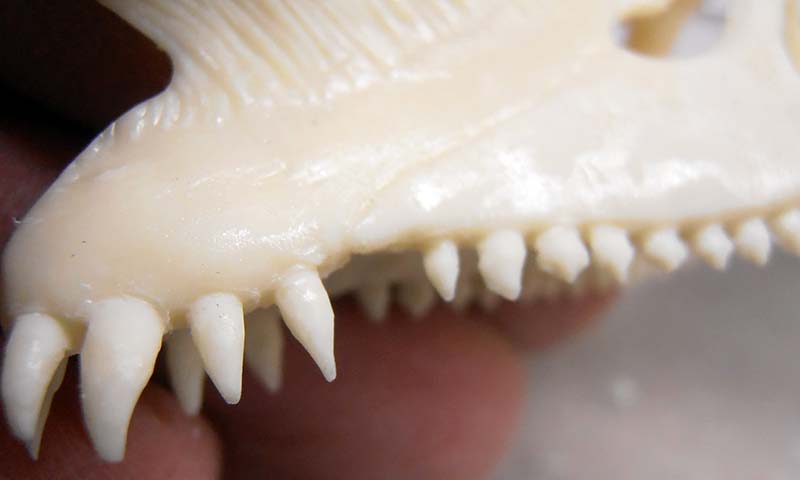 |
Details of the teeth...