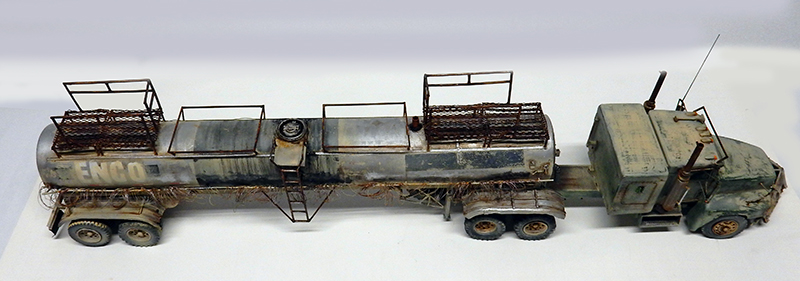
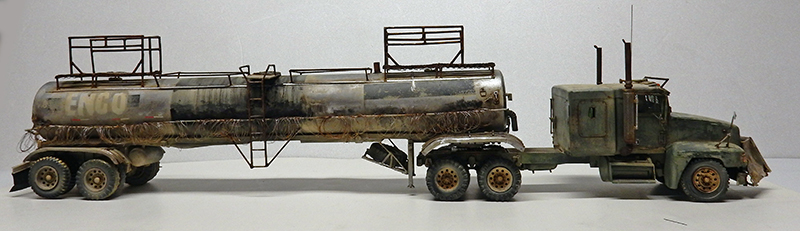
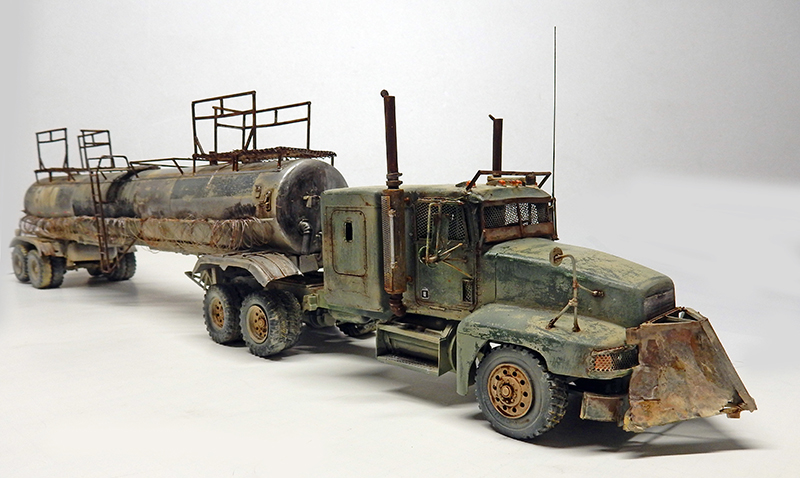
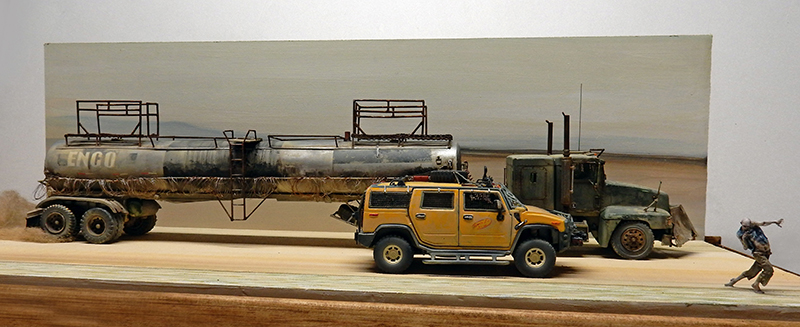
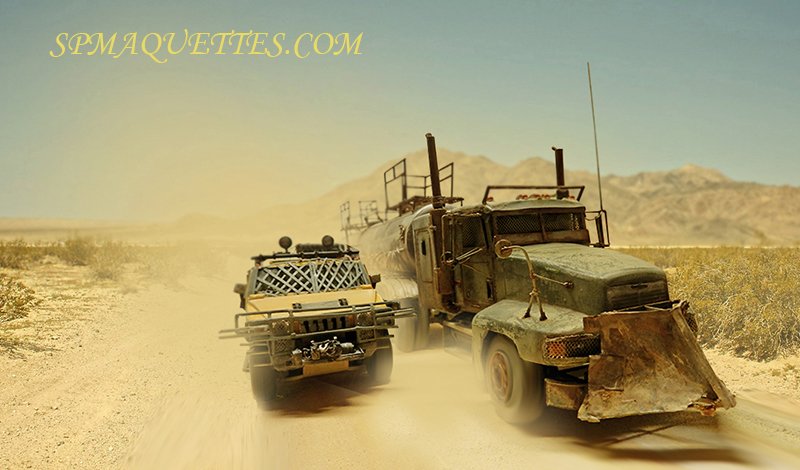
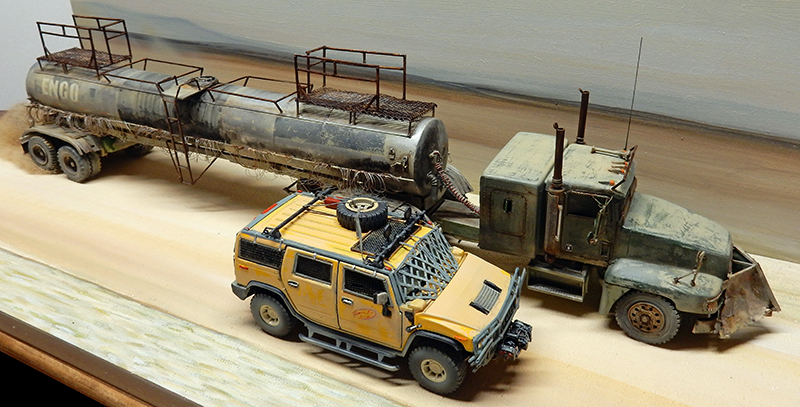
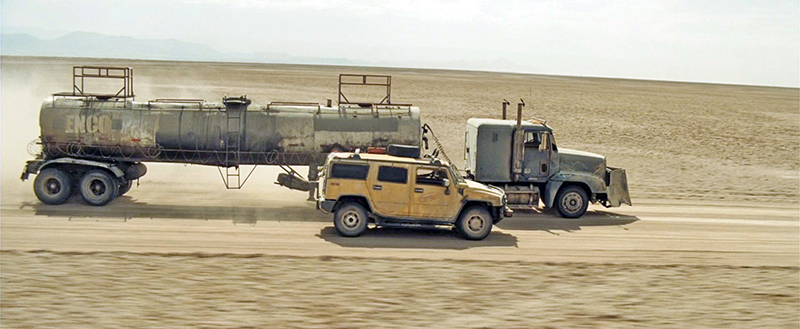
The diorama will feature two vehicles used in the zombie movie "Resident Evil: Extinction" (see photo from the movie above)...
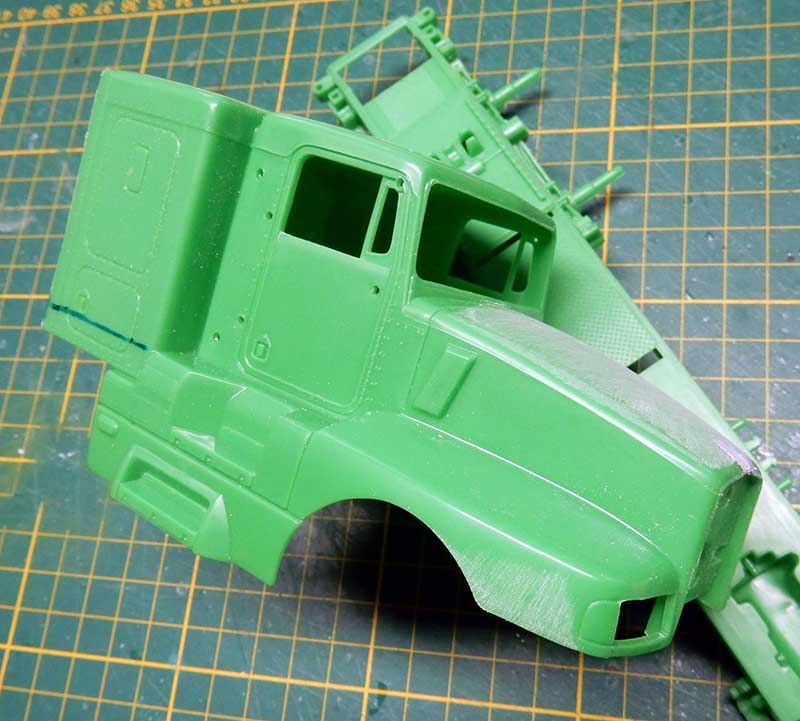
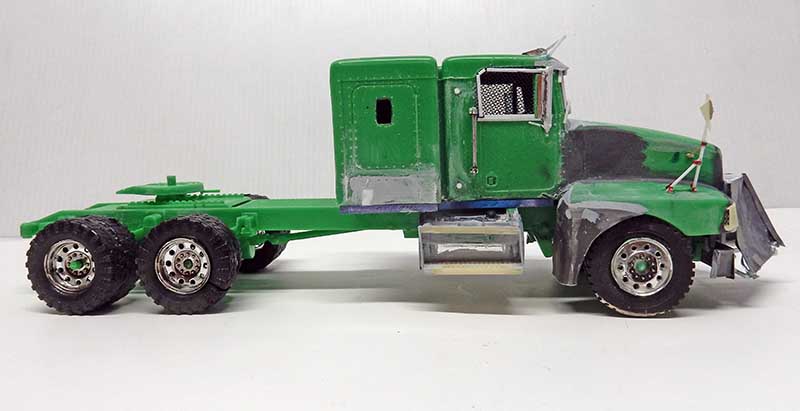
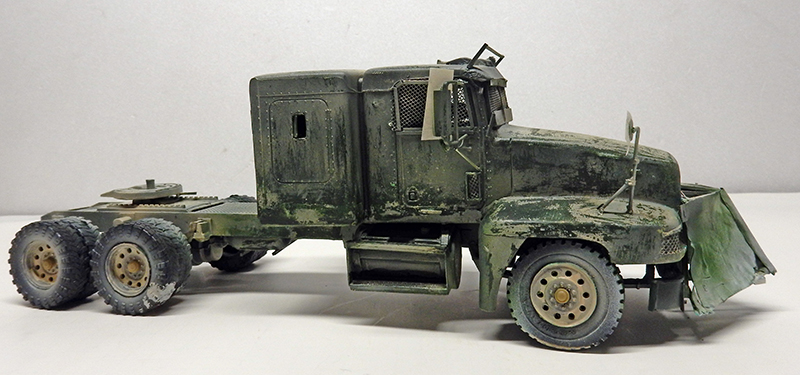
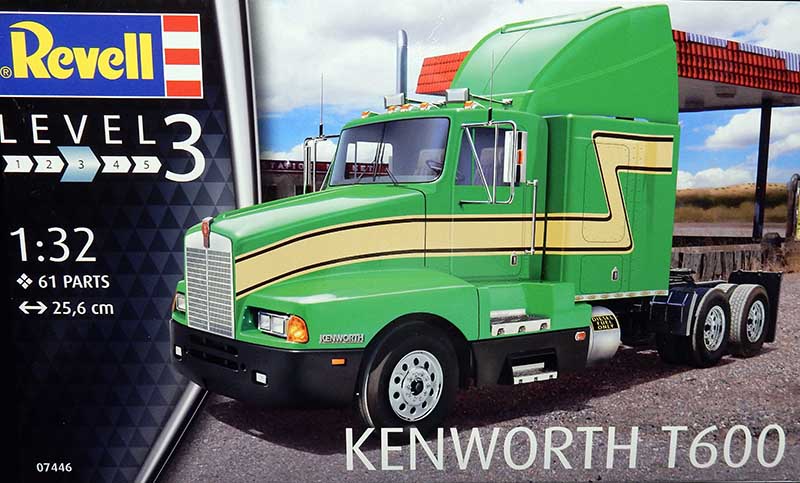
The tractor in the movie is a Freightliner FLD 120... How do we build it at this scale? We're using a Kenworth T600, which resembles it in many ways, and we're going to modify its overall appearance...
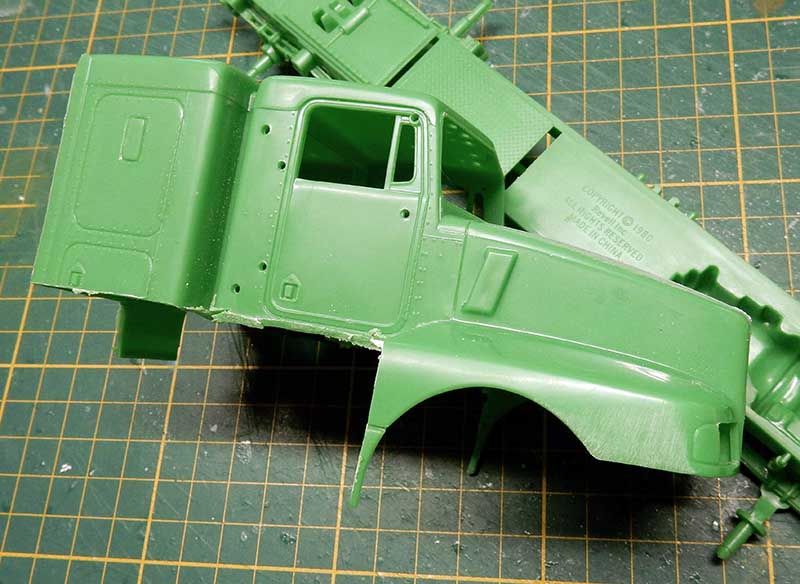
A view of the cockpit. First thing: sand down the domed canopy to flatten it as much as possible until it becomes transparent...
... Then cut out the footrests...
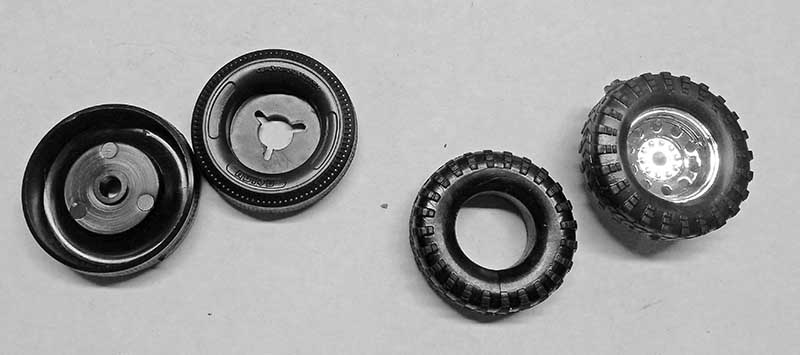
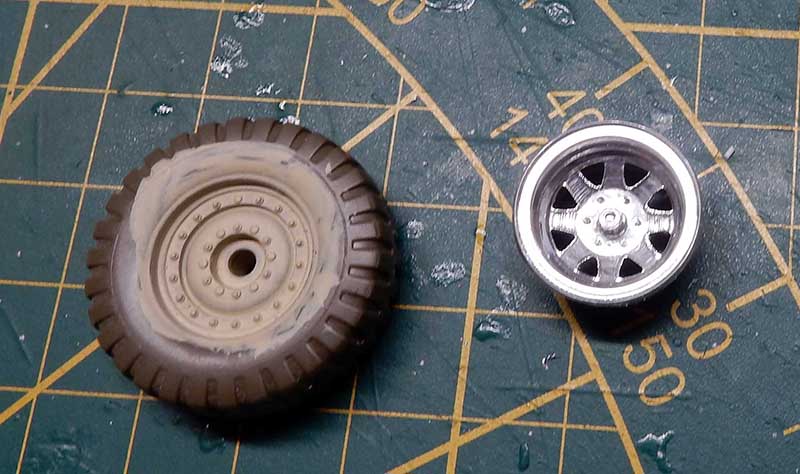
We're taking this opportunity to remove the "Snaptite" wheels (on the left)—which are half-wheels—and replace them with real tires on rims...
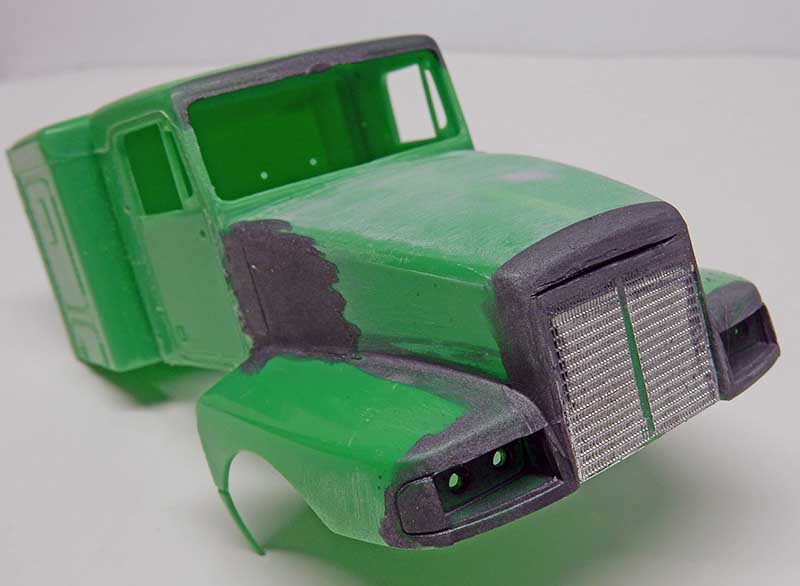
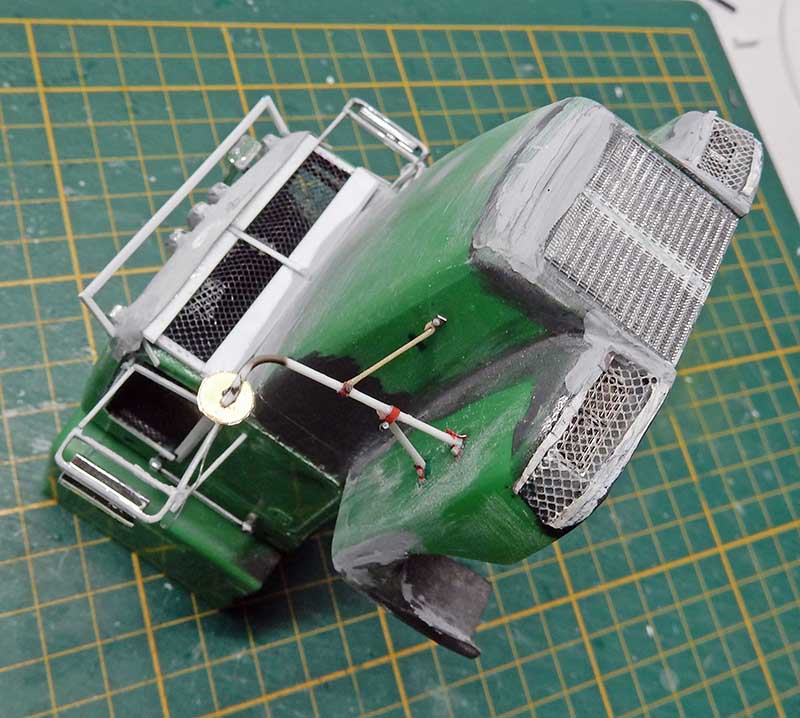
We're continuing to work on the cab. The radiator has been modified and lowered...
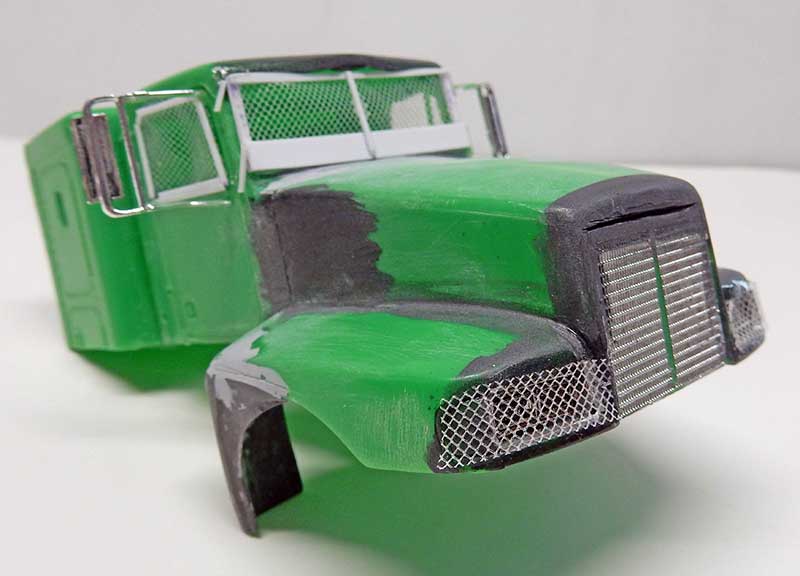
Installation of headlight and cab covers made from tulle and Evergreen strips. A spoiler made of lead sheet is added to the top of the windshield...
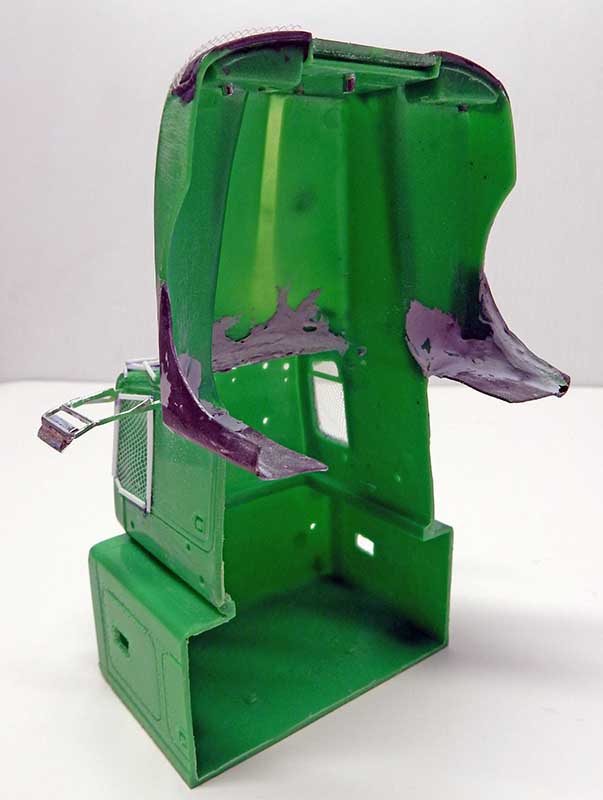
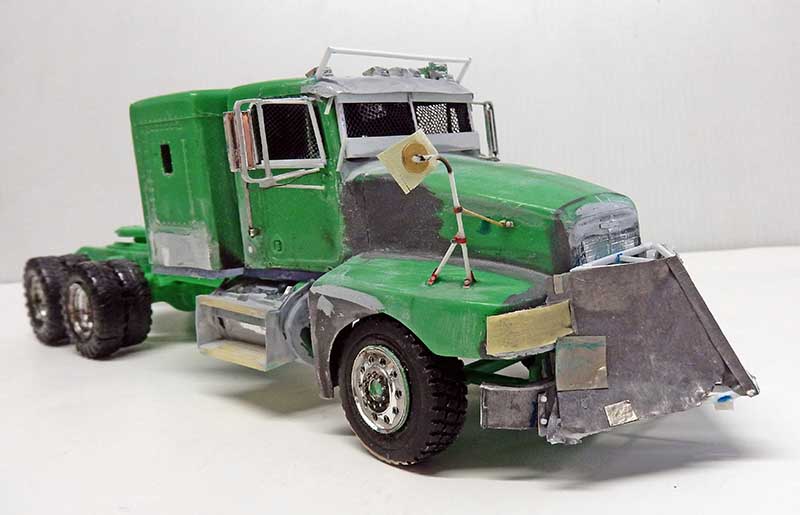
The rear portion of the front fenders is made of lead sheet and sealed with liquid putty after gluing...
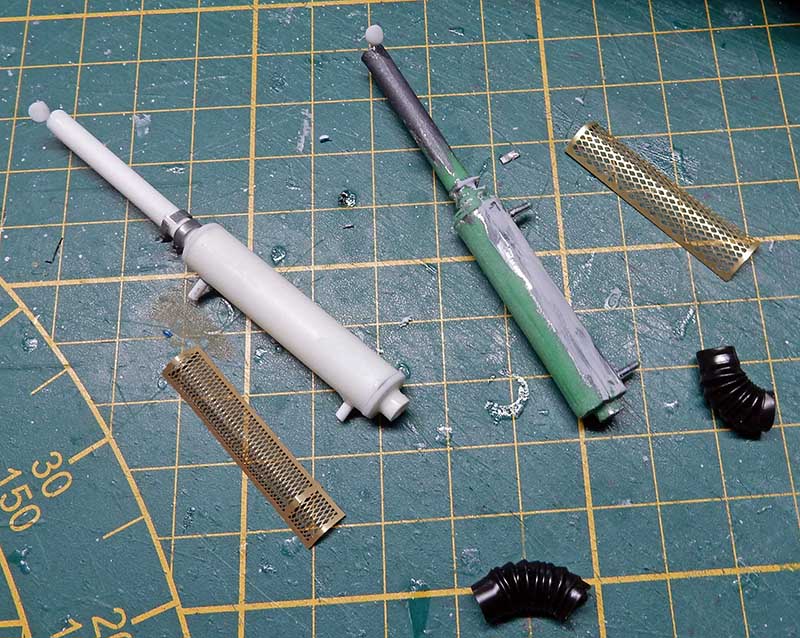
The kit contains only one exhaust pipe. To make the second one, we'll use protective grilles from the surplus store and straw bends for the connections...
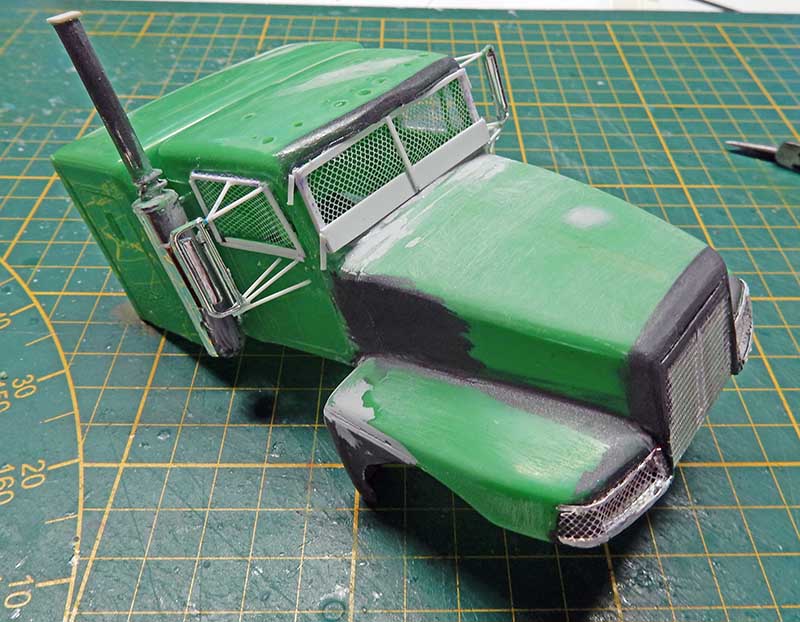
Test to determine the exhaust pipe's position...
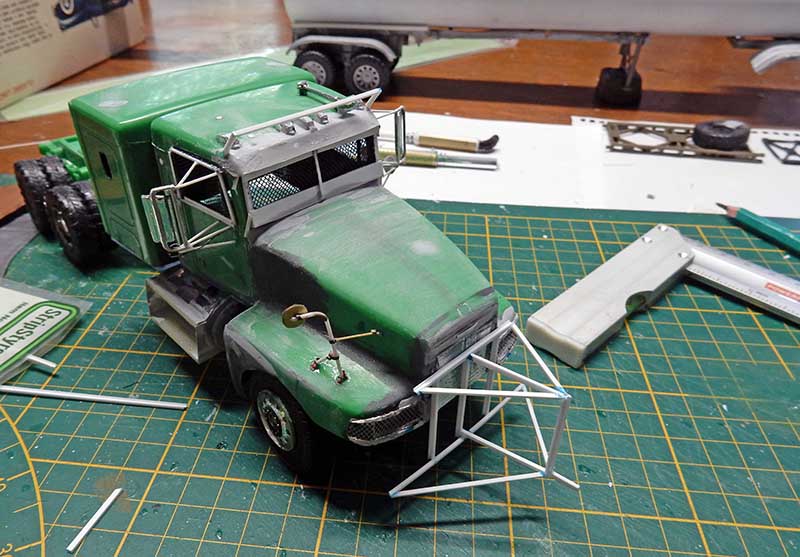
Installing accessories on the cab: roof rack, lights, horn, reinforced windshield guard, side mirrors, headlight trim. The grille is filled and sanded...
Installation of the side tank. Construction of the bull bar using Evergreen strips. It will be covered with lead foil...
The original bumper is replaced with one made of thick lead sheet...
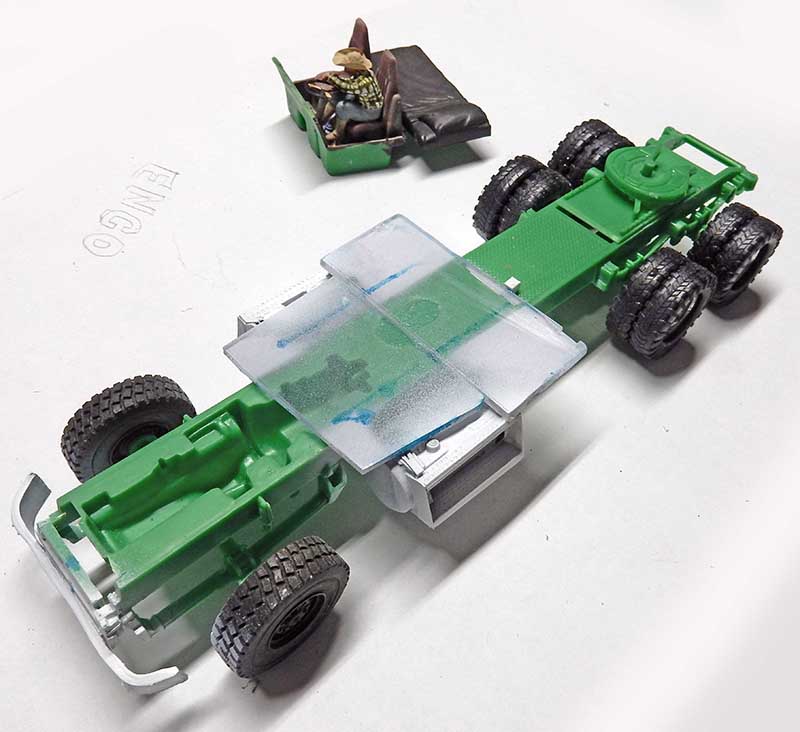
A plastic plate is added to align the cab at the correct height relative to the chassis...
An overview of "the progress of the work"...
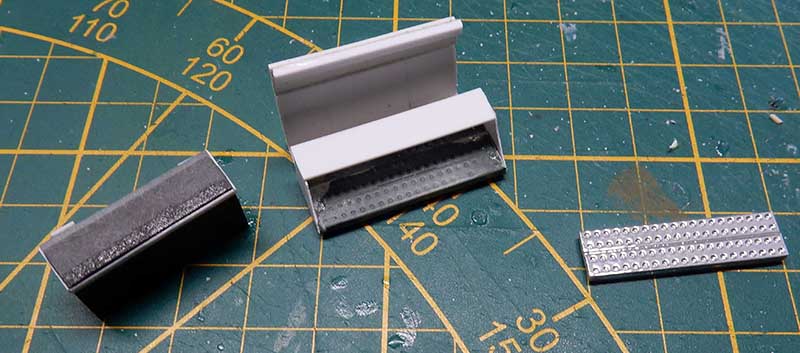
Manufacturing the running board and the battery compartment...
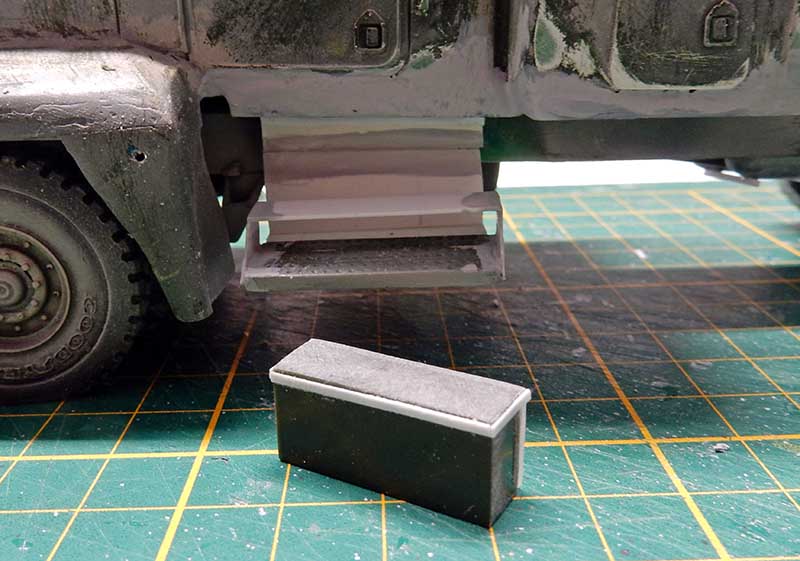
The battery box is ready to be installed...
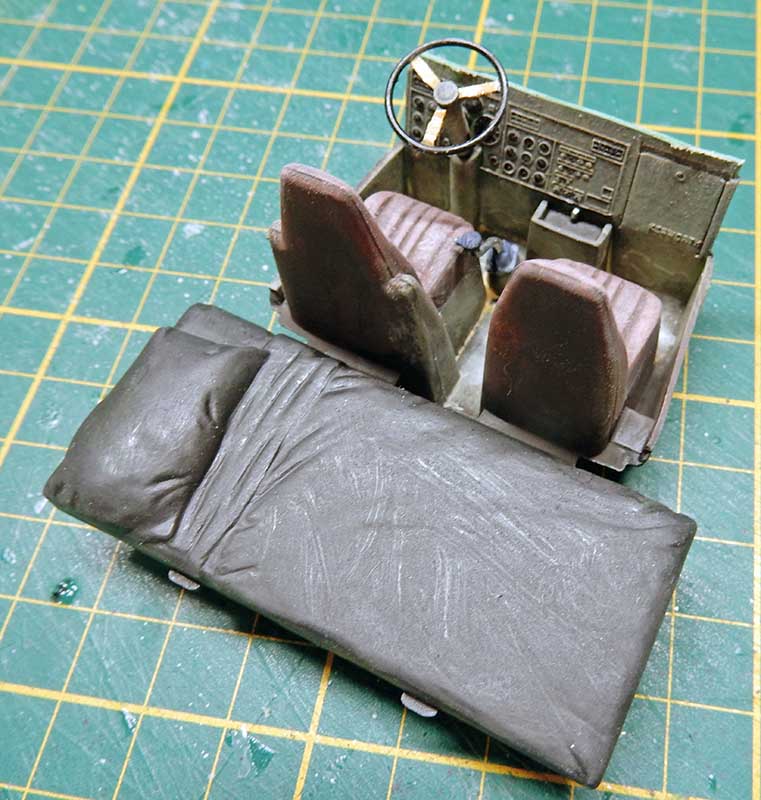
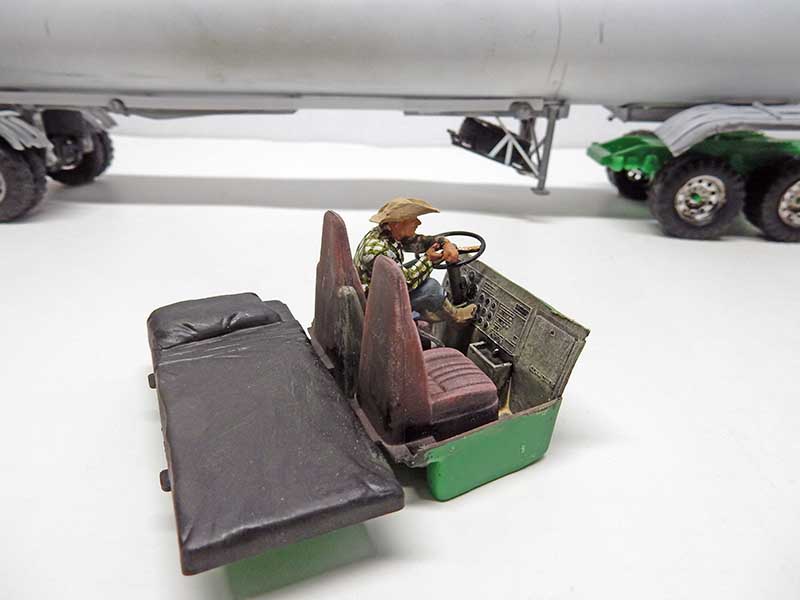
The interior of the cab is painted...
A figurine resembling the truck driver from the movie is painted and placed...
The trailer
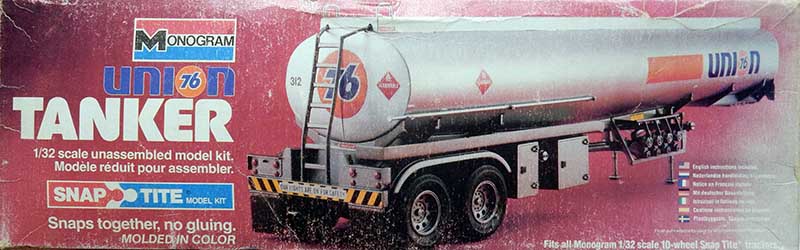
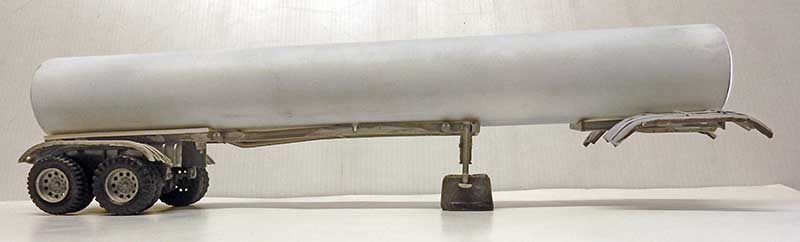
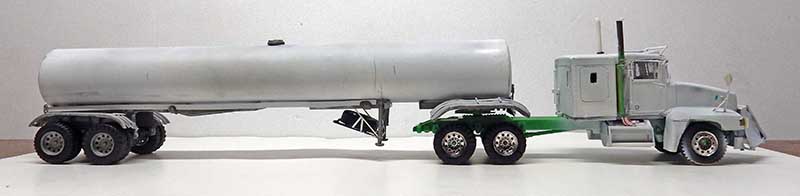
Originally, the Monogram tanker trailer was planned for this project, but in the end, only the chassis and the fenders will be used...
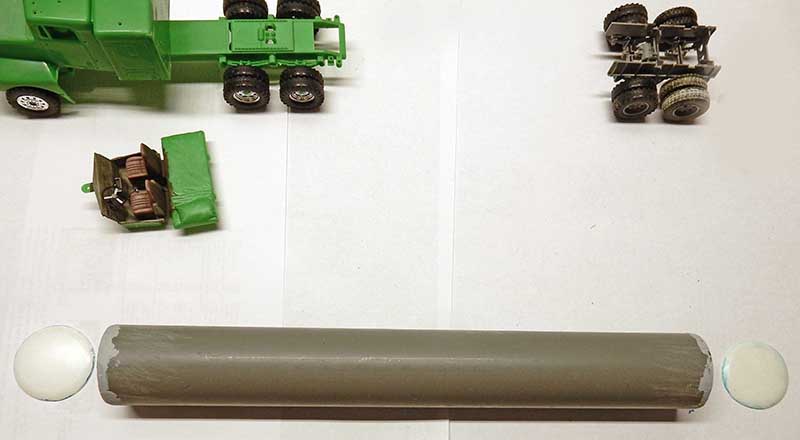
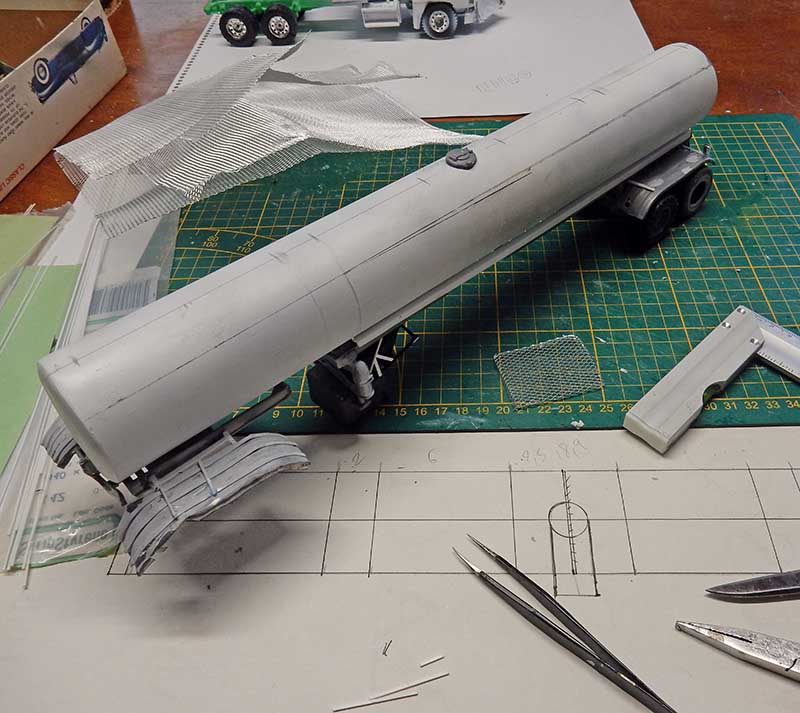
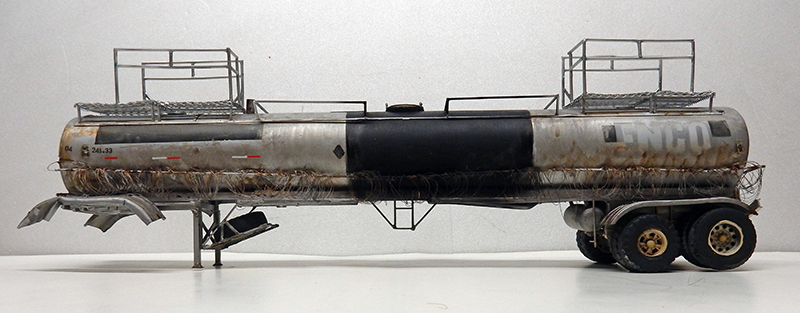
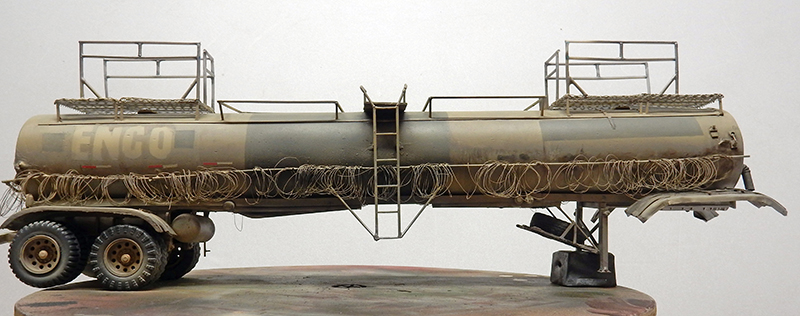
American trailers are very different from European ones. Here, we use PVC plumbing pipe—37 cm long, 5 cm in diameter—and two jam jars cut to size to simulate the rounded sections at each end of the tank...
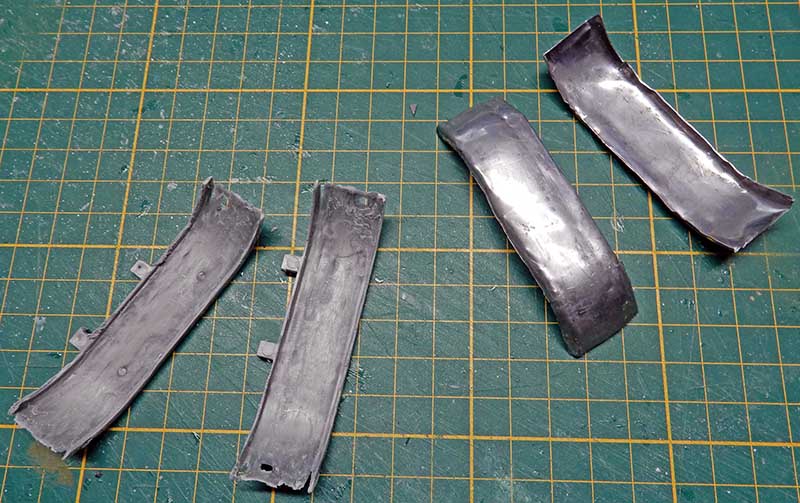
We're making two additional fenders after grinding down the two from the trailer kit...
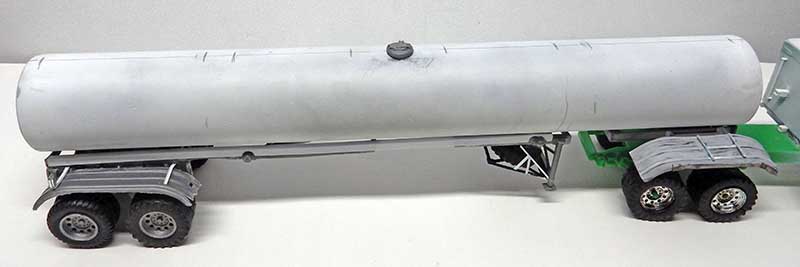
Initial trailer assembly. On some models, the front fenders are attached directly to the trailer frame ...
The spare tire mount has been repaired...
In the movie, the truck is supposed to be transporting fuel for the convoy. However, the tanker used isn't a gasoline tanker but an asphalt tanker, which carries tar... Under normal circumstances, gasoline can be transported provided the tank is thoroughly cleaned...
As for the movie, it's clear that they used a tired template that they then "dressed up" in a post-apocalyptic style—which, incidentally, is empty...
Tanker trucks have only one central access hatch, unlike gasoline tankers. We've reused a hatch from the Monogram model...
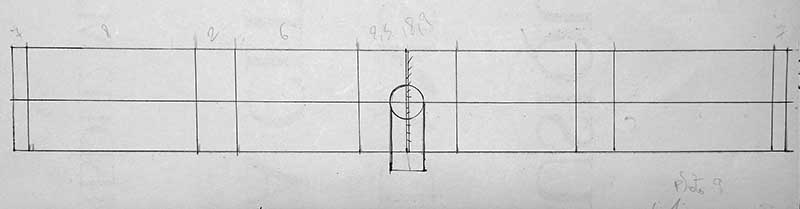
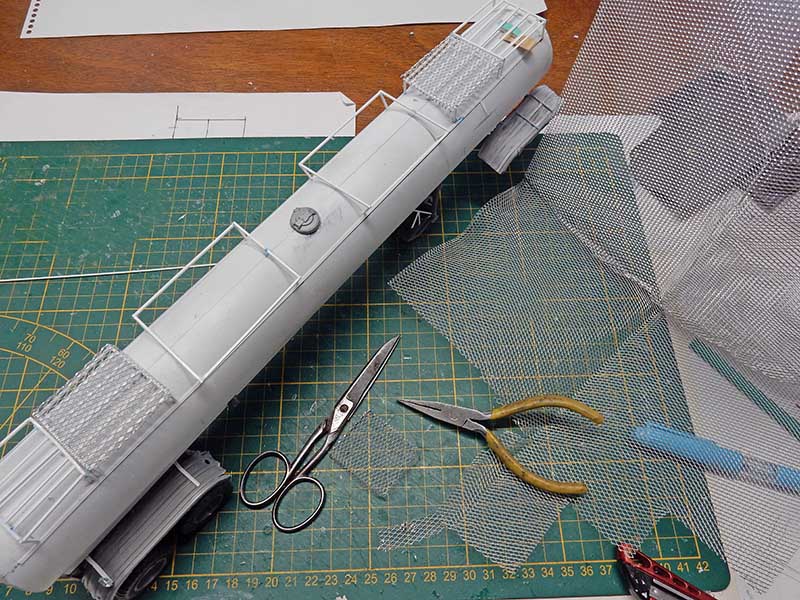
Diagrams of the protective features at the top of the tank and the central ladder...
Mark the pattern on the template and cut out the grids from fine-mesh wire...
Installation of Evergreen trim moldings...
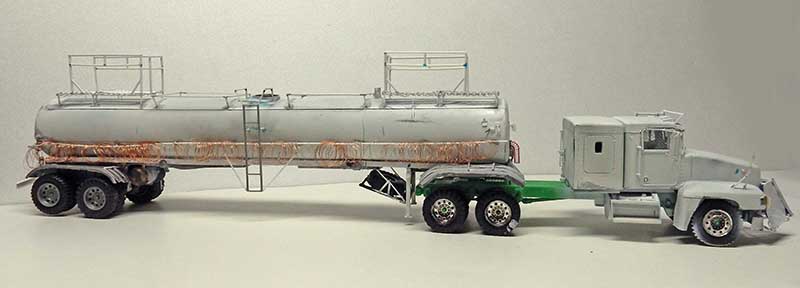
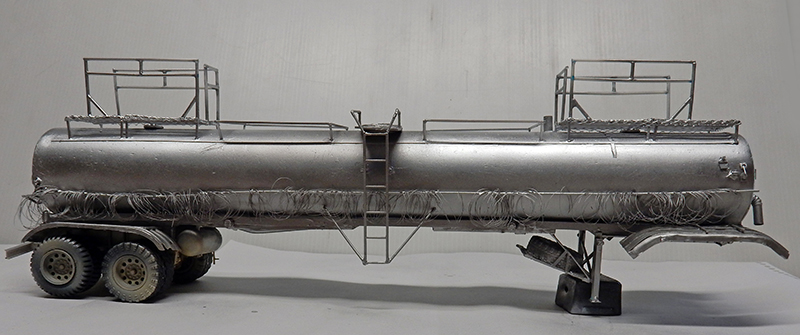
Installing barbed wire all around the tank. Actually, it's very thin electric tape from a spool. Building the central ladder, the handles, and the frame around the hatch...
In the meantime, many changes have been made, though they aren't very noticeable here.
Transparent passenger-side door panel for the driver's visibility. Side window panels on the sleeper compartments. Two small access hatches on top of the tank. Handrail on the passenger-side exhaust pipe.
Air tanks under the tractor chassis on either side of the driveshaft and one tank at the front of the trailer's undercarriage. A bleed valve in the same location on the driver's side of the trailer. It’s important to note that a tanker consists of a second inner tank surrounded by an air gap for safety. This is why the vent is there—to check the levels regularly.
The left and right side mirror arms were modified to match the model in the movie. Mirrors were added. Improvements were made to the trailer stands...
The Painting - The Tractor
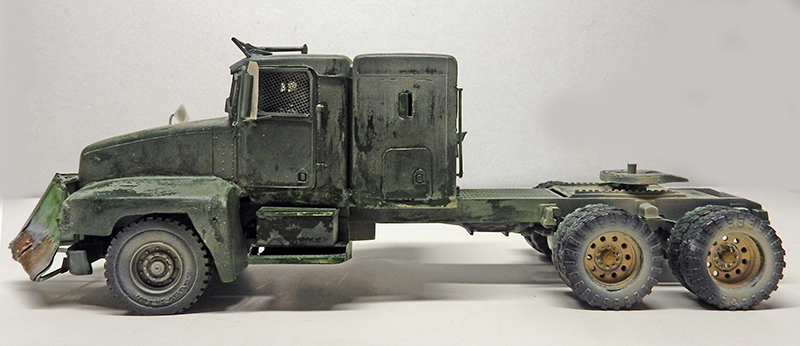
The tractor is painted with Tamiya XF26 Deep Green acrylic paint; after it dries, it is treated with hairspray, and then a coat of Hobby Color 318 Radome is applied to simulate dust...
The Painting - The Cistern
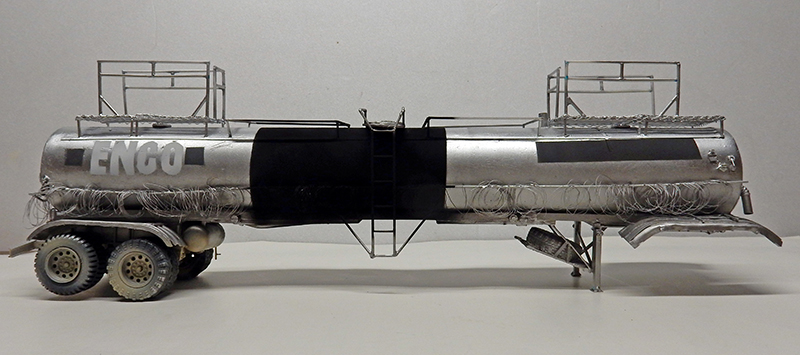
It is directly sprayed with a coat of aluminum paint, protecting the wheel assembly...
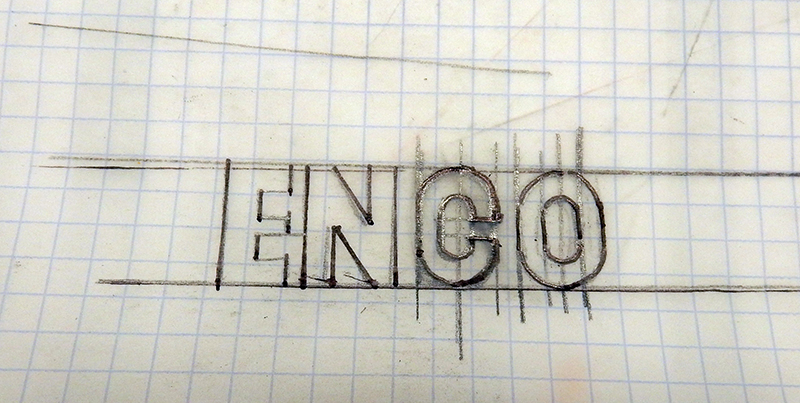
While it's drying, we prepare the lettering for the gas station ad in the film...
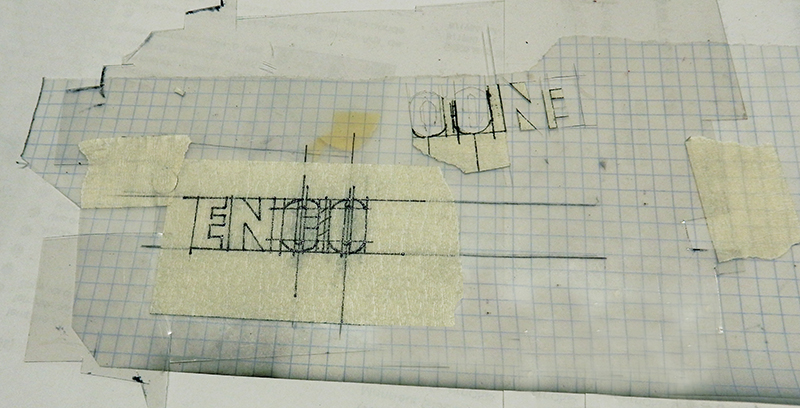
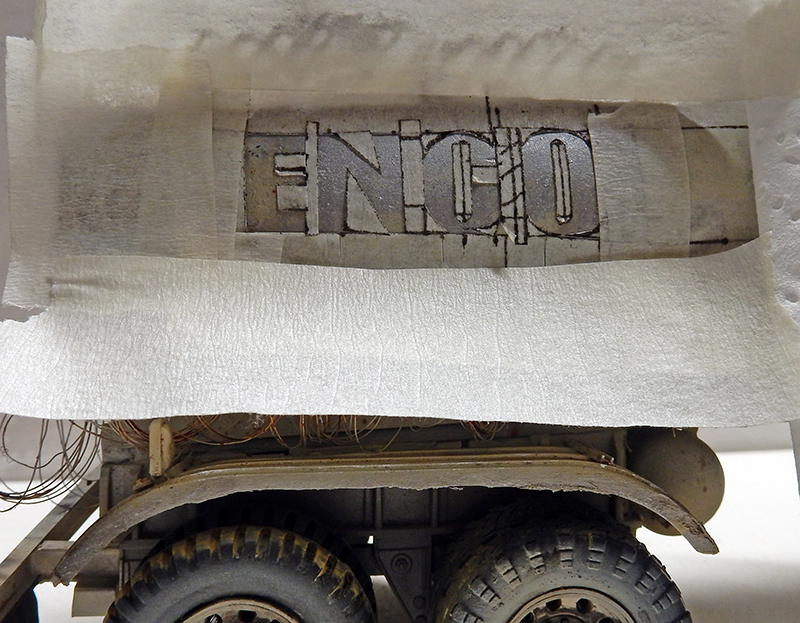
We use body shop tape on tracing paper to cut out the letters...
Then we apply it to the model while protecting the surrounding area...
The logo is complete. We paint the black stripe common to all asphalt-based models, along with darker stripes in various places...
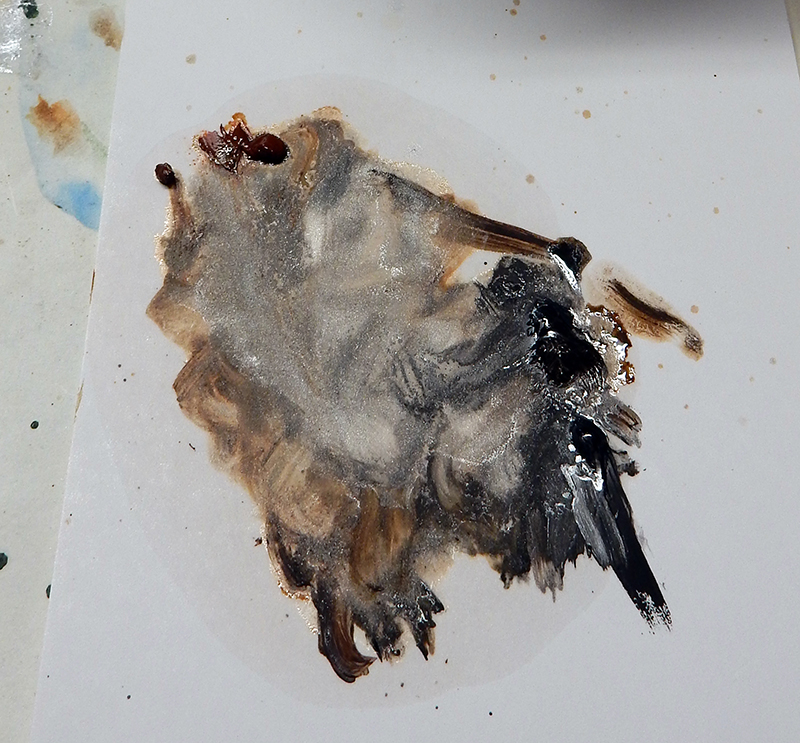
Juices made from umber, sienna, and black—more or less diluted—will then be applied after drying. Also on the tractor, in smaller amounts...
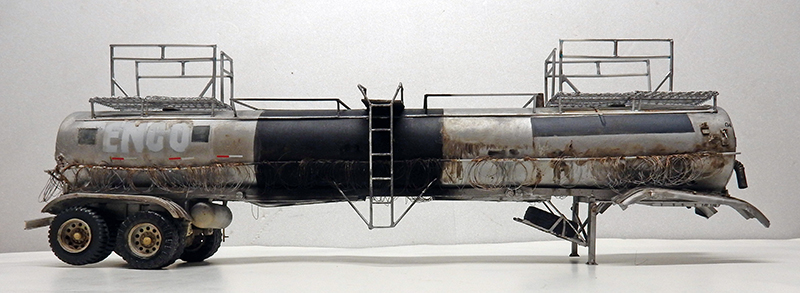
"Fluorescent" markings are applied to the sides, along with numbering...
The result. Some shades of gray were applied using the "dry brush" technique over the black stripes...
Airbrushing with Hobby Color's "Radome" color after applying hairspray...
The vehicle's underbody is also covered in dust...
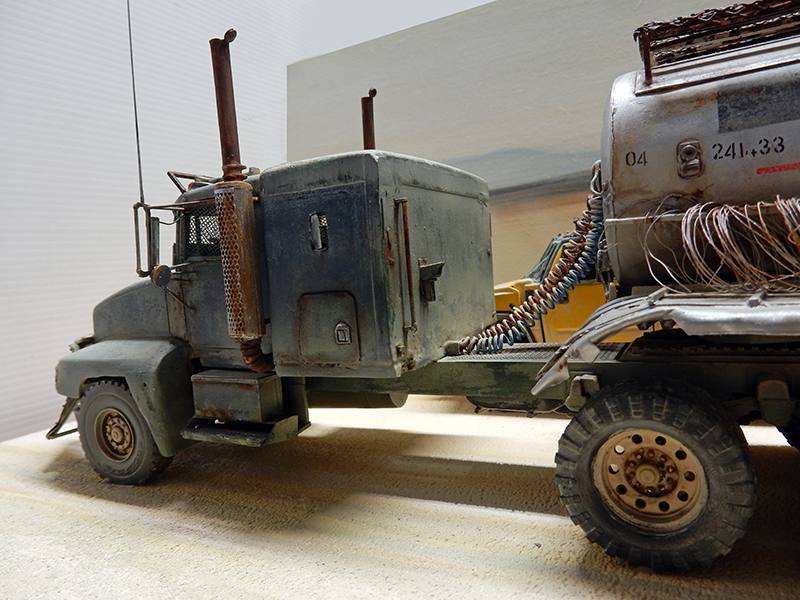
The connection. On the truck in the movie, there are only two electrical cables: blue and red for the trailer's air supply. The lights are missing... But there aren't any night driving scenes in the movie, so...
The Hummer H2
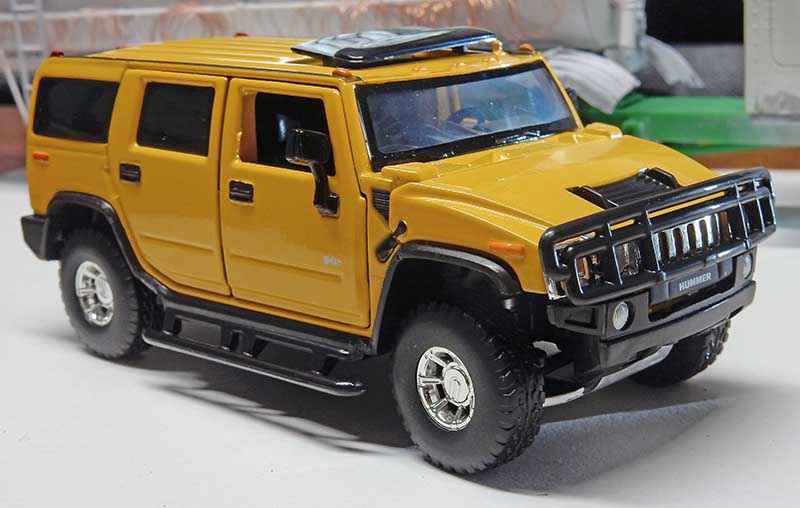
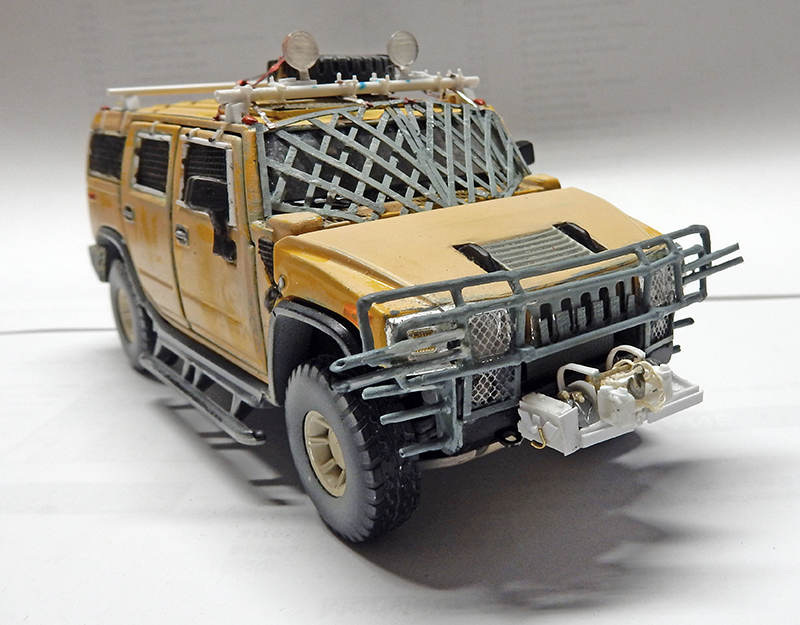
The Hummer is the second vehicle in the diorama (a second scene featuring an M35 A2 will be the subject of another diorama), which leads the convoy with Claire Redfield, the game's heroine, at the wheel...
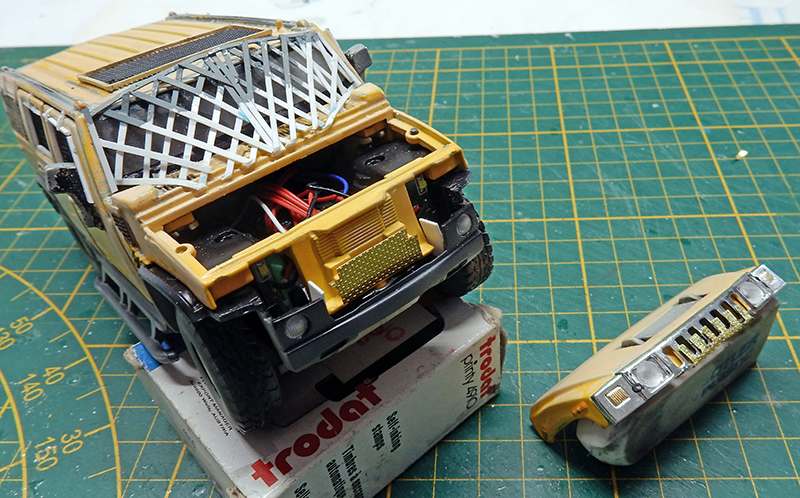
There's no 1/32-scale model. So a good-quality toy will have to do instead...
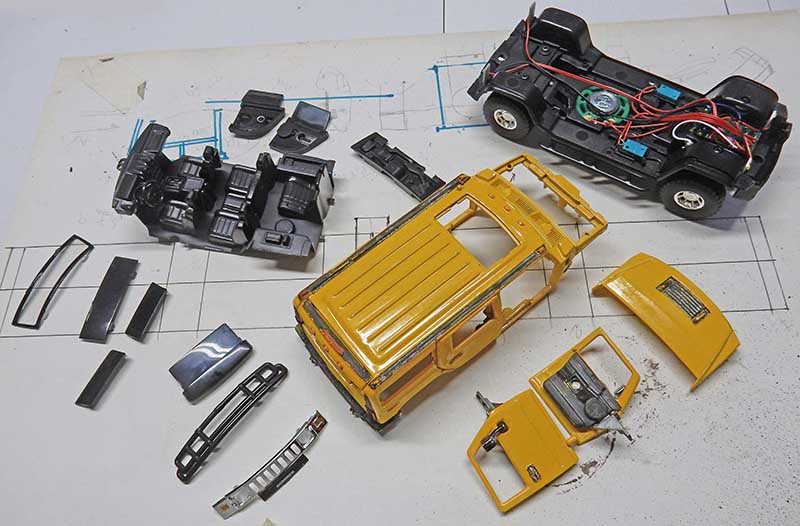
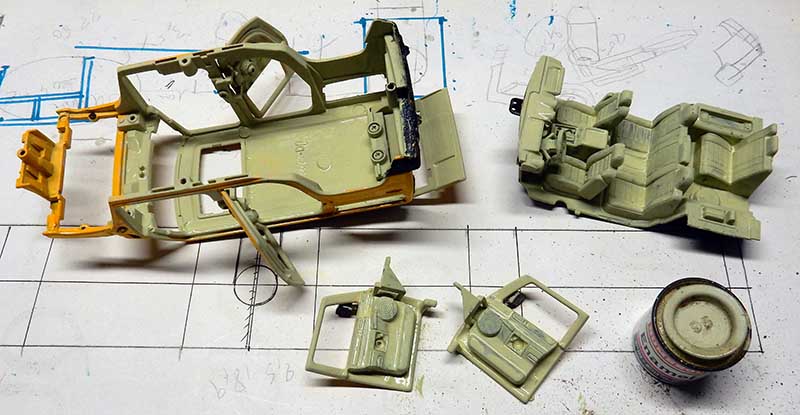
First things first: take the object apart!
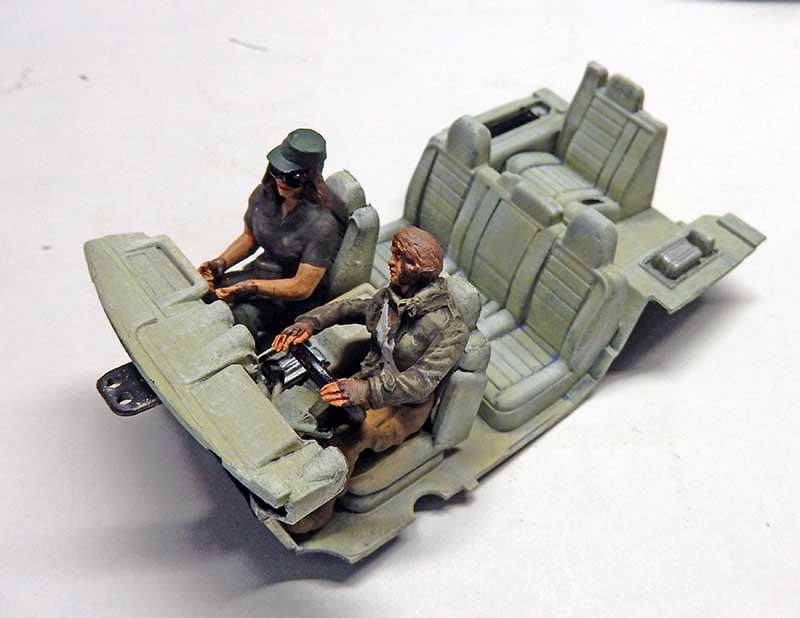
The interior of the vehicle has been repainted compared to the version in the movie...
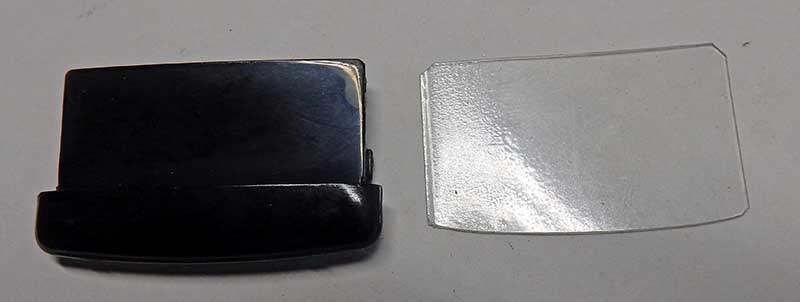
The skylight is being replaced...
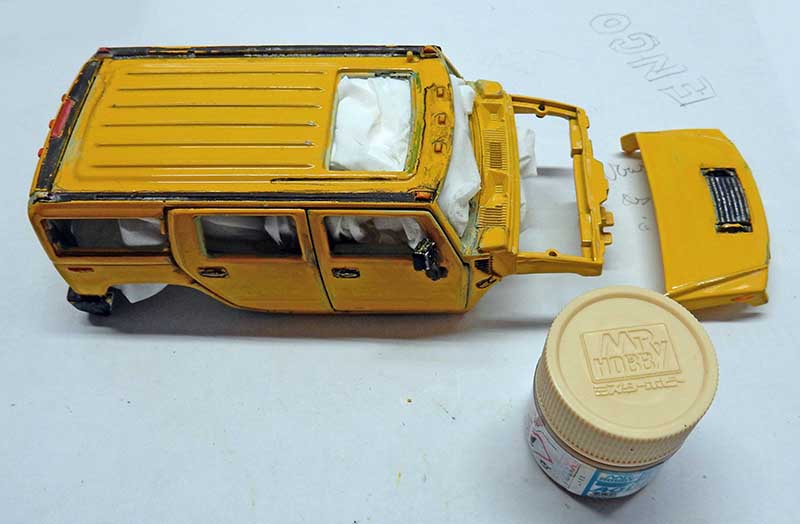
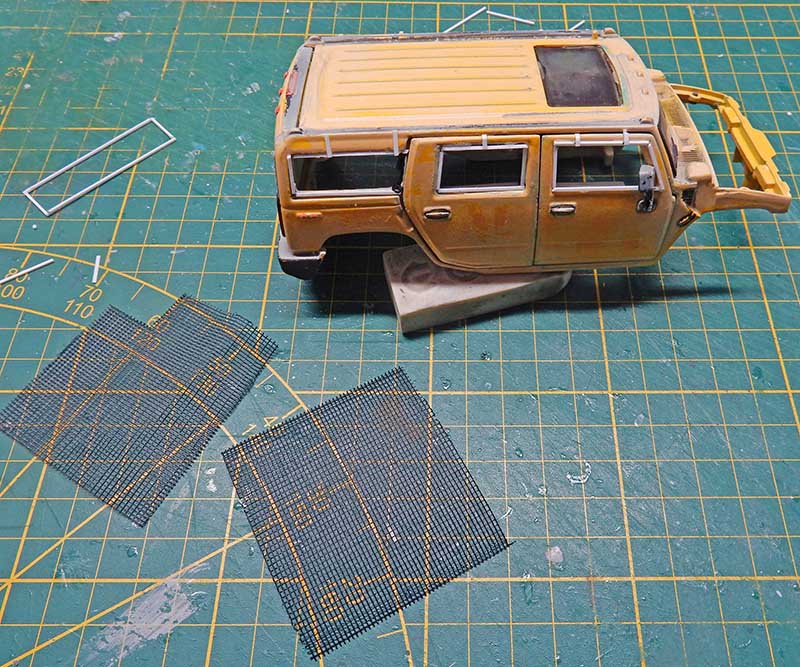
Sand down the body and the hood to remove the gloss from the original paint and ensure better adhesion...
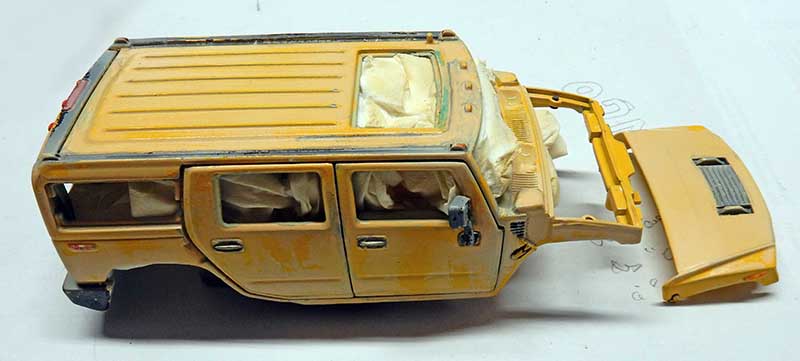
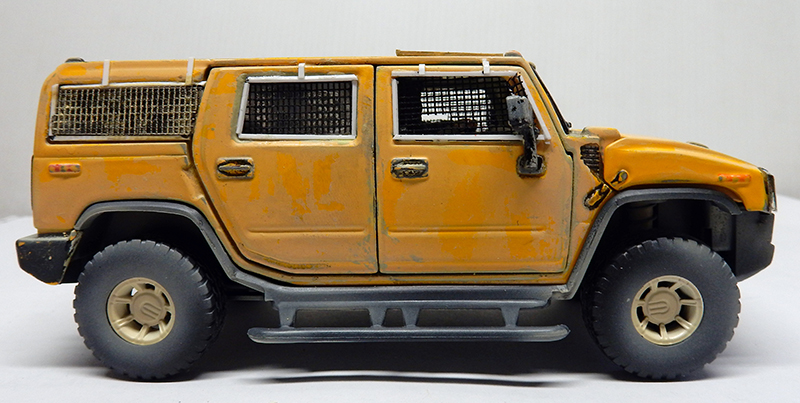
Treatment with hairspray, followed by airbrushing...
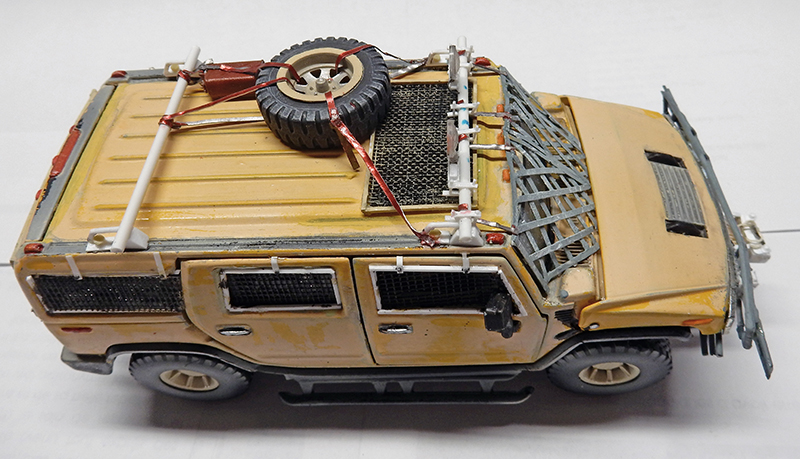
Installation of protective frames for the side windows and the roof...
Painted figurines are added, and everything is secured inside the cabin...
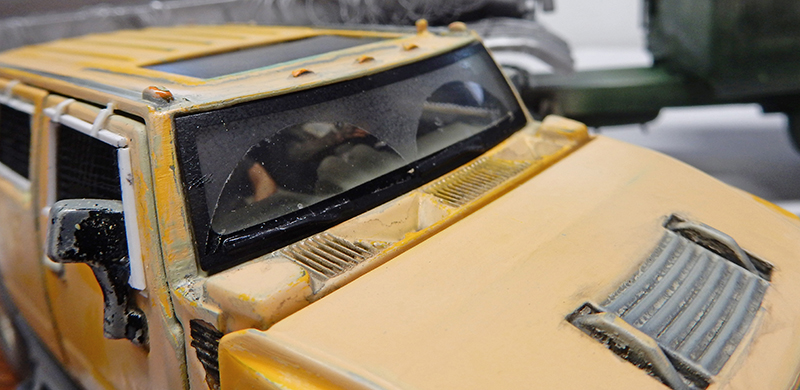
Windshield Stains Caused by Clear Matte Varnish...
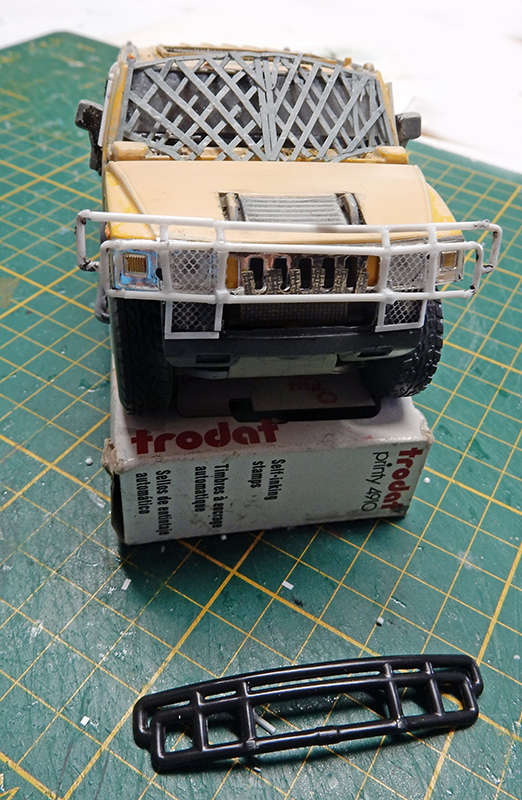
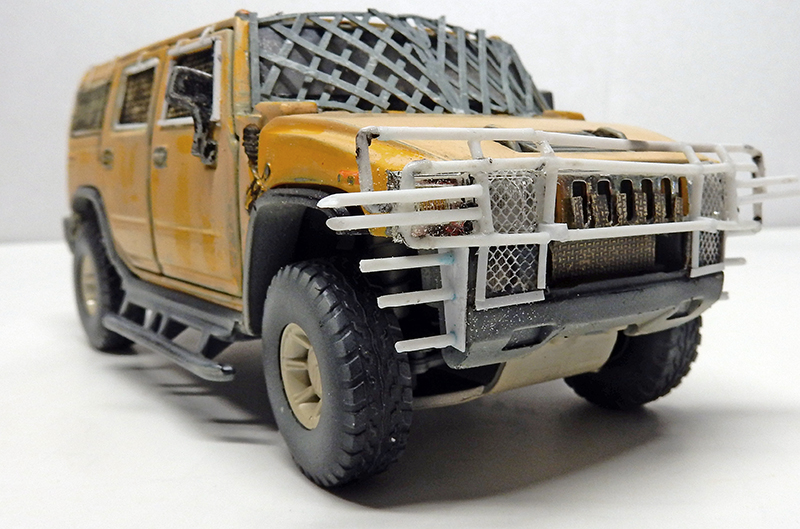
Manufacturing the windshield guard using crisscrossed strips and photo-etched grille guards...
The bull barrier, which was too thick, was removed and replaced with Evergreen tubing...
Finishing the bull bar...
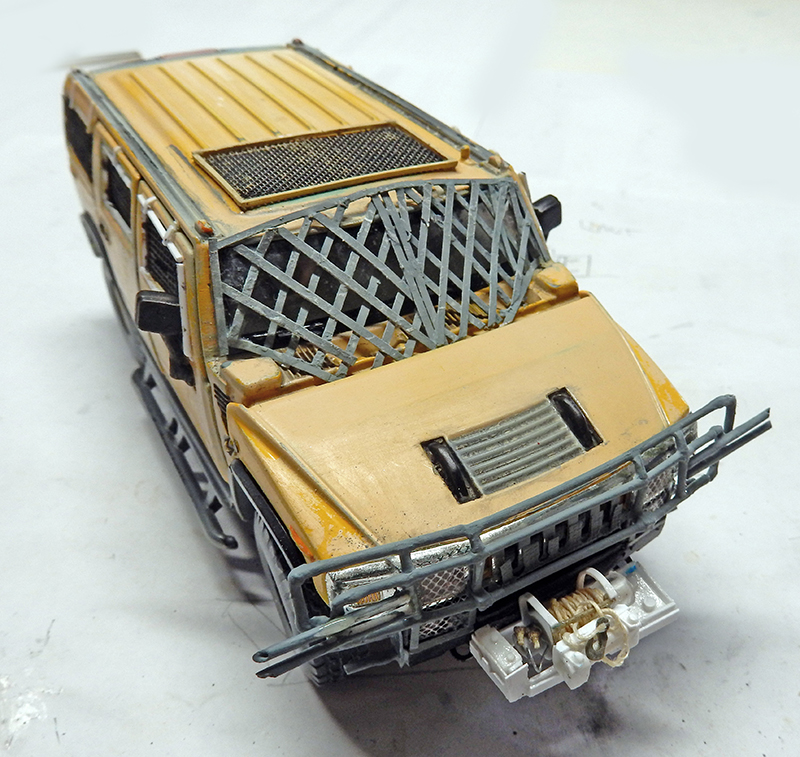
Making a winch out of items from the surplus box and a plastic card...
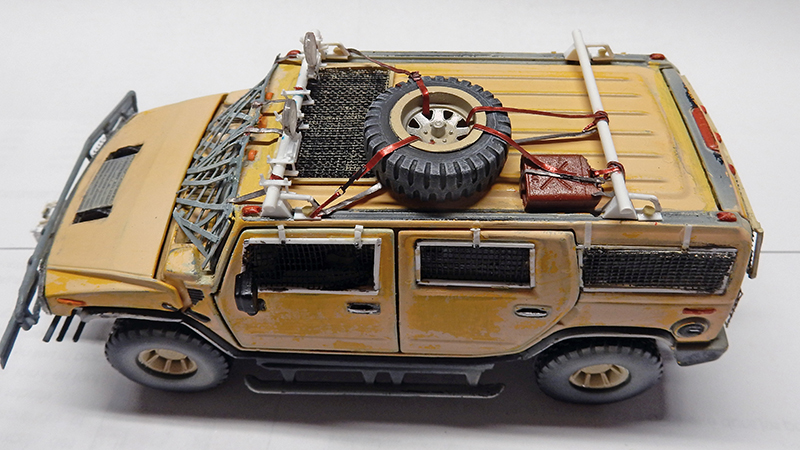
Installation of the roof rack bars with mounts, as well as the spotlights...
Retrieving a spare tire for the roof...
Installing the spare tire, a gas can, and various fasteners...
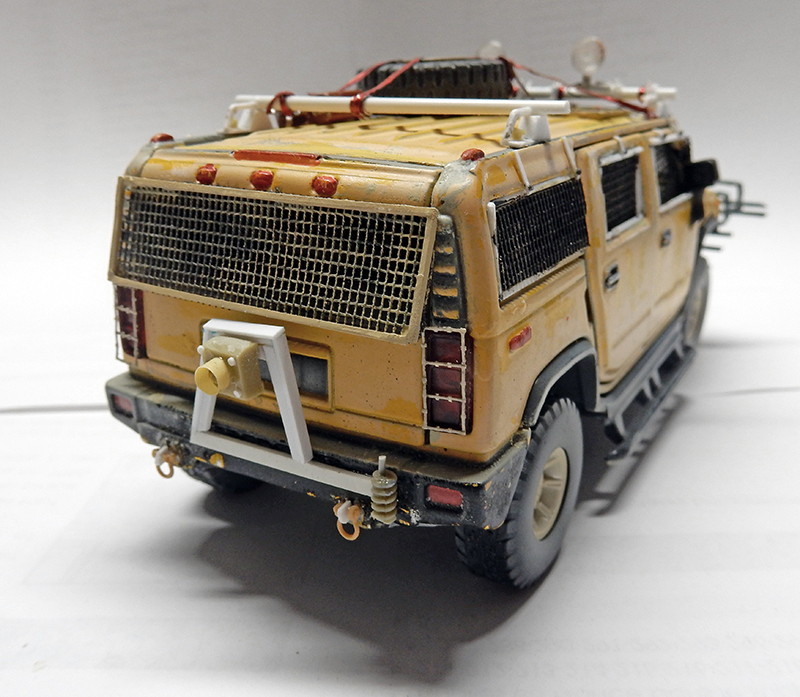
The rear hasn't been overlooked either, with the spare tire mount and taillight guards, as well as the tow hooks...
Another view...
The Setting
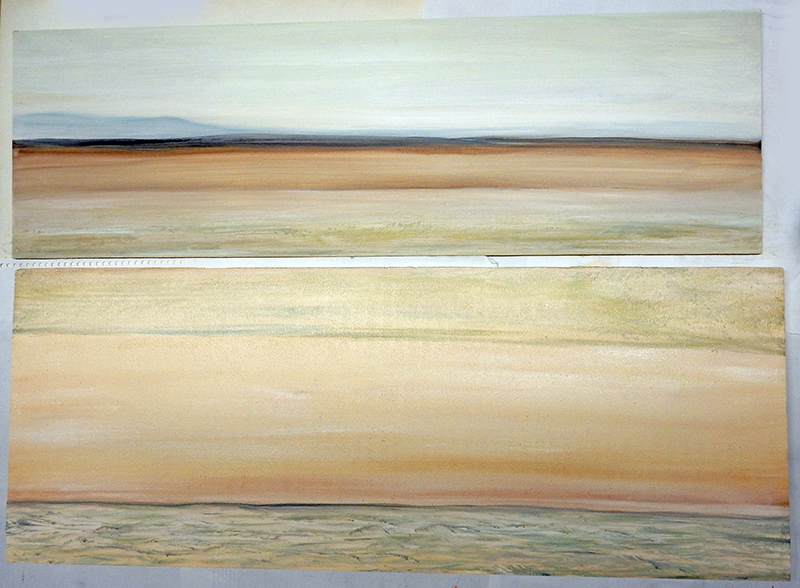
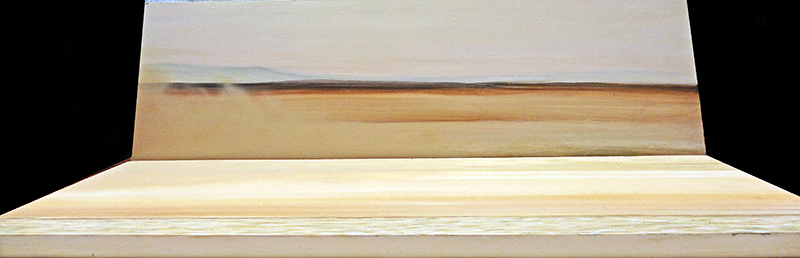
It will be simple and minimalist. Two wooden panels measuring 75 x 30 cm, plus a sheet of expanded polystyrene...
In the movie, the two vehicles race toward the zombie camp...
A painting of the desert with mountains in the background and a sense of speed along the side of the road. Clouds of dust on the left side of the painting...
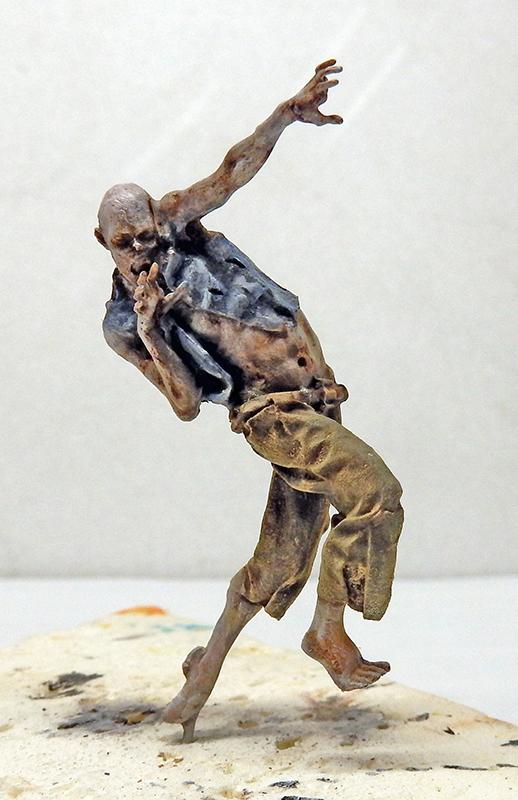
The icing on the cake: a zombie wandering by to liven up the scene...
 The tractor in the movie is a Freightliner FLD 120... How do we build it at this scale? We're using a Kenworth T600, which resembles it in many ways, and we're going to modify its overall appearance...