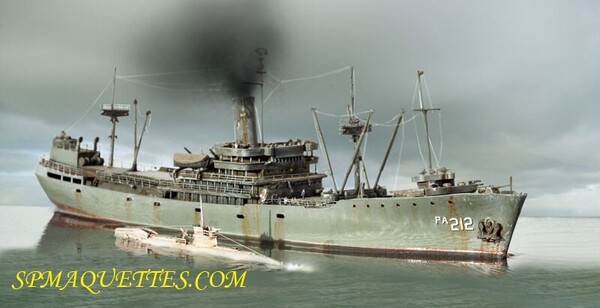
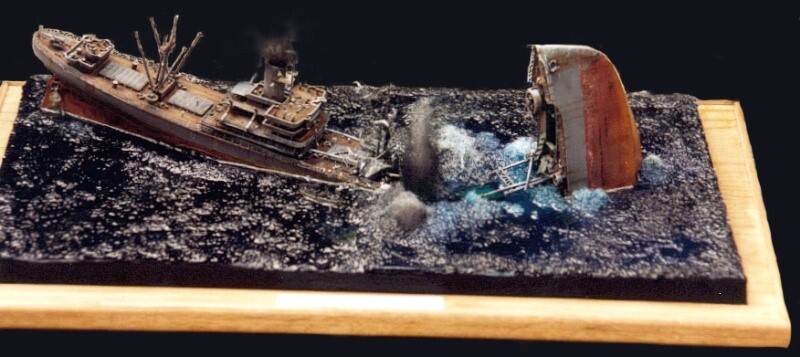
About twenty years ago, this diorama of a torpedoed “Liberty Ship” unfortunately—due to an incorrect resin mixture—fell apart, and it had to be destroyed because it is harmful when not stabilized...
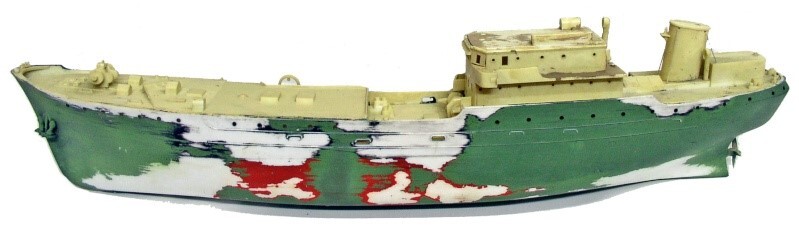
First—for the new ship—the deck at the stern of the second cargo ship is cut out, and then this section, along with the entire hull, is treated with "Decapfour"... The photo shows the cargo ship before cutting and stripping....
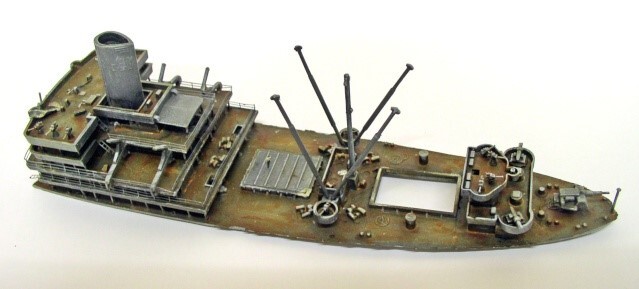
Pieces recovered, along with various parts, masts, railings, etc., from the sunken cargo ship were to be used to rebuild a new "Liberty Ship"...
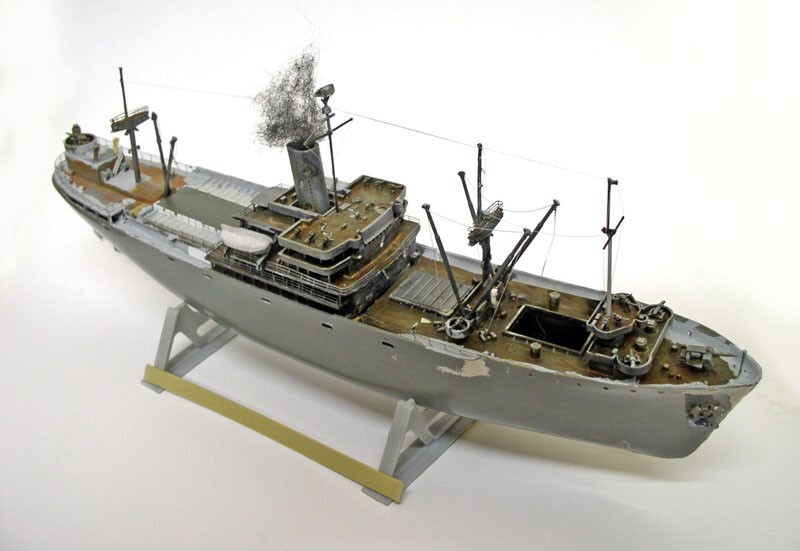
The funnel is removed from the first cargo ship, and the bow gun from the sunken "Liberty Ship" is
moved to the stern of the hull. The masts are positioned, as are the
photo-etched railings. A new hold is made out of plastic...
The forward section of the "Liberty Ship," with the hold—which was torpedoed and no longer exists—and the aft section beyond the central deckhouse becoming the forward section—are you still with me?
But since the central castle isn't oriented the right way, the bridge behind it is cut out and then pasted back in the other direction, okay?
Well, after gluing and filling all this mess, here's what it looks like before painting... The smoke is a bonus!
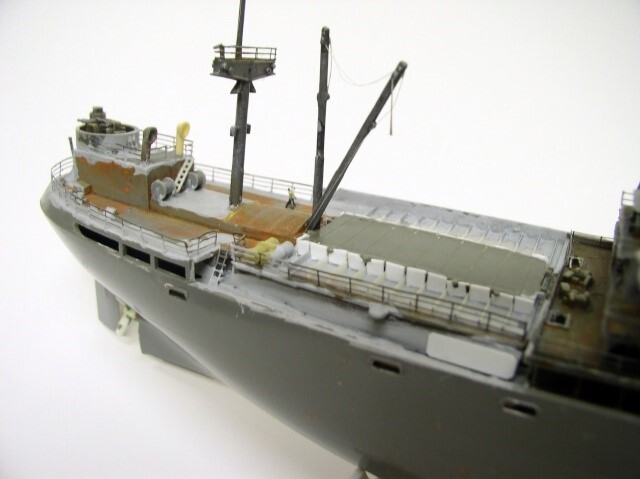
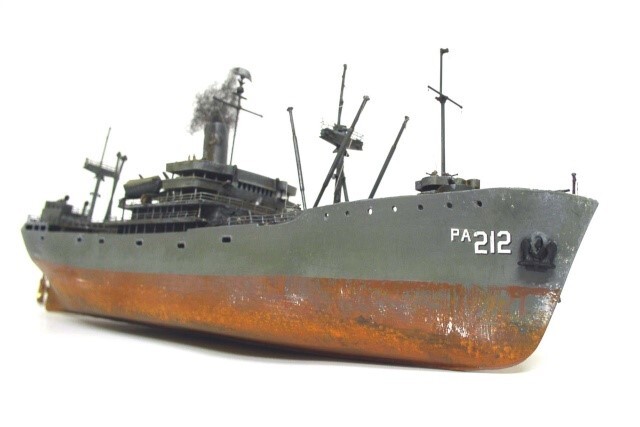
The cargo ship's paint job is complete, along with the aging effects. We follow the same procedure as for the ghost ship (see the "Ghost Ship" tutorial), but with slightly less emphasis on the wear and tear... A close-up of the color effects on the lower part of the hull...
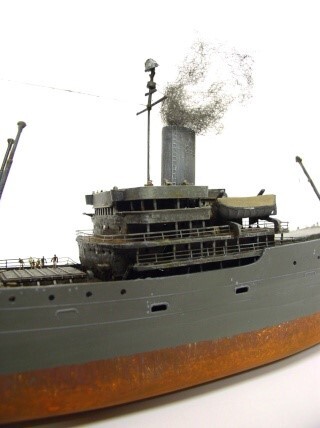
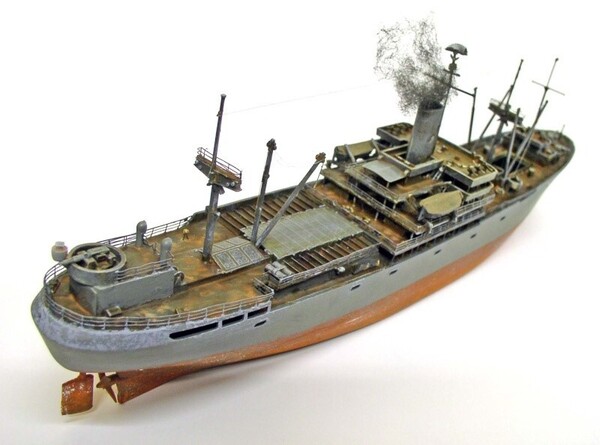
Another view showing the heavily rusted decks of the ship...
The Submarine
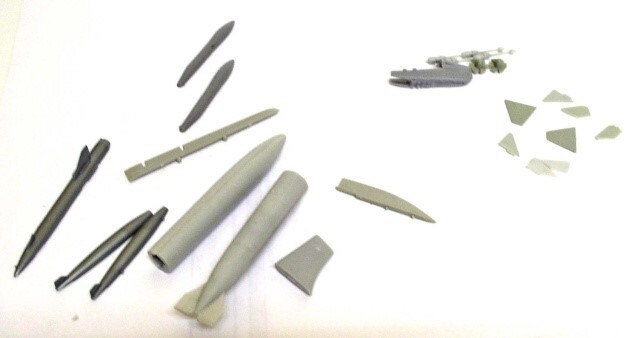
The diorama, titled "Rendezvous in the Atlantic," depicted a submarine heading to meet the ship...
But since there weren't any on hand, it was decided to build it using scrap parts—notably bombs and aircraft fuel tanks...
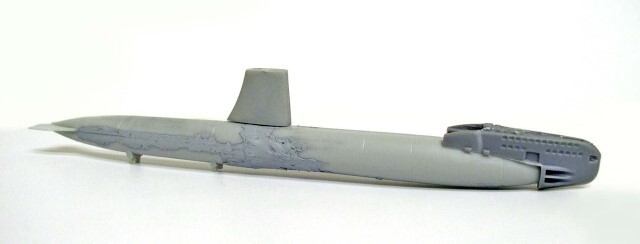
First attempts—no diving, but... setting it up!
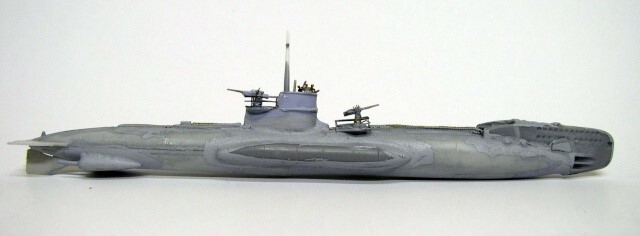
The model is taking shape... Notice the sailors in the booth!
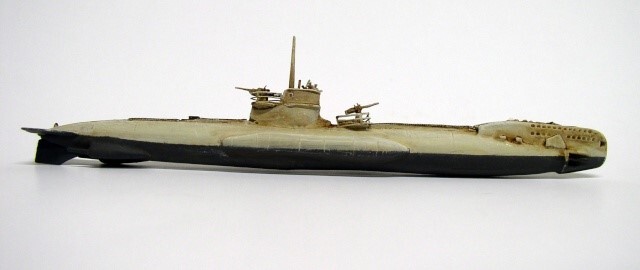
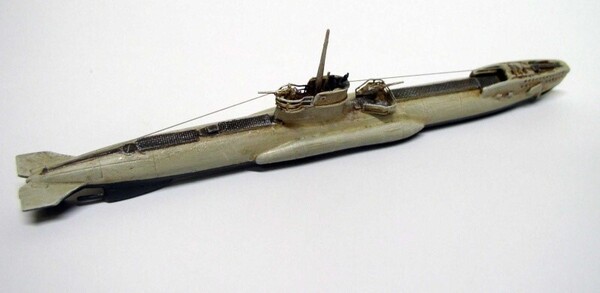
The submarine is finished and painted...
The Sea in Resin
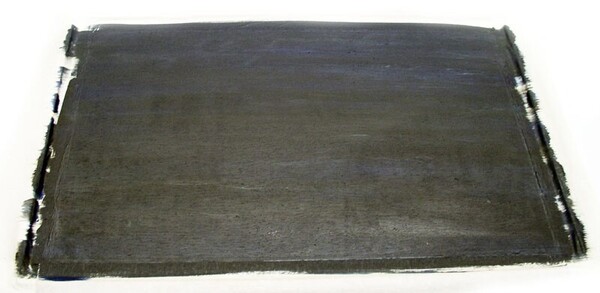
First, a wooden panel is coated with a white acrylic primer to prevent moisture, followed by a coat of black...
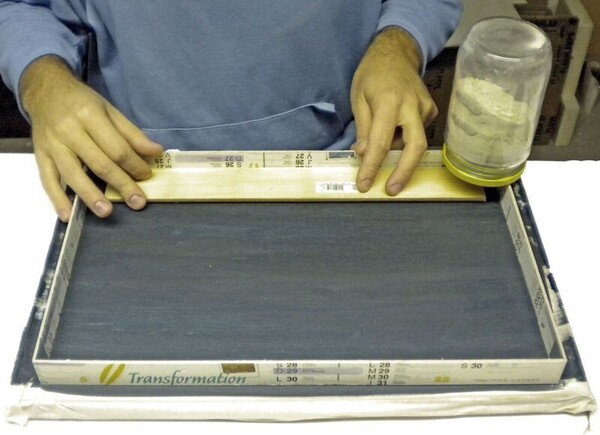
Make a frame using a laminated calendar, the inside of which you coat with petroleum jelly to make it easier to remove from the mold. Secure the frame to the base using aluminum tape, making sure to seal it tightly...
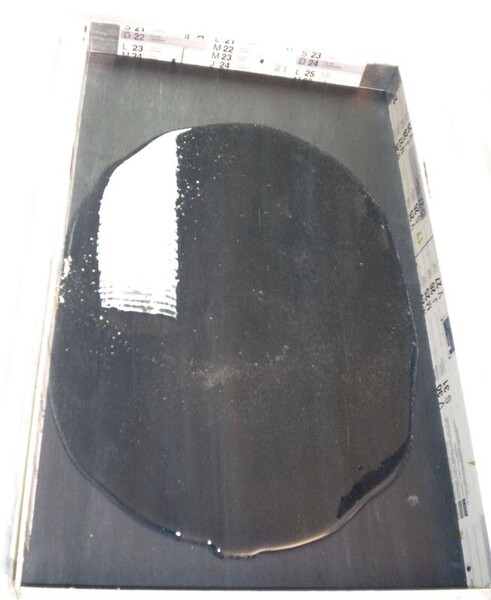
Apply a first coat of blue-tinted resin. No more than 3–4 mm...
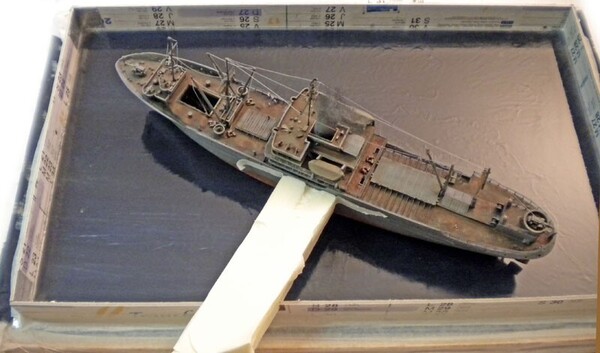
Once the first layer is dry, place the model on top, making sure to stabilize it...
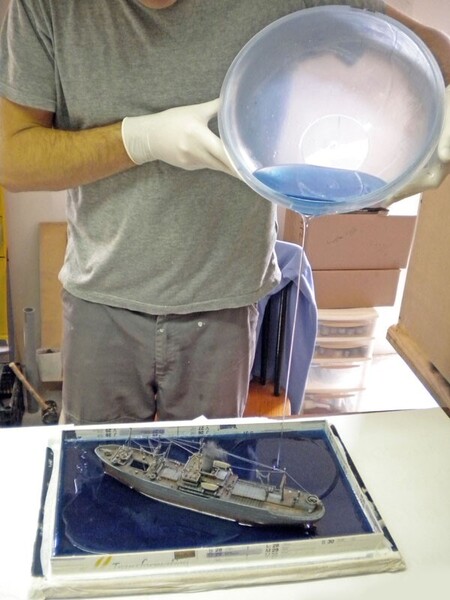
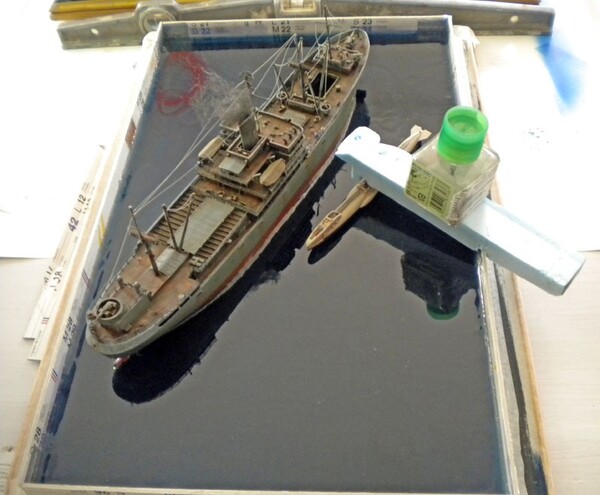
Then another coat of tinted paint...
Next, secure the submarine in place and continue with the coating layers (24 hours between each). Be sure to check the water level reached on the ship's hulls and also position the submarine at the correct height...
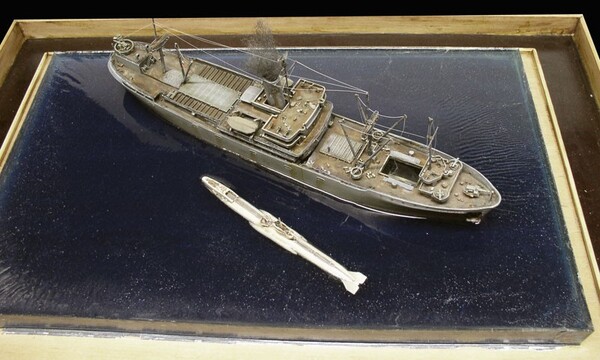
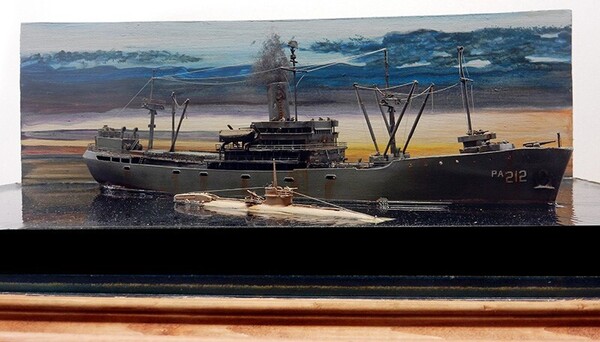
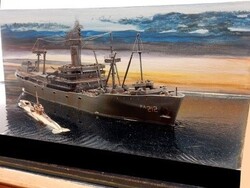
The finished diorama was also enhanced by adding a background painted with acrylic paint that reflects off the resin...