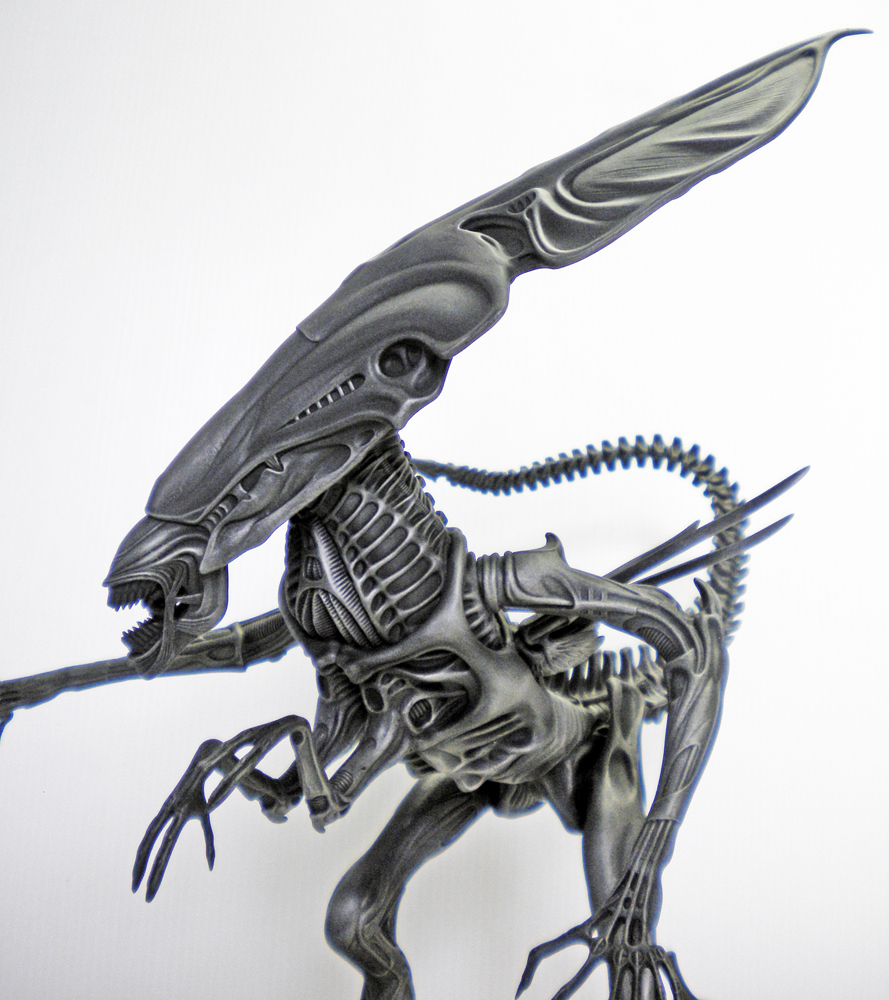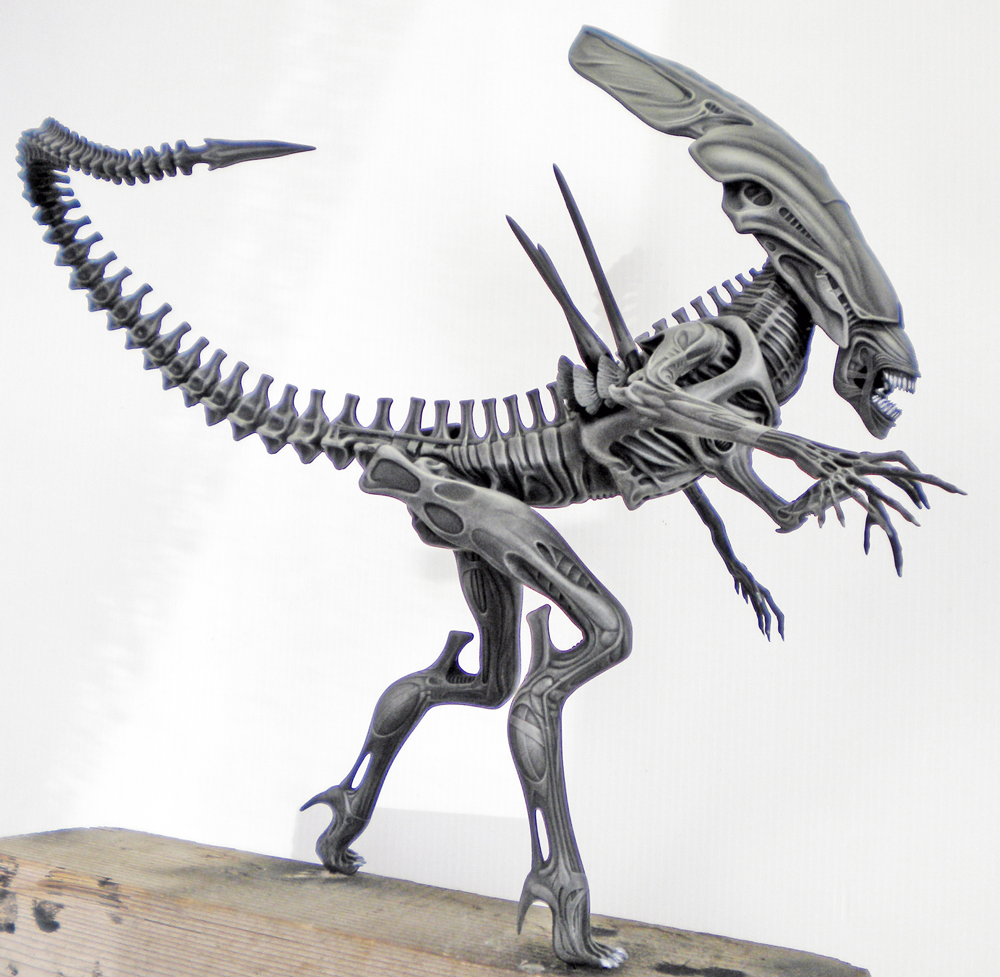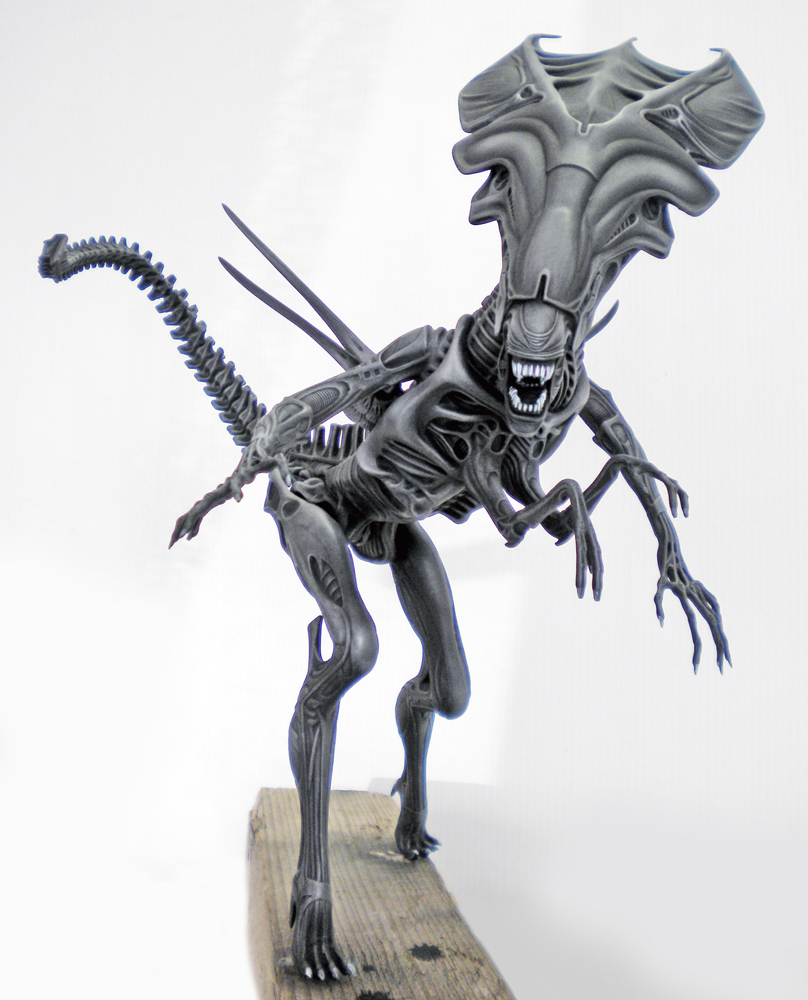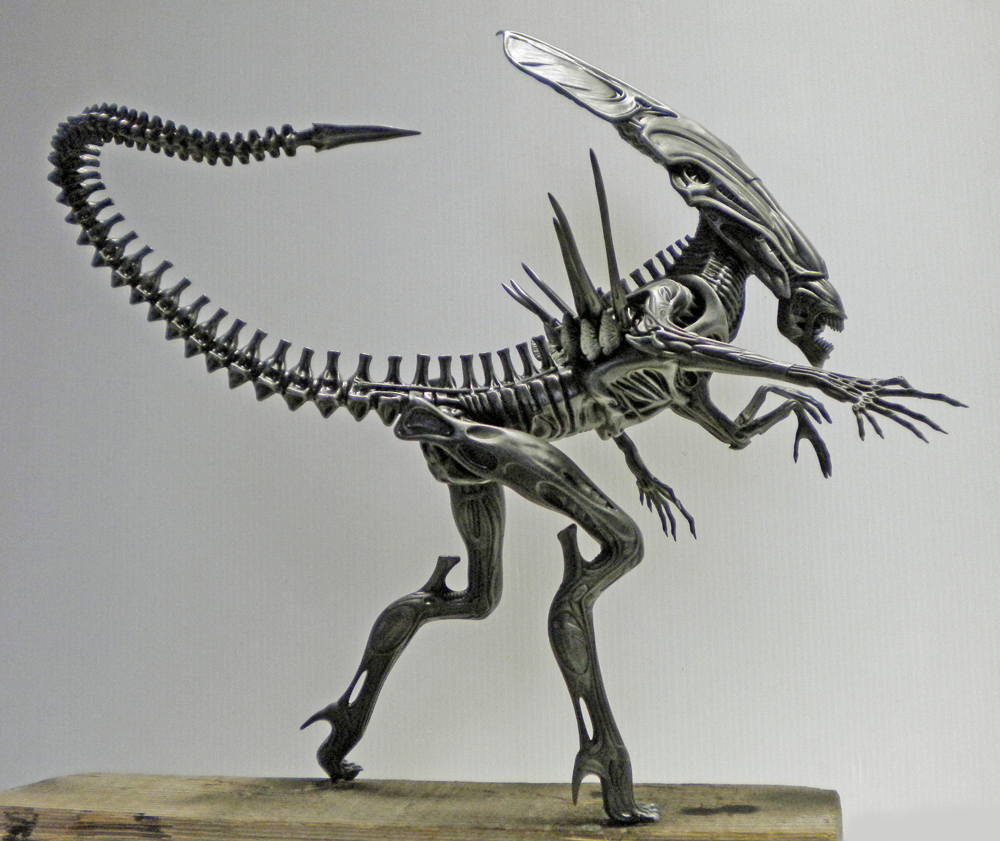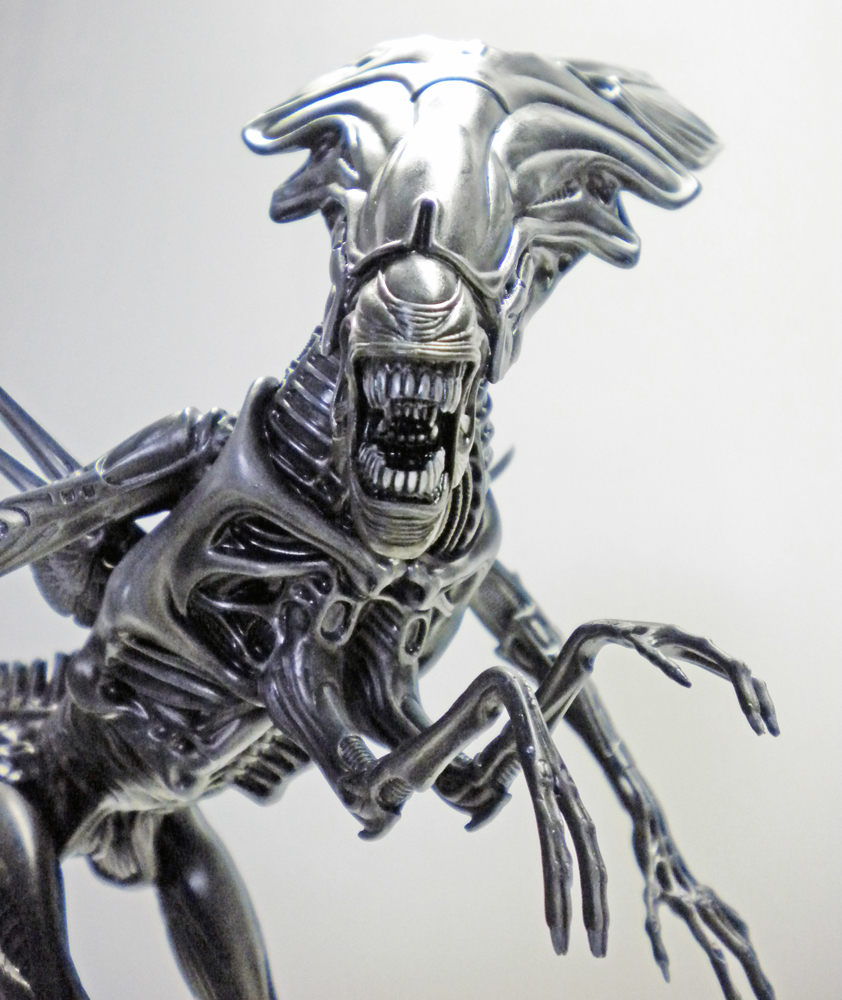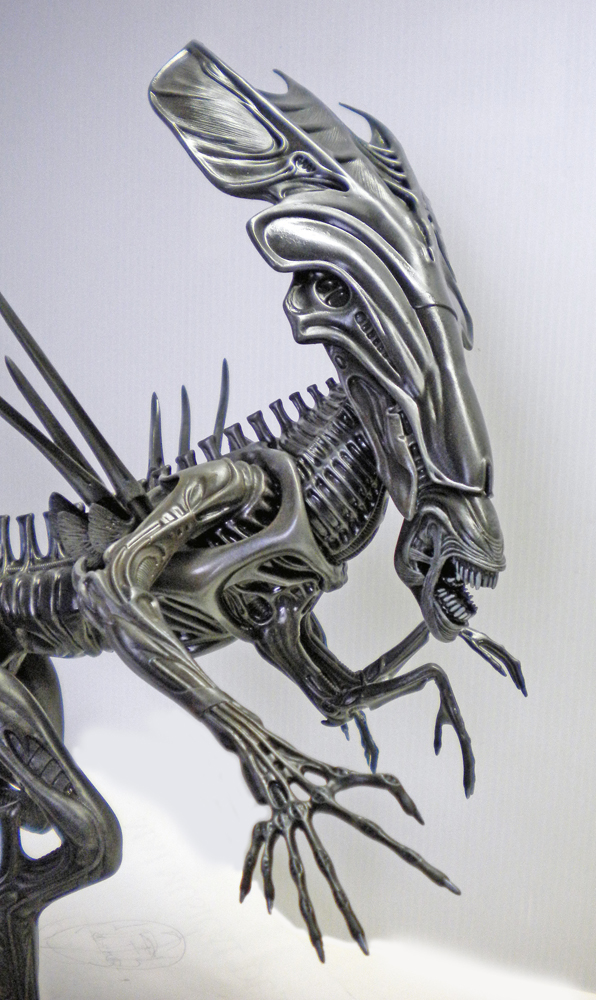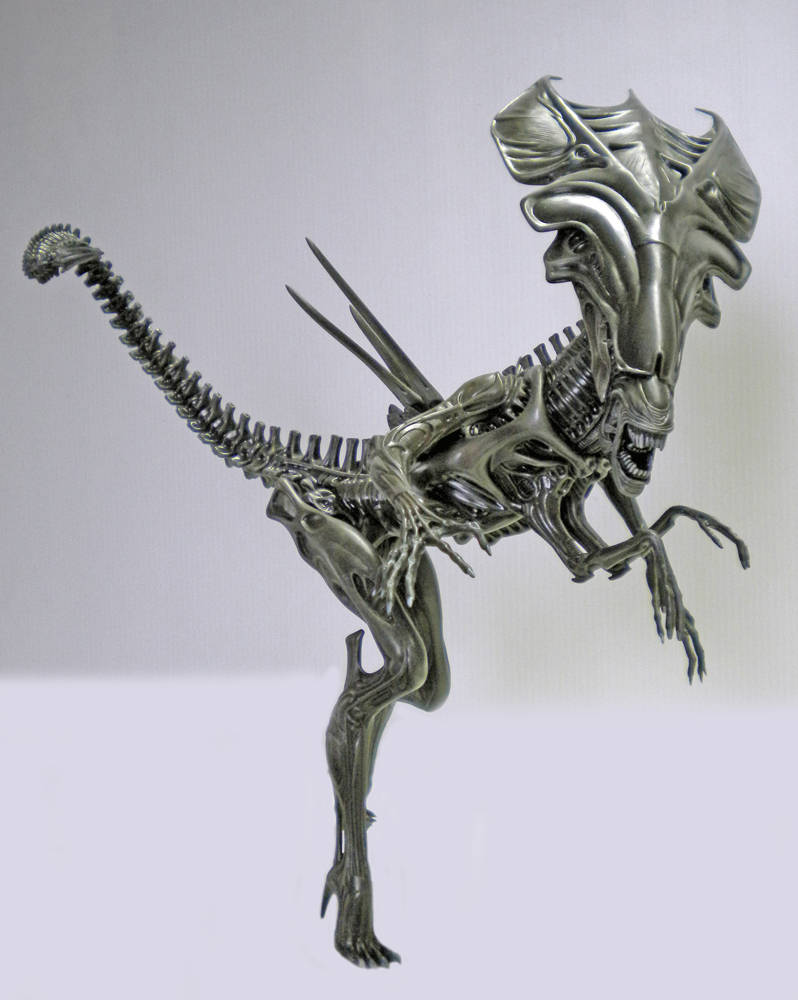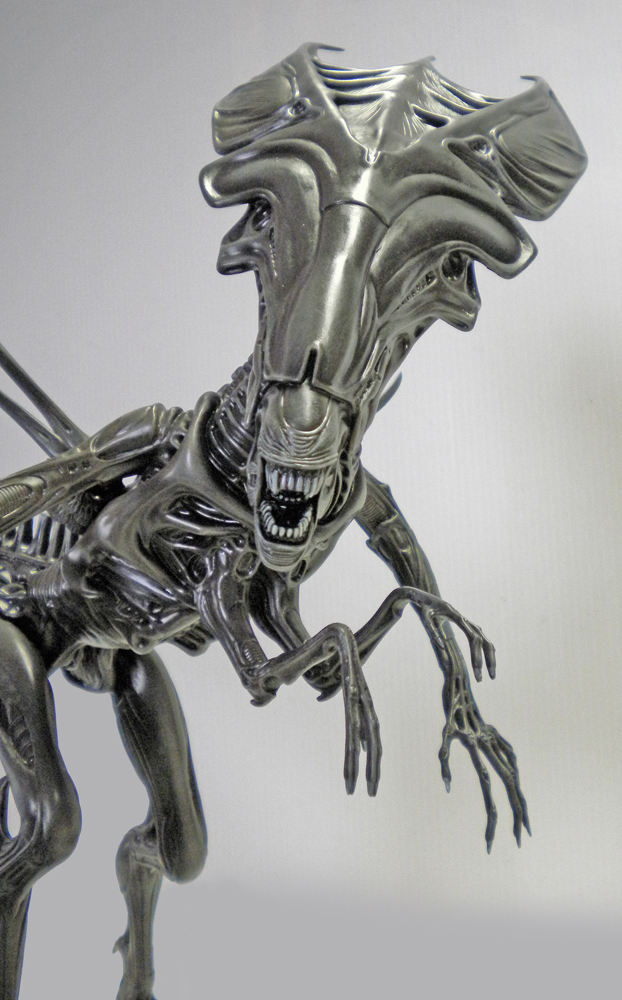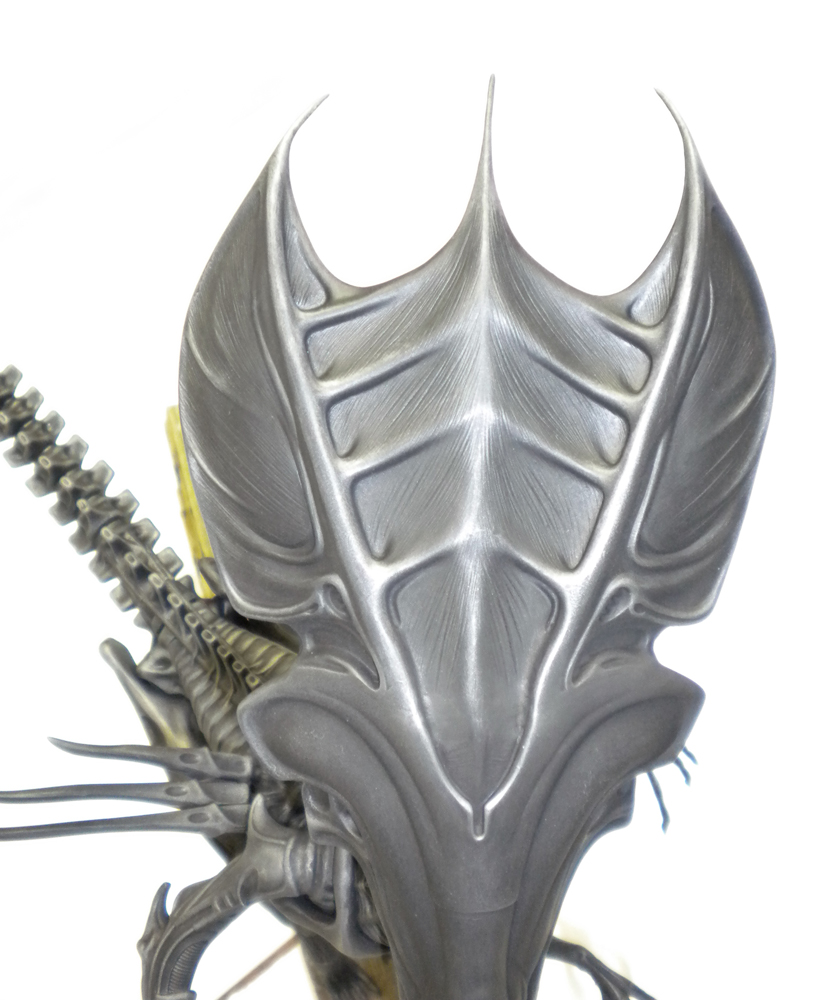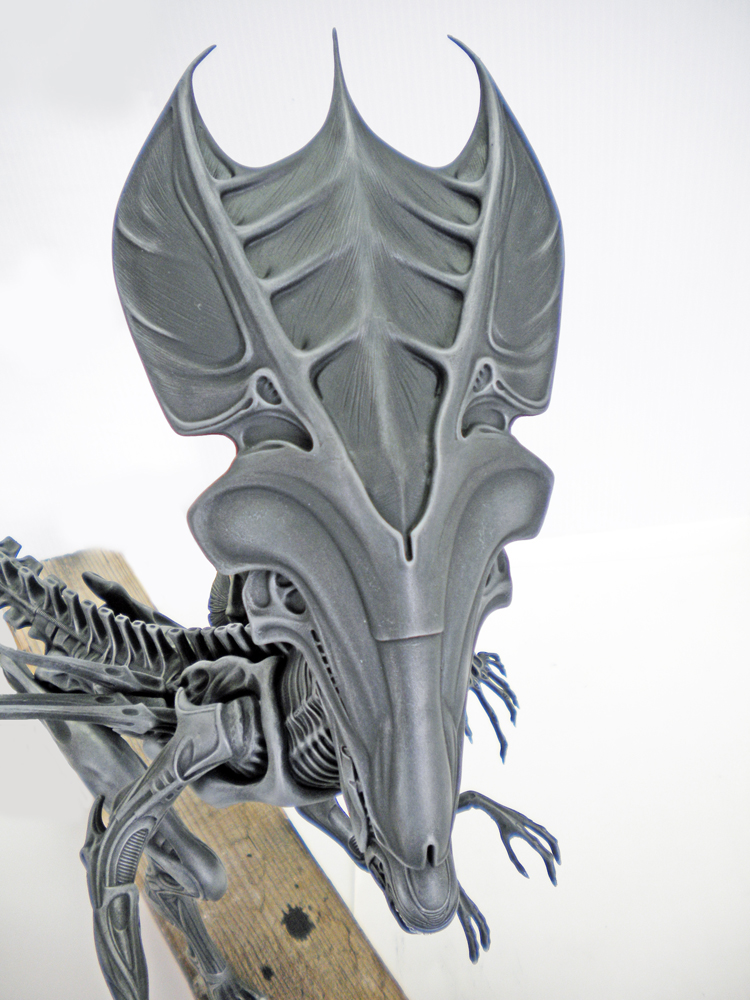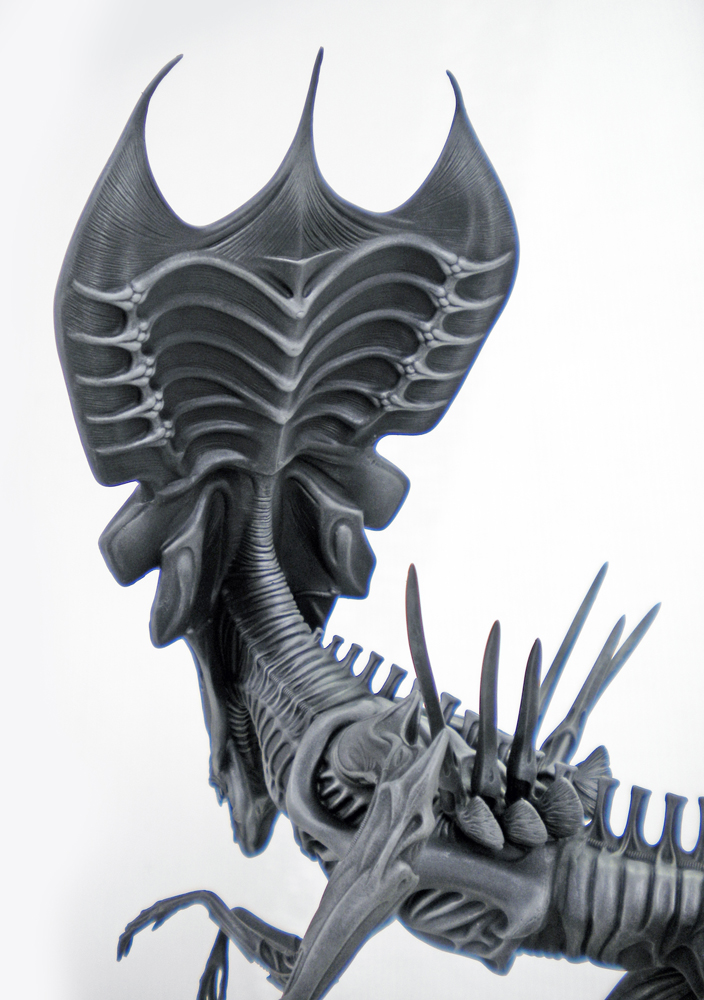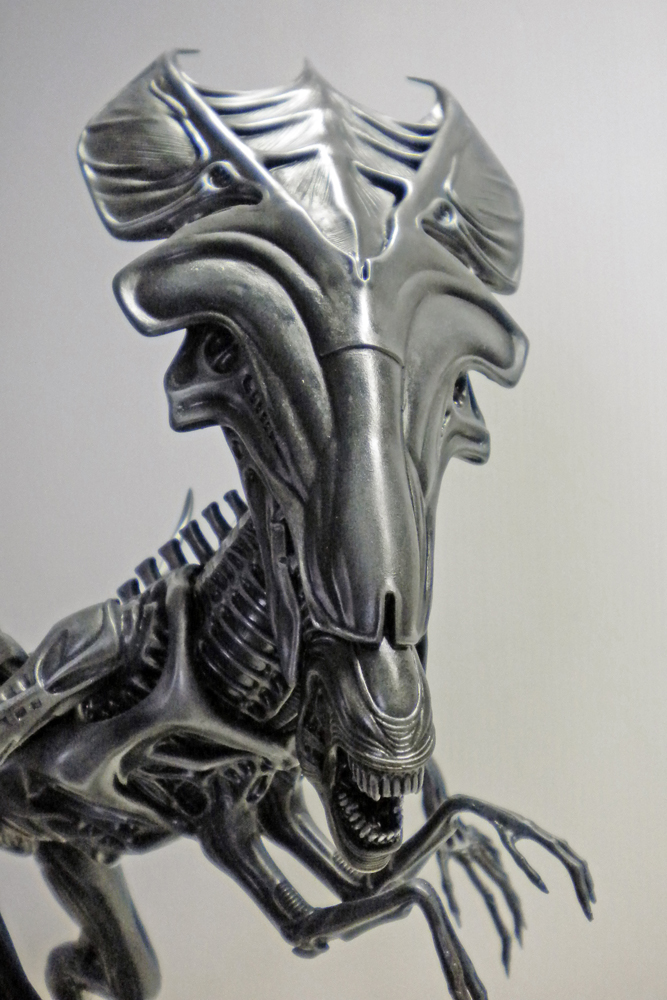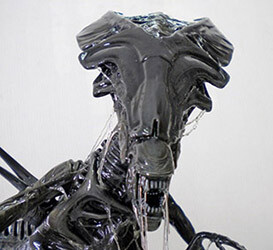

Realistic staging of the "Aliens" Queen - 1/12 scale

Standard Techniques

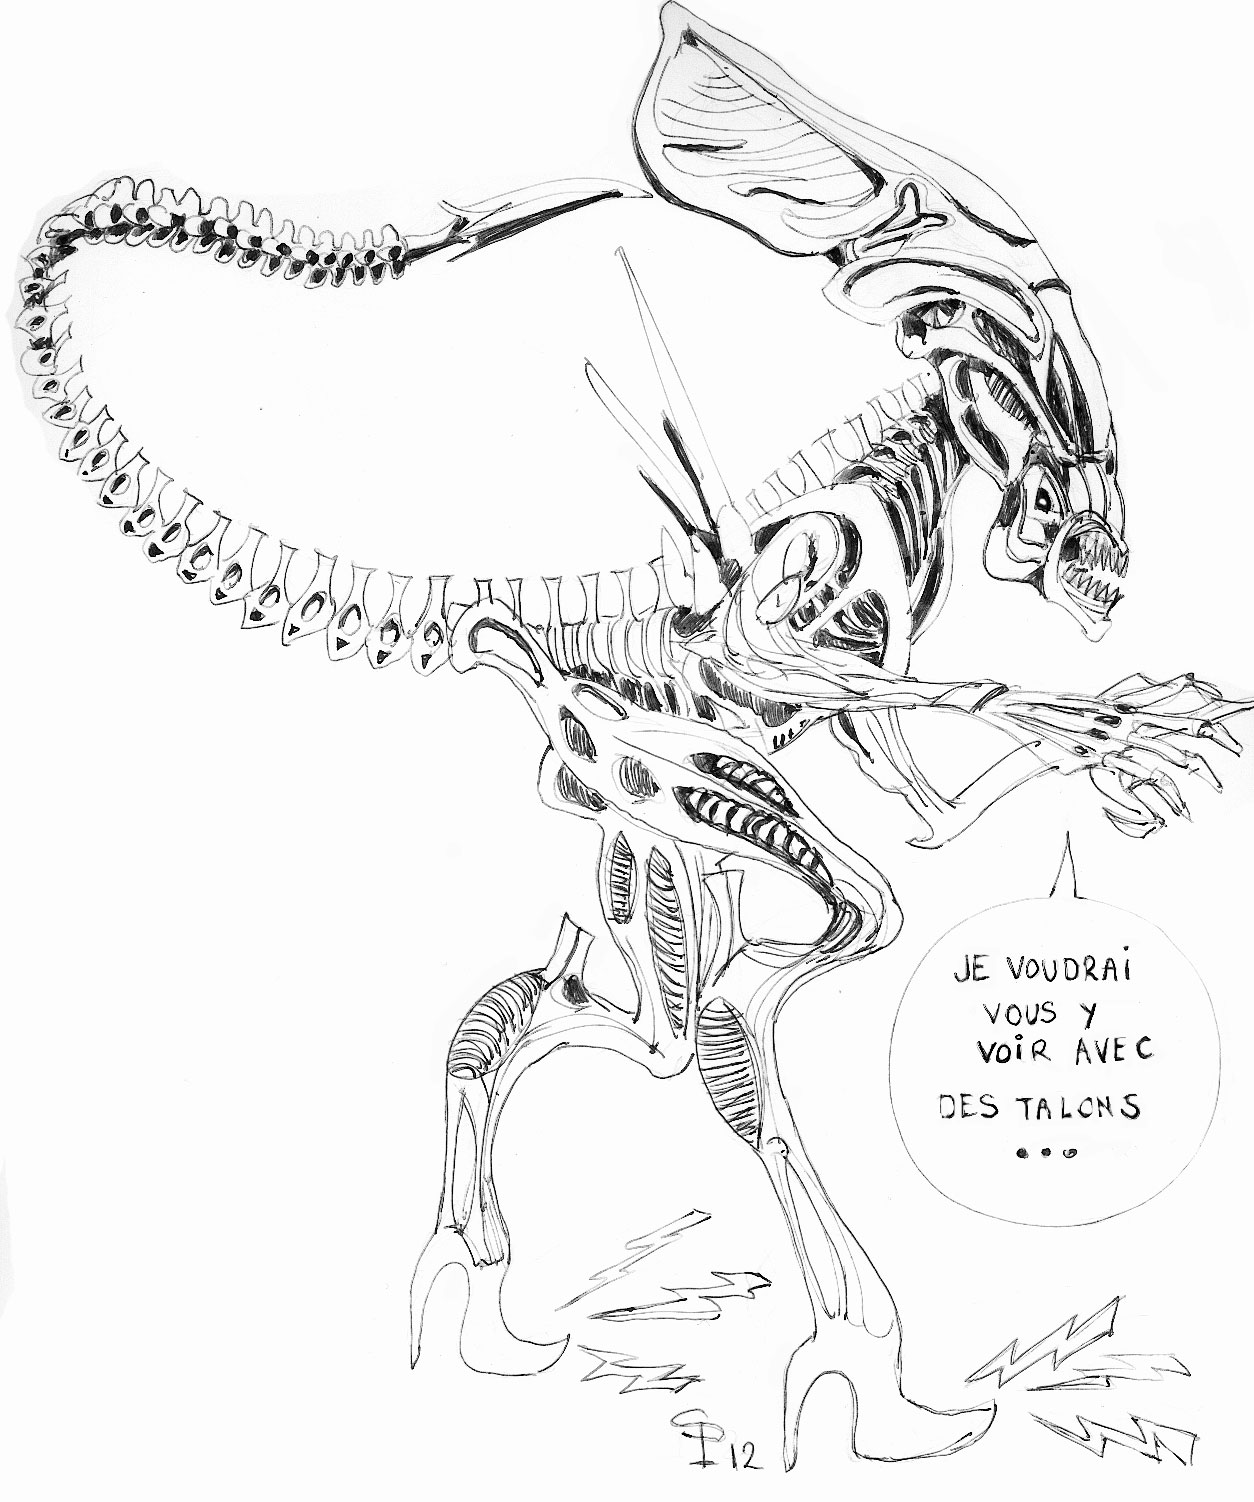
"I'd like to see you try that in those heels!"

The Alien Queen is a 1/12-scale figure from the Halcyon brand, released in the 1990s and made of vinyl and solid injection-molded plastic...
Pitfalls to avoid during assembly:
a). Sand the mold line on the tail—which is made of soft rubber—using WATER-BASED sandpaper (important)...
b). Drill holes in the feet (foot/heel) to glue two metal rods into them for attaching the figure to the future base...
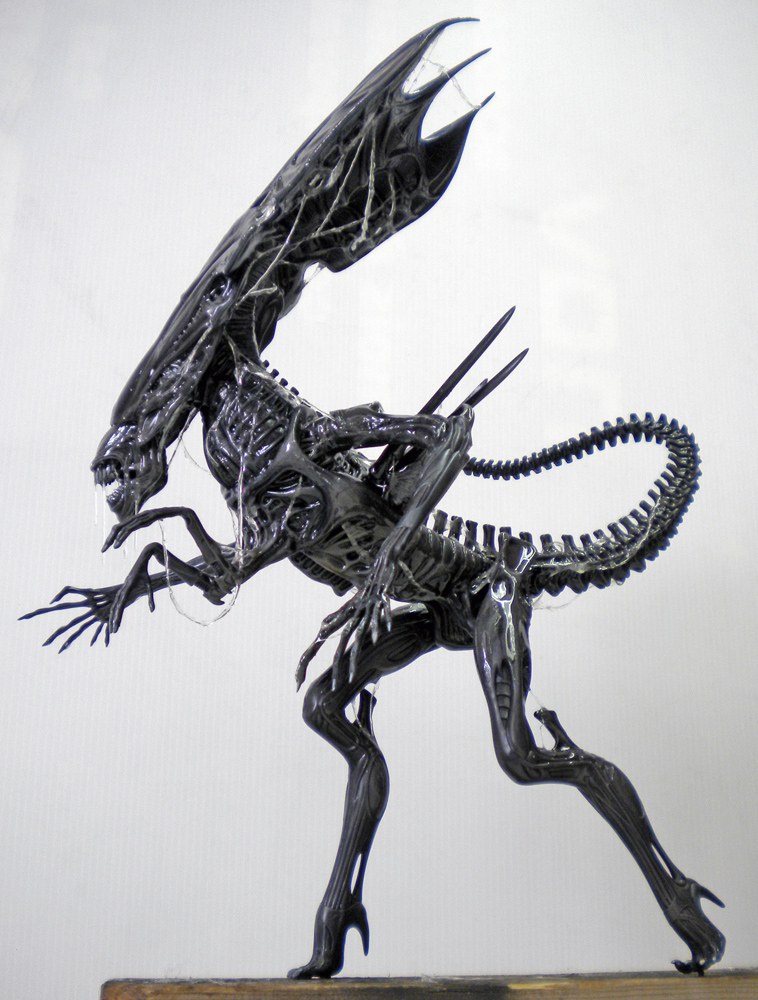
c). Carefully check the queen’s anatomical accuracy before assembling and gluing. The most common mistake is assembling the figure with the tail touching the ground and acting as a tripod to hold the whole thing in place...
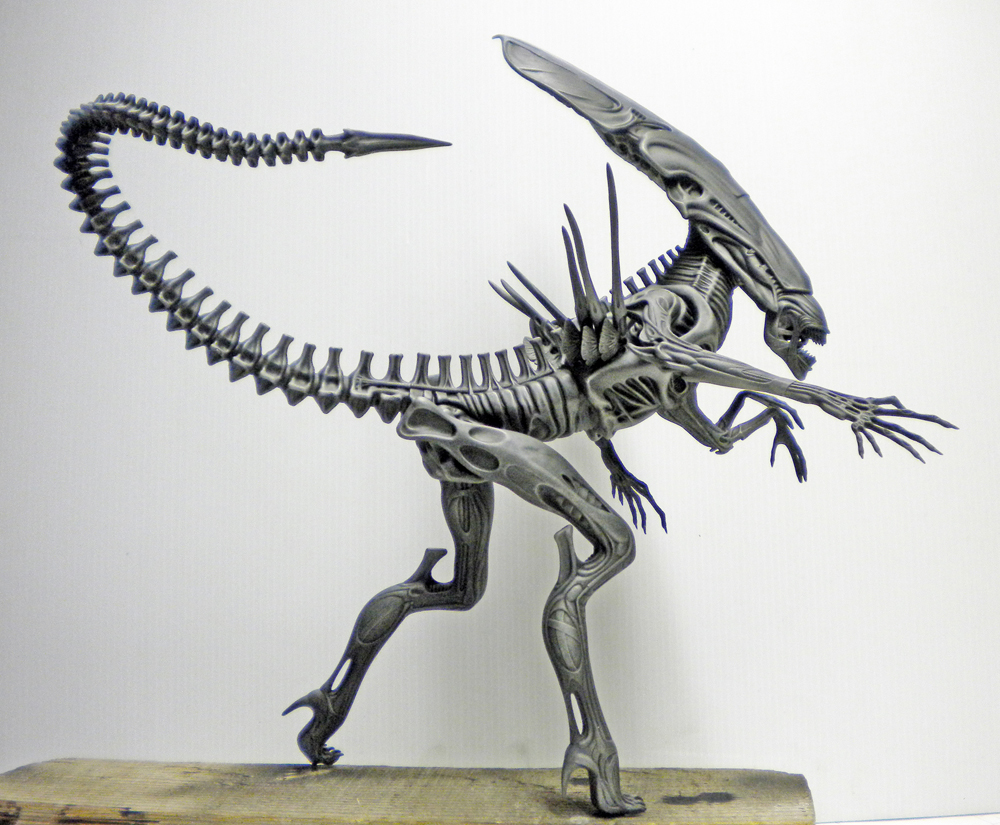
Metallic gray Alien Queen figurine in an attacking pose on a wooden base

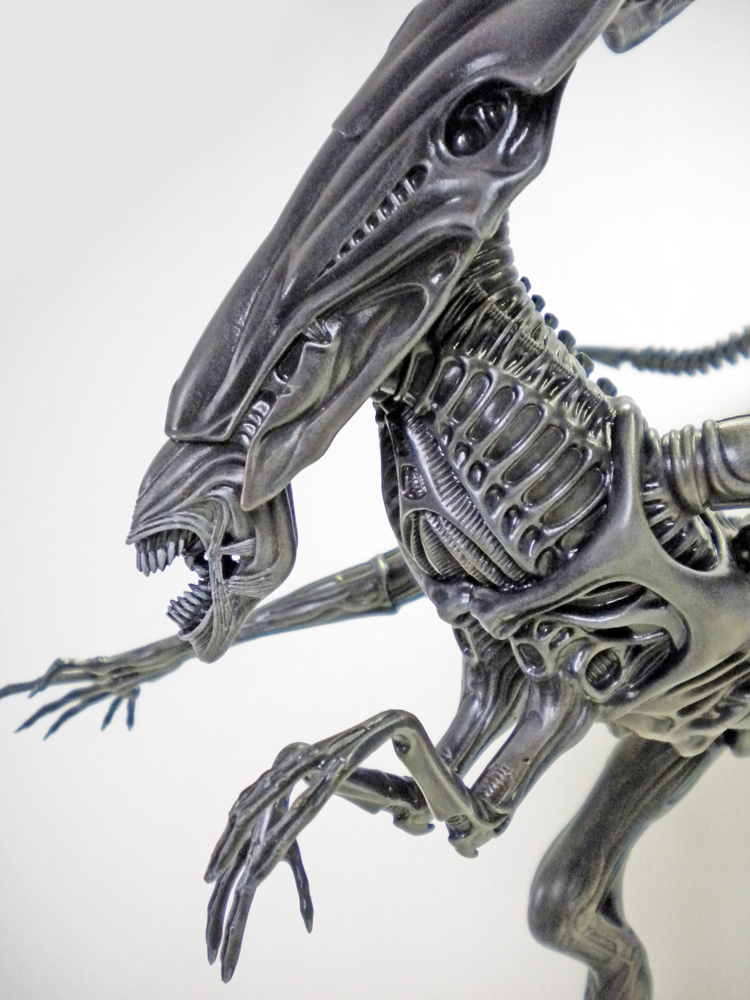
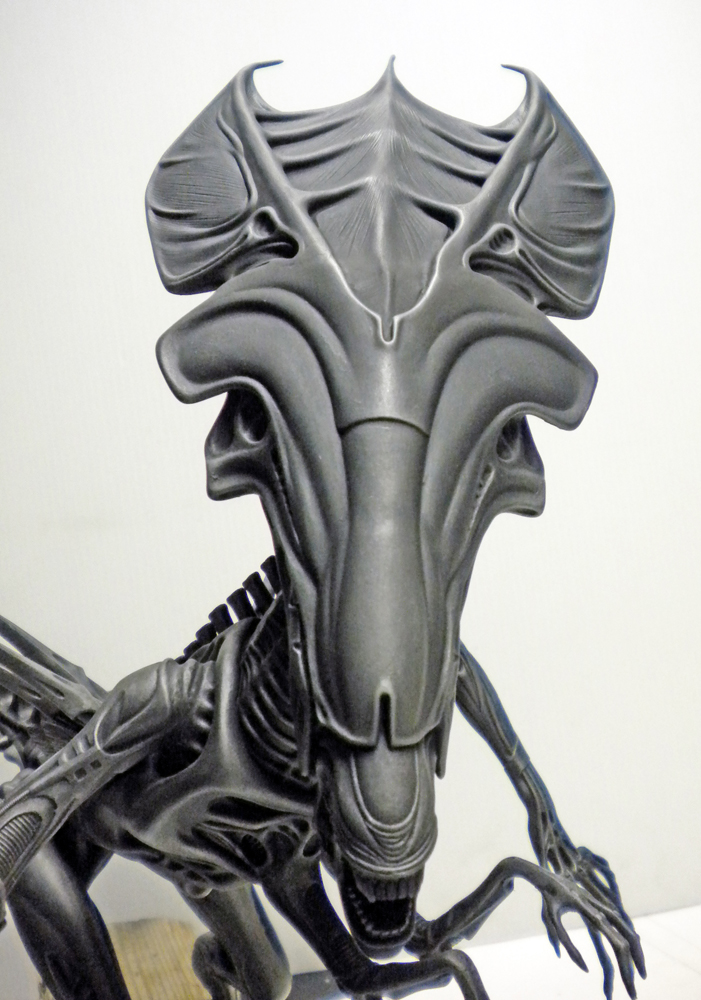
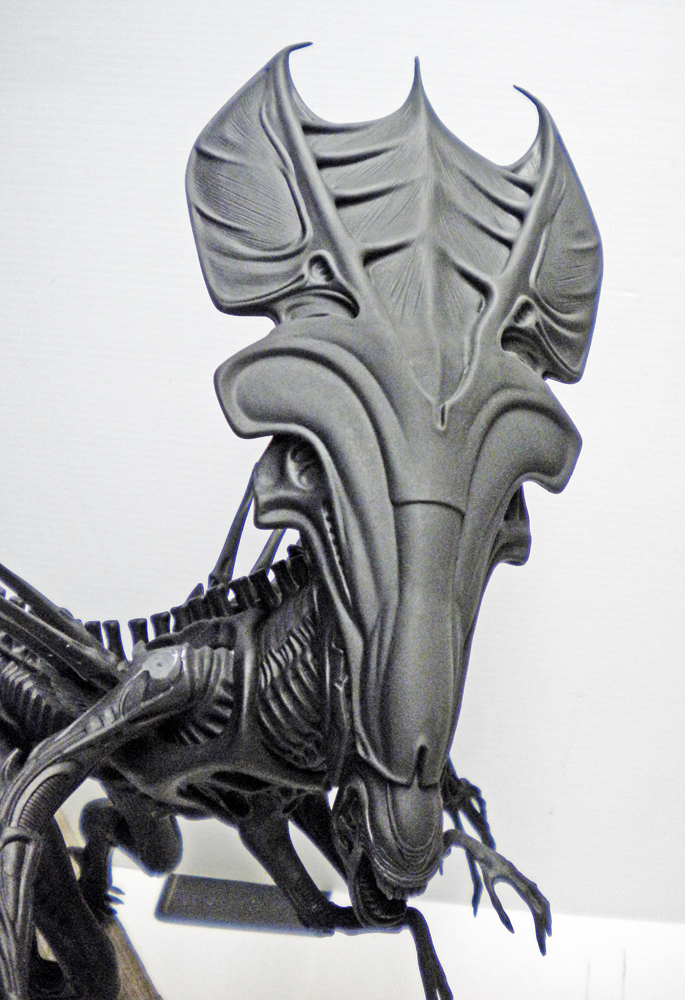
The photo above and the ones below show the painting process—see the tutorial: "Painting a 1/6-scale 'Alien' figure..."
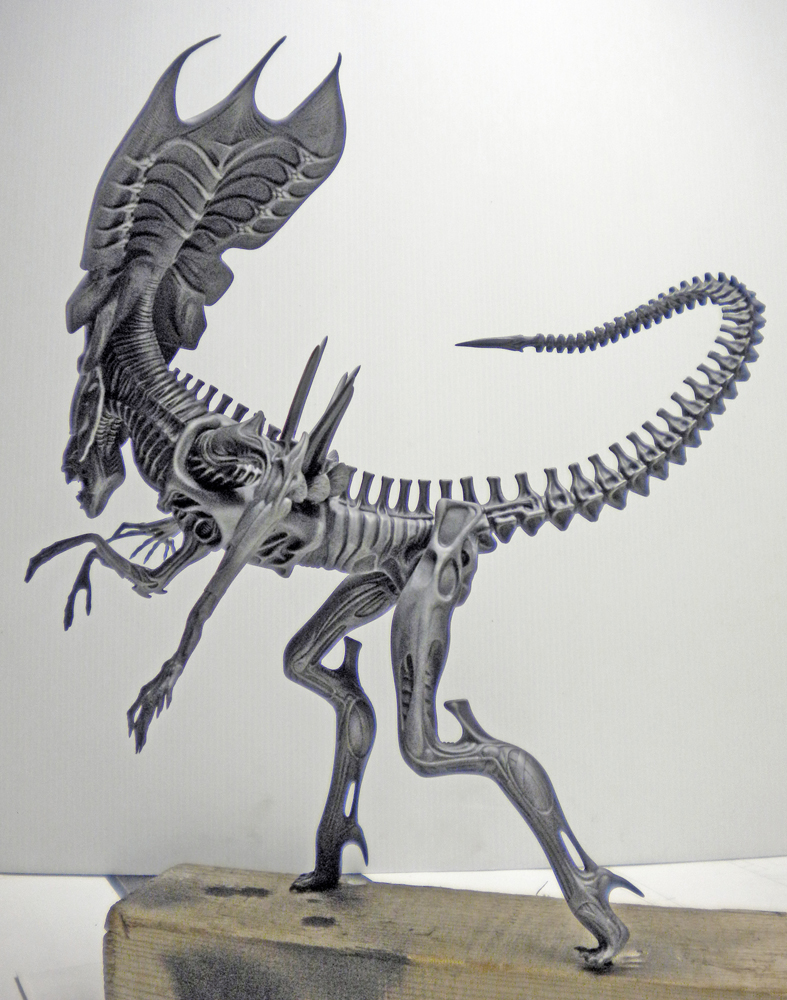
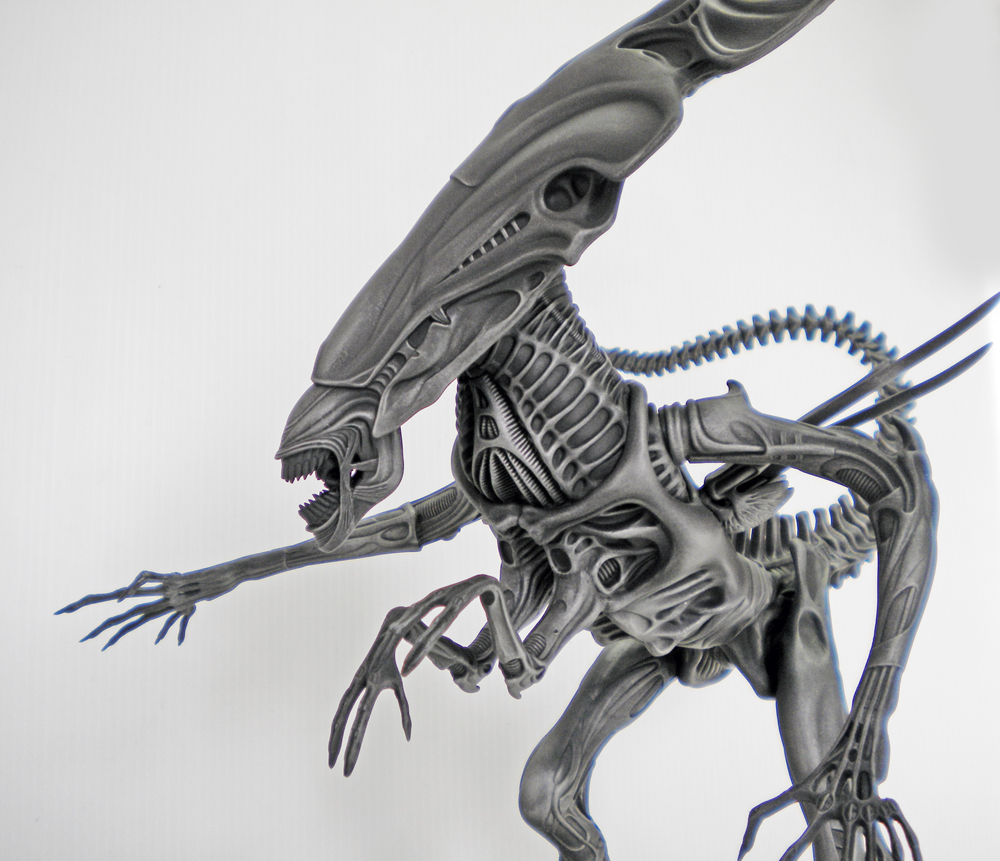
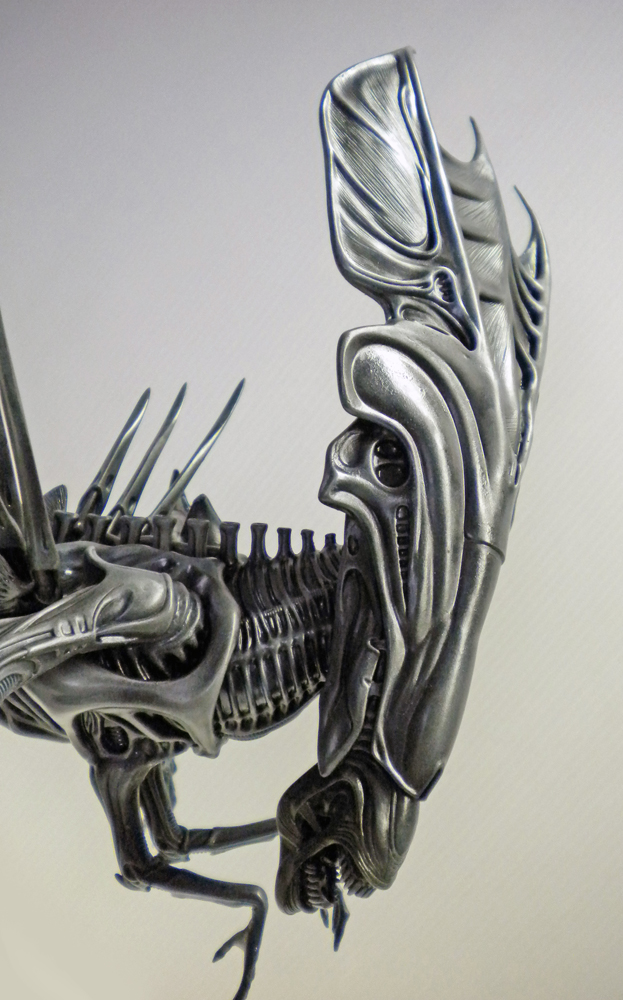
A model of the Alien Queen, painted in shades of gray, resting on a wooden blockModel of the Alien Queen in metallic gray with an outstretched arm against a white backgroundModel of the metallic gray Alien Queen with an elongated skull against a light backgroundModel of the Alien Queen, painted gray, with her long tail extended, mounted on a wooden base

Model of the metallic gray Alien Queen with her mouth open, standing on a wooden baseModel of the Aliens Queen with a long, segmented tail, mounted on a wooden baseModel of the Alien Queen with her mouth open, showing her teeth and long, clawed hands

 Model of the Alien Queen painted in metallic gray, close-up of the head and torso Model of the Alien Queen with her imposing crest and long tail against a light background
 Painted model of the Alien Queen showing her crested head and sharp claws Detailed model of the metallic gray Alien Queen, showing her elongated head, jaws, and long, clawed limbs
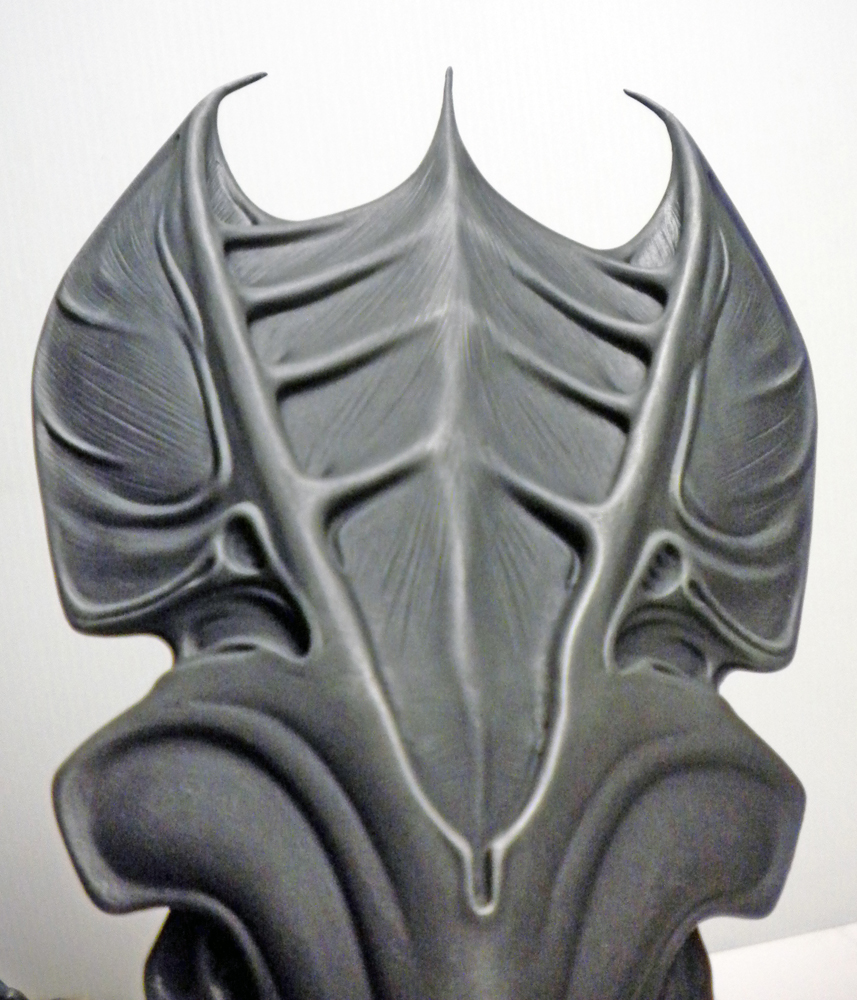
 Close-up of the head and crest of the Alien Queen model, painted in metallic gray Model of the dark gray Alien Queen, detailed crested skull shown in close-up Close-up of the painted gray Alien Queen's cranial ridge

Details of the head...

 Front view of the crowned skull from the Aliens Queen model, with metallic paint on a white background Head and crest of the gray Alien Queen model being assembled on a wooden base
 Crowned skull and neck of the Aliens Queen model, painted in metallic gray Close-up of the head and crest of the silver model of the Alien Queen Model of the Alien Queen painted in metallic gray, side view against a light background

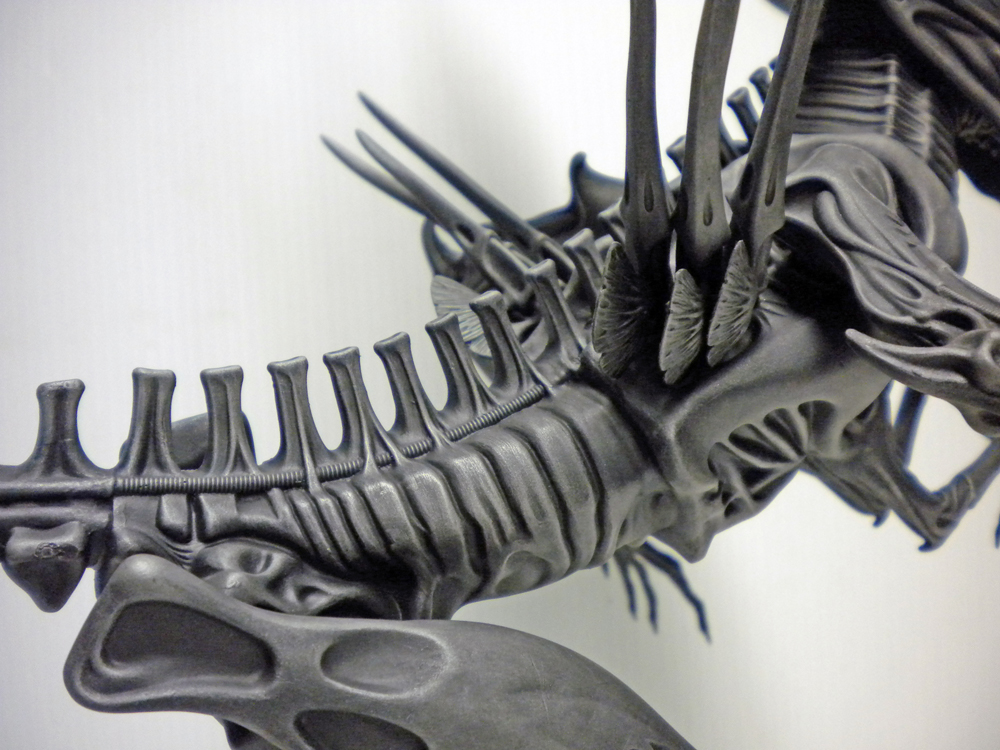
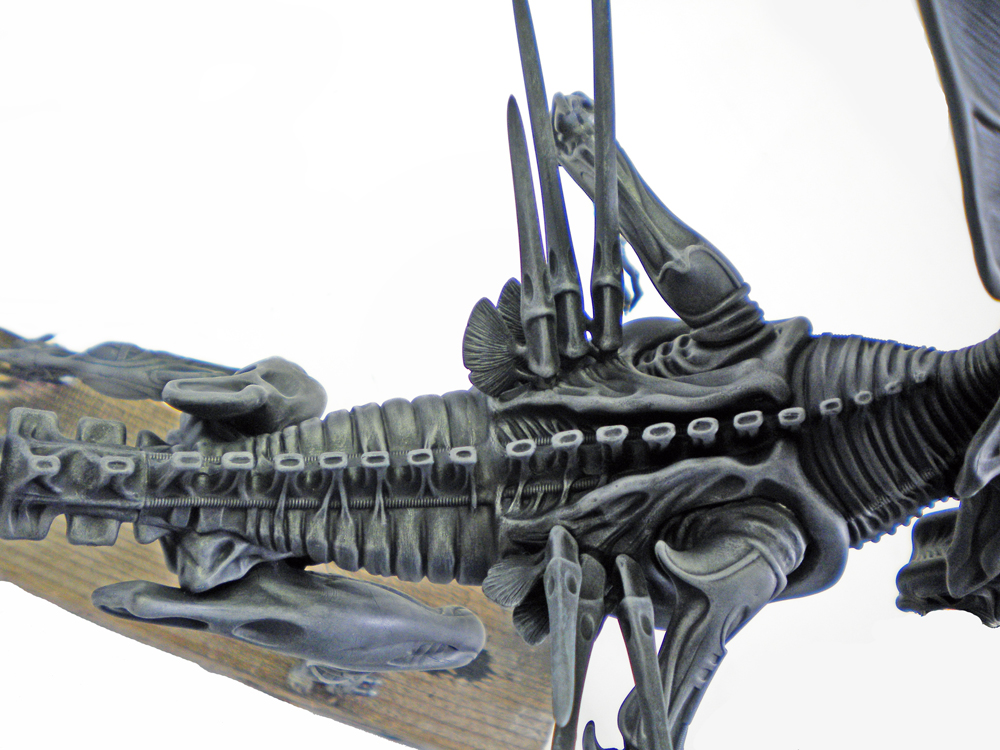
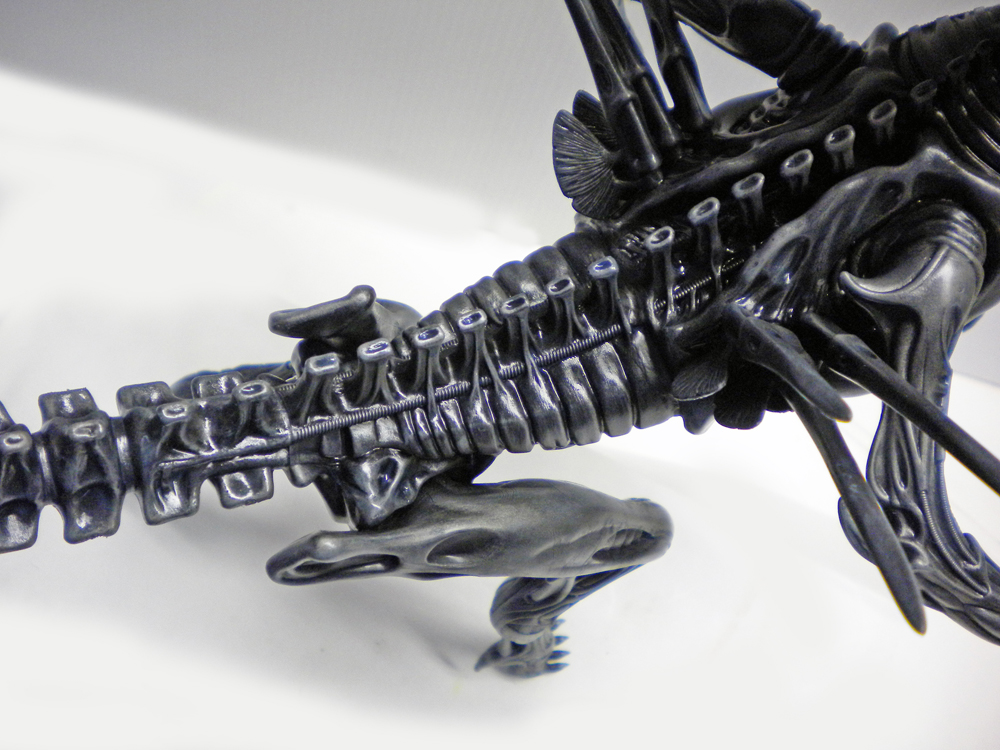
Below: details of the back...

Close-up of the Alien Queen model showing the dorsal spine and gray dorsal tubesClose-up of the Alien Queen model, painted in metallic gray, showing her segmented back and long, tapered legsClose-up of the segmented tail and metallic body of the Aliens Queen modelClose-up of the torso and long, segmented tail of the painted Aliens Queen model

The Sticky Slime

The next step is to create the creature's slimy slime...
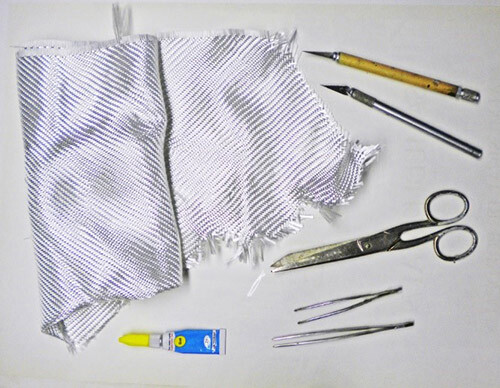
  

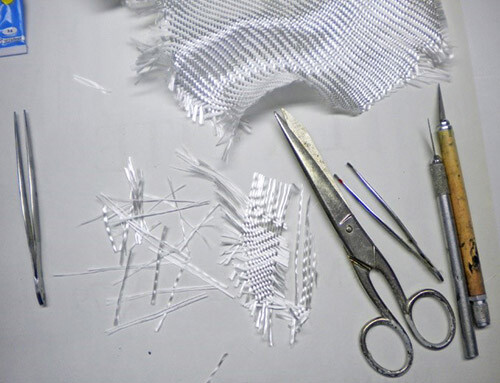
To do this, we will use “satin-weave” glass cloth designed for aircraft construction, whose sizing (the chemical coating on the glass fibers) is compatible with epoxy resins. Tip: Purchase the materials (fibers + resin) from the same source—an aircraft construction shop, a model aircraft club, or a supplier of composite materials. This ensures that you’re working with materials that are fully compatible...

Equipment:

- Two tweezers and two box cutters.

- Two tweezers and two box cutters.
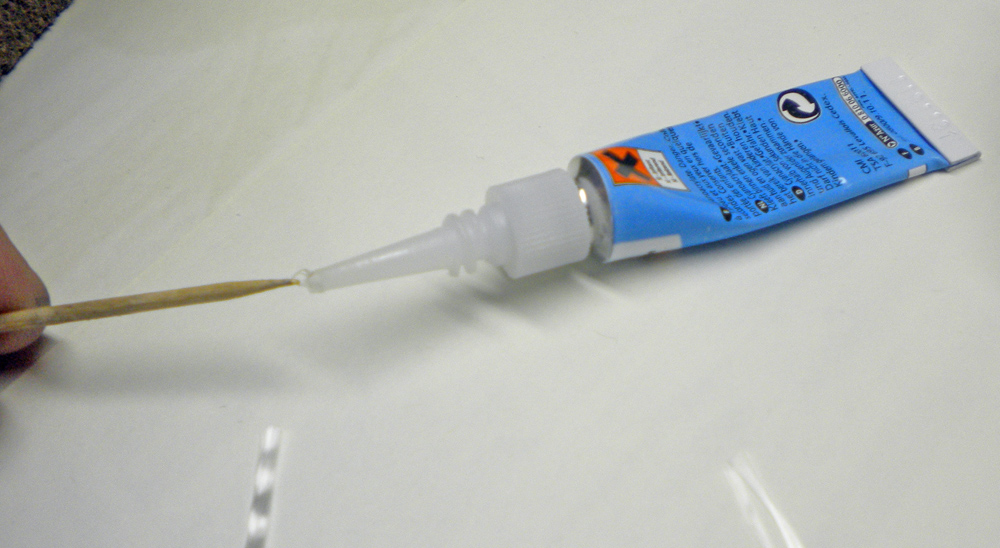
Applying blue glue with a toothpick from a tube with a fine tip- GEL cyanoacrylate glue.
- Toothpicks.

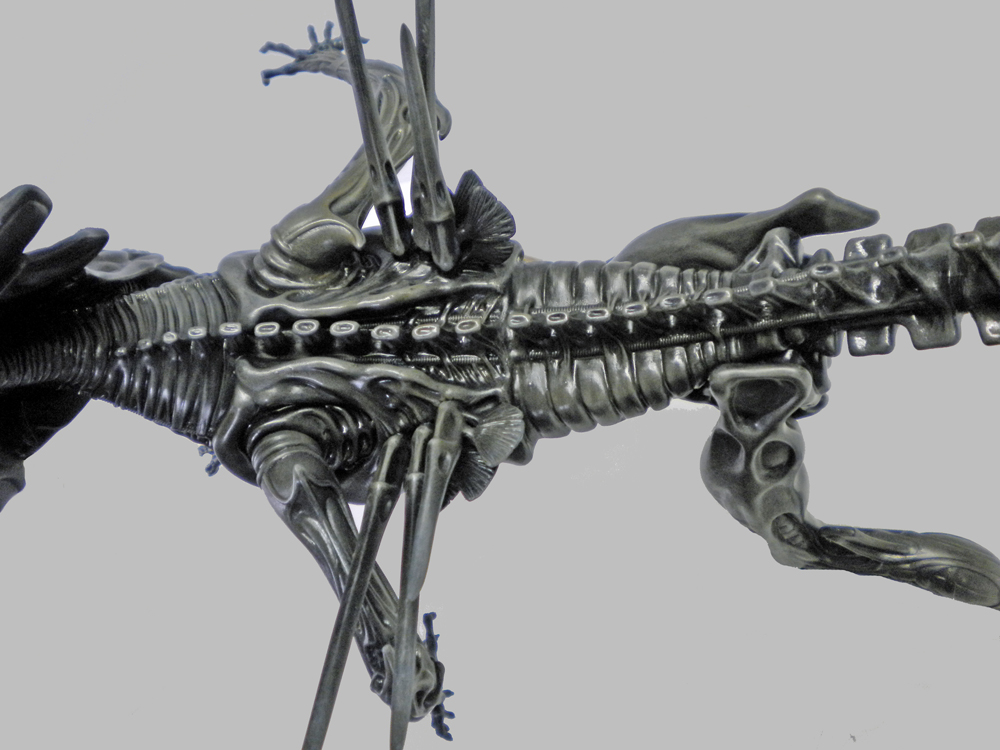
The idea is to apply tiny dots of Superglue GEL to the object using a toothpick...
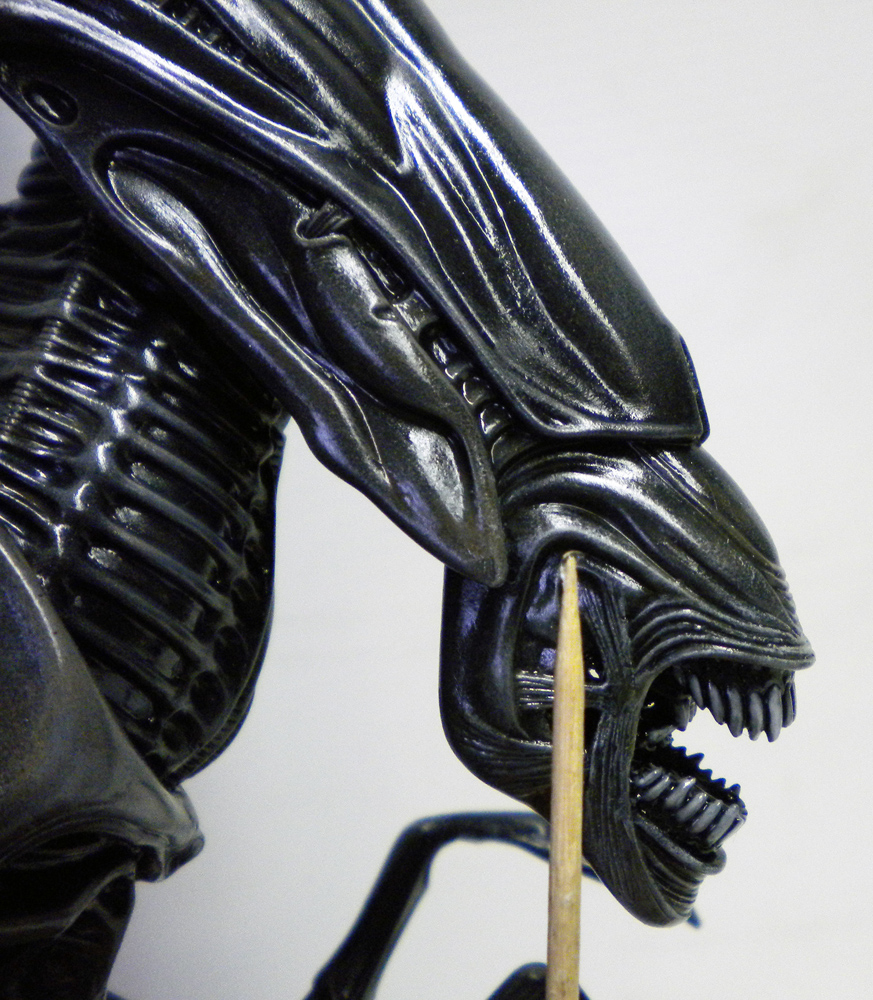
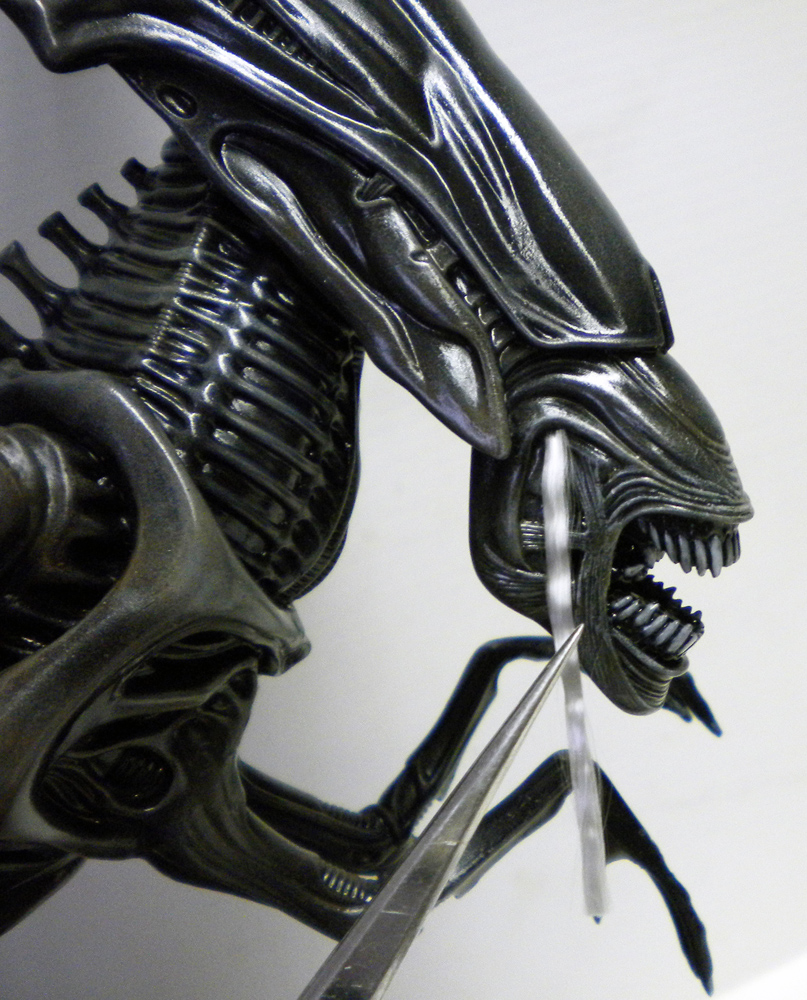
 Close-up of the bluish head of an Alien model with its jaws open during the painting process Detailed head and jaws of the black Alien figure with translucent slime forming

Next, place the glass fibers on these dots of glue. Press them down with the tip of the utility knife to ensure they adhere properly...
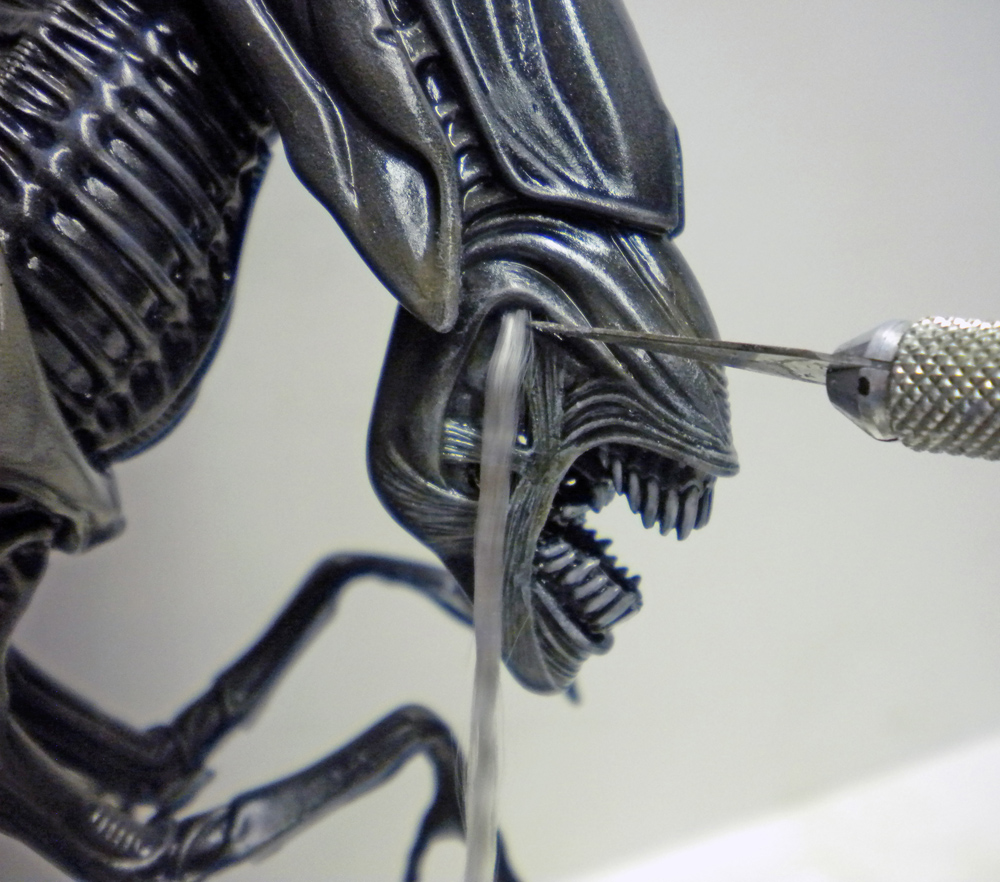
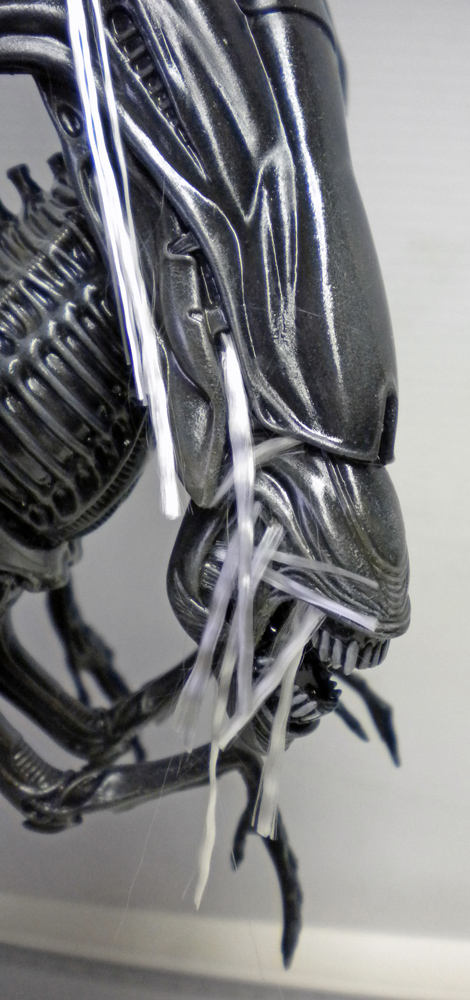
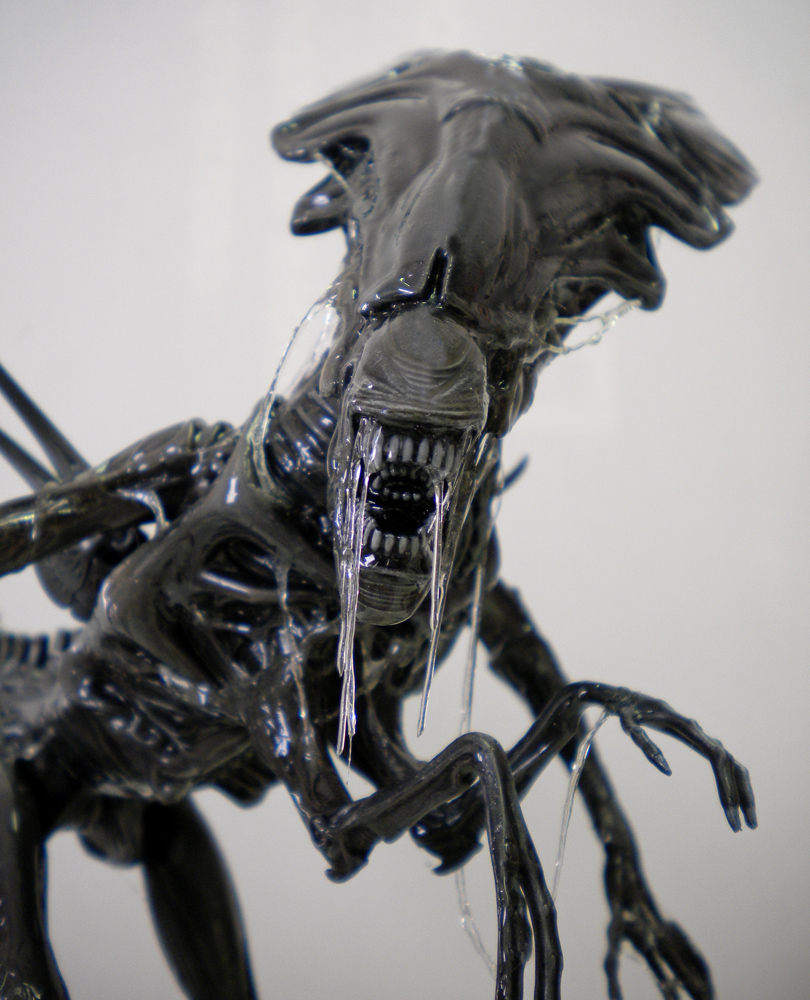
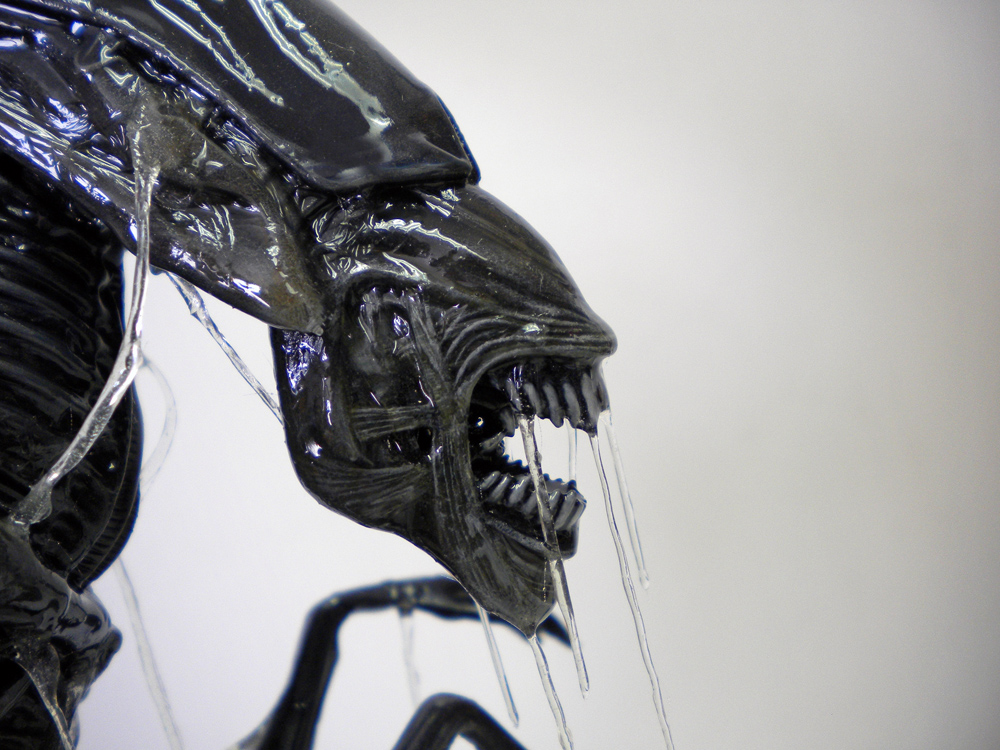
 Close-up of the Alien model's head with slime dripping from it, created using tool-stretching Close-up of the metallic Alien Queen model with translucent white slime strands

CAUTION: Use as little adhesive as possible. That’s why we call them “micro-dots.” If you use too much, the adhesive will saturate the fiberglass, making it impossible to impregnate it with epoxy resin later (resulting in a loss of transparency)...
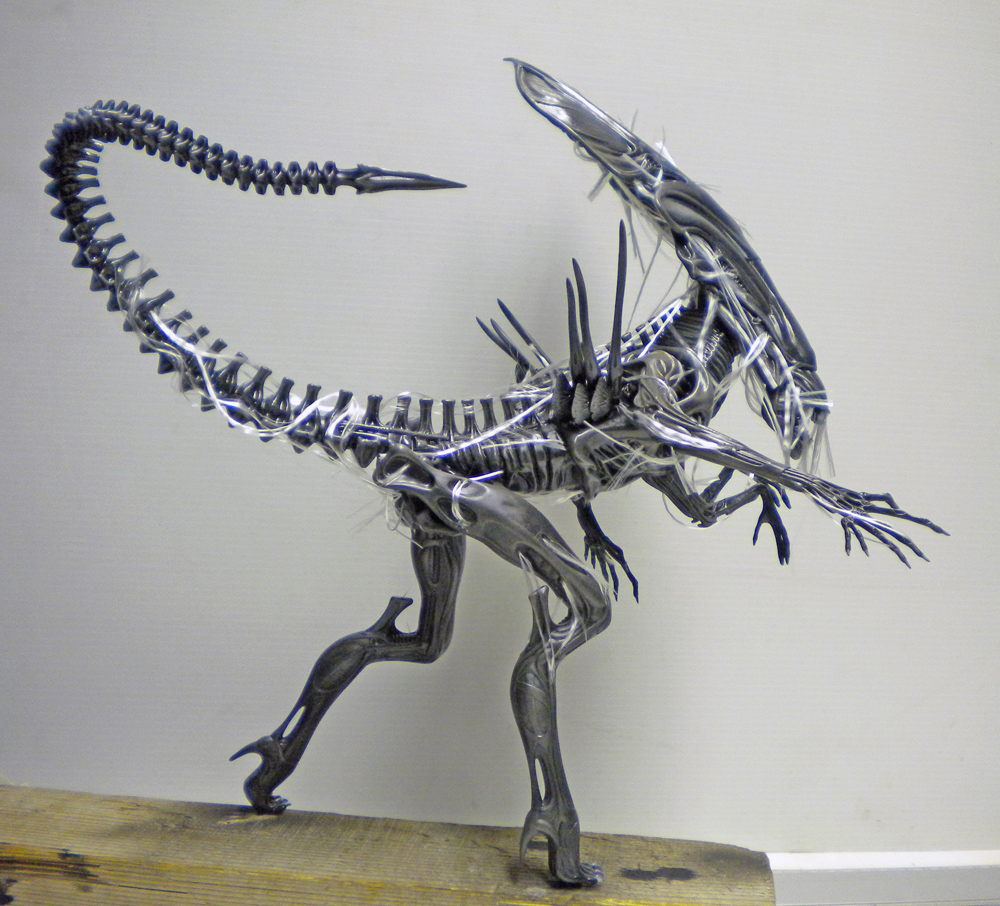
Model of the long-tailed Alien Queen with a silver metallic finish

In addition, with certain types of glue, some fabrics turn excessively white or brown when they come into contact with it. Feel free to apply fairly long fibers; once the glue has set, you can trim them and secure them at their final position. Some may be left loose...
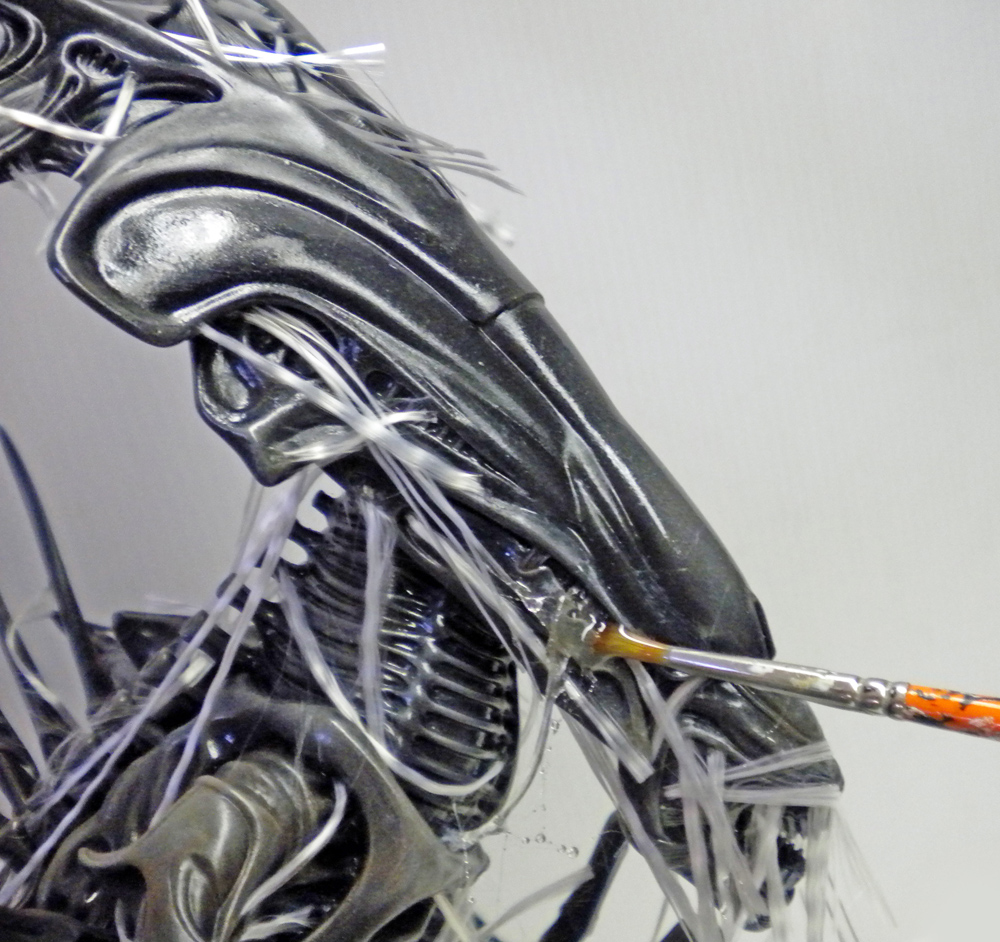
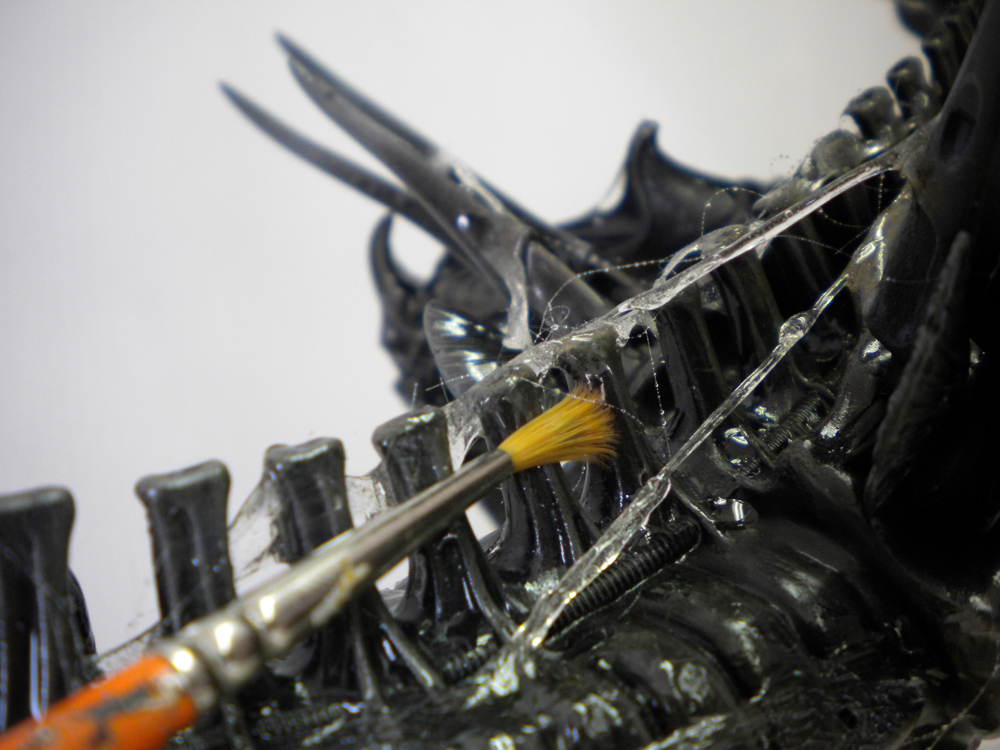
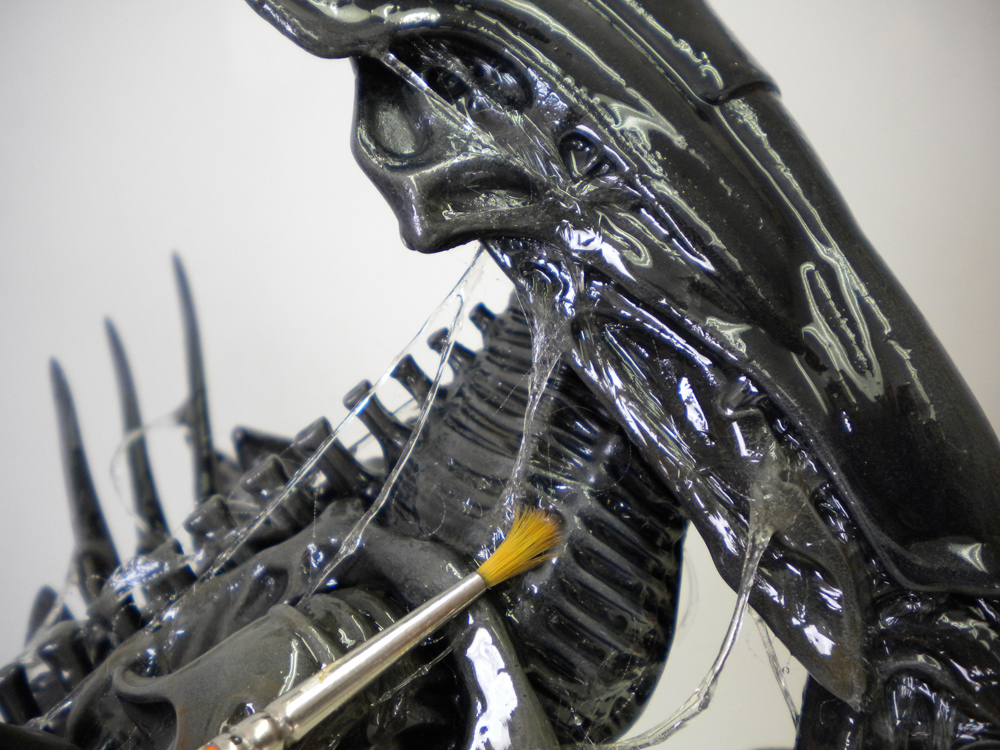
Apply translucent slime with a brush to the head of the black Alien queen, which is covered in threads

During impregnation, keep in mind that it takes some time for the resin to make the glass fibers transparent, so don't overload them...
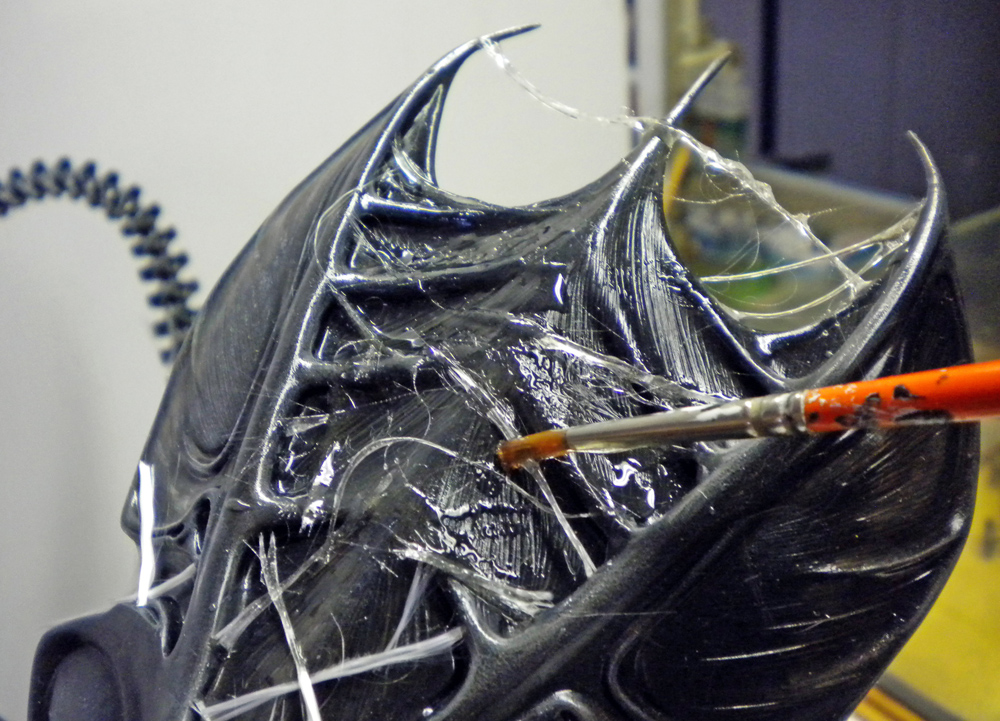
Applying strands of glue with a brush to the Alien queen's black head

On the other hand, excess resin and large resin droplets may form in some areas, depending on the subject's shape...
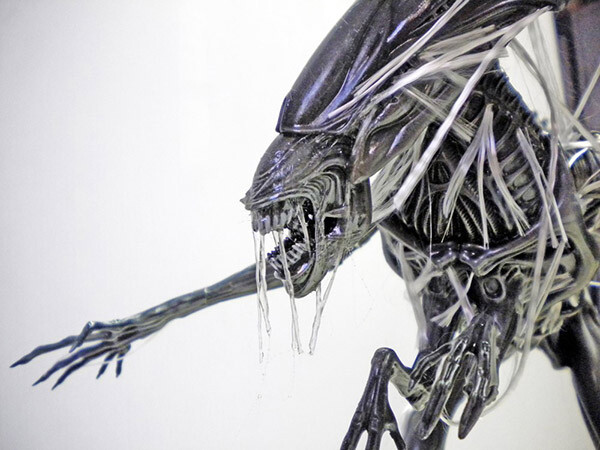
Finally, the resin spreading out over the model isn't a problem in itself. Smooth it out regularly, just like varnish; if there are any uneven spots, the varnish applied later will blend everything together ("uniform clear glaze")...
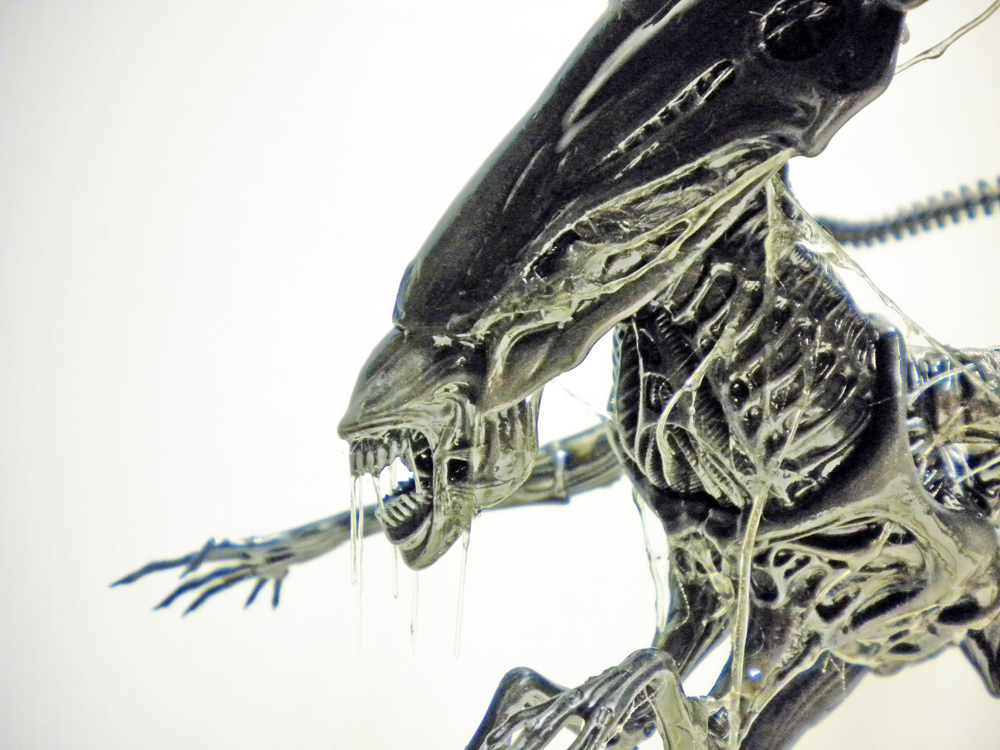
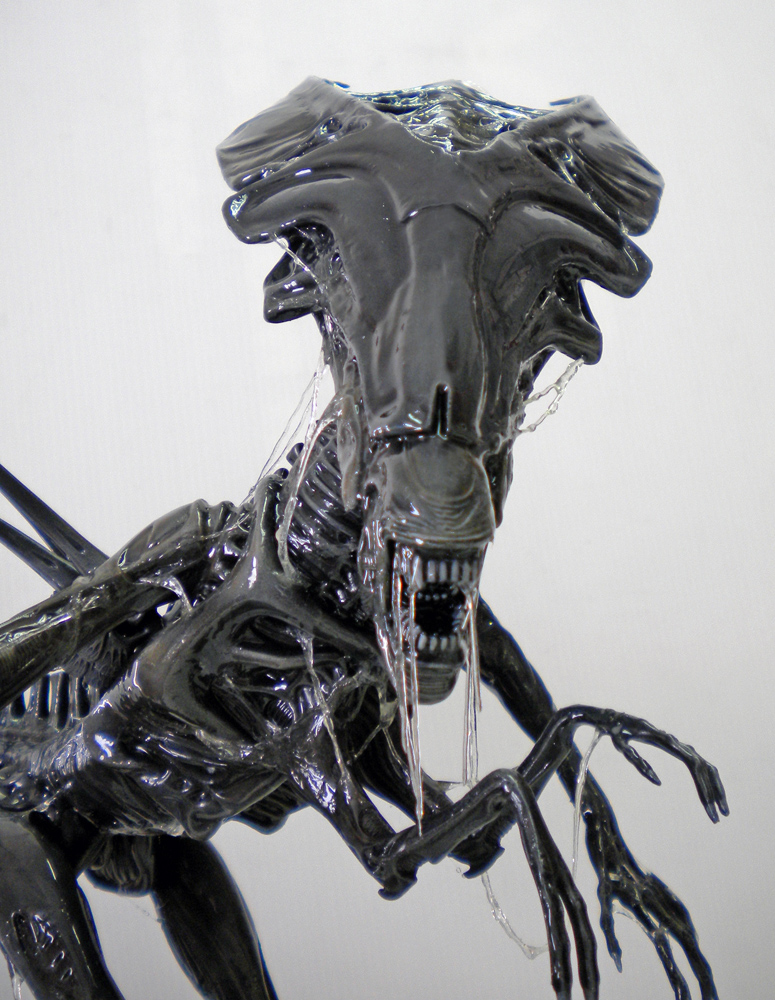
Close-up of the Alien Queen model with slime dripping from her toothed jaw

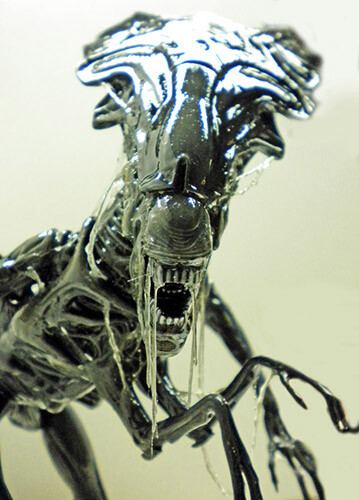
Your monster is now as slimy and slobbery as you could hope for...
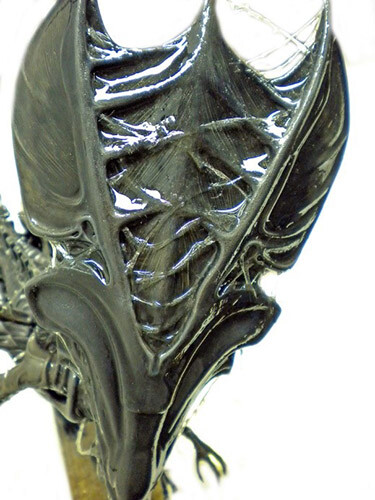
  

Keep in mind that your epoxy resin, like any resin, has a pot life that depends on a number of factors (temperature, humidity, and the supplier’s technical specifications). Consequently, as long as your resin hasn’t started to “set” (harden), you’ll need to keep an eye on it and use a brush to smooth out any excess resin droplets or clumps...
Don’t worry—it’s much easier once you get the hang of it...
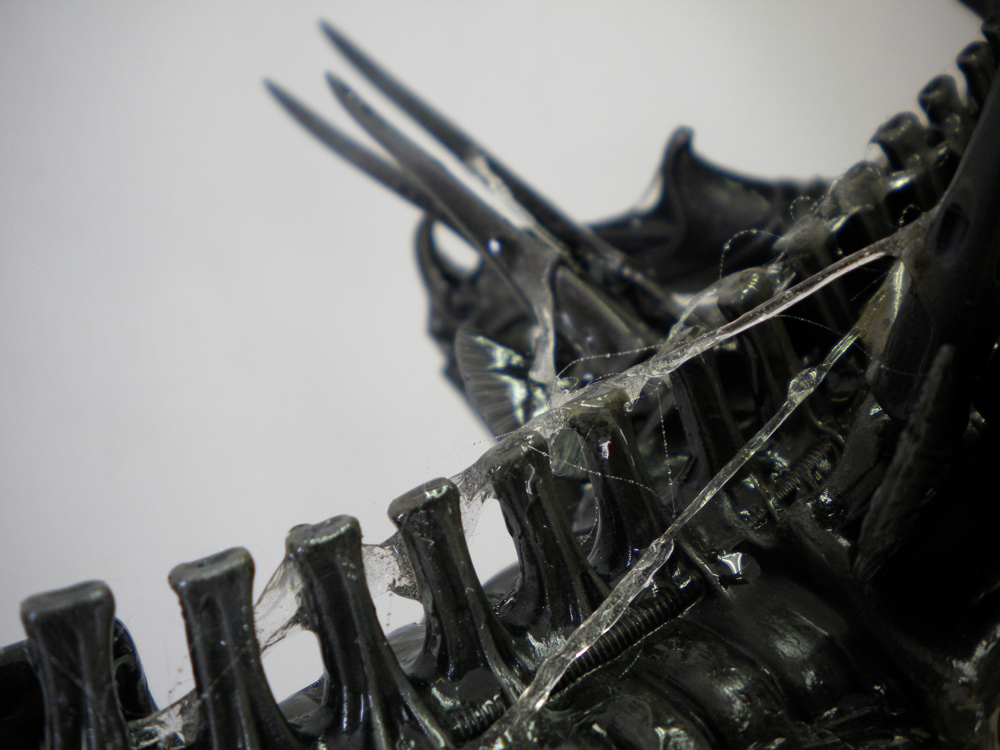
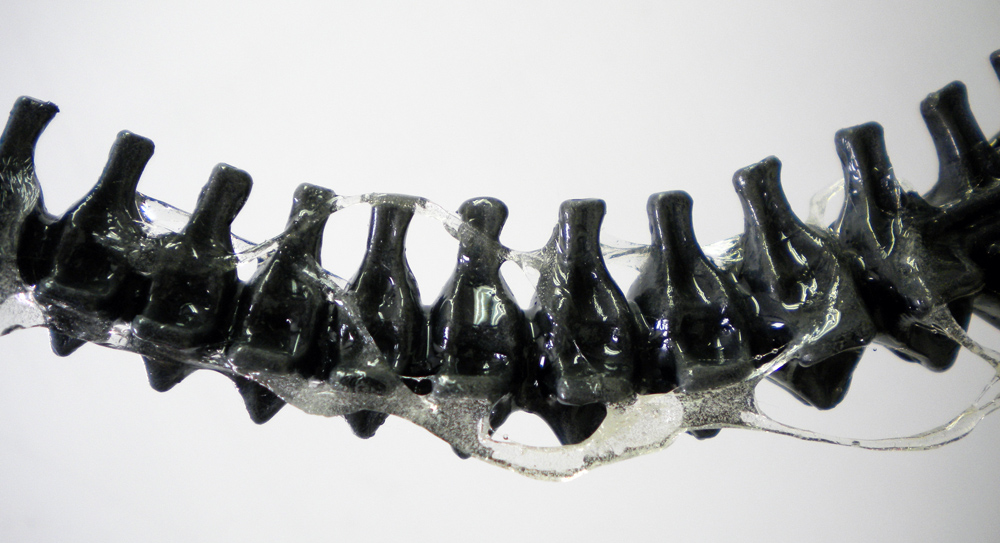
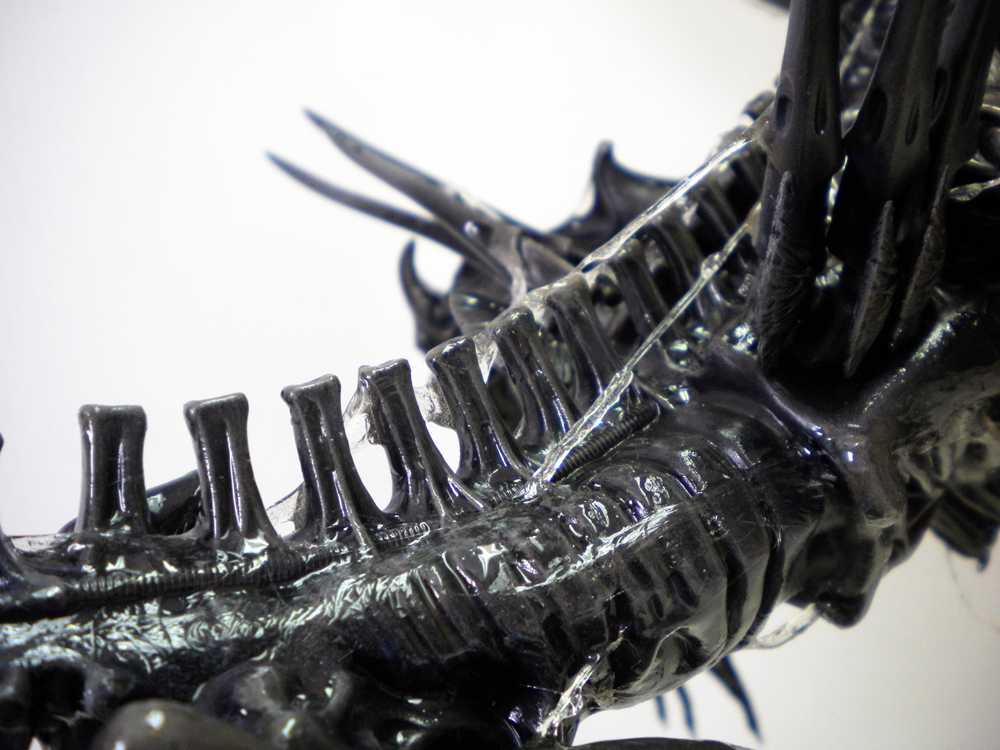
 Close-up of the Alien Queen's dorsal ridge and spikes, with translucent filaments simulating slime A brush for applying stringy glue to create the slimy trail on the Alien queen Close-up of the Alien Queen's head as strands of slime are applied with a brush


The next day, your resin will have hardened. Using a brush, remove any unimpregnated glass microfibers...

Below are three photos of the body...
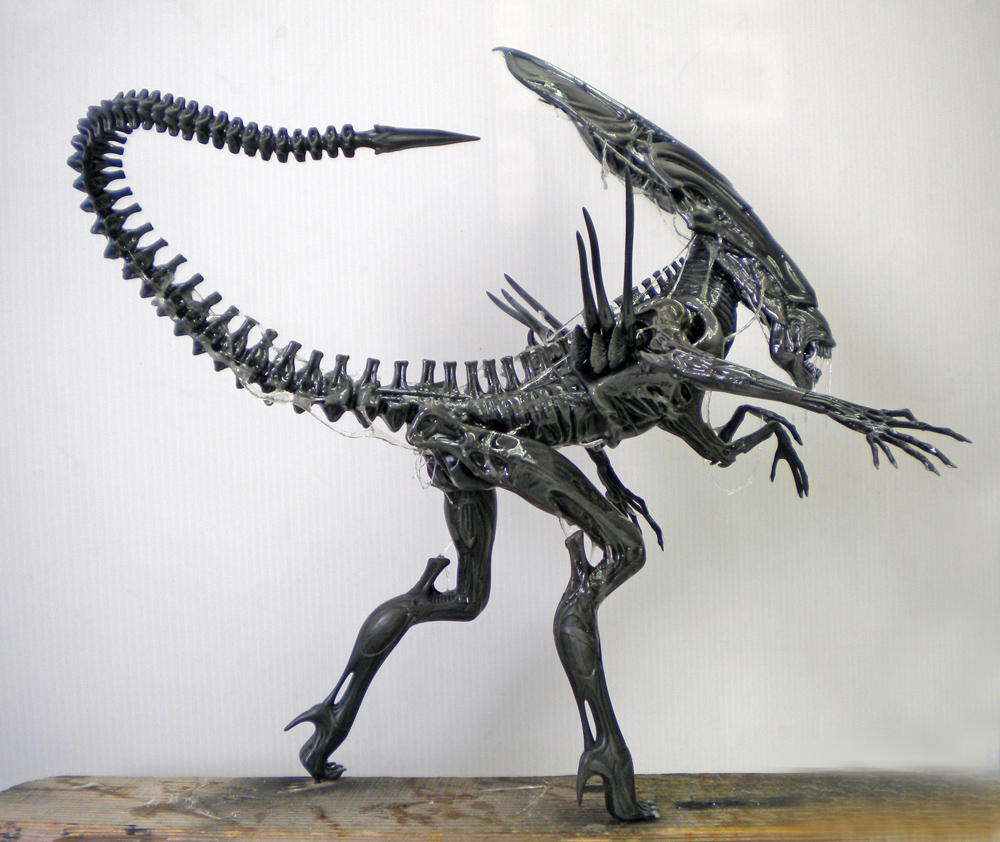
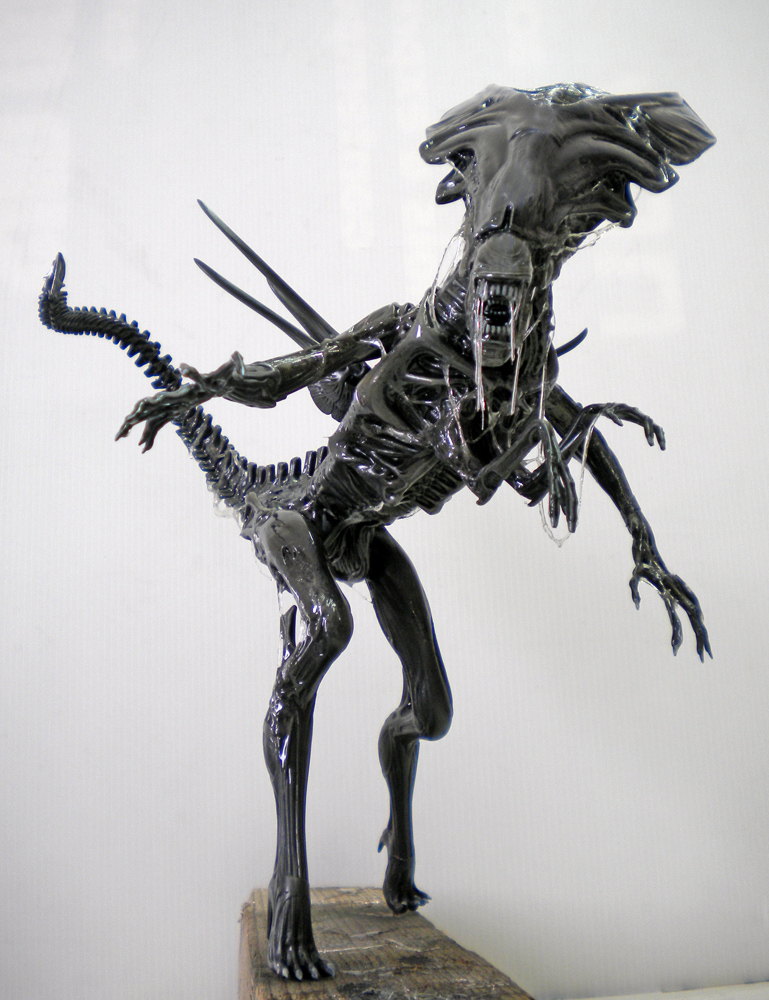
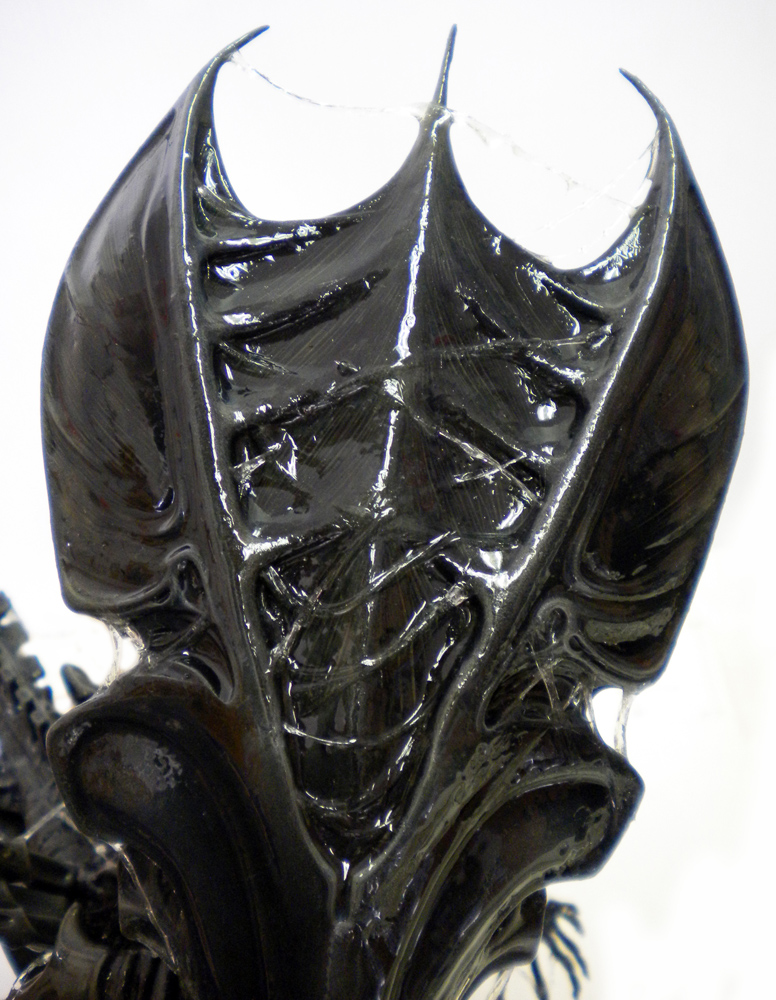
Assembled Alien Queen figurine, painted black, unadorned, on a boardPainted figurine of the Alien Queen, with her mouth open and translucent slime, on a neutral backgroundPainted figurine of the Alien Queen, seen in profile against a neutral backgroundClose-up of the painted Alien Queen's head, with translucent slime dripping from her jawsClose-up of the Alien Queen's head, with her jaws open and translucent slimeClose-up of the Alien Queen's segmented black tail, with strands of translucent slimeClose-up of Queen Alien's glossy black back, dorsal tubes, and biomechanical carapaceClose-up of the Alien Queen's glossy black dorsal crest, with shiny strands of slimeClose-up of the Alien Queen's head, painted glossy black, with drool trailing down

Apply a coat of glossy varnish to your entire project to protect it...

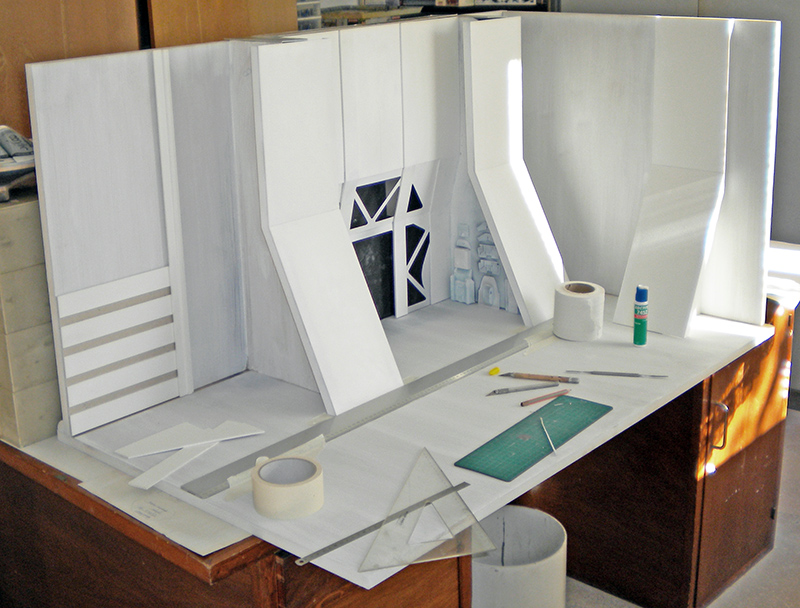
Construction of the white foam board set piece is underway on the workbench, with cutting tools scattered around it

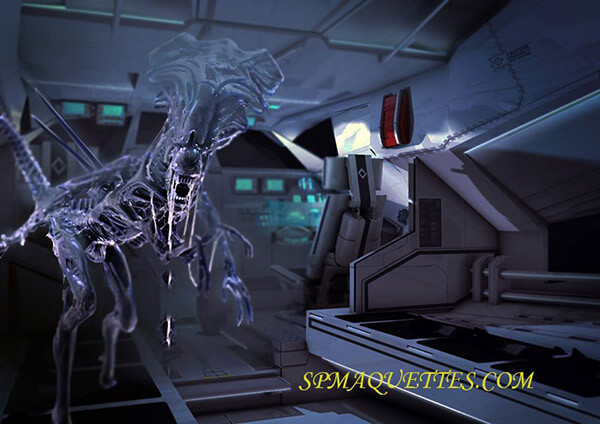
The Queen Mother will be the subject—along with Ripley's "Loader"—of a third tutorial featuring the Sulaco's cargo hold set from the movie "Aliens"...