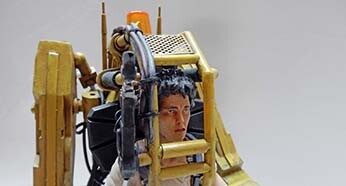
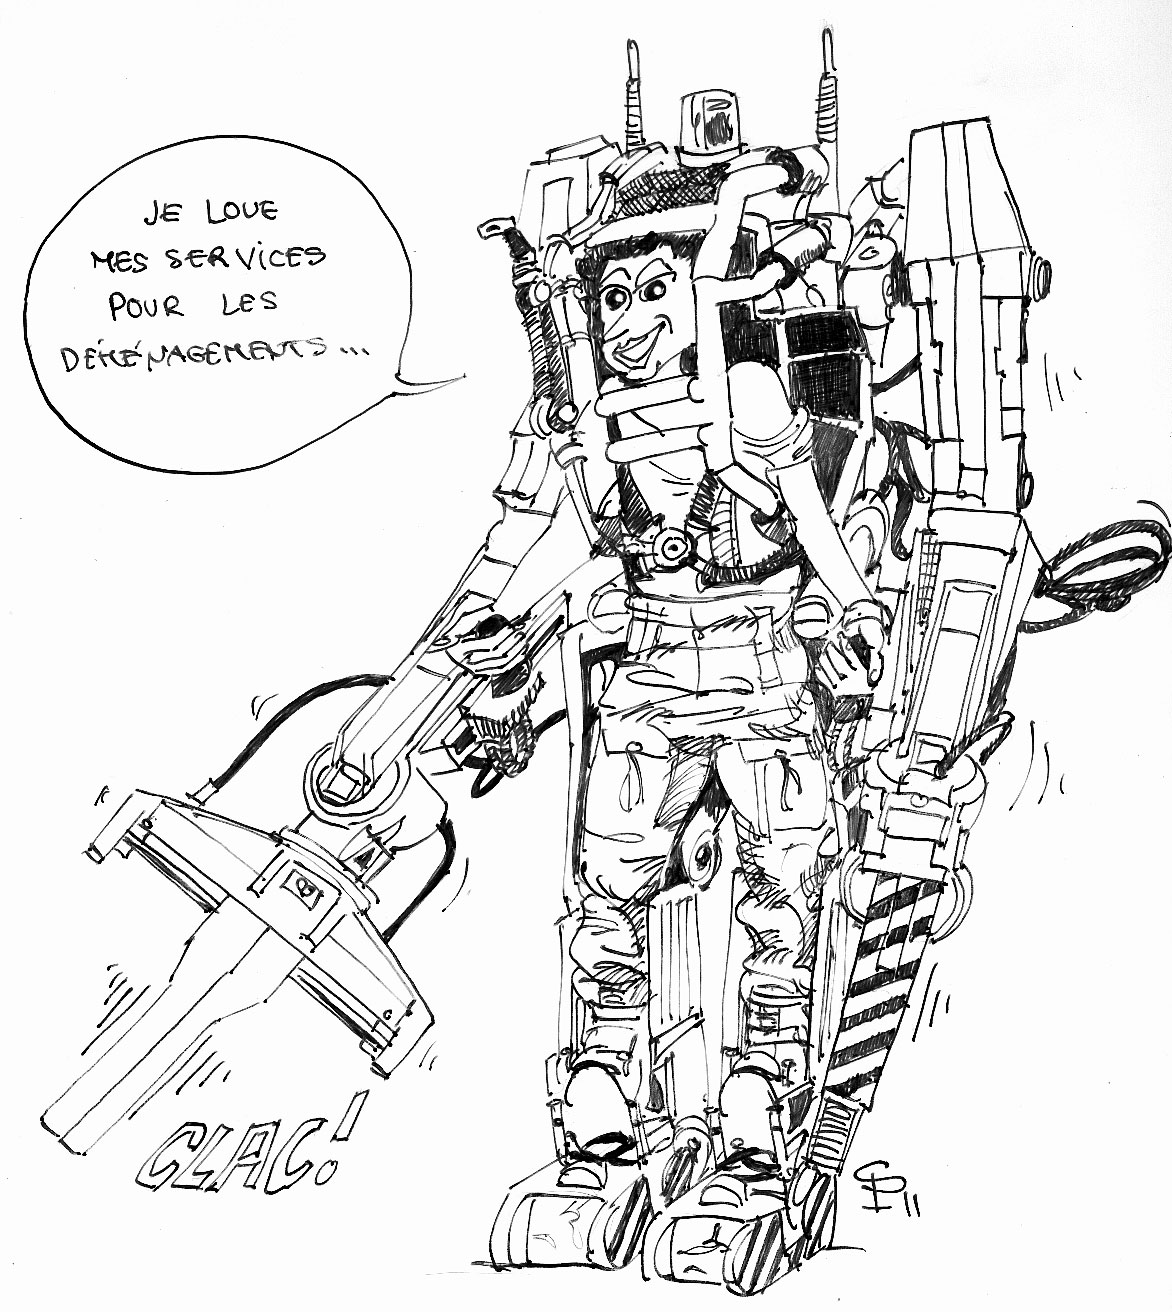
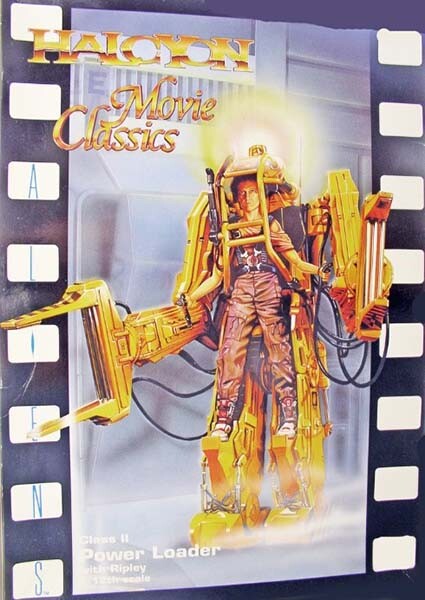
A few years ago, Halcyon released a well-made 1/12-scale plastic model kit of the loader from the movie "Aliens." The only thing is, the Ripley figure lacks realism...
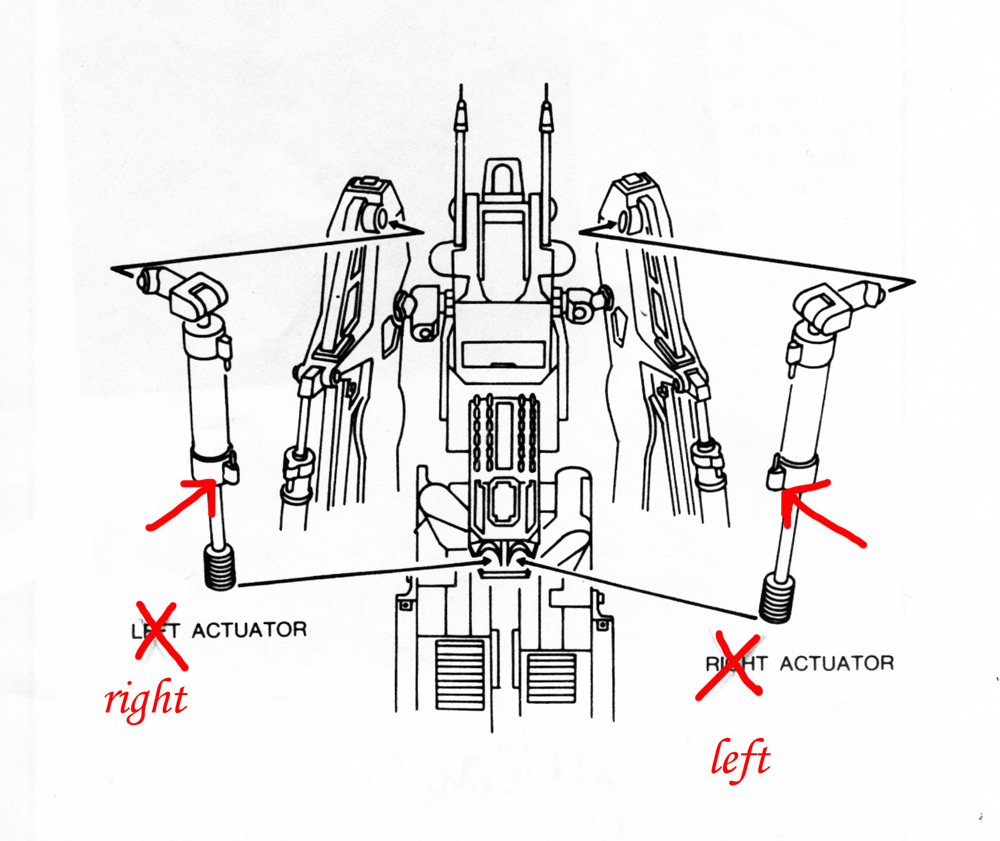
There is a significant error in the drawing that needs to be corrected: the hydraulic cylinders on the arms are installed in the wrong orientation...
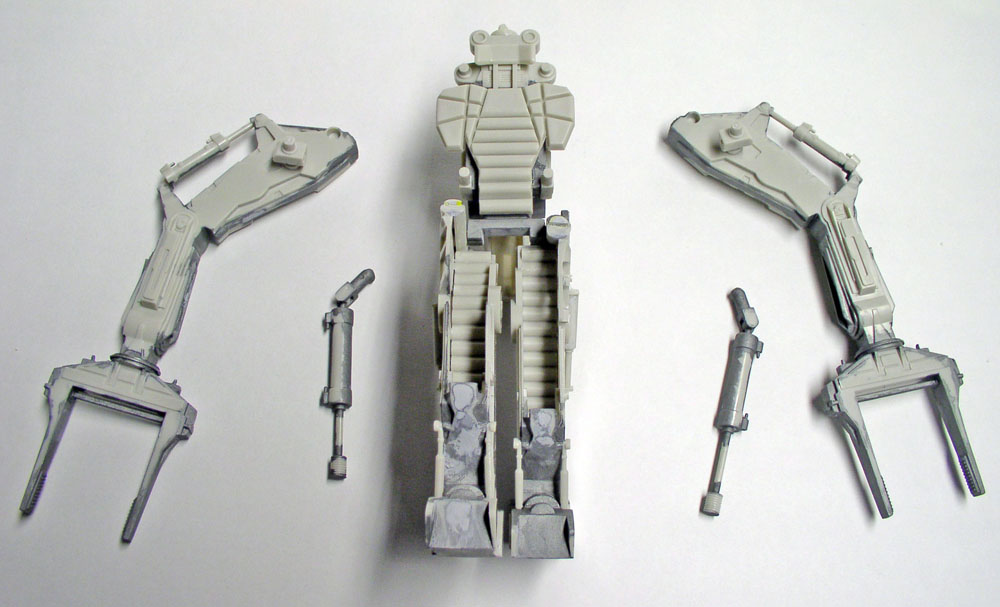
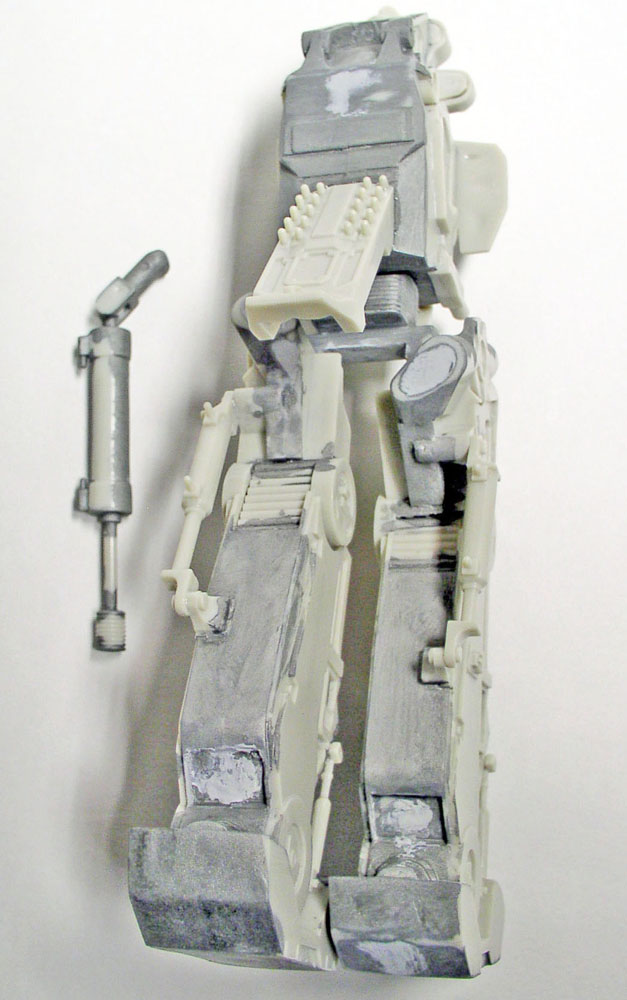
First thing:
Glue all the two-part pieces together, then fill the joints. It’s a long and tedious process, but the result is worth it. After an initial sanding, apply a liquid filler to bring out any imperfections and make the joints completely invisible...
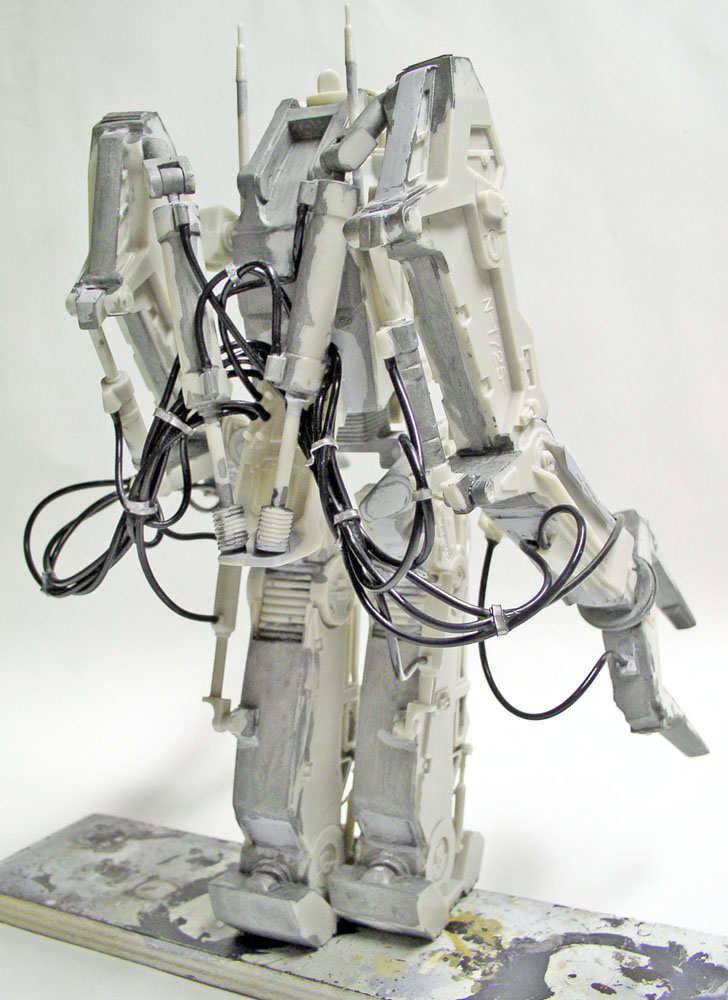 | 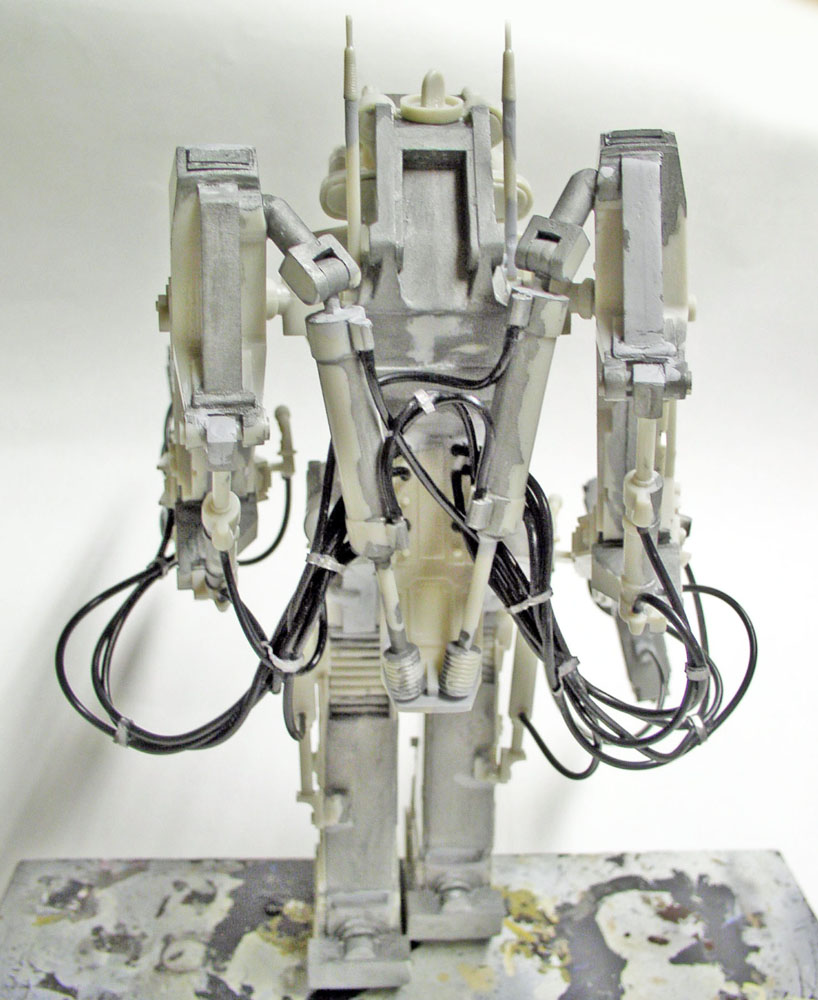 |
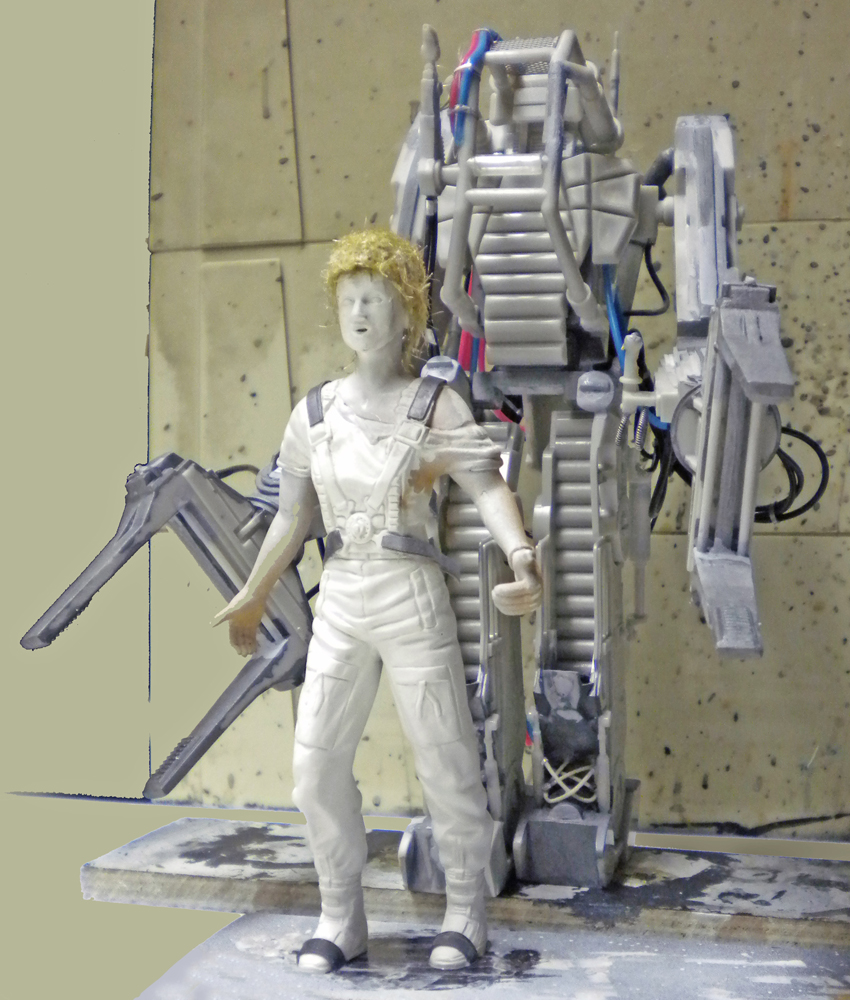
Assembly doesn't present any particular problems, but before gluing the part to its base, make sure Ripley is positioned correctly relative to the craft's legs and arms... Installing the main hydraulic lines. Thorough documentation is required...
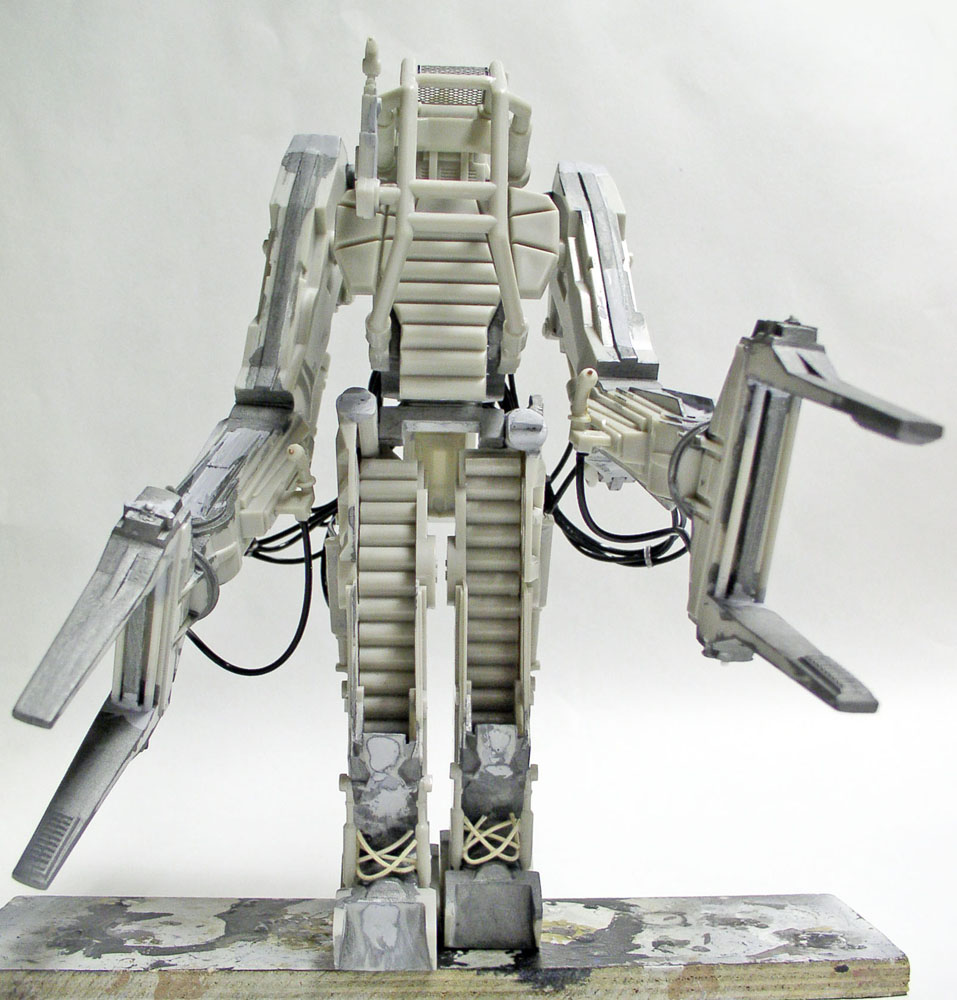 | 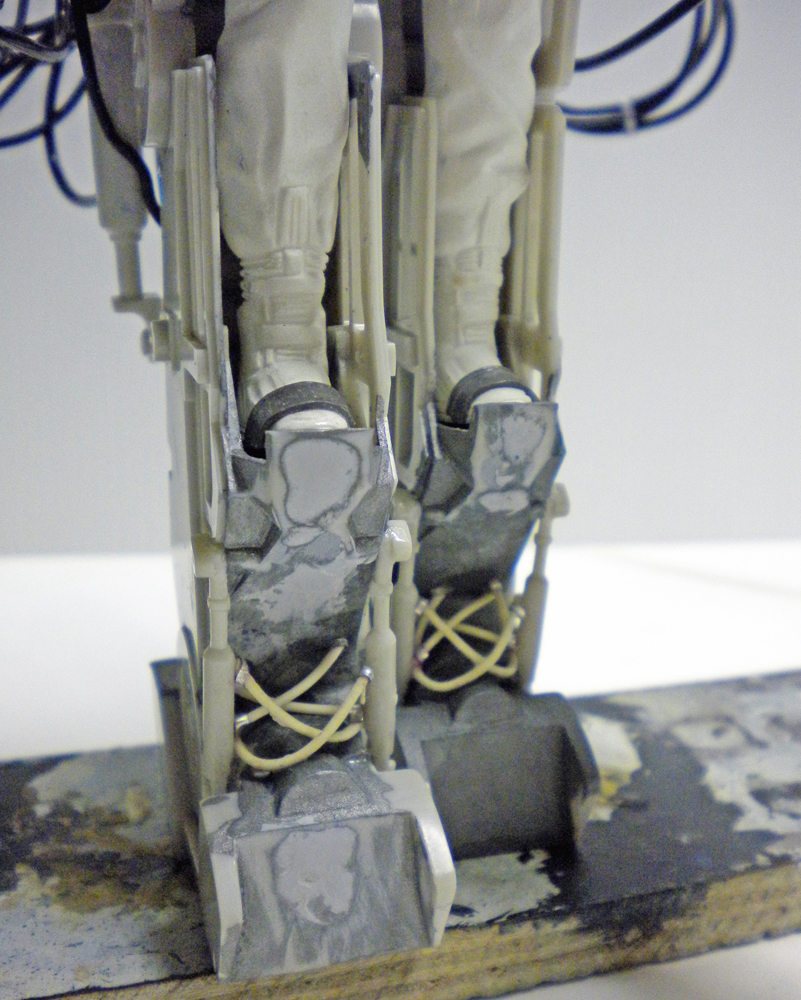 |
Des détails sont rajoutés, manquant sur la maquette: les câbles d'hydraulique des pieds...
We install the photo-etched plate for the protective harness, and two pieces of tubing are cut to accommodate the vertical and horizontal lighting—two lengths of clear plastic...
Electrical wiring not included in the kit is added to the harness, along with the power supply for the flamethrower...
Everything in place—see the photo on the left. All that’s left is to sand down the light tubes...
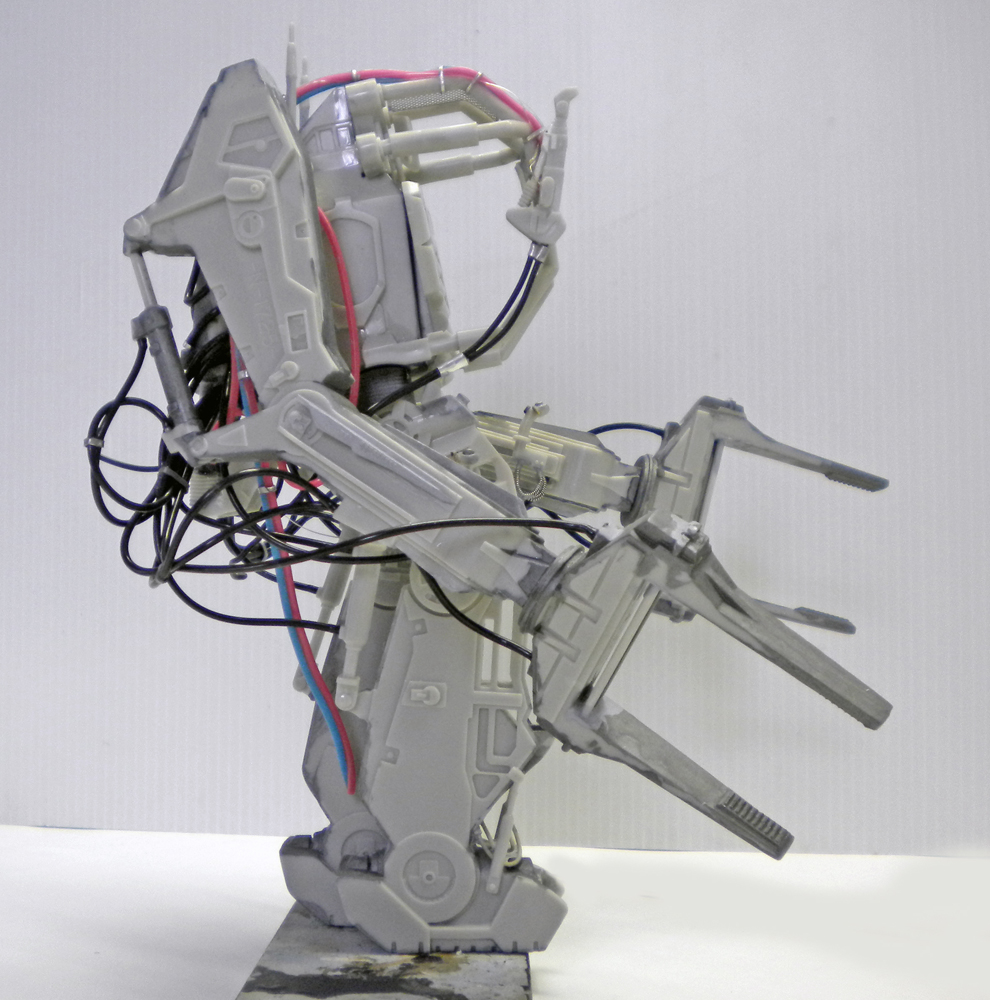 | 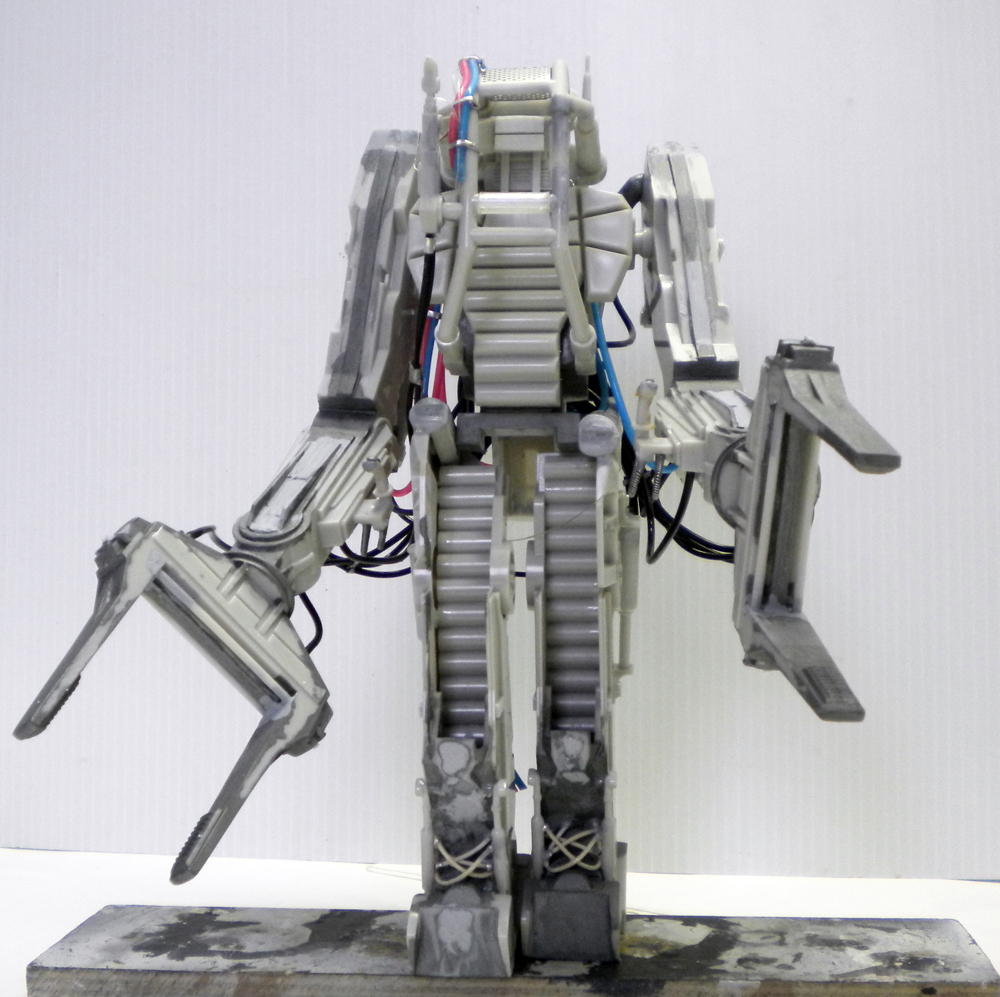 | 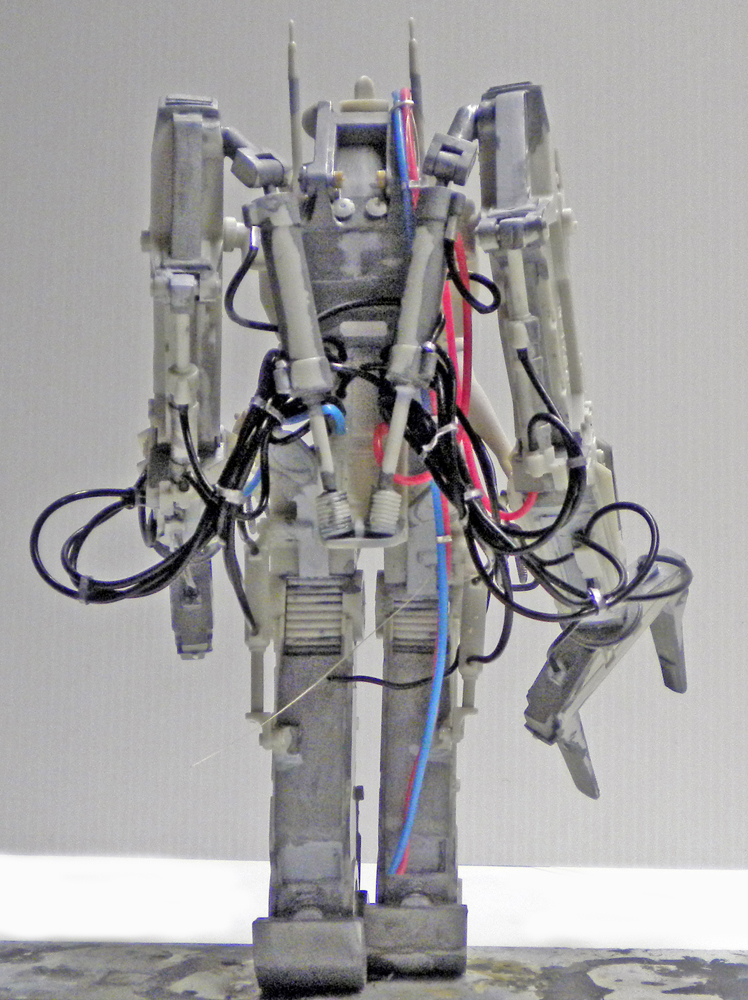 | 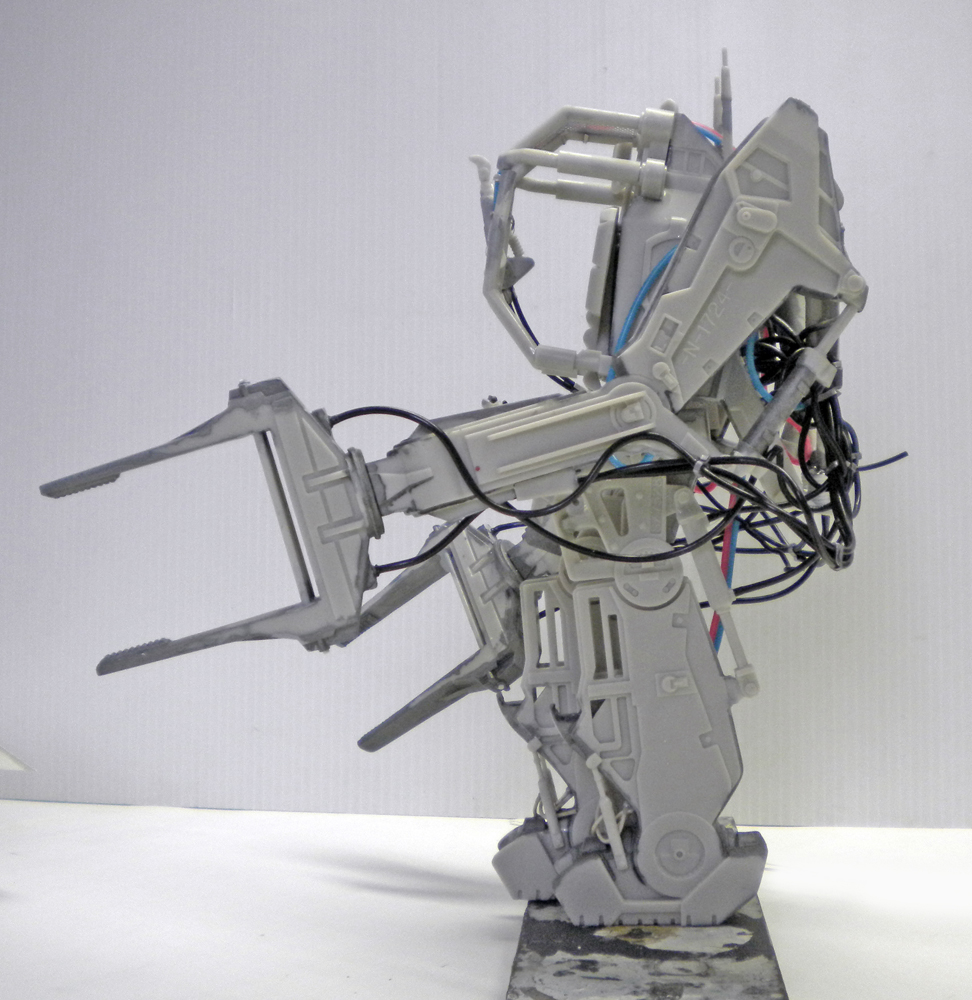 |
Four photos showing the final assembly, ready for painting...
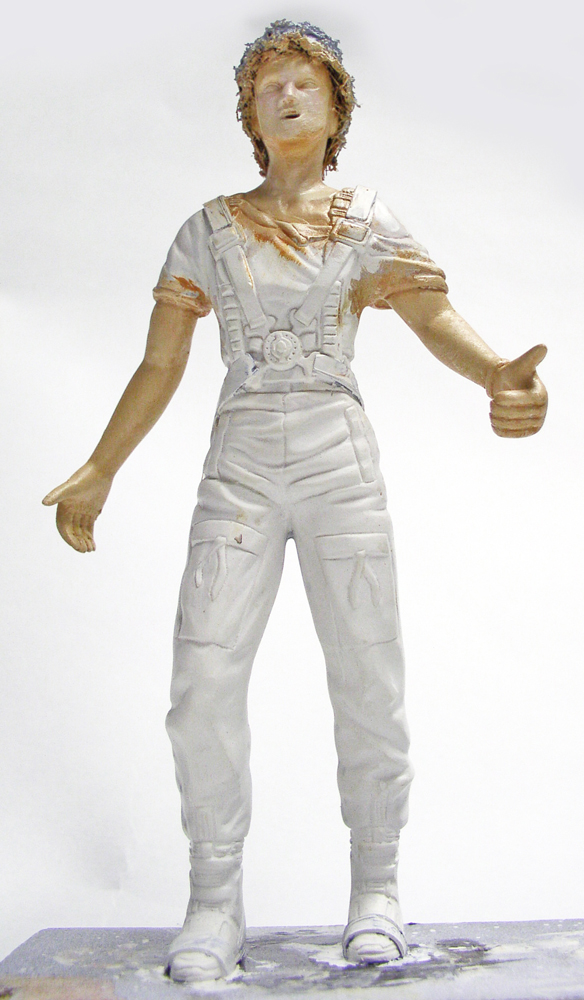
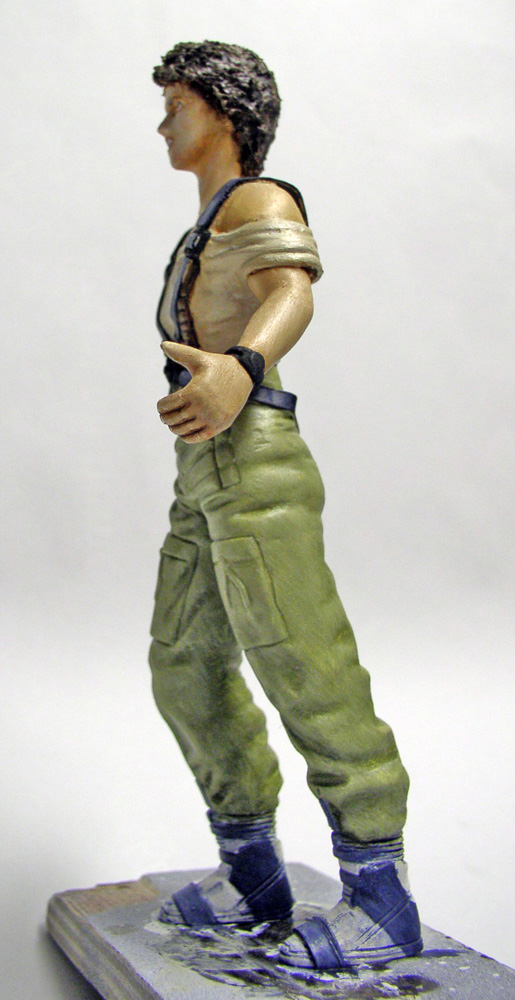
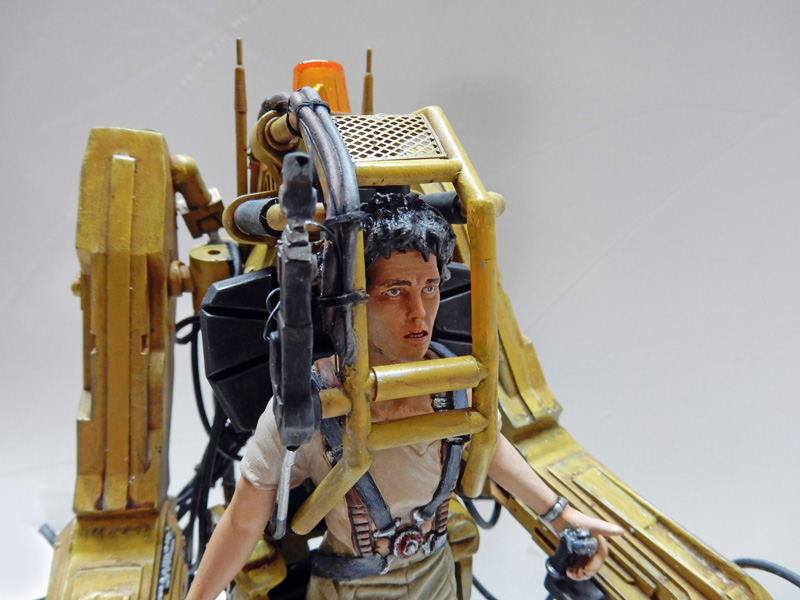
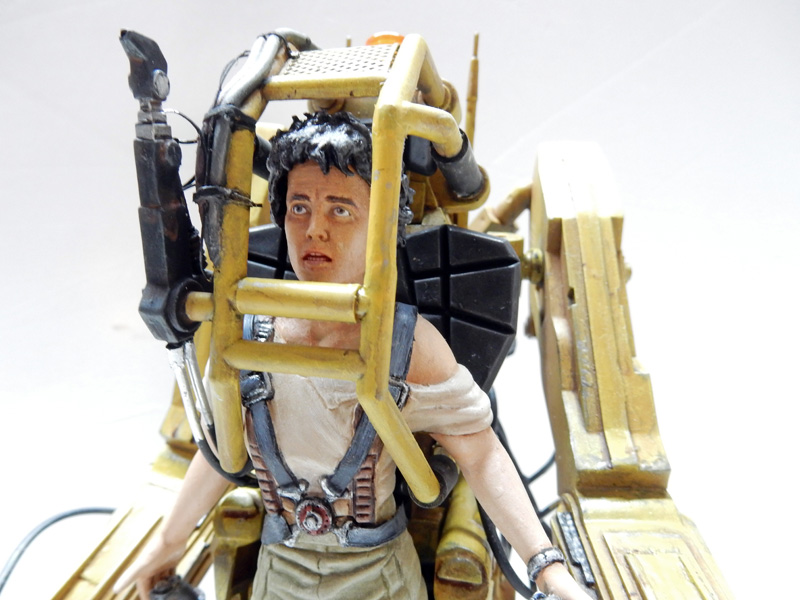
The figurine
 |  |
Painting
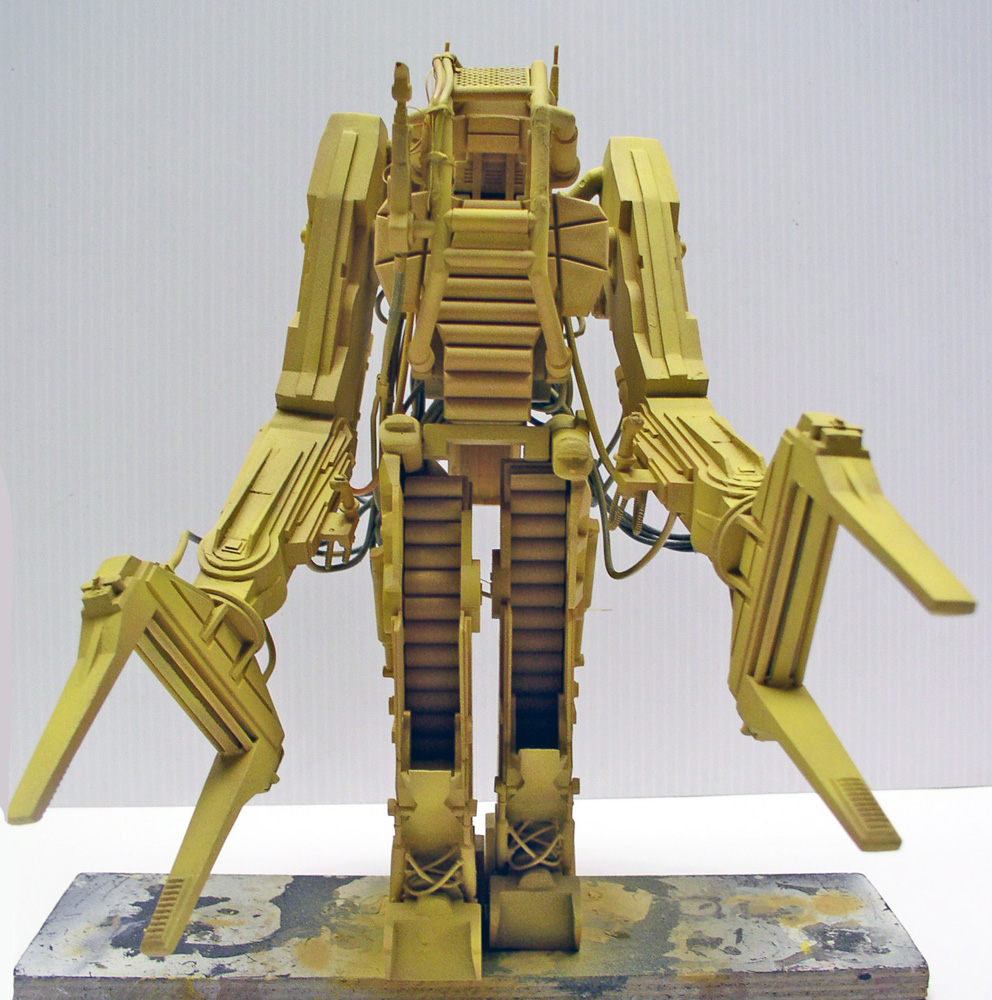
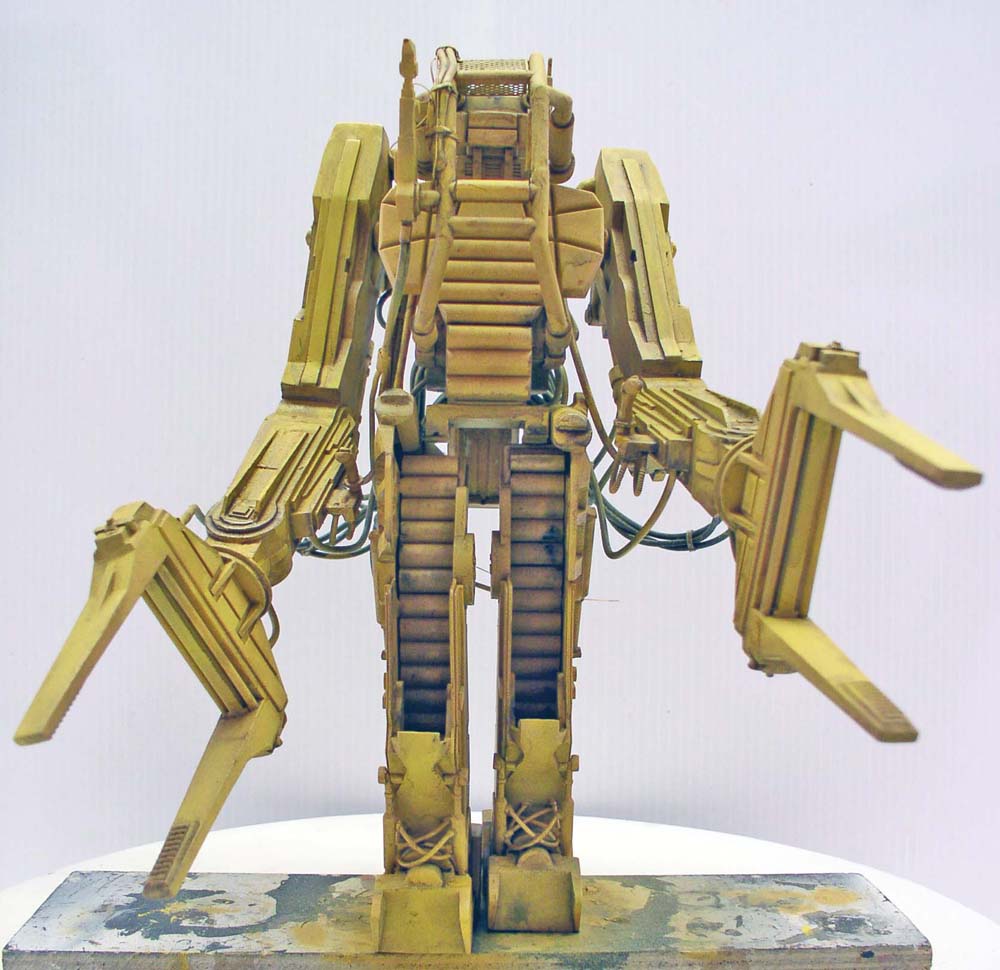
The paint used is Humbrol oil-based paint. The base coat is 63, followed by 69 yellow. Once dry, the part is given a very diluted wash of 33 + 133...
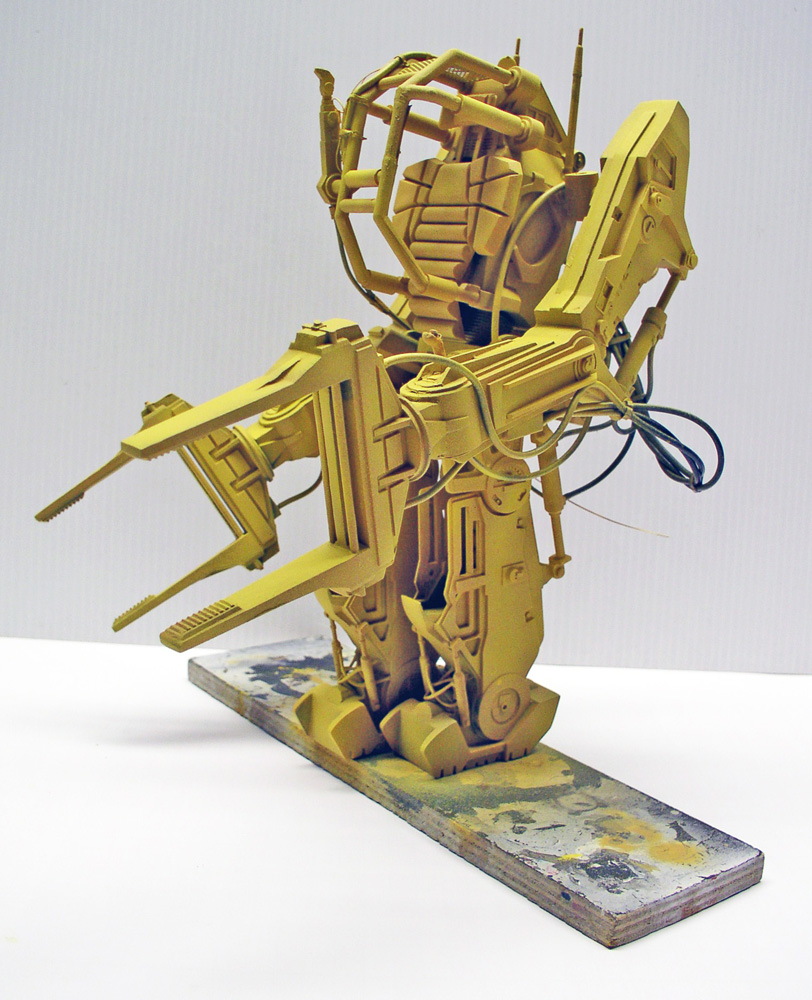 | 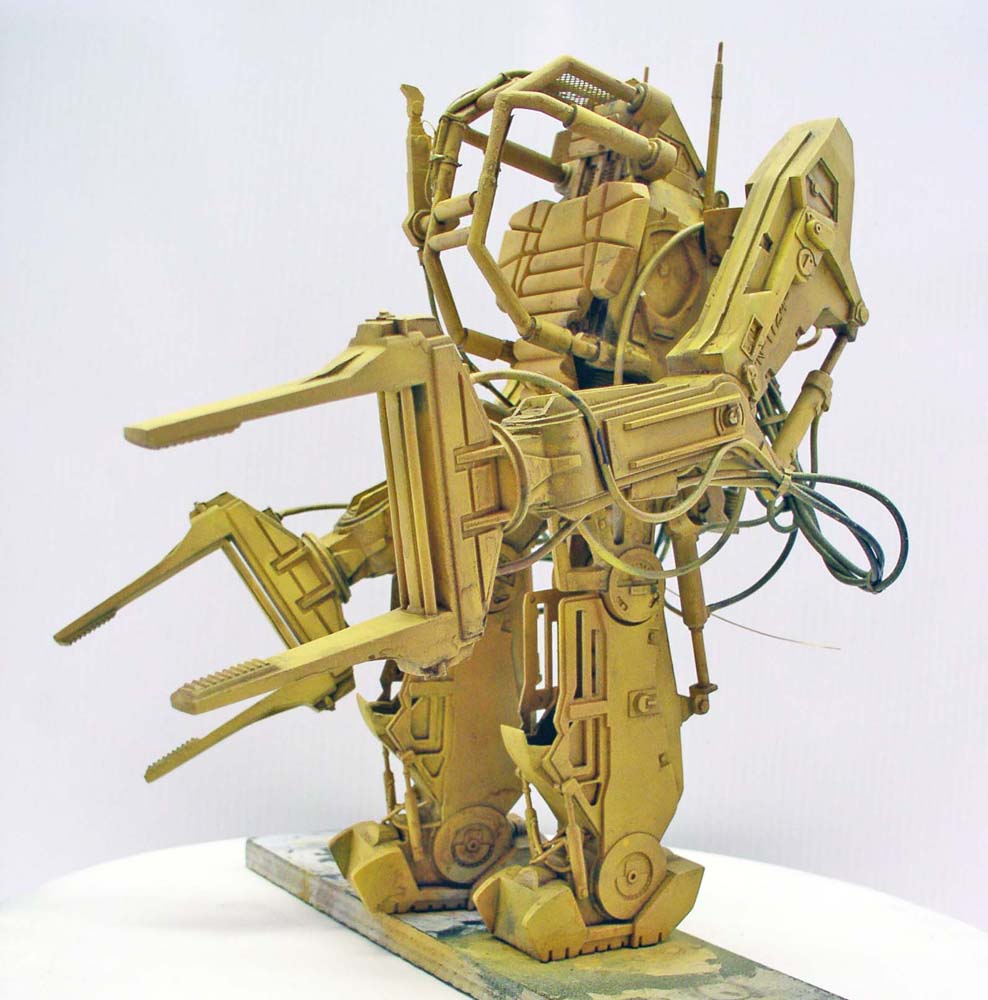 |
Deux autres vues: à gauche la peinture, à droite, le jus ombré...
Once it's dry, apply a dry brush using HC6 Marker Yellow mixed with white to soften certain areas...
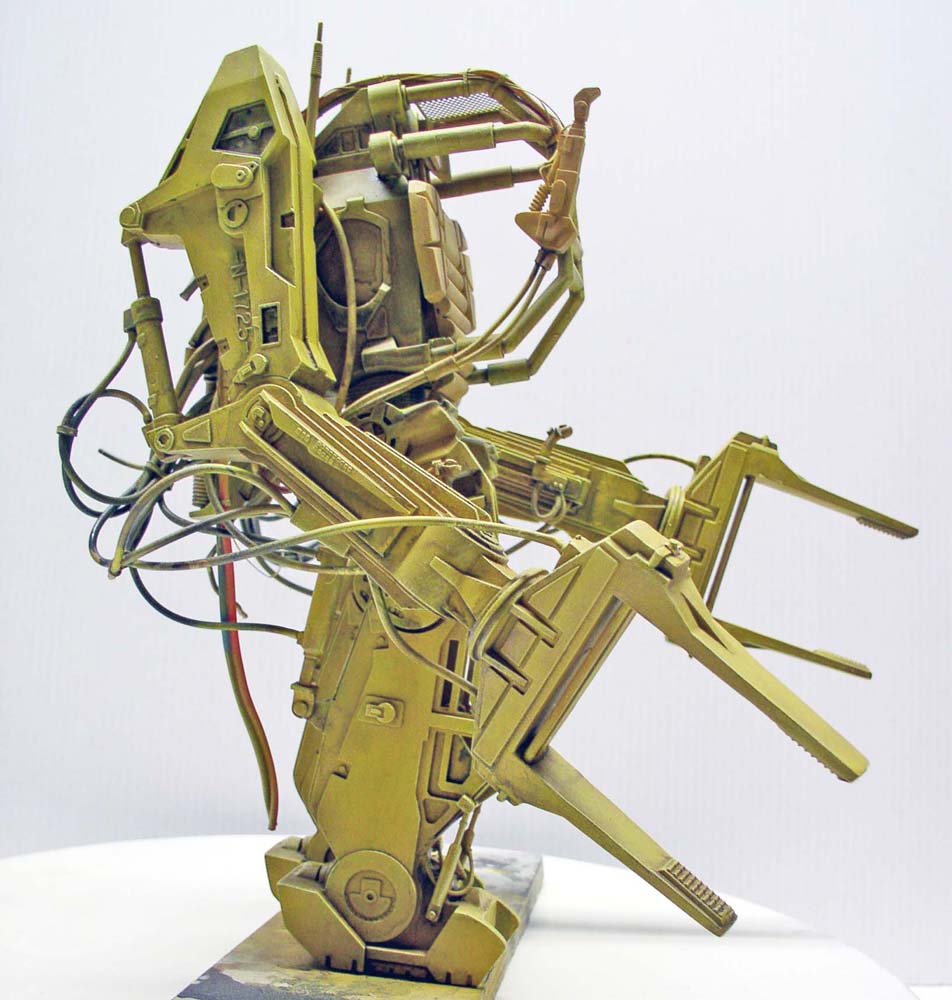
Another view...
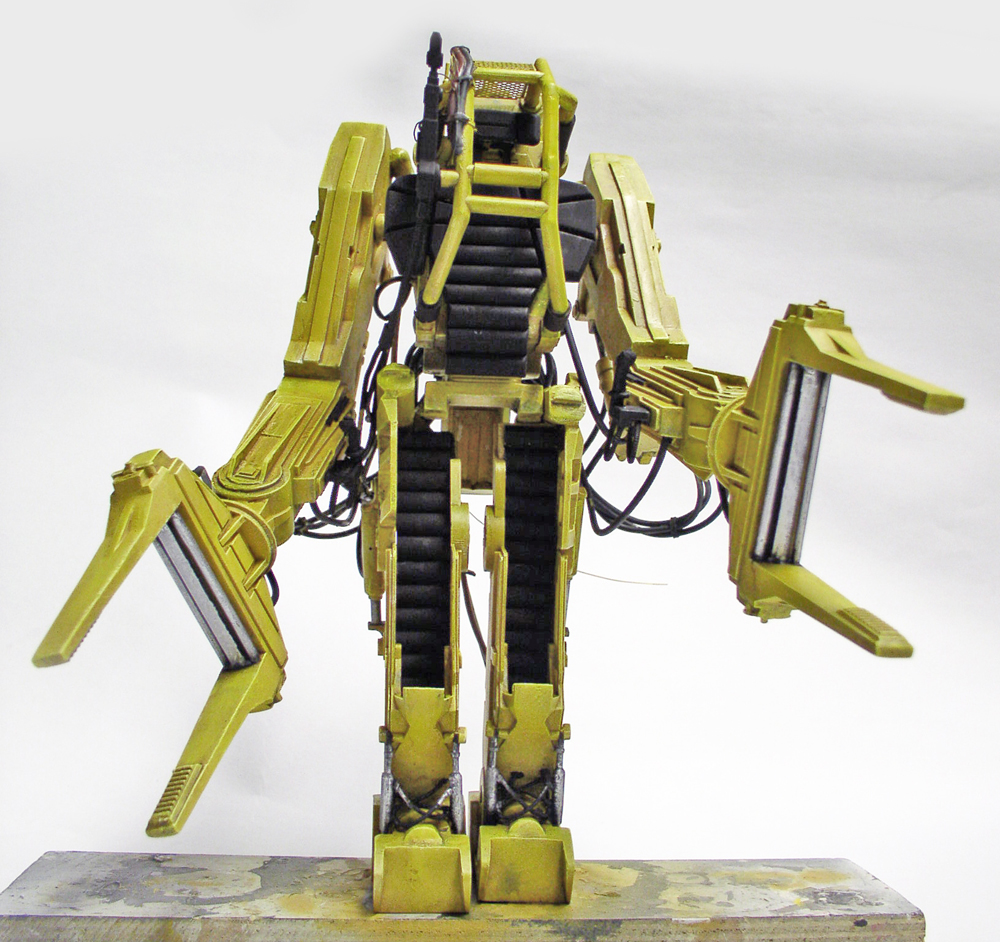
The "seat" is painted in matte black 33. It will then be dusted with graphite powder to give it a faux-leather look...
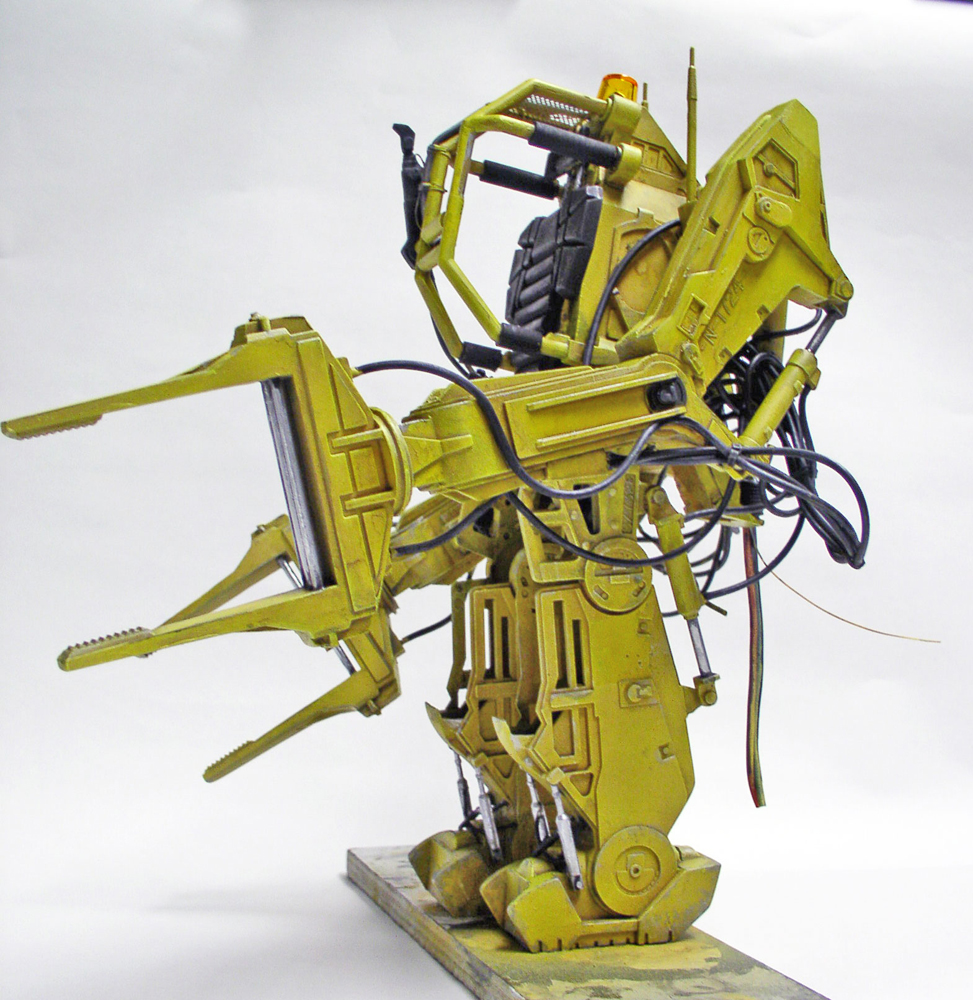
The torch, cables, and metal harness guards are also painted black. They will be dry-brushed with dark and light gray...
The hydraulic rods and certain parts are chrome-plated with Silver 11...
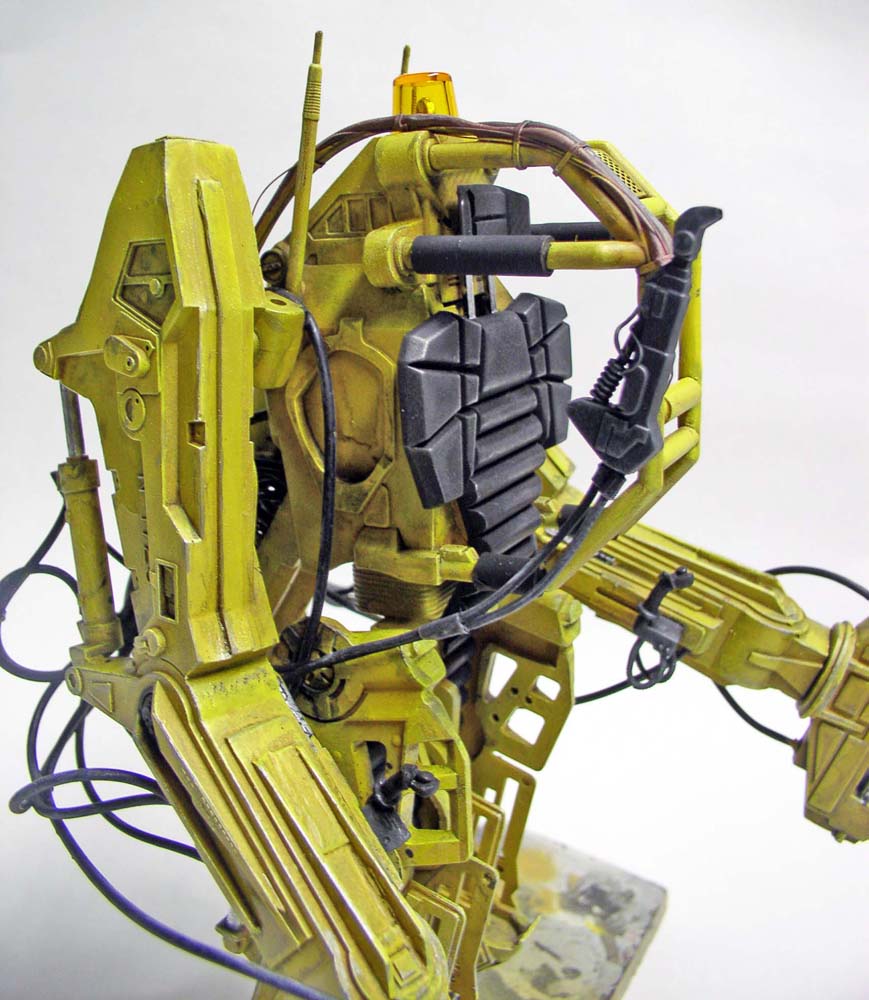 | 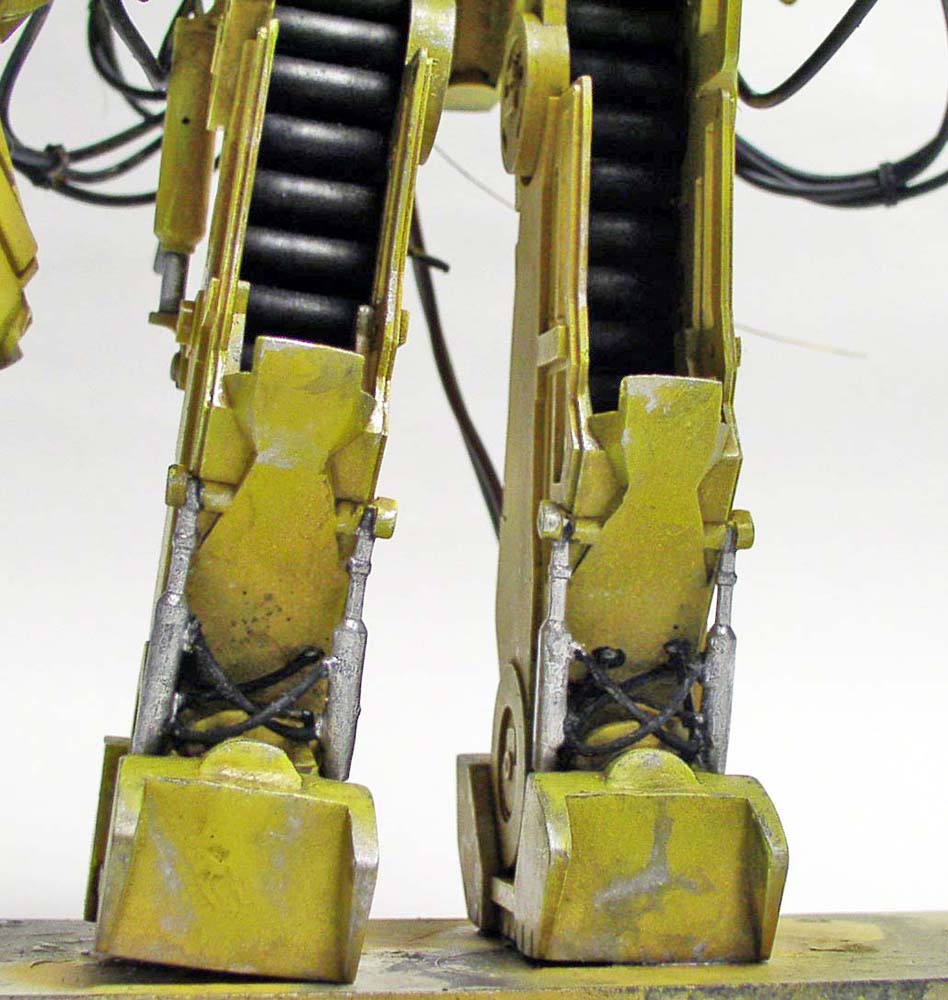 |
Deux vues de détails de l'ensemble fini. Des écaillures métalliques simulent l'usure du matériel mais doivent rester discrètes...
De la peinture argent est utilisée, atténuée avec du noir...
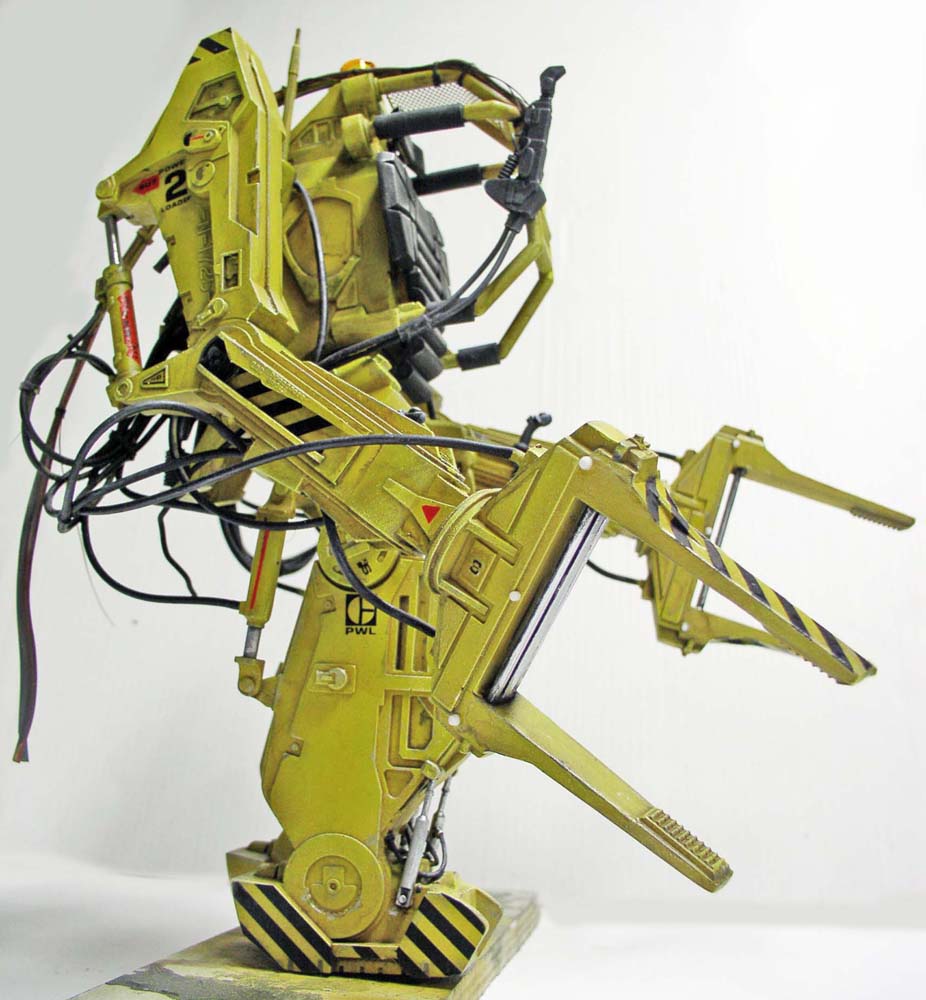
Decals
Decals
: There are many of them. Tip: For decals with a transparent film, apply a coat of gloss varnish to the area. Then, once it’s dry, place the decal using Microsol to secure it. After it’s completely dry, apply a coat of matte varnish, and the transparent film will disappear!
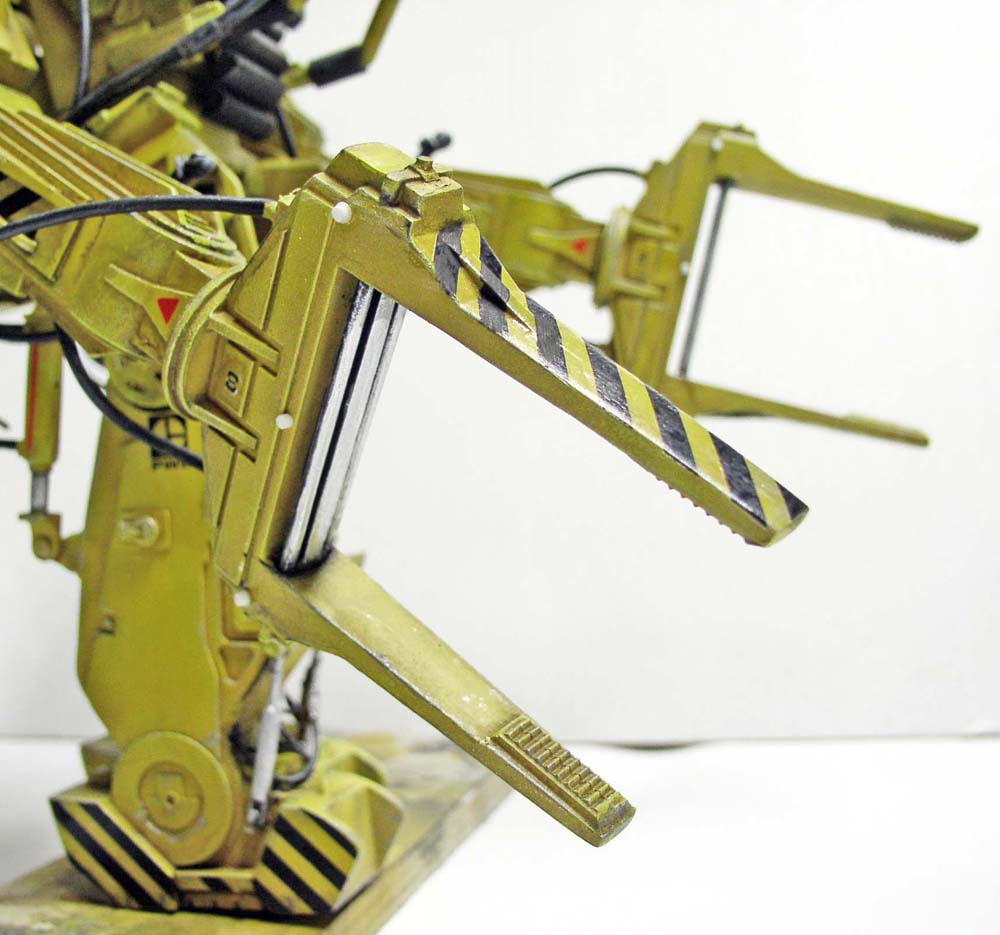
No matter how careful you are, you might still overlook something... For example, these six large bolts on either side of the clamps. They’ll end up being painted and weathered...
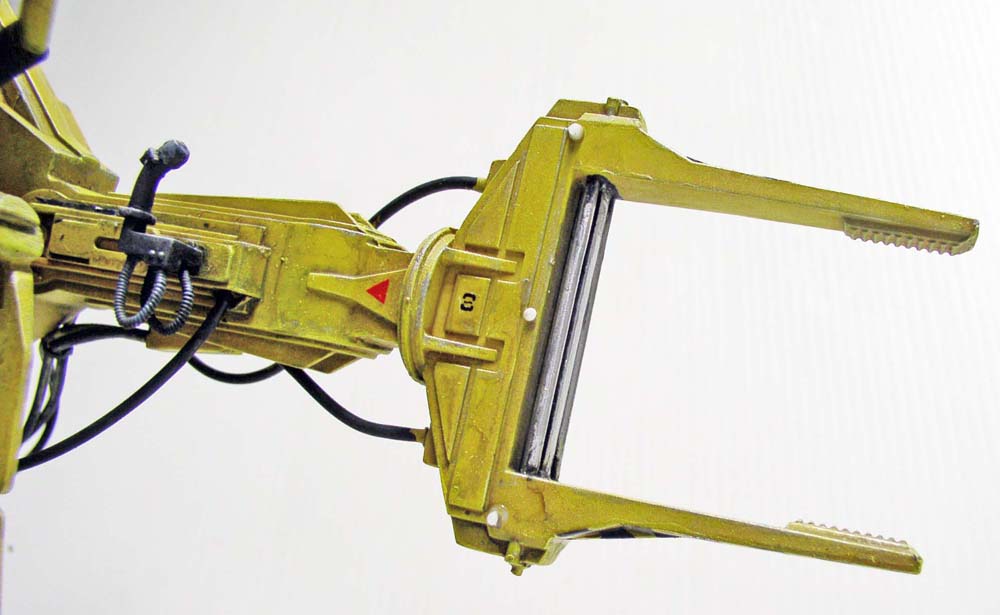
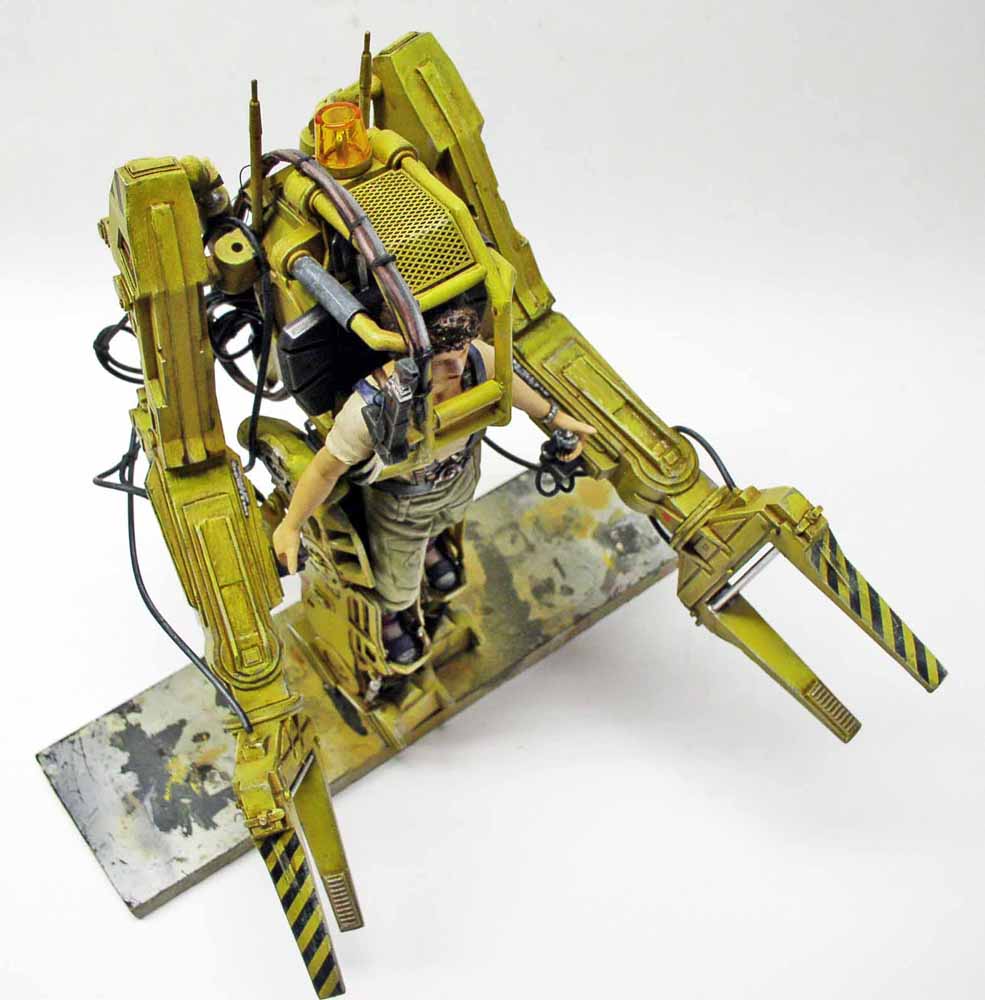
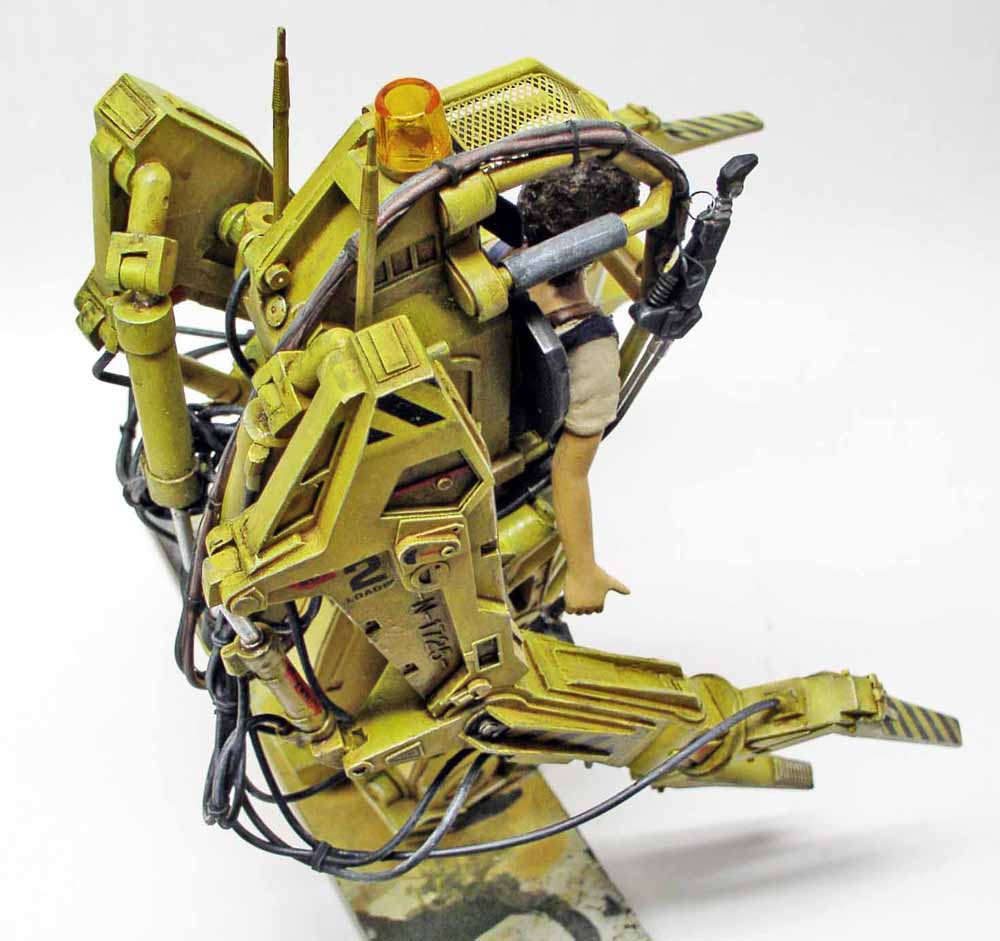
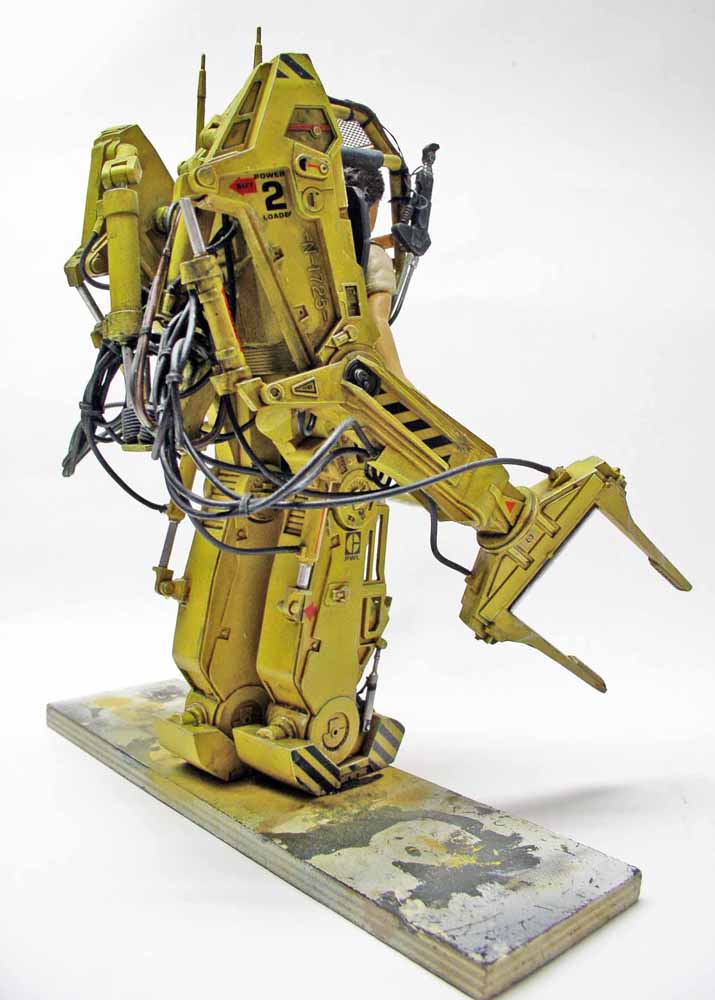 | 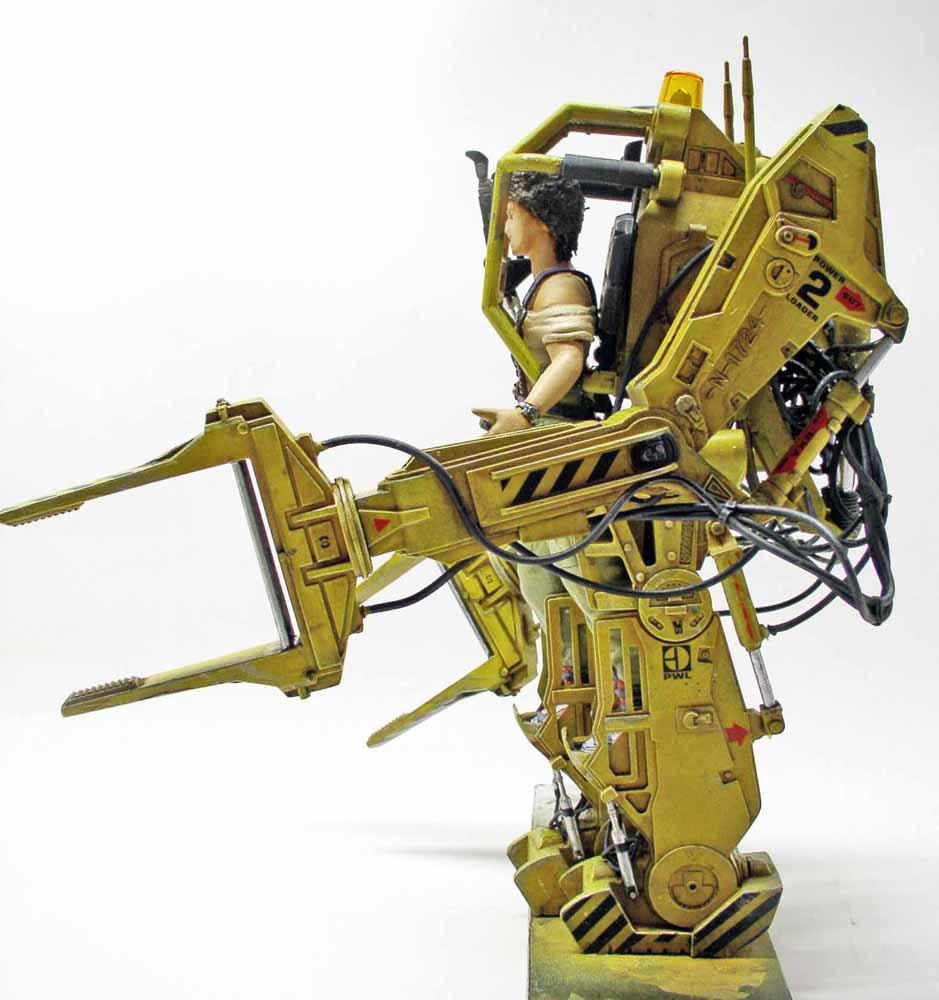 |
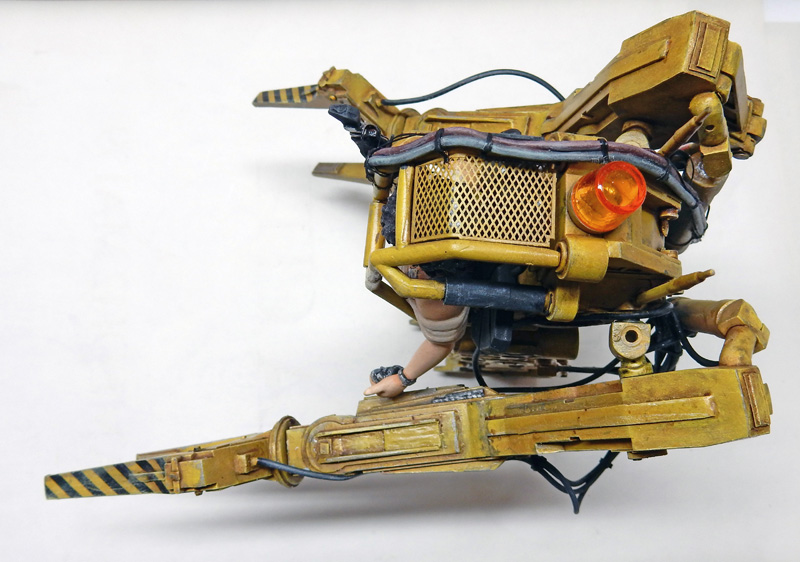
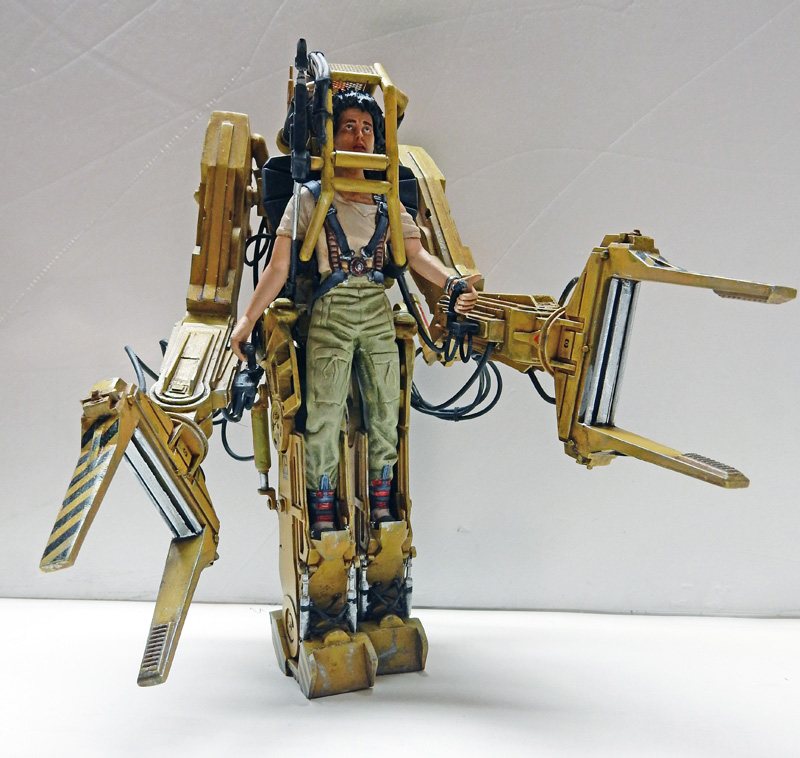
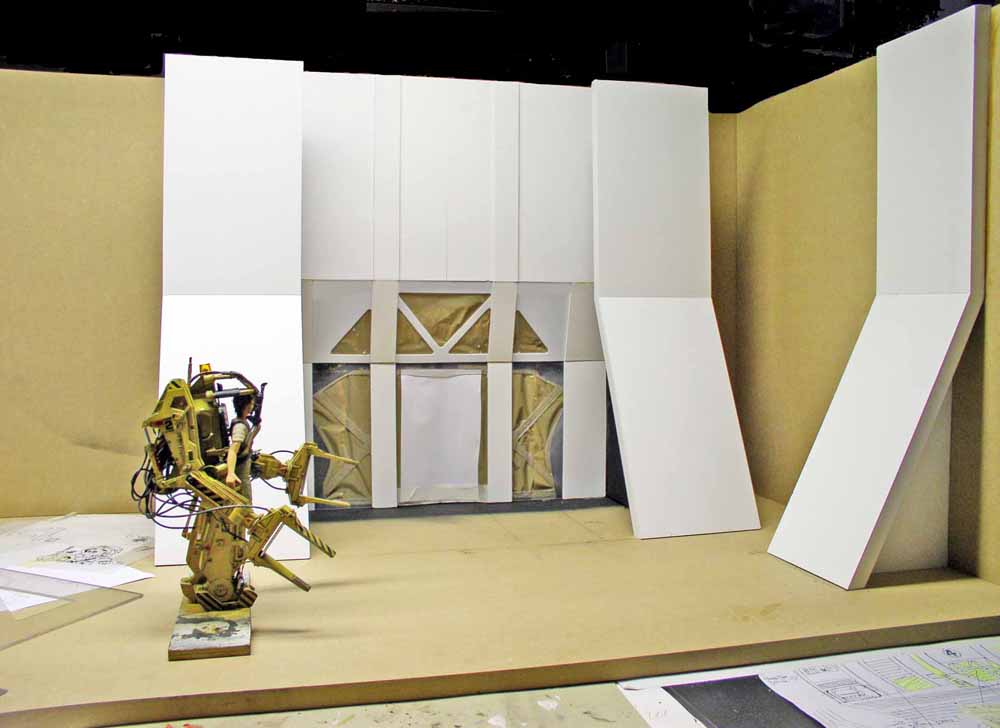
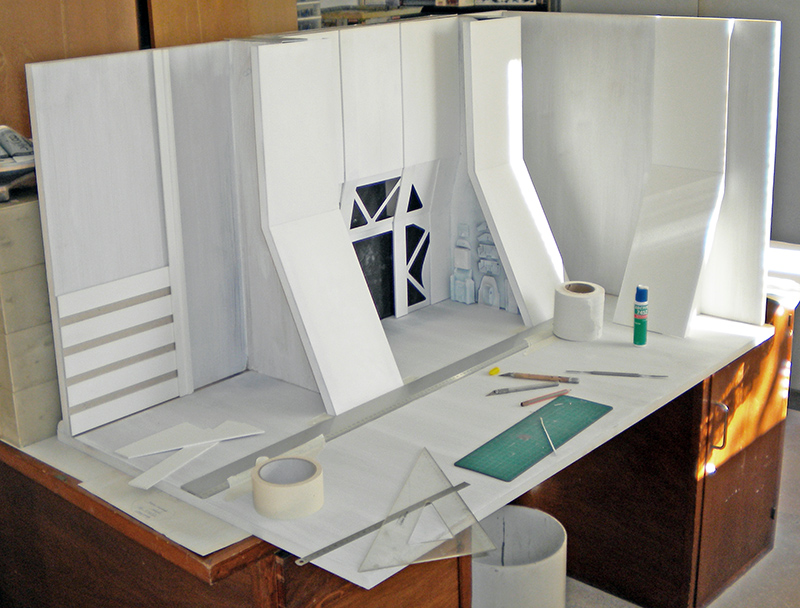
The loader will be included in a scene depicting the Sulaco's cargo hold and the battle with the Alien Queen, which will be the subject of two other tutorials...