Contrary to what some might think, photographing models and merchandise doesn't require sophisticated equipment or a full-fledged studio—just TIME and a little GOOD TASTE...
The approach on the internet is first and foremost VISUAL, and photos play an important role (just like spelling, for that matter...). These days, it’s simply unacceptable to post blurry, hastily taken, dark, or overexposed photos on forums or websites, etc...
Your models or sculptures deserve better—after spending dozens of hours putting them together—sometimes grumbling and cursing the day you decided to take up this hobby! —than a quick flash (if there’s one!) on a corner of the kitchen table or a patio slab just to post them hastily on a forum...
A web user who stops by to visit you deserves more respect than that...
Thanks to digital technology, high-quality photos are accessible to everyone, and a bad shot can be retaken over and over again—until the battery runs out!
And now there are cell phones that take high-quality pictures...
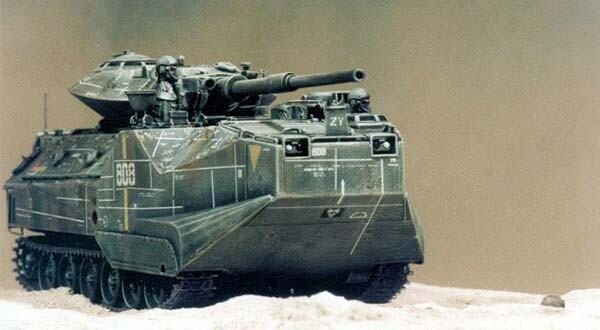
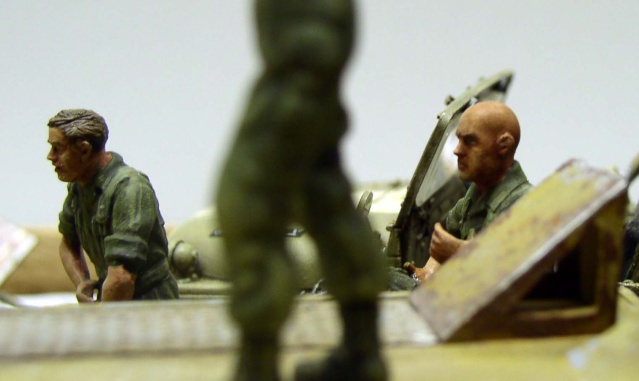
A photo taken at "eye level." Although the tank is thirty-five times smaller than the original, the angle of the shot conveys a sense of the monster's power as it prepares to advance. The photos taken at the characters' "eye level" enhance the realism of the scale...
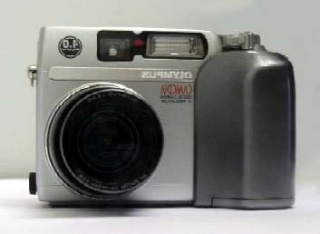
You should still avoid buying a camera that's too "low-end"; 4,000,000 pixels* is the minimum. This one—which was used for 90% of the photos on the site—has 4,000,000 pixels, but can be set to 7,000,000. A “macro” mode would be helpful; otherwise, you’ll have to play around with depth of field to capture details. For your models, opt for a camera that isn’t too bulky—it’ll be easier to maneuver between the models…
Light
Since natural light is too unpredictable, opt for artificial light, which is always consistent. Two 1.50-meter fluorescent lights on the ceiling are sufficient. You can still take good photos outdoors. The ideal conditions are on a cloudy day, when the light is “soft.” Avoid direct sunlight—unless you’re going for a specific effect—as it creates “hard” shadows that you’ll need to “fill in” with a flash...
 |  |
The Background
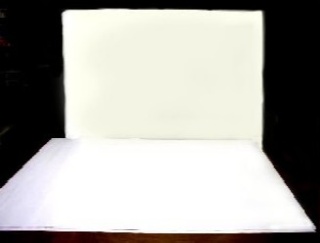
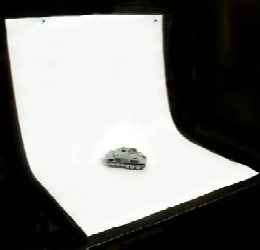
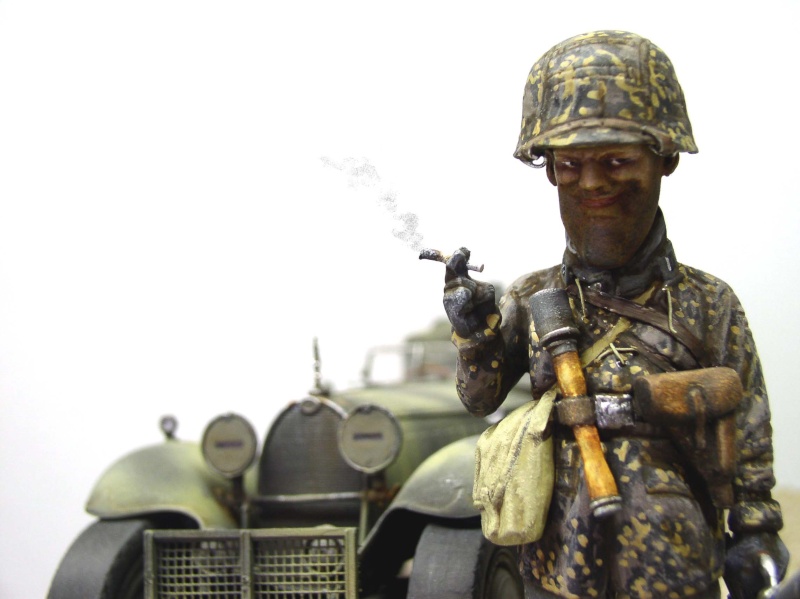
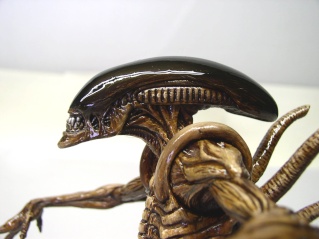
Ideally, you should use a white background to highlight your subject and its details. Why white? Because white reflects light and brightens shadows. There’s another reason, which we’ll discuss later...
Avoid any fabric that wrinkles and creases easily. Use large white or light gray panels, poster backing, or slightly thicker drawing paper. For small subjects, place a stand underneath to bring them closer to the overhead light...
 |  |
The Frame
The goal is to experiment and find the best shot that will showcase your subject. And here, too, you need to consider scale. Always make sure to focus on the subjects' eyes. Similarly, when photographing a vehicle, "aim" for the headlights. Pay attention to the depth of field...
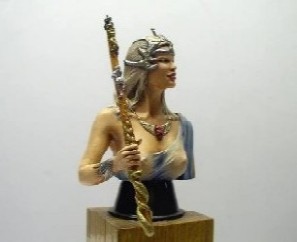 | 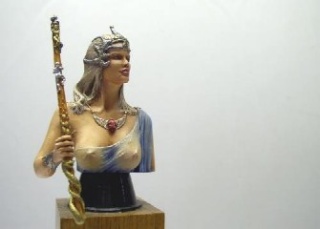 | 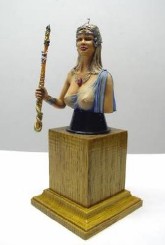 |
Avoid taking photos that are too centered. When a subject is looking in a certain direction, leave some space to "open up" the photo and extend the line of sight. The ideal format for a headshot is a vertical photo...
 |  |
The Flash
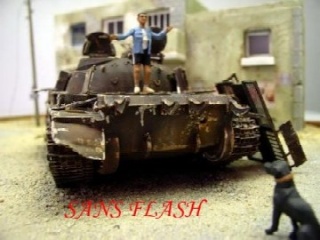
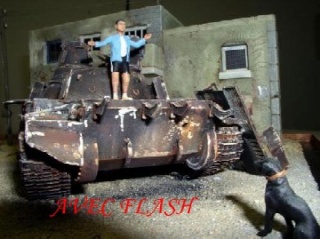
Flash is rarely used in artificial lighting, as it can lead to overexposure—unless you're aiming for a specific effect. Some cameras allow for short "flash bursts" to improve the final image...
The downside of taking photos without a flash is "blur" caused by the low light the camera captures. You can overcome this problem by using a tripod or a small "table tripod" (avoid the flexible ones), which takes up less space, or by holding the camera steady while you take the shot...
 |  |  |
Special Effects
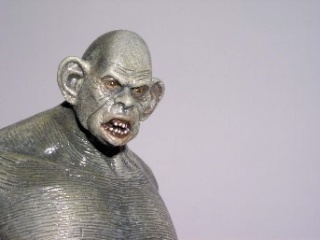
Some software programs allow you to edit photos and significantly improve them. The goal here isn't to discuss compositing or 3D—which will be covered in other tutorials—but to improve certain less-than-perfect photos or enhance certain effects...
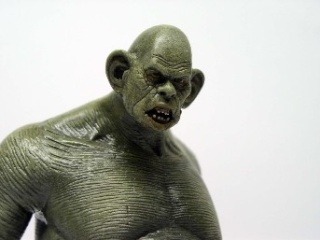
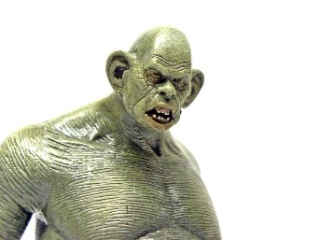
Above left, a photo taken with a flash, which slightly overexposes the subject. In the center, the same photo without flash—it’s too dark. On the right, the photo edited in software restores the correct contrast and colors (note that we could also have adjusted the camera’s overexposure in the center photo to improve the contrast)...
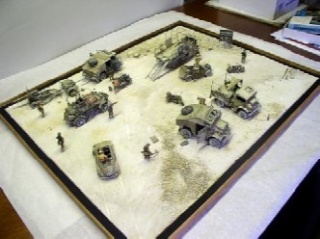 | 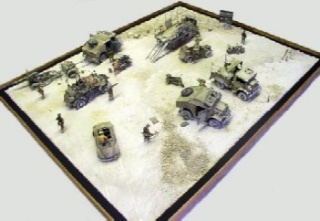 |
Another example that helps highlight the subject by eliminating the edges—which is why white backgrounds are useful, as they allow you to fine-tune the photo better in the end, especially when the diorama is large and extends beyond the background...
HERE ARE A FEW EXAMPLES OF IMAGES YOU CAN CREATE BY COMBINING ALL OF THESE...
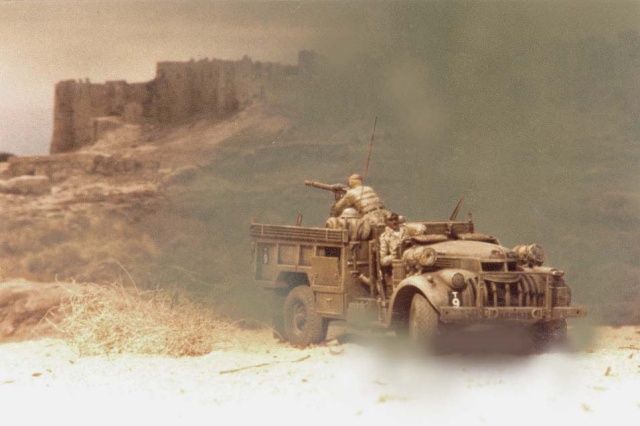
Here's an old film photo that's been retouched with airbrushed masks to simulate dust...
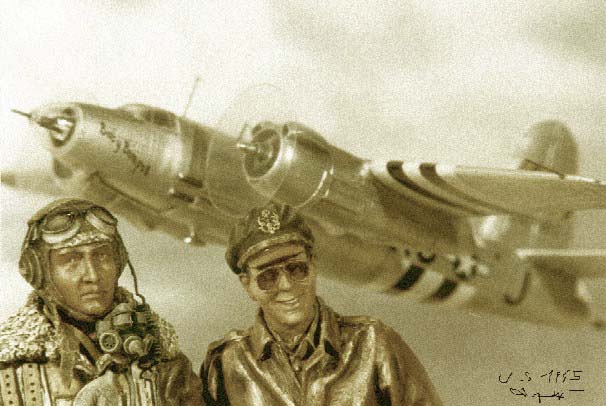
A yellowed "vintage" photo. Actually, it's a 1/144-scale model airplane, with two 1/15-scale figures in the foreground—all photographed from a certain angle. The photo has been edited using software...
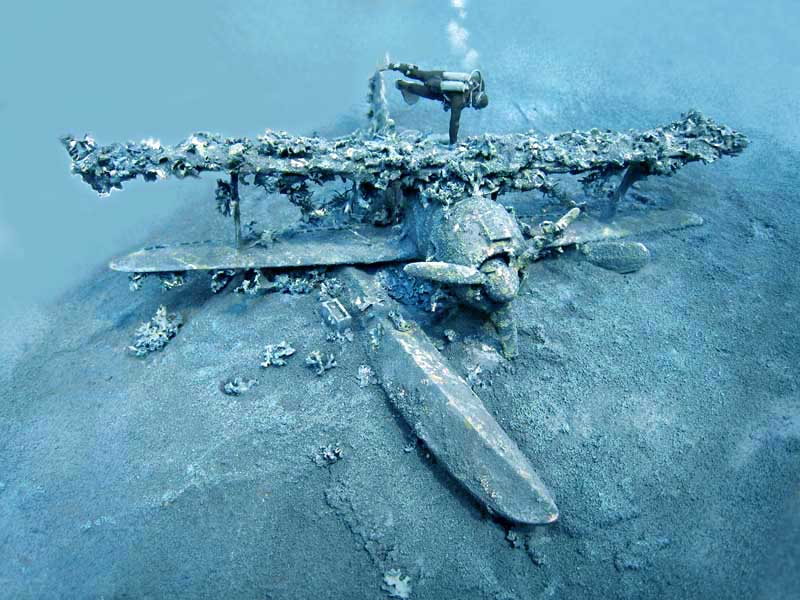
Shipwreck. The blue background has been intensified and bubbles have been added...
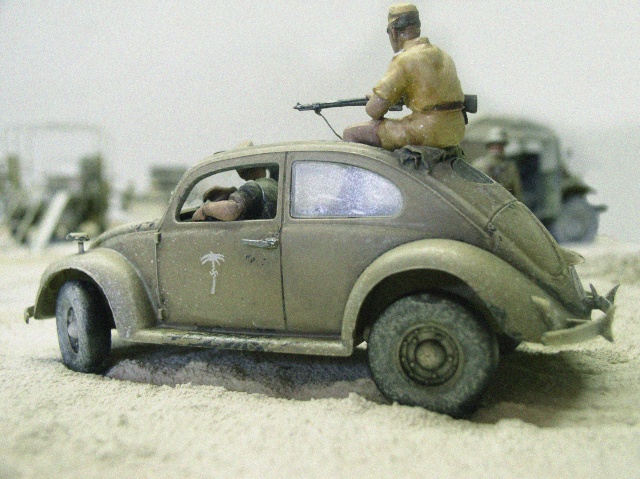
An effect that makes the photo look like an old color photo from the 1940s, achieved by "pixelating" the image and desaturating the original colors...
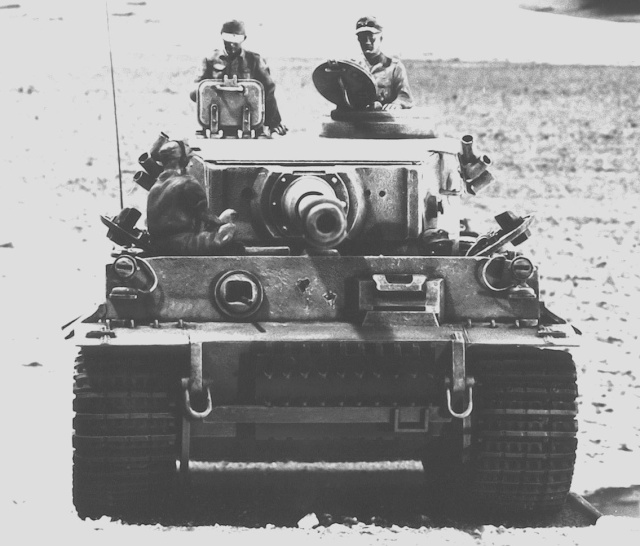
Photographs of scale models of armored vehicles from World War II take on a more realistic look in black and white...
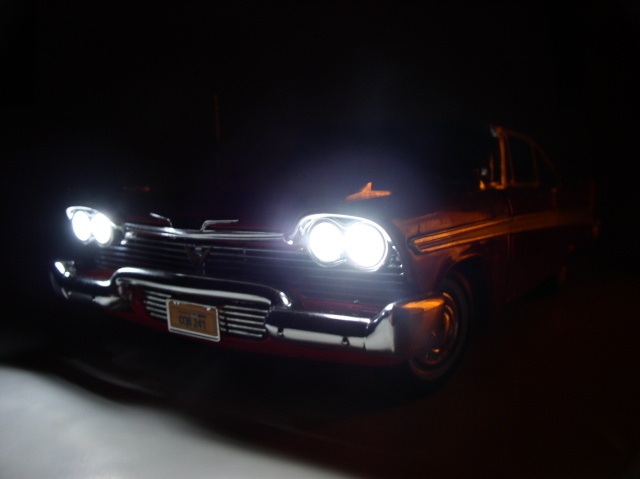
A photo of a 1/18-scale model. The only source of light is the headlights, which are working...
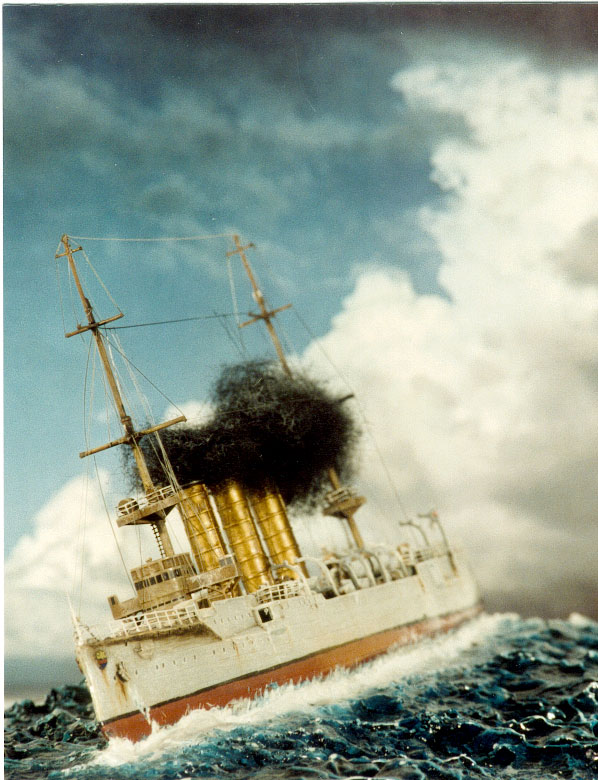 | 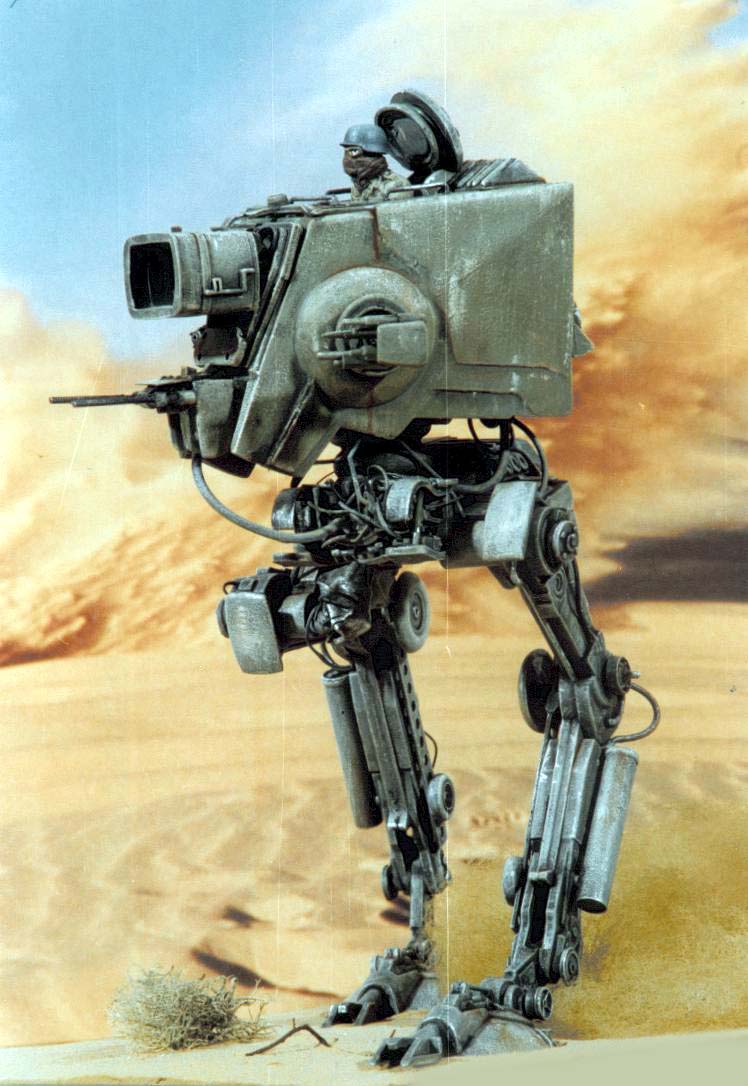 |
Two subjects photographed in front of a poster...
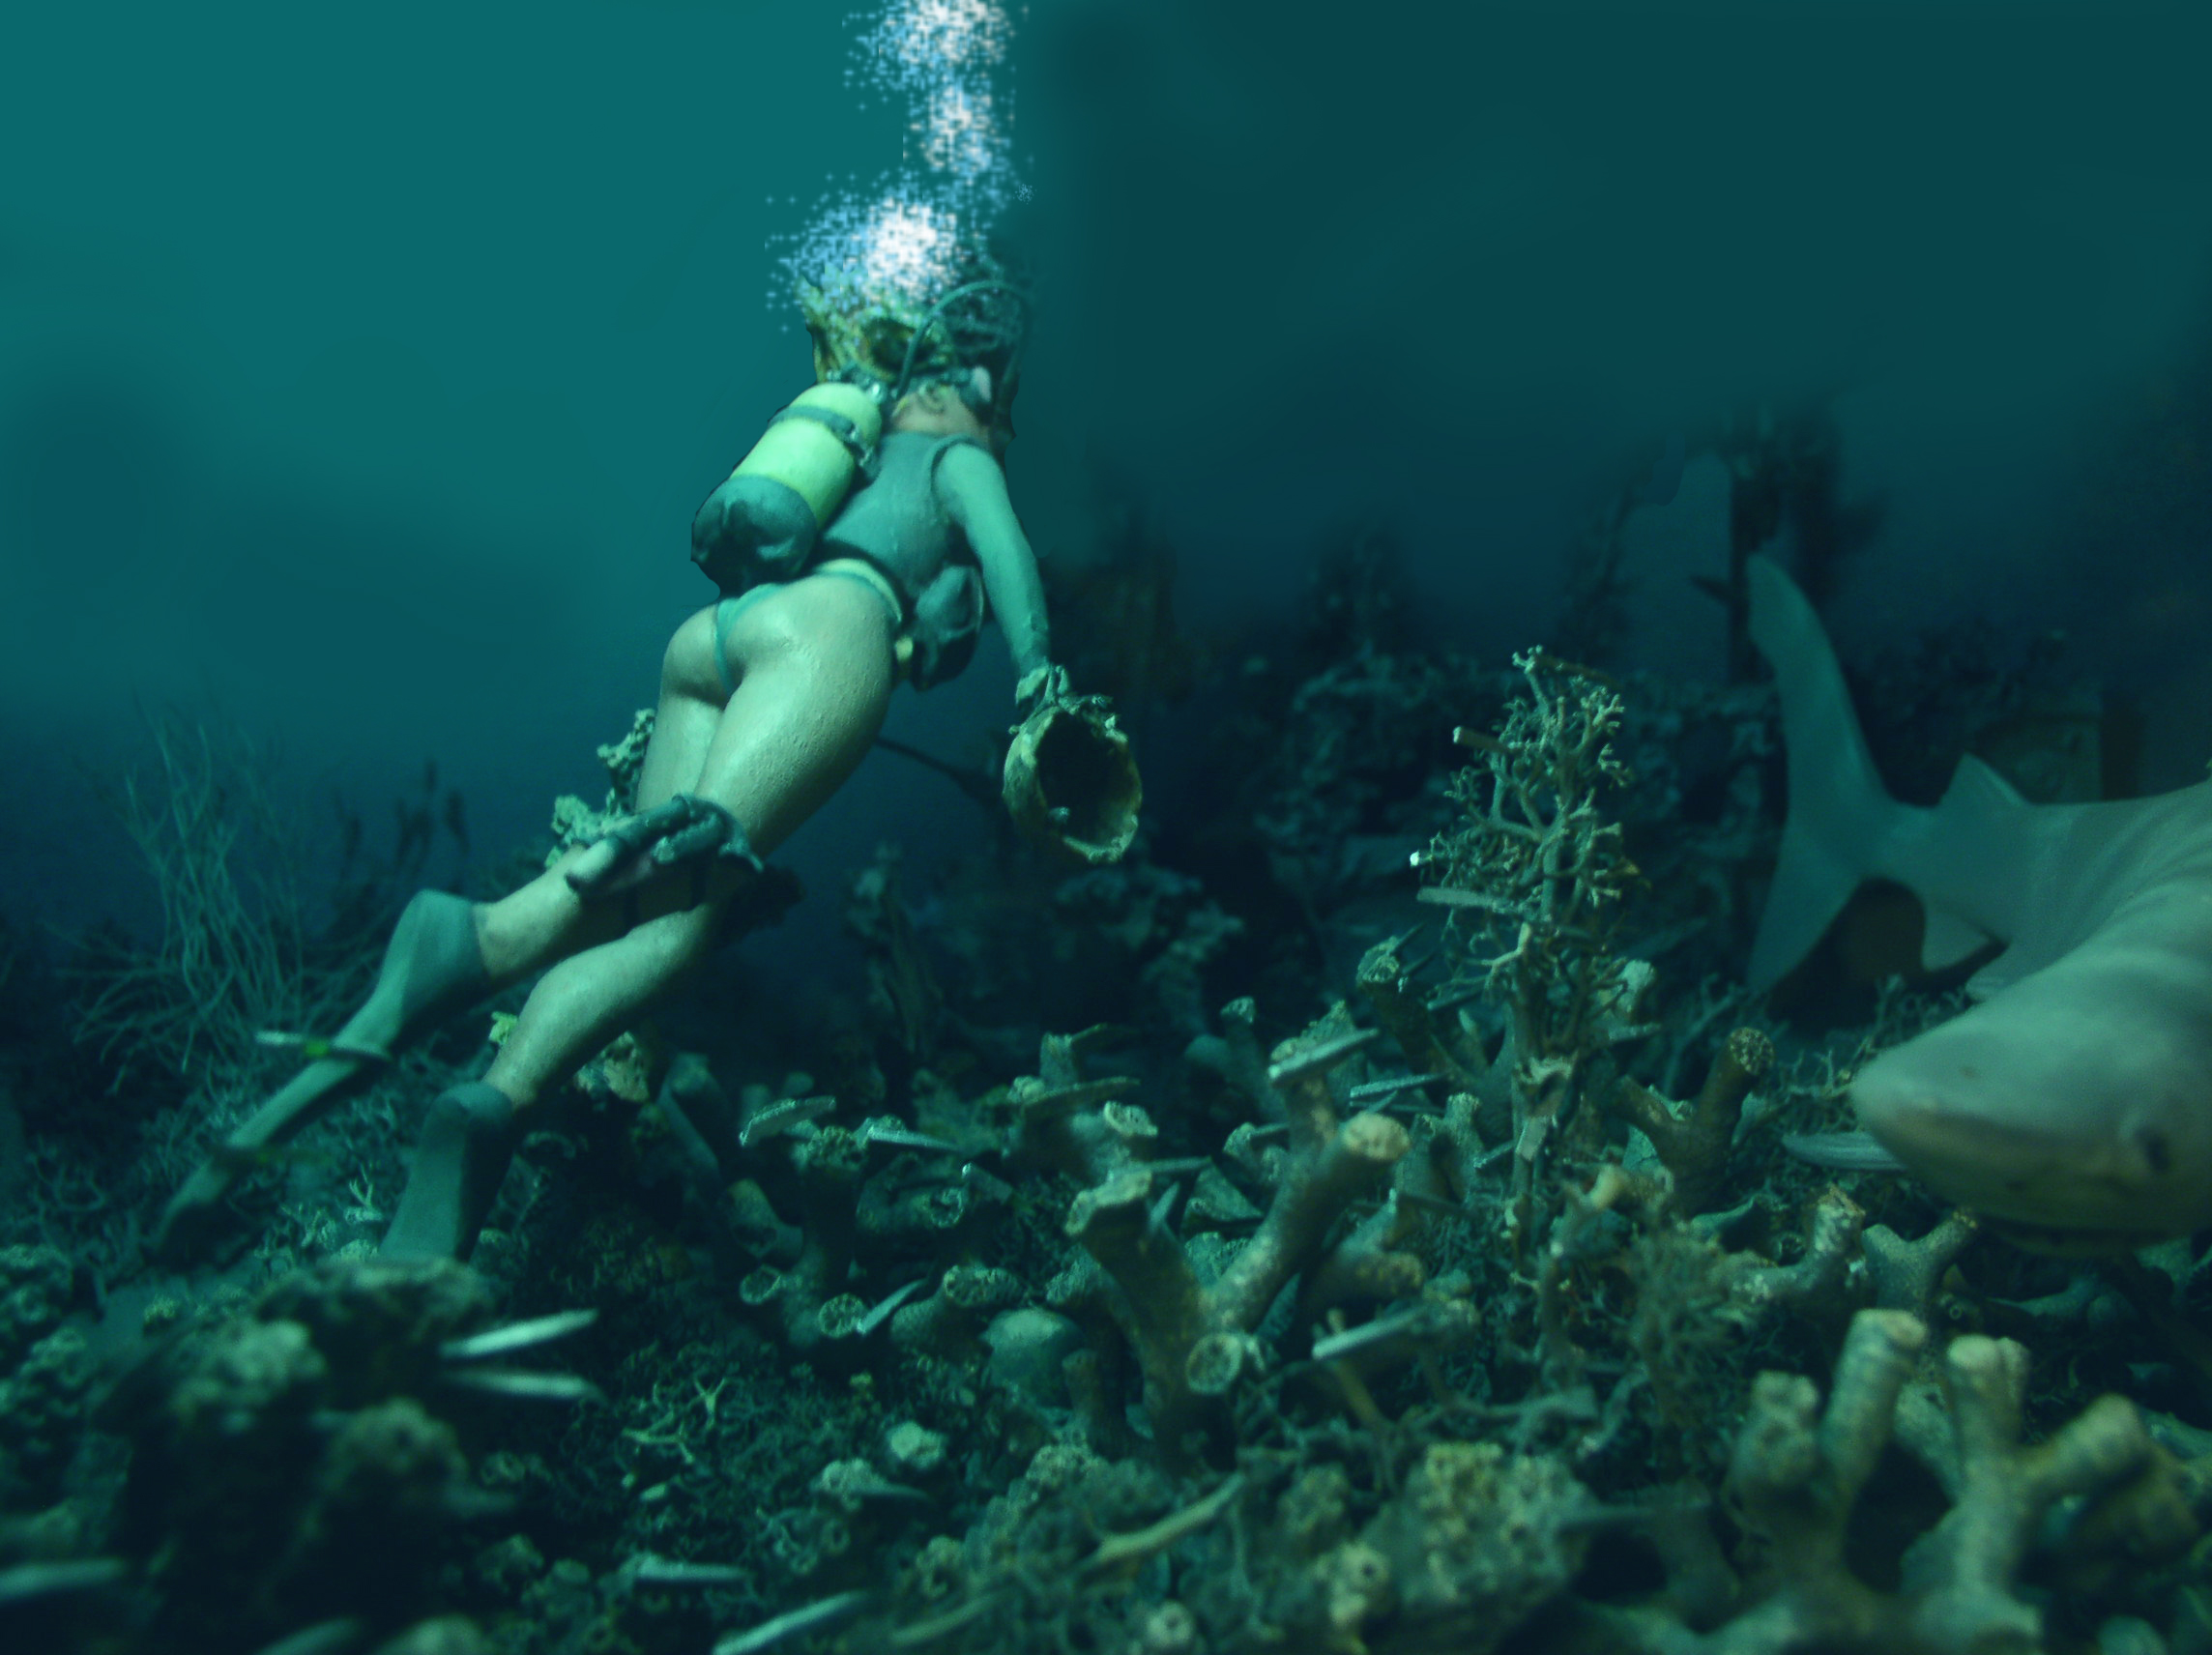
A diorama inside a computer monitor... The light comes from a lamp inside the monitor. Only the background and the bubbles have been slightly enhanced...
Here are a few tips for improving your model photos... Now it's your turn!
*NOTE...
Since that article—which is already quite old—digital camera technology has taken a huge leap forward and reached a very high level of quality...
But also when it comes to cell phone images and digital editing...
But keep in mind that while our photos of models look best in high resolution, their small size reveals their limitations when it comes to realism...