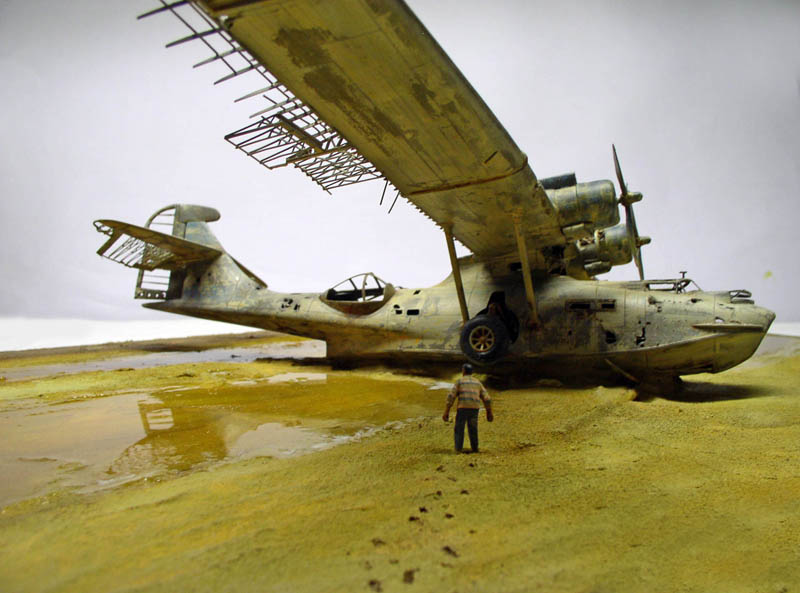
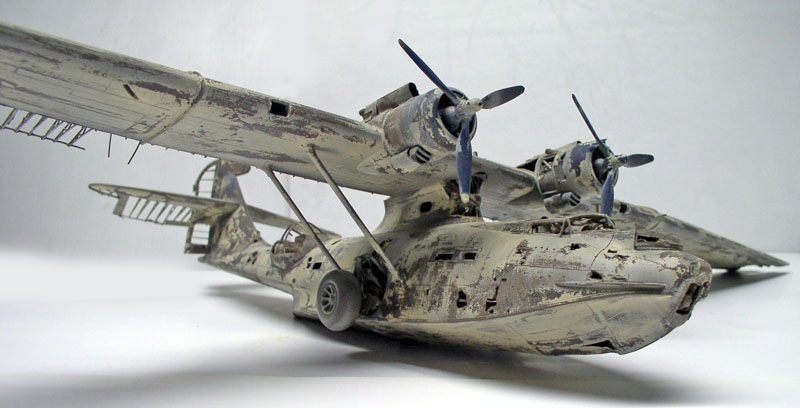
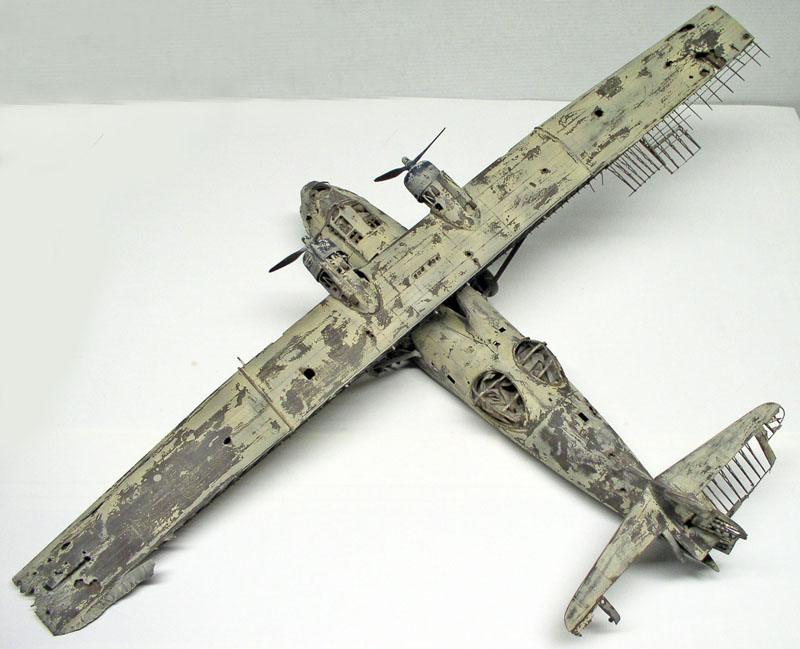
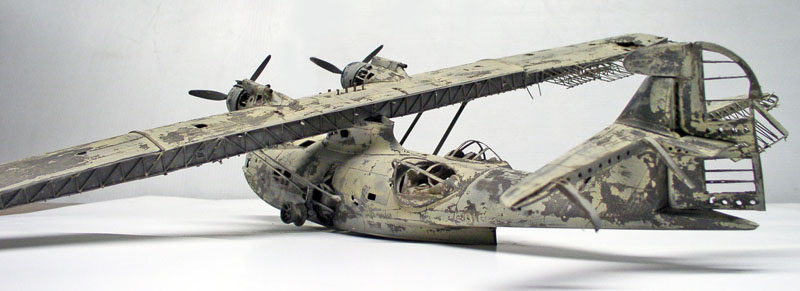
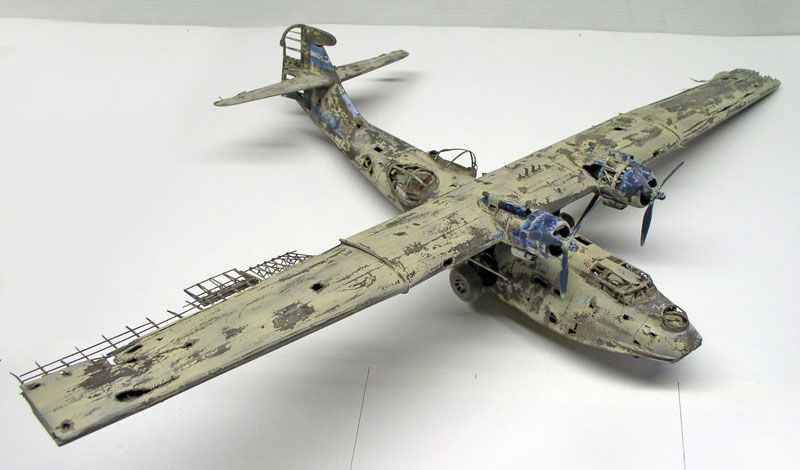
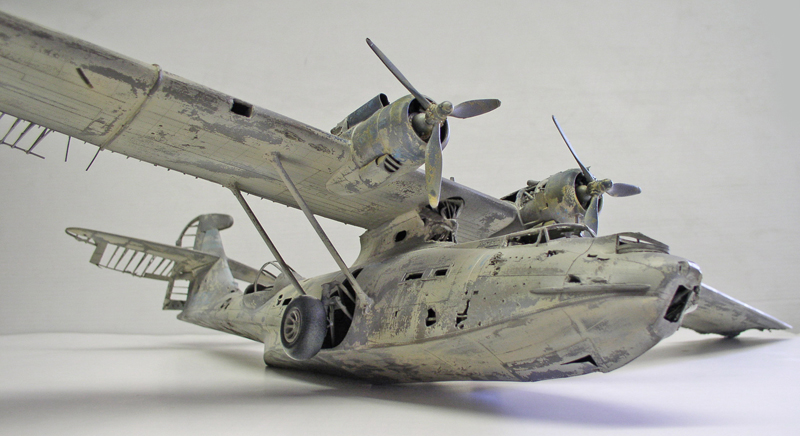
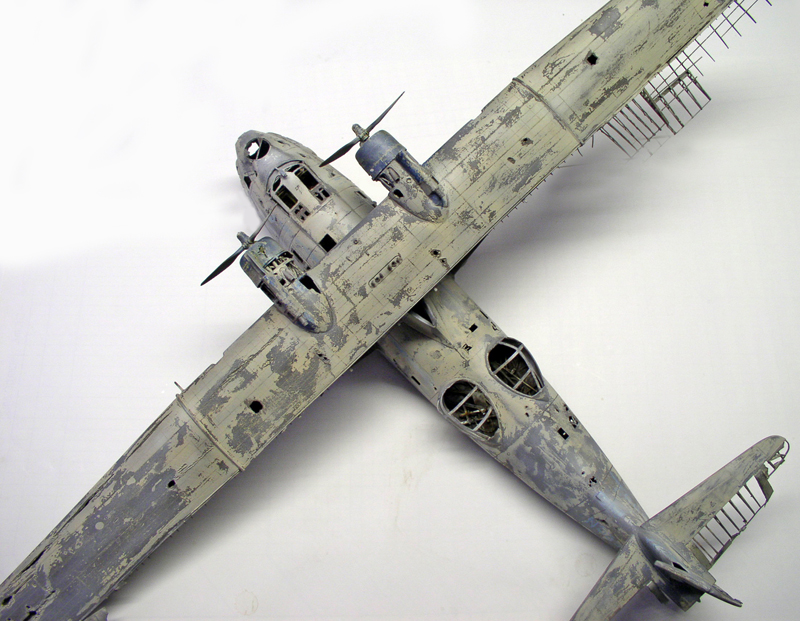
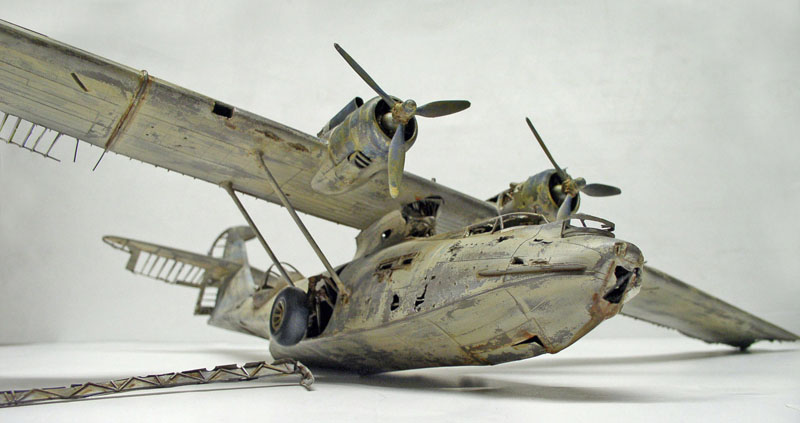
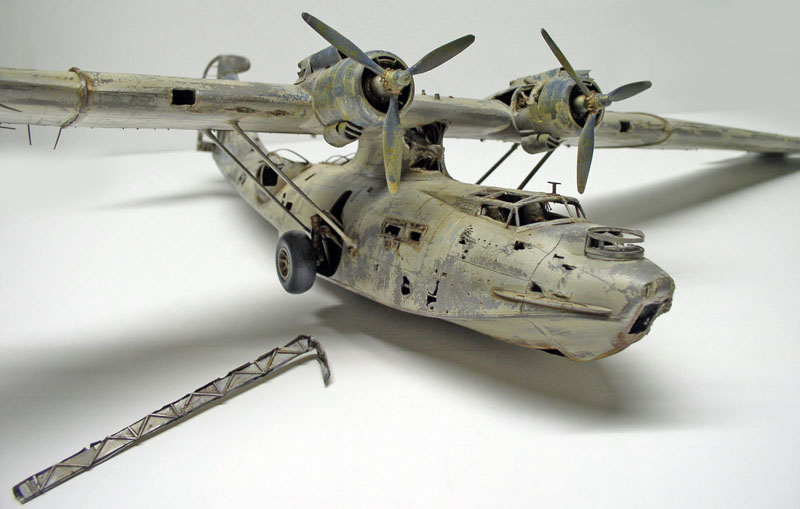
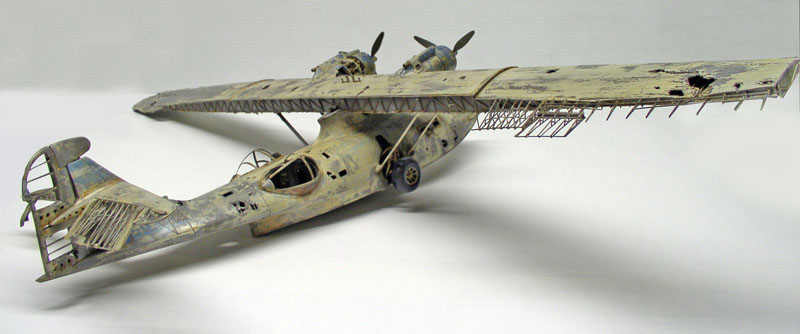
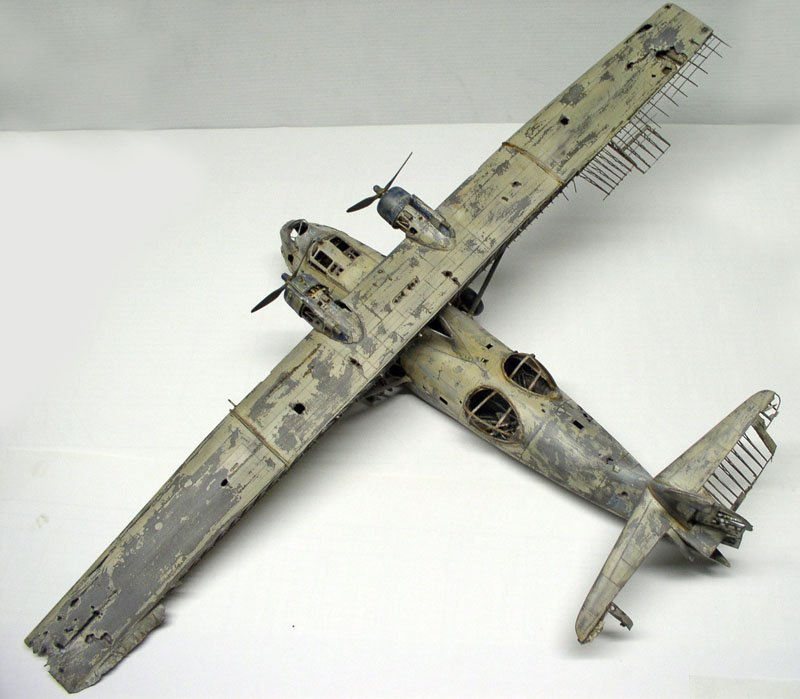
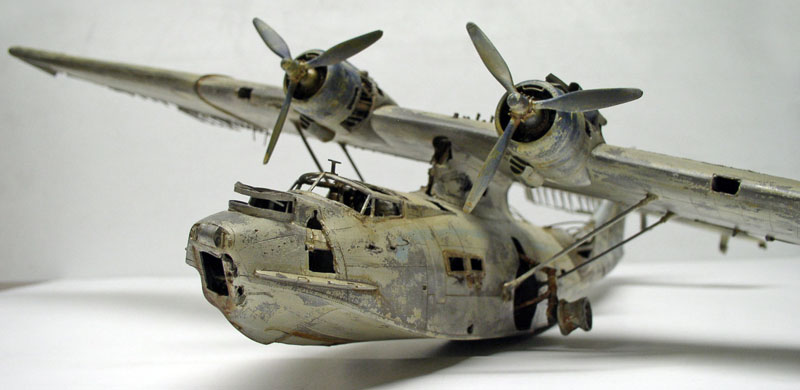
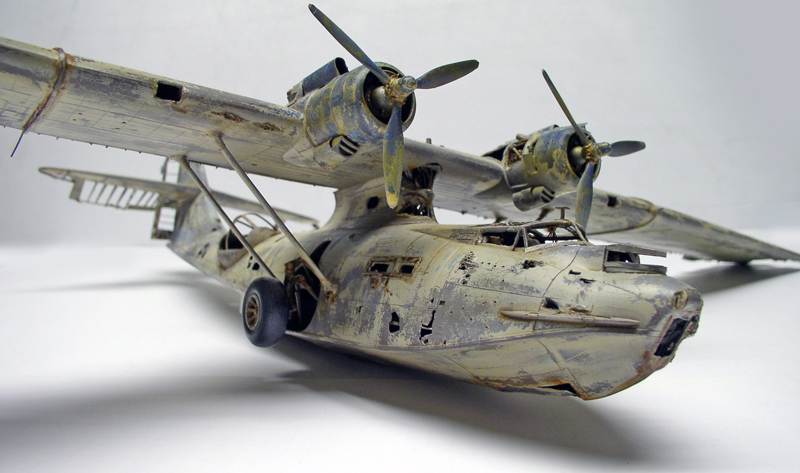
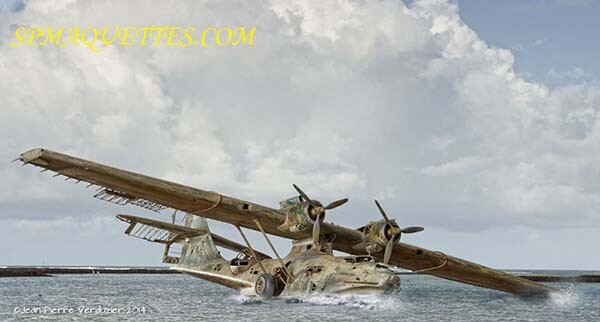
PBY 5A CATALINA - Strait of Tiran - Saudi Arabia - 1/48 scale
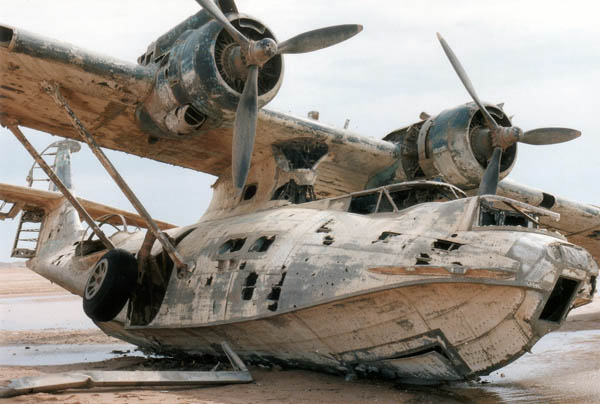
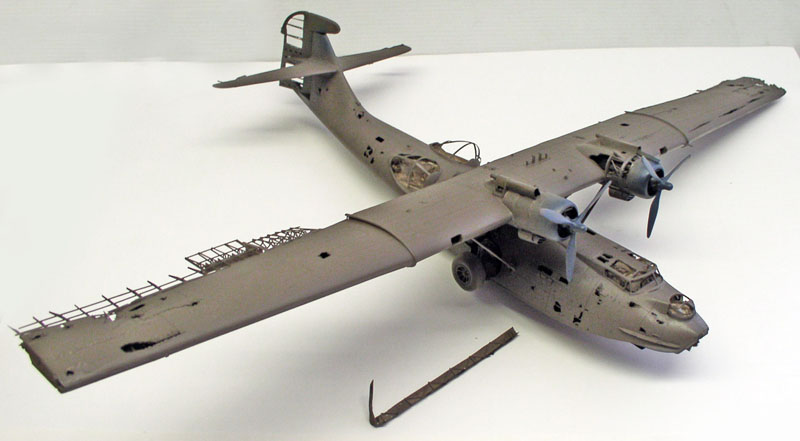
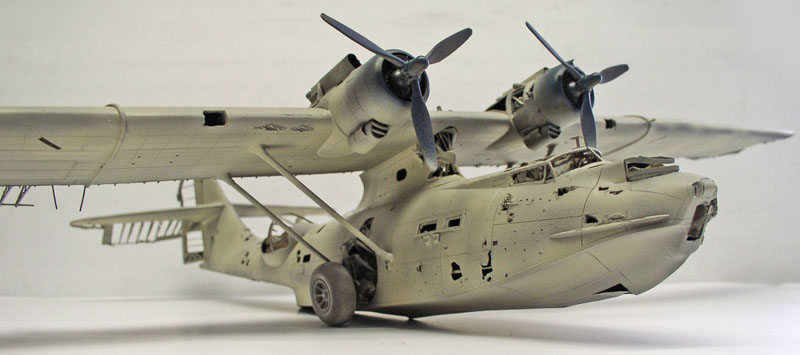
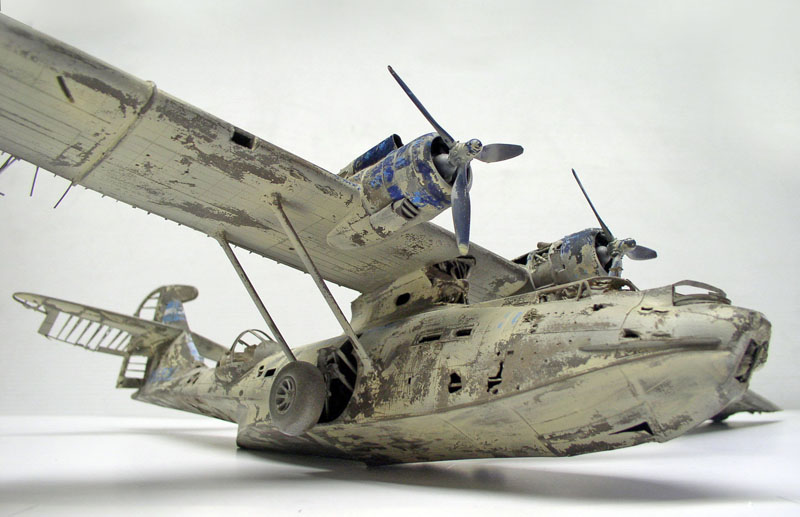
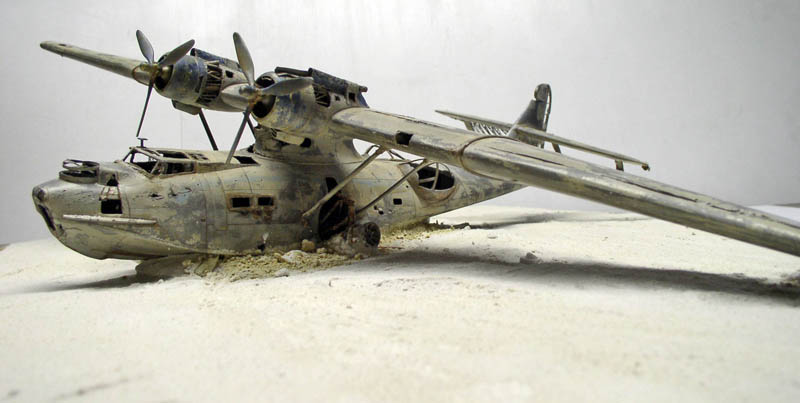
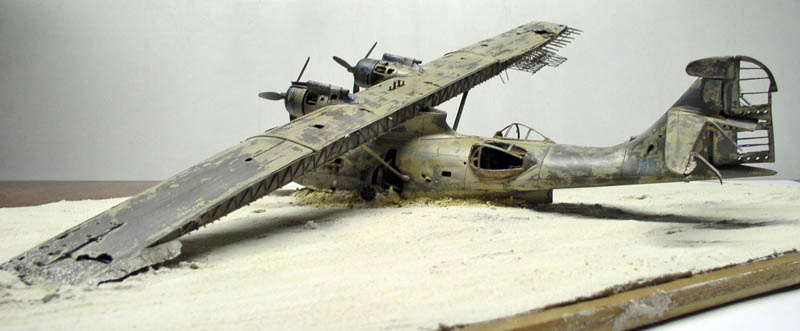
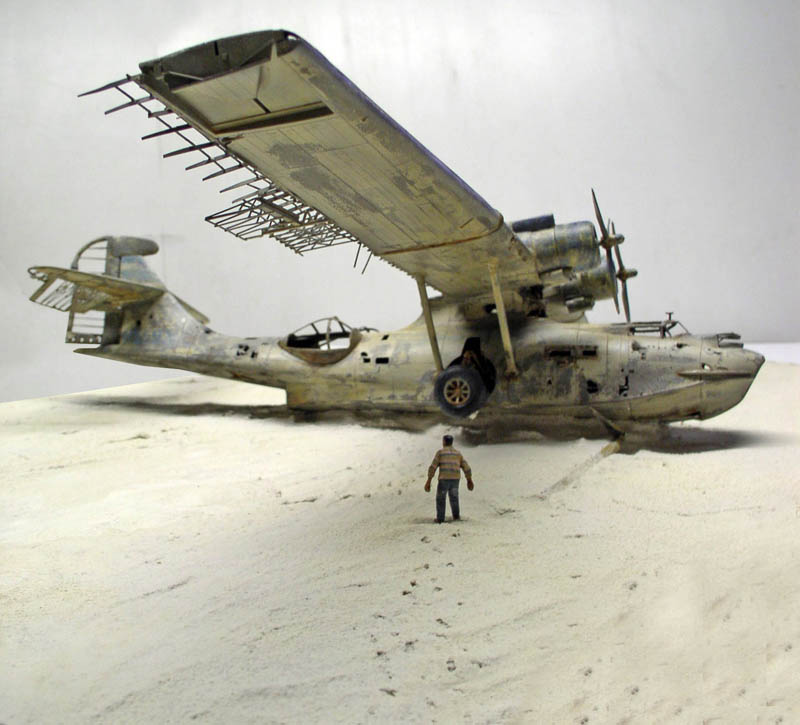
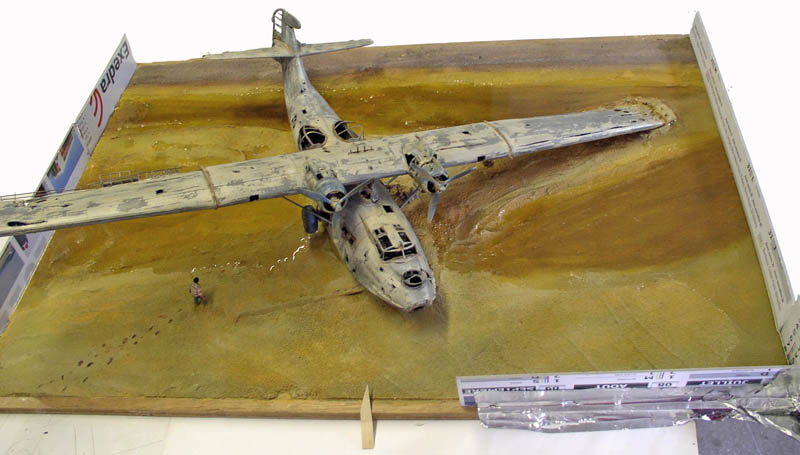
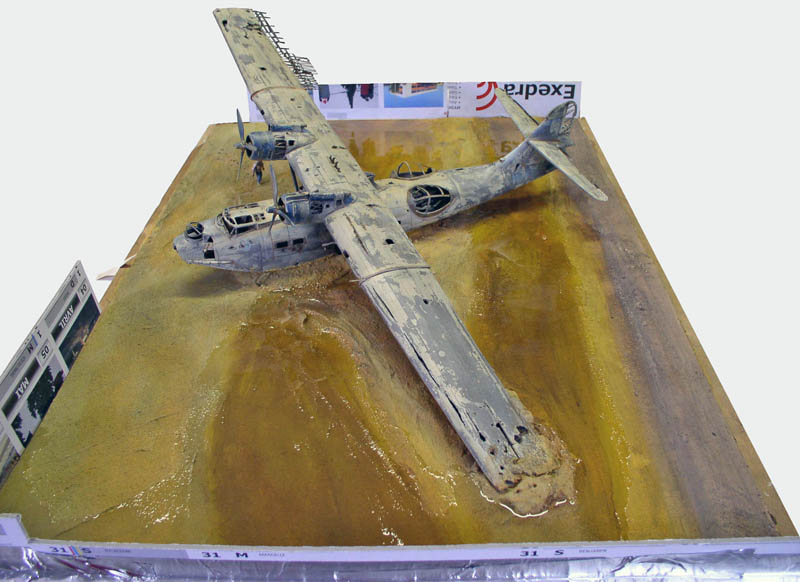
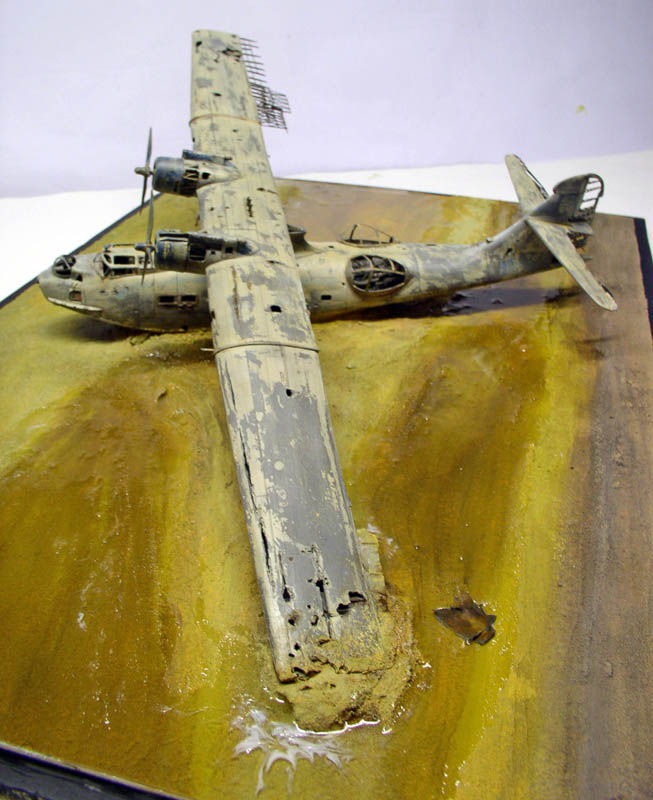
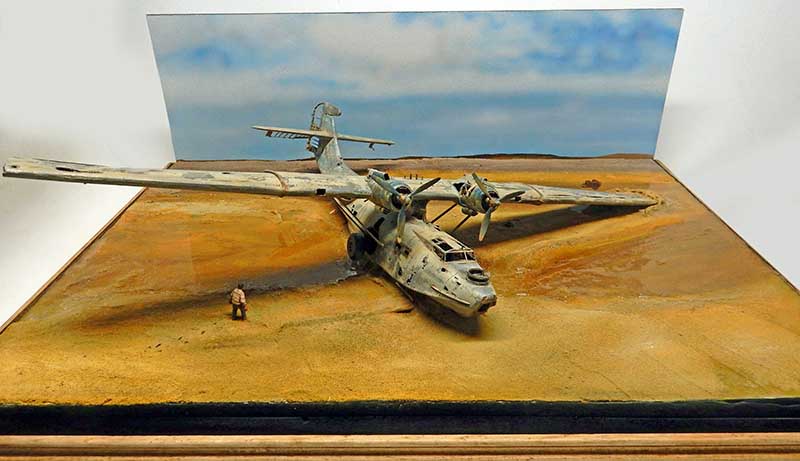
This Catalina—a famous rescue plane during and after World War II—has been abandoned on a beach in Saudi Arabia since the 1960s...
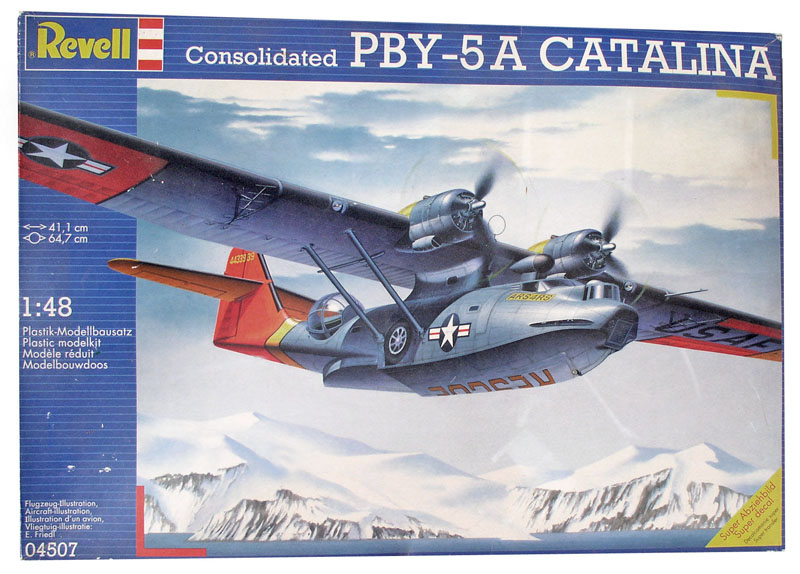
The kit used: the REVELL kit in 1/48 scale...
The cockpit
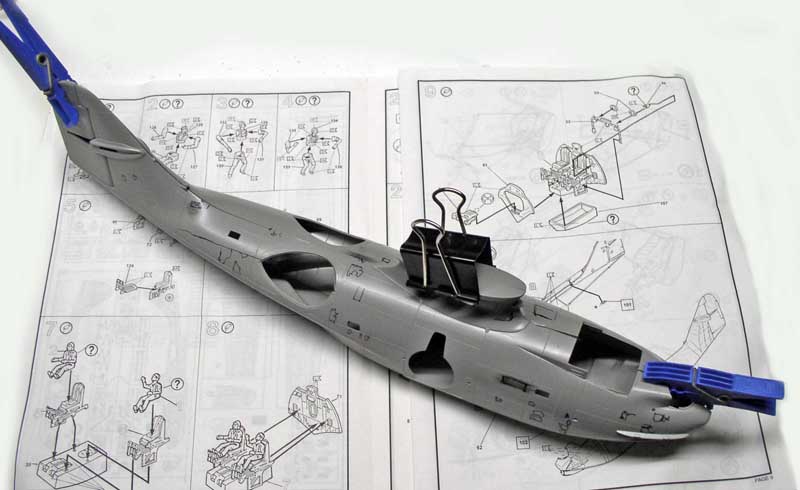
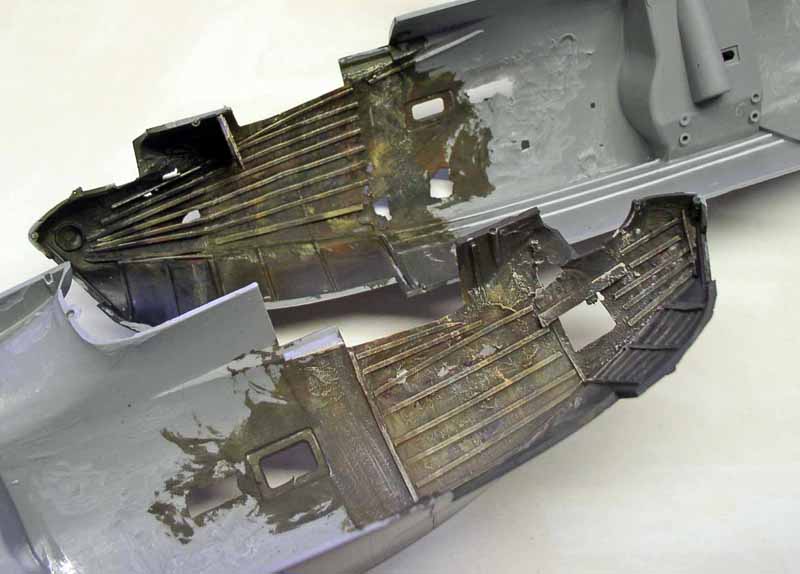
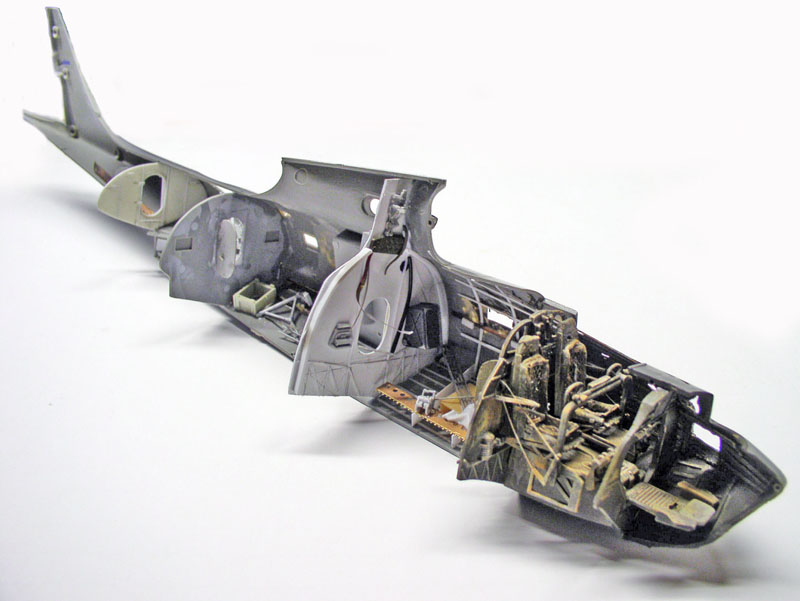
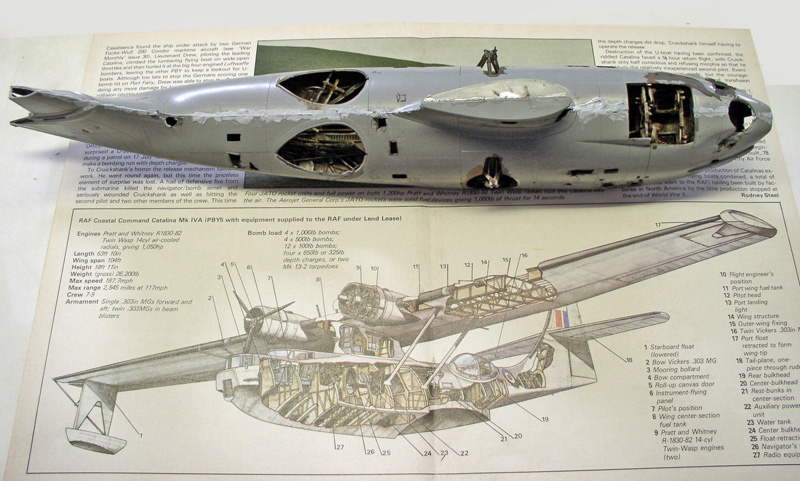
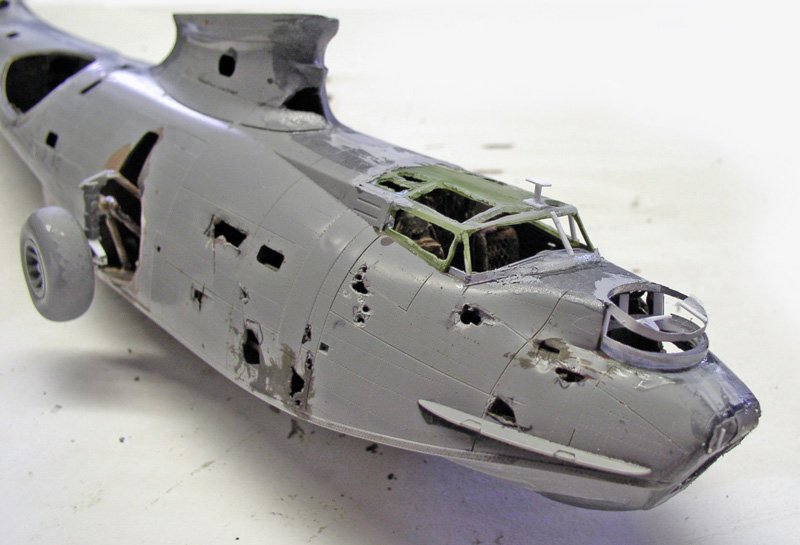
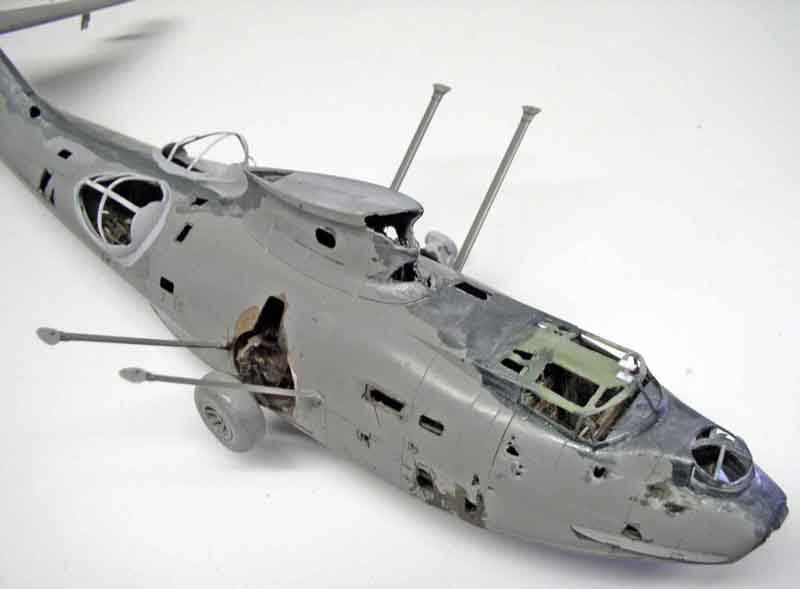
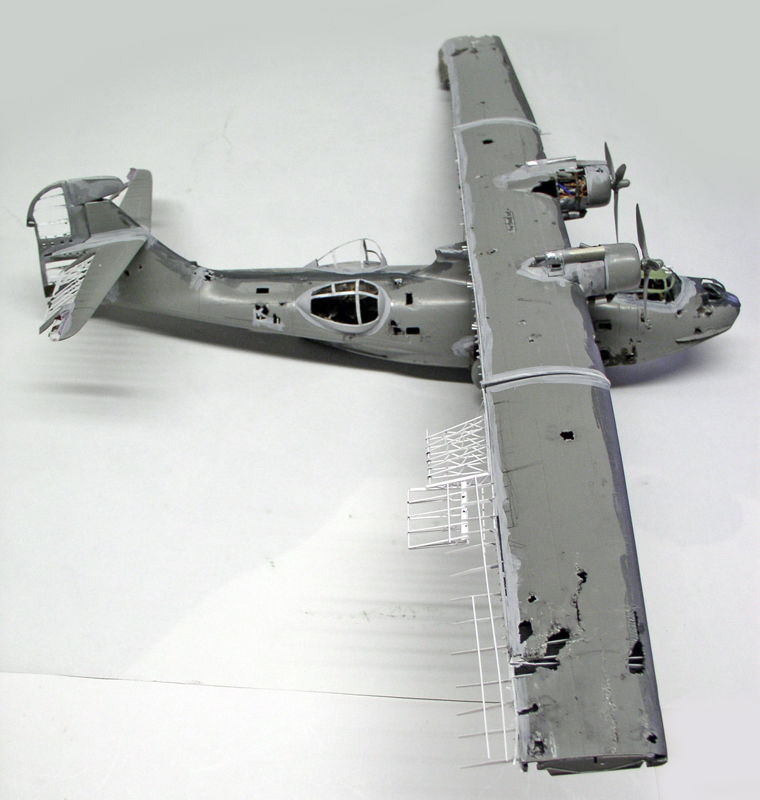
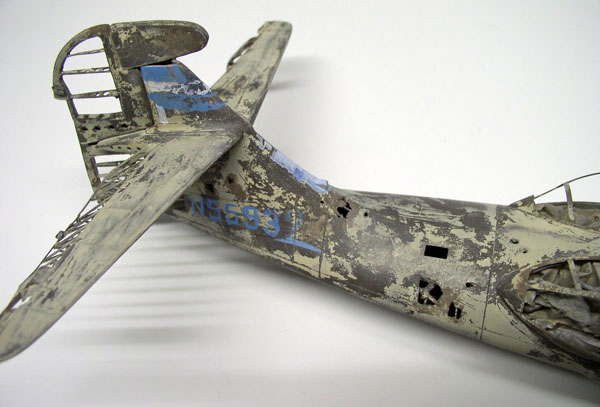
First step: temporarily join the two hull halves together to mark the points of impact and wear, and then grind the walls from the inside to thin out the "sheet metal" (Keep in mind that it was riddled with bullets while on the ground and sustained about 300 bullet impacts—luckily, the fuel tank wasn’t hit)...
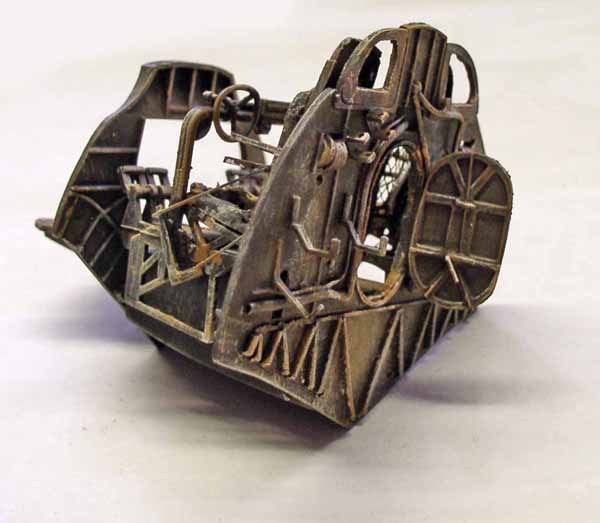
The cockpit: To go into detail about the interior of the aircraft, I drew inspiration from JR WOLF's excellent article—he did everything himself for his own model...
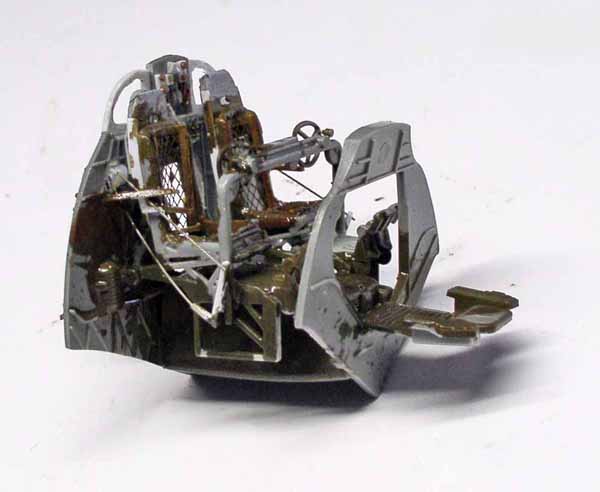
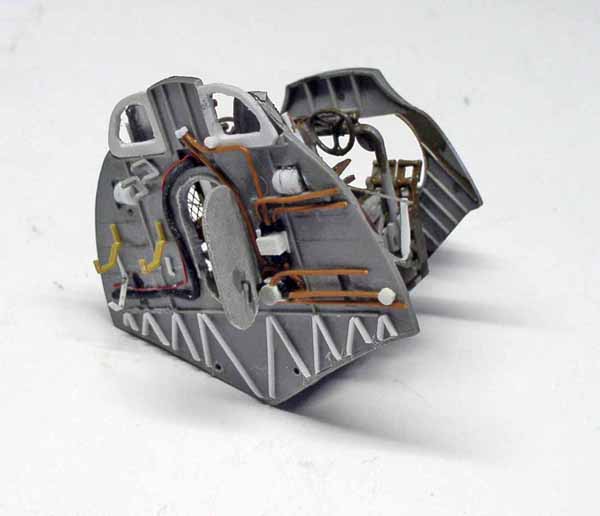
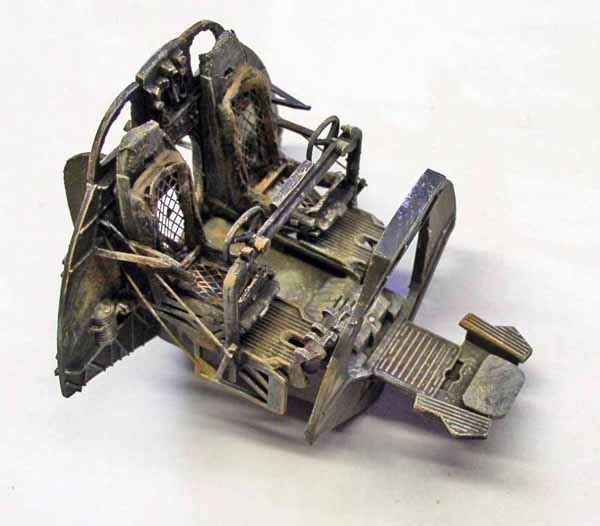
It needs to be completely redetailed. The seats were cut out and wired with leftover photo-etched parts...
The module is complete, painted, and weathered (I'll explain the painting process when I finish the interior of the hull)...
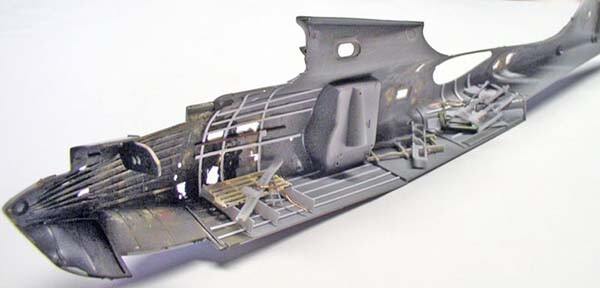
The cockpit area has also been painted and weathered... Evergreen rod-shaped ribs were added before painting. You can see, in particular, the marks left by the grinder in the upper right and lower left corners, where the plastic was thinned down...
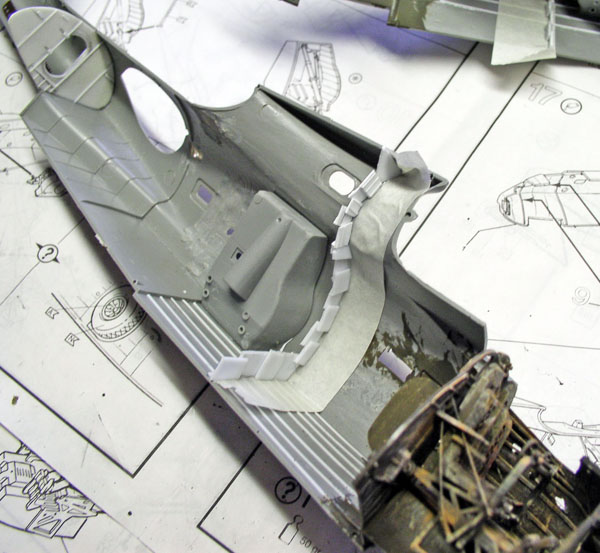
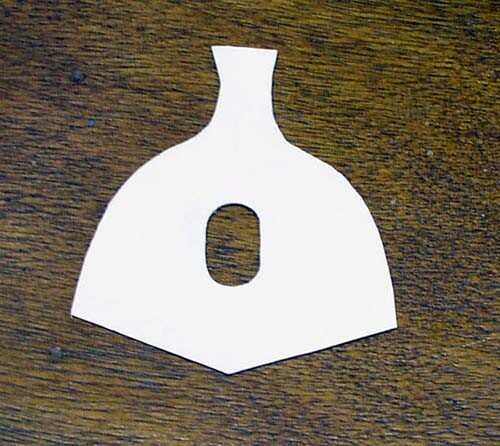
The center bulkhead is missing from the kit—it wasn't included... The tail bulkhead was rebuilt, as was the door, and both were redetailed. I drew inspiration from JR. WOLF's technique for making a bulkhead... Gluing small pieces of plastic to properly define the shape and thus create the final template...
Le gabarit refait en carte plastique à partir des 2
parties...
Installation of the detailed bulkheads, the floor, and the "junk" on the floor (let's not forget that it's a wreck), finishing the side frames, and gluing the cockpit in place—not to mention detailing the nose...
View from the right (obviously—there are fewer people there!)...
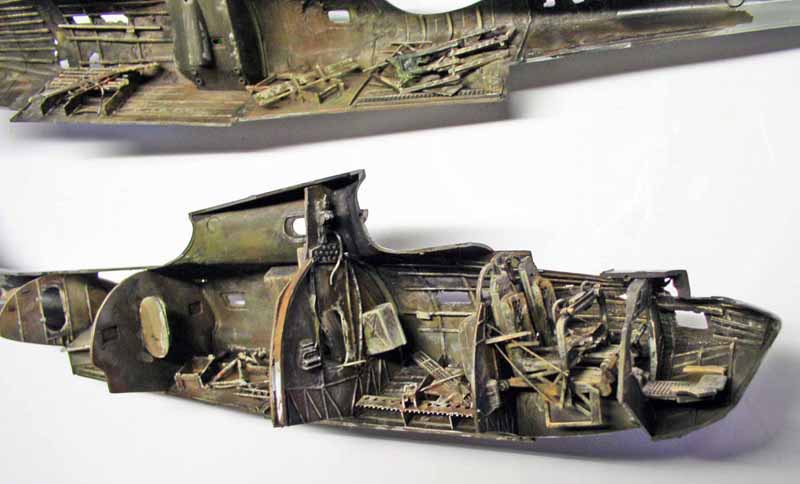
Painting/Interiors
Paint: Humbrol - 33 - 34 - 158 - 93 - 133
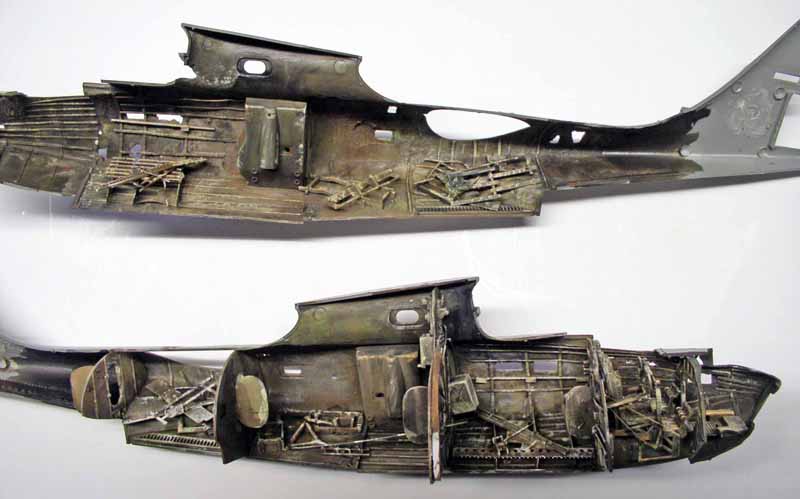
We start with black, green 158, and dark red 133. We continue with sand, adding a little white—but not too much (always working from dark to light colors to finish)...
We finish with Winsor & Newton Terre d'Ombre and Terre de Sienne washes... Why go into such detail? Given the large number of brushstrokes, you realize you haven't wasted your time once the model is finished...
Assembling the two parts—always a tricky process that really tests your patience!...
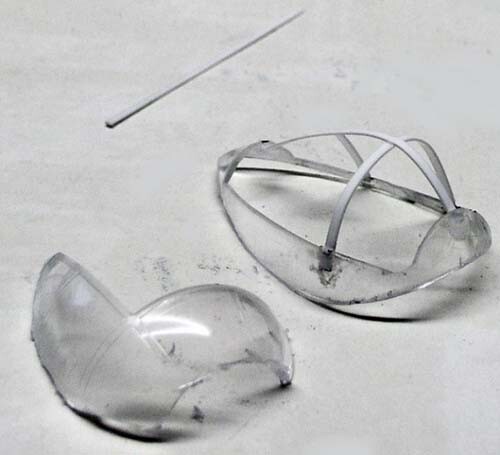
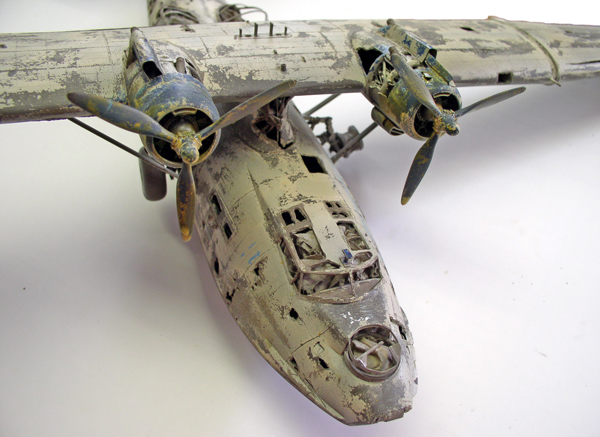
Once the gluing and sanding are complete, work on the exterior details can begin. First, the cabin roof was cut out to remove the windows. The front turret was rebuilt using sheet metal. The landing gear struts were improved...
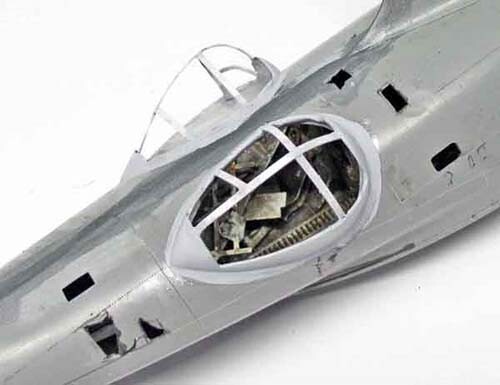
The side domes. They, too, have been hollowed out and no longer have any glass panes...
Fixed in place. Inside, there were no machine-gun mounts—just benches (long since gone) set up so passengers could enjoy the view through the floor-to-ceiling windows...
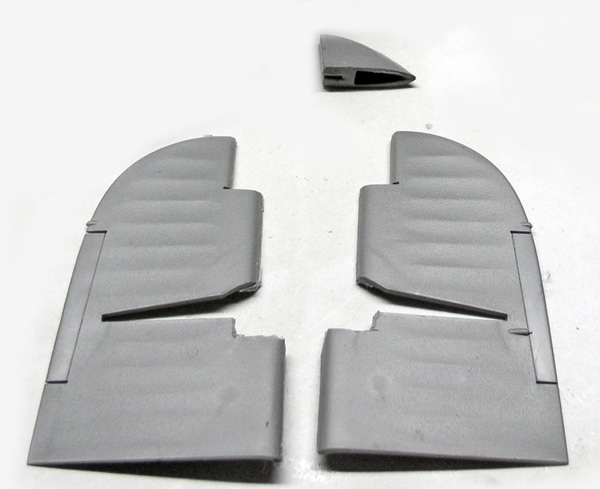
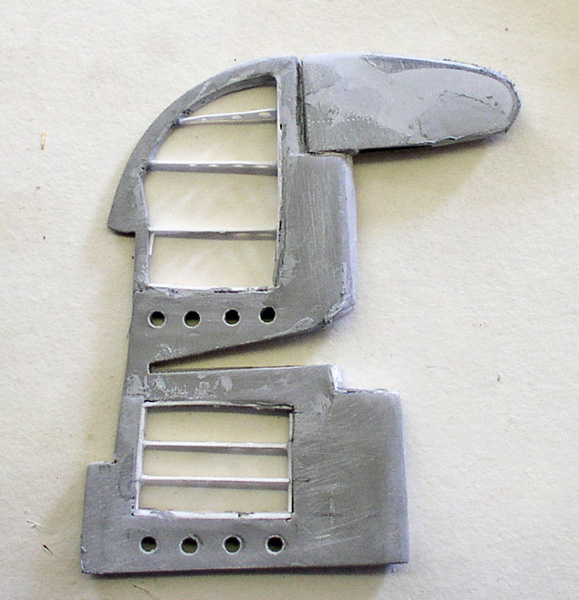
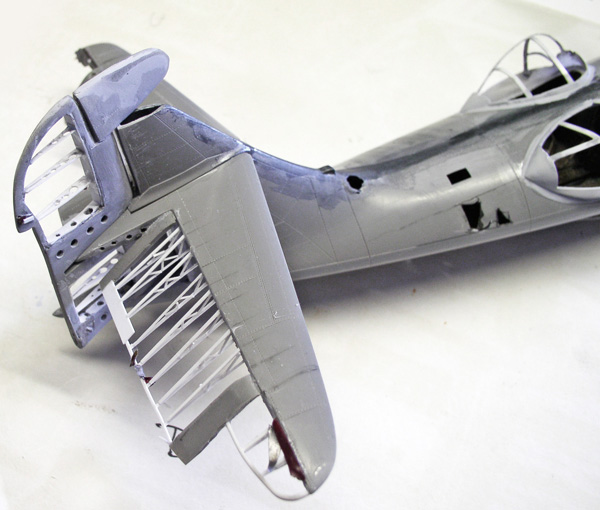
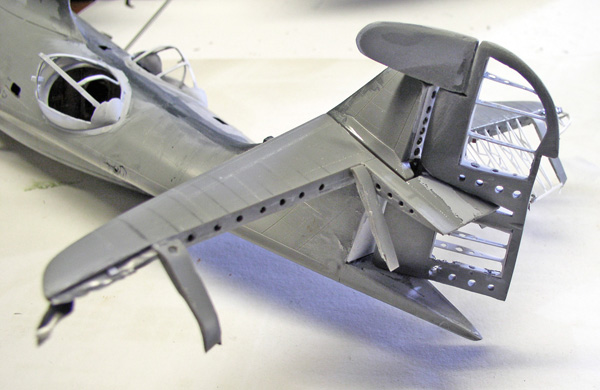
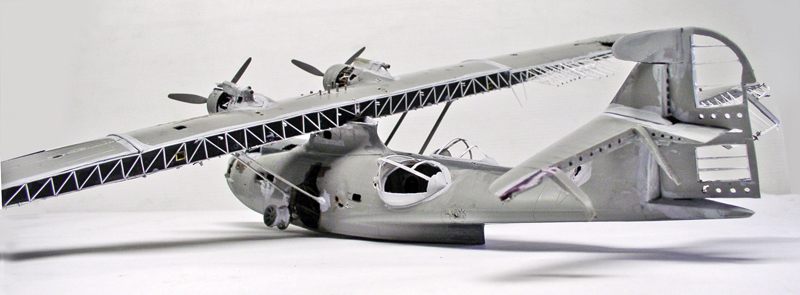
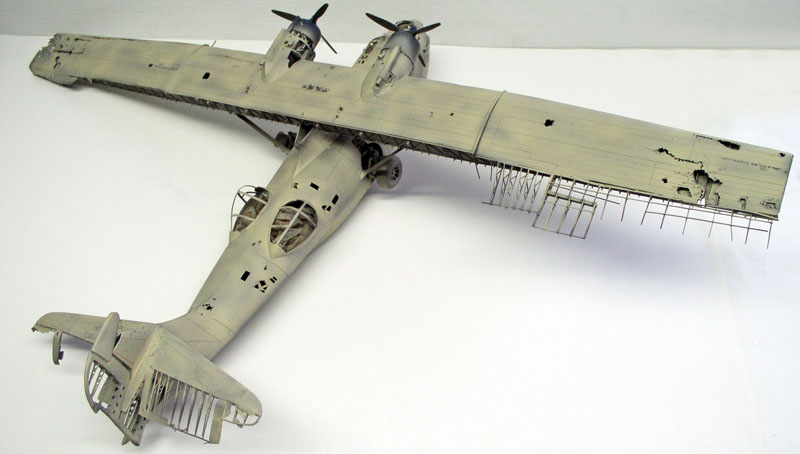
The vertical stabilizer: it, too, has been cut out to be replaced by stringers. The stabilizer features a rounded protrusion that I haven't seen anywhere else (remember that this is a demilitarized aircraft that has been converted into a flying yacht)...
The drift fixed in position...
The stringers are made of Evergreen, while lead sheet was used for the torn-off panels...
The wing mounting beams are in place. The landing gear wells were also painted and weathered after being upgraded...
The tail section: Our model has lost all its control surfaces along its entire length! ...
So... Cut out the whole thing...
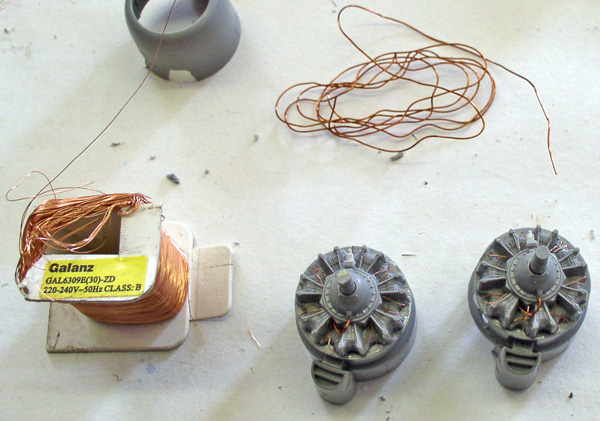
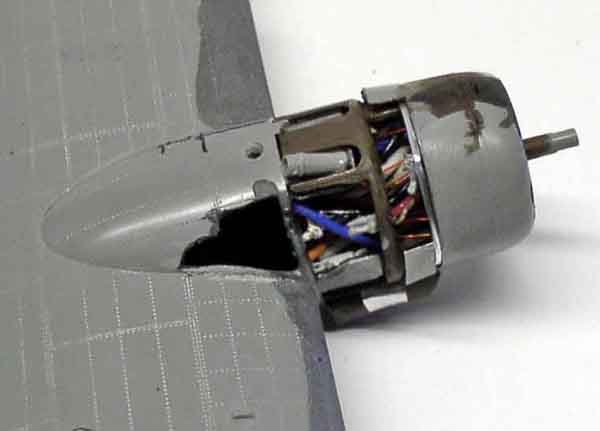
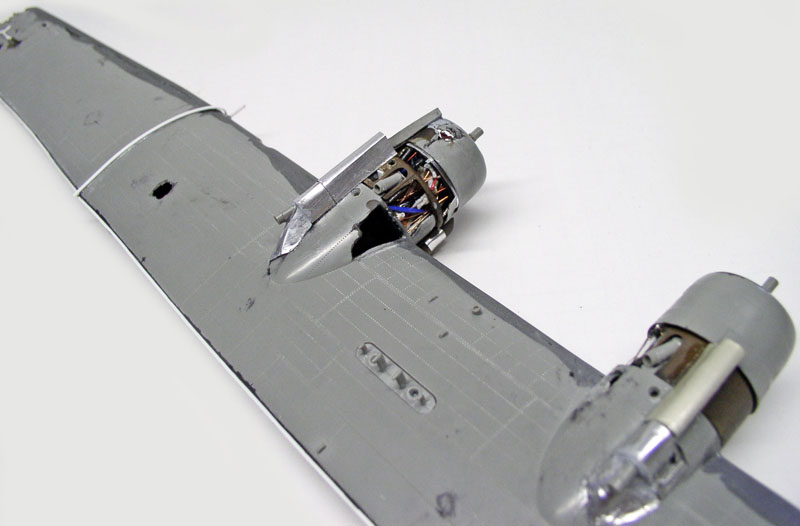
Pratt & Whitney engines: They are upgraded with fine electrical copper wire...
Once the engines are in place, the blocks also need to be reworked after cutting out the covers...
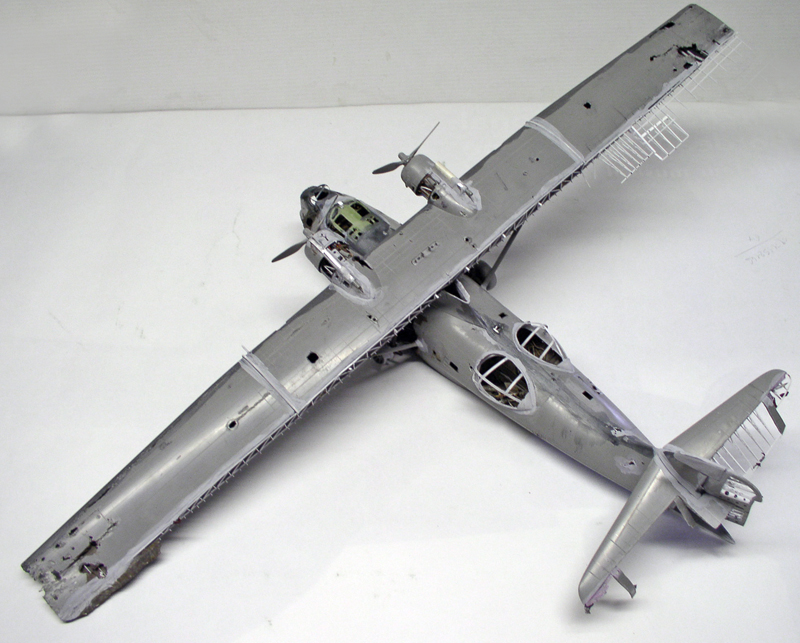
Overview...
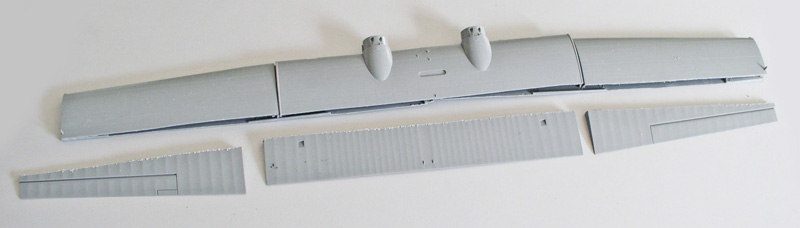
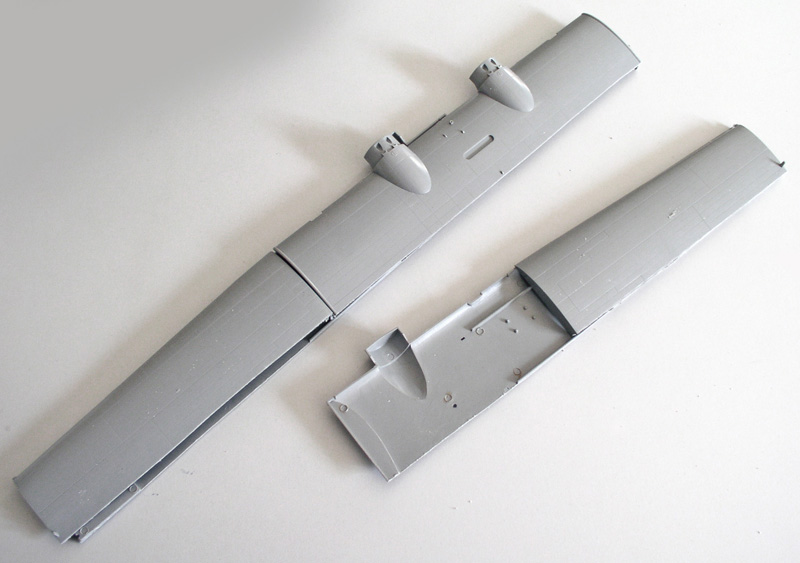
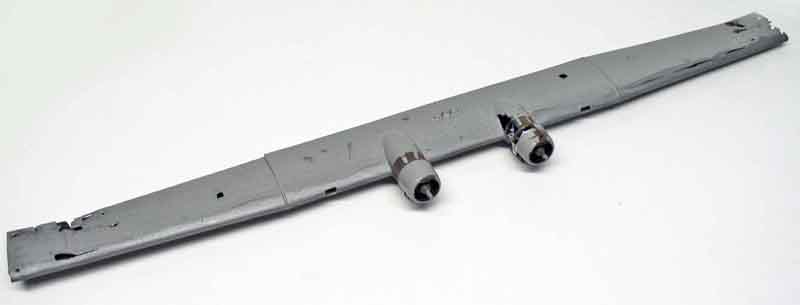
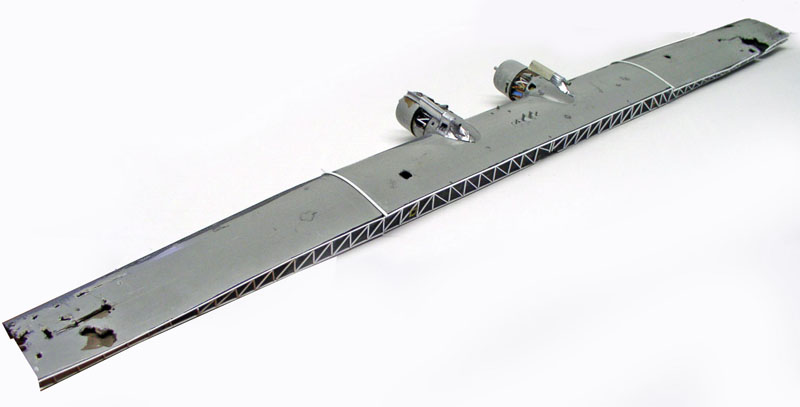
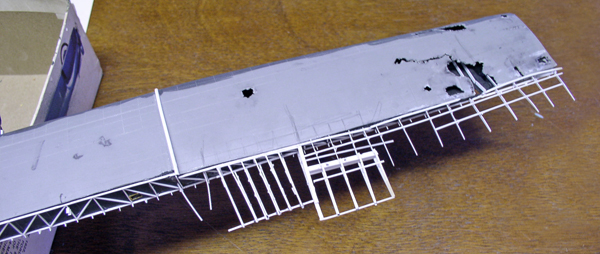
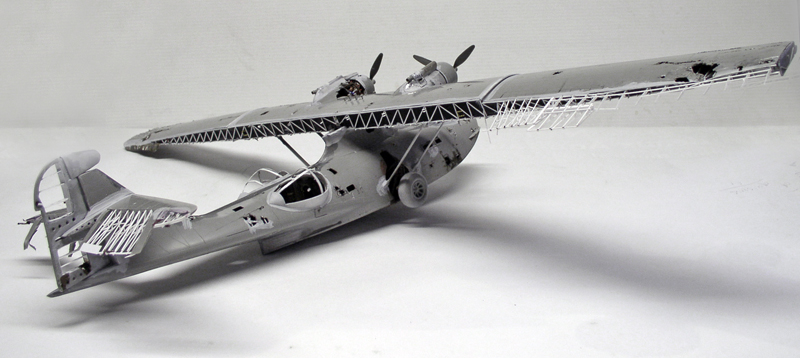
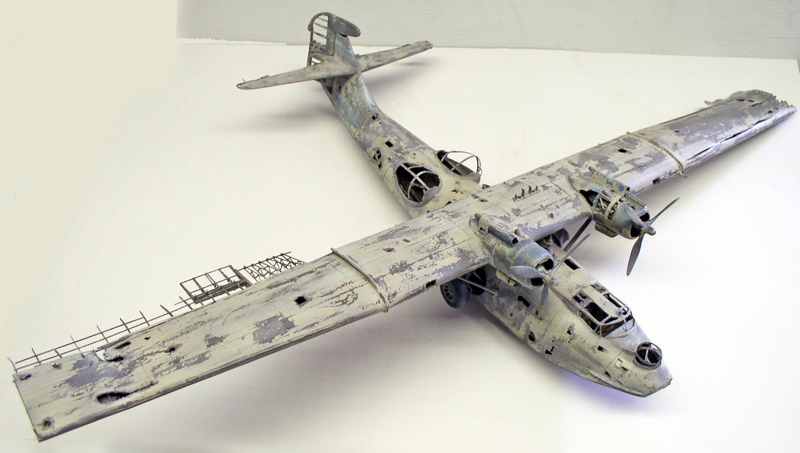
The wings were cut lengthwise, and reinforcements were added to prevent the plastic from sagging. A bottom panel was glued on...
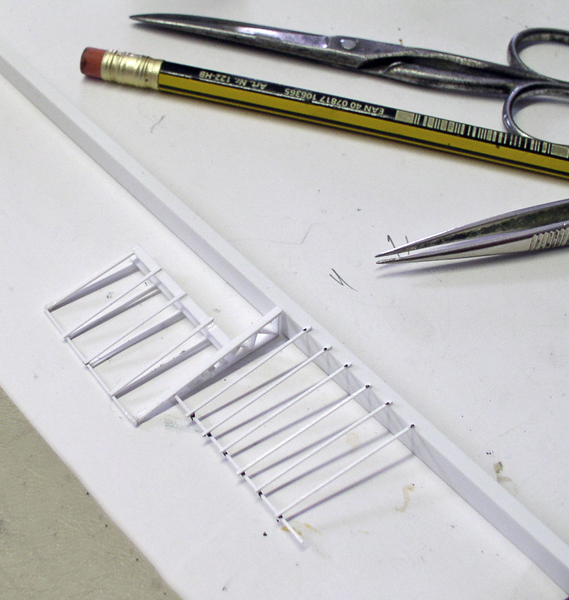
After that, a long process of detailing the broken framework using Evergreen Fine...
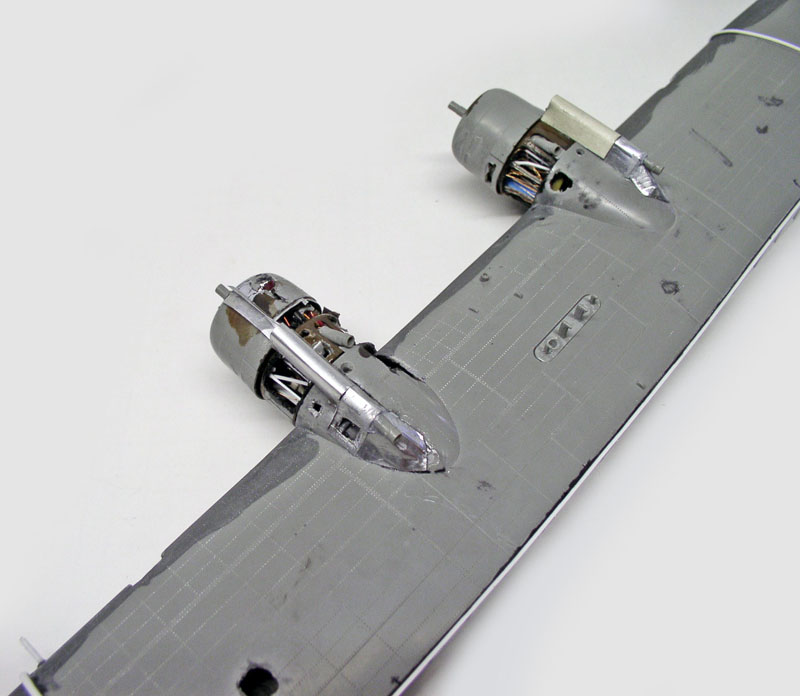
The assembly was completed after a few hours... The covers for the upper engine filters were added...
A look at the work done on the engines...
Building the remaining control surfaces for the right wing out of Evergreen. It's easy to see why it takes so long when you're building wrecks!...
A look at the final collage... Phew!...
The editing is finally finished...
Painting
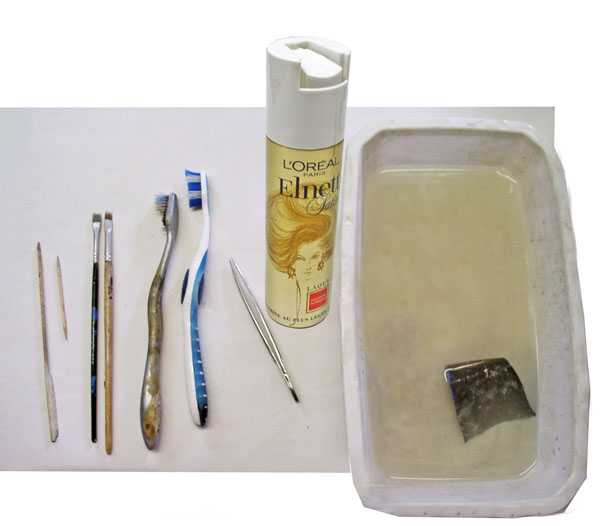
Base coat: 98 Humbrol + B25 IDM (blue) for the engine casings... 24 hours later, apply a thin layer of hairspray over the entire surface...
After the lacquer has dried, apply halos using an airbrush with Gunze Acrylic Yellow 33 531. For the engines, use Gunze Rough Sand + Tamiya Orange X6 and Tamiya White FS 17 875...
Chipping
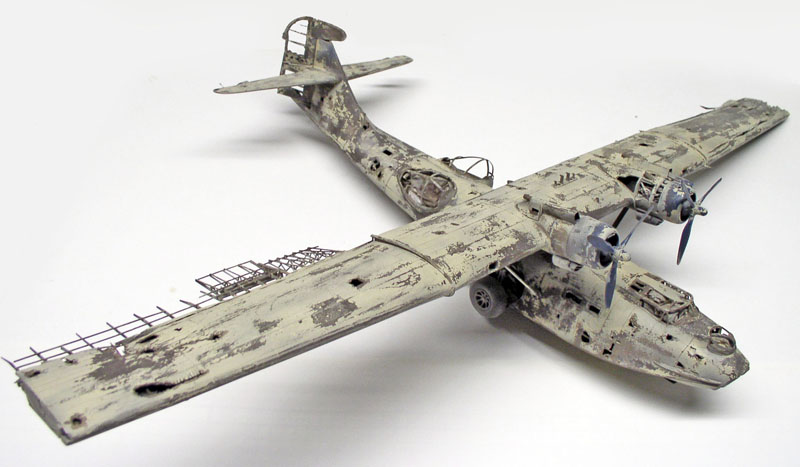
Various tools can be used to "scrape" off the paint, ranging from a toothpick to 600-grit wet sandpaper. Each tool should be used with caution and with as much reference to the documentation as possible...
Anyway, here's the result after spending some time on it...
Applying lacquer to the engines, followed by acrylic paint using an airbrush...
The result after scratching...
Markings
Tail marking: numbering with a brush...
The engines are once again treated with an orange- and yellow-based solution. Same steps as before...
Final coat of paint
The device is covered with a thin white layer to give it a uniform appearance...
Filter
A coat of Humbrol 62 was applied to the entire model, and after it dried, Umber and Sienna were used for detailing...
More small details are being added with a fine brush...
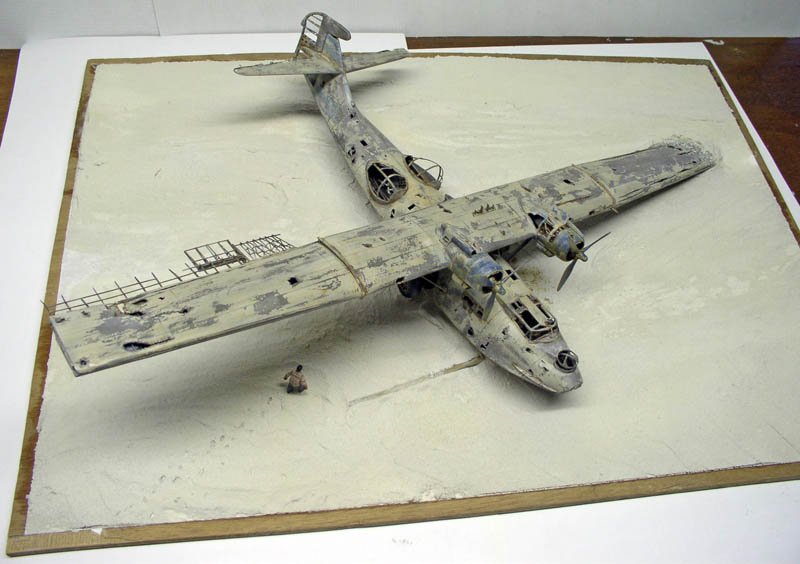
The model is finished...
The figurine
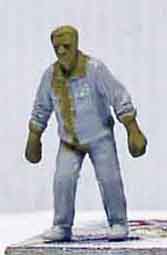
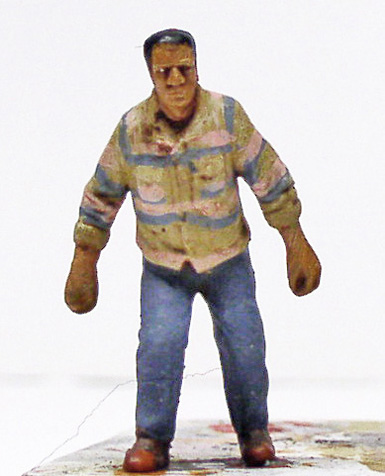
To make the scene more lively and highlight the Catalina’s impressive size, a civilian character is added—a foreshadowing of the locals who would later picnic on the beach in the shade of the plane’s wings...
The Setting
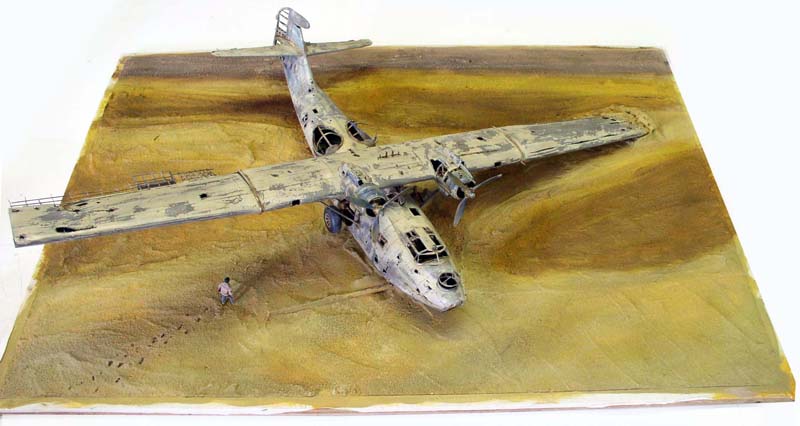
The setting is simple: a beach with rolling dunes that let the waves roll in as the tide rises. The whole thing is made from plaster of Paris and wood glue...
Let's not forget the character's footprints in the sand...
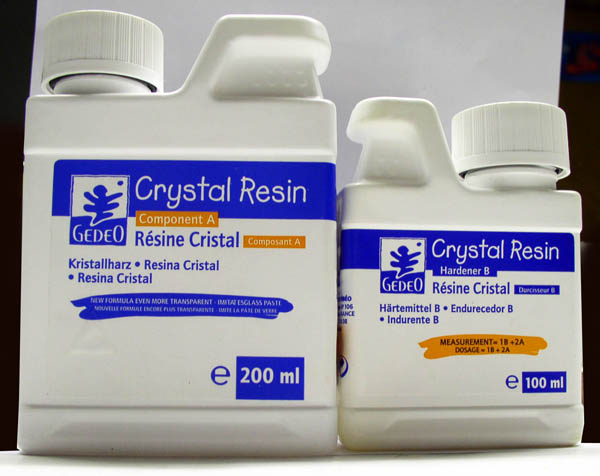
To add a touch of life and realism, the diorama was finished off with some Crystal resin, which also gave us a chance to test it out...
In this case, since very little resin is used, there’s no need to wrap the device or build up reinforcements. Aluminum tape is still essential for holding everything together...
Liquitex acrylic gel was used to create wave foam effects before the resin cured...