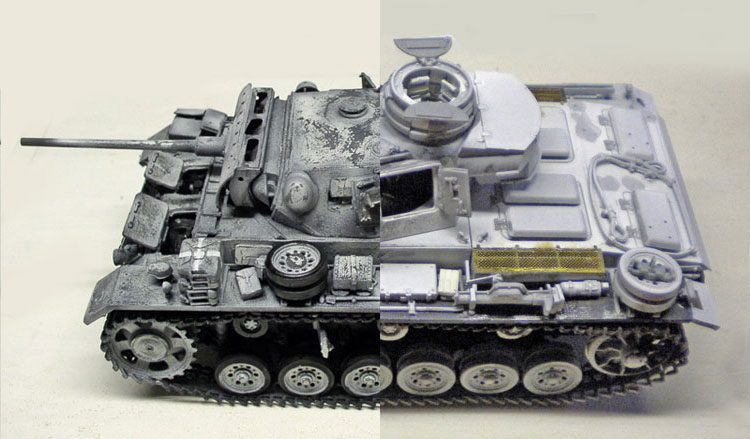
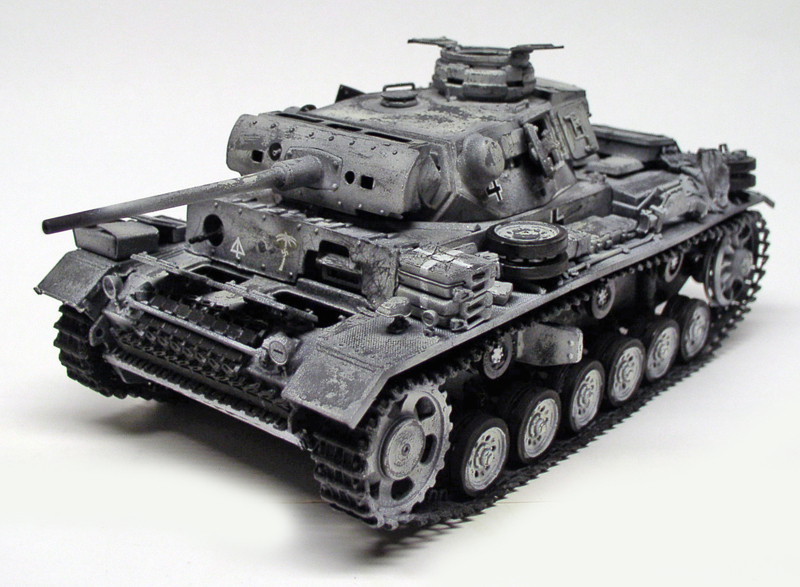
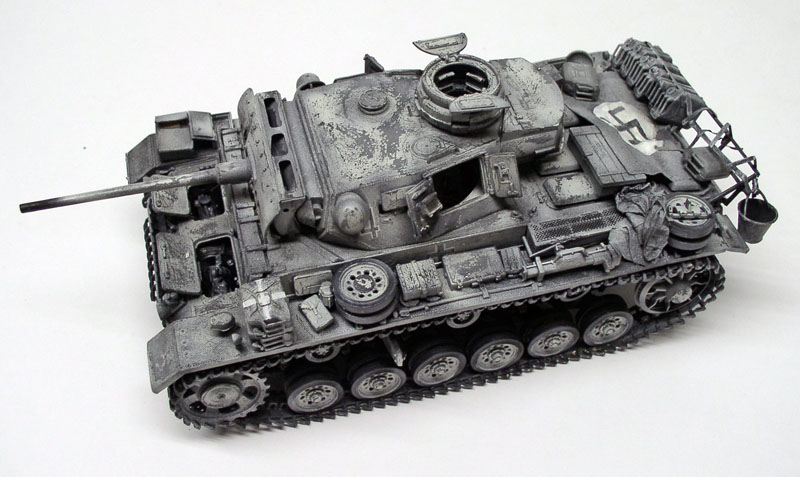
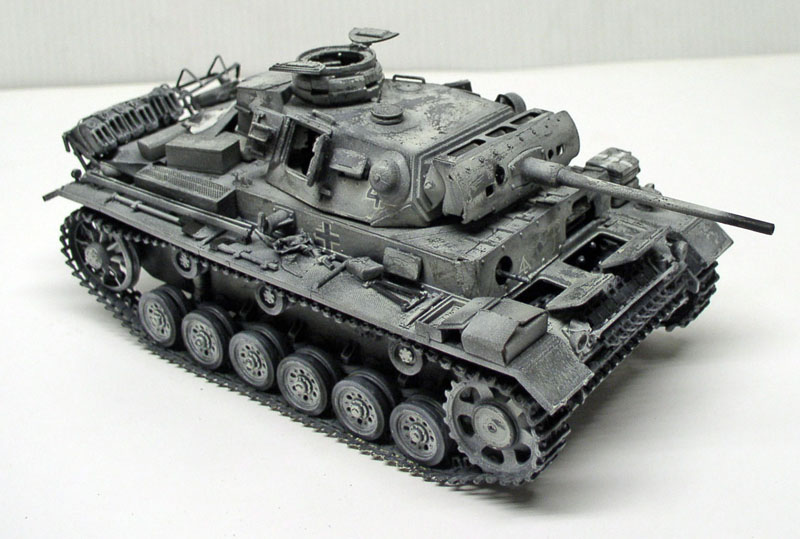
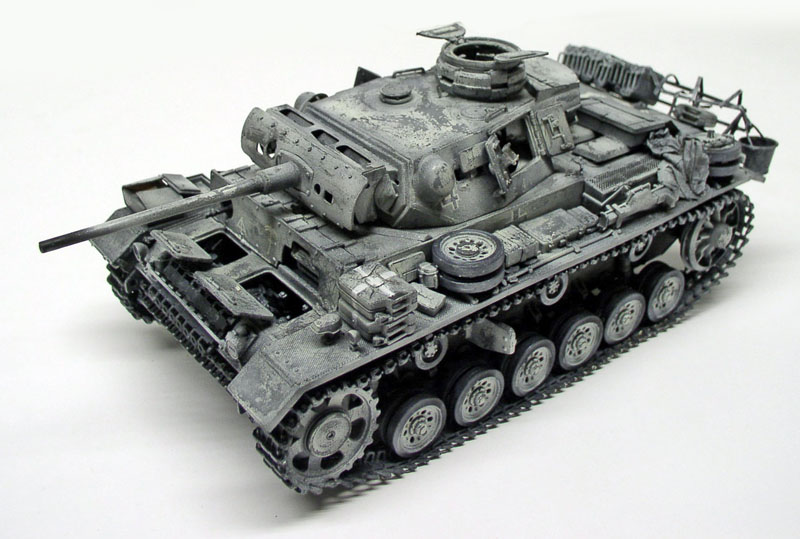
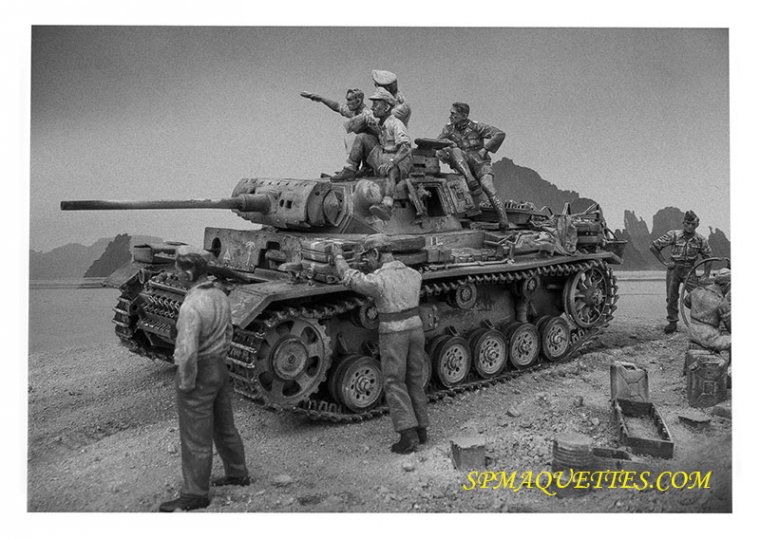
Panzer III - échelle 1/35ème - Black and white technique
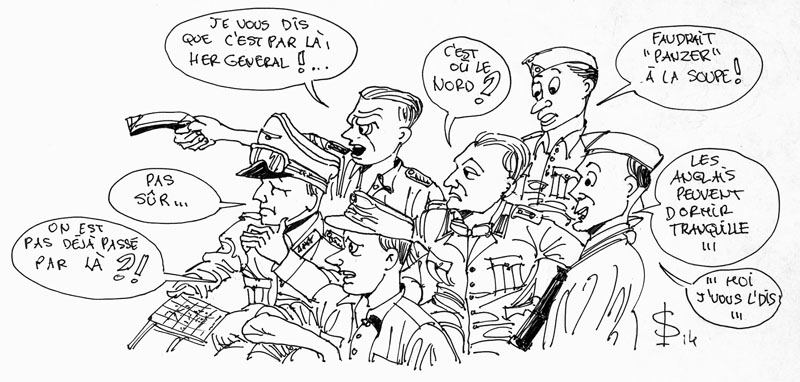
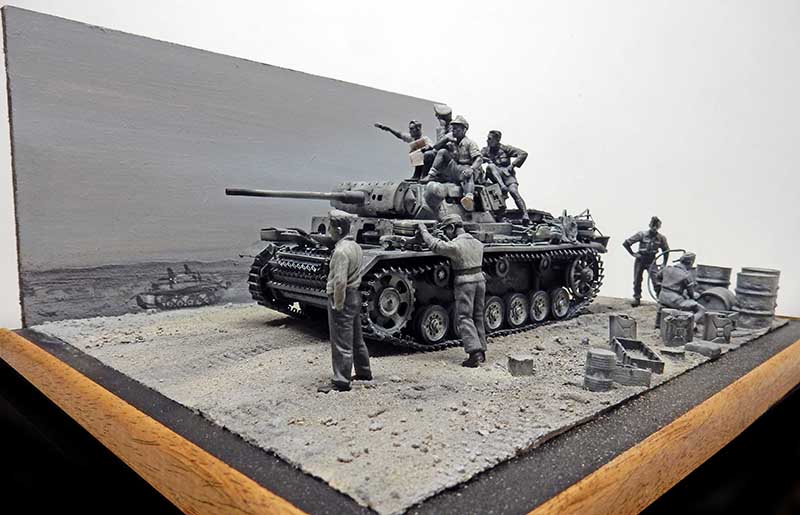
Have we been here before? Not sure... I'm telling you, it's her general... Where's north? We should "think" about the soup! The British can rest easy... I'm telling you!The goal here is to create a diorama in... black and white! Or sepia. Like an old vintage photo. We could just paint the whole thing in color and then edit it in software. But doing it directly opens up some interesting possibilities for the painting process...
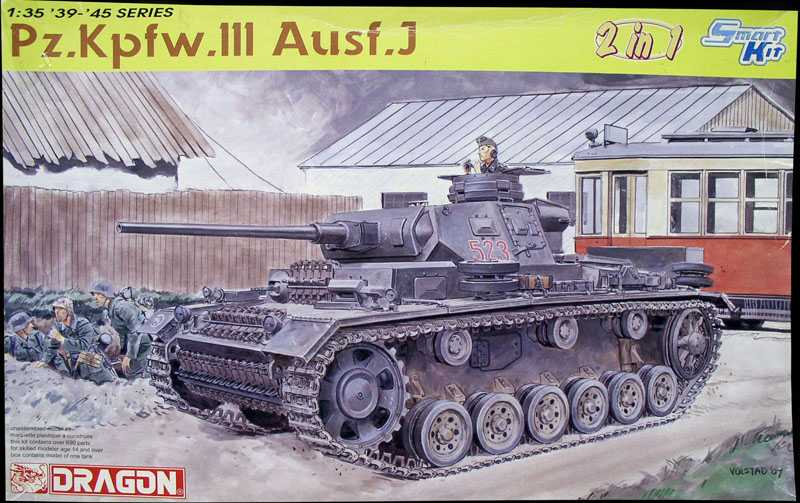
The kit used here is the Panzer III from Dragon, which is beautifully detailed and comes with photo-etched parts. It will be converted into an Ausf. M, which is more visually appealing...
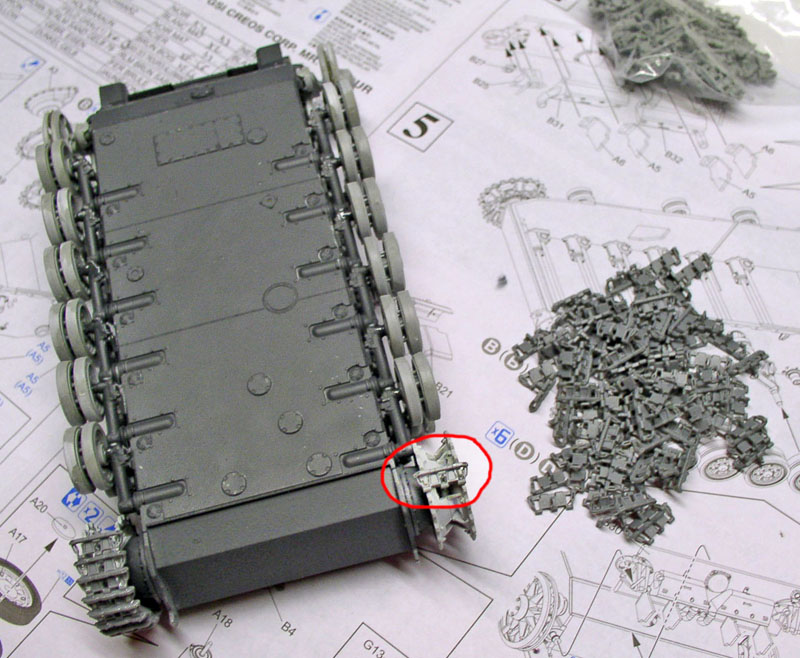
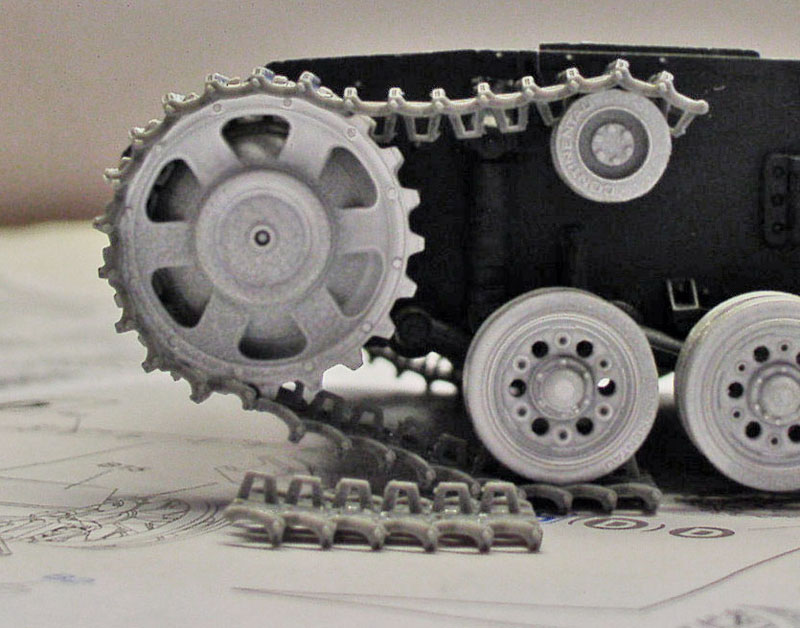
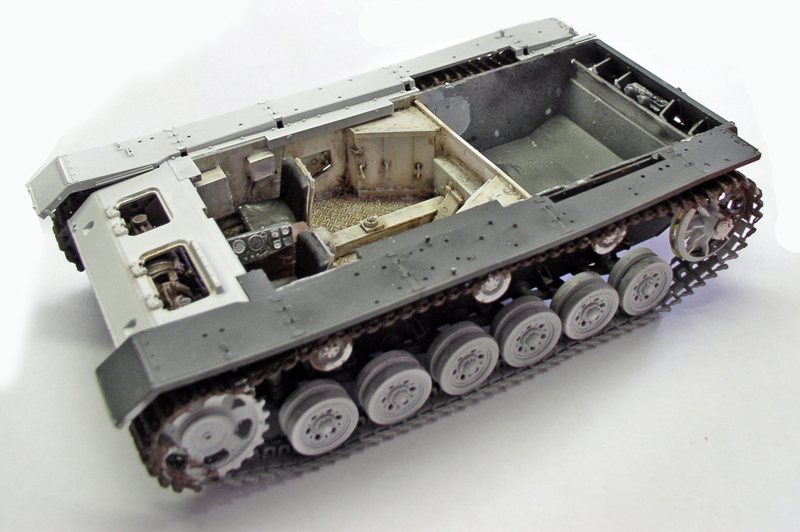
First challenge: the undercarriage. The tracks are delivered track segment by track segment. You have to sand them all down one by one, then start gluing them, beginning with the front drive sprockets...
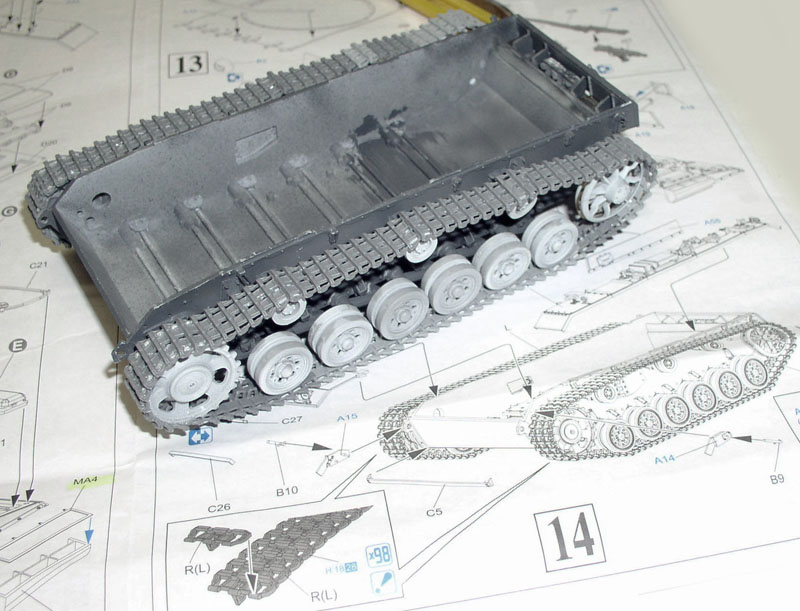
There are no particular difficulties, other than the fact that it requires patience.... Be sure to create the weightless effect between the rollers. Checking the photos before gluing will help you avoid misalignment...
Assembly of the undercarriages is complete...
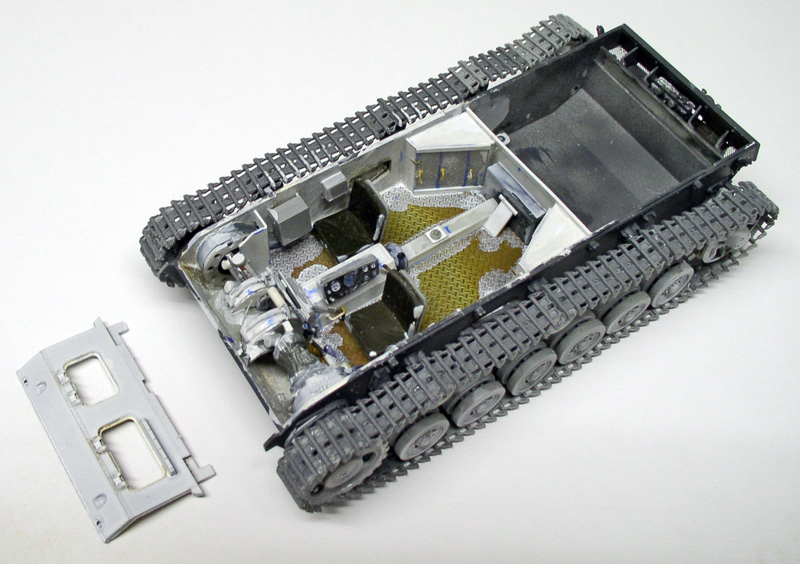
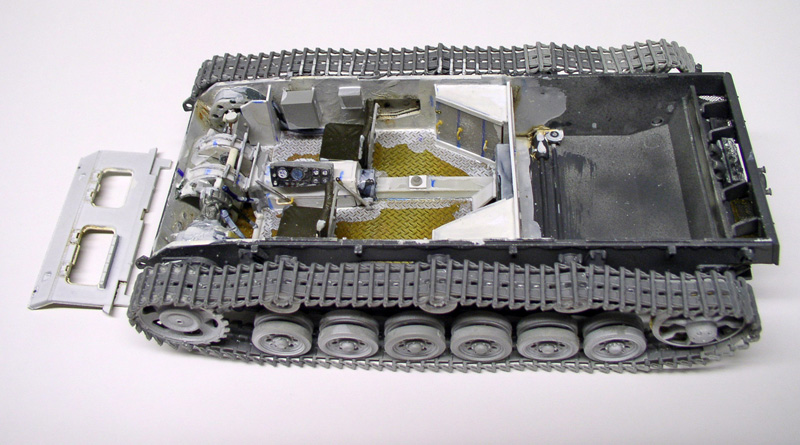
Since I wanted to leave all the tank hatches open, and the interior was empty—and I refused to buy a resin kit to furnish the interior...
...the transmission and the various components are made from plastic card and parts from the surplus box. Only the floor comes from a piece of photo-etched sheet...
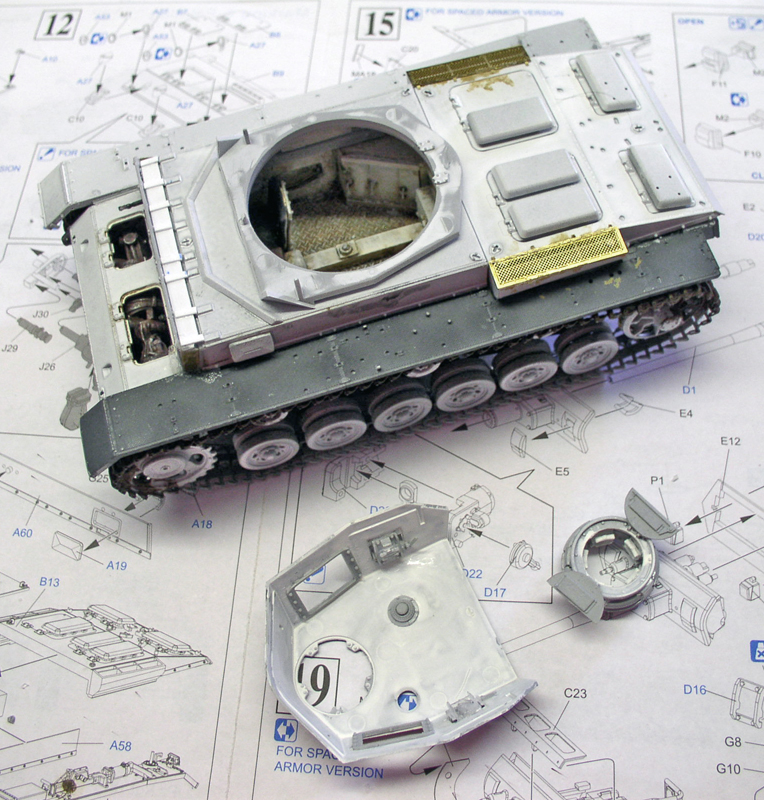
Painting the entire unit and installing the front plate...
Install the side skirts with the photo-etched air filters provided. The mounting points for the front armor plate have been improved to ensure a perfect fit...
Assembling the interior of the turret. Once again, we turn to the documentation for the details missing from the kit...
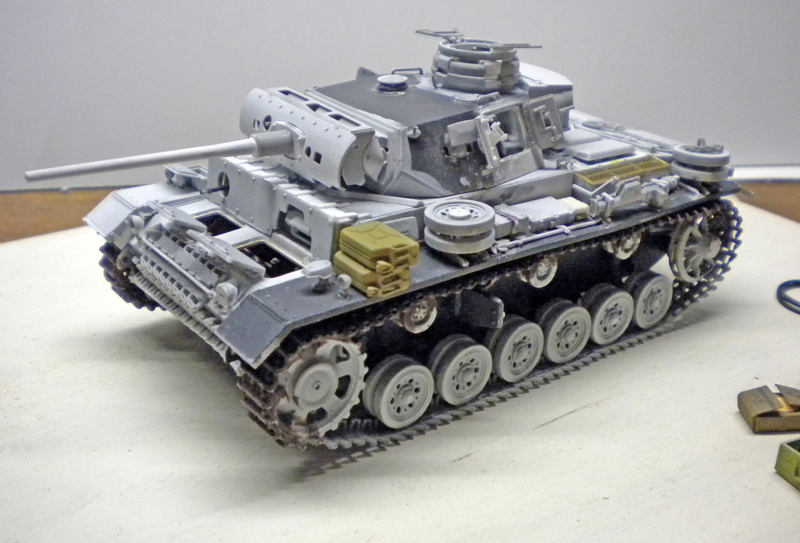
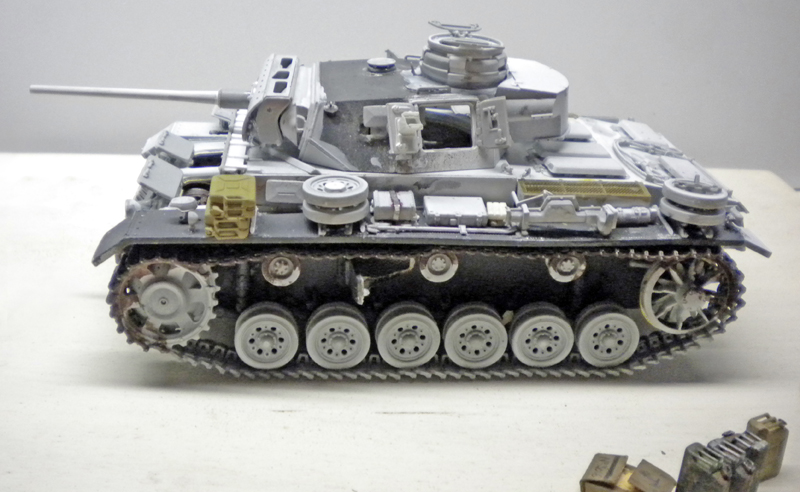
The nearly completed vehicle, with its high-velocity L/50 gun, the armor characteristic of the Ausf. M, and various added accessories...
Note: Two gun variants are available, the side hatches on the hull can be opened, translucent periscopes, and exquisite attention to detail...
Note: 2 gun versions available, side body flaps that open, translucent episcopes, fine details...
Painting
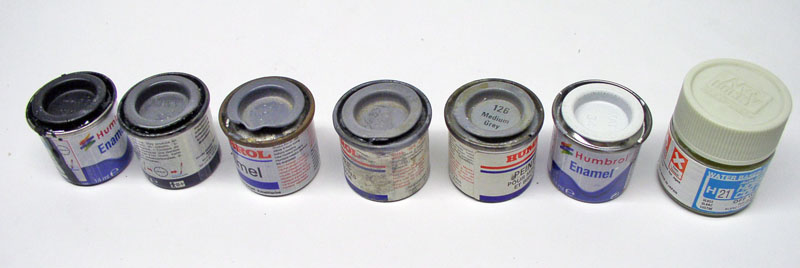
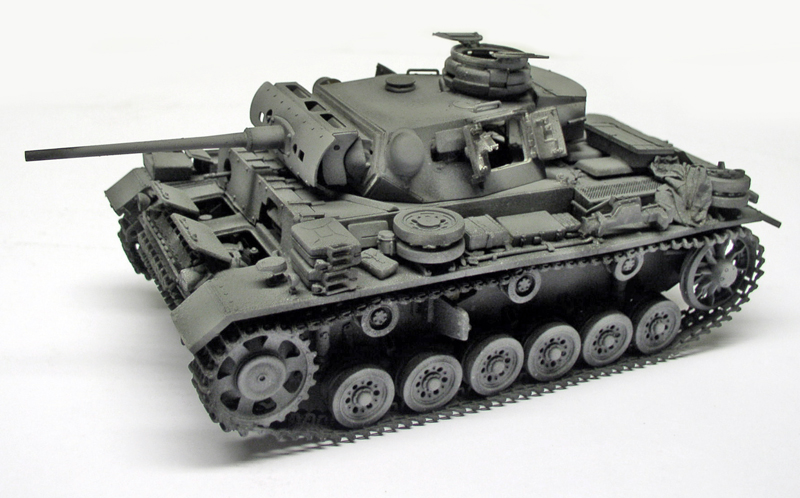
Base: Humbrol H33 + HB3 (ocean gray/medium gray)—since HB3 is no longer produced, a gray 32 should work just fine...
Then we spray it with Gunze H21 ivory acrylic paint...
After it dries, spray on some hairspray...
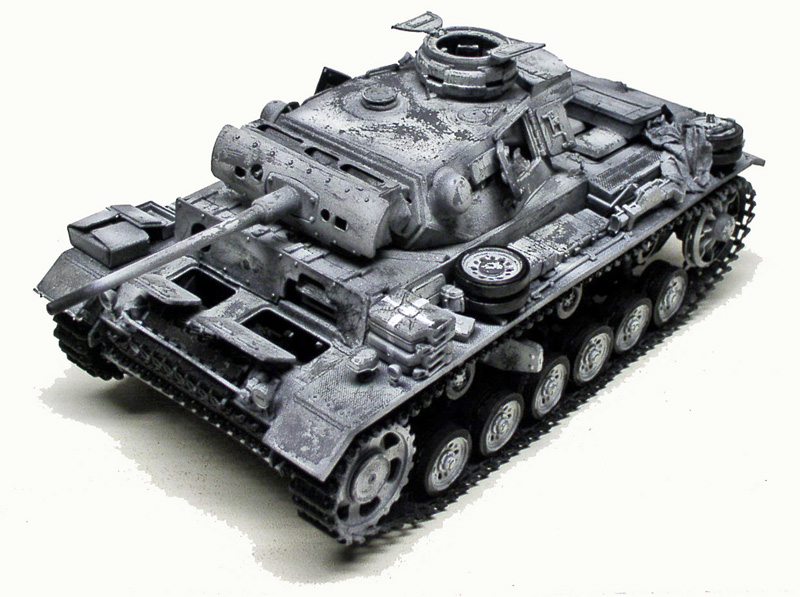
After drying, we spray it with hairspray...Then proceed as you would for the Catalina tutorial Gently to remove the paint...
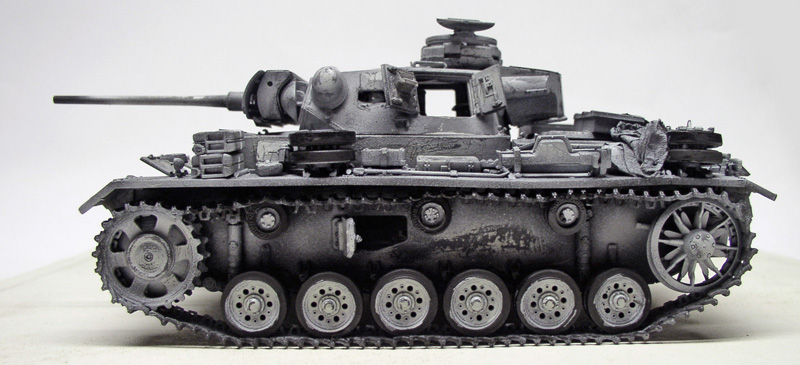
Side view...
Side view...
Decals
Applying the decals. We use various shades of gray based on the original colors to accentuate the contrast; this is because color photos, once converted to black and white, reveal a range of grays—some lighter, some darker—that correspond to the pigmentation of the original colors...
In the meantime, install a luggage rack and paint the swastika on the flag (let's not forget that we're working in black and white!)
A wash made with Windsor & Newton dark gray oil was applied over the entire piece to further enhance the contrasts and details...
Adding a new dusting cloth...
The tank is finished being painted...
The Setting
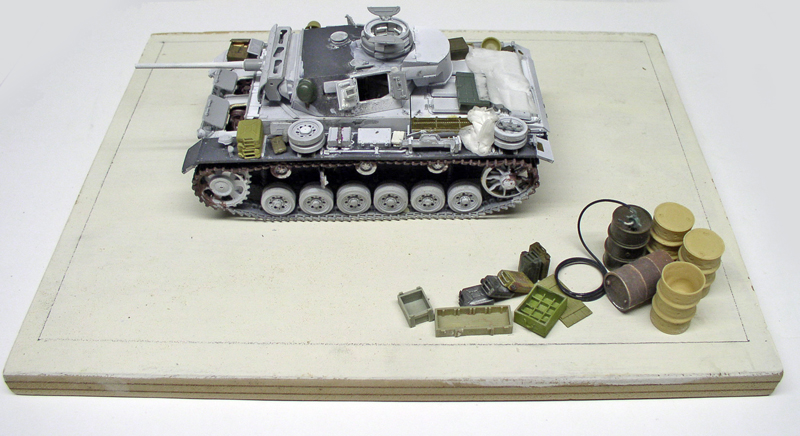
Before painting the model, a test assembly was conducted on a piece of plywood using various accessories.
We apply white acrylic paint to the surface to seal the wood...
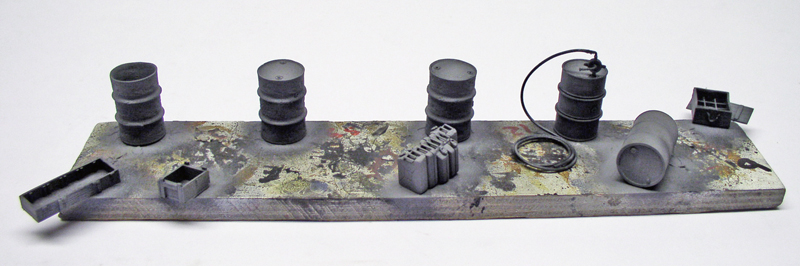
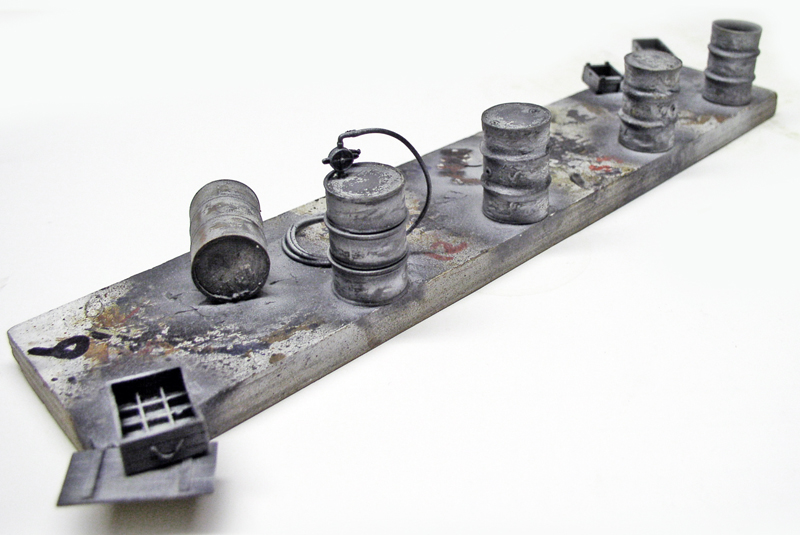
The accessories are painted using the same process as the vehicle... Base...
... And the finishing touches...
The figurines
THE FIGURINES
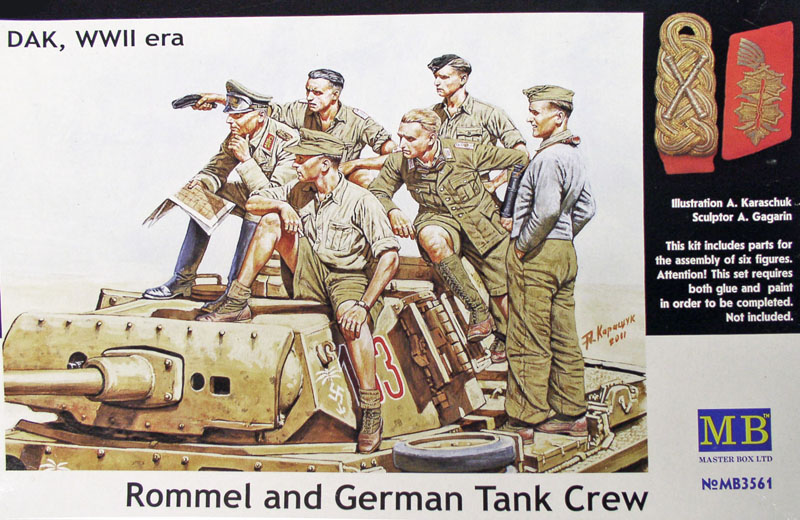
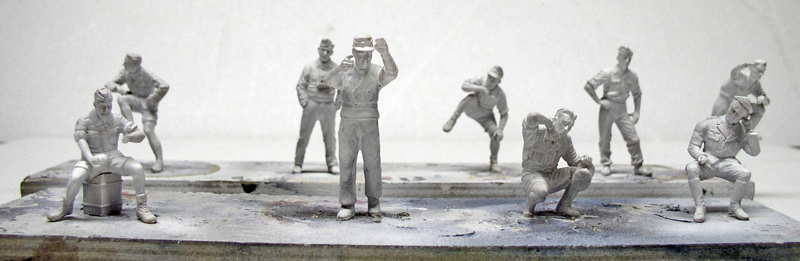
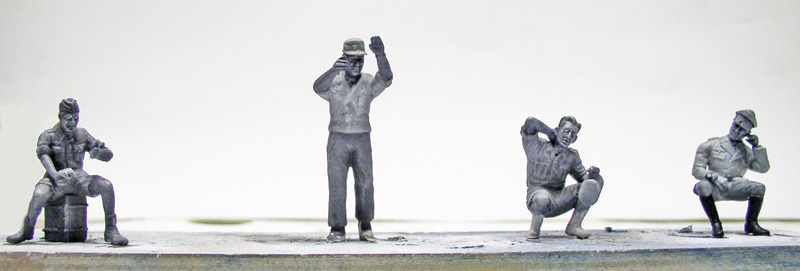
MASTER BOX has created a line of figurines, all of which are very original and relatively well-carved across the various sets...
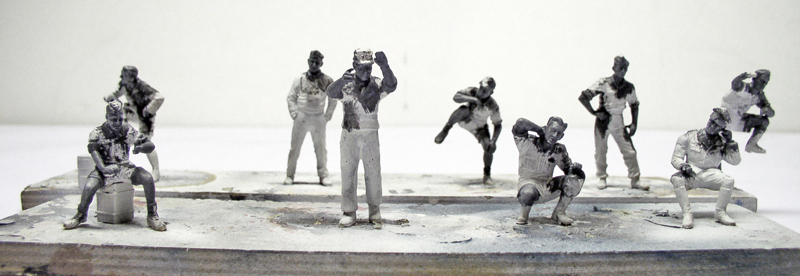
The figures I added came from my surplus box. Rommel, who was a little too skinny, was made a bit stockier with a more appropriate torso...
We always start by painting the skin. Winsor & Newton oil paint...
The clothing is painted with Humbrol oil paints using dry-brushing techniques and washes for the finishing touches...
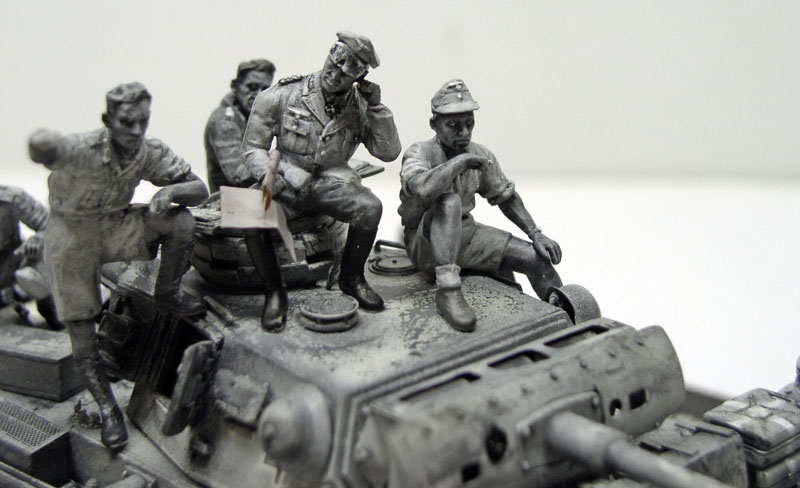
The gradient effects also apply to the figures because the color transitions to black and white...
The Setting
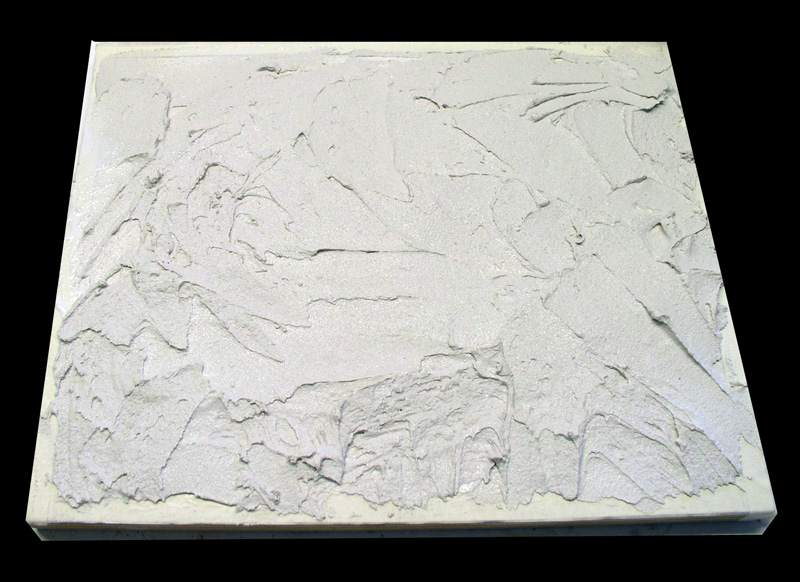
Applying tile adhesive after marking the edges with masking tape...
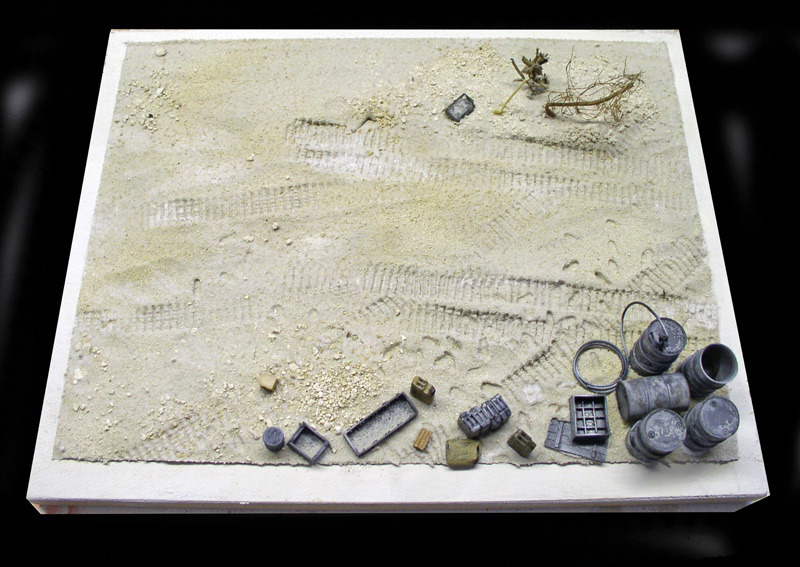
Add the different types of sand and pebbles, then make tracks from caterpillars and footsteps...
The result...
To finish, use a household spray bottle to apply a highly diluted wood glue solution mixed with a few drops of Mir dish soap to seal everything in place...
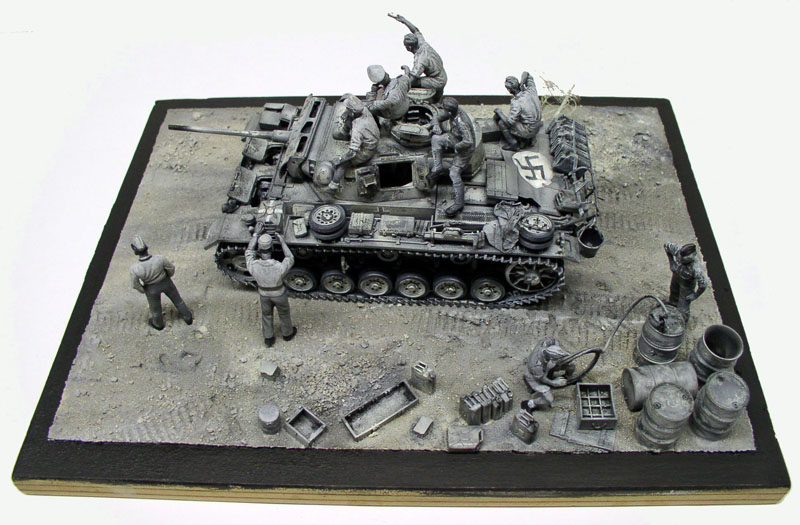
All that's left to do is paint the whole thing using the same method once everything is completely dry...
Glue the figures and accessories to the tank using Super Glue; use quick-drying wood glue for the scenery...