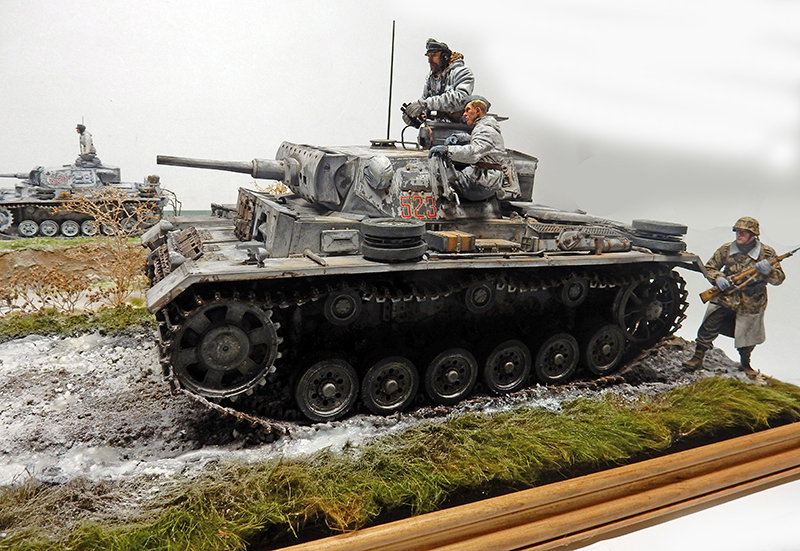
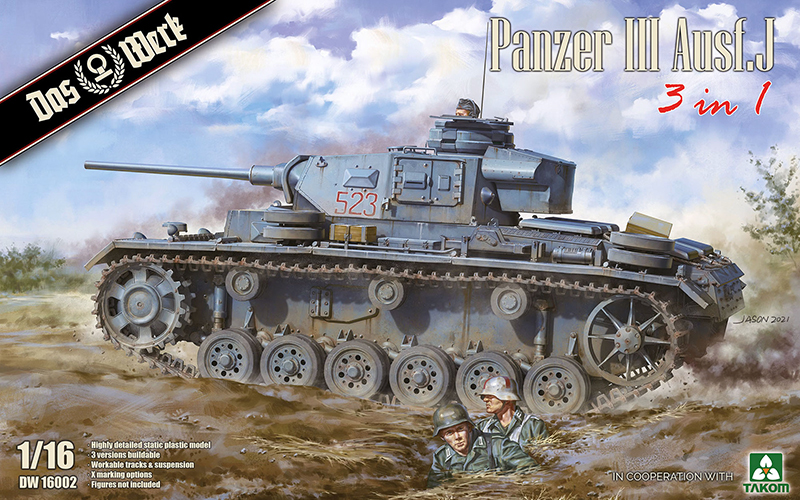
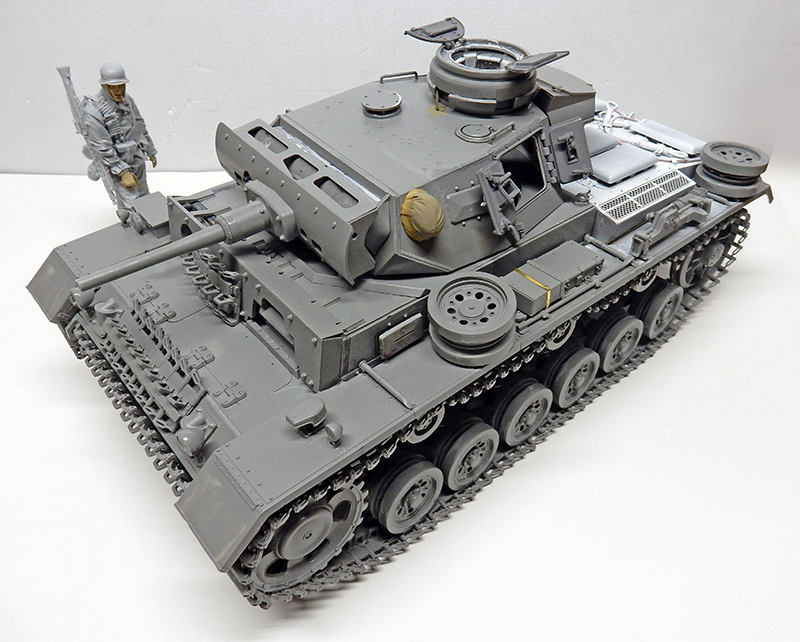
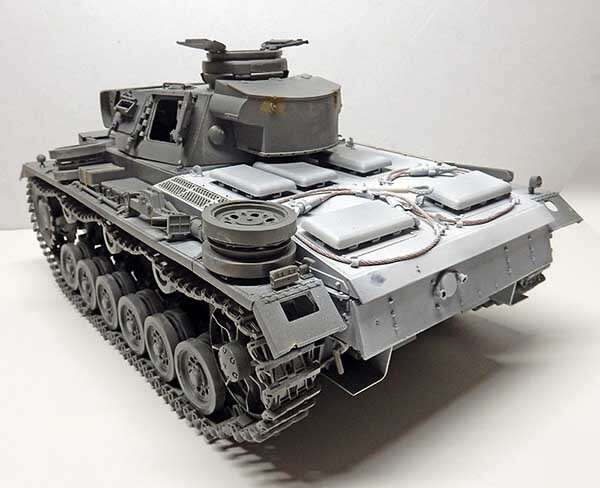
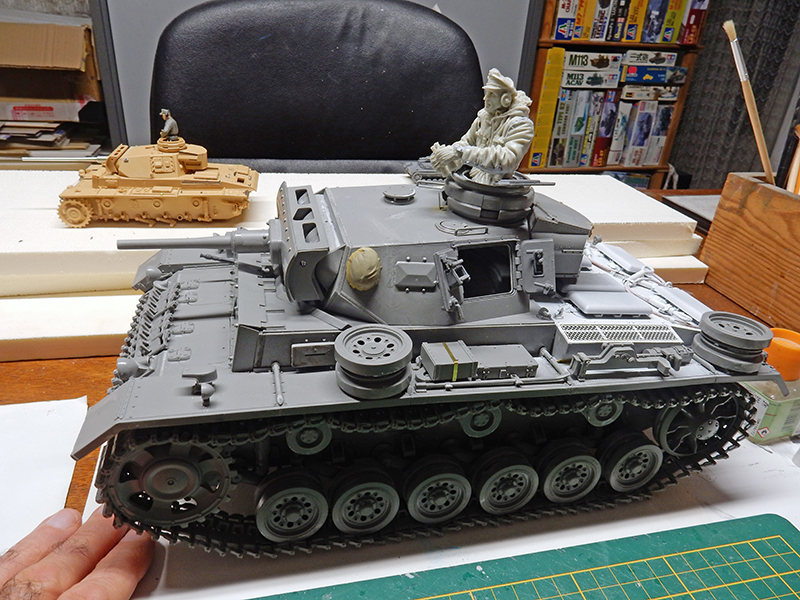
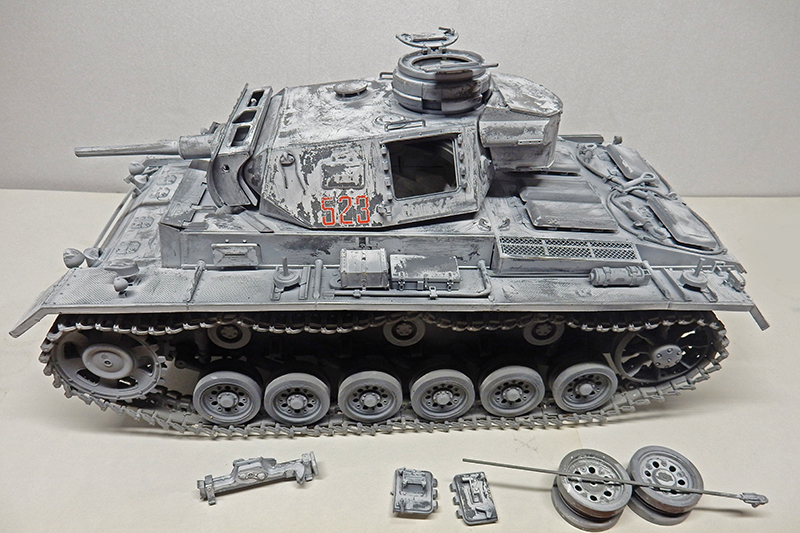
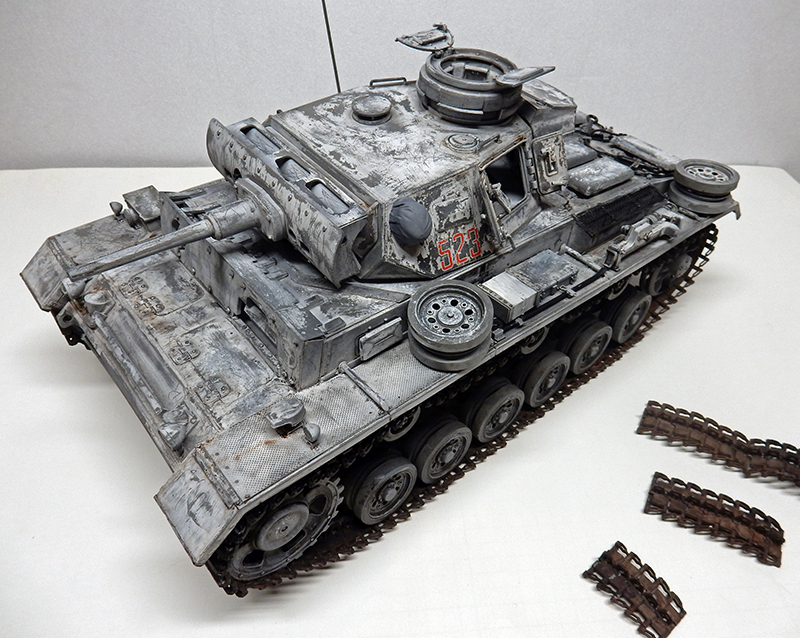
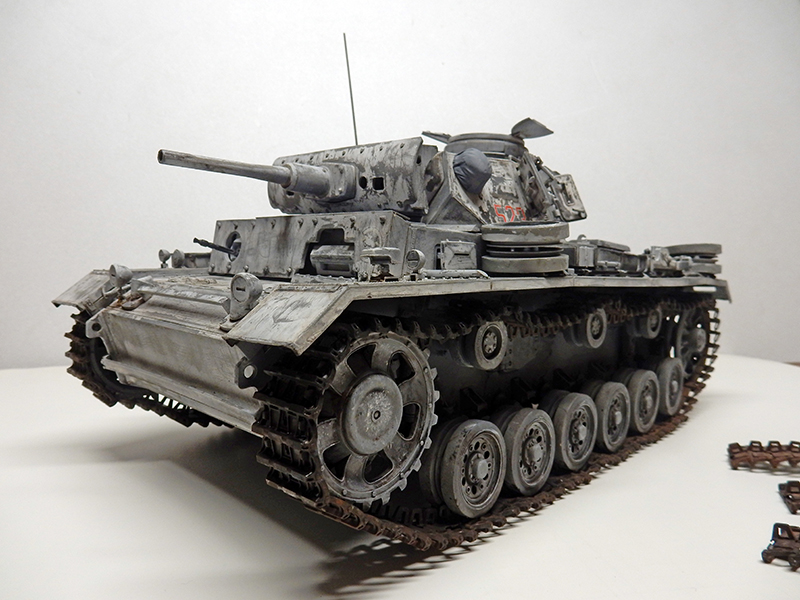
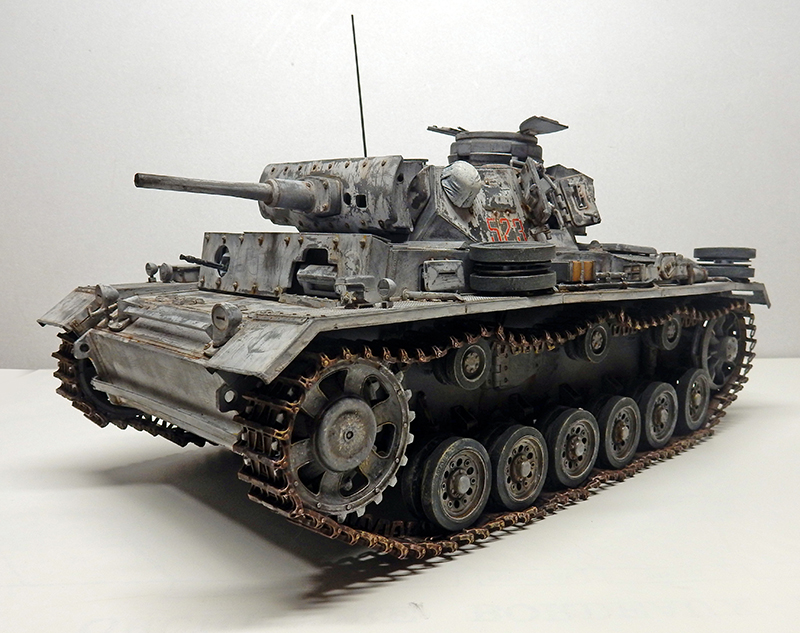
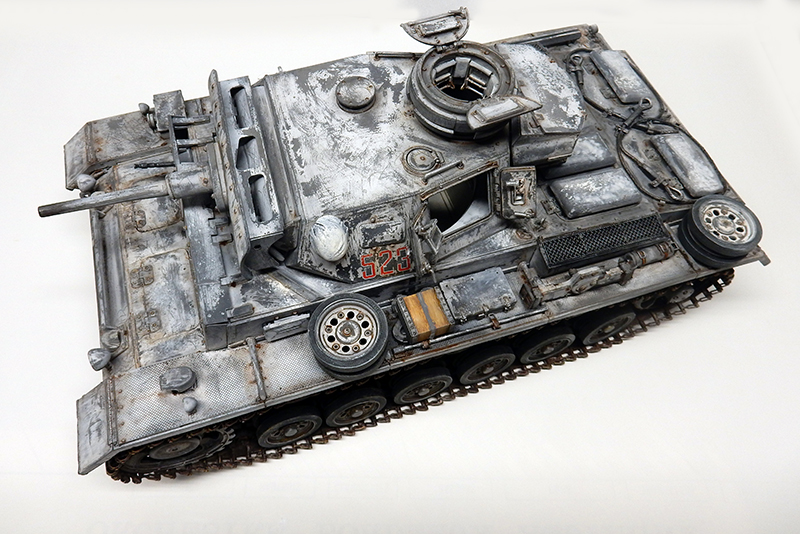
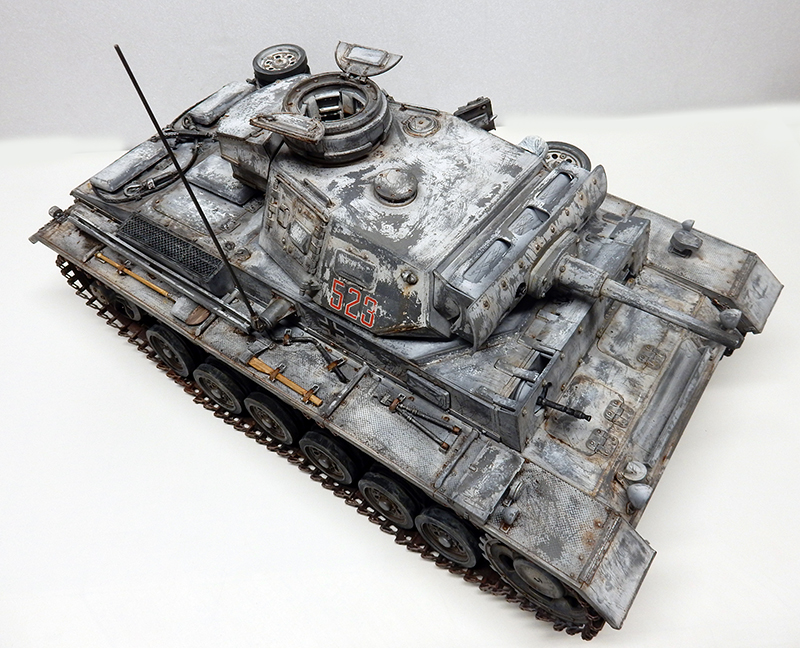
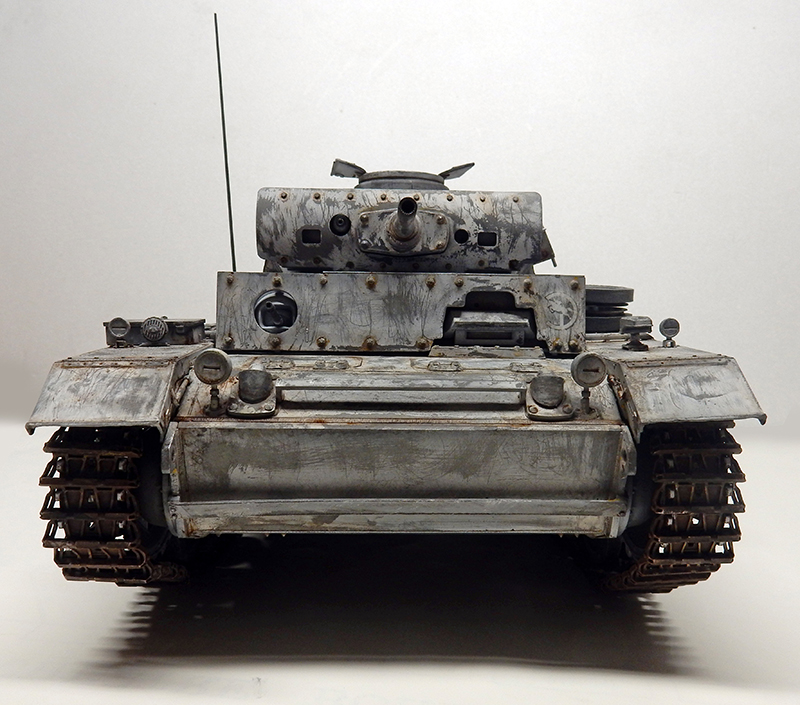
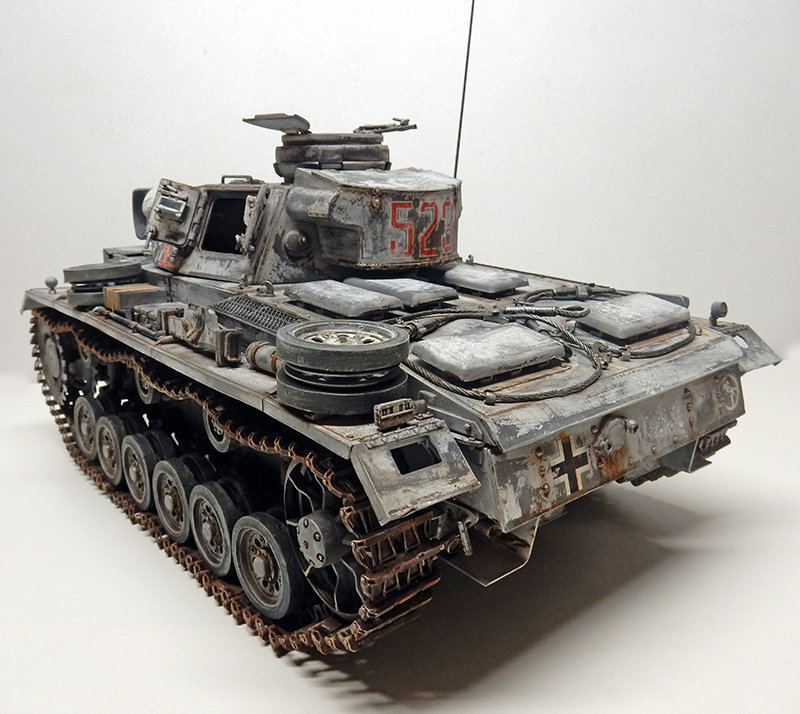
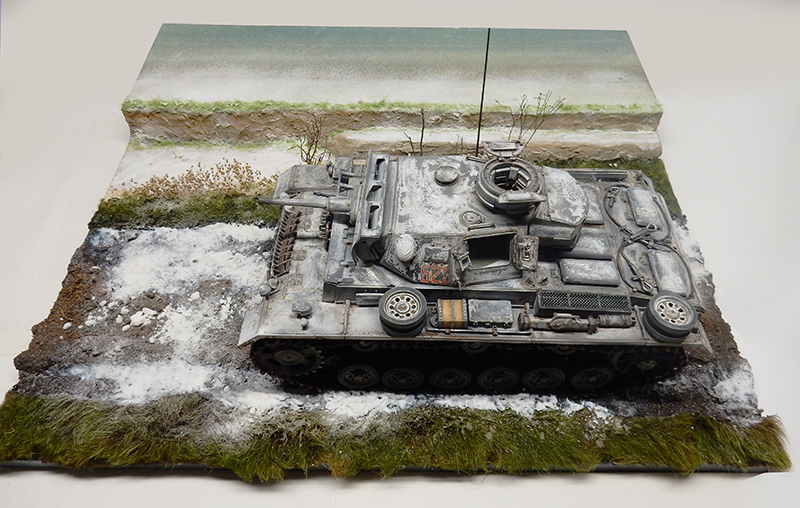
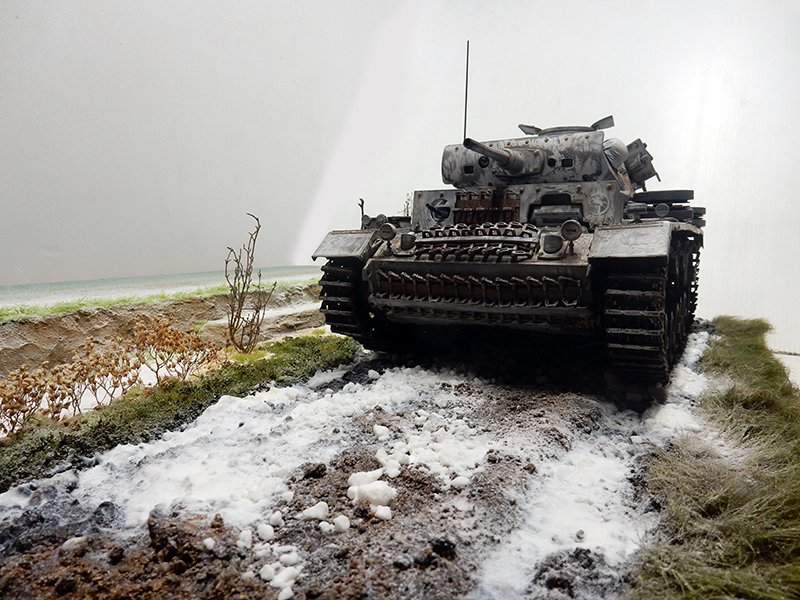
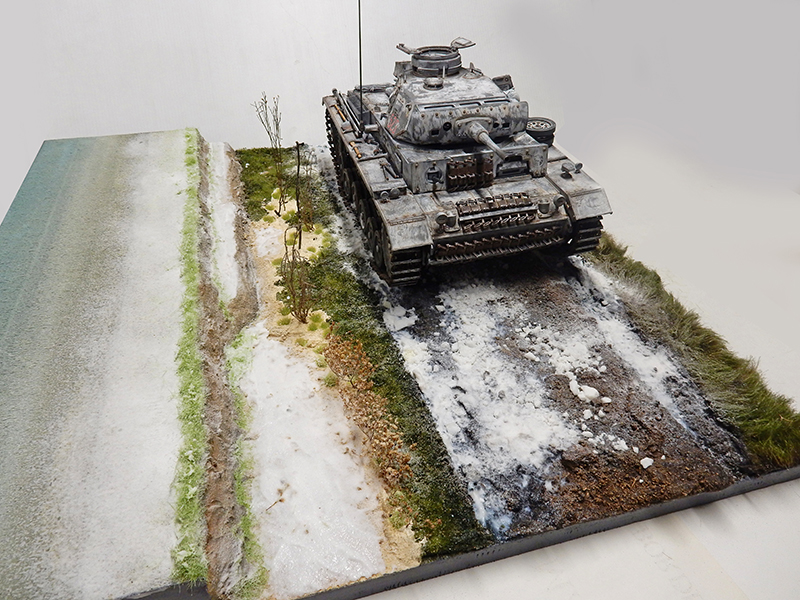
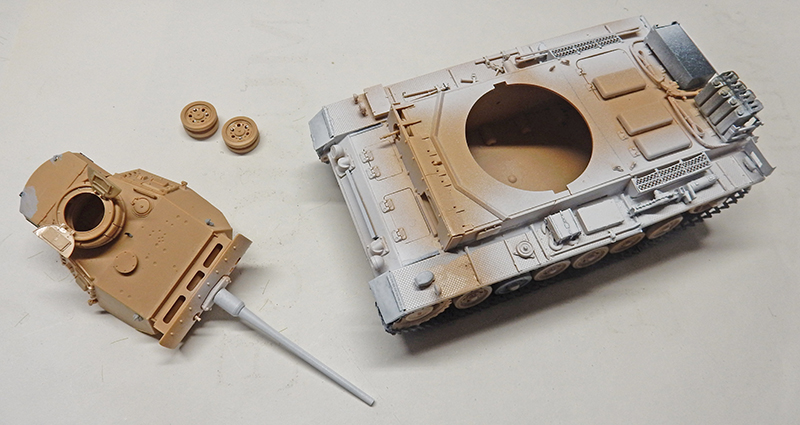
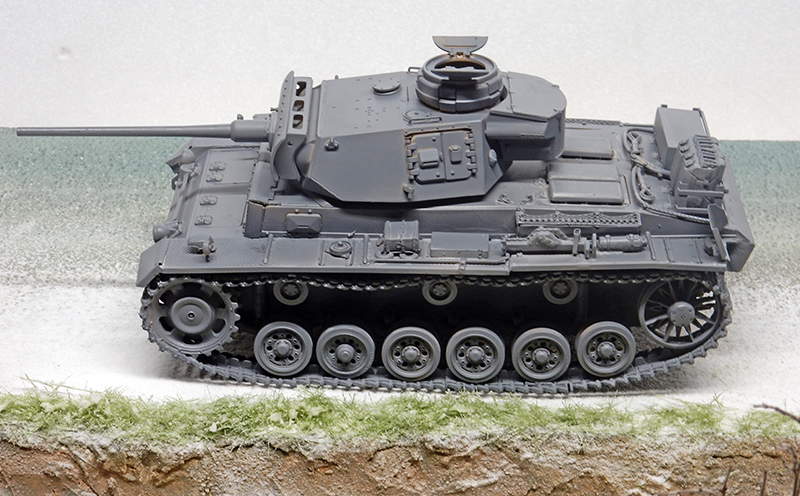
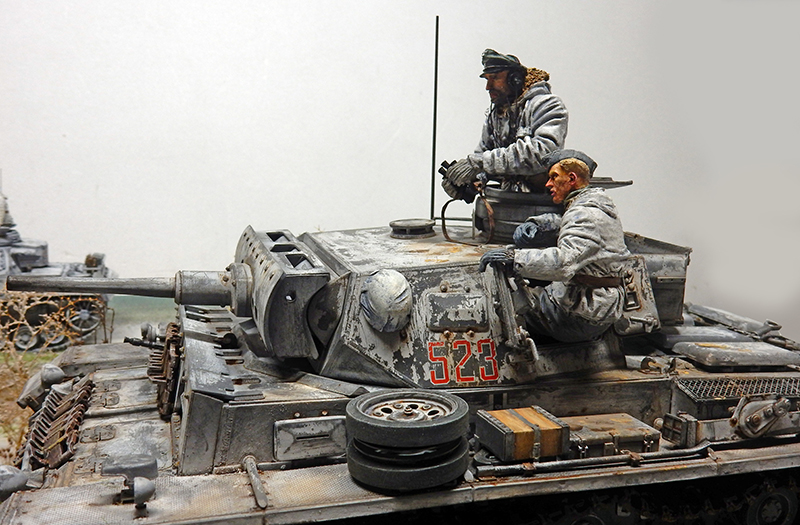
This model kit from Das Werk is a truly beautiful piece. The engraving is exquisite. Not recommended for beginners. You can choose to build one of the three versions offered... With the short L/42 barrel, the long L/60 barrel, or with the additional armor...
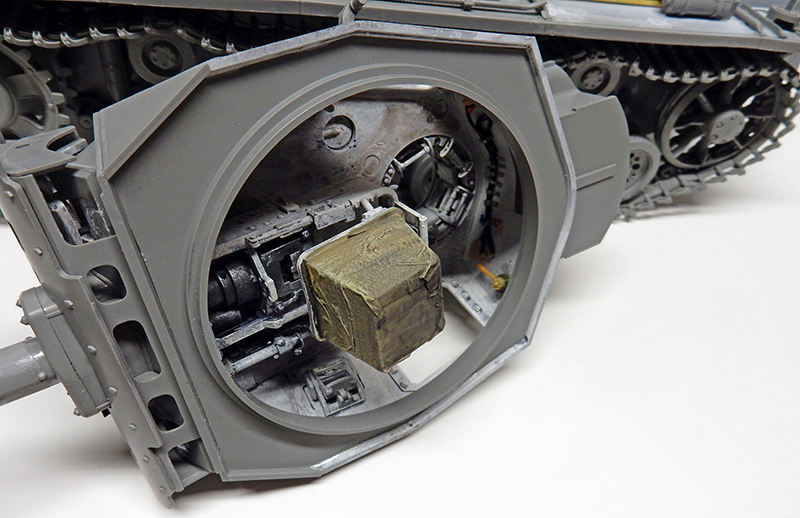
It’s a shame that some models from certain brands at this scale and in this price range feature only the bare minimum of interior detail—just the breech of the gun, the hull-mounted machine gun, and the turret-mounted machine gun (especially since you can leave the panels open)...
Note the highly detailed episcopes on the turret. We would have liked to see a few more accessories to spruce up the tank—a helmet, a jerry can, a crate, a bucket, etc.—but this set only includes the onboard tools... And the two versions of the gun, each available in either plastic or metal...
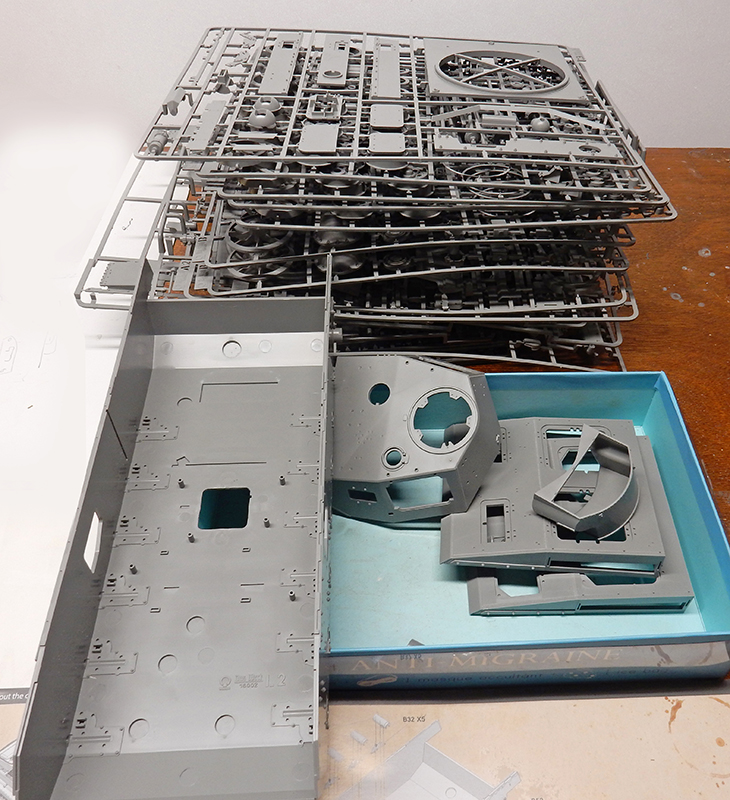
A look at the kit: a good dozen sprues and a few photo-etched parts—grilles and cable clamps...
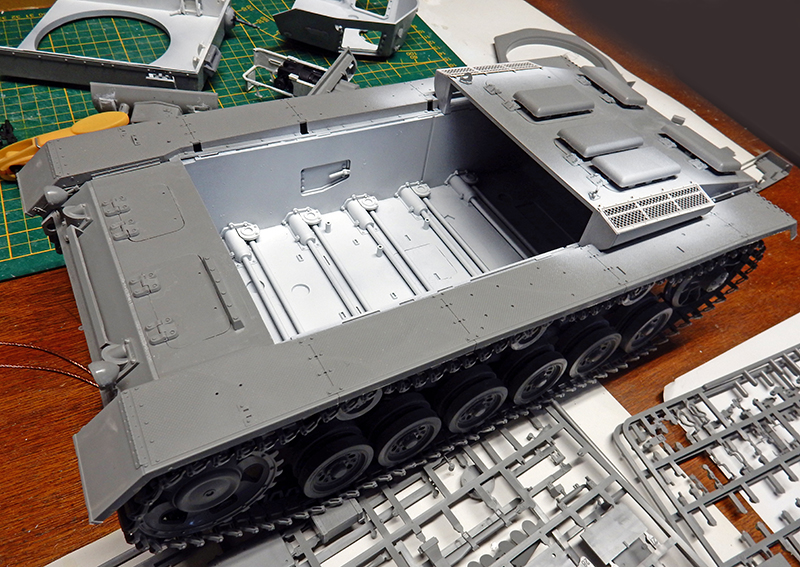
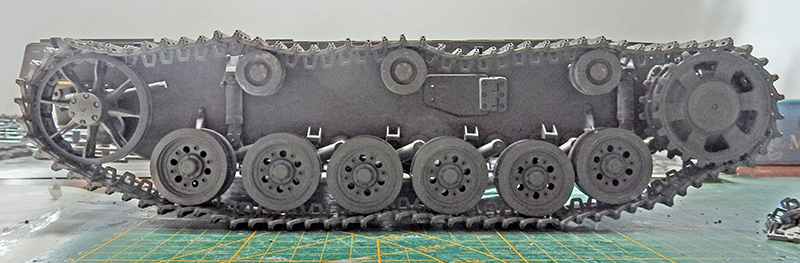
Start with the hull, which consists of dozens of parts, as well as the highly detailed suspension arms and drive shafts. Be careful—they’re movable, which is a great idea for adjusting the tracks to the terrain, but it can be tricky when gluing on the track pads.
Nothing too complicated so far...
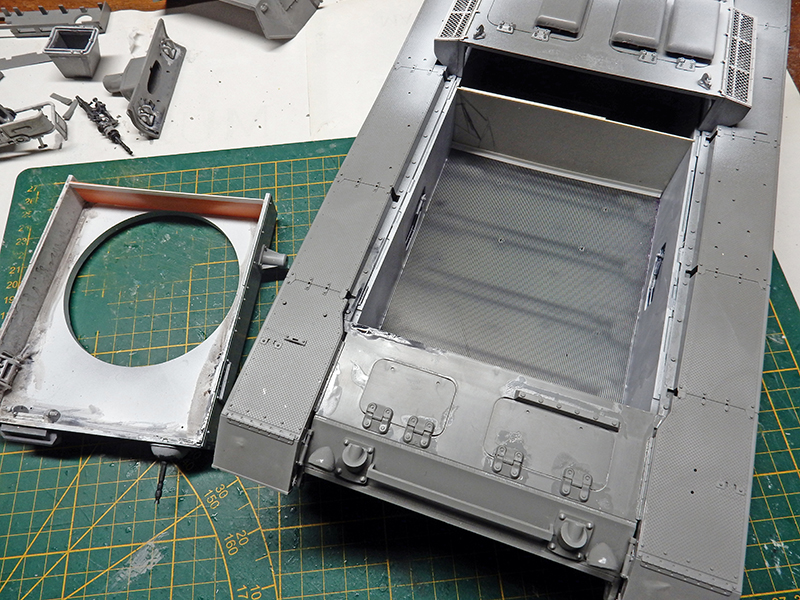
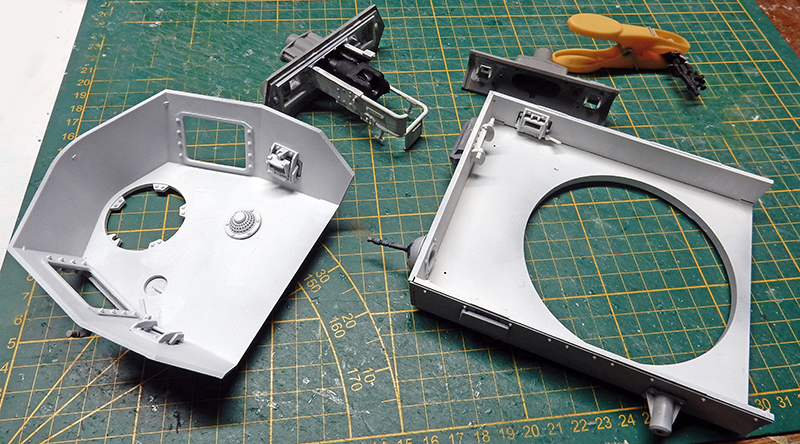
A floor was added with an engraved plastic sheet to improve the compartment...
The front and rear fender guards were thinned down with a grinder because they were too thick for the scale...
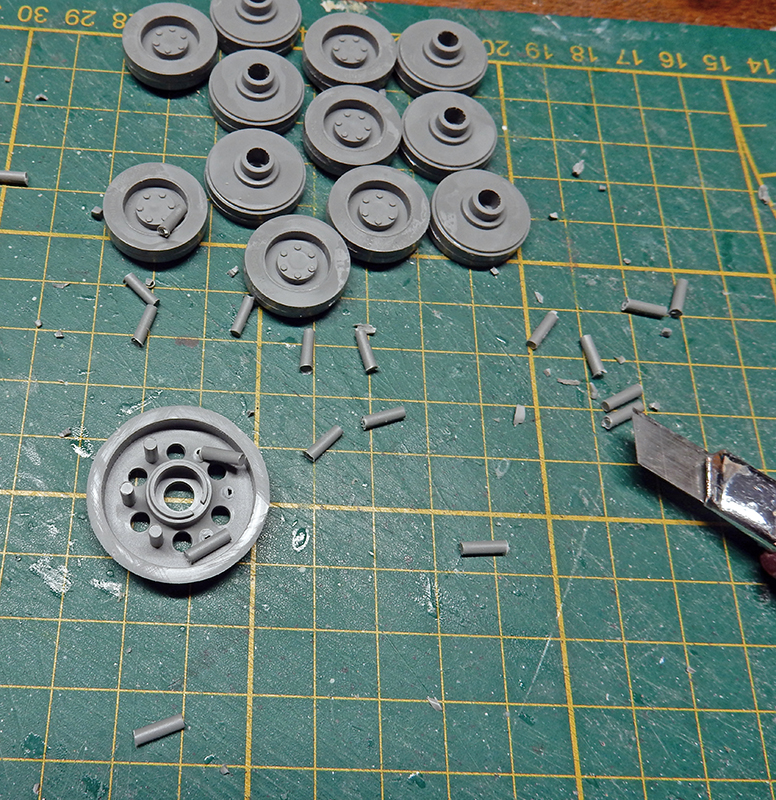
The undercarriage. Remove the small cast parts attached to each wheel...
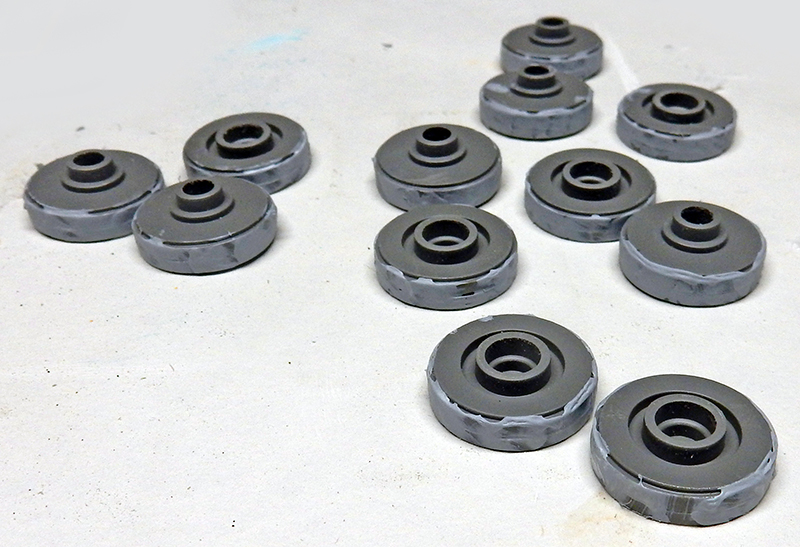
The molding lines on the rim of each wheel are filled and sanded...
The trickiest part: attaching the tracks, one track at a time. Once the undercarriage is installed, glue the tracks on one by one. Each track is connected by a piece that snaps into the next track. Be careful with the positioning of the moving pins when you glue the track shoes to the bearings. You also need to take into account the track’s movement, the weight, and the position of the undercarriage—so taking photos is highly recommended...
The turret, which consists of only a few parts. The interior of the tank is painted matte white...
Installation of the gun breech and machine guns. The fabric shell basket was coated with a layer of thin paper soaked in wood glue for added realism. Cables and details were added around the tank commander’s hatch. A wash will complete the patina...
It’s worth noting that the instructions—which are very nice—aren’t always clear about the positioning and gluing of certain parts for those who aren’t already familiar with the model (they’re a far cry from Tamiya’s instructions!). This is particularly true for the fenders, brackets, and exhaust pipe. So, once again, checking against actual photos can be helpful...
The short L/42 plastic barrel was chosen over the metal version because the muzzle is engraved. The additional armor was added to the short barrel. Some models of this type had this armor...
The helmet was added as an accessory...
No particular problems with the body. The tow cable was intentionally removed from its mounting...
The figurines
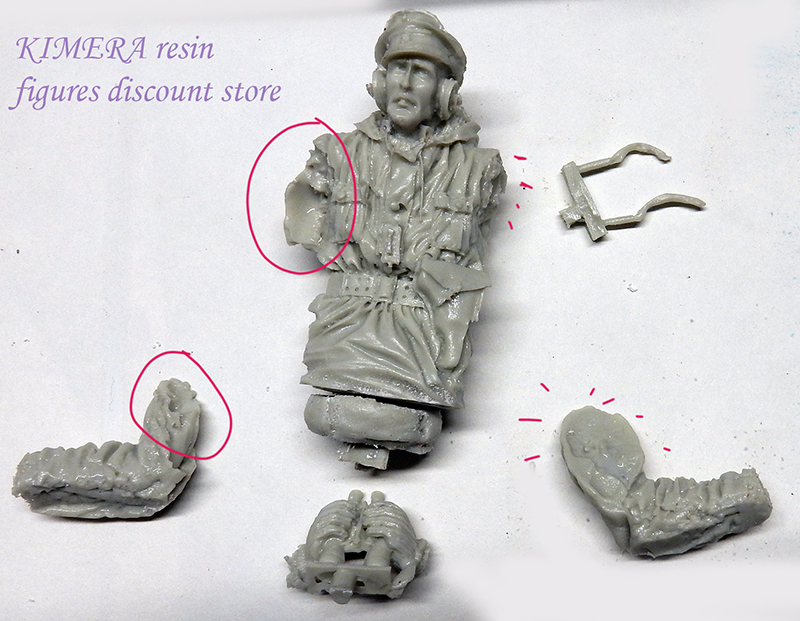
Here's the tank commander I ordered online—apparently, he'd already been in a war! I included the brand name. Maybe best to avoid it...
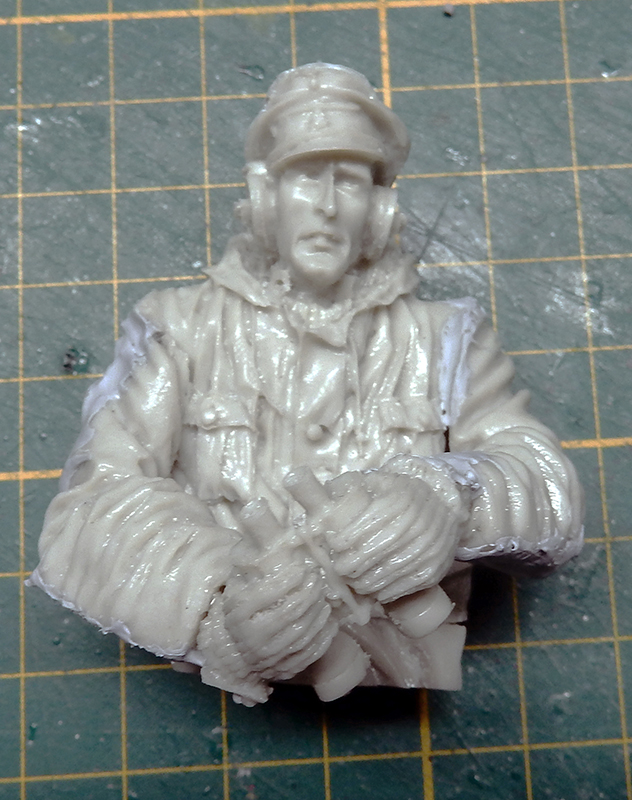
After some careful sanding and polishing, it's back to its former glory...
A strap is attached to the binoculars, and the headphone cables will be added later.
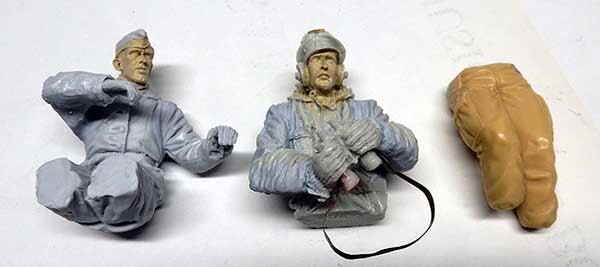
A lower body section is included, in case any details are visible through the openings. A second figure—the shooter—will be placed on the left side opening...
The fingers on the left side of the picture give you an idea of the panzer's size...
Painting
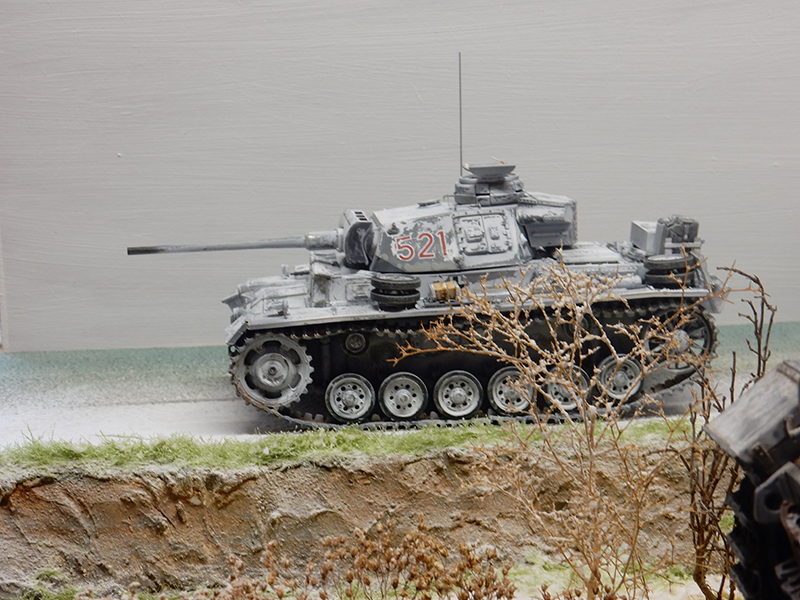
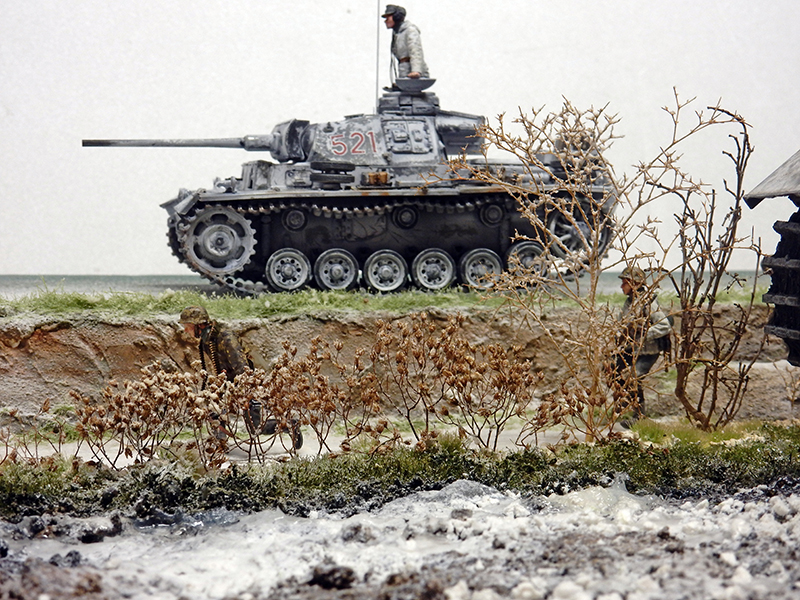
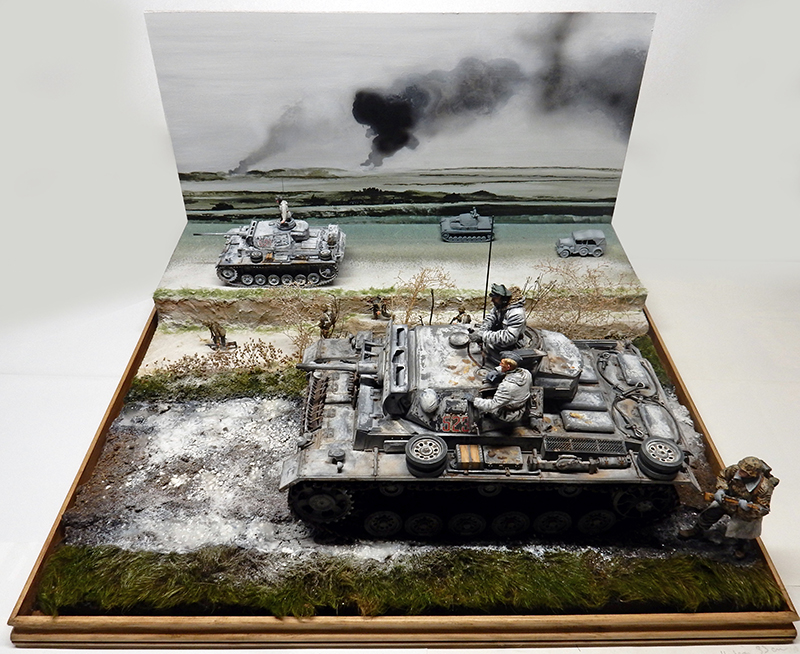
The diorama will depict the area around Stalingrad in early winter 1942. A tank from the 24th Panzer Division...
The base coat is applied using Hobby Color HC 305 gray. Then, a second coat mixed with white is applied as highlights using an airbrush on the flat surfaces...
Once it is completely dry, apply the turret numbering and markings...
Next, after it has dried, apply a coat of white acrylic paint, which will then be treated with hairspray.
It should be noted that crews often used lime to camouflage the tank. Some were covered—as shown here—only on the top of the hull and the turret. Others had only the turret covered, or the entire tank. The thickness depended on the amount of paint available... Or on the materials available...
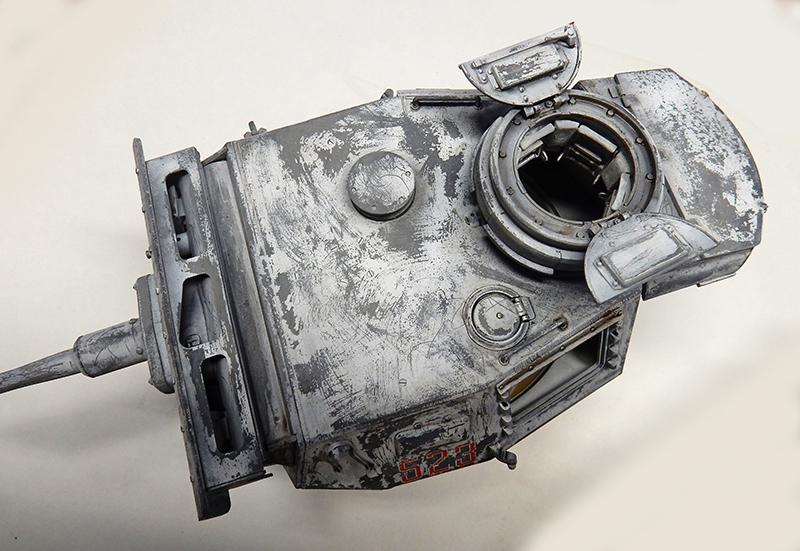
A top view of the turret showing the effects of hairspray...
Once it has dried completely, prepare a mixture consisting of 80% umber and a little Winsor & Newton oil-based sienna...
The result (not always easy to see here). Don't use too much juice, and make sure to dilute it well—even if that means removing some...
There is mud deposited at the base of the hull, along with various splatters. The track pads are painted with a base coat of Humbrol rust brown and black...
...Then weathered with Humbrol 63, then lightened with white. Finally, the metal parts are painted. The rubber rollers are painted Humbrol 32 gray, lightened, and then weathered...
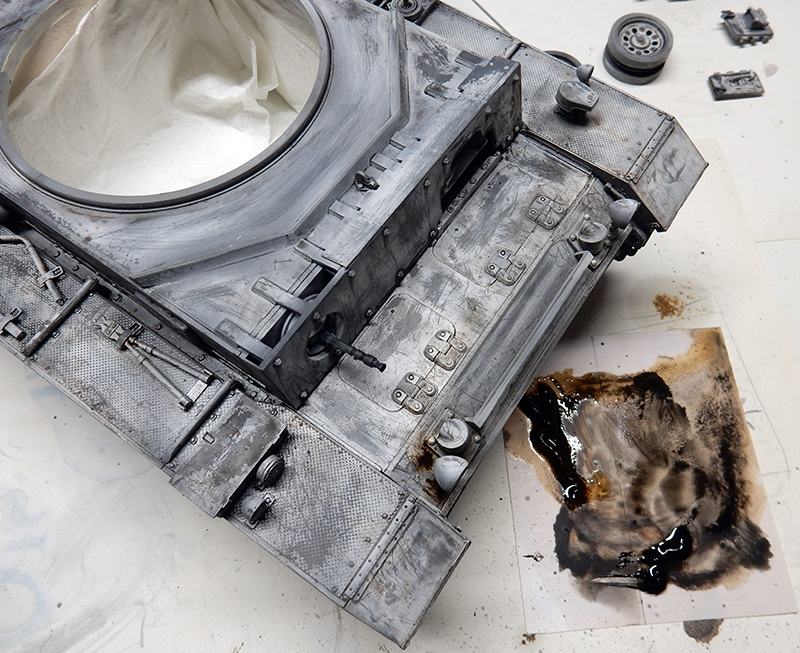
A top view showing the painting of the gunwale. A diluted wash of Winsor & Newton bluish gray is added in certain places...
More views...
The Setting
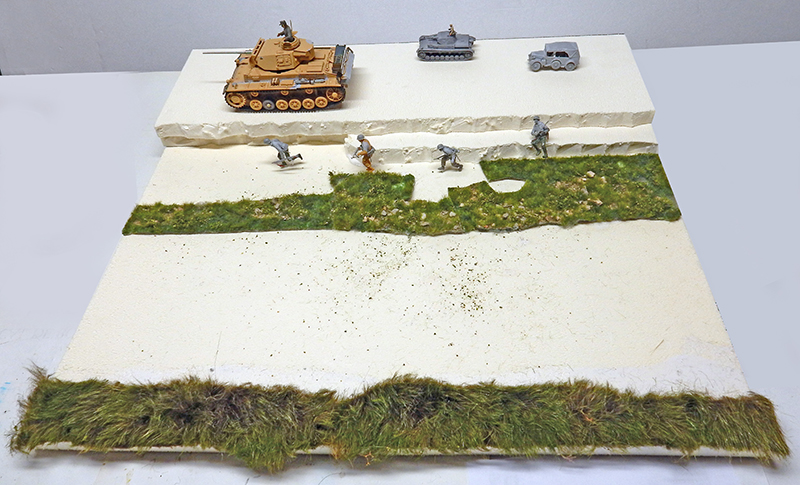
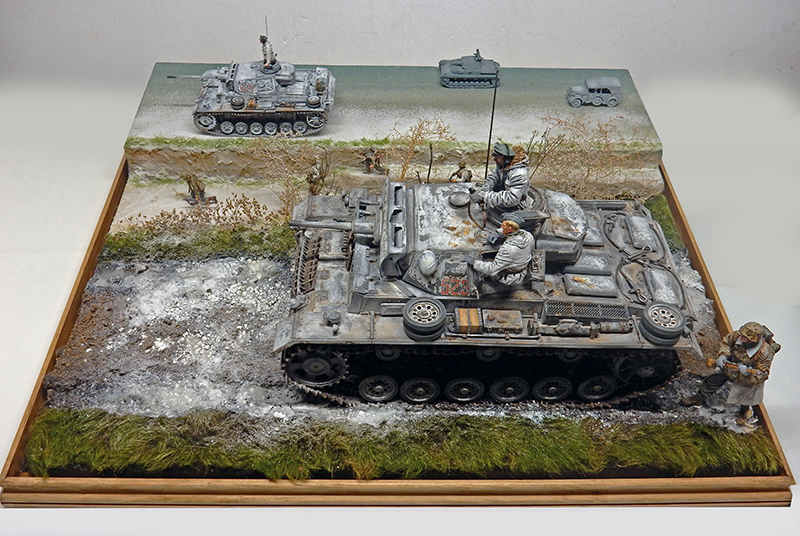
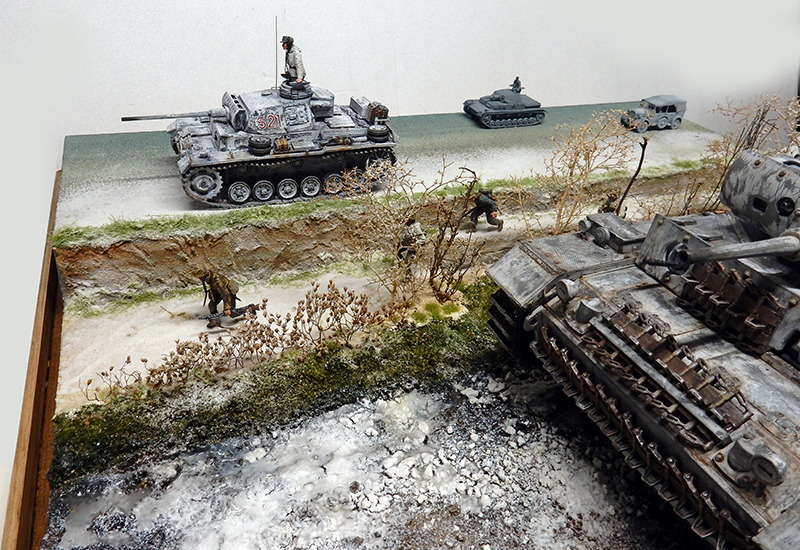
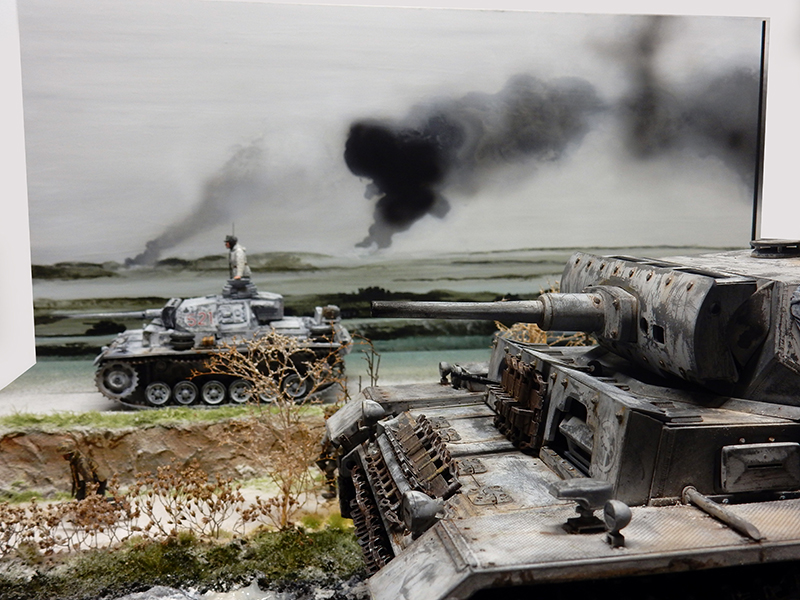
It will be built using forced perspective and will include another Panzer III at a scale of 1/35, some figures, and two other vehicles at scales of 1/76 and 1/72...
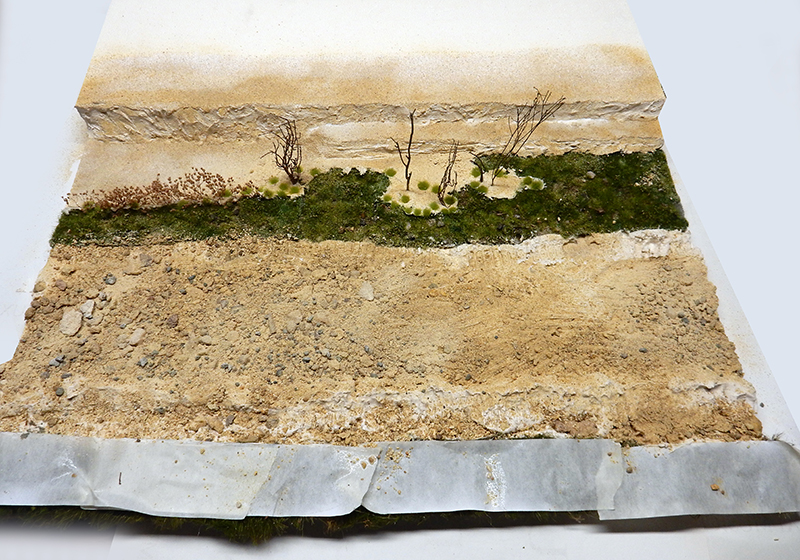
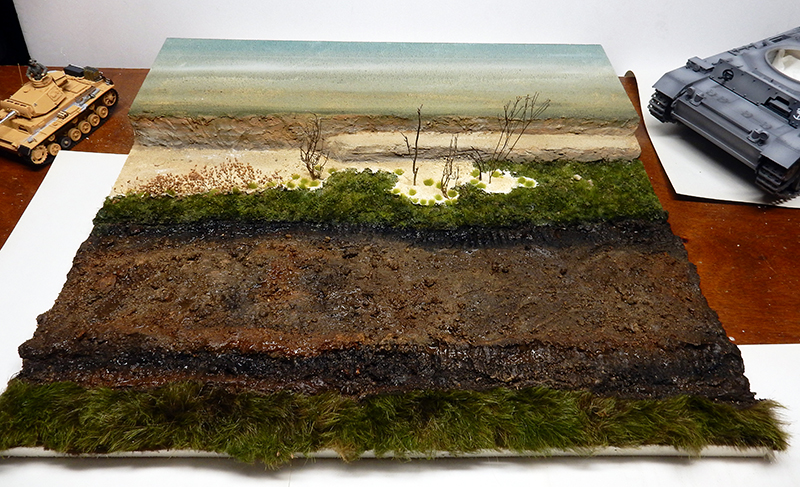
First things first: when you're setting up a diorama with a 1/16-scale model, the scenery must also be 1/16 scale!
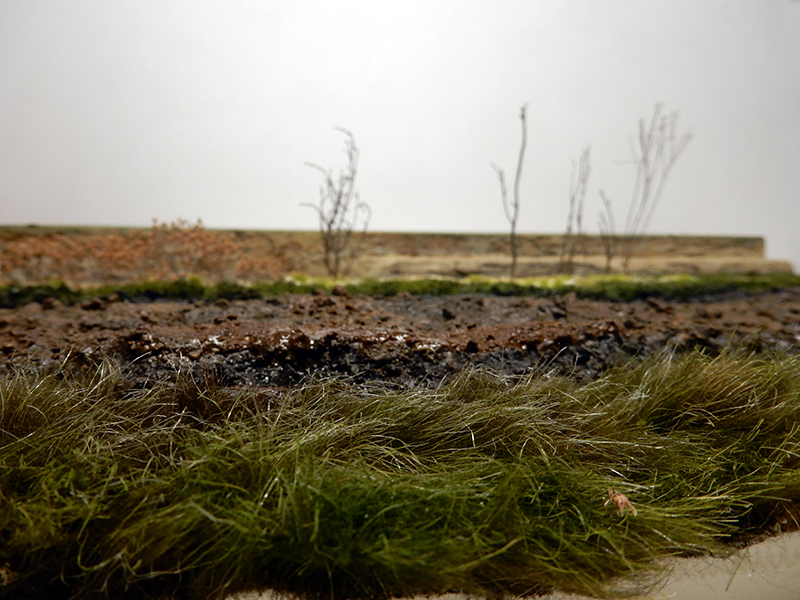
So the grass in the foreground is much taller than the grass in the background. Actually, it's a piece of "shaggy" carpet that's been dyed the right color...
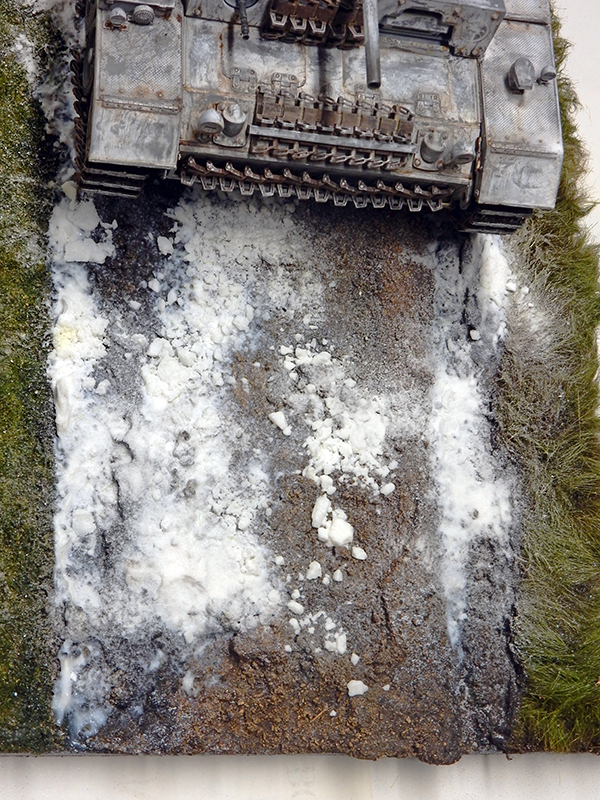
Hiding the grass in the foreground. Preparing the ground with plaster. Stones of various sizes are added, along with tracks left by caterpillars...
After it was completely dry, I painted the ground and the horizon with acrylic paint from a tube. Then I applied some modeling clay...
A horizontal view. You can clearly see the difference in scale compared to the background...
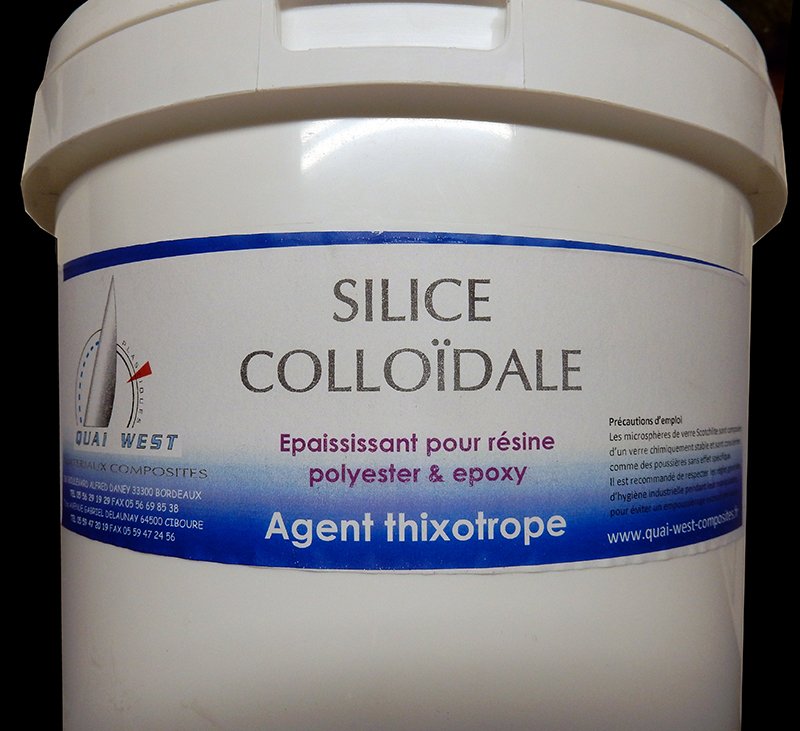
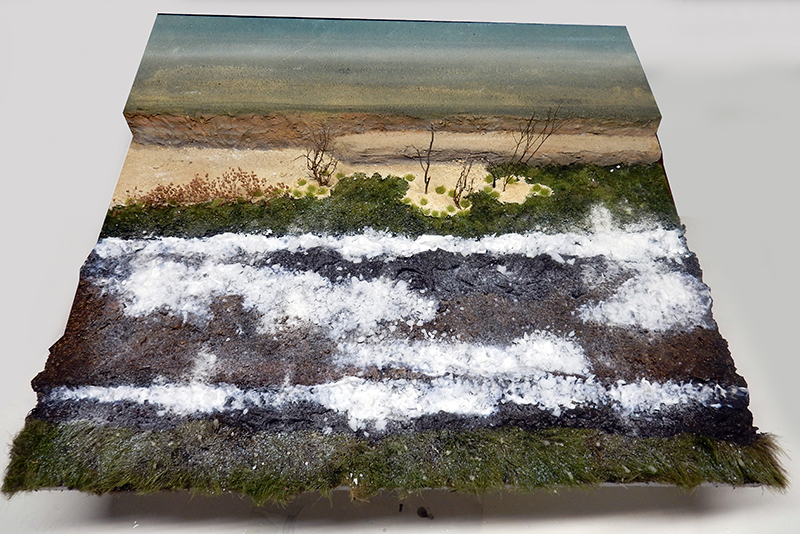
There isn't much snow here. So, you don't need large amounts of products like baking soda. Be careful with silica; wear a mask—the product is so fine, like pollen, that it can easily be inhaled into the lungs. It may cause coughing fits. Avoid sudden movements. Apply it with a strainer. Then secure everything with a spray bottle and heavily diluted wood glue...
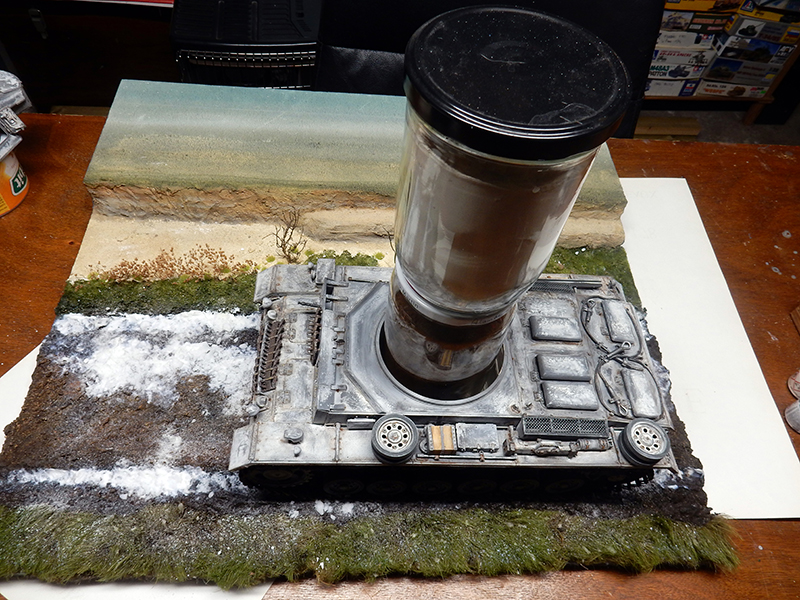
The tank on the base; wood glue—let it dry for 24 hours—which will then allow you to attach it to the ground and add mud and snow here and there as needed...
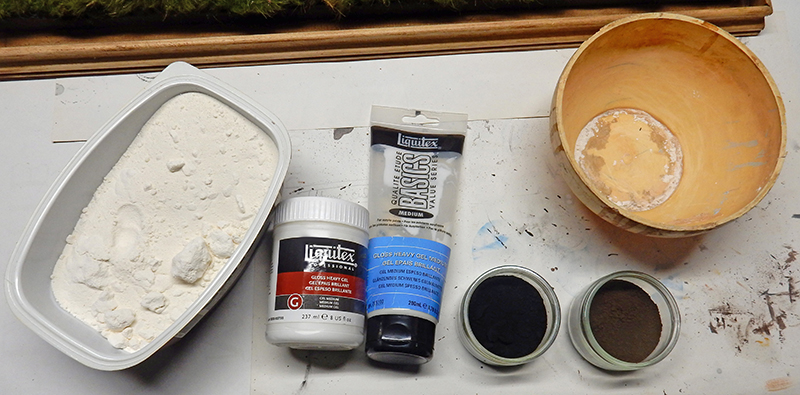
Detail. Acrylic gel will be added later to create puddles of water. Candle wax is applied in certain spots to simulate frozen water...
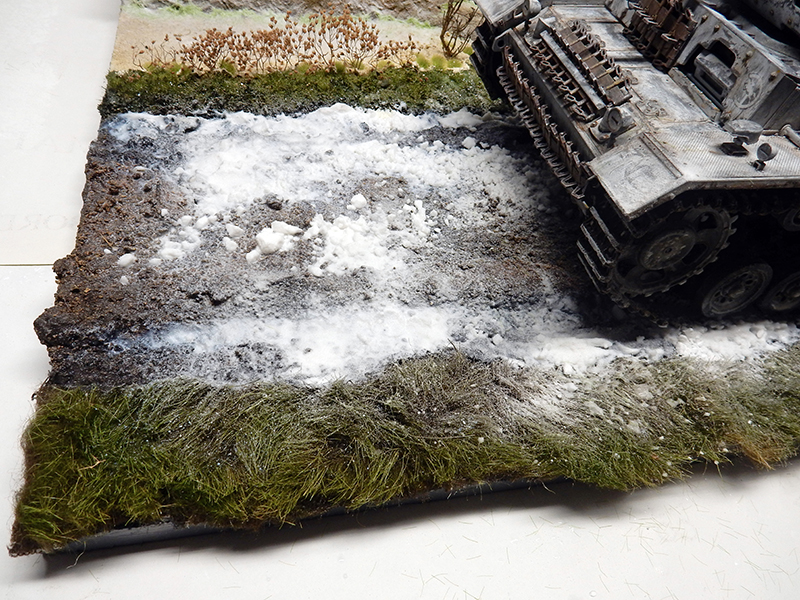
The 1/35-scale area is treated with a coat of glass powder and silica. The entire floor will be sprayed again with liquid wood glue, with glass powder and silica added in certain areas...
Another view. The blocks are pieces of silica...
Top view. More acrylic gel will be added...
Another view...
The Panzer III in 1/35 scale
A Tamiya kit featuring photo-etched parts, a long metal barrel, a box and jerry cans, and a mount to hold it all together...
He's painted just like his older brother...
Painted with hairspray as well. The antenna has been remade from stretched plastic...
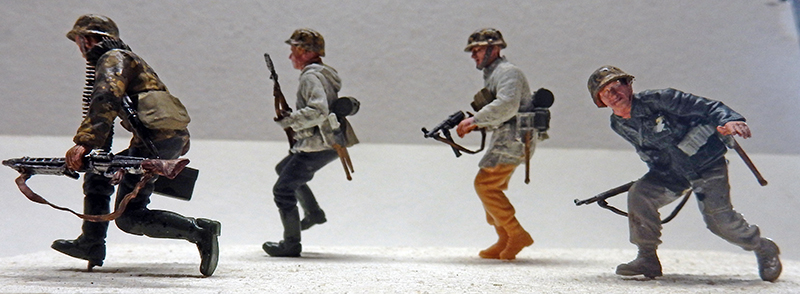
Figurines on the same scale will round out the display...
Gluing after painting. A lead tank commander figure is added to the tank. Installing the radio cables. Gluing the infantry figures into the diorama...
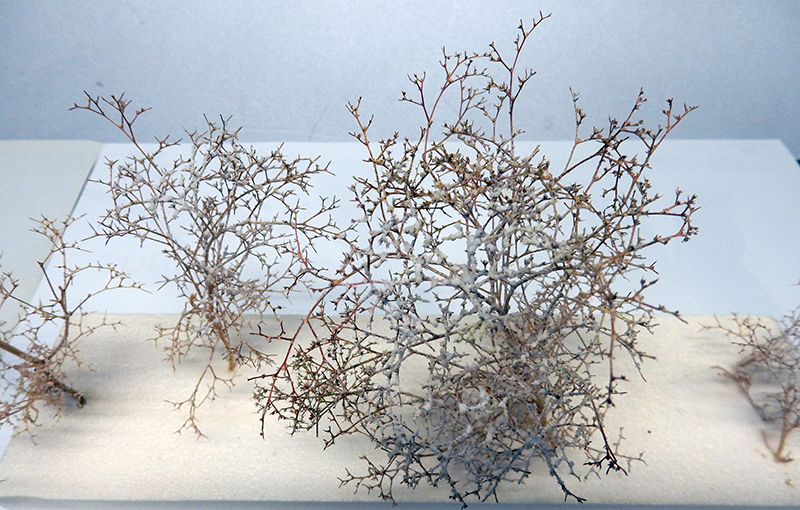
The vegetation was covered in snow as well...
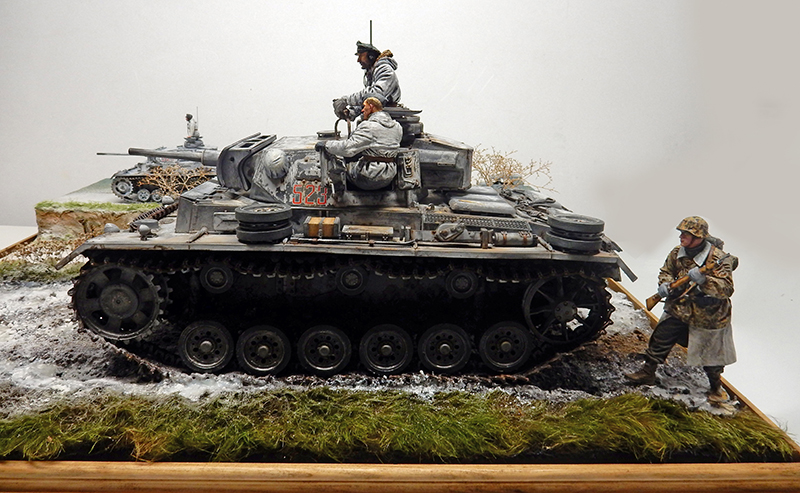
An overview of the various plans...
Another view...
Painting and positioning of the Panzer crew. Pastel was added to create dirt marks and footprints on the hull and turret...
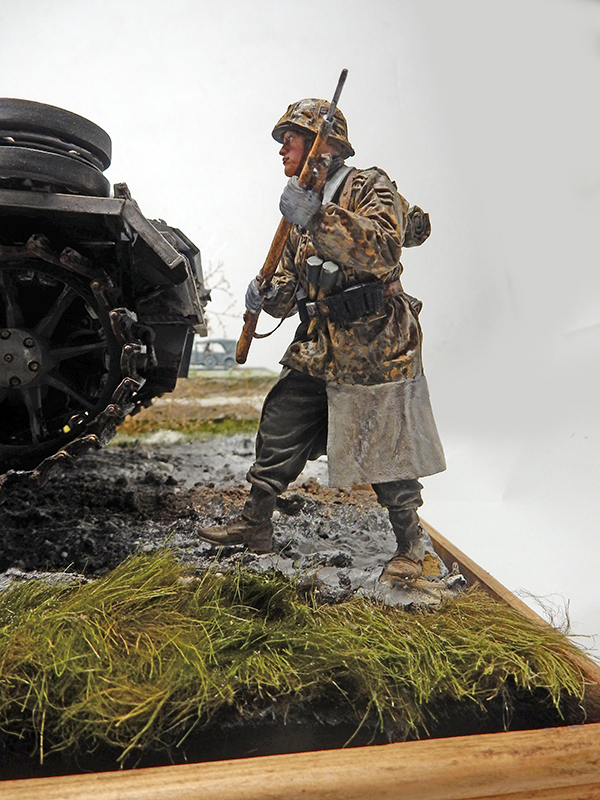
A 1/16-scale panzergrenadier was glued in place behind the tank after assembly and painting...
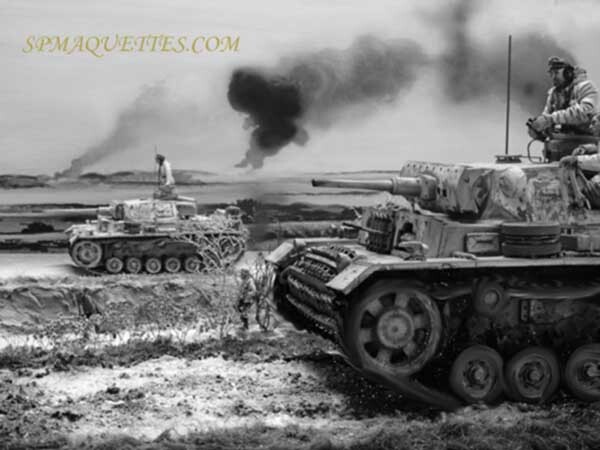
Overview...
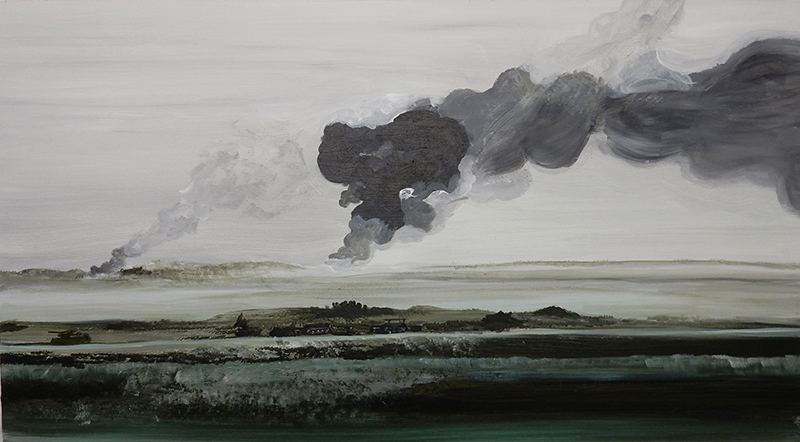
The Background
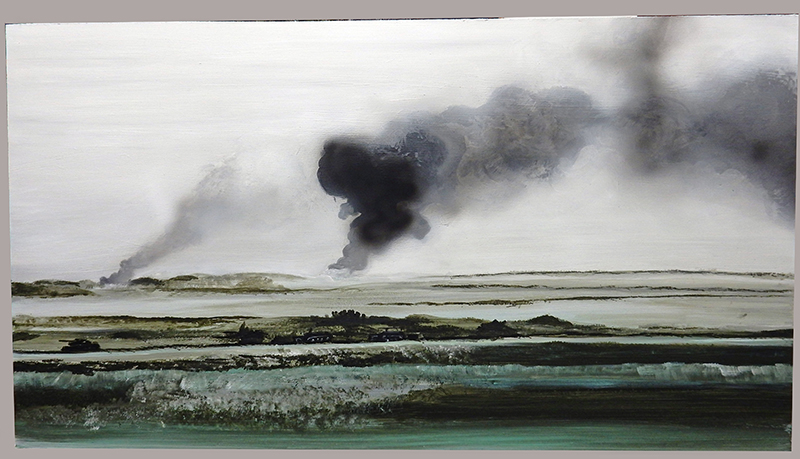
Panel width: 60 x 35 cm. The sketch depicts the countryside around Stalingrad, based on period photographs. Acrylic paint...