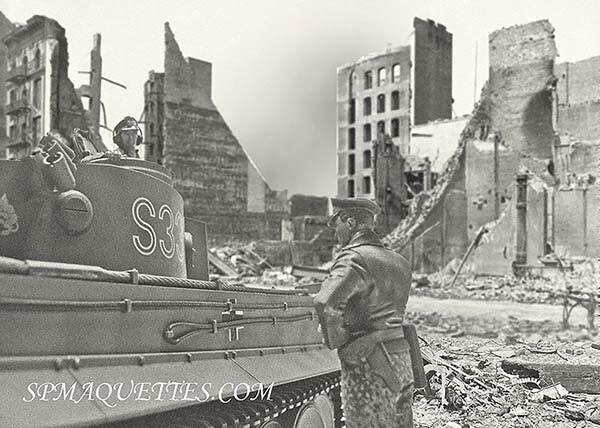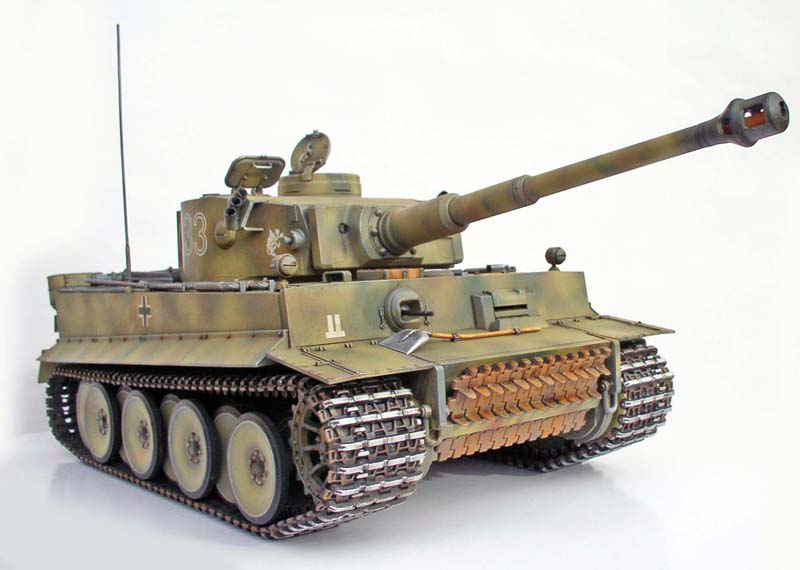
The model in question is the radio-controlled Tiger tank that Tamiya produced a few years ago, but which remains a superb piece...
The goal wasn't to make it look dirty like a smaller-scale static model you see in dioramas—since it will get dirty on its own while driving—but just to give it a battle-worn look...
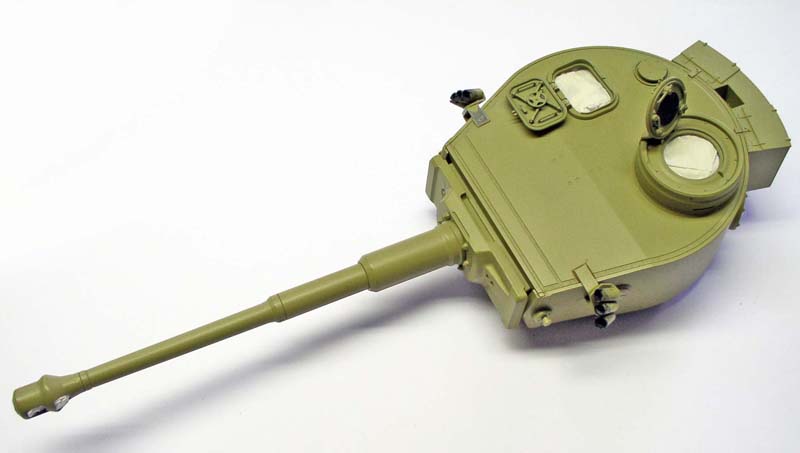
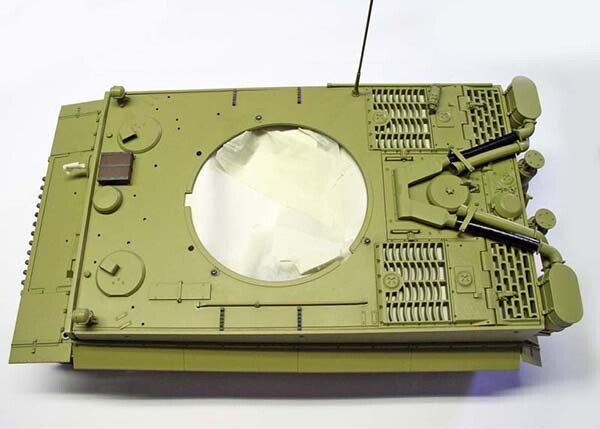
The base was initially spray-painted with a light earth-colored acrylic paint (which is pretty ironic for a tank!)...
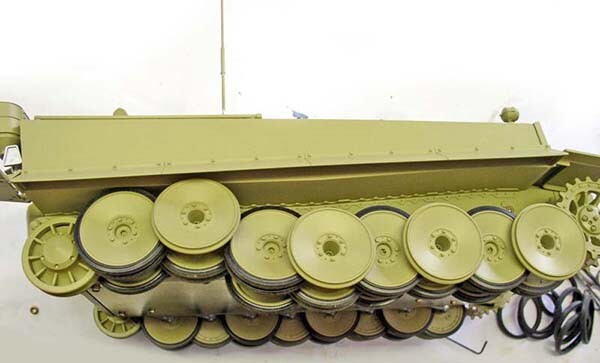
The undercarriage must be disassembled to paint the parts. The rubber rollers will also be removed and left as is. The natural dust picked up while rolling will be enough to give them a weathered look...
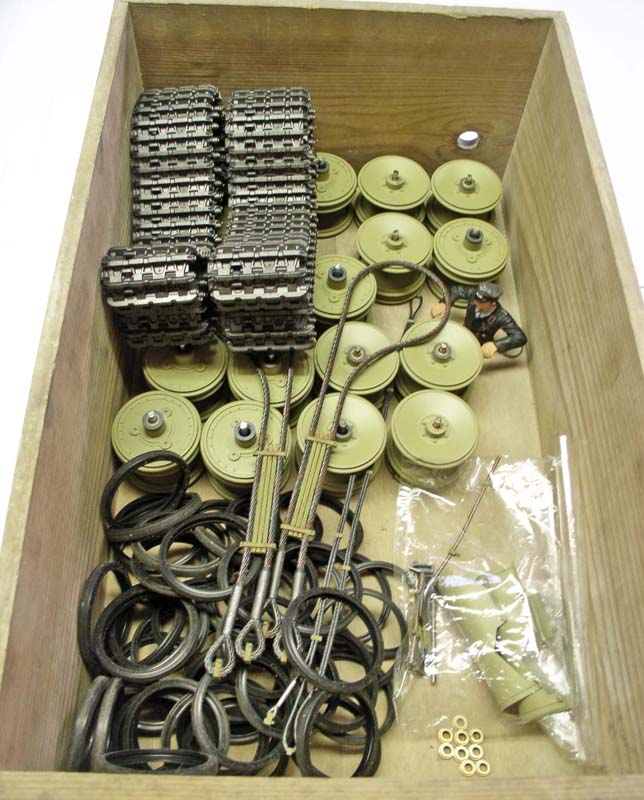
An overview of the parts removed from the tank to make painting easier. Wheels, idler rollers, tracks, cables, tools, exhaust covers, and... a figurine...
Painting
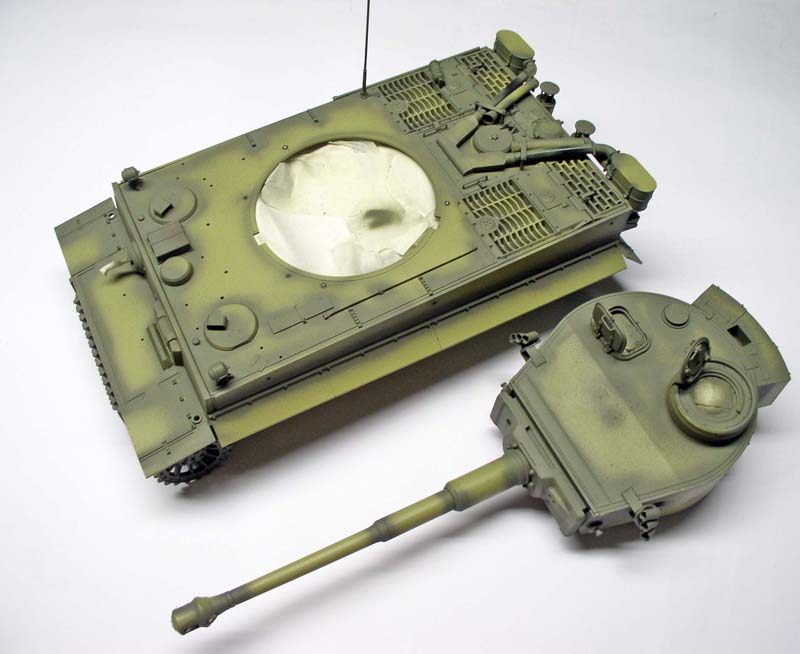
Airbrushed the entire model with Humbrol oil-based paint, color 84, to create a shading effect...
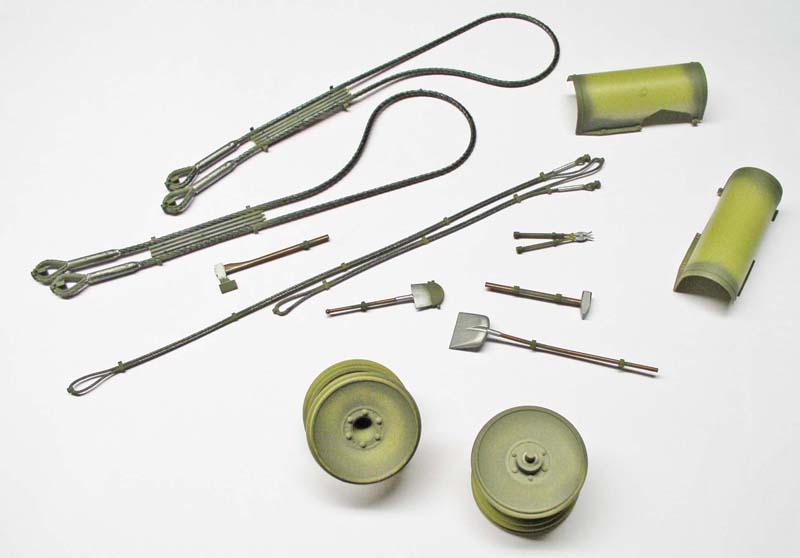
Don't forget to paint the model's separate parts as well...
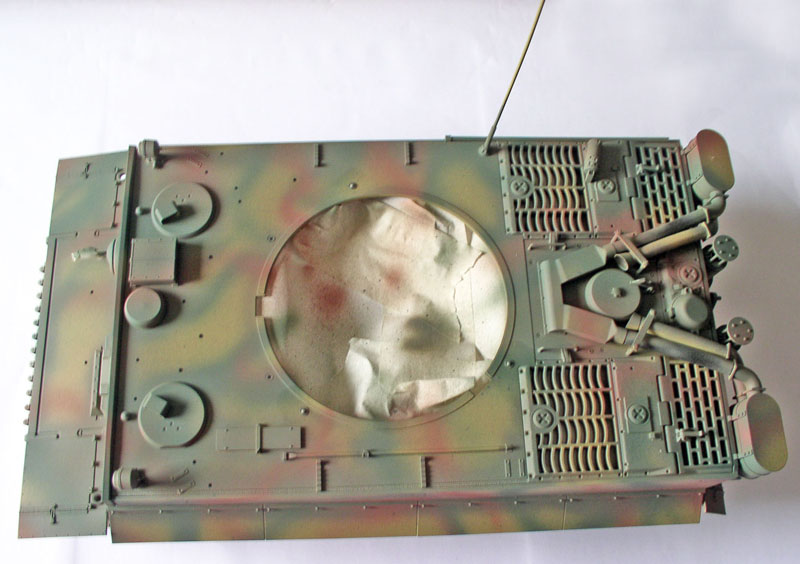
Then came the green-and-rust-brown camouflage pattern specific to this type of vehicle, starting in 1943. Humbrol 30 & 70...
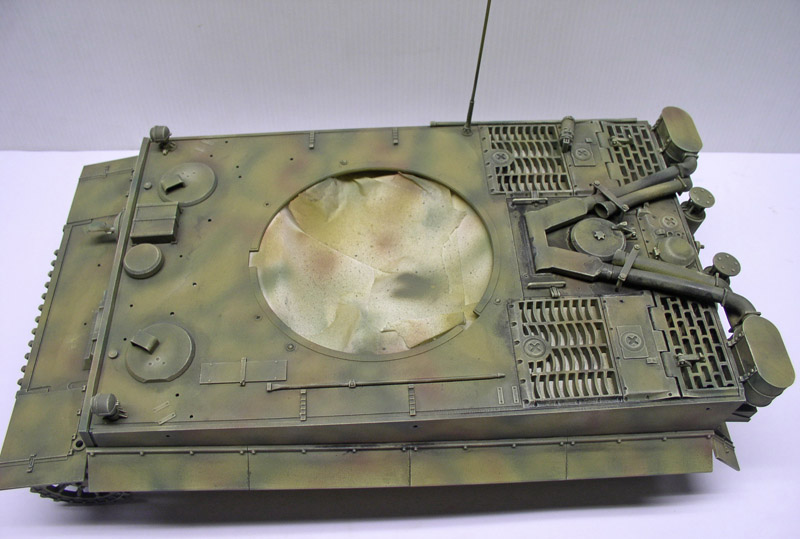
After drying, apply a 70% diluted black glaze with a little 98% chocolate, wiping off the excess as you go...
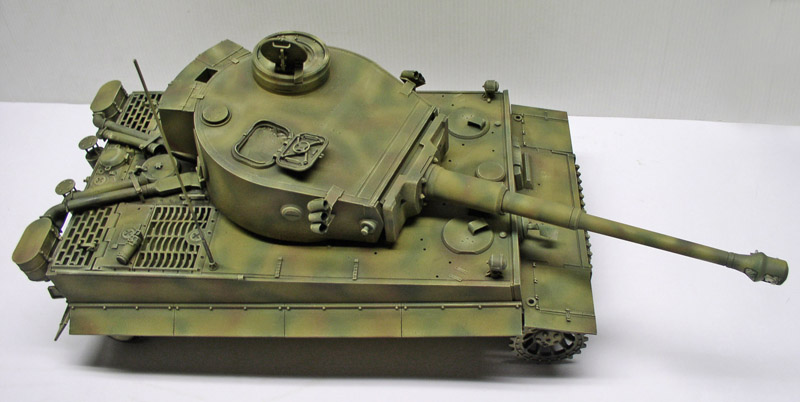
After drying, lighten Sand Yellow 93 and 148 with an airbrush to help blend the camouflage patterns into the overall design...
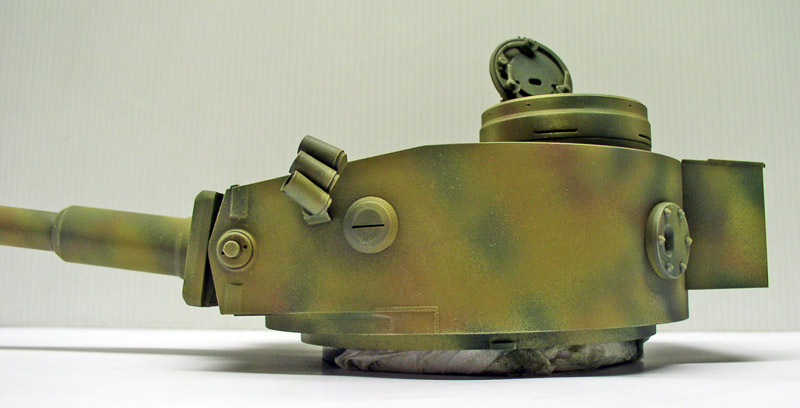
Close-up of the turret...
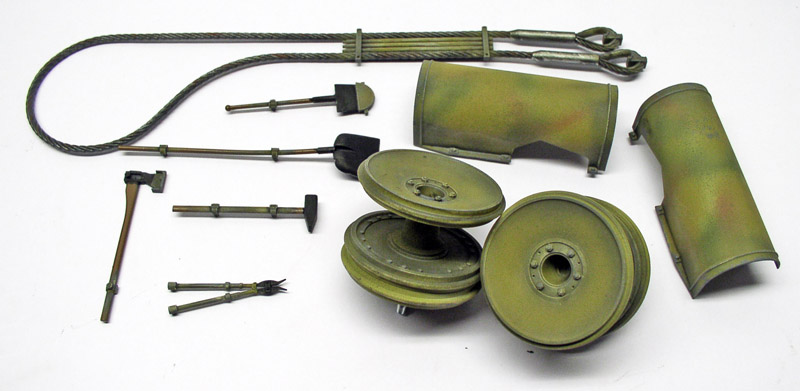
The body parts that have been separated are treated in the same way...
Chipping
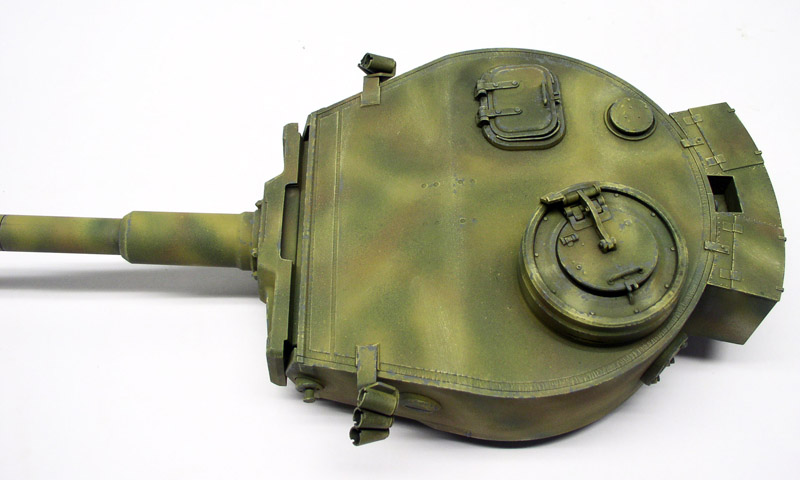
The chipping effect is created using Humbrol 66 and a very fine brush. Knowing where the erosion is and having good photos of the subject can help you avoid certain mistakes that you sometimes see at exhibitions...
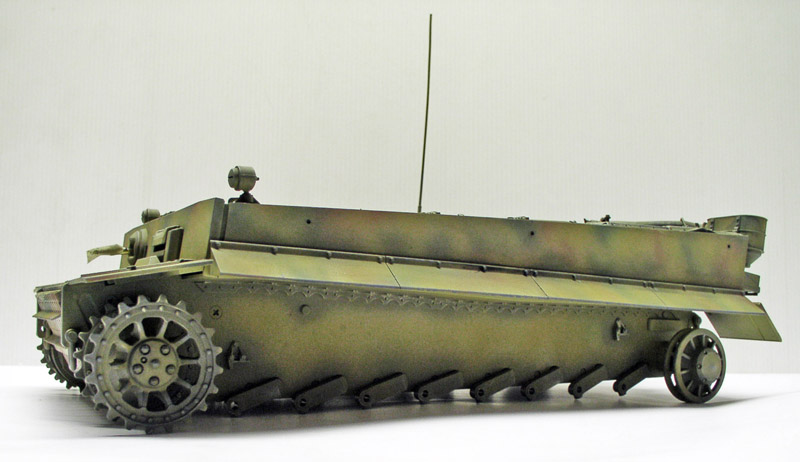
Riding the train requires a lot of attention and patience...
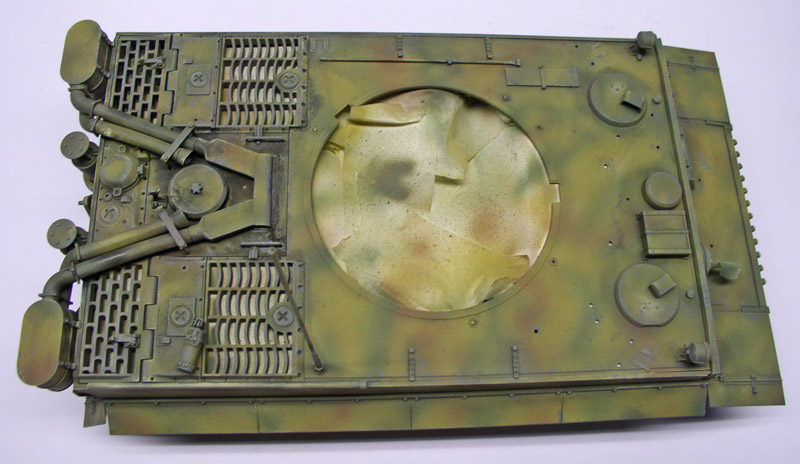
The engine section is also covered in great detail...
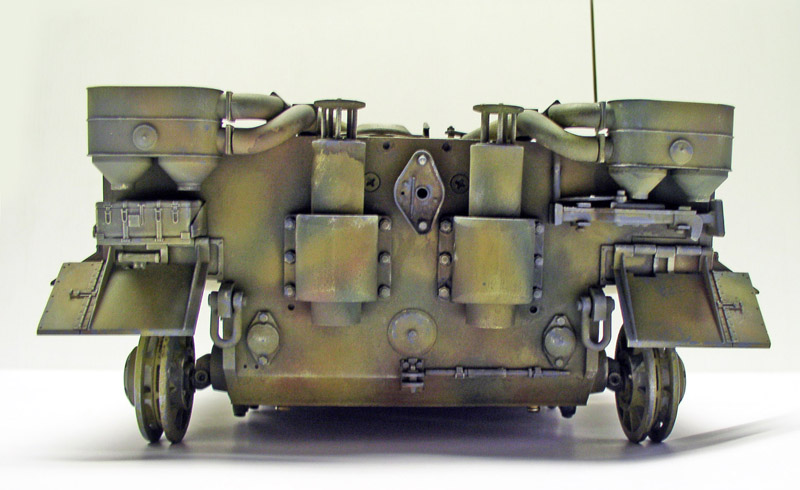
Rear view...
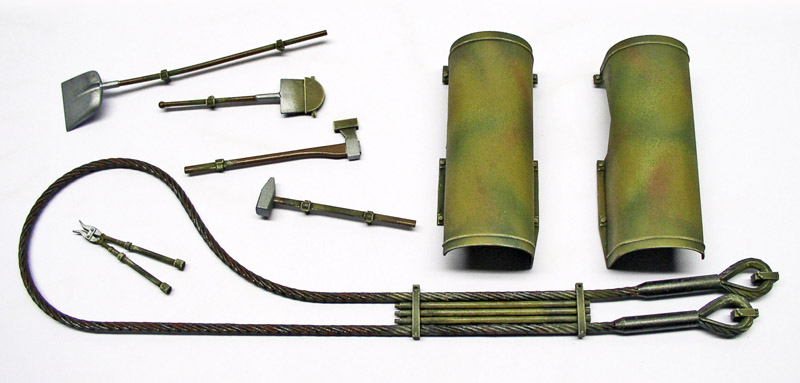
Metal parts: Here, we're using Revell 66 Metal for an initial effect...
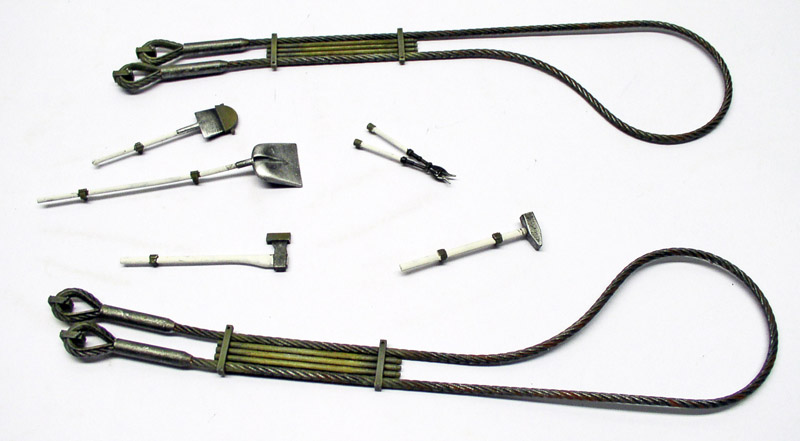
Then we add a slight touch of Humbrol Silver 11, using it sparingly... The wooden tool handles were given a white undercoat...
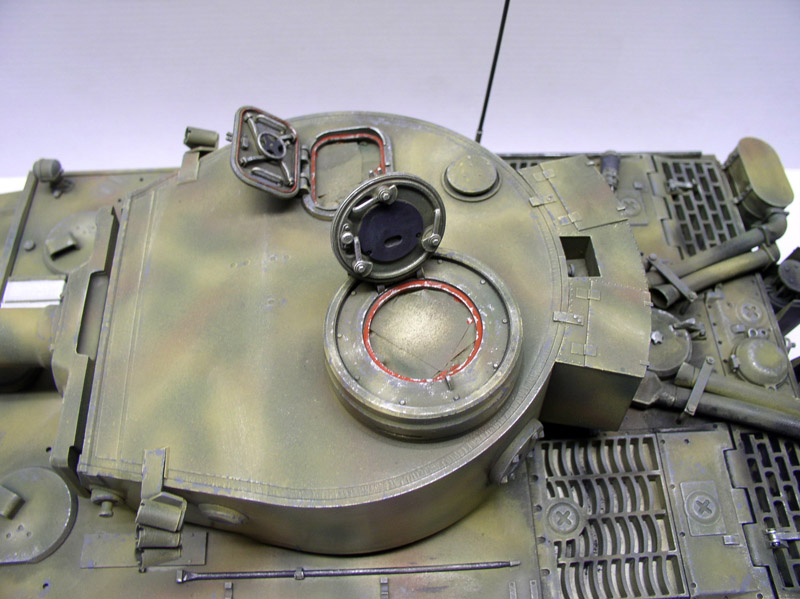
Repeat this process over the entire tank, using a flat sable brush in some places...
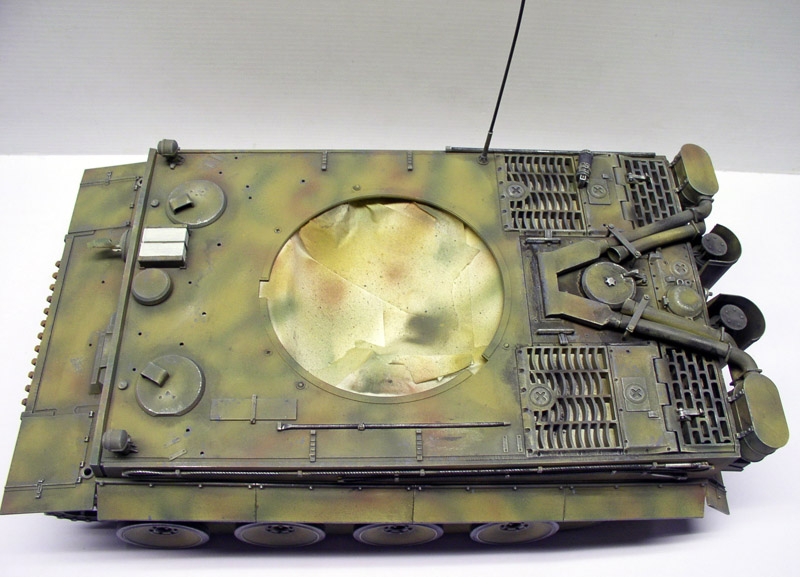
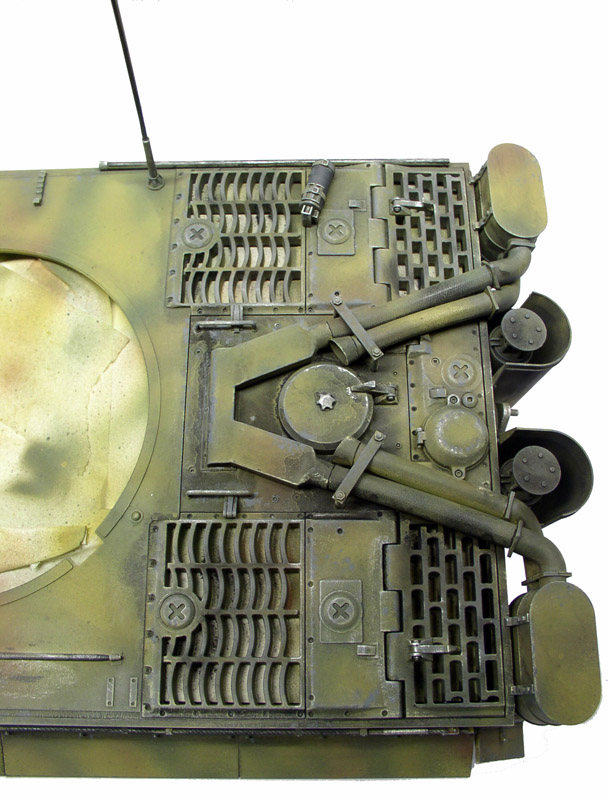
Two views of the vehicle's metal finish. It's clear that you need to use a light hand when applying the patina and not overdo it...
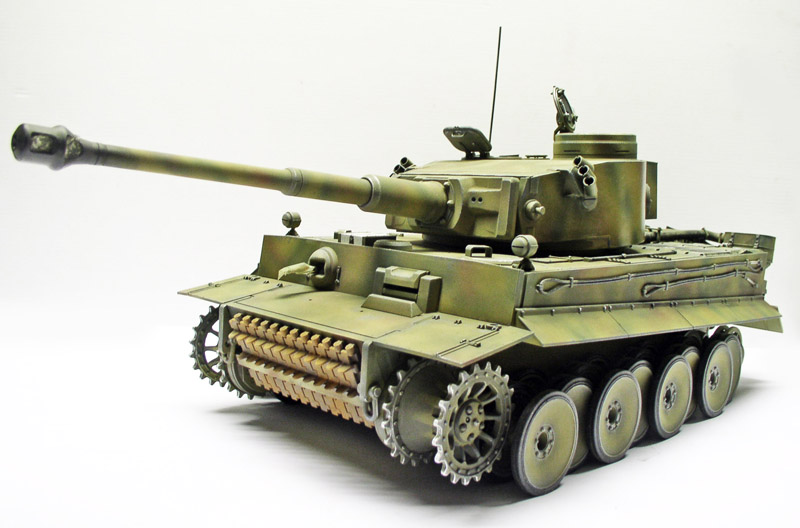
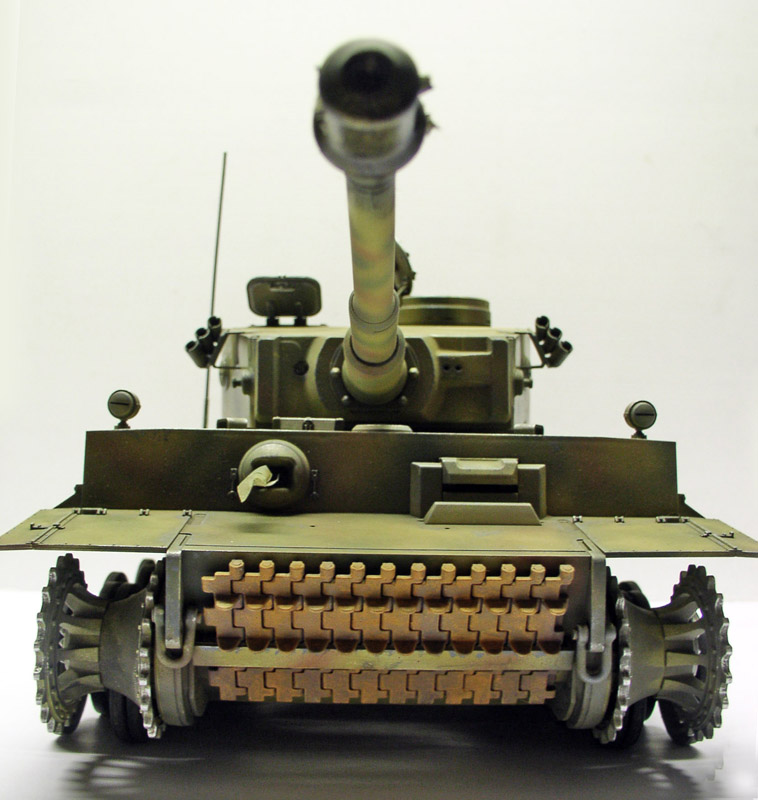
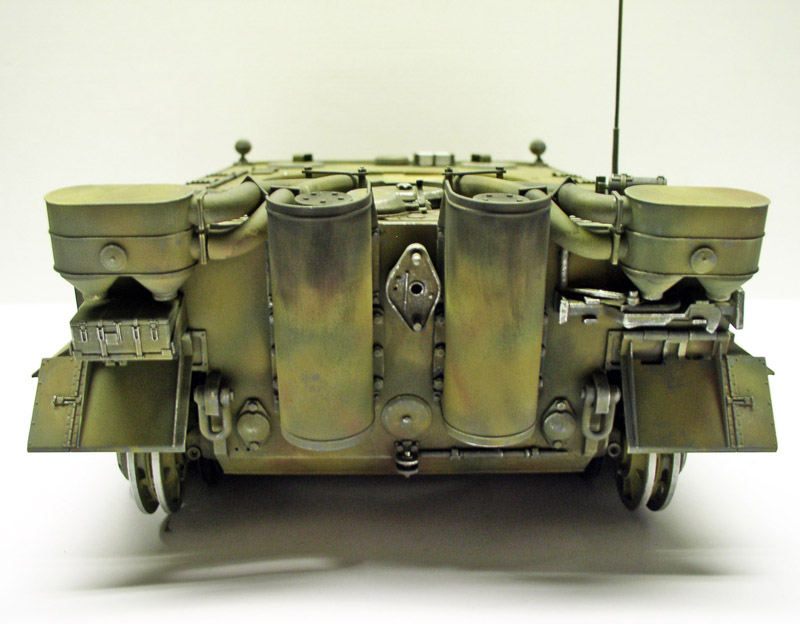
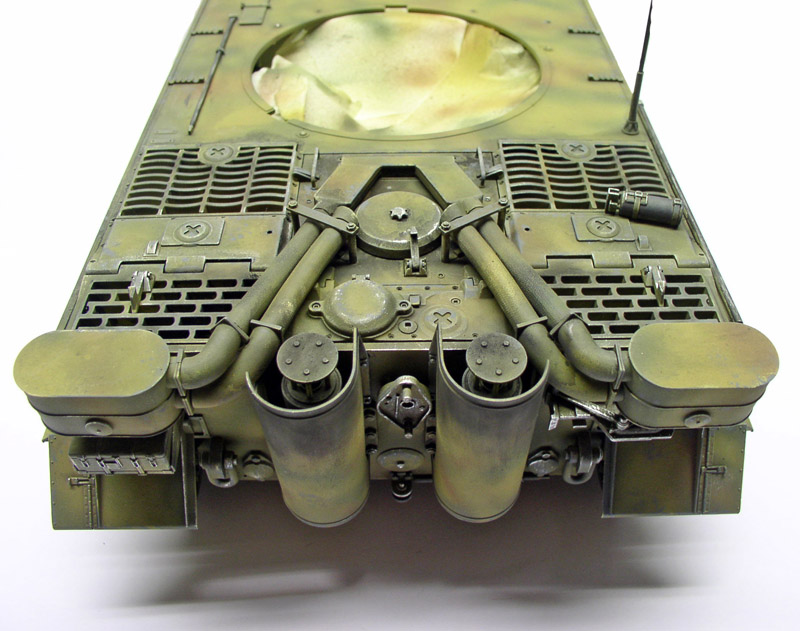
The exhaust tips and engine grilles were treated with carbon black—black pastel powder...
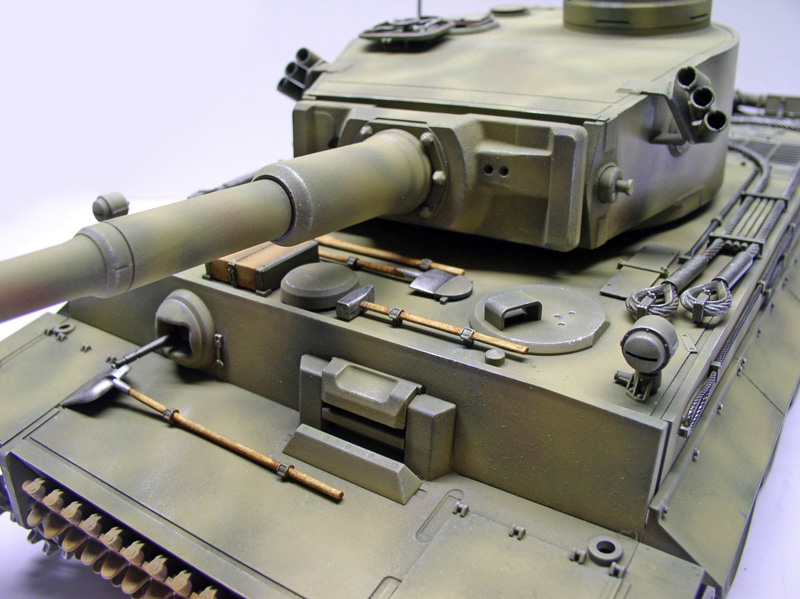
The tool handles are painted with Windsor & Newton artist's oil paints in Umber, Sienna, Naples Yellow, and white...
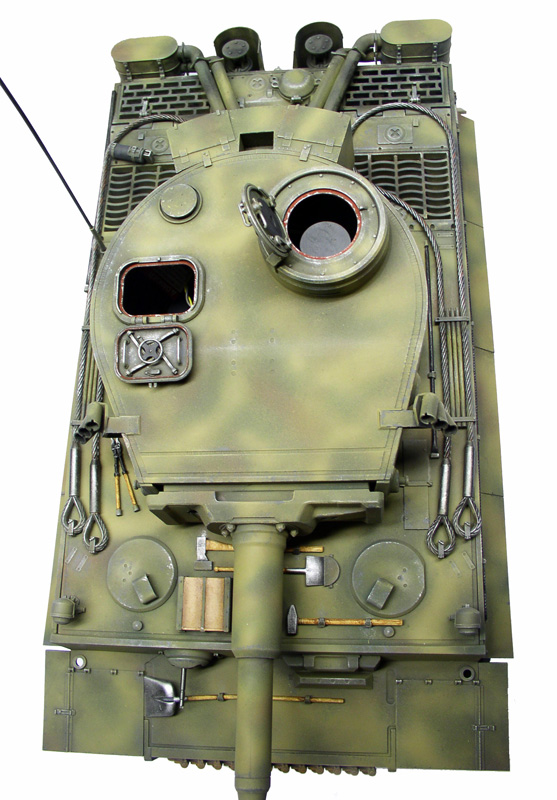
A view from above...
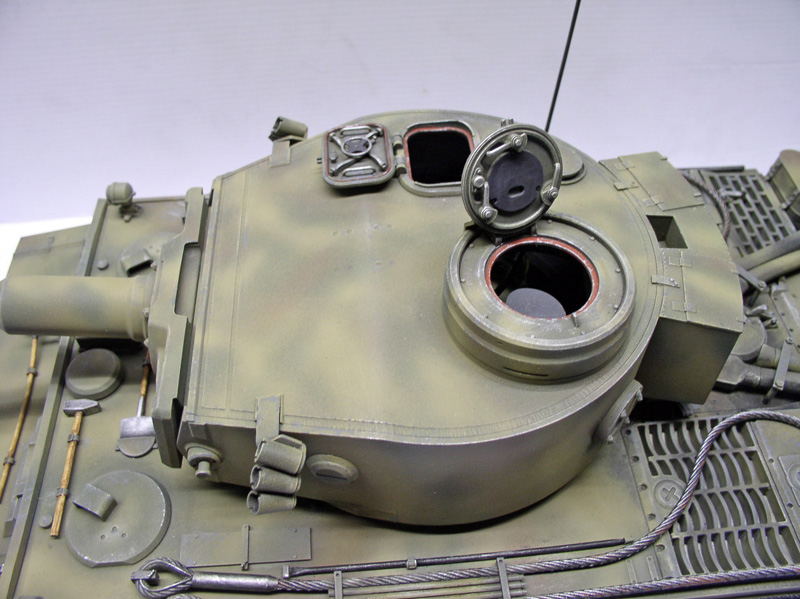
View of the turret hatches...
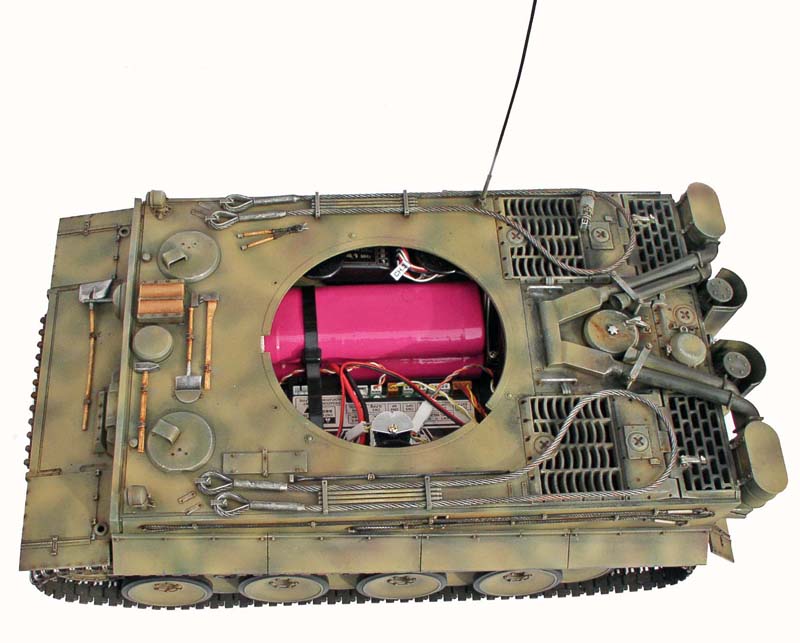
A photo showing the engine's batteries in daylight...
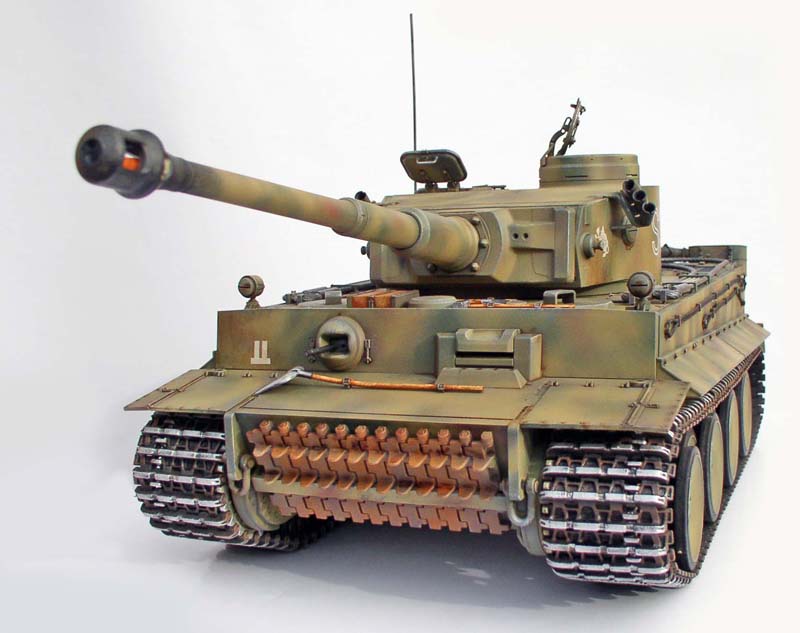
The cannon was also coated with gunpowder black, as were the smoke grenades...
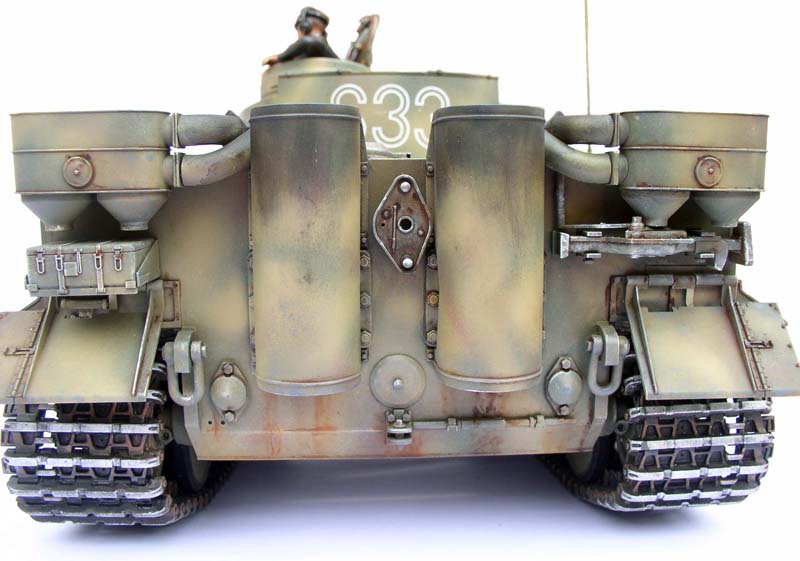
Oxidation and rust streaks are applied with a fine brush using Umber and Sienna...
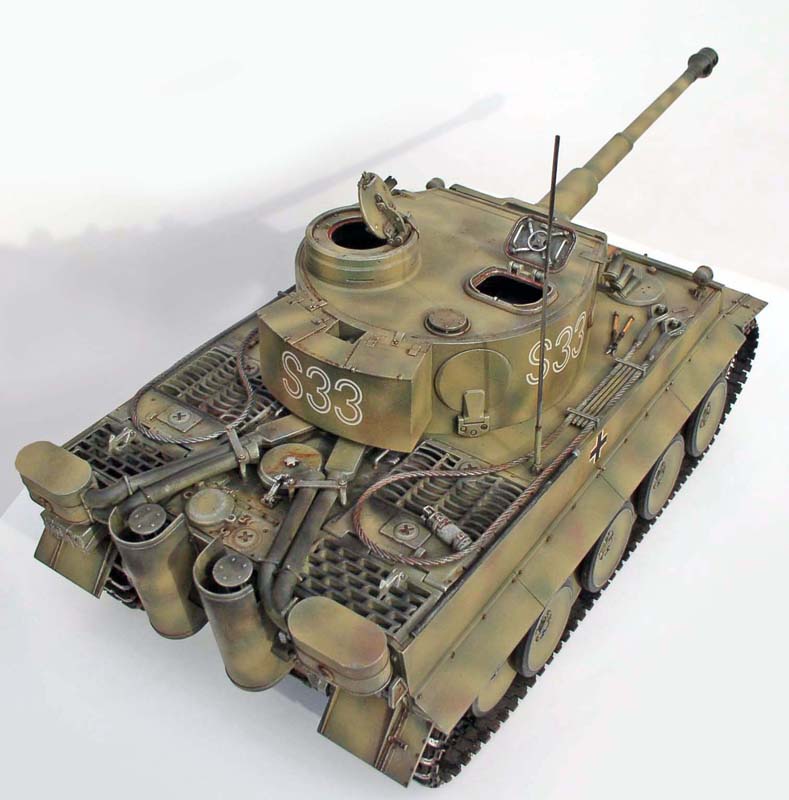
A spray can of matte clear coat will complete the finish and protect the paint...
Caterpillars
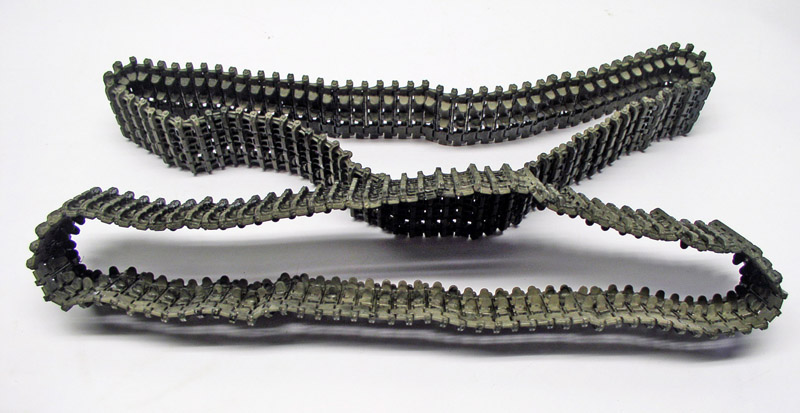
The tracks. These are made of rubber. The base is a brown MC6...
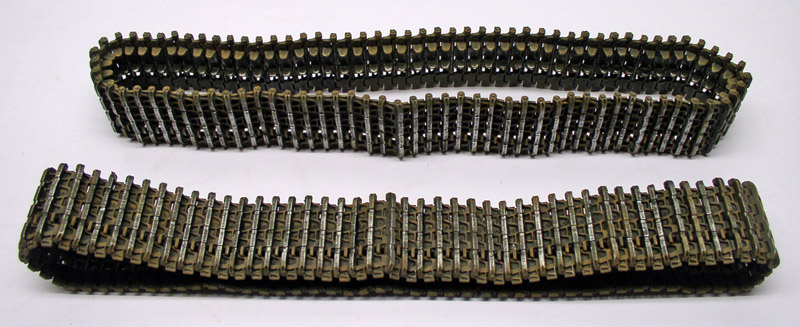
...Then a drybrush with 98. After applying a wash of matte black and 98, drybrush with metallic 66...
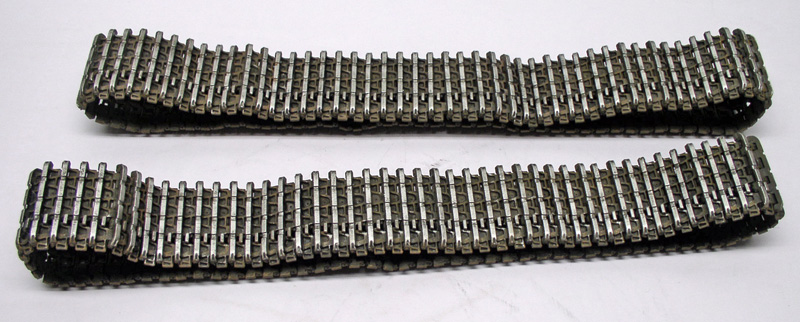
...Then a No. 11 silver finish on the parts that rub against the road...
The figurine
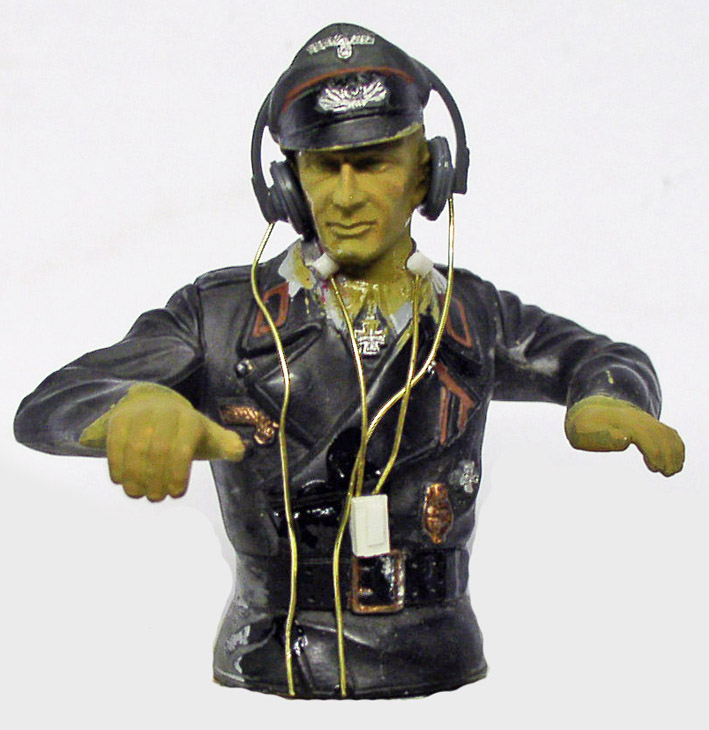
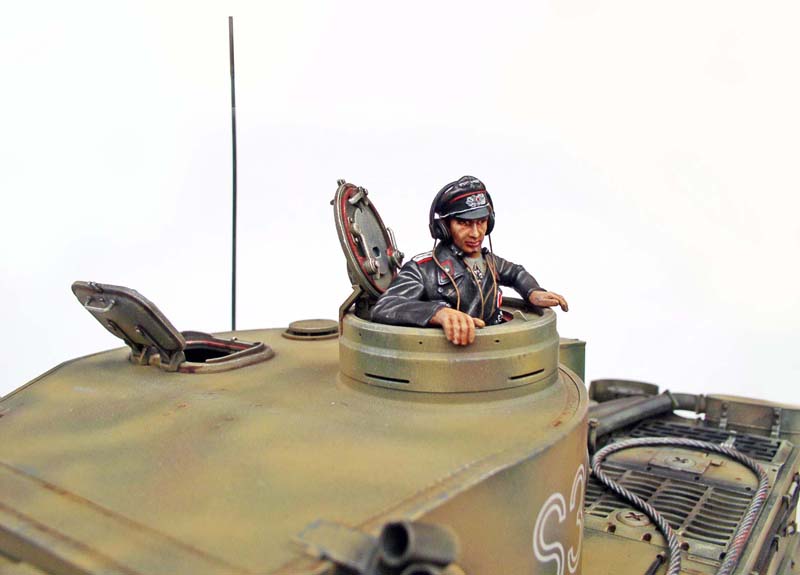
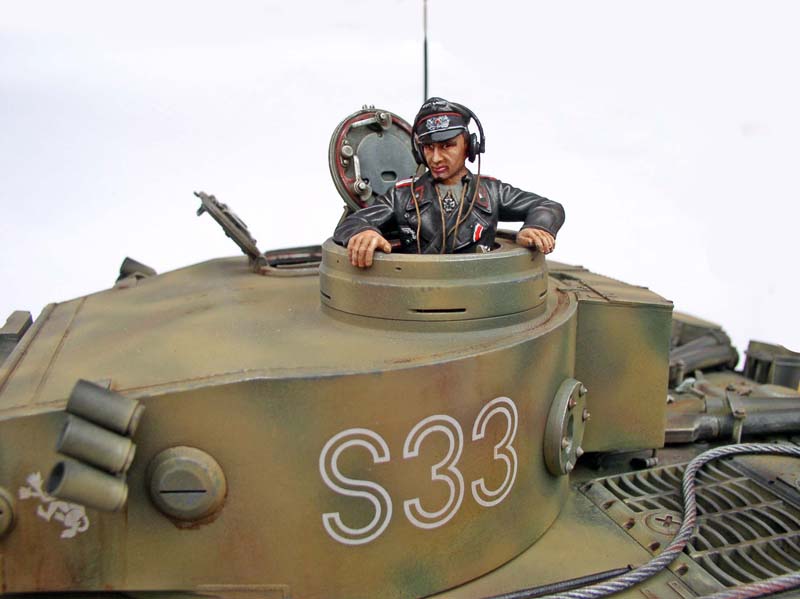
The figure included with the tank is very simple and requires a bit of detailing. The helmet cable was added, as well as the throat microphone, its housing, and its cable... Note that there is a resin kit at this scale with photo-etched parts for the entire crew—three figures—as well as a photo-etched kit for the Tiger—for those willing to pay the price!
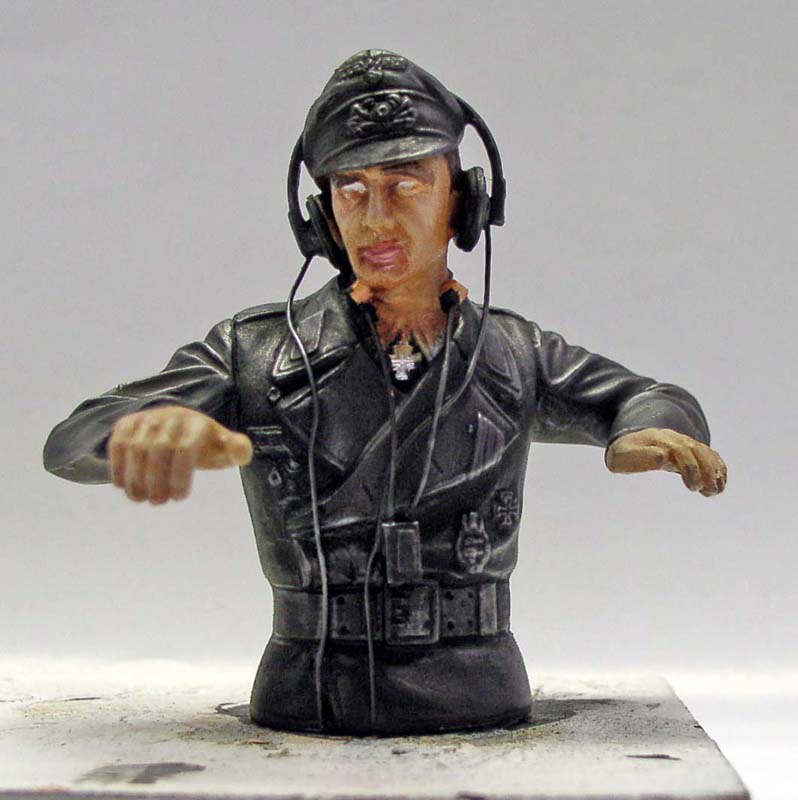
The flesh-colored parts are painted with artist's oil paint; the rest is painted with Humbrol oil paint...
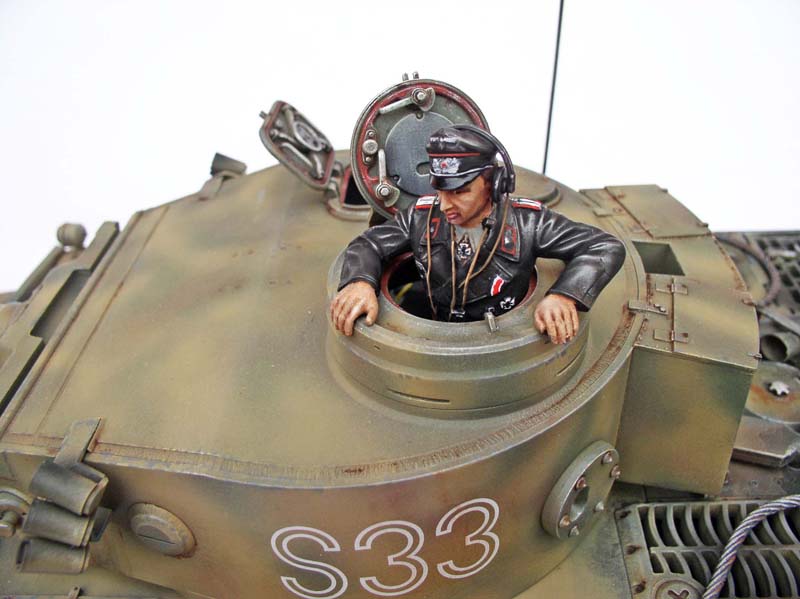
The finished figurine in position...
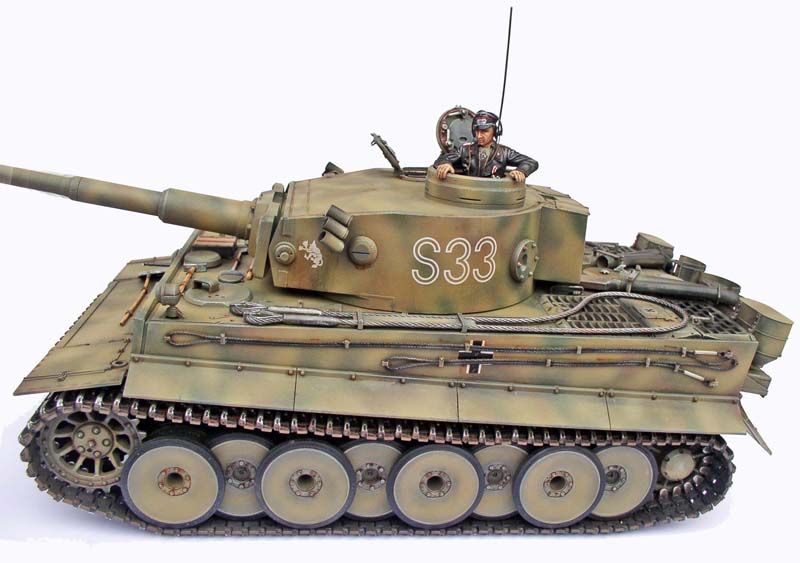
Radio-controlled models—even more so than static displays—deserve a good color treatment that makes them look somewhat weathered, so they resemble their real-life counterparts and look less like sophisticated toys...