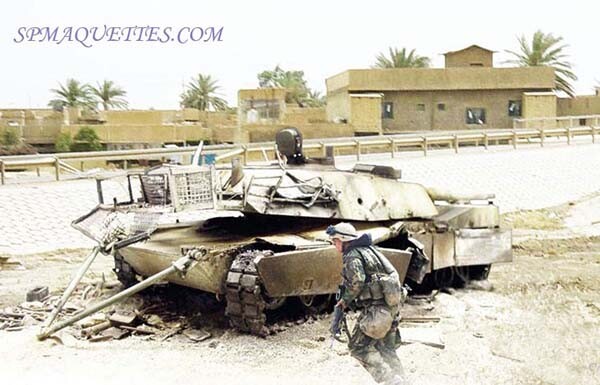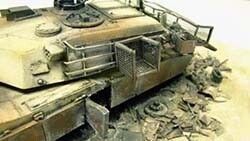
Here's a technique for creating effects of wear and tear on military equipment in action. In this case, a tank. Of course, it's not the only technique, but it's a good starting point...
But first, I'd like to give a brief overview for beginners—something you'll need to get started with this hobby...
a) ASSEMBLY
First, I’d like to revisit the topic of model assembly in general. It’s essential to take great care during this phase. It’s better to have a well-assembled but poorly painted kit than the other way around... I repainted my first thirty tanks when I discovered new techniques, and I still sometimes go back and rework a part that I’m not satisfied with...
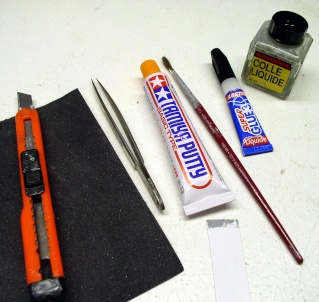 |
You don't need any special tools for assembly.
* A utility knife with interchangeable blades.
* A pair of tapered-tip tweezers (for picking up small objects).
* A tube of putty (TAMIYA is a great choice).
* A bottle of liquid glue (TAMIYA or HUMBROL).
* A tube of liquid SUPERGLUE (the real thing!)
* 320- and 180-grit gray sandpaper.
* Later on, a small electric drill will come in very handy.
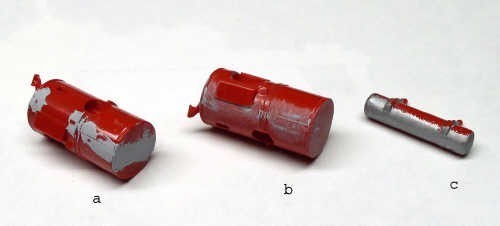
All two-piece parts must be carefully assembled (barrels, cylindrical tanks, etc.). Once they are glued together, apply a small amount of putty along the seam and let it dry for 24 hours. Then sand the part and apply a coat of paint; the seam should remain invisible. If any traces remain, repeat the process on the affected areas. Once the vehicle is assembled, check the joints. Some may not fit properly, or there may be a slight gap. Some body panel seams do not exist on the real vehicle (e.g., the front of the M48 Patton), so you’ll need to make them disappear...
Squeeze a small amount of putty from the tube onto a piece of cardboard. Dip a medium-sized brush—which you’ll use only for this purpose—into the bottle of liquid glue, and thin the putty until it reaches a consistency that allows you to apply it with the brush to the area you need to fill. Let it dry for 24 hours. Clean the brush immediately with mineral spirits...
Use Superglue for complicated assemblies involving small parts and for other materials (lead, wood, cardboard, copper wire), as well as for large, durable body gluing jobs! For the tracks, the individual track links are glued directly onto the tank during assembly. Start with the drive sprocket and finish with the bottom section (the part that touches the ground). It’s easier to hide any imperfections in the attachment at ground level once the tank is in its display setting. Once painted, the “soft” tracks will be glued on last, after the model is finished and painted, using Super Glue with cardboard shims to hold the track’s shape while it dries (study photos of the real ones first)...
b) DOCUMENTATION
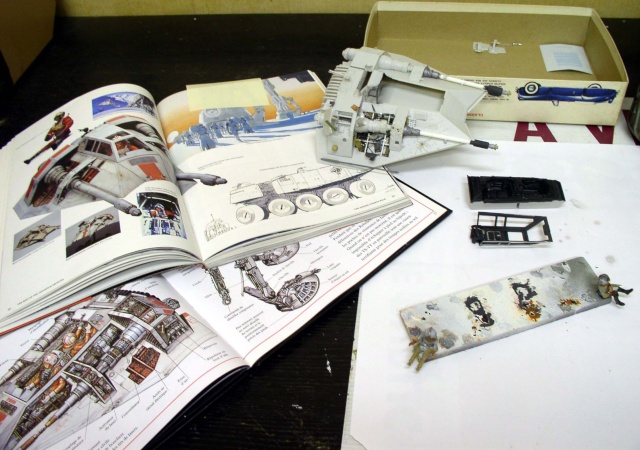
The documentation allows you to significantly improve your kit as you assemble it. It is essential—even indispensable! It’s important to study the photos carefully to enhance the model’s realism, which is why it’s helpful to have a collection of reference images. It’s not just about tank photos—even a simple rusty metal plate can provide valuable insights. No problem with the internet—you can find everything there...
Painting
PAINTING/PRIMERS
I'm going to cover two topics at the same time. The color of a normal vehicle and that of a burned-out vehicle. I’ve always used HUMBROL oils, which to me are unmatched—especially in the Army Greens. Unfortunately, the product line has been shrinking like a shriveling skin over the past few years, and the new European standards will eventually cause them to disappear...
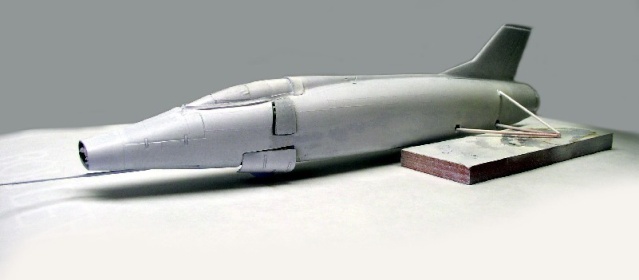
It is recommended to apply a coat of primer before the base coat. The paint adheres better, and any imperfections that were overlooked during assembly become visible, allowing you to correct them before applying the final coat...
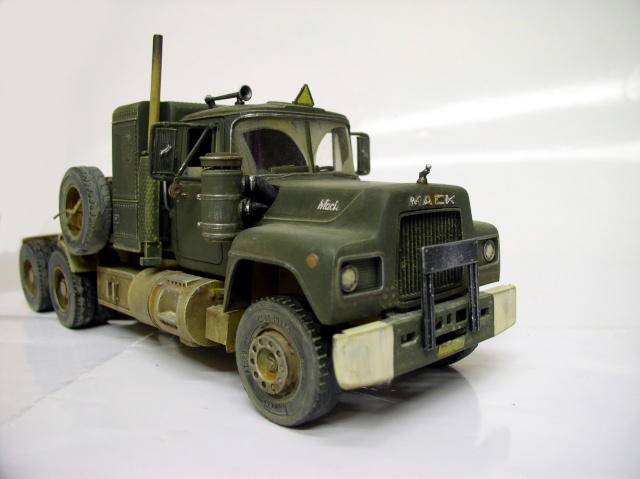
The colors should be close to what you see, but it's the final effect that counts. The only "meters" that matter are
"purists" who'll tell you that you have to use this particular shade of green and no other. A given color can vary from one vehicle to another and also depending on the light, which is constantly changing in nature. The same tank will look different in a museum than it does in action. Similarly, when building models, you need to take scale into account when working with color...
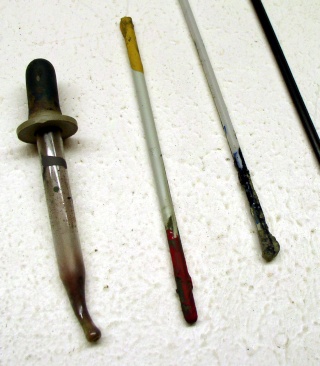 |  |
Utilisez des restes de grappes en plastique ou des baguettes de bois de brochettes pour bien remuer la peinture au fond des pots au moins 5 MINUTES (en hiver, réchauffez les pots quelques heures avant sur un radiateur). Il ne doit plus y avoir de pâte au fond du pot. Rajoutez du White Spirit avec un compte-gouttes si la peinture est trop épaisse. Je conseille à ceux qui peignent régulièrement à l'aérographe d'avoir deux pots d'une même couleur, une pour l'aérographe, l'autre pour le pinceau, j'y reviendrai plus tard.
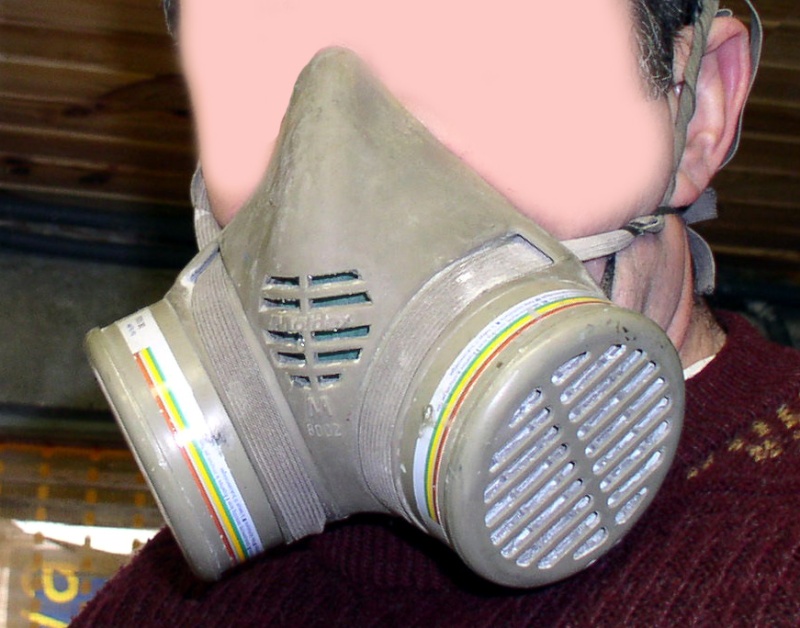
When the paint is runny, transfer it to the airbrush reservoir using the dropper and test it on a piece of cardboard to adjust the flow rate. Airbrush problems often stem from a lack of preparation and improper cleaning of the equipment. Double-action airbrushes are very delicate and clog easily. ALWAYS insert the needle into the body from the back (by which I mean the back of the needle). NEVER from the tip. Clean immediately after use. A tip for acrylics: use shaving foam to unclog the airbrush. Always start painting next to the model and stop after you’re done; NEVER start or finish on the model itself. Use a good respirator with a filter cartridge—even for acrylics—and avoid cheap, lightweight store-bought masks...
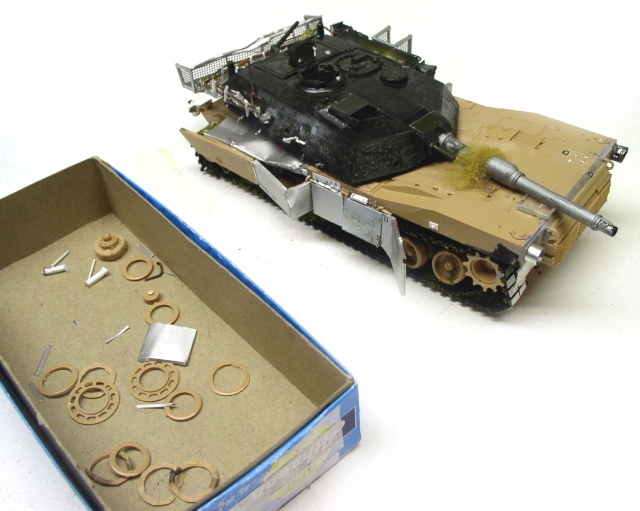
PAINTING THE MODEL
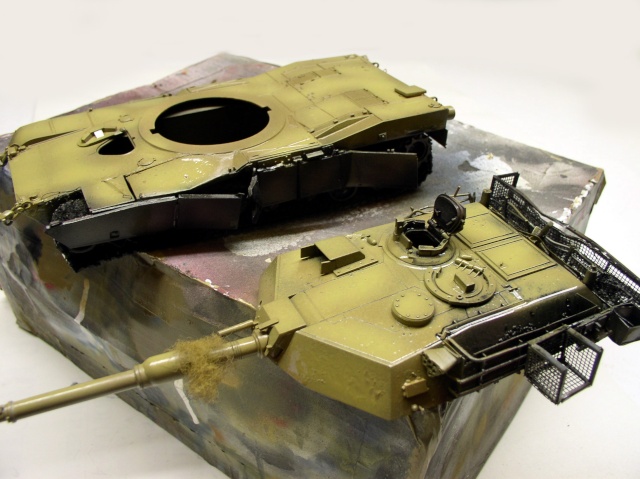
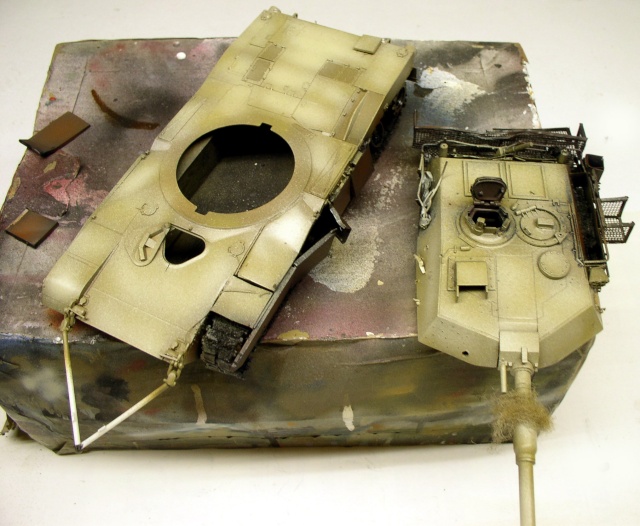
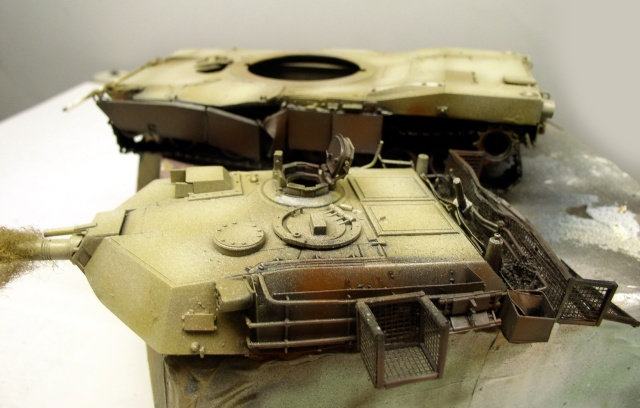
The upper hull, the front, the rear, and a large portion of the turret are painted with a base coat of Brown 110...
The side armor, the undercarriage, the underside of the hull, and part of the rear of the hull and turret will be painted matte black...
The second color—Sand 93—(pictured above) is sprayed onto all the large, flat surfaces of the vehicle, creating a halo effect. The same process is repeated with Chocolate 98 on all the black parts...
Next, apply 148 to lighten the area further and add depth, and do the same with 133 on the chocolate-colored area. Let it dry for at least 24 hours. At this stage, some people apply a light coat of varnish to protect the paint before shading—it’s up to you.... If you don’t press too hard with the brush when applying the wash, it goes on very smoothly...
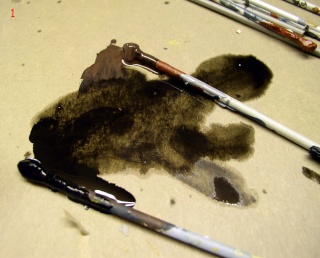
Now we're going to shade the model with matte black and a little bit of Chocolate 98...
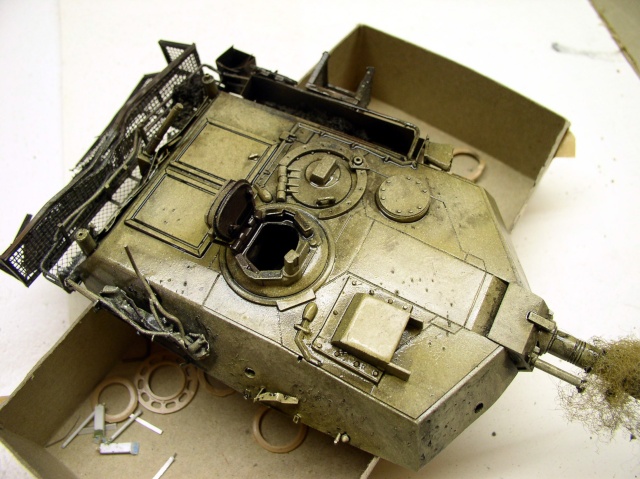
The mixture is very diluted: more than 50%. The liquid must flow over the part...
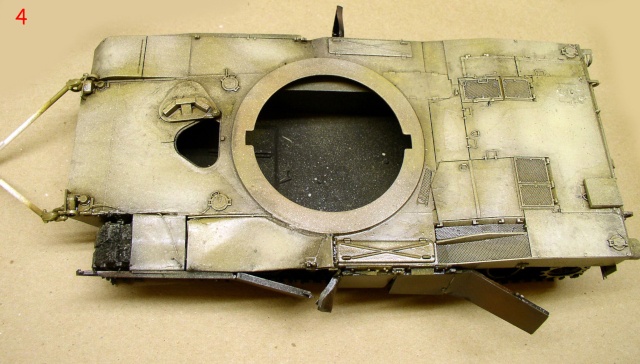
Start by applying the paint in small sections using a fairly large flat brush, then immediately and gently blot it off with a flat brush, paper towels, or very thin toilet paper, taking care not to rub. Repeat this process for each section of the model. Let it dry for at least 24 hours...
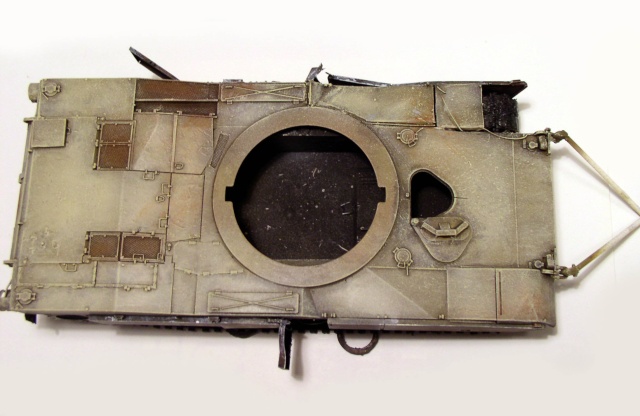
The final result...
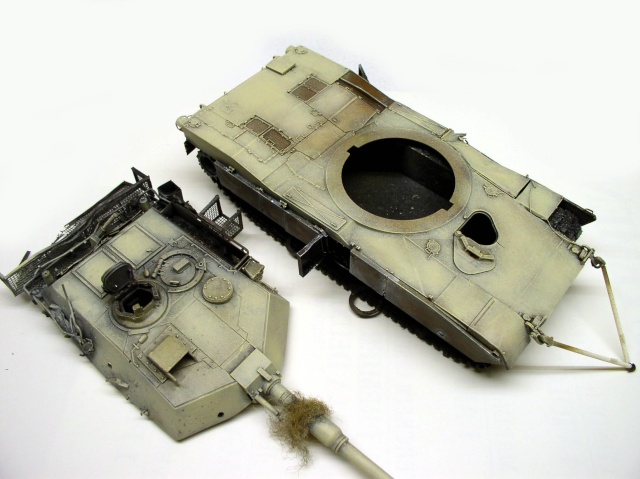
After it had dried completely, a light coat of 148 was added in some spots to brighten up the color, which looked a little dull...
Dry Brushing
The burned parts of the car body will be addressed first...
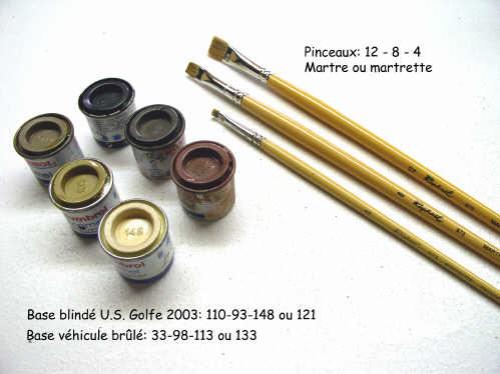
Paintbrushes are flat oil paintbrushes made of marten hair—expensive but indispensable....
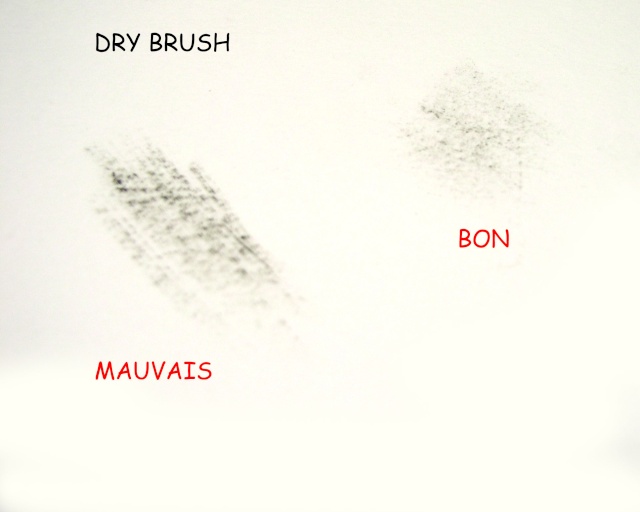
Brushing involves placing a small amount of paint from the bottom of the jar onto a piece of cardboard, then pick up a small amount with the brush and wipe it off immediately so that very little paint sticks to it—hence the purpose of the second jar I mentioned earlier, which contains a non-liquid paint. Ideally, the brush should remain dry throughout the entire process. Use the thinner only to clean the brush, or very sparingly if the brush is “at the end of its rope.” Wipe it off thoroughly afterward...
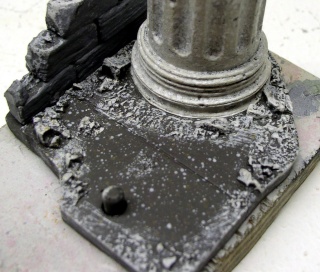
Never apply a very light color directly over a dark shade. Always use intermediate colors before moving on to the lightest shade...
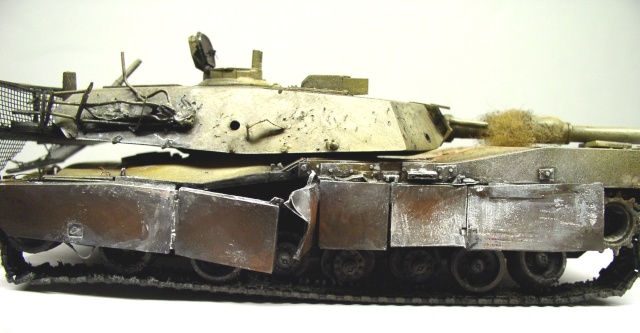
The "dry" technique begins with gray 133, applied mainly to the central areas. Continue with gray 32 along the edges and gray 127—(when changing colors, simply wipe the brush with a tissue). Then switch brushes and techniques. We’ll paint the different shades caused by heat. Using a medium-sized brush, apply diluted gray 127 and blend it with the other shades (much like you would with watercolors). Then let it dry...
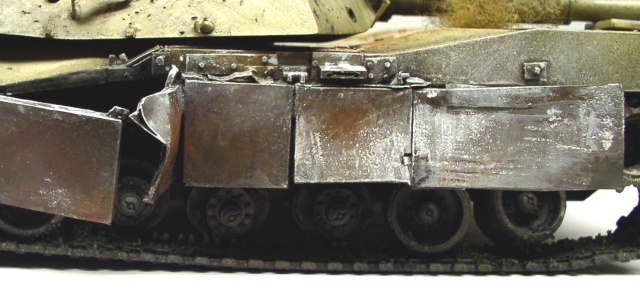
Pick up the flat brush again and add some details with pure white. Let it dry; we’ll come back to it later. The undercarriage will be painted once the model is glued onto its base. “Why not do it first—it’s easier,” you might ask.
And this brings us back to the color work we discussed on the previous page. On the tank at actual size, only a few details will be visible, and since it has already been given a base coat, all you need to do is highlight the details caught in the light. That’s enough to create the effect...
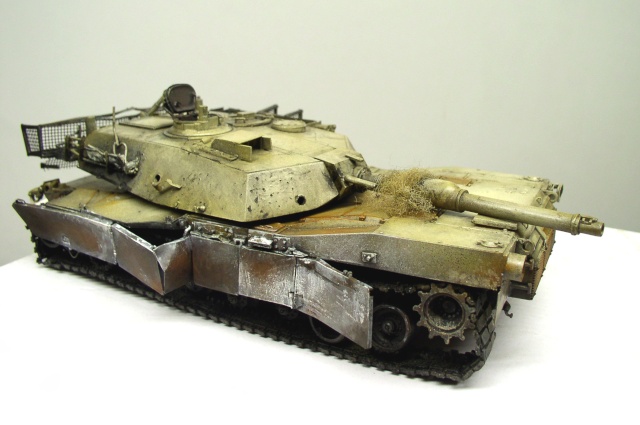
Once again, the reference material will guide our work. We won't just be layering one color over another; instead, we'll aim to reproduce the various effects caused by fire, rust, oil, etc.
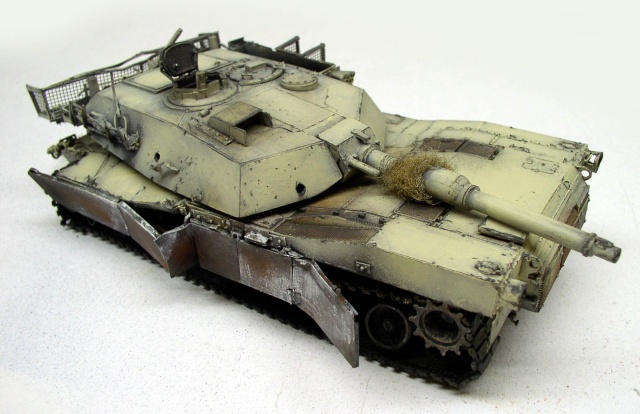
Now we're going to paint the hull and the turret. We'll give them a light "dry-brush" with 148. Then, using gray 32, we'll add signs of wear and chipped paint. First, a light dry-brushing with a large brush, then with a fine brush. It’s a very long and tedious process that requires patience, but the result is worth it...
Juices
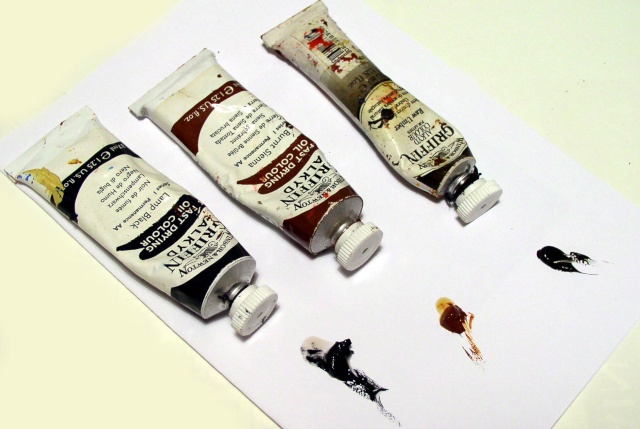
Now, using oil tubes...
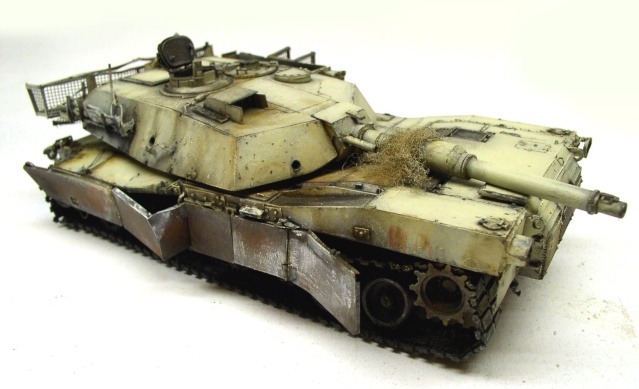
... apply another coat of varnish to bring out the various details and textures. Let it dry...
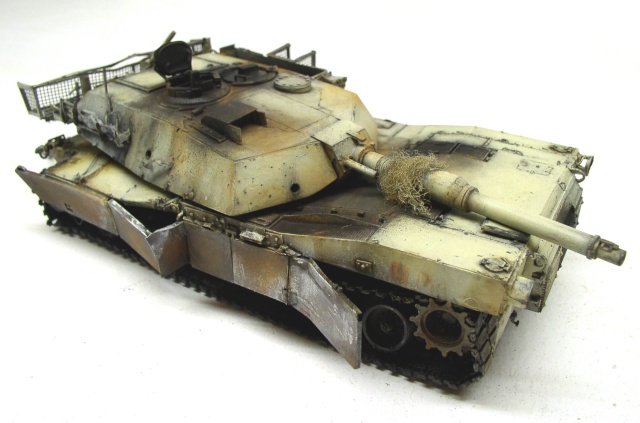
Now it’s time to use the pastel powders: black, umber, and sienna. We start with black, but at this point, I decided the black pastel wasn’t enough to achieve the deep, charred effect. So, I added some HUMBROL matte black to the airbrush in certain areas. Once the paint is dry, use the powders for the finishing touches with a dry brush. The model is almost finished. All that’s missing are the markings and a few touch-ups. It will be placed on its diorama, amid the debris. Of course, we could take it even further—add filters, refine the paint job even more...
e)
The base
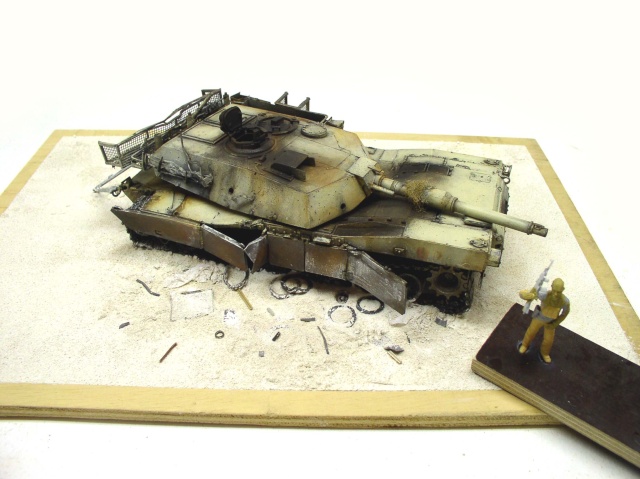
First of all, a quick note: avoid bases that are too small, where part of the model sticks out—not only does this look unappealing, but you also risk damaging the model when handling it. Keep in mind that if you overload your dioramas, the viewer’s eye should be drawn first to the main subject—the scene of the action—and not to what’s around it. As a general rule, avoid placing your models parallel to the diorama, with some exceptions...
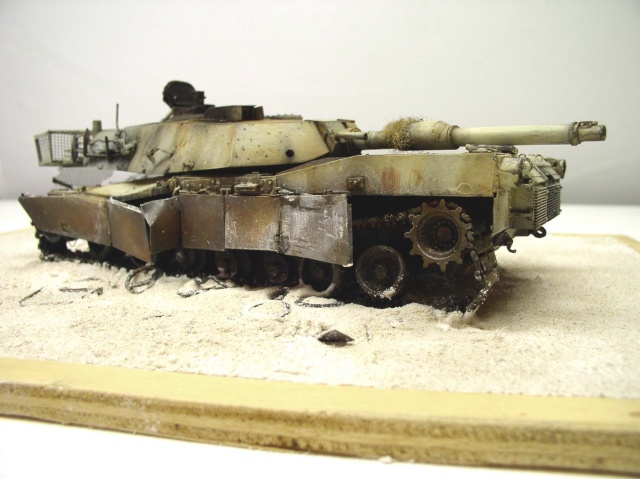
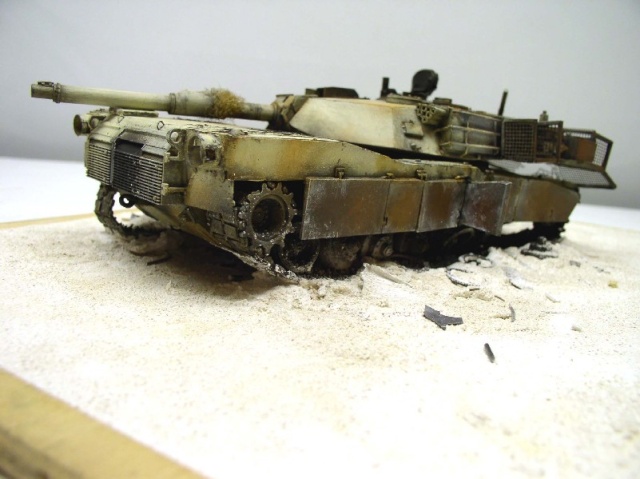
Apply a coat of acrylic primer to a plywood panel to seal it. The ground is made from plaster of Paris and wood glue. Place the tank in position along with the various pieces of debris, and finish by sprinkling dry plaster through a sieve, which will give the sandy ground some texture. Let it dry for 48 hours...
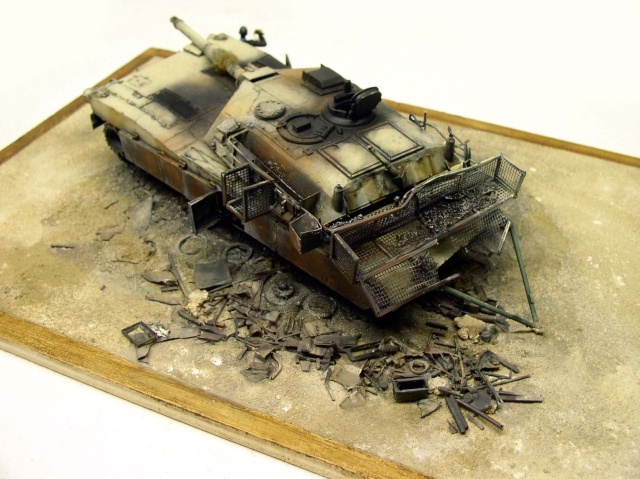
The ground is painted using three HUMBROL colors: black, brown 110, and white. Finishing touches are applied to the undercarriage, the various pieces of debris, and the tank...