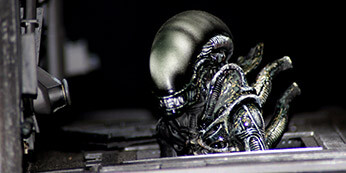

Here is my painting method, which is a cross between dry-brushing and oil blending. The HUMBROL reference colors are provided for guidance only; it all depends on your preferences, your experiments, and the type of creature you want to paint...
IT IS ESSENTIAL TO WAIT 24 HOURS BETWEEN EACH STEP...
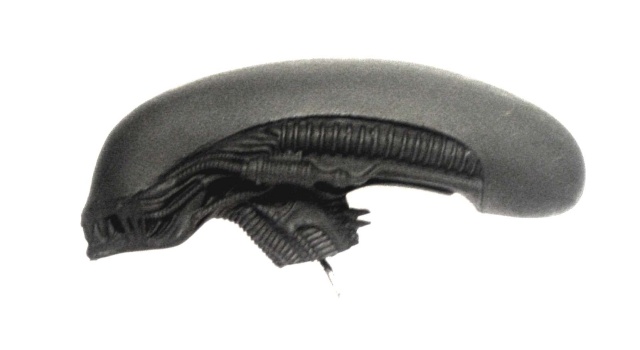
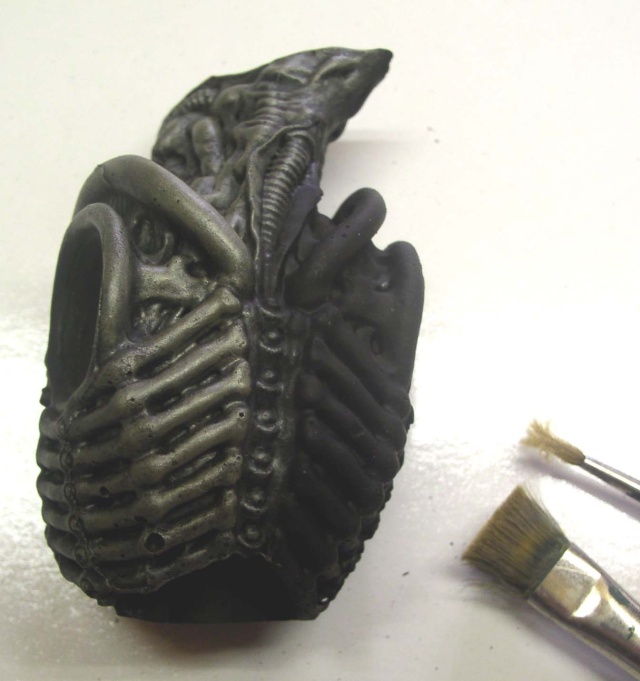
Application of a matte black undercoat 33
Prepare a mixture of one-third Matte Black 33, one-third Silver 11, and one-third Brown 110 (the left side of the photo shows the final result). The trick is to create a look that’s almost like an antique patina. Using a wide flat brush—wiped on a cloth beforehand to remove excess paint—first highlight the raised areas and the most prominent sections. With a finer brush, work on the recesses and creases in a more subtle manner...
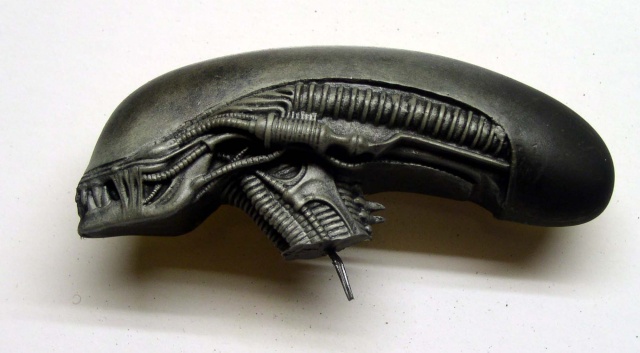
Lighten the previous mixture with matte white 34. Then repeat the same process as in the previous step, while emphasizing the edges and detail lines...
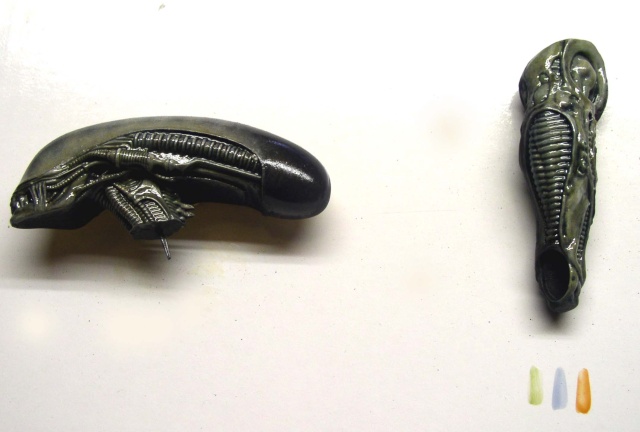
Start of the glazes
Let's be clear: by "glacis," I mean a glossy varnish tinted with a color. The result is a sort of translucent paint. You apply the varnish undiluted, using only a brush...
Above: Blue 14 in the folds and creases of the skin. Red 100 on 3/4 of the remaining areas. Blend this glaze into the areas where it meets the previous glaze...
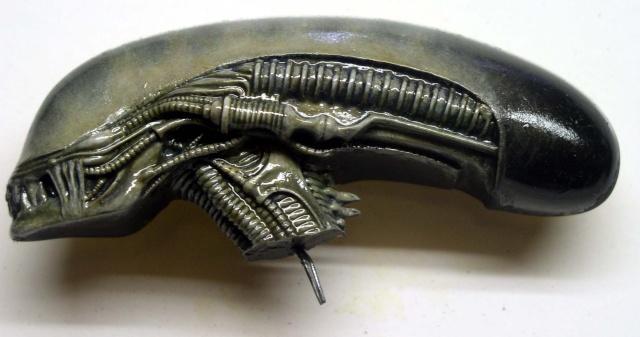
White 34 on the most prominent areas of relief and ridges...
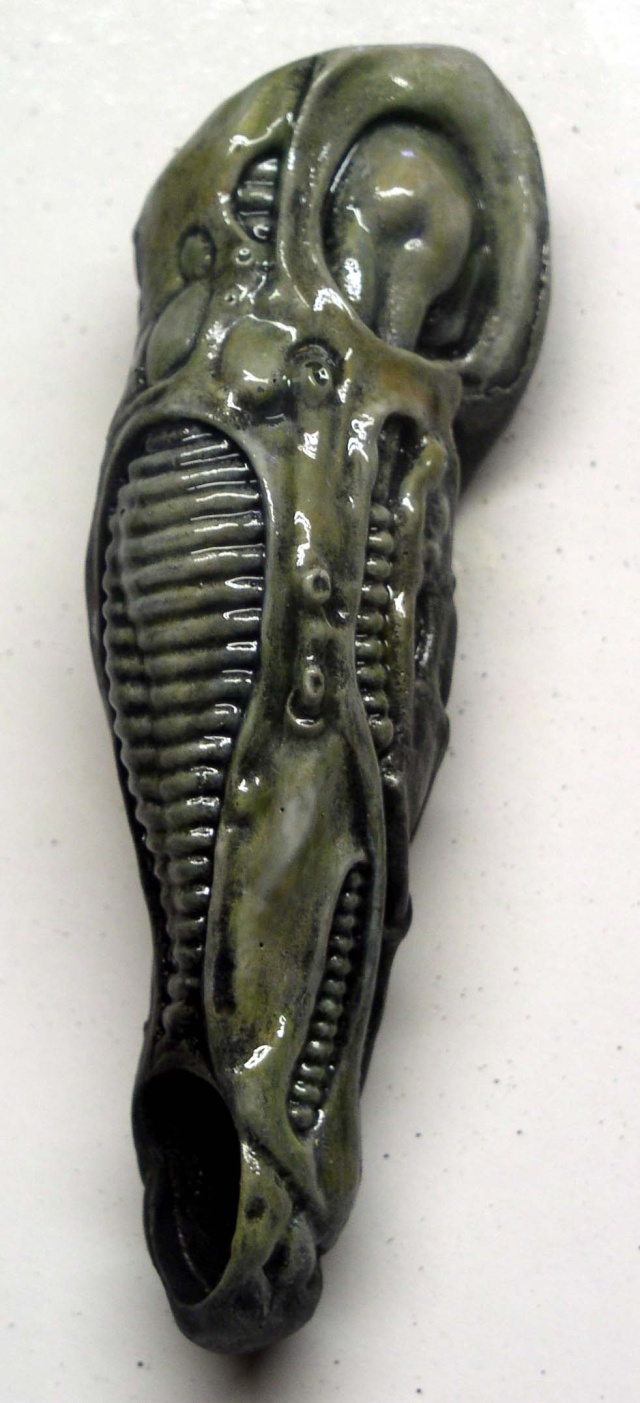
The end of the glazes...
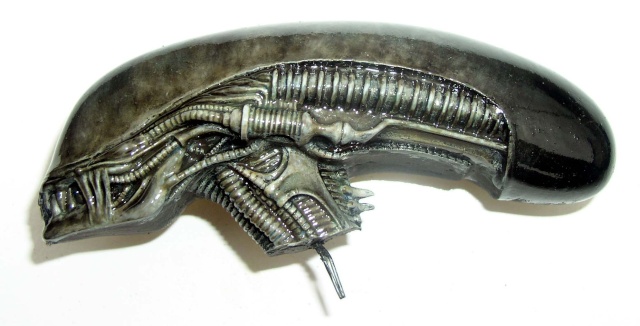
Apply a wash—made of clear gloss varnish—tinted with matte black 33 and brown 110 to the recessed areas. Try to blend your wash by working upward toward the edges of only the most prominent reliefs. This wash also serves to correct any excessive uniformity in the shades between the glazes...
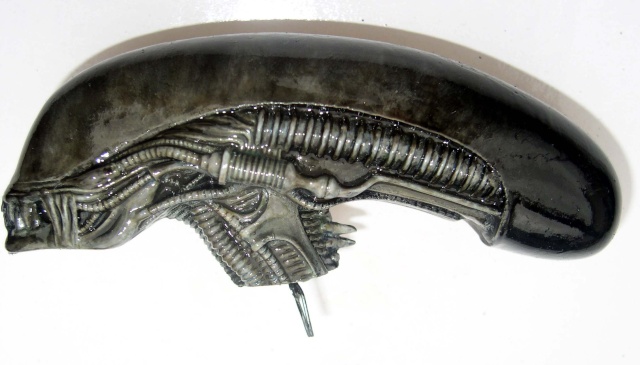
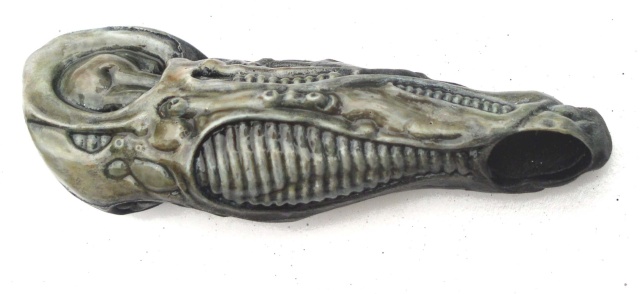
Apply several coats of glossy varnish, focusing on the areas of your future display that will be most exposed to light, and paying special attention to the creature's mouth...
The Alien Egg
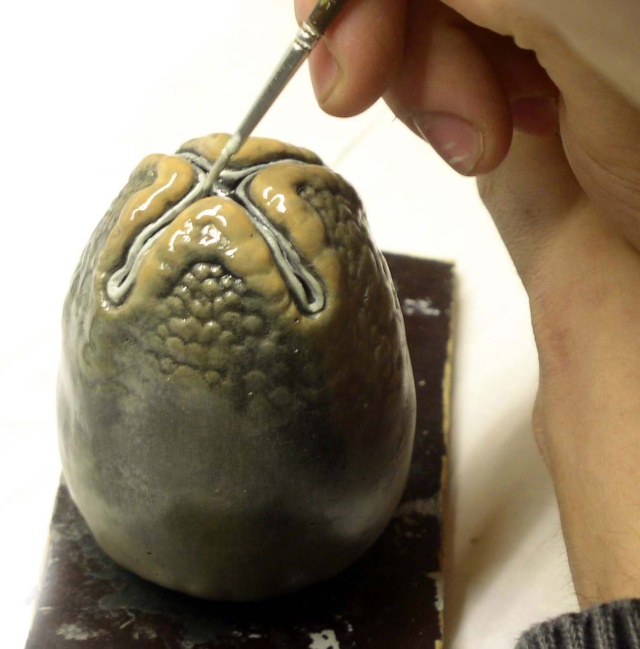 | 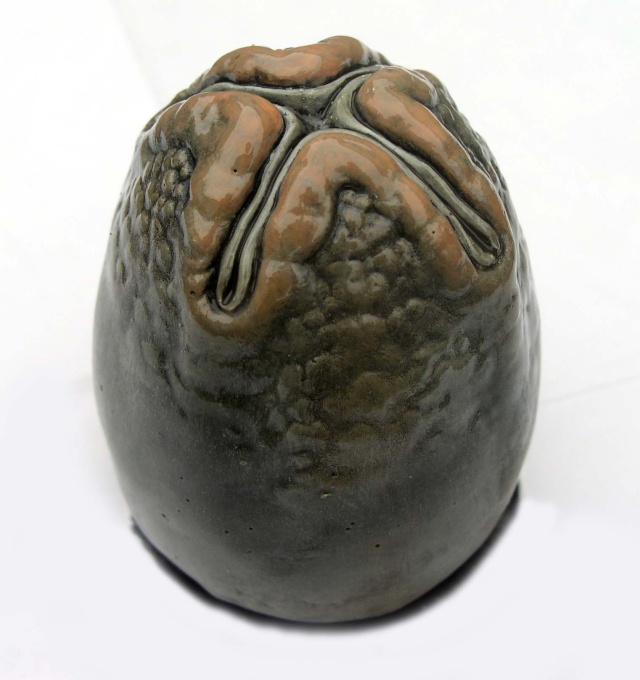 |
L'oeuf est traité de la même manière que la créature. Les différences sont les suivantes :
- The labia majora are rendered in flesh-toned shades...
- The labia minora are rendered in pale green tones, “softening” the chromatic contrast created by this green with a very dark brown/black glaze...
- Enhance the contrast and highlight the features with the varnish—apply several thick coats to the top of the lips. Apply just one coat to the rest of the surface, blending it very thinly toward the base...
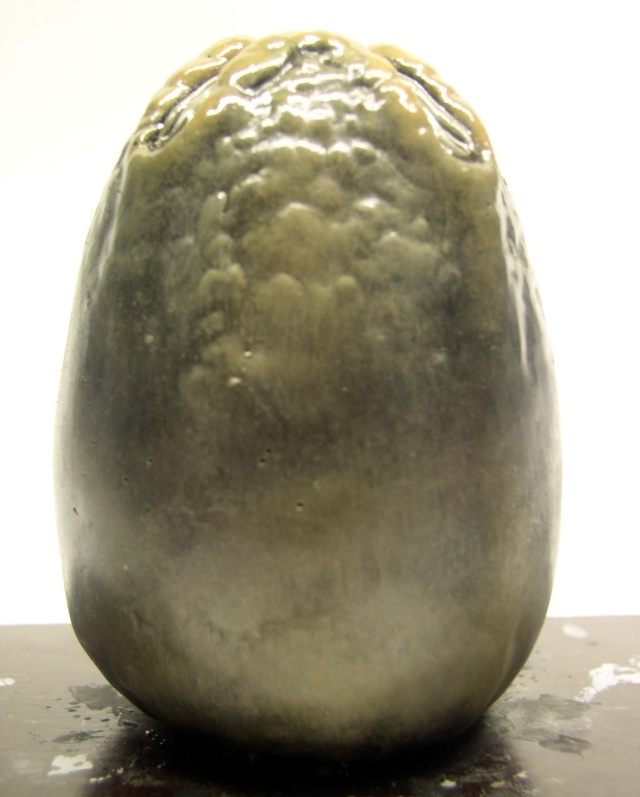 | 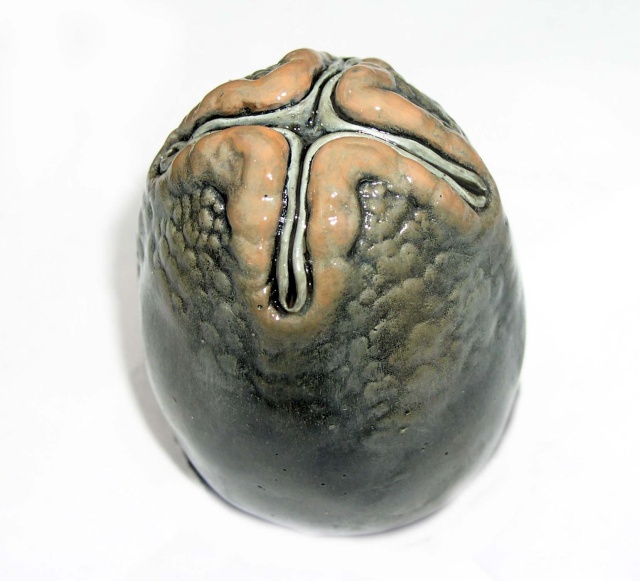 |
La peinture de l'oeuf terminée...
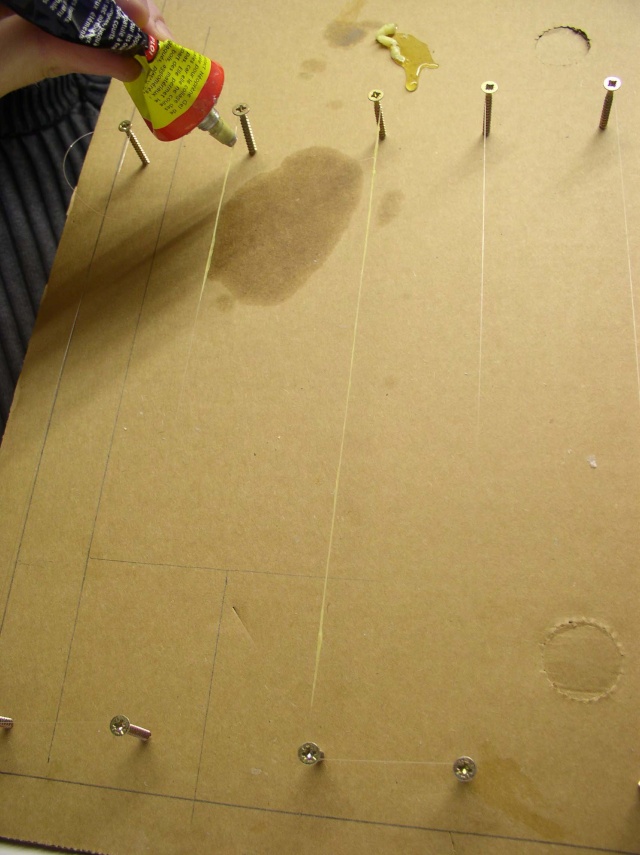 | 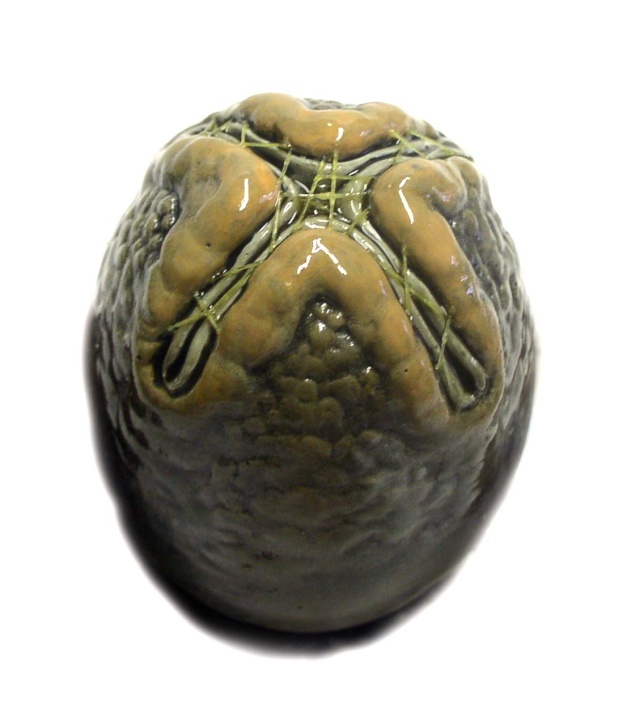 |
Sur des fils de pêche tendus, faites couler de la colle Néoprène en gel de manière très disparate...
Arrange the wires after cutting them to the correct length. Secure them discreetly with tiny dots of cyanoacrylate gel adhesive applied with a toothpick. Protect the entire assembly with a glossy varnish...