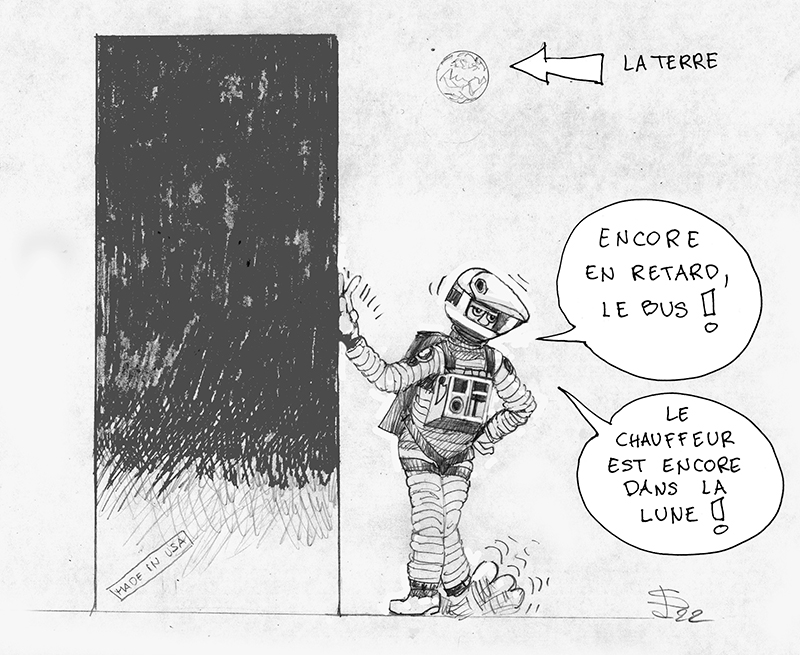
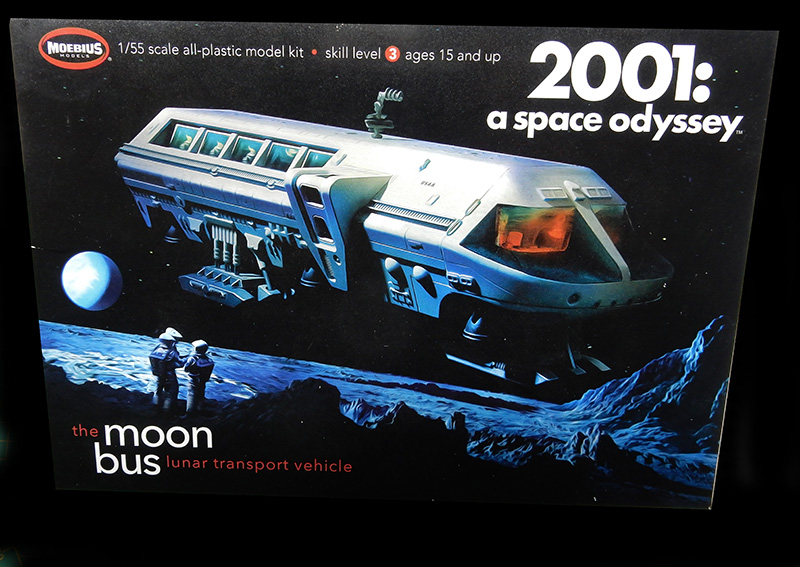
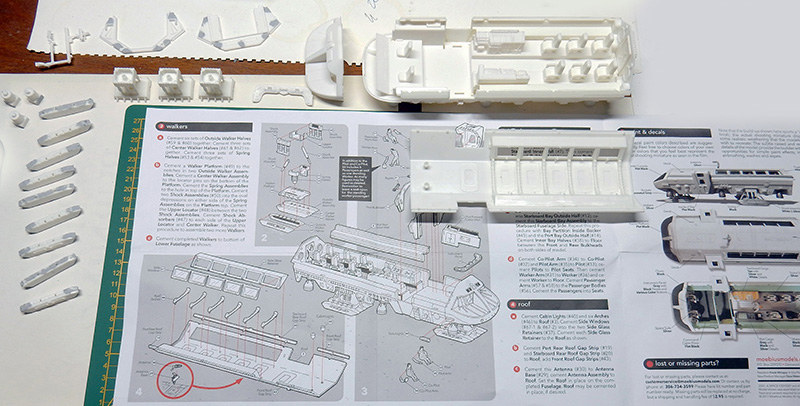
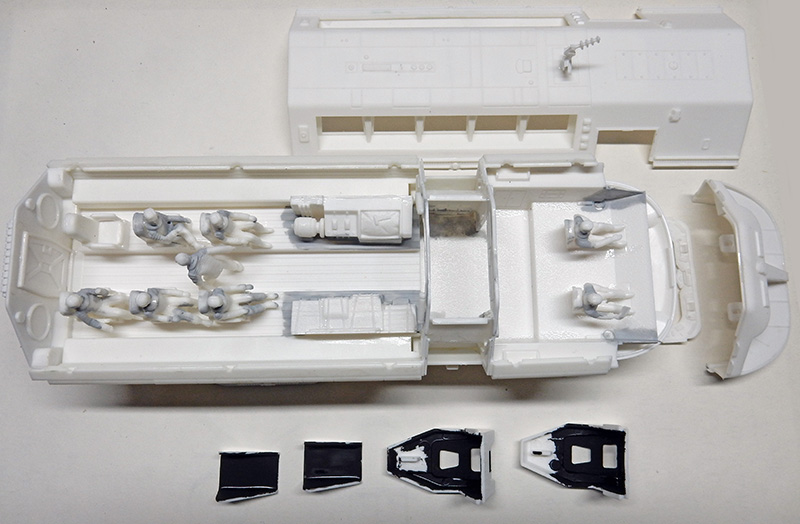
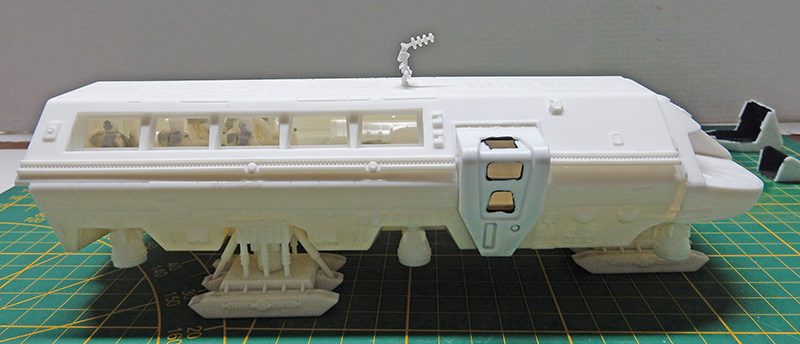
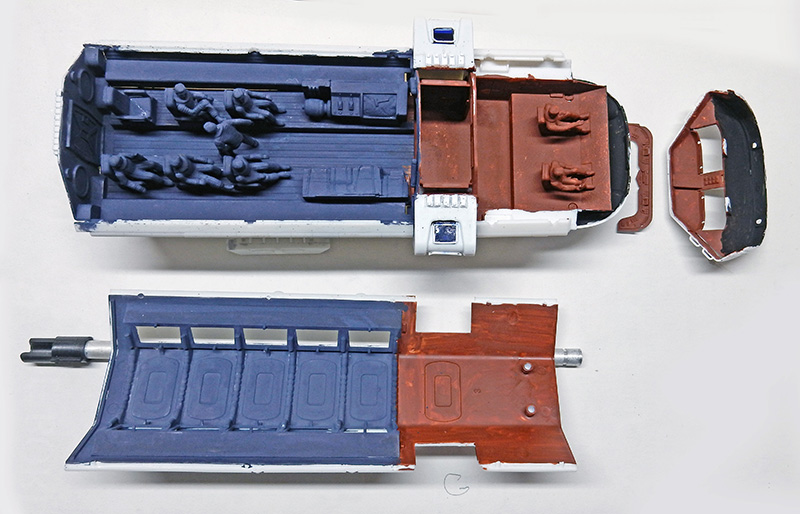
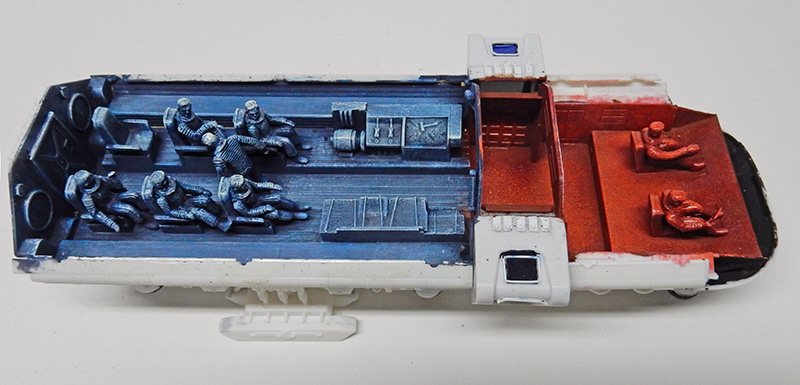
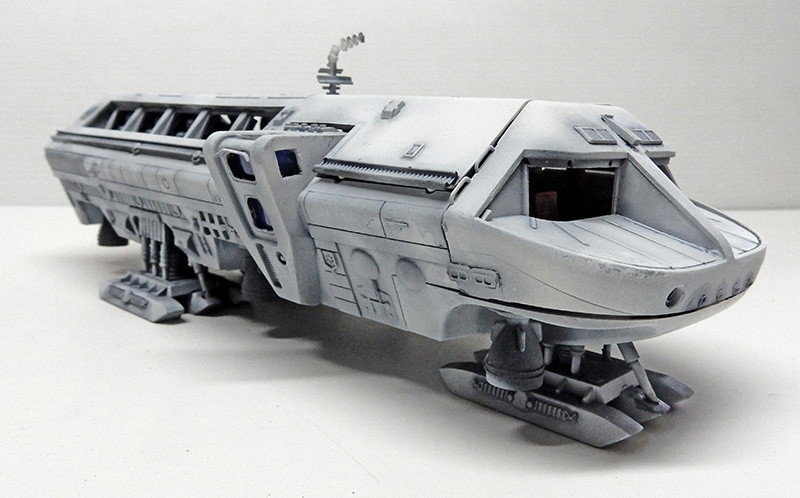
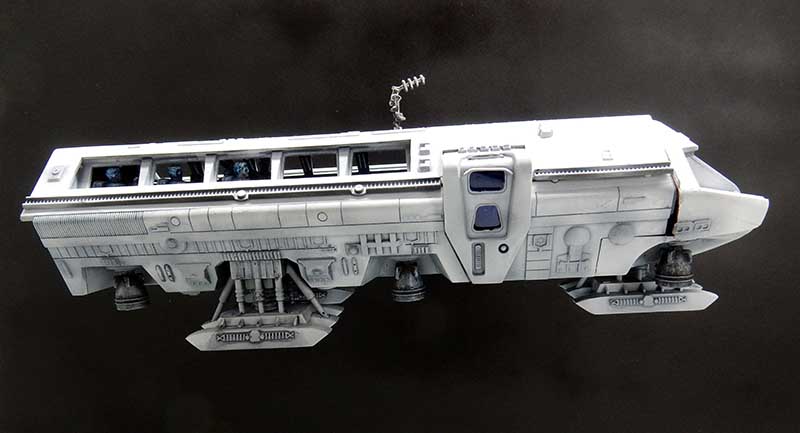
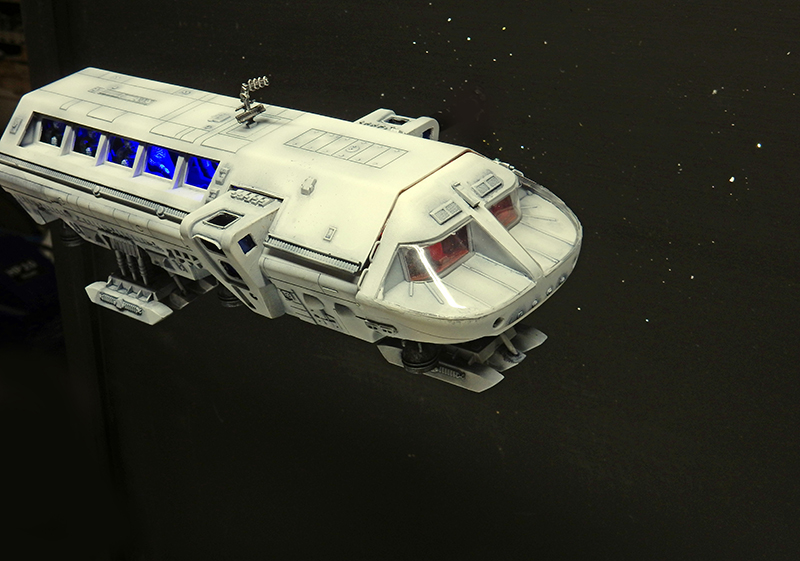
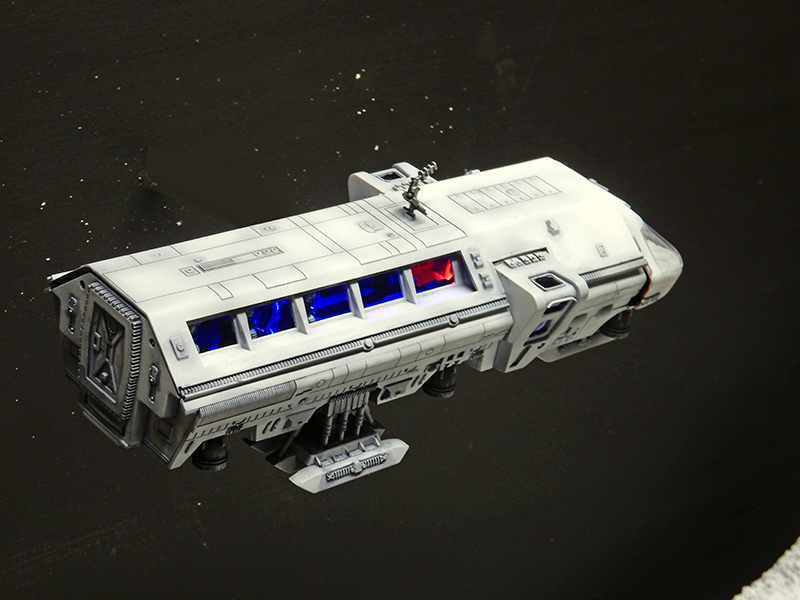
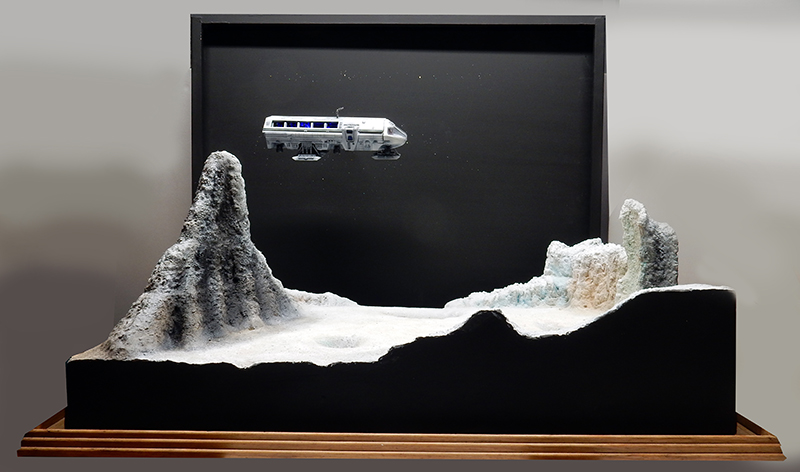
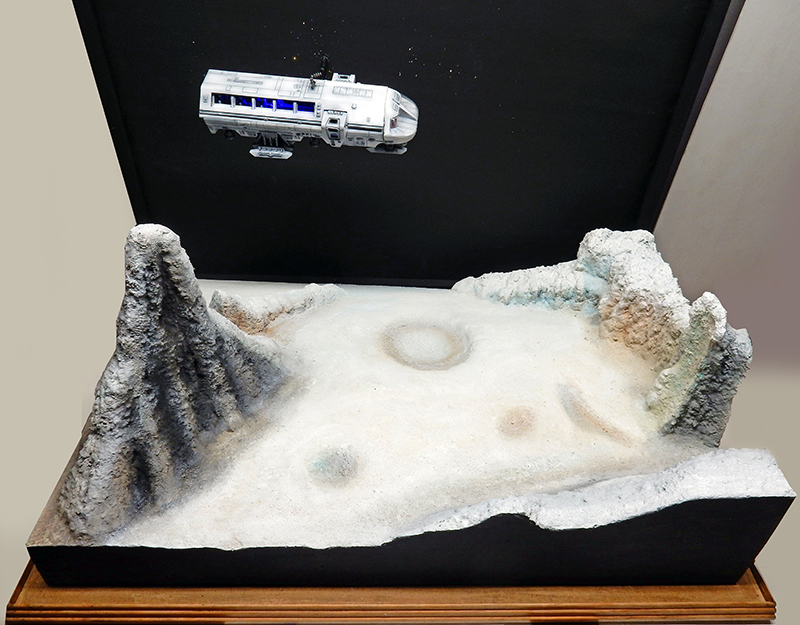
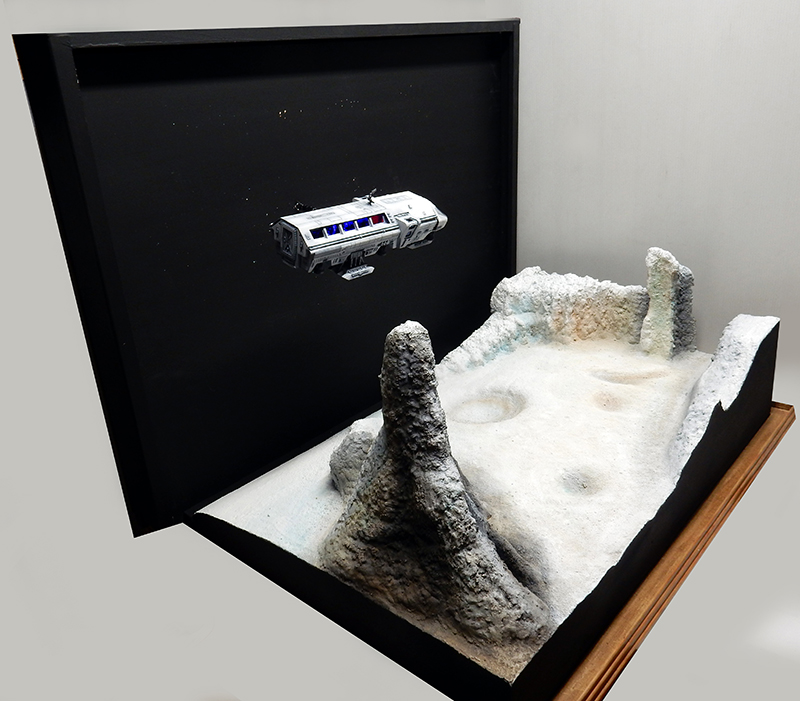
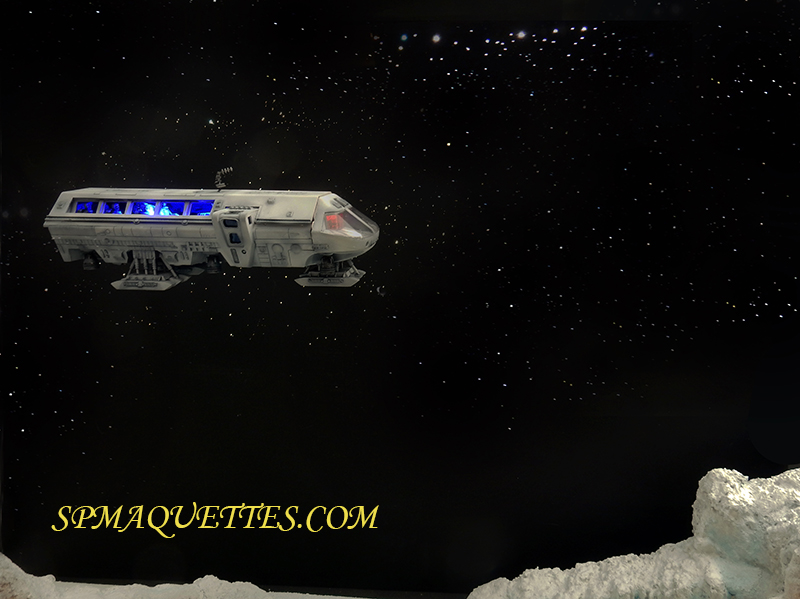
The 2001 Moonbus model by Moebius! A beautiful, well-proportioned piece that would have deserved a full sheet of photo-etched parts... Photo-etched parts and other accessories, sold separately, cost no less than 30 euros... Business and profit, after all! ...
A superb full-color pattern, with no assembly difficulties...
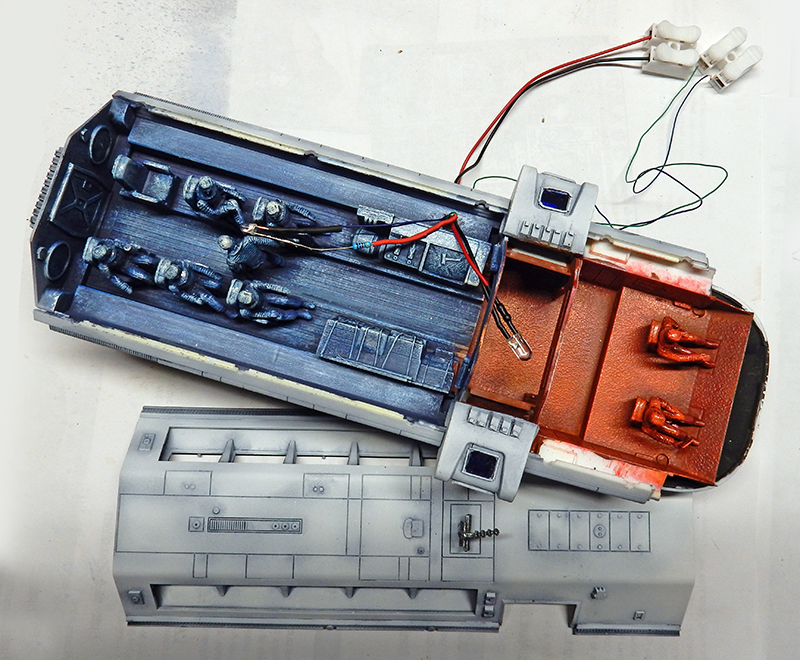
Since the model will be illuminated later and mounted on a stand, we paint the inside of the doors black before gluing them on, and we glue all the figures in place, adjusting some of their poses for greater realism...
The opaque windows in the doors have holes in them...
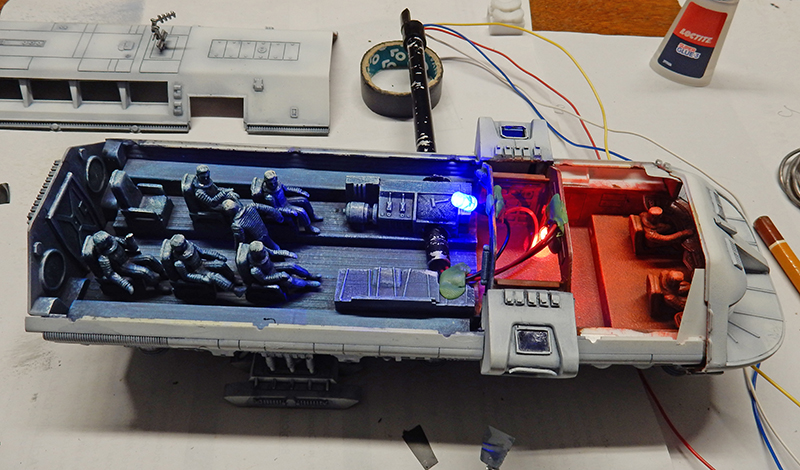
With the cockpit bathed in red light and the passenger area in blue, the various sections are painted with Humbrol oil-based paint as a base...
We enhance the details by using lighter shades...
We enhance the details by using lighter shades...
Painting
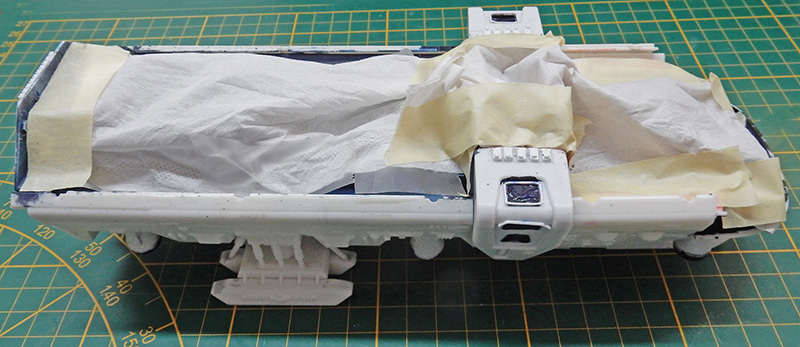
The painting will include the separate roof and the rest of the model. The passenger compartment is protected. Maskol is applied to the door windows...
After applying a coat of white primer, the painting will include a dry brush technique using gray, followed by washes of Winsor & Newton Payne's Gray...
Touch-ups will be done with white paint using an airbrush...
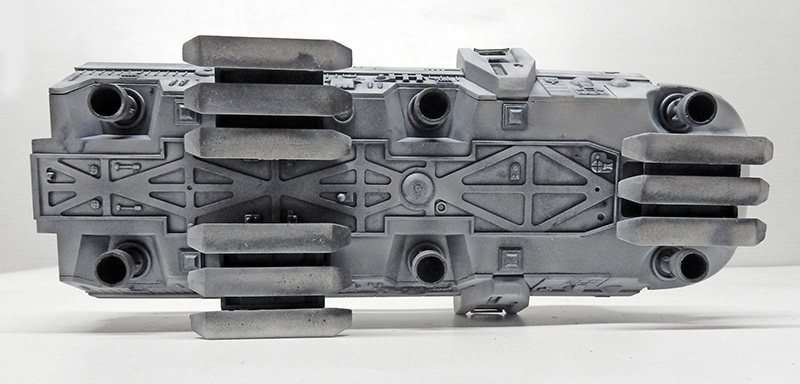
A view from below. The inside of the thrusters is painted black...
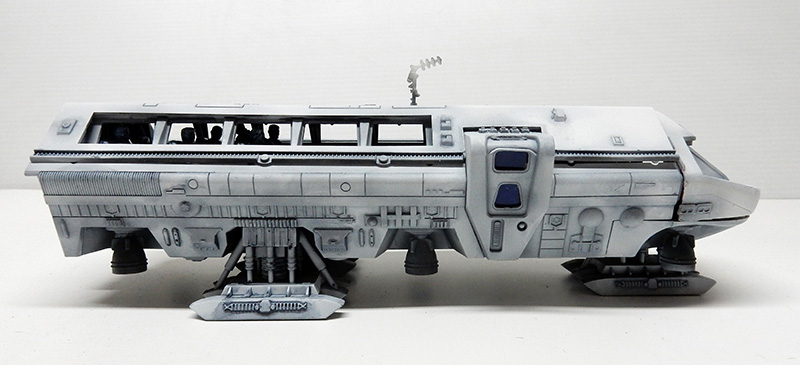
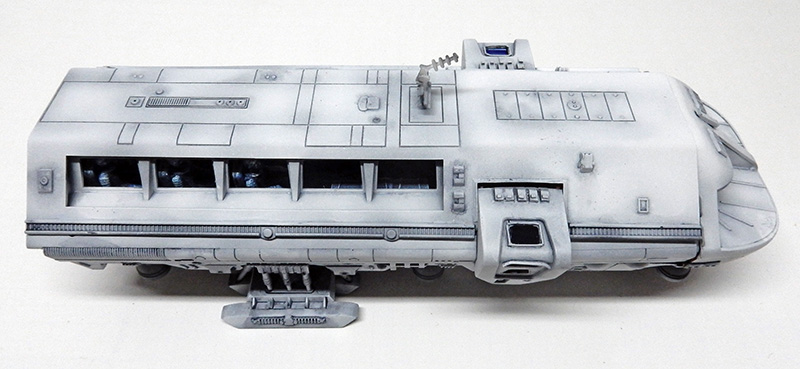
The painting is finished...
A view of the model on its stand, with the side windows and windshield in place...
The Moonbus's Lighting
It will be simple and consist of just two diodes—one red and one blue—for a total of four wires...
A hollow tube connecting the device to the mount will allow the wires to be hidden inside...
Two views showing the piece in flight, mounted on its stand and illuminated...
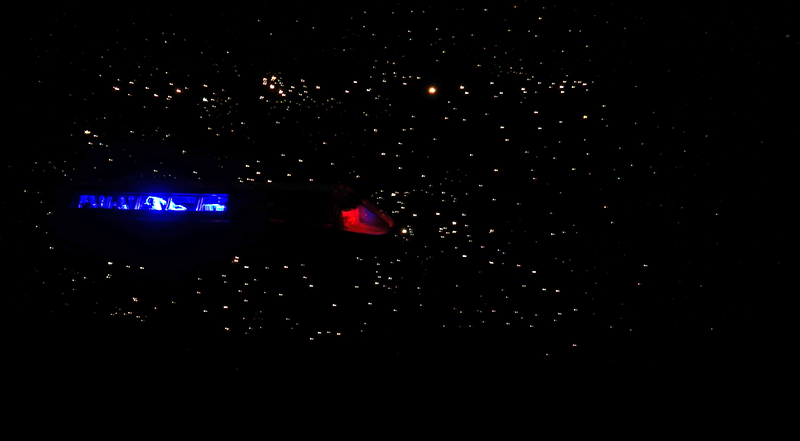
A night view...
A night view...
The Setting
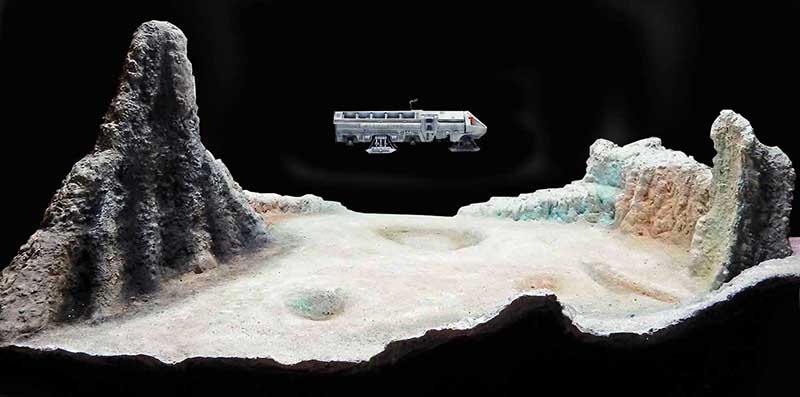
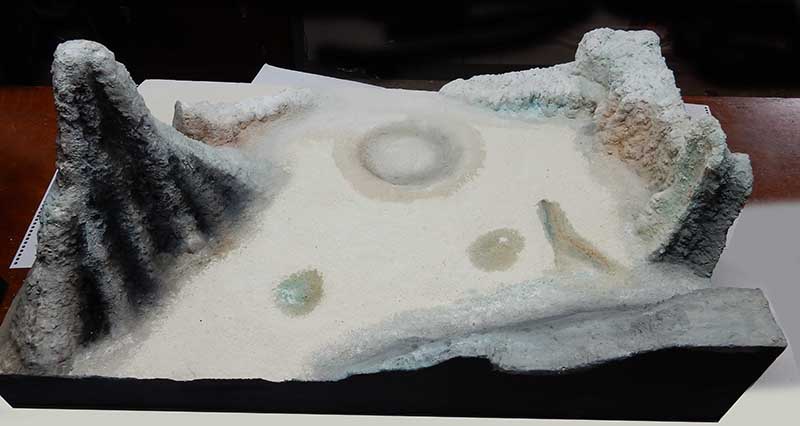
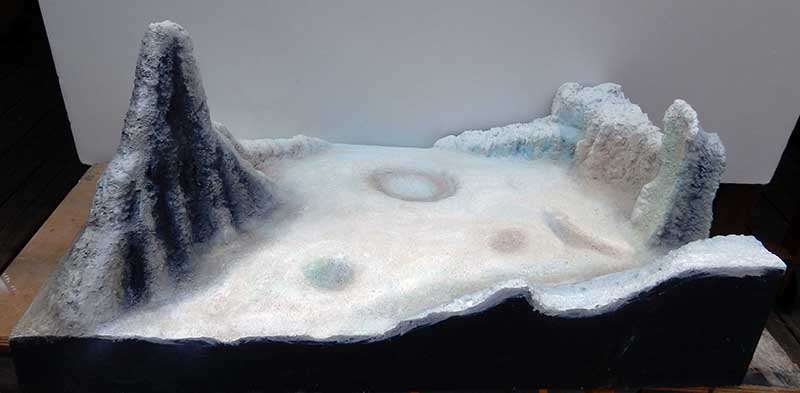
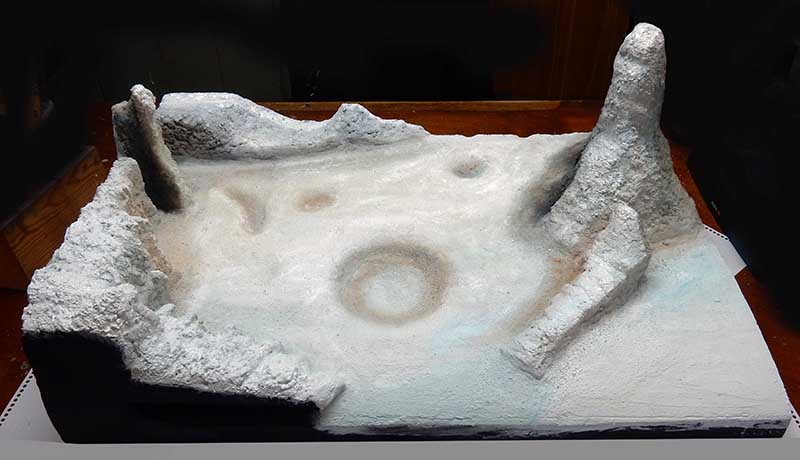
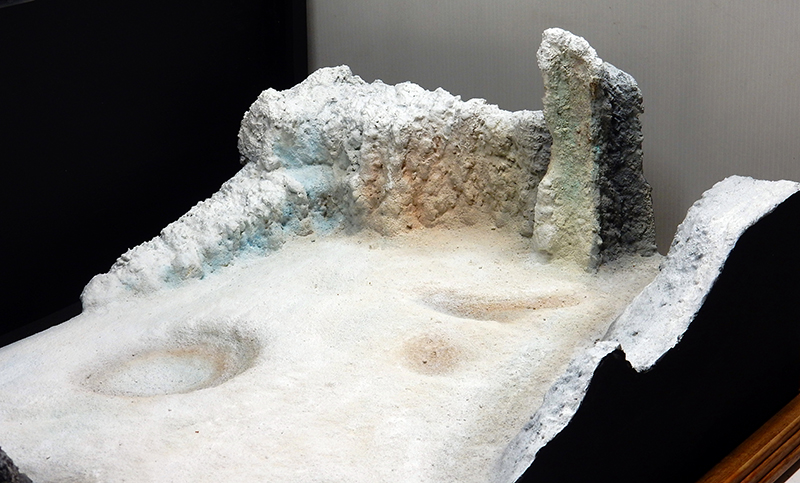
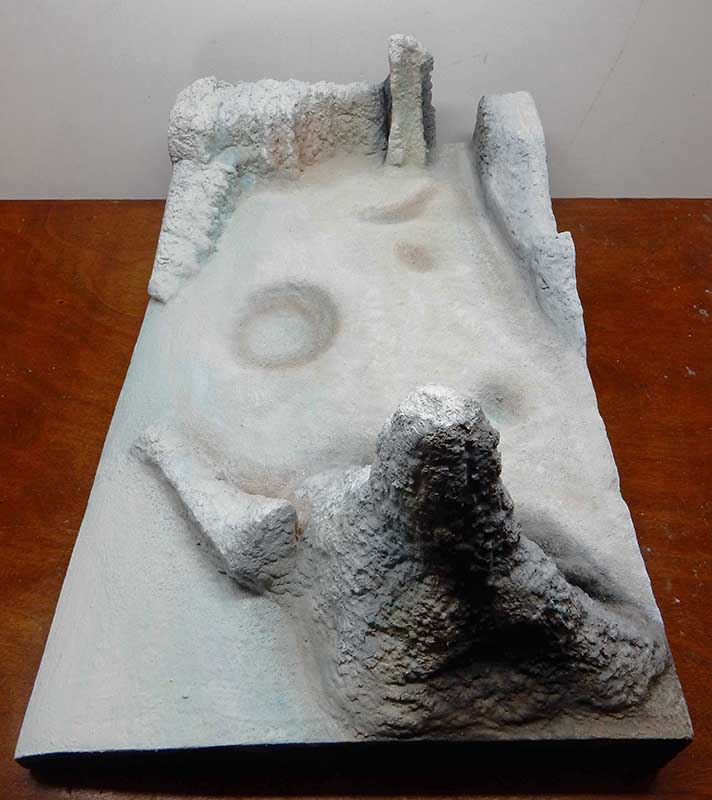
The set will depict the lunar surface and a few mountains bathed in a whitish light (as in the movie)...
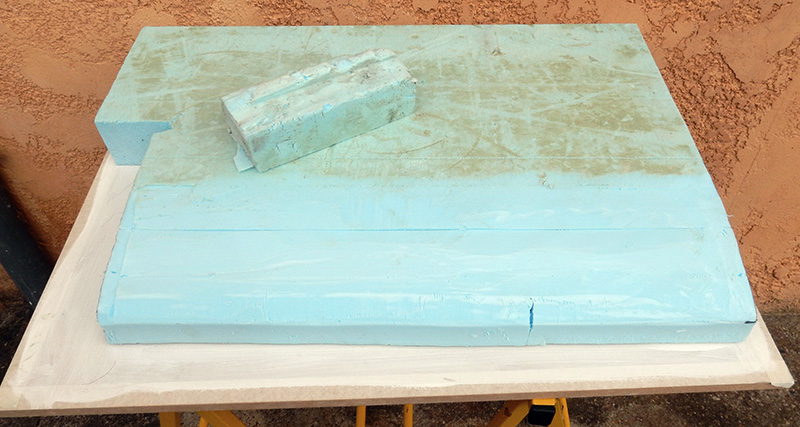
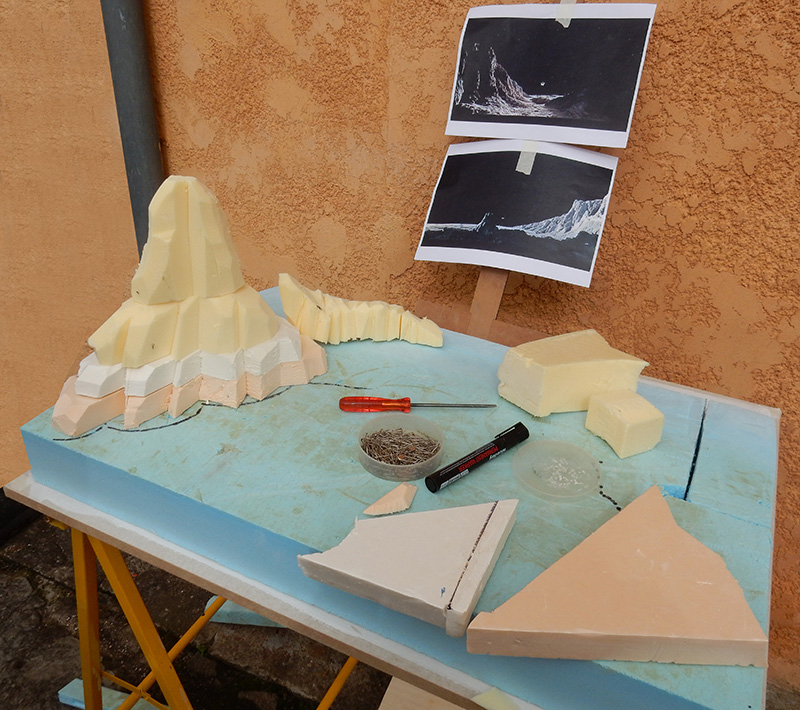
On an 80 cm x 60 cm sheet of plywood, we place a thick sheet of extruded polystyrene that will serve as the base for the lunar surface...
The mountain is cut into pieces and carved into its final shape...
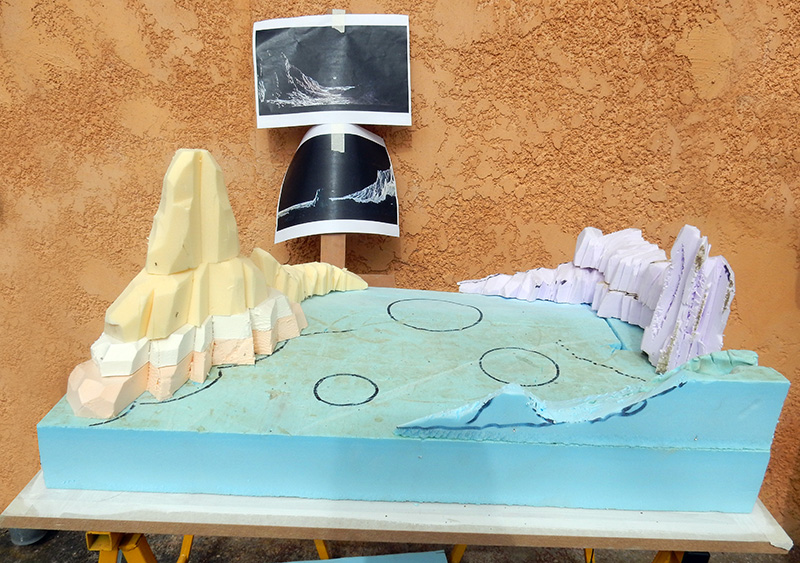
The same process applies to the wall on the right. We mark the locations of lunar craters...
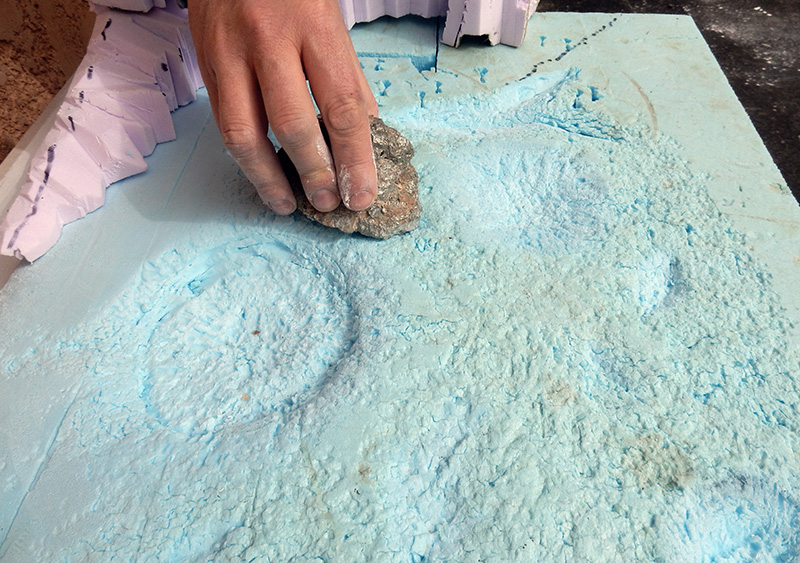
Here, we use a stone to create the ground textures and the bases of the craters on the extruded polystyrene (you can clearly see the difference in the upper right corner—before and after)...
A fully textured view from the ground...
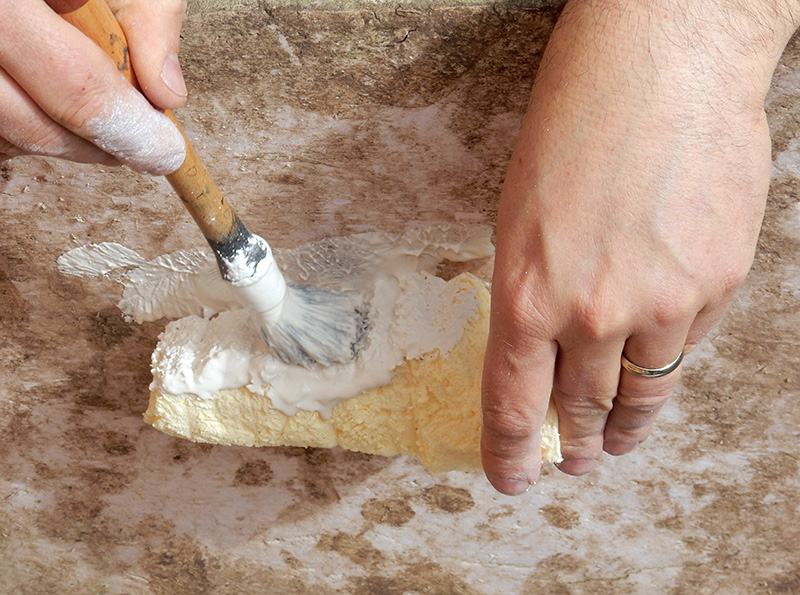
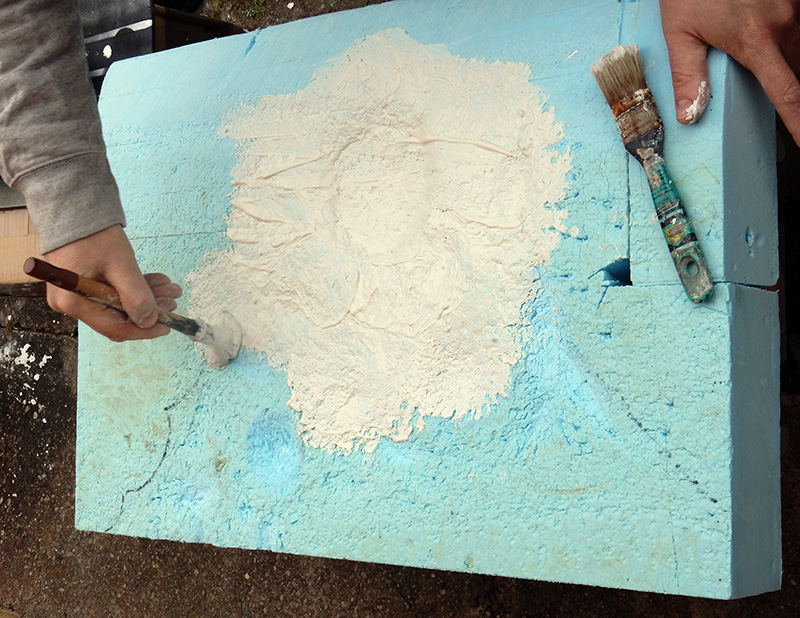
Using a brush, apply liquid plaster to the polystyrene...
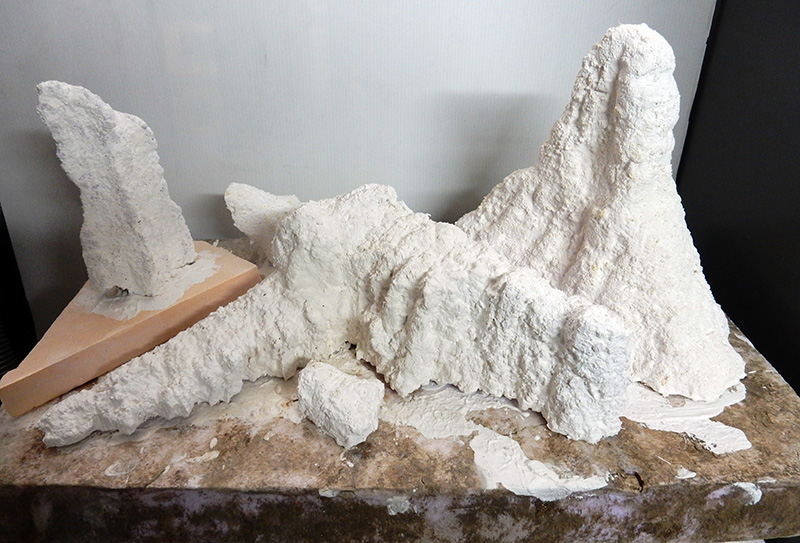
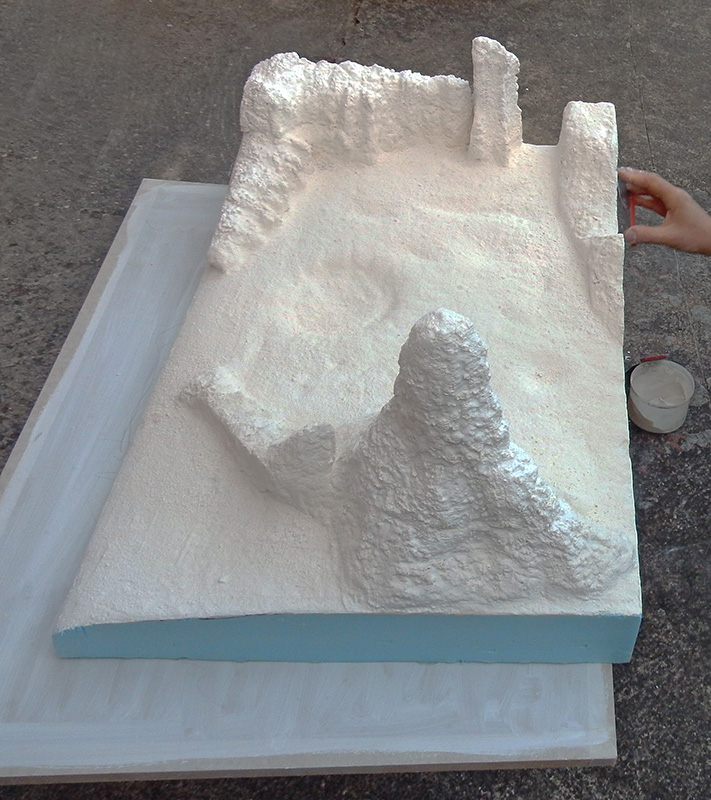
A view of the completely restructured mountains...
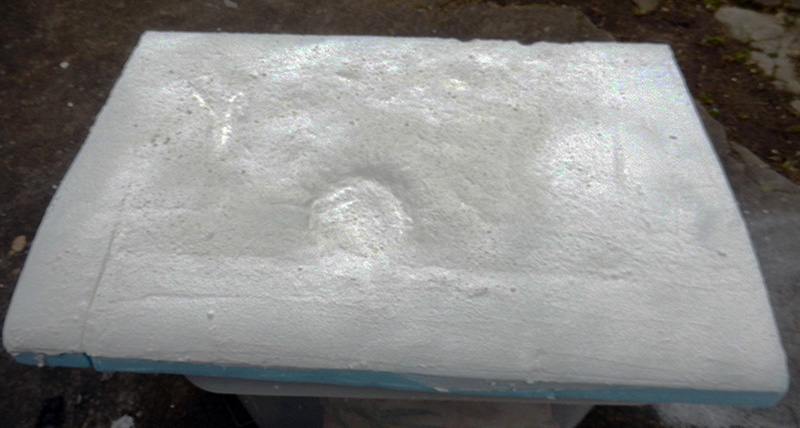
The ground is done using the same technique, by firmly dabbing the brush on the textures...
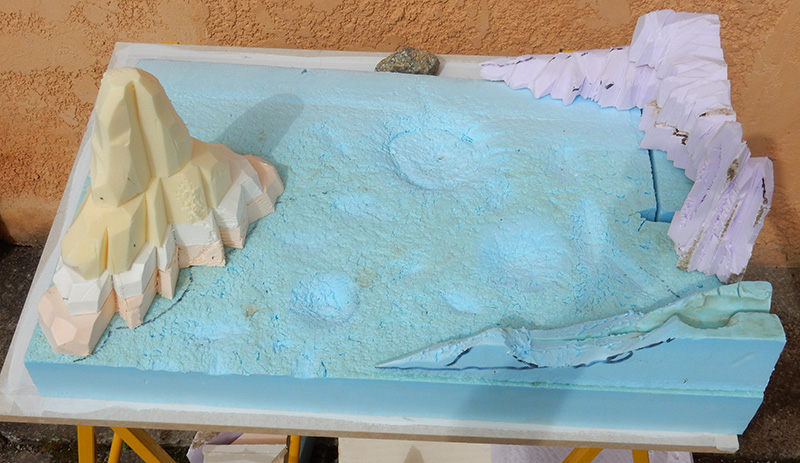
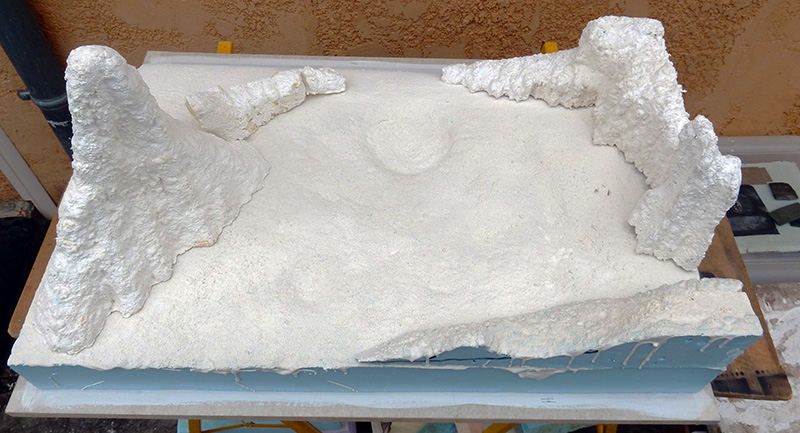
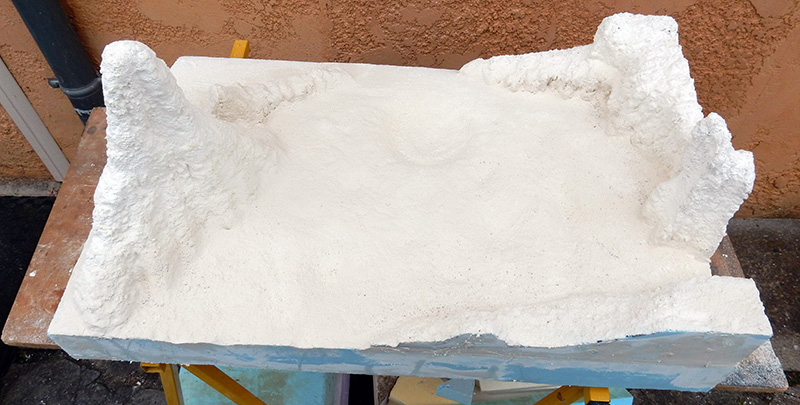
The result achieved across the entire set...
Setting up and gluing the mountains together with wood glue...
Important: Create a connection to blend the mountains into the ground. Also, sprinkle dry plaster through a strainer onto the still-damp ground...
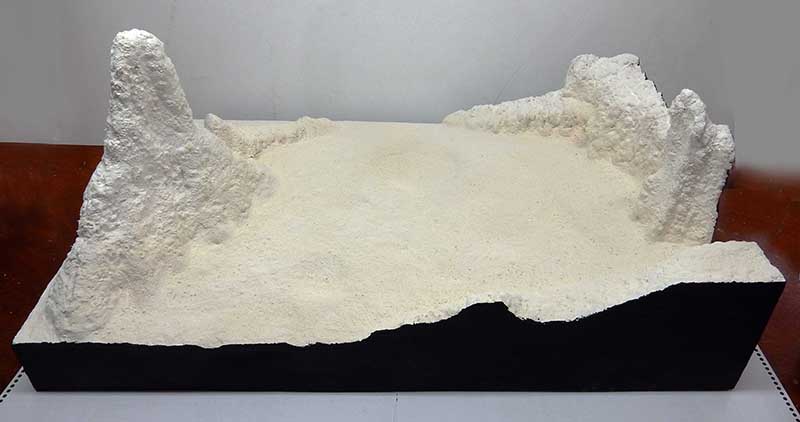
Everything is ready to be painted...
Painting the facade with matte black acrylic paint...
Acrylic painting of a landscape. We emphasize the foregrounds and the backgrounds of the craters...
...while creating a sense of fading into the distance...
A view of the set from the other side...
A closer look at the distance...
Another view.
Set Lighting
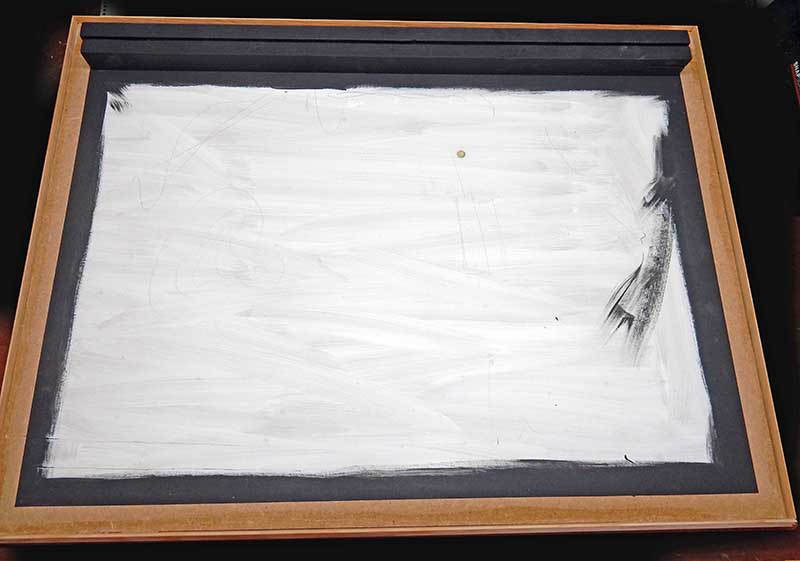
The base will include a wooden rail that will support an 80 cm x 60 cm glass panel backlit...
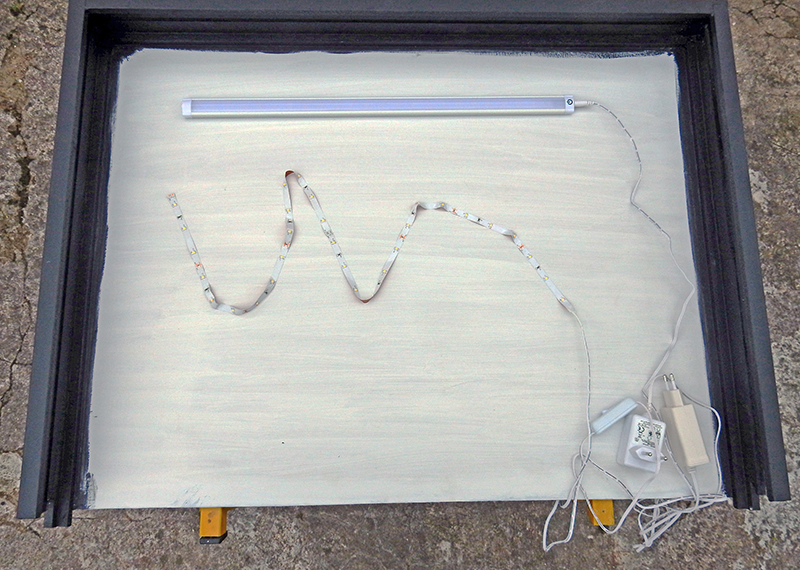
Behind the glass, a wooden frame of the same size to which a strip and a ribbon of white LEDs will be attached.
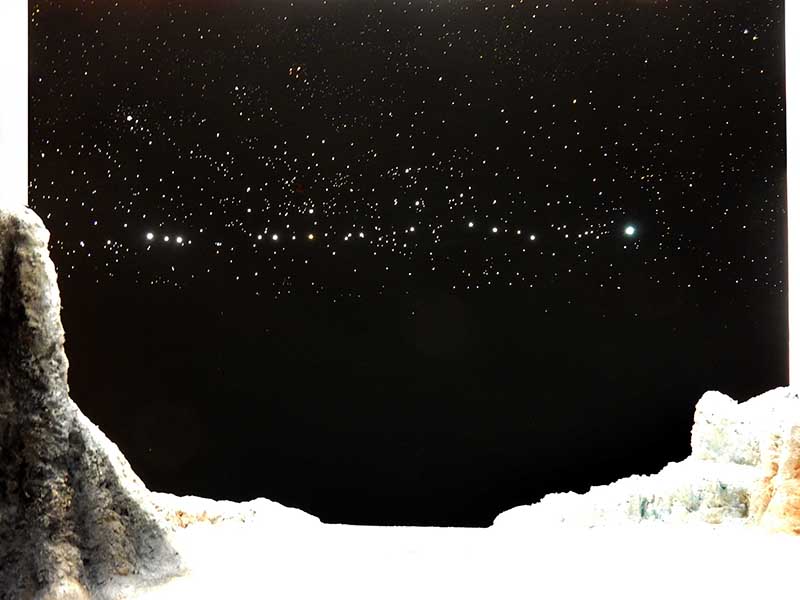
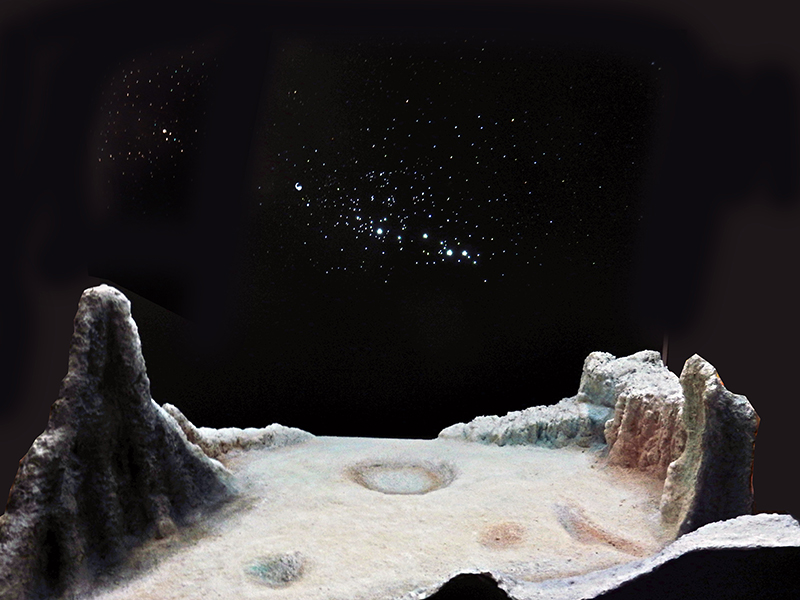
The glass is painted matte black. Then, after it dries, dozens of dots are scraped into the paint to simulate stars.
Next, behind the glass, place a drop of clear paint on some of them (yellow, light blue, reddish-orange, etc.)...
The photo shows the stars lit up by the LEDs behind the glass...