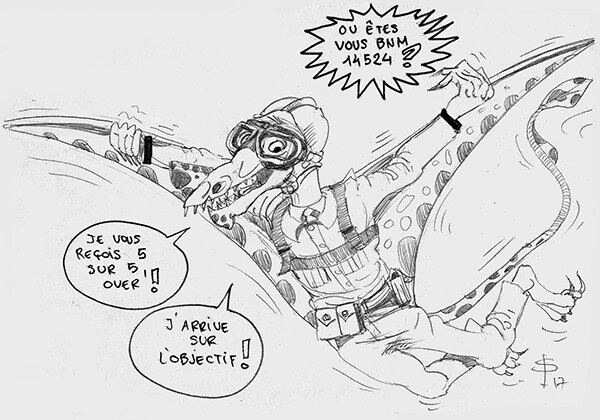
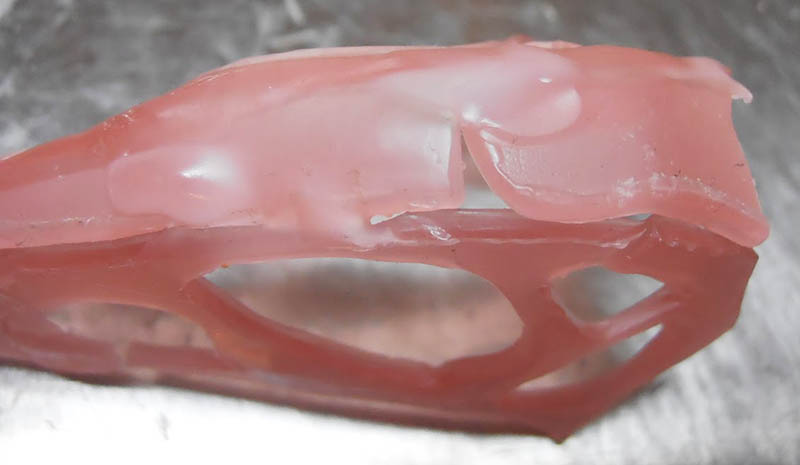
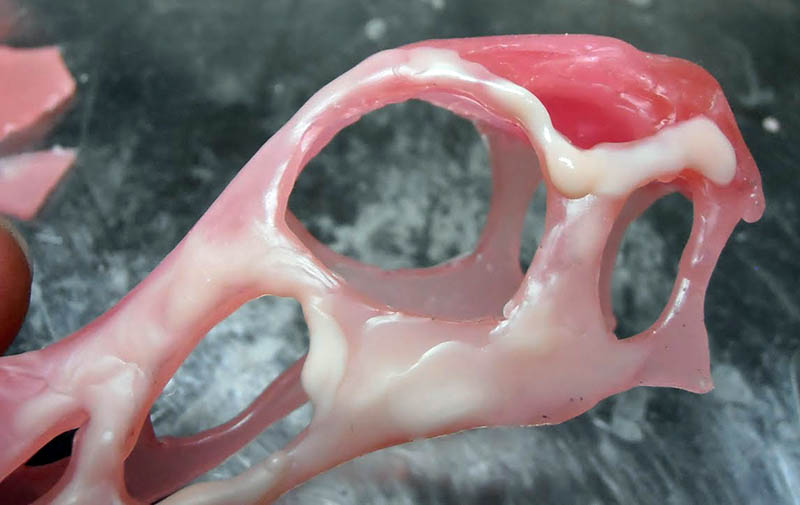
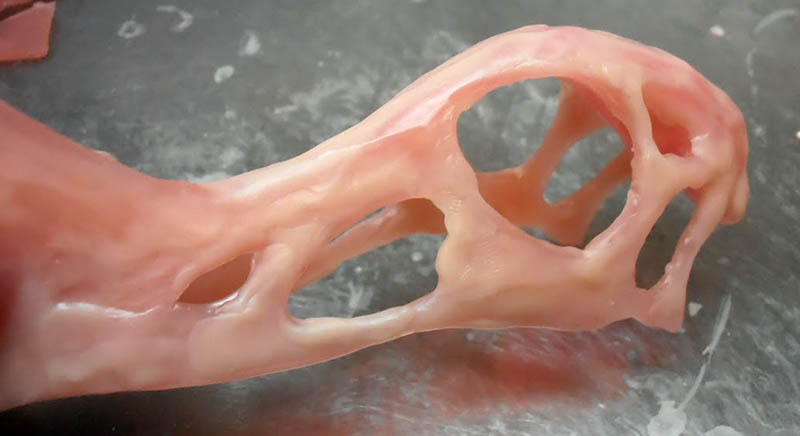
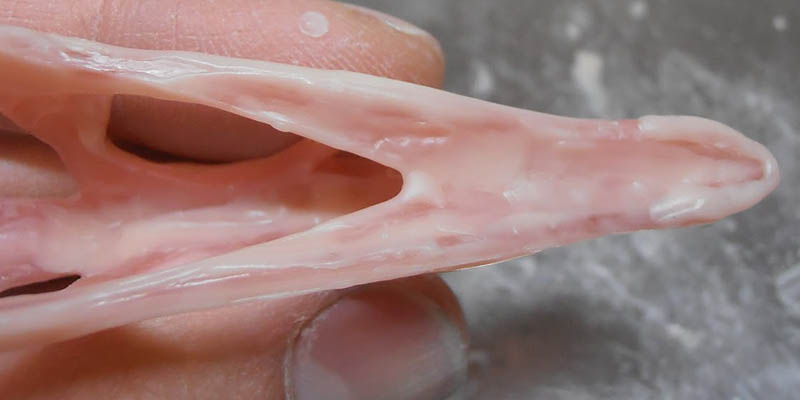
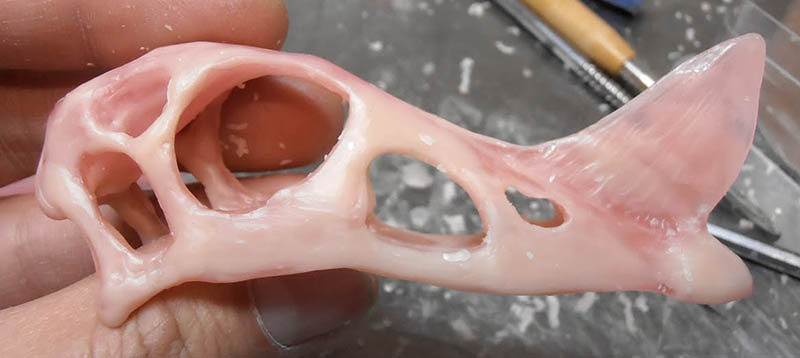
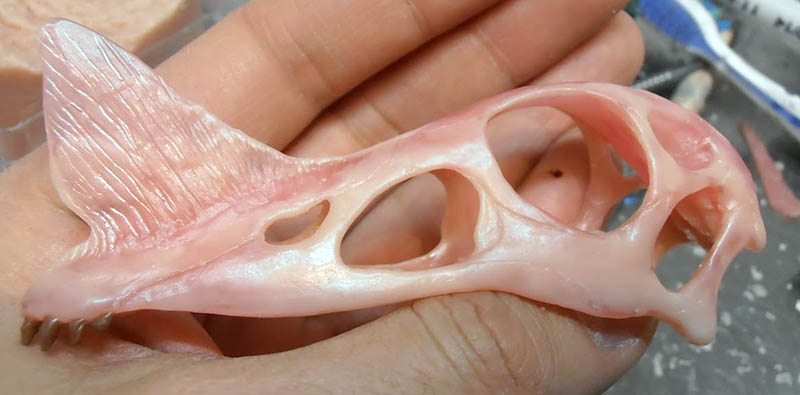
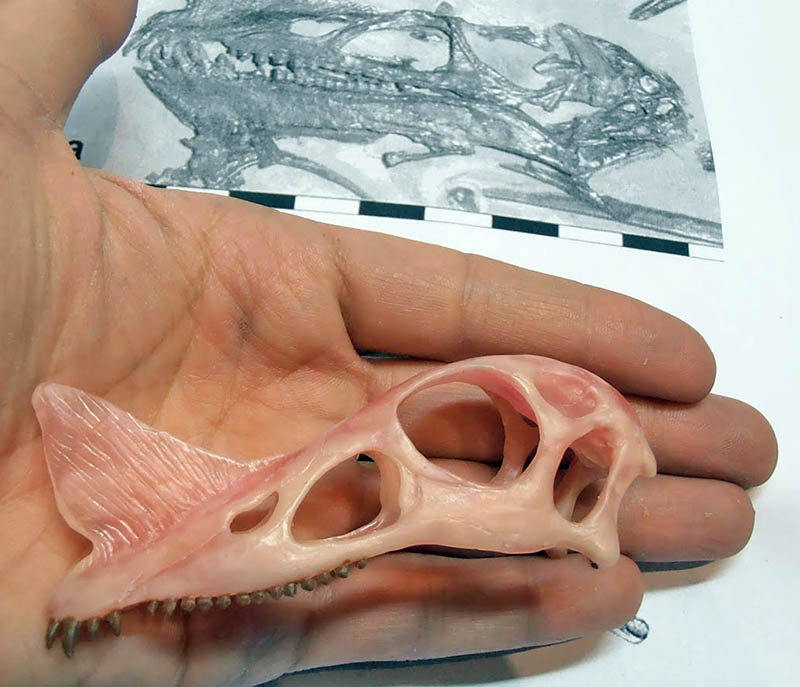
Raeticodactylus filisurensis Stecher 2008, Reptilia - Pterosauria - Campylognathoididae. It lived between -212.0 Ma and -201.6 Ma. It was a small pterosaur from the Triassic period (between 252 and 200 million years ago). It was discovered in Switzerland in the canton of Graubünden at Fil da Stidier (near Tinzenhorn). PTEROSAURS: (Order of) Flying reptiles of the Mesozoic Era that first appeared in the Lower Jurassic and became extinct at the end of the Cretaceous...
The wing surface consisted of a membrane held taut solely by the phalanges of the fourth finger, located at the leading edge of the wing. Pterosaurs were the only reptiles truly adapted to life in the air; their external appearance differed completely from that of all other archosaurs. Their diet consisted mainly of fish...
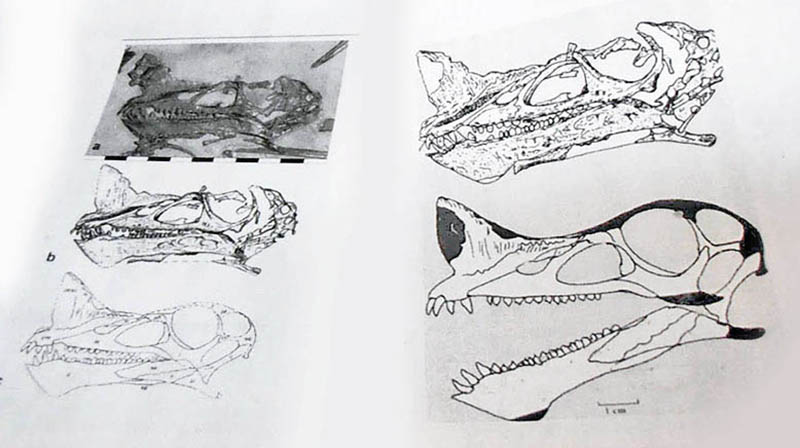
To create this sculpture, it is first necessary to conduct a bibliographic search of the paleontological literature available online and in books accessible at specialized libraries (museums, universities, etc.)...
In particular, we need to find and print full-scale models of the specimens we come across (skeletal fossils, reconstructed skeletons, etc.); this will make 3D printing much easier...
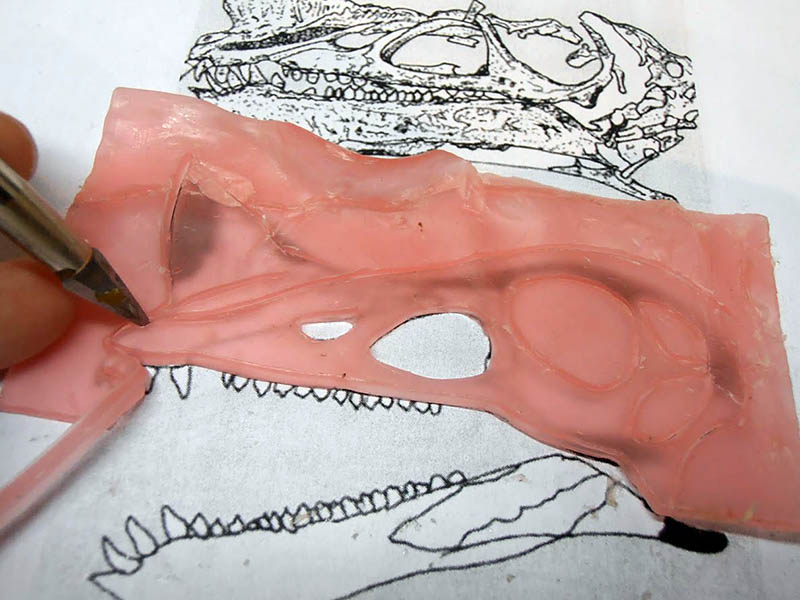
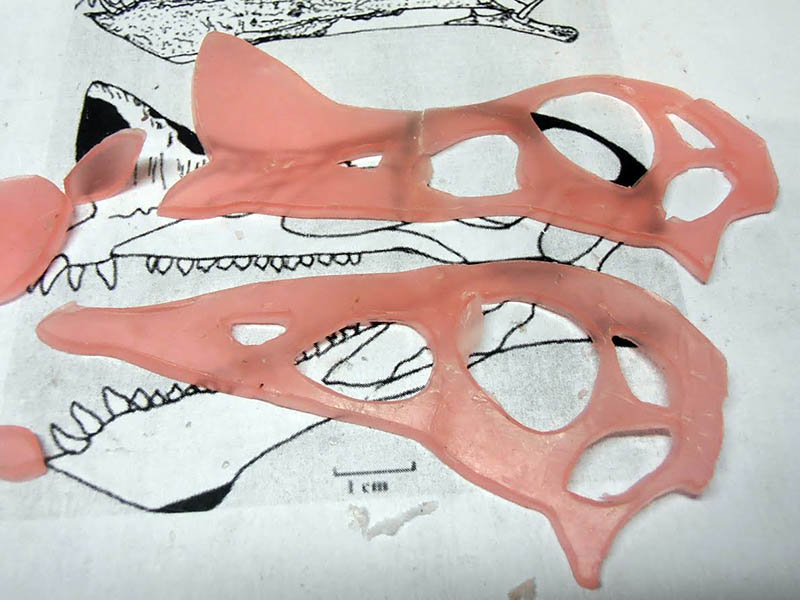
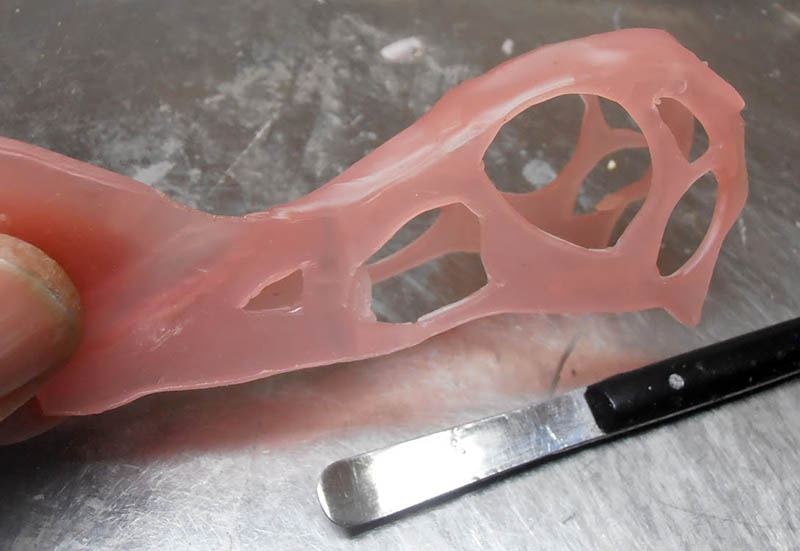
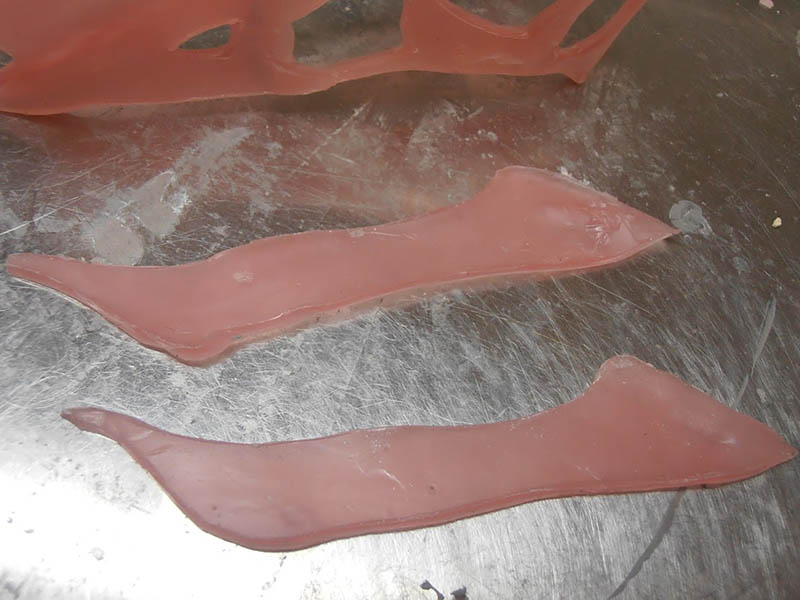
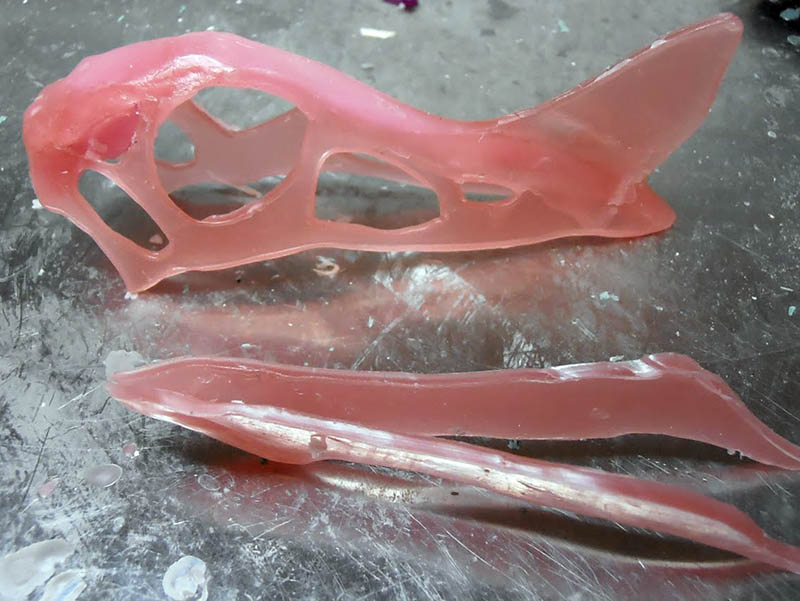
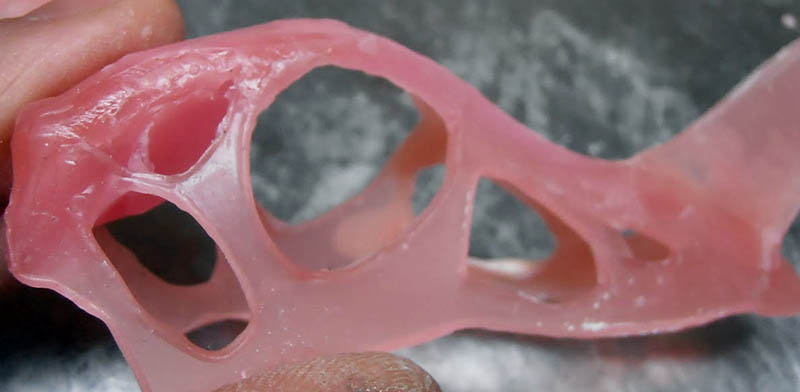
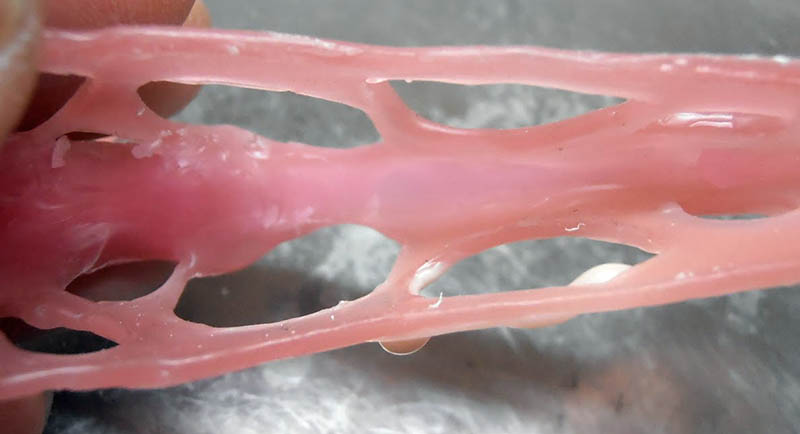
Using a sheet of modeling wax, I cut out the outlines on the full-size print...
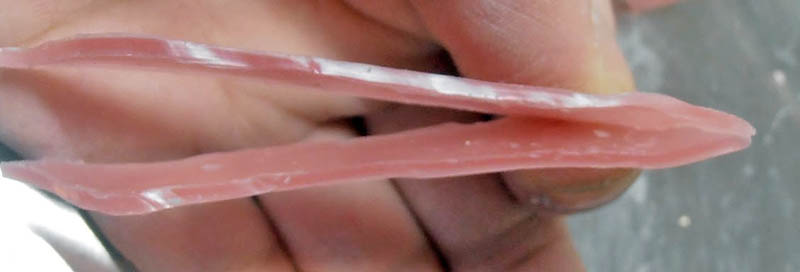
I then cut out a second sheet of wax. This second strip of wax (note: approximately 1.5 mm thick) will be cut without the ridge by on the other hand, which is thinner...
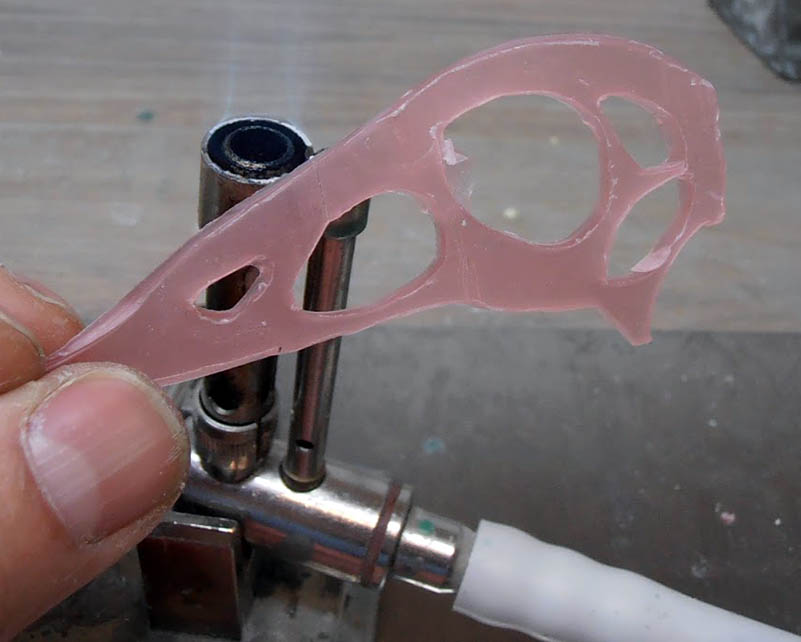
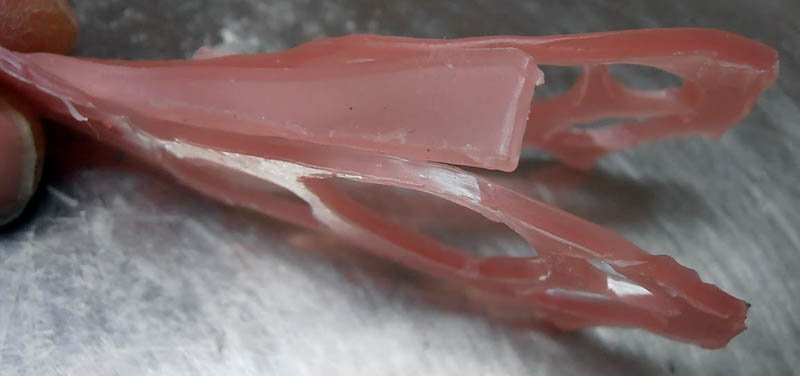
I heat the wax by quickly holding it over a flame so I can work with it and stick it to the other side, adding a small piece of wax between the two to give it some volume...
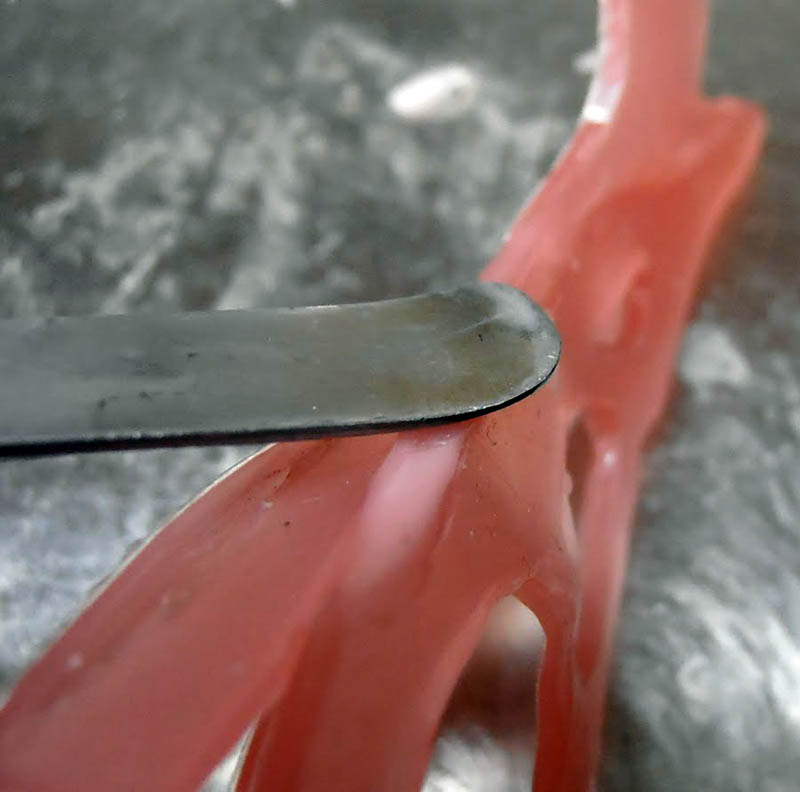
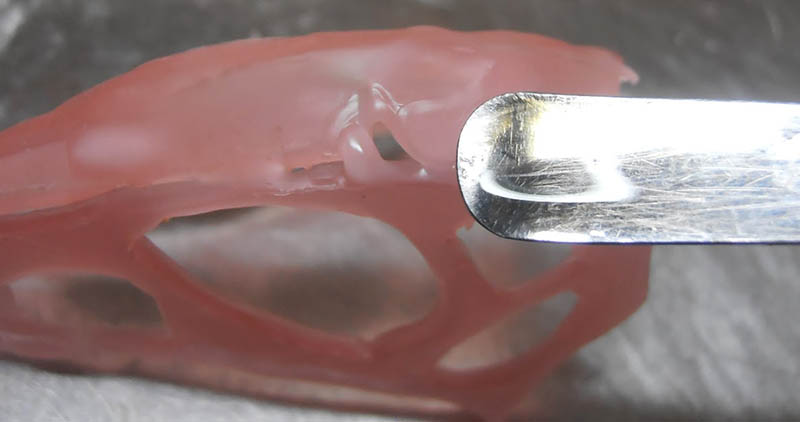
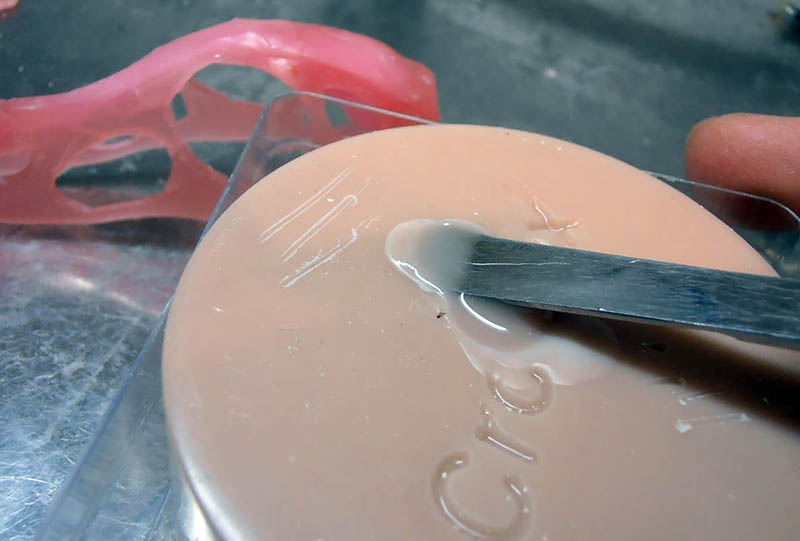
For most of the shaping, a wax knife will suffice...
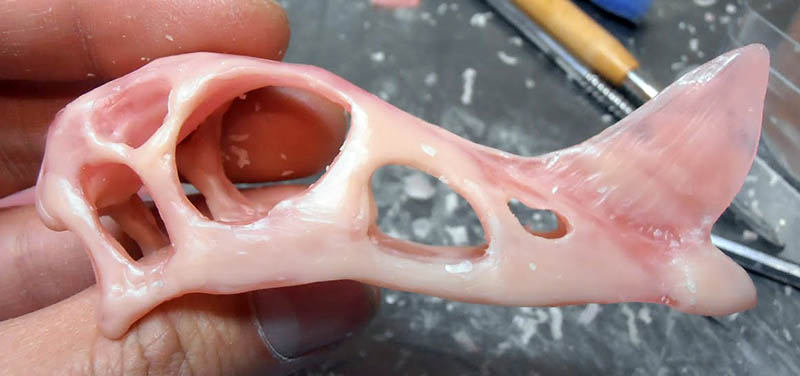
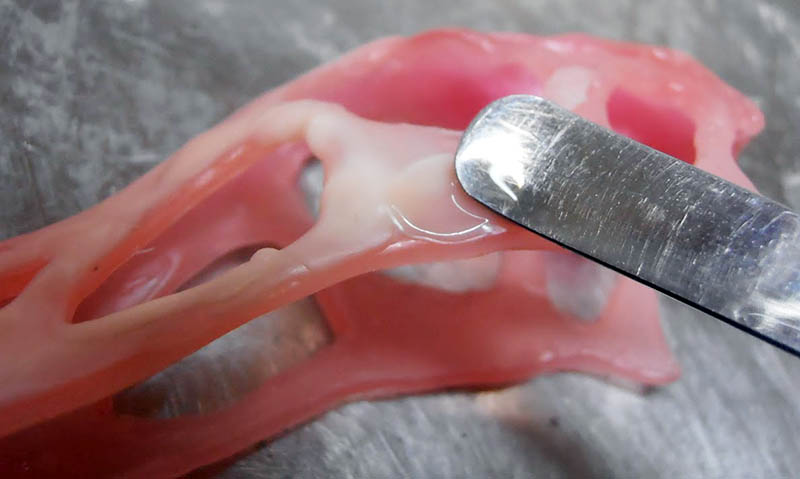
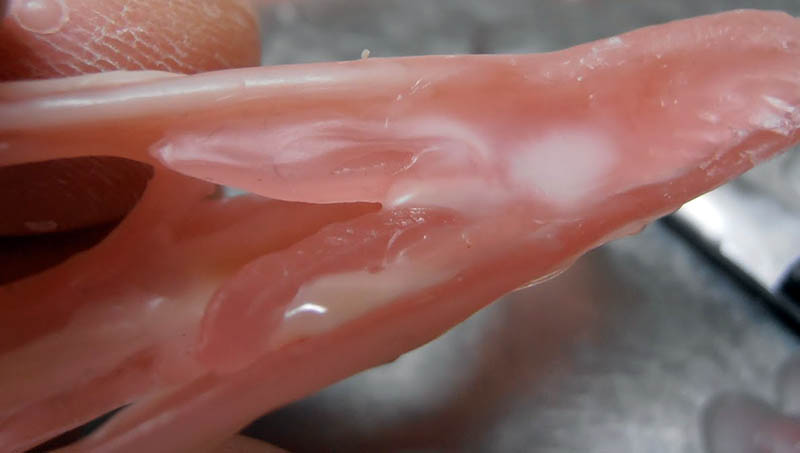
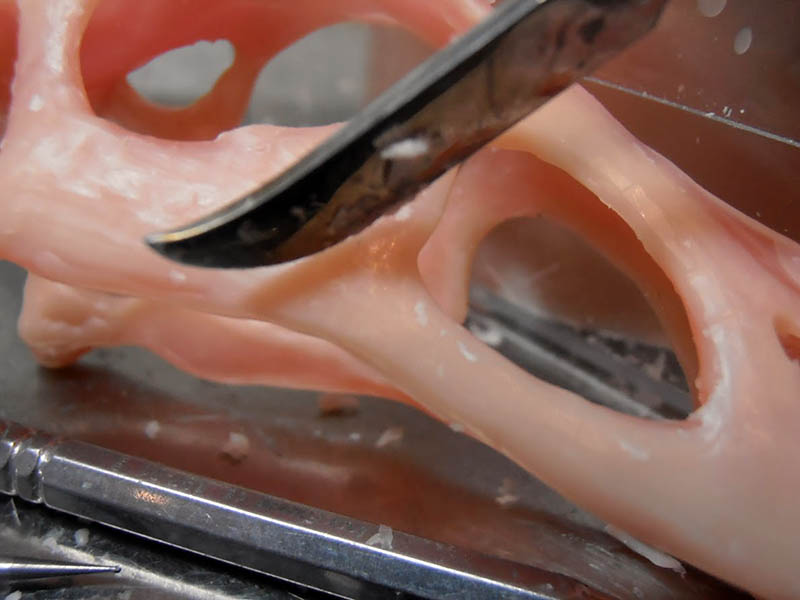
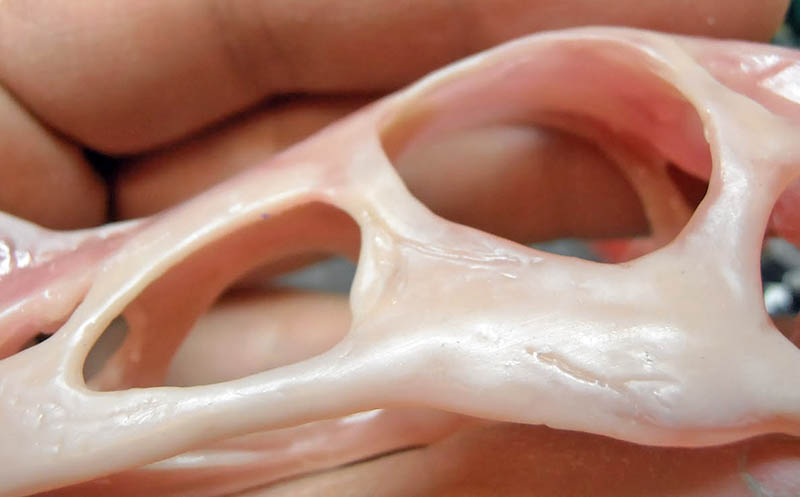
Using the back of the waxing knife, I make the seams, add wax, fuse the pieces together, and dip the knives into the wax block to apply wax. and I fill in the holes. I smooth it out as I go, running the knife over it again...
Don't hesitate to blow on it at the same time to cool the wax...
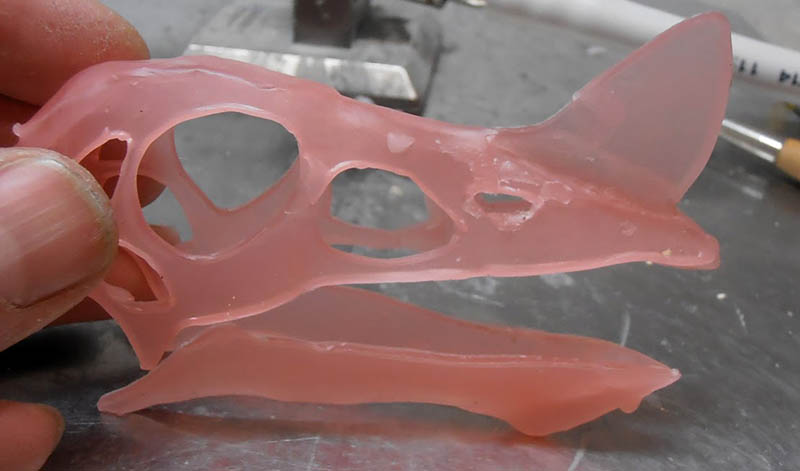
Do the same thing for the jaw...
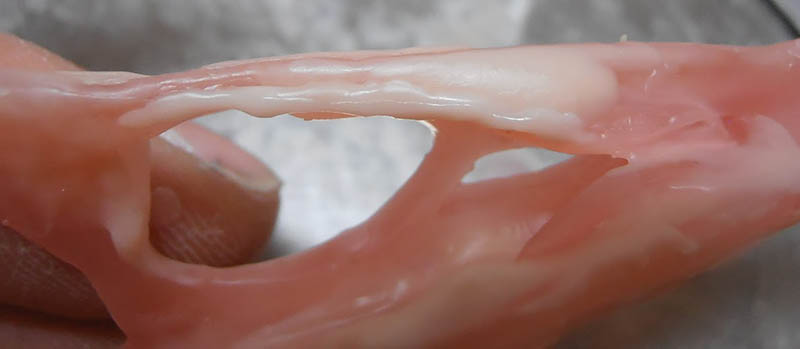
I start adding more volume to the skull by heating a piece of wax so I can shape it by hand, like modeling clay. I insert it and seal the joint, as always, with the wax knife. Be sure to seal the internal joints in the same way and smooth them out...
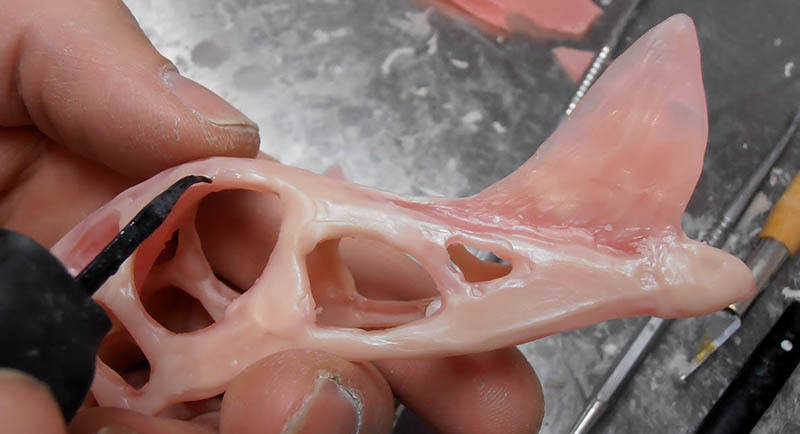
Once I’ve shaped the bulk of the skull, I add a thin layer of modeling wax in a different color that’s less translucent. This will allow me to add the small details and finish the piece. It’s always the same process: heat the knife, apply it to the block of wax; once the wax is on the knife, heat it again for better adhesion or to melt it, and then apply it...
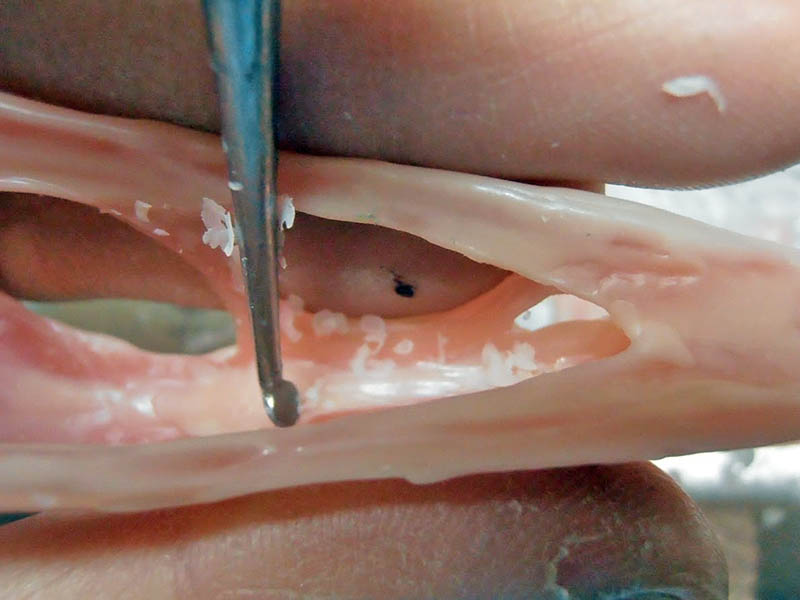
The same goes for the interior...
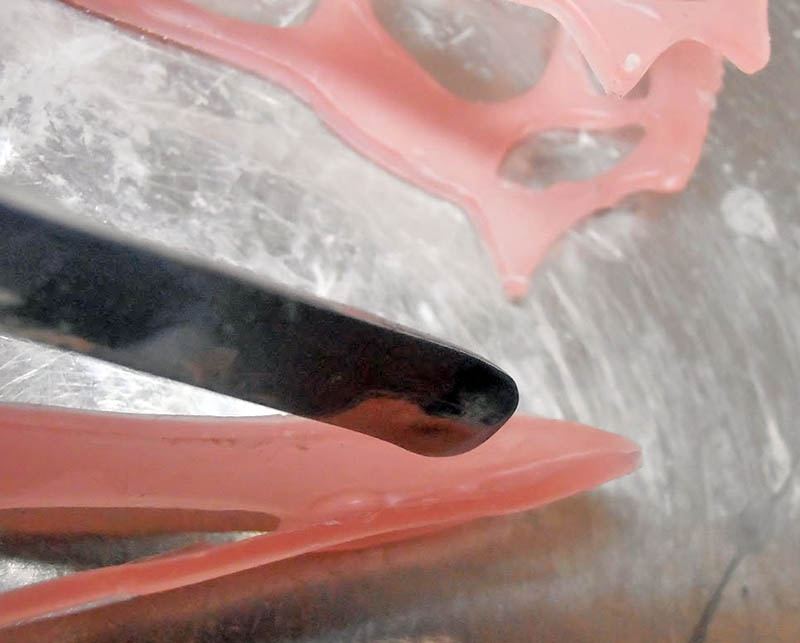
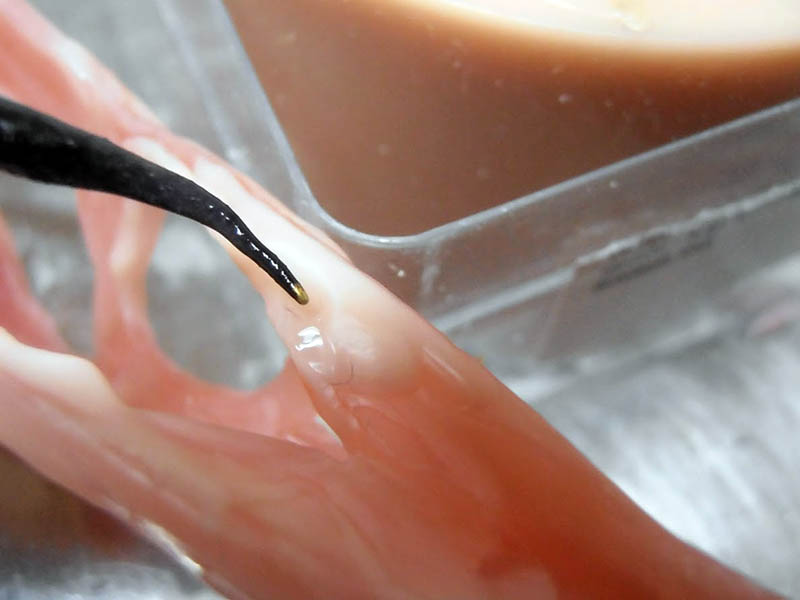
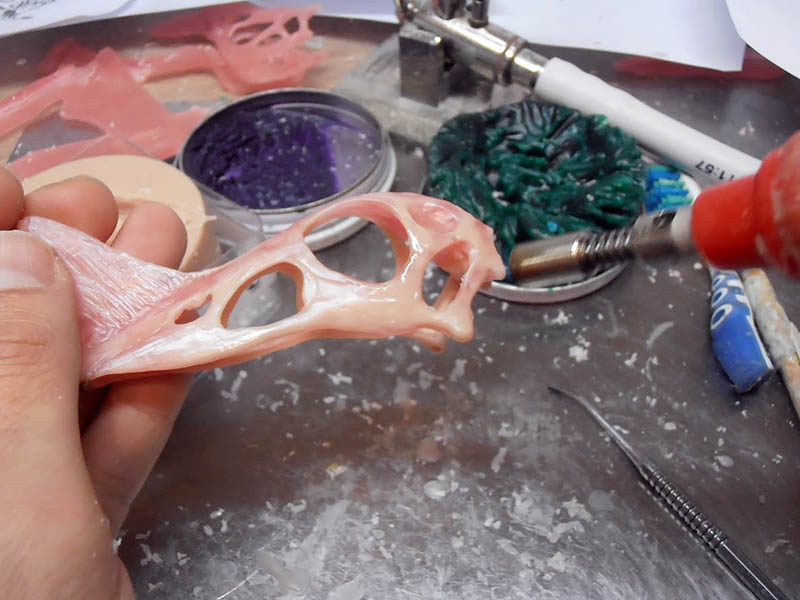
At a certain point, I use the heated spatula to add small amounts of wax; it's small and precise. Thanks to this tool, I can apply wax fairly quickly, since the tip is constantly heated...
...I dip it in, add the wax while blowing on it—this helps shape it and guide the wax as it hardens. The spatula can also be used to smooth it out...
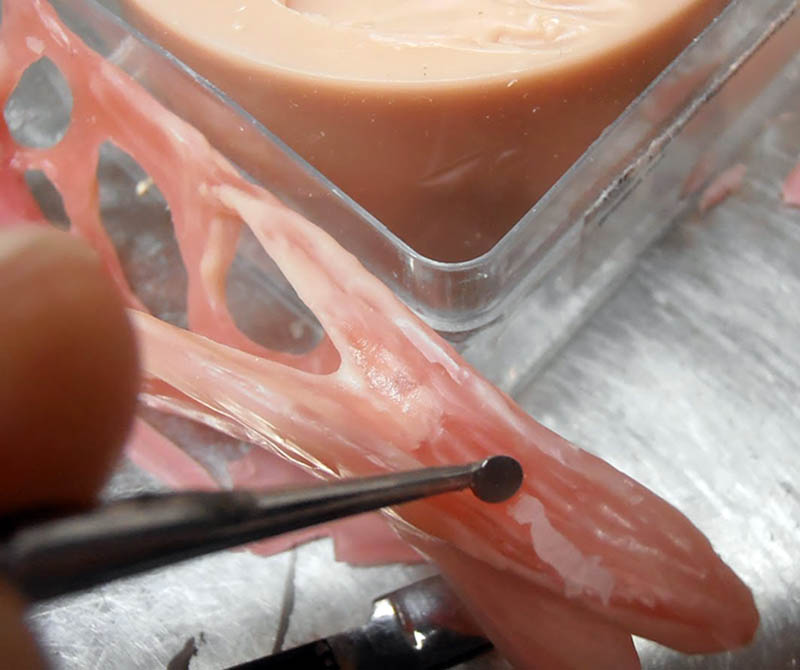
Once enough wax has been added, I start using the sculpting tools. I can also use heating tools to remove wax and smooth it out as I go. Don’t hesitate to go back to the heating tools to make adjustments to your work. That’s the major advantage of wax! You remove some, add some—over and over again!...
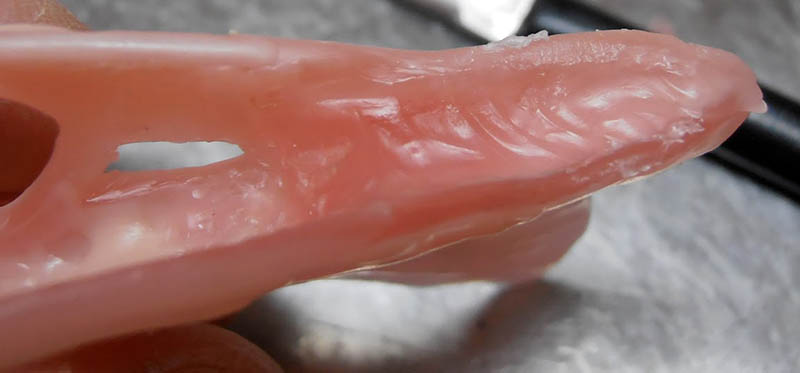
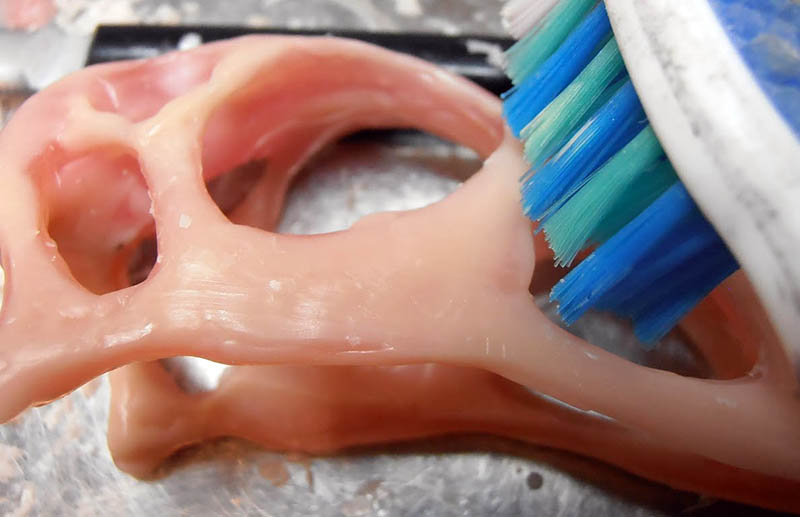
Brushing with a toothbrush to clean not only has a pleasant effect on the wax but also helps prepolish it...
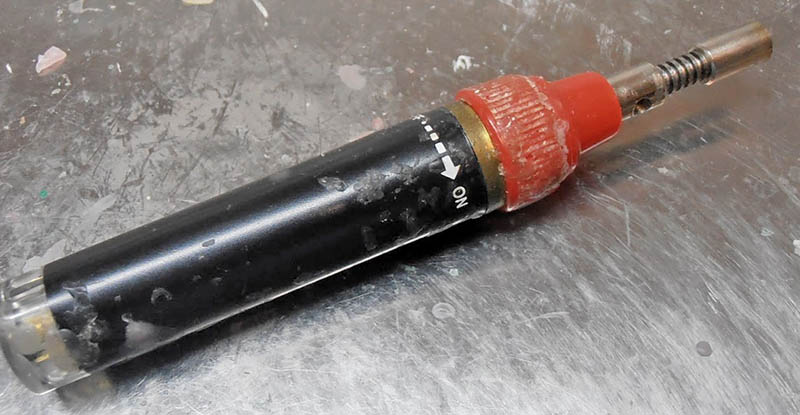
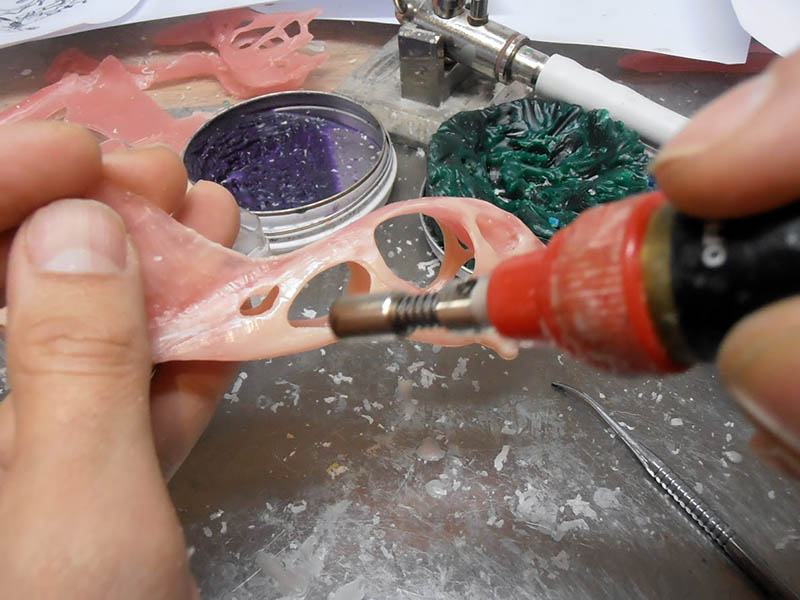
Using a small rechargeable torch, I smooth everything out. You need to move the torch back and forth very quickly, but for long enough to melt the outer surface of the sculpture. It takes some practice to get the hang of it, so it’s best to practice beforehand...
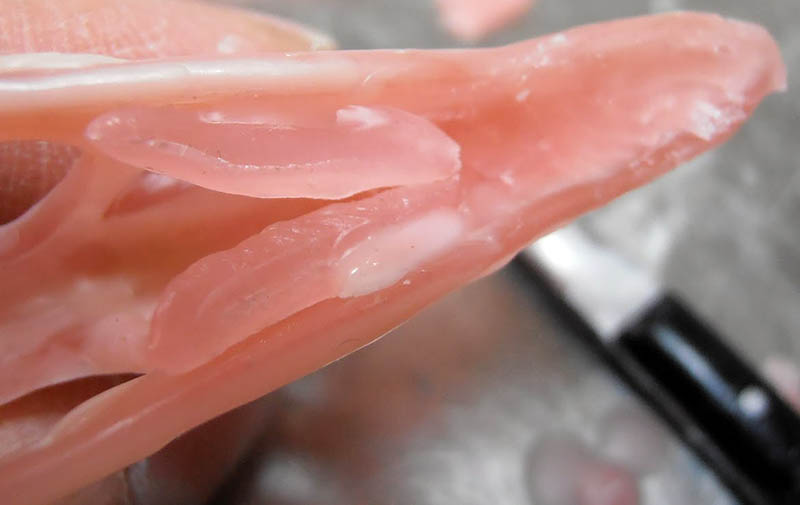
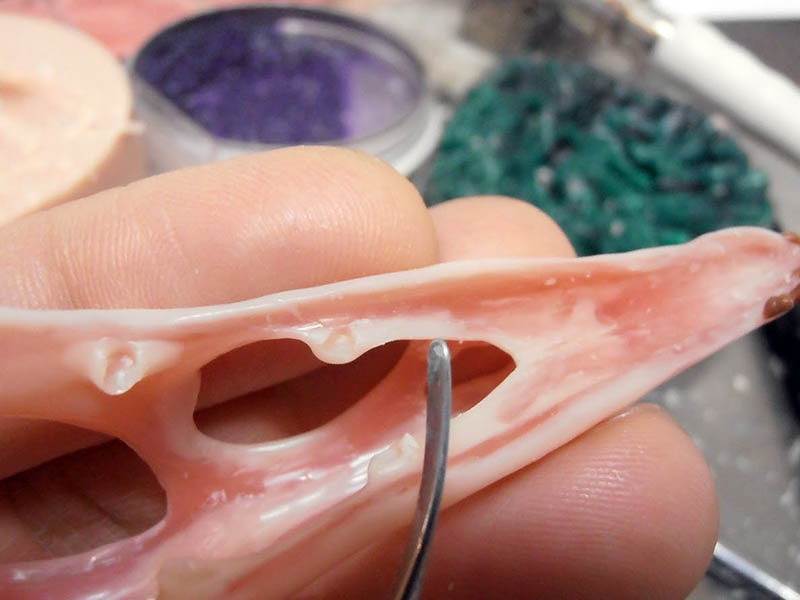
Preparing the interior for the future palatal bones. Another wax piece will be made once the skull is finished in resin, to ensure a better fit... Here, I’m simply placing a cold metal instrument on a drop of heated wax as it cools...
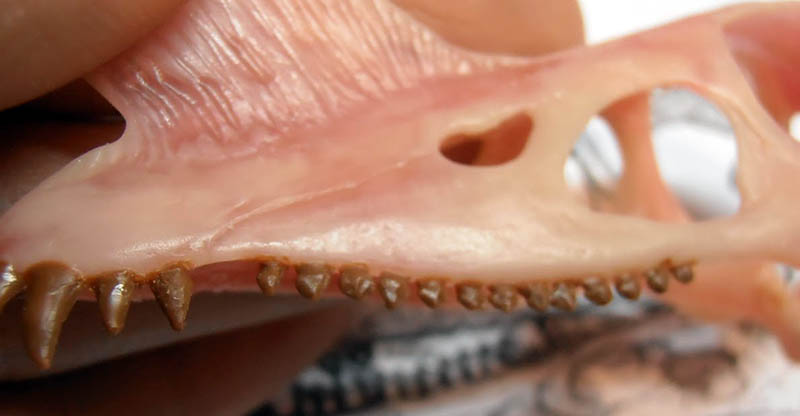
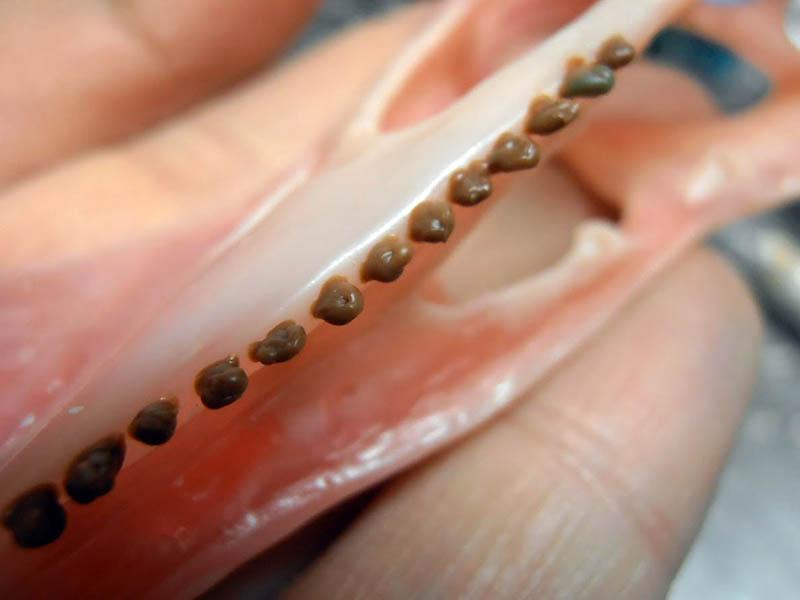
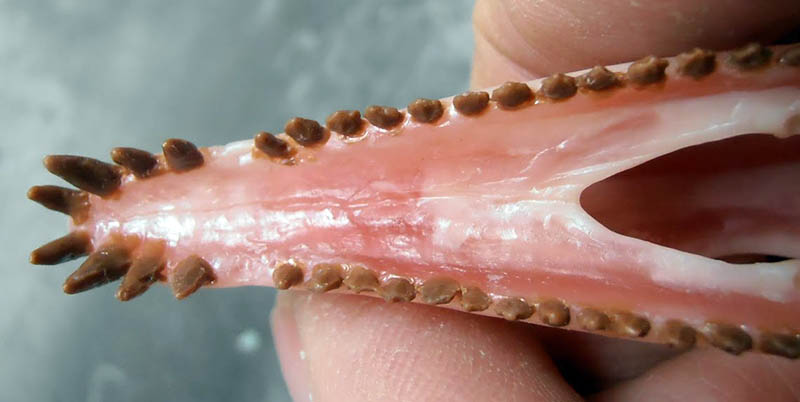
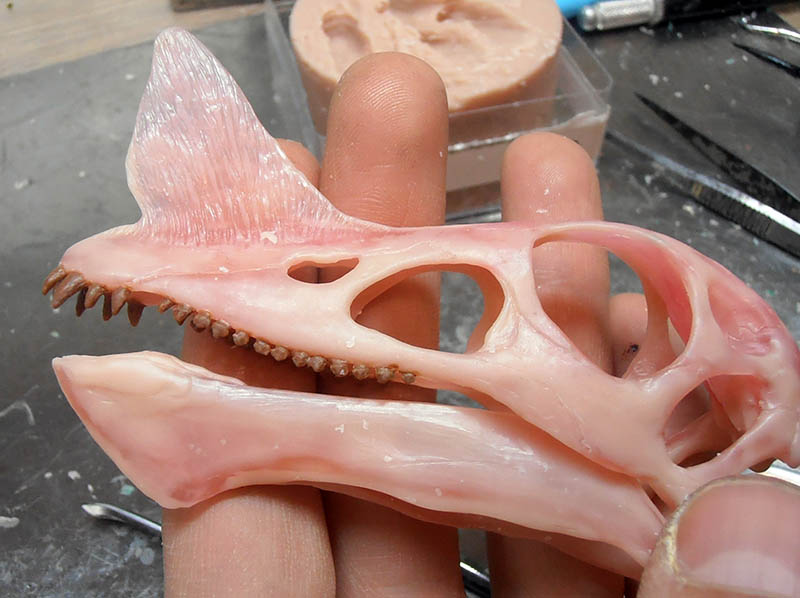
I'm still working on the details... I'm making corrections, smoothing things out, and so on. Finally, I'm starting to work on the teeth...
For this, I'm using modeling wax again, but this time it's very hard and a different color. This time I'm using the PKT (same shape as the heated spatula but heated manually with a Bunsen burner or an alcohol lamp)...
This tool is much more precise because it doesn't stay hot all the time, so the wax cools and hardens faster—I'm not sure if I'm making myself clear.... This makes it easier to apply and shape the wax, but also more precisely and quickly...
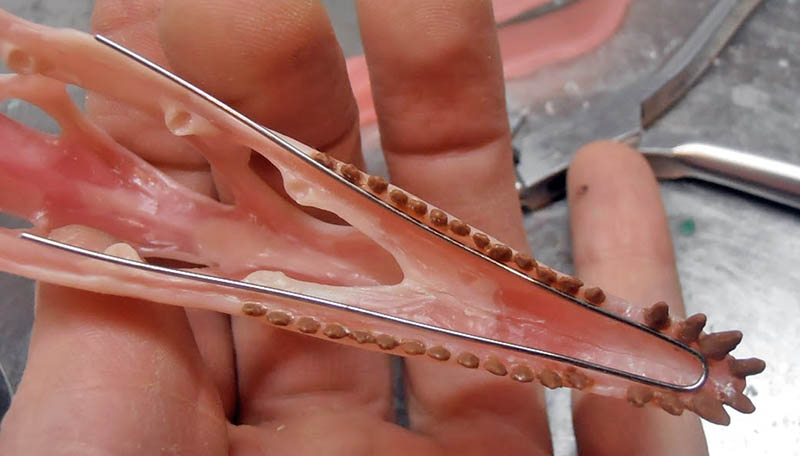
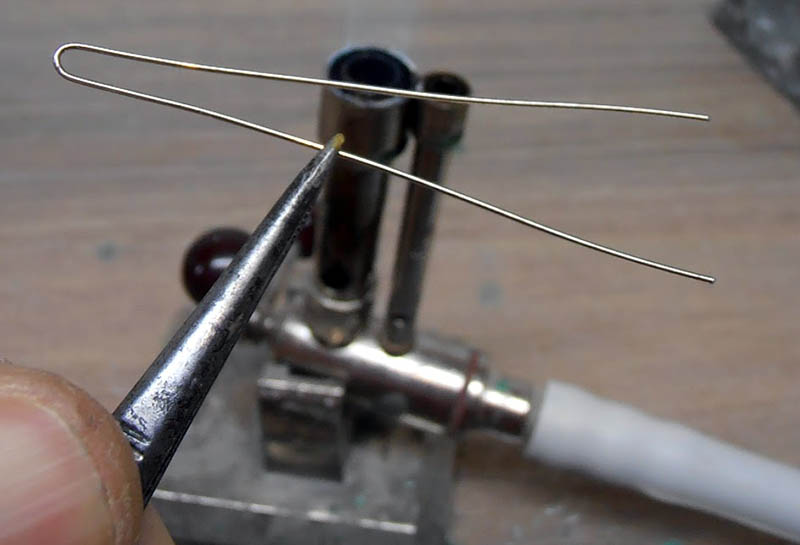
Now I can start on the jaw, which I won't finish until I've finished the resin skull—for an even better fit, one more times. I prepare a piece of wire and shape it to stiffen the wax...
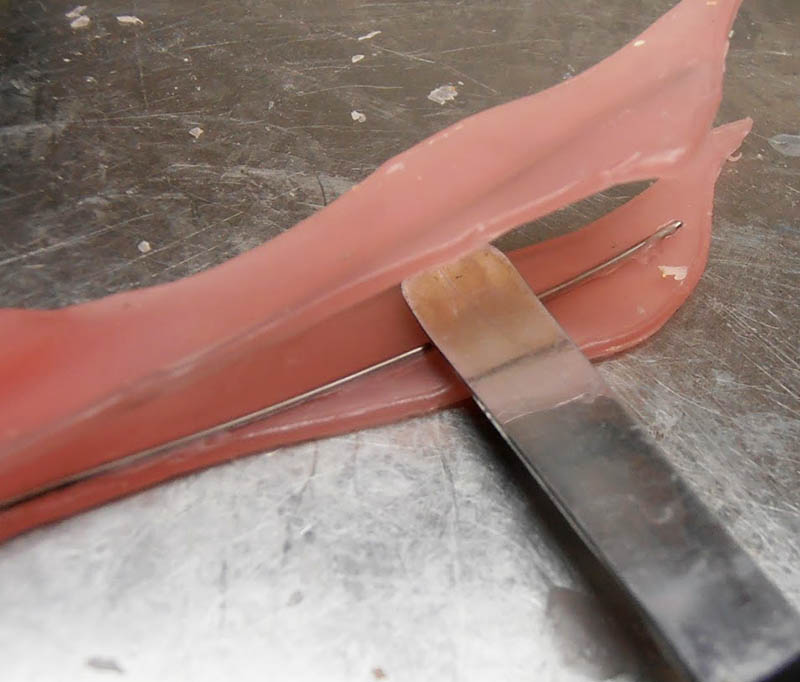
Then I insert it inside after heating it up first. Not too much, though, or it’ll go right through the wax... If it’s not hot enough, you can heat the wax knife and apply it to the wire. The heat will spread, and the wire will slide easily into the wax...
Same process as for the skull: apply modeling wax, shape the general form, and begin the finishing touches...