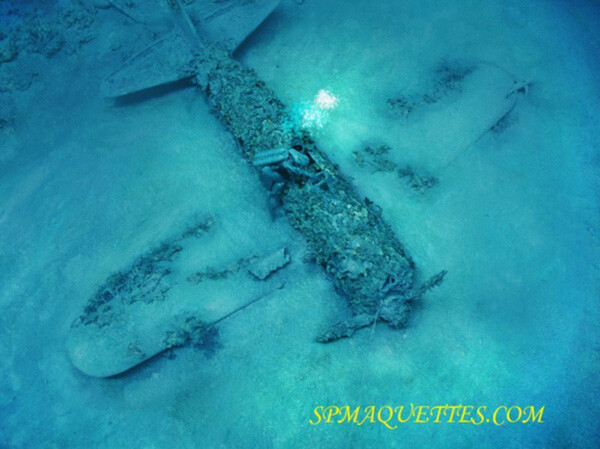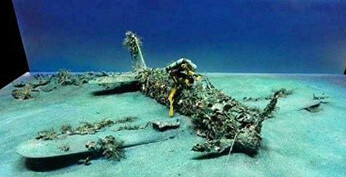
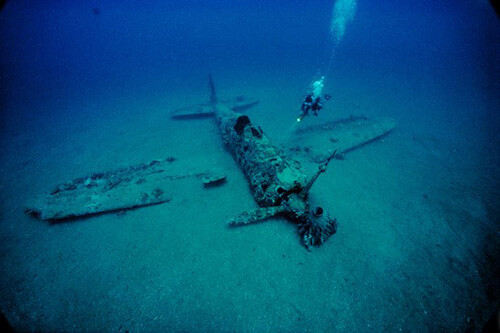
The Japanese fleet, which was surrounded and sunk by the Americans in 1942 in New Papua, has become a natural reserve of shipwrecks of all kinds. The 1/32-scale kit from Hasegawa made it possible to recreate a Zero sunk 30 meters deep off Rabaul...
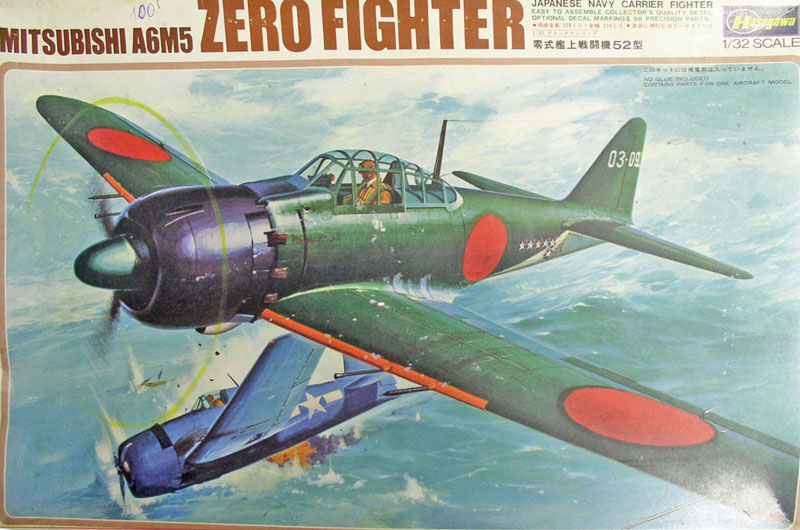
The model, though small, is interesting because of its size...
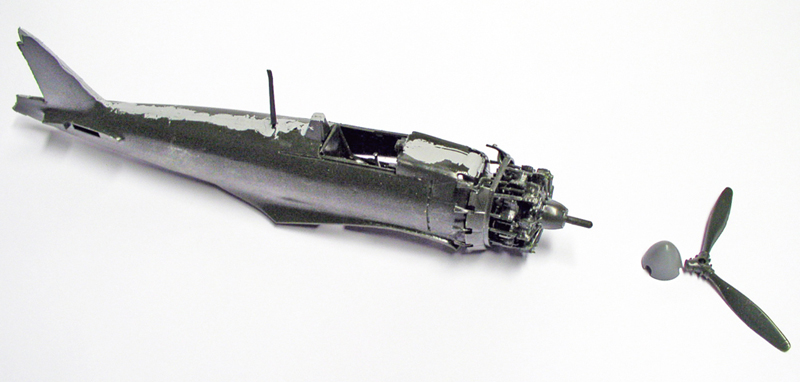
Preparing the fuselage. Filling the gaps after installing the pilot's seat, the instrument panel, and a few other details. The entire model will be heavily covered with encrustations, so small details are unnecessary... A missing propeller blade on the wreckage is cut off before installation...
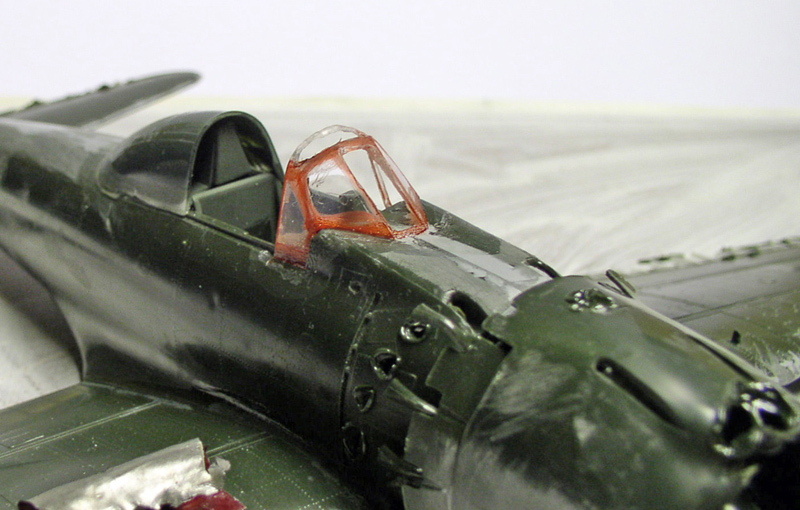
The windshield is glued in place after the glass panels—almost all of which are missing—have been cut out. The red color outlines the shape of the pillars...
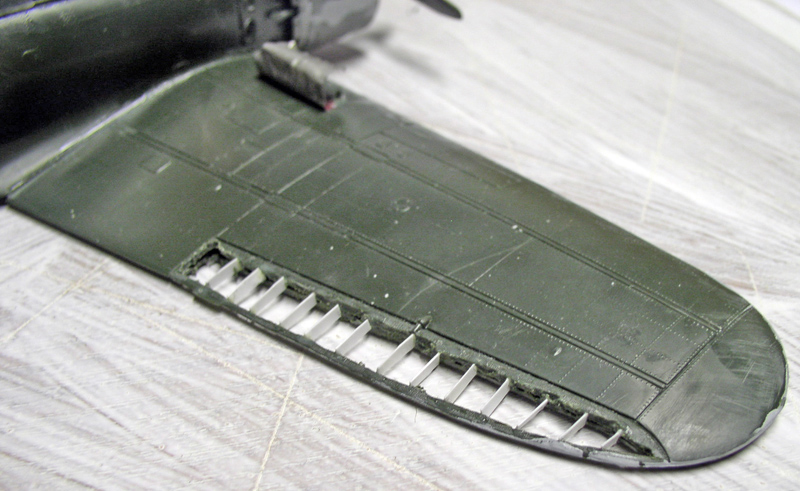
The wing control surfaces have been cut out, and the spars have been rebuilt using Evergreen. The lower wings—which are a single piece on the model—are cut before being joined to the upper sections in order to adjust the dihedral, as the aircraft had sagged to the ground over time...
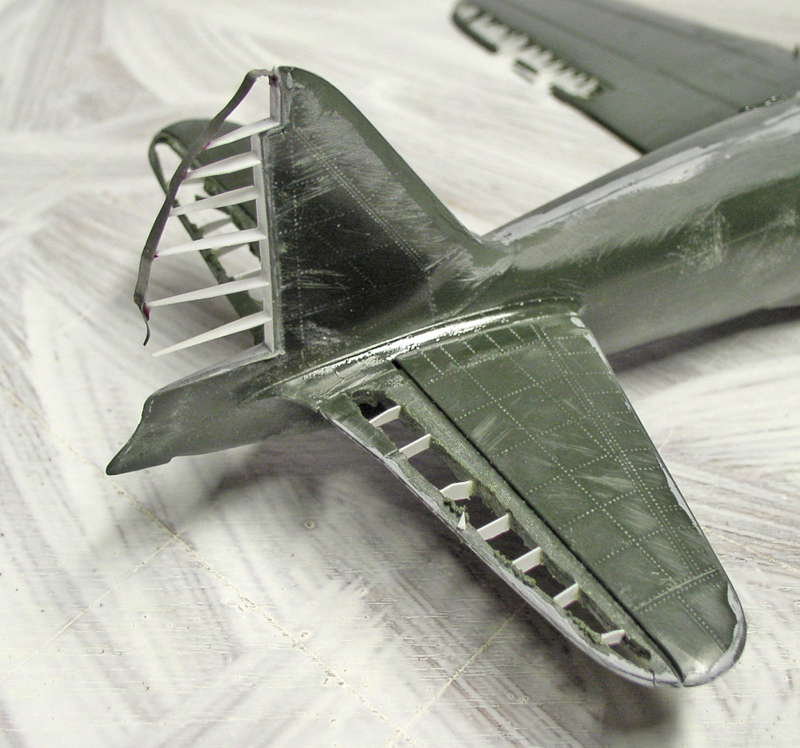
The tail section suffers the same fate as the wing control surfaces...
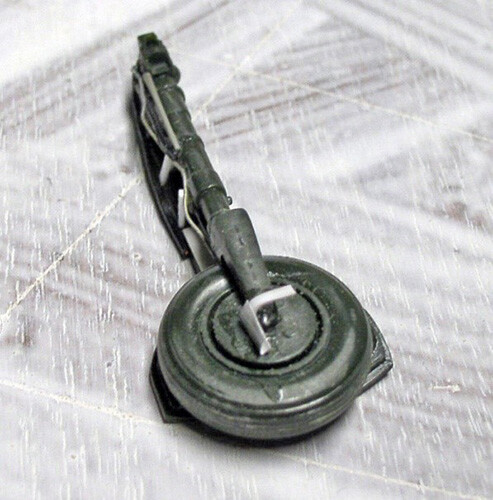
We haven't forgotten one of the landing gear units, which is lying on the sand not far from the plane... A few details have been added...
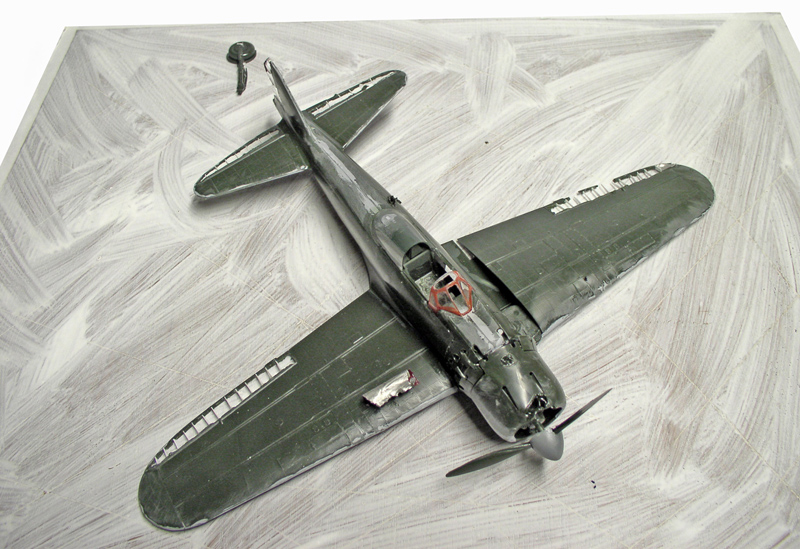
The model is almost finished. You can clearly see the shape of the sagging wings... On the background of the diorama, we apply a coat of acrylic primer (Gesso) to protect the wood from the moisture in the fresh plaster...
Flocking/Decor
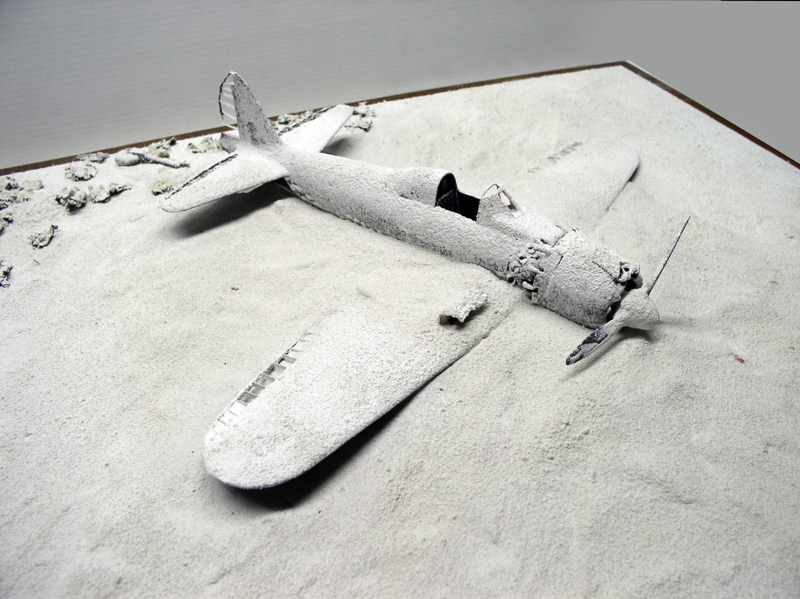
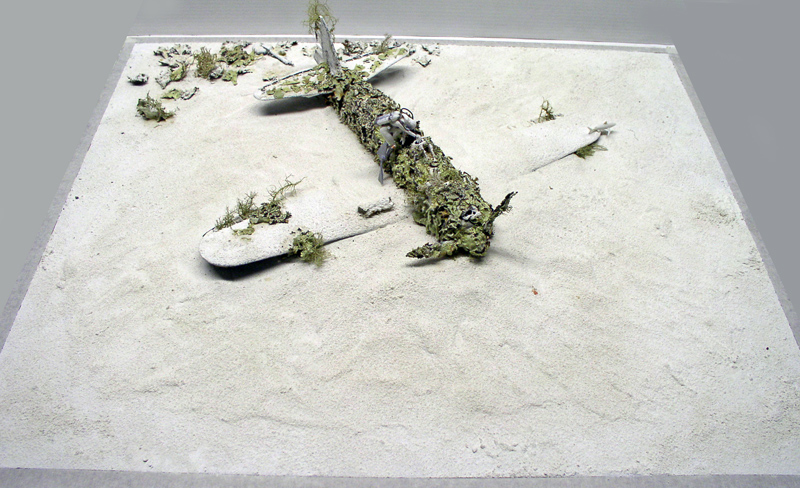
The next step is to coat the model and the airplane with plaster of Paris. We start with a well-thinned mixture and finish by sprinkling dry plaster over the still-wet layers to form the first concretions...
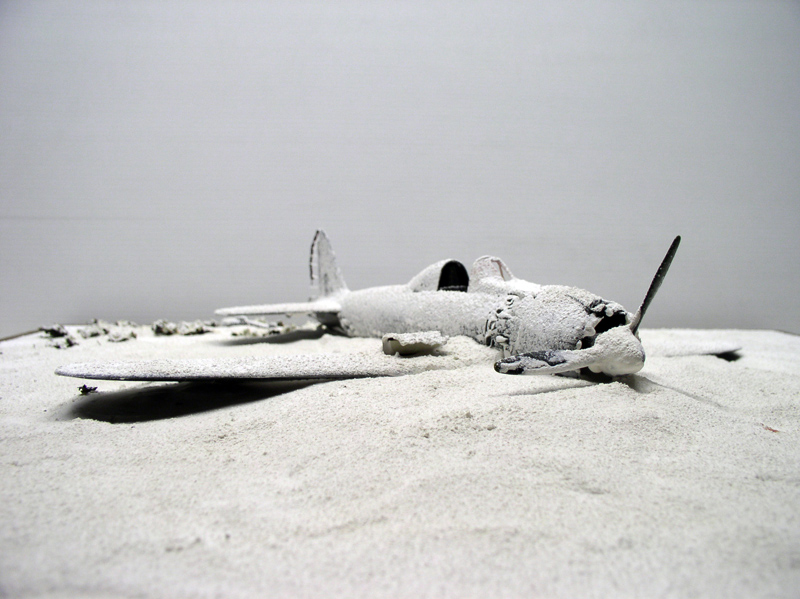
Another view...
Lichens
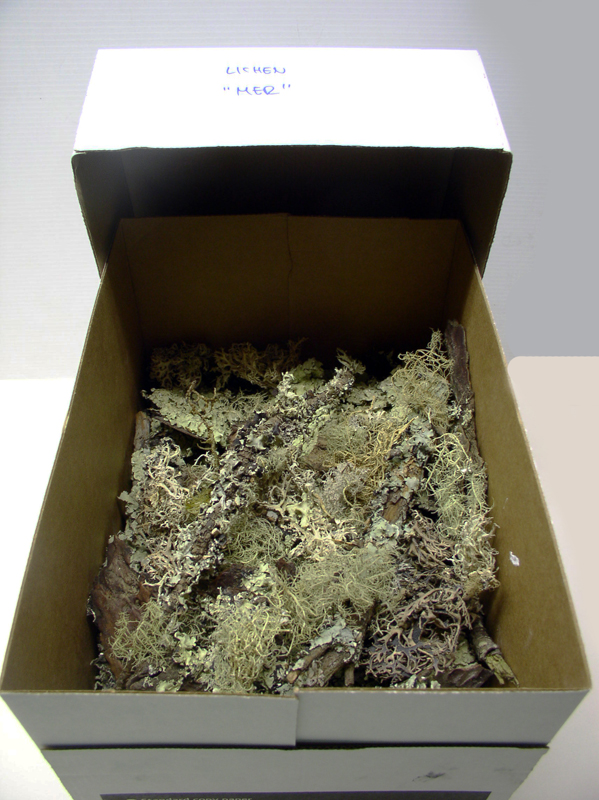
Now, we're going to set aside the coral branches and other growths that form on underwater shipwrecks—which are particularly abundant in the southern seas...
To do this, use dried lichens collected in the woods—forget about buying those expensive, unrealistic products in stores, and take the time to go out and find some in nature, then let them dry for a while. The larger ones perfectly mimic thick tropical coral branches, and the “moss-like” shapes resemble the concretions that cover metal sheets...
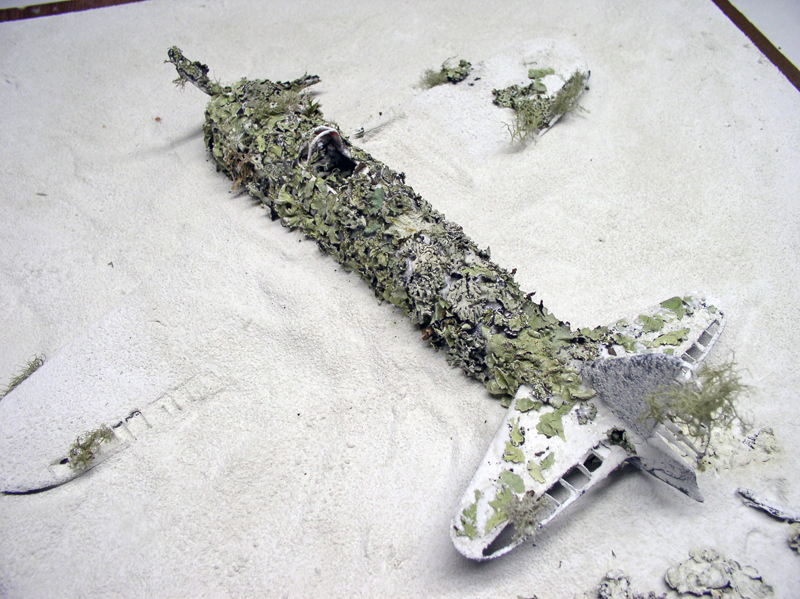
Next comes a lengthy process of gluing with fast-setting wood glue. We don’t just lay down the foam; we regularly consult photos of shipwrecks and adjust the lichens to achieve the most realistic final look possible...
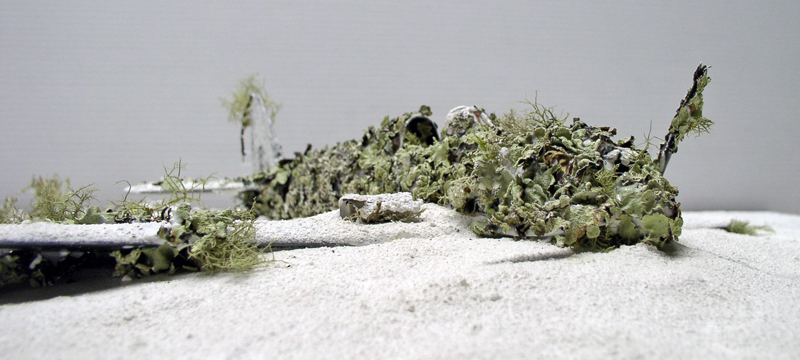
A glimpse of the scene, which is well underway... Patience is key, but the result is just around the corner...
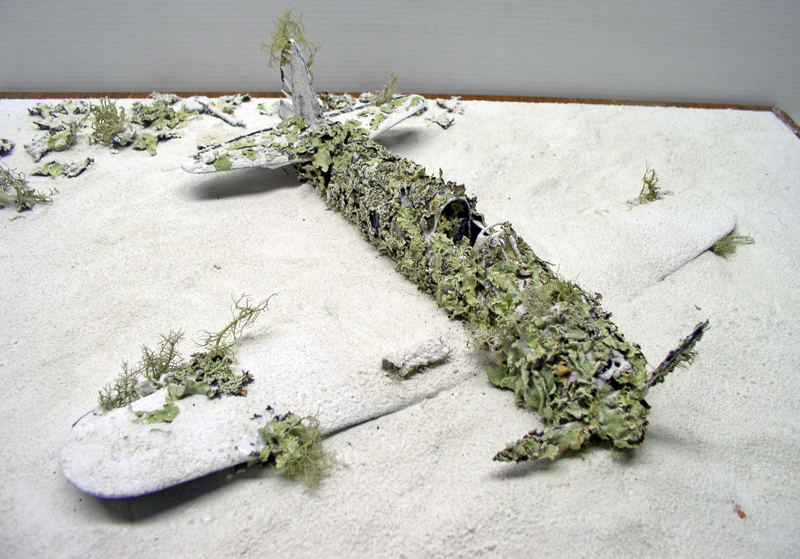
The wreck is now covered. We're also placing some on the very sandy seabed in one part of the scene...
The figurine
The figurine
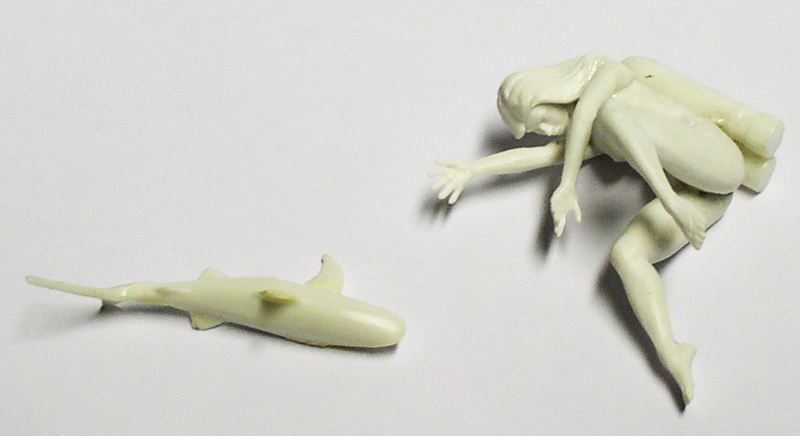
A multi-pose Preiser figure completes the scene and brings it to life. The stack of bottles comes from a Heller frogman figure. The little shark is from the Calypso model kit. The missing fin will be added using plastic card...
Painting
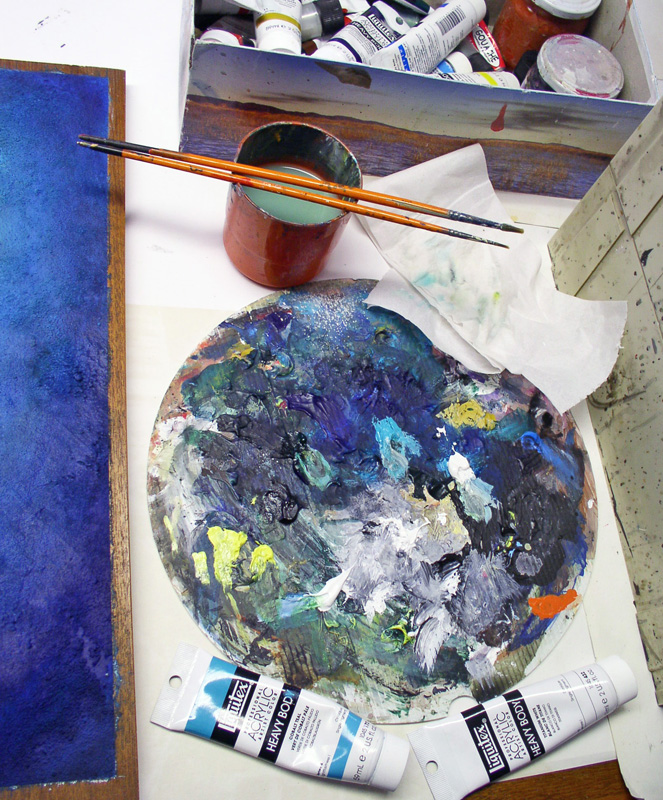
The entire piece will be painted using Liquitex acrylic paint for canvases. The "vibrant" colors perfectly capture the brilliance of tropical seas...
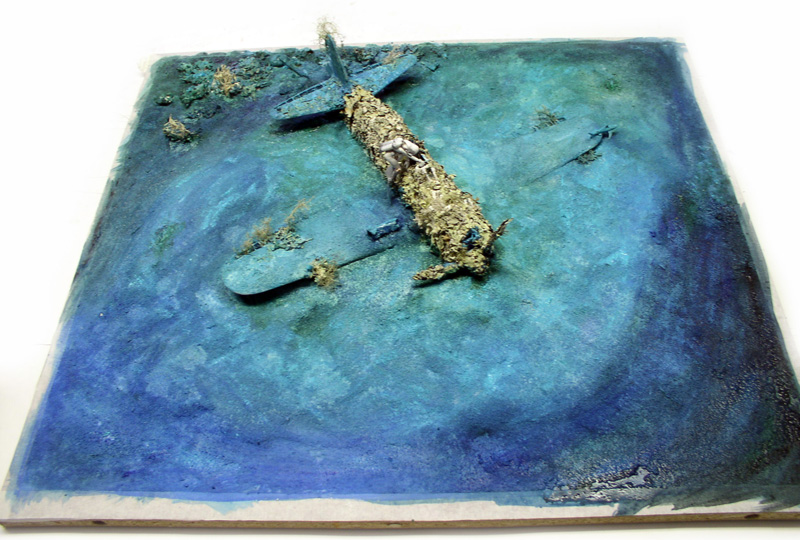
Painting the set. A first coat applied with a flat brush to establish the overall lighting and get my bearings...
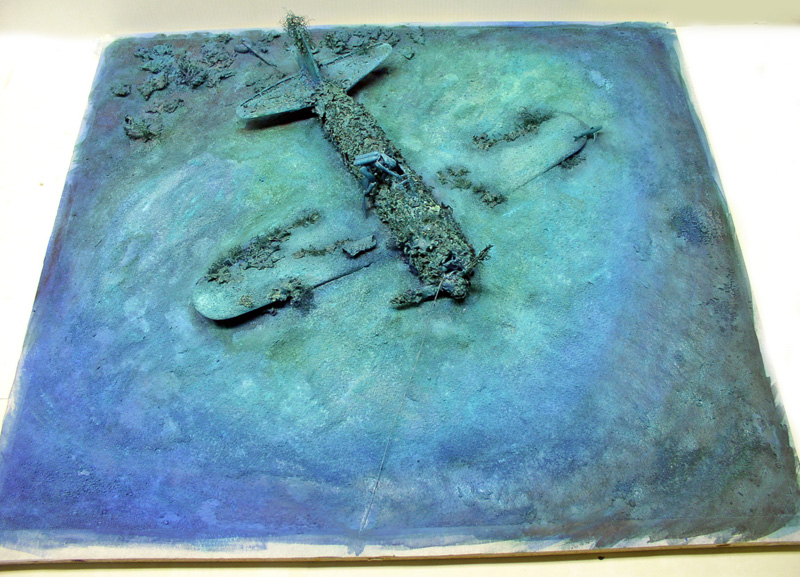
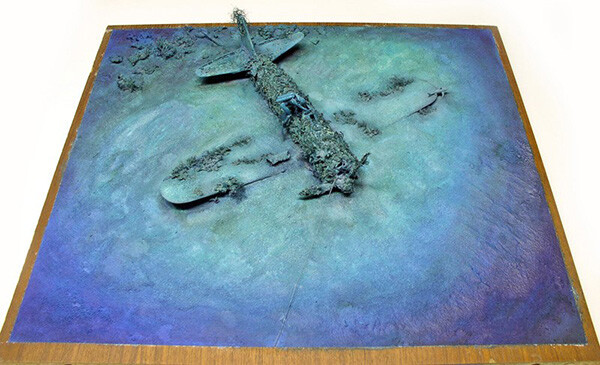
Airbrush finishing, emphasizing the sense of depth along the edges and the central lighting...
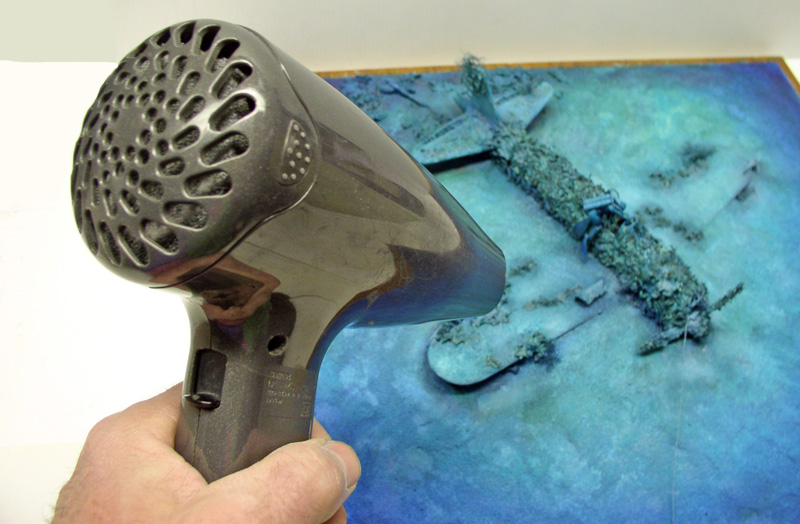
We use a hair dryer to dry the paint between coats and save time...
Painting/Miniature
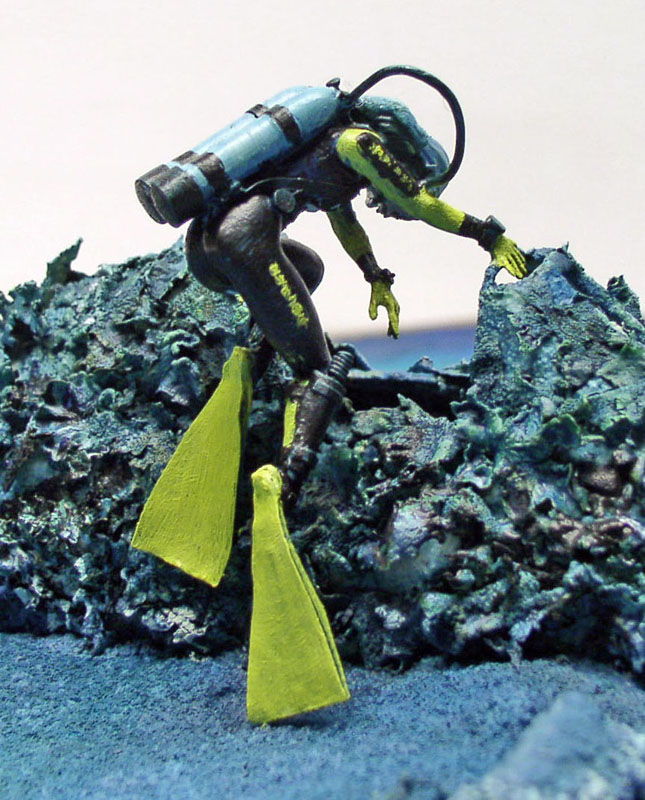
The figurine is then painted with acrylic paint, taking into account the depth of the colors...
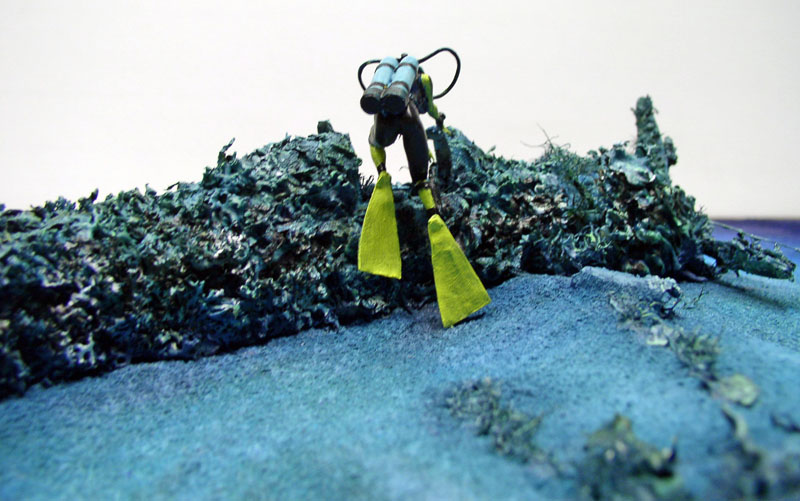
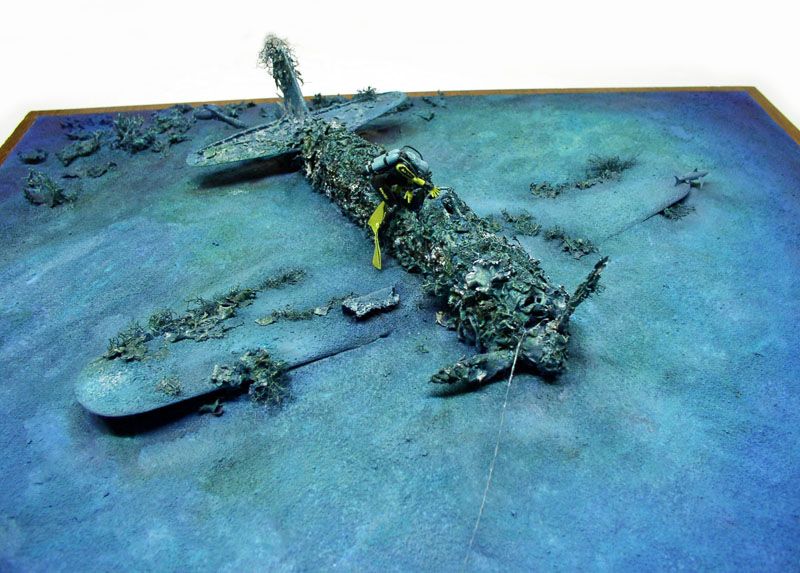
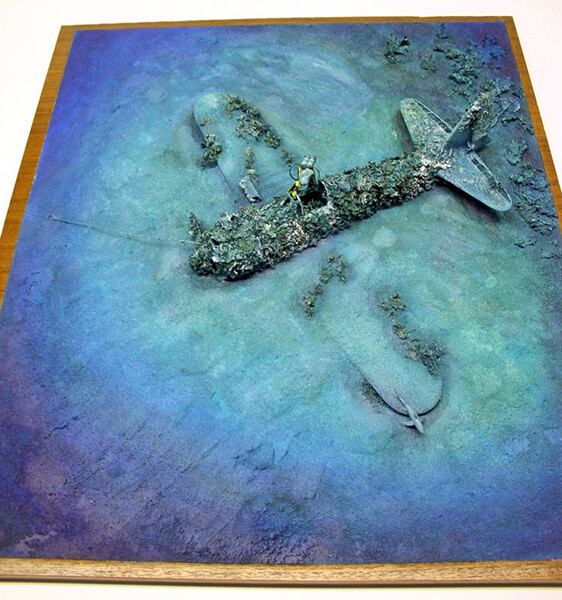
The painting of the entire structure is now complete...