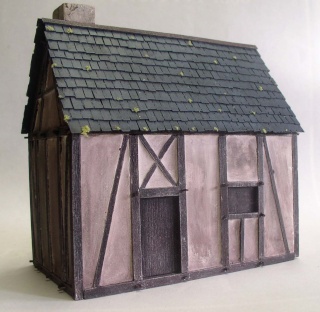
Depending on the period, the theme, and the inspiration of the moment, the preparatory work involves creating a scaled sketch of the structures to be depicted.
A simple stroll through your city's downtown area, along with consulting relevant websites and reference books on the subject, will serve as the basis for your work.
This step must be accompanied by careful measurement and proportioning.
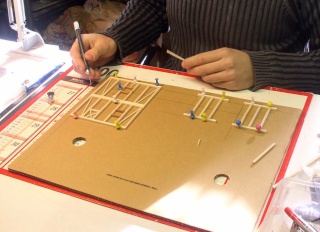
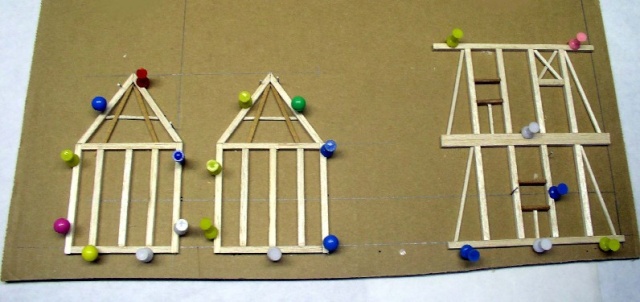
Carefully assemble and adjust your latticework. Secure it in place on a piece of thick cardboard or a polystyrene sheet using pins.
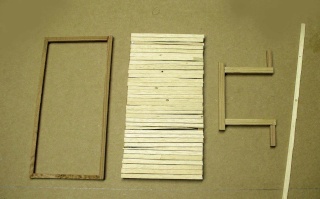

Two different scenarios: For a half-timbered house only, apply the glue as follows: Carefully place a drop of wood glue at the junction of each beam intersection, taking care NEVER TO LET the glue seep inside the timber framing.
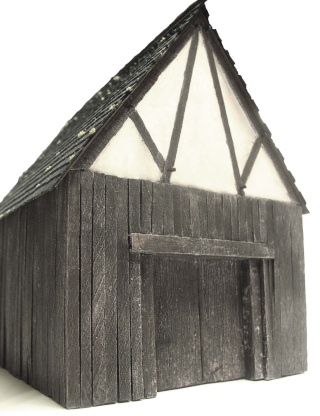
For the barn, glue the main frames of the various facades together as usual, then attach the boards.
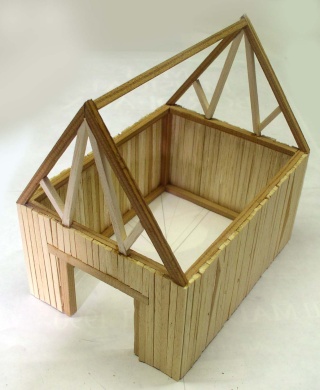
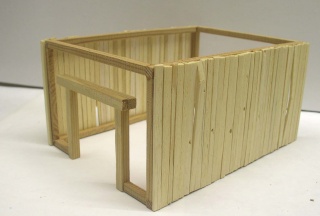
The different steps in building the barn...
Painting
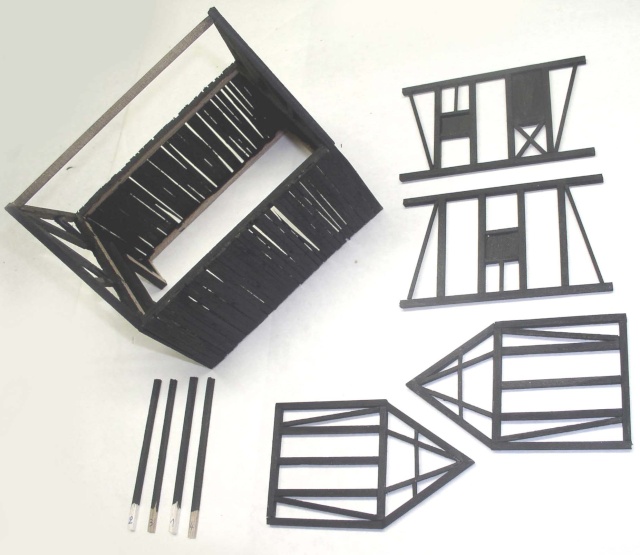
GRANGE: A first coat of VERY diluted matte black acrylic paint was applied to the entire structure....
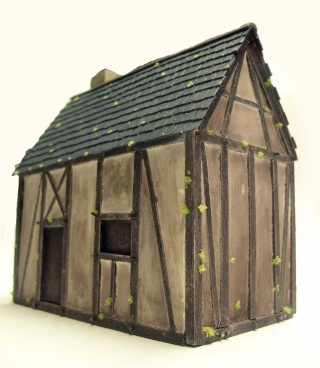
HOUSE: On the side of the house that will be visible (not the side to be glued), the same process is followed, including a very careful treatment of the interior of the half-timbering....
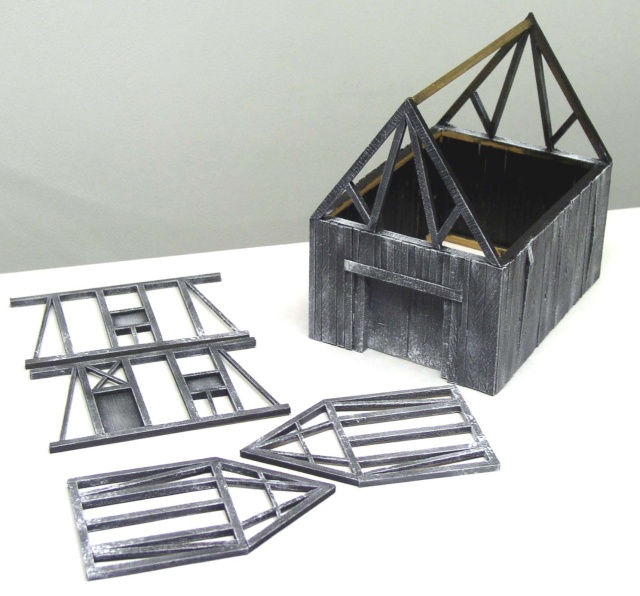
All components are given a matte white dry-brushing treatment, varying the intensity of the effects to achieve a natural look...
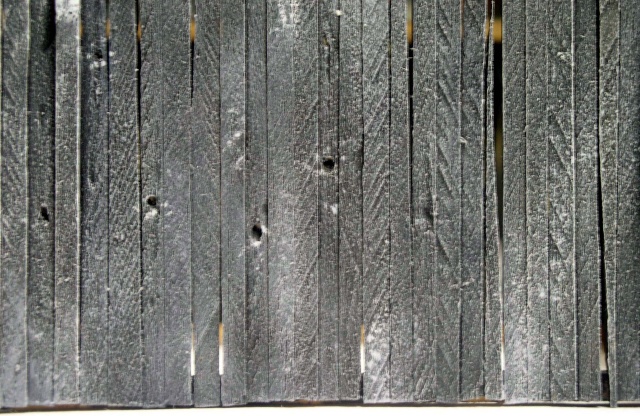
The result of brushing....
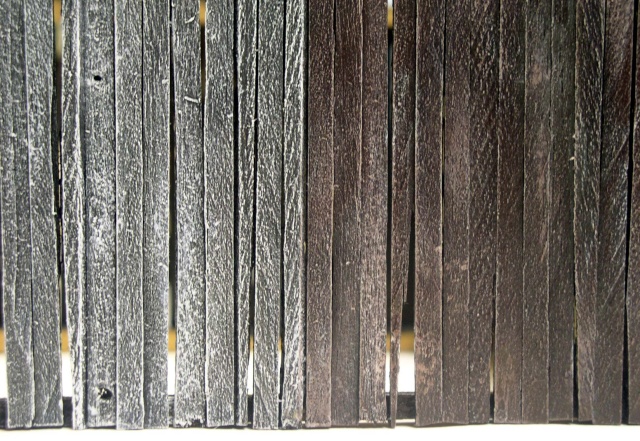
Once the white paint is completely dry, apply a wash over the entire surface, using the following proportions:
3 parts water - 1 part dark brown - 1 part black.
Vary the effects by applying the mixture more or less thinly across the surface and wiping it away in some areas.
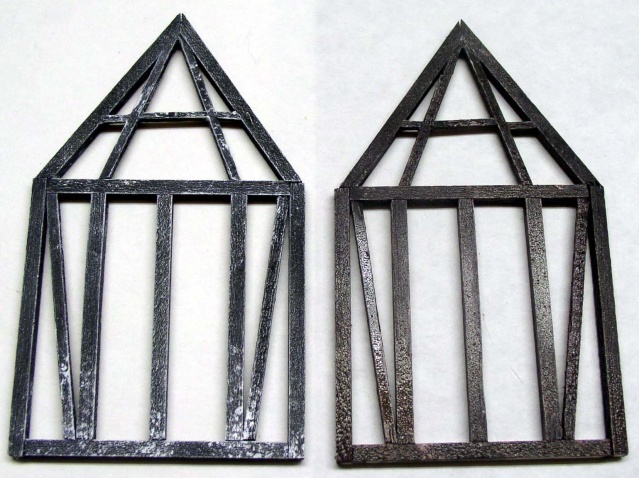
Before and after....
Half-timbered buildings
FILLING THE FRAMES
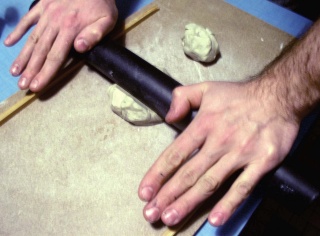 | 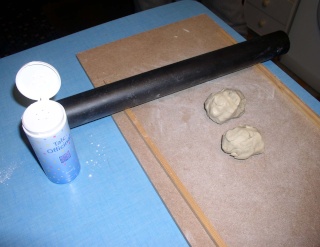 |
Le matériel nécessaire pour cette opération : de la Plastiline, du Talc, une surface plane et prlopre, un tuyau P.V.C. rigide, 2 tasseaux d'au moins 8mm d'épaisseur...
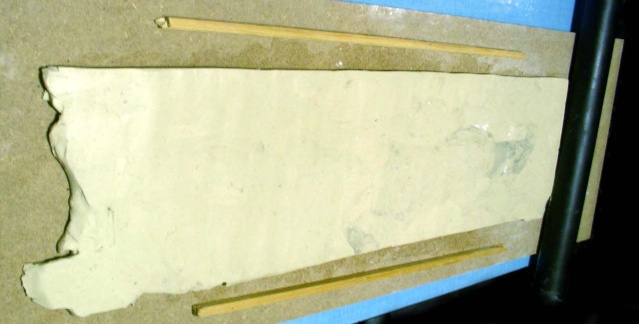
Plastiline after being spread out....
The goal is to create a smooth, even surface on which we can "set" our structures. Talcum powder acts as a release agent between each tool and the modeling clay. The battens, with the PVC pipe resting on them, will serve as shims.
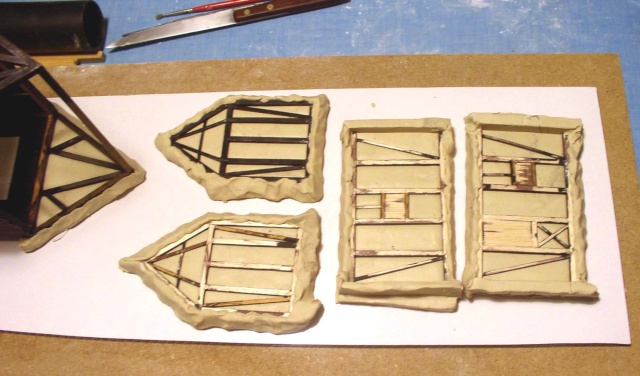 | 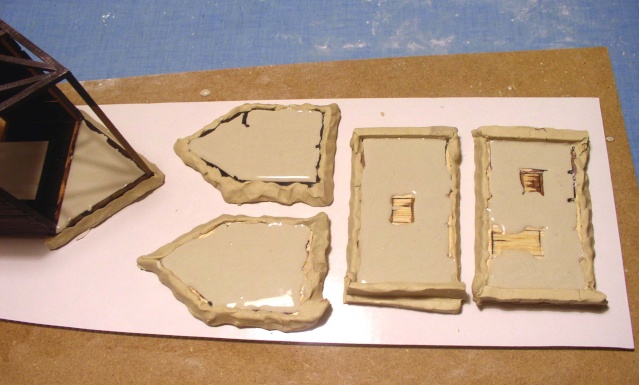 |
Enfoncez le côté peint d'environ 1/3 dans la Plastiline. Disposez toutes les structures sur une surface plane de niveau. Avec du plâtre à modeler de Paris, préparez de manière assez liquide, en mélangeant sans provoquer d'émulsion superflue, source de bulles. Imprégnez avec un pinceau souple l'intérieur de chaque colombage, puis versez le plâtre, faites ensuite vibrer délicatement votre plaque pendant 30 secondes pour "dégazer".
Roofing
 |  |
Pendant le séchage du plâtre, nous pouvons nous tourner vers la fabrication de la toiture.
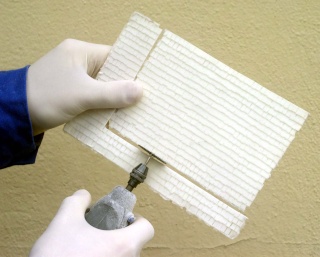
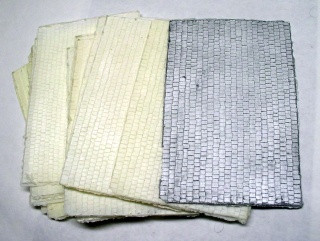
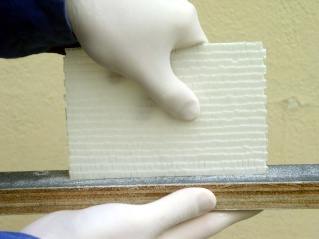
There are two options: the first is to cut out the roof tiles one by one from sheets of cardboard that are thick enough for the scale. The second is to create a master model of the roof. Then, make a silicone elastomer mold from which you can cast resin copies (the subject of another tutorial). After degreasing, the roof is then painted with the appropriate colors.
 | 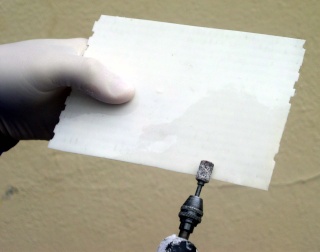 |
There are two options: the first is to cut out the roof tiles one by one from sheets of cardboard that are thick enough for the scale. The second is to create a master model of the roof. Then, make a silicone elastomer mold from which you can cast resin copies (the subject of another tutorial). After degreasing, the roof is then painted with the appropriate colors.
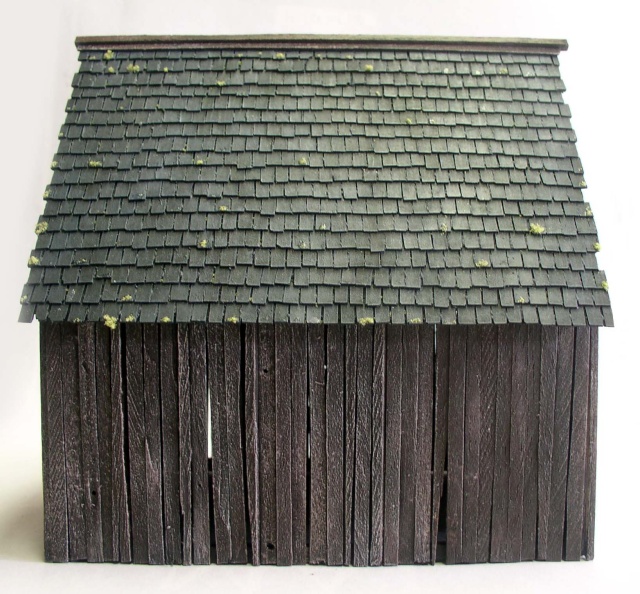
The roof is in place, painted, and foam has been added...
REMOVING THE COLOMBAGES FROM THE MOLDS
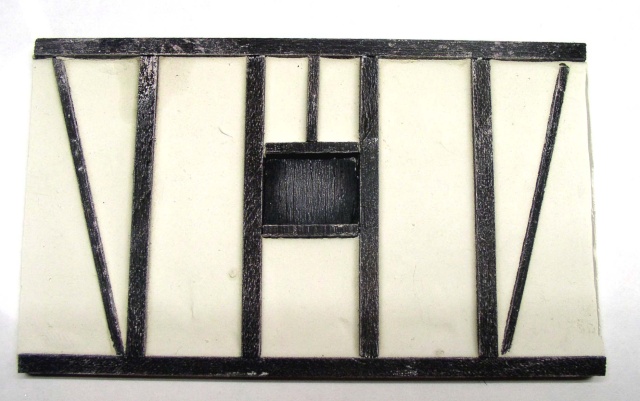
Scrape off any excess plaster. Let it dry completely. At each beam junction, make a small, shallow groove and insert a dowel made from a piece of square rod split with a razor blade. Stain the dowels.
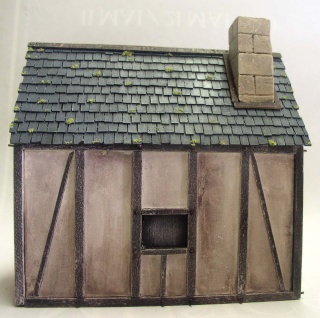 |  |
Assemblez vos façades. Pour ce faire, sur une surface plane, tracez un angle droit, préparez des cubes/supports, présentez deux façades, déposez deux gouttes de colle cyanolite à l'intérieur du colombage, une en haut, une en bas. Répétez l'opération pour assembler complètement la maison, puis déposez un bourrelet de colle à bois à l'intérieur à chaque angle de collage. Collage du toit et des mousses...
 |  |