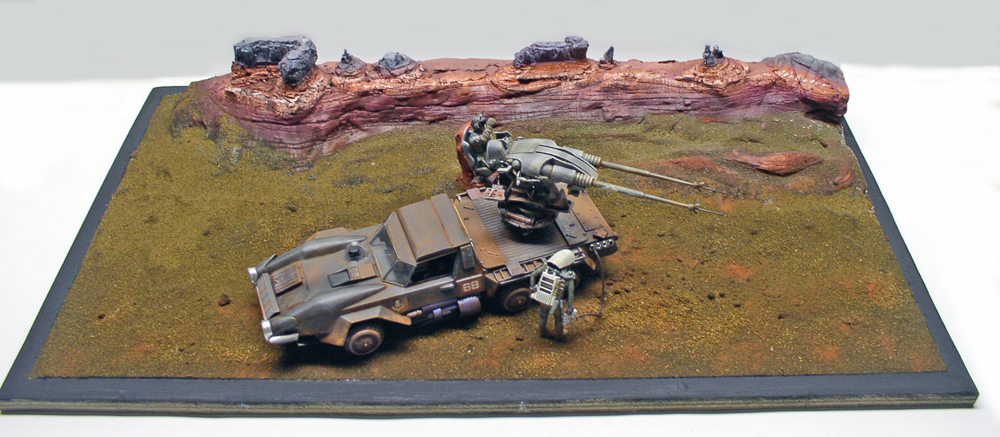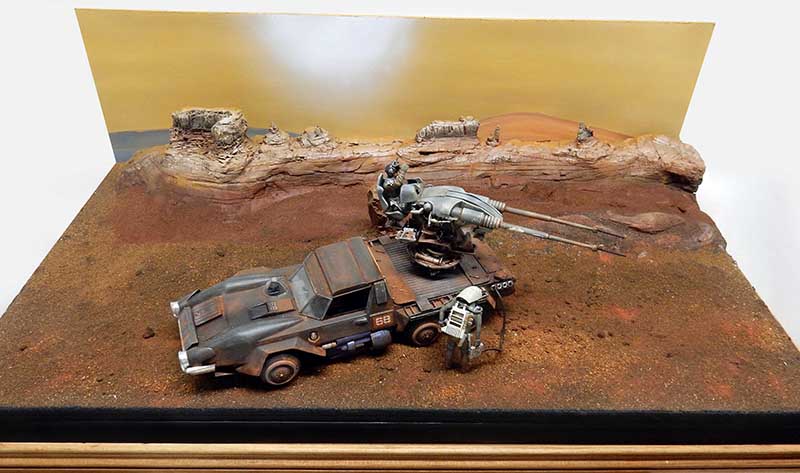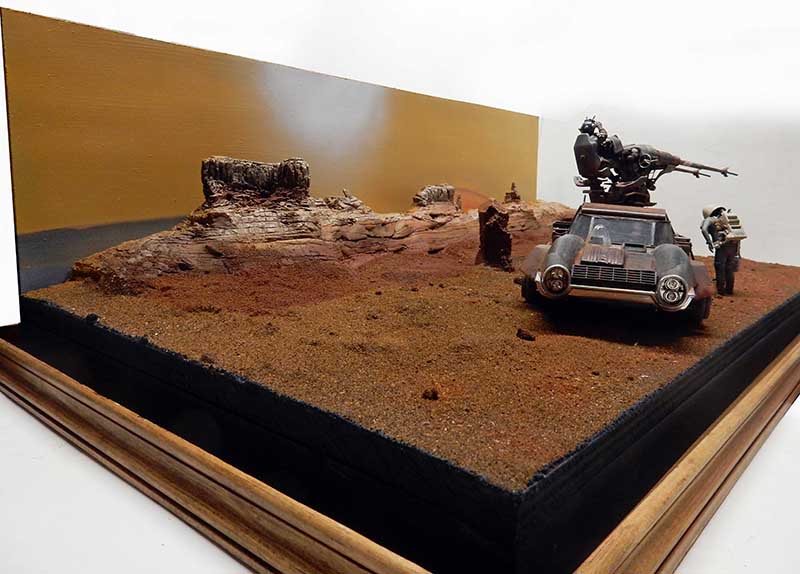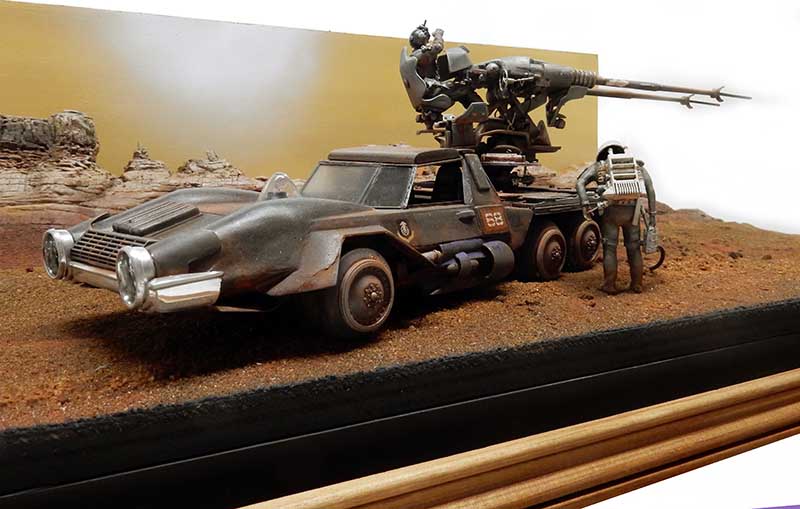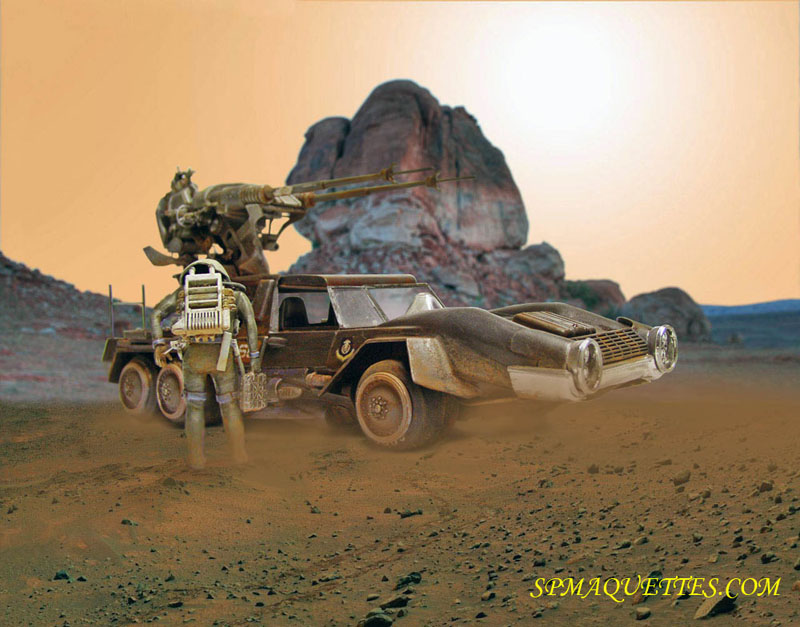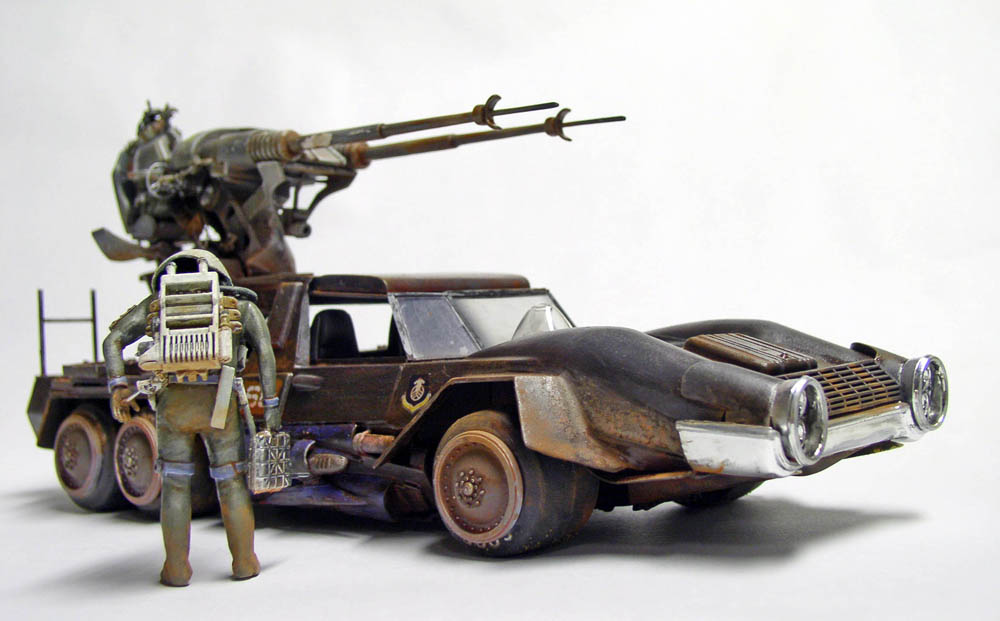
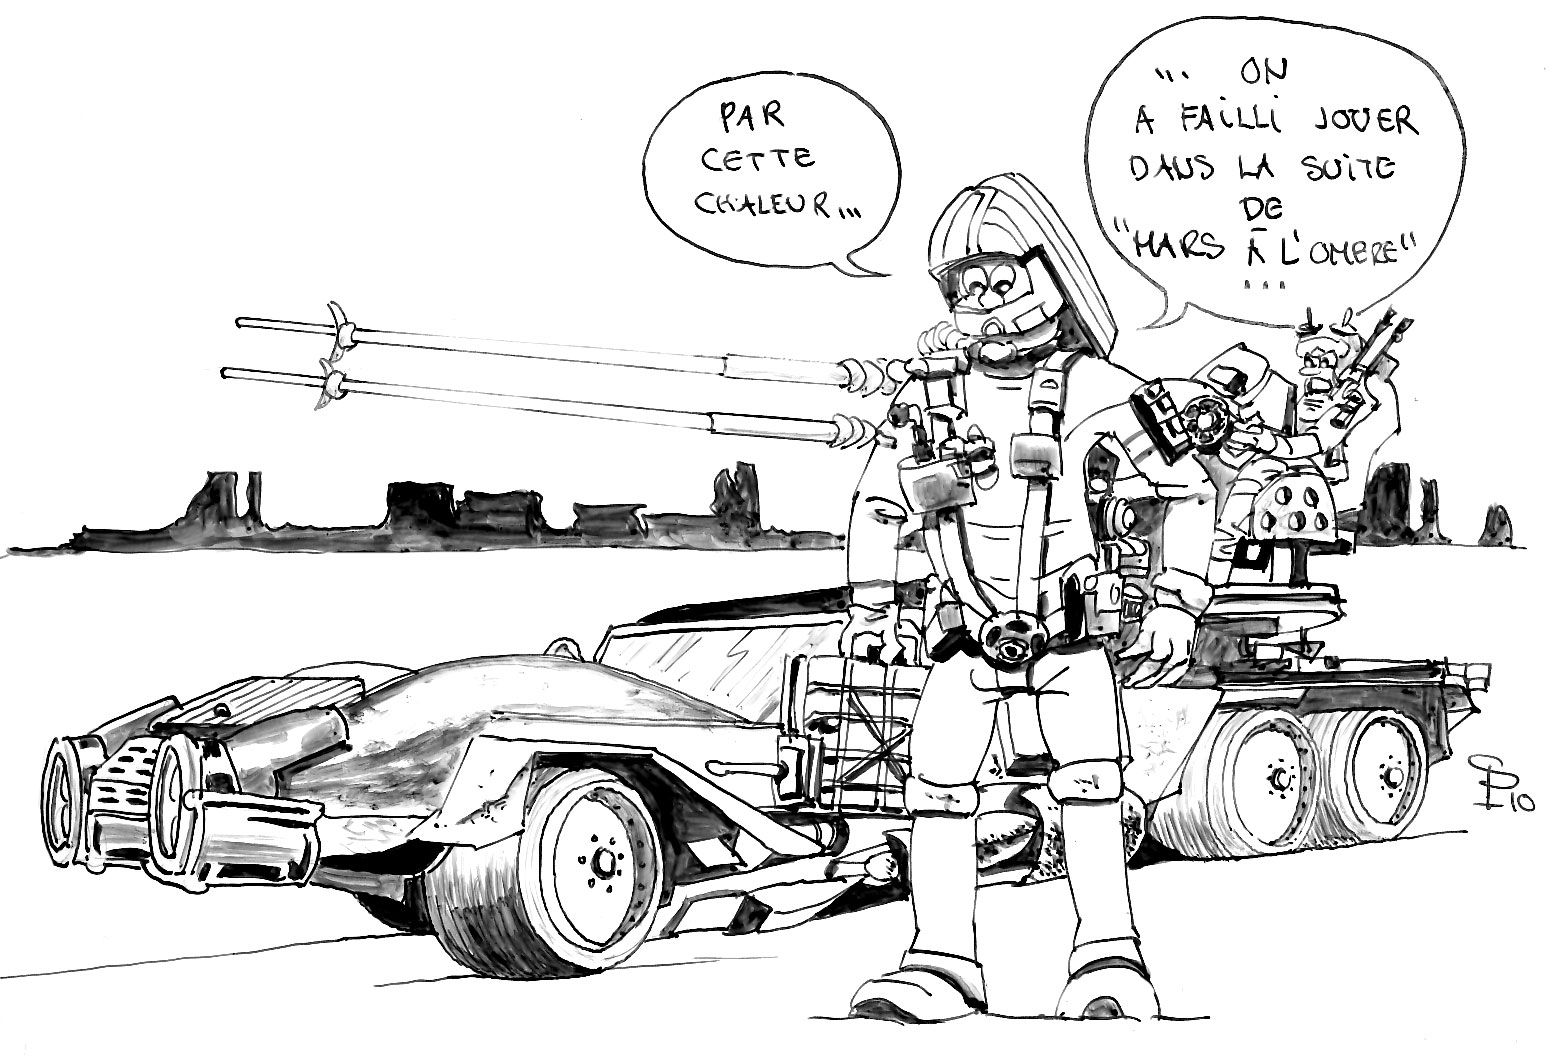
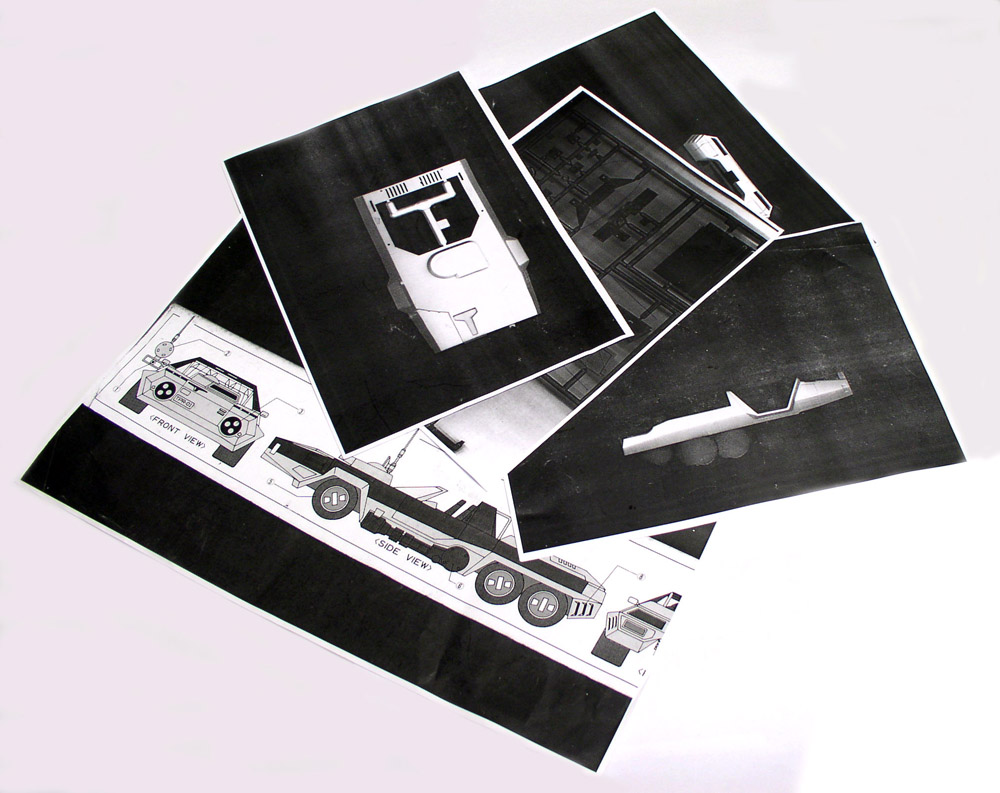
This model is based on a 1/48-scale kit. Photocopies of parts enlarged to 1/24 scale will serve as blueprints for the future model...
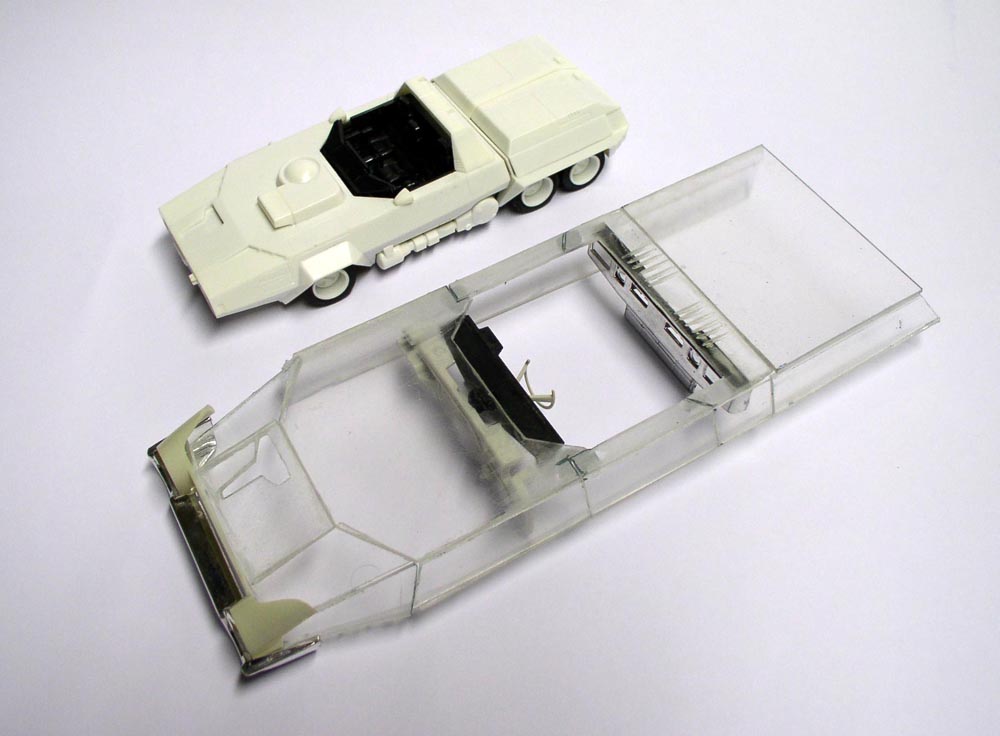
The 1/48-scale model, with, next to it, the start of the "scratch-built" assembly using plastic card cut according to the plans obtained...
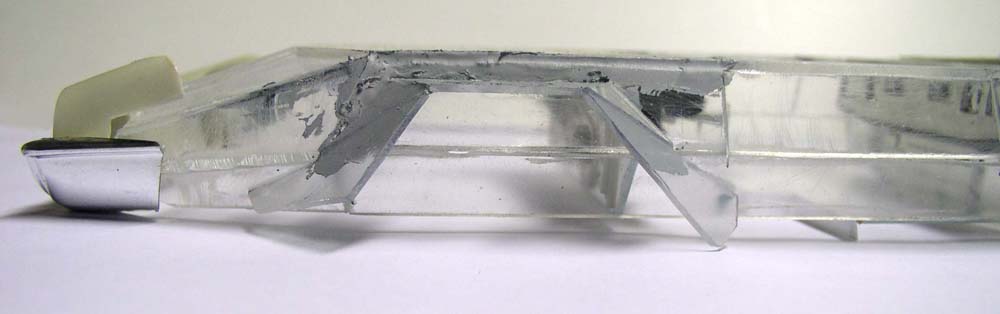
Making the front fenders and filling the gaps...
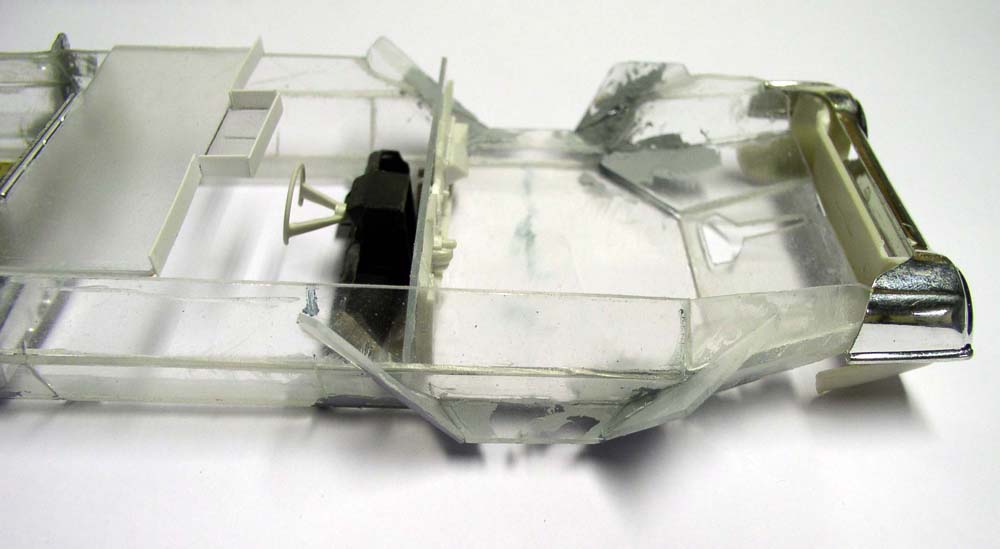
Another view...
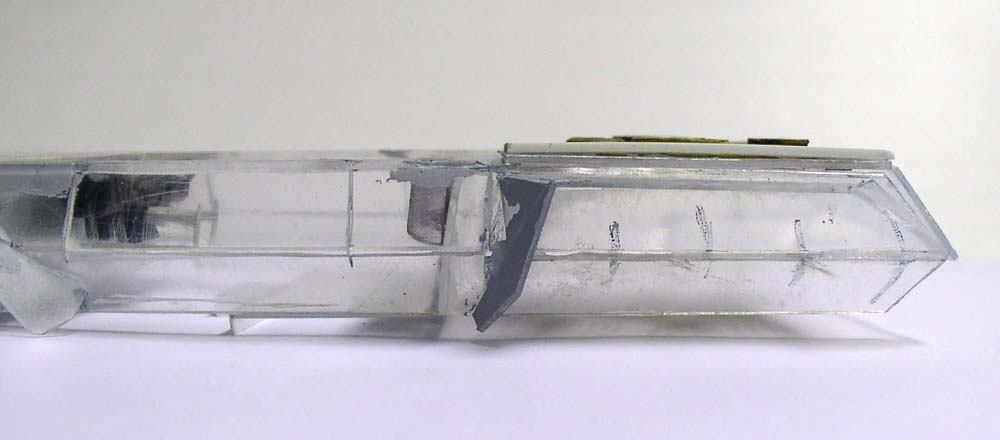
Installing the rear fenders...
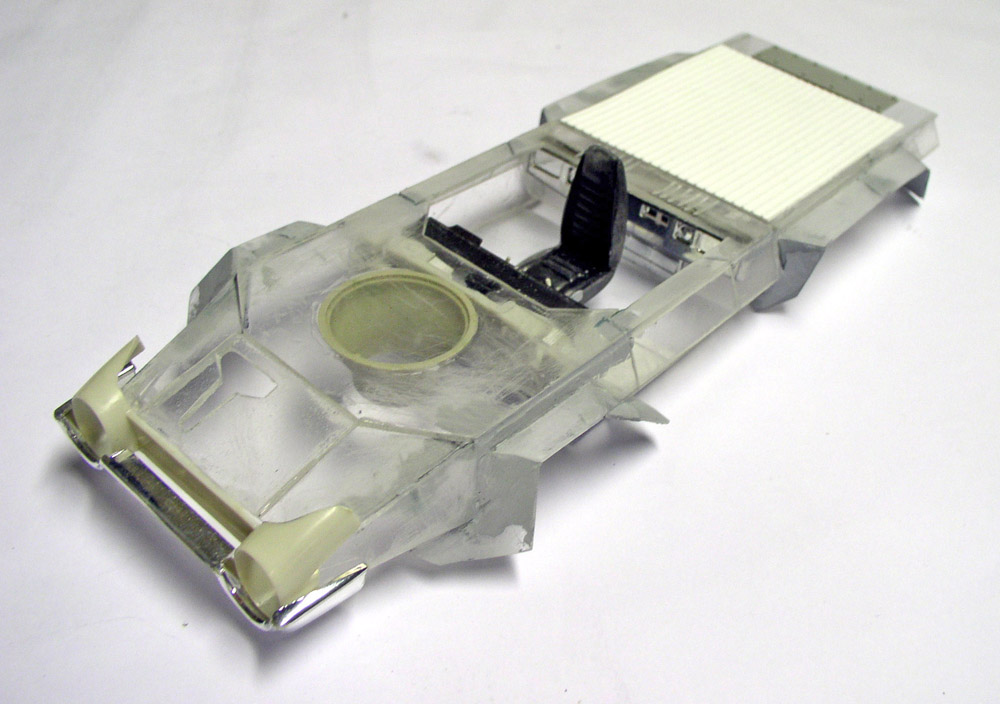
An overview of the wings in place... And here, I strayed from the original design when it came to the details, ultimately following my inspiration...
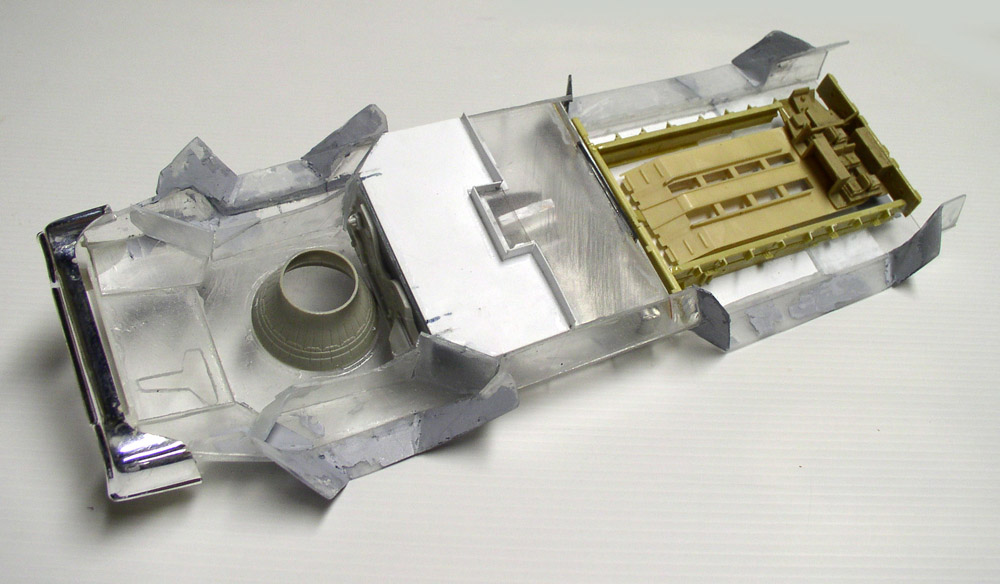
View from below: after adding a front bumper—a round part that will serve as the engine and secure the front axle—while at the rear, other parts will complete the assembly...
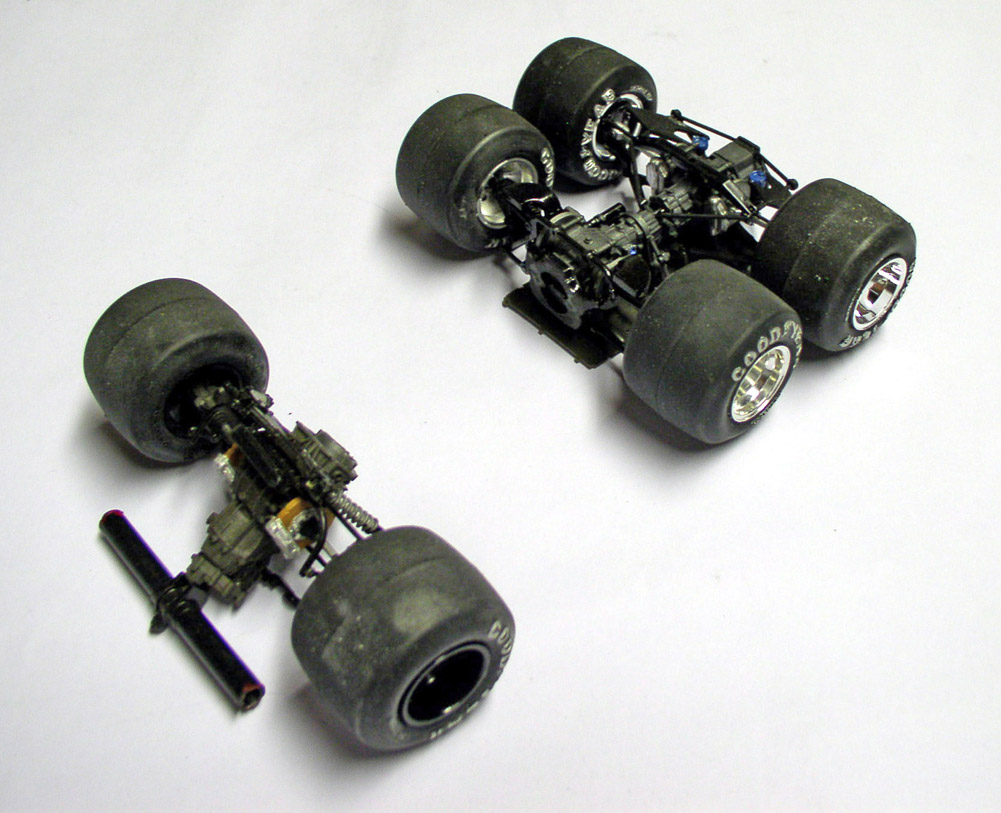
The wheels: On a 1/20 scale, these wheel assemblies—equipped with gearboxes—will be attached to the chassis. These flexible Formula I vinyl tires will be perfect for driving on Martian sand...
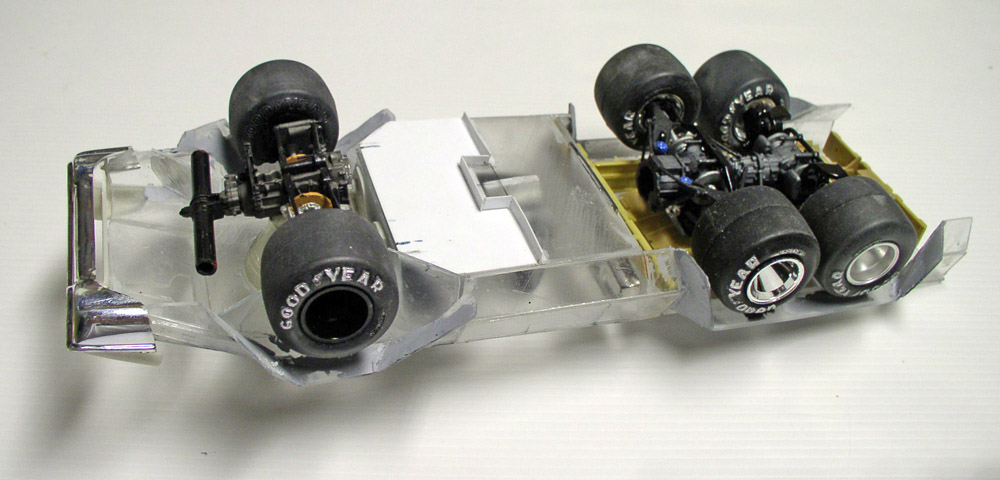
The axles secured in place...
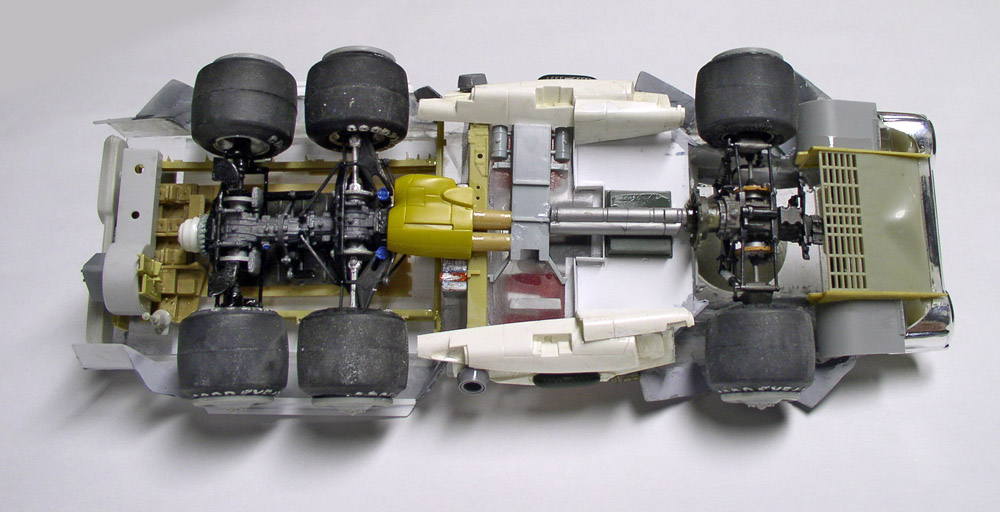
The finished chassis, with parts from the surplus bin added...
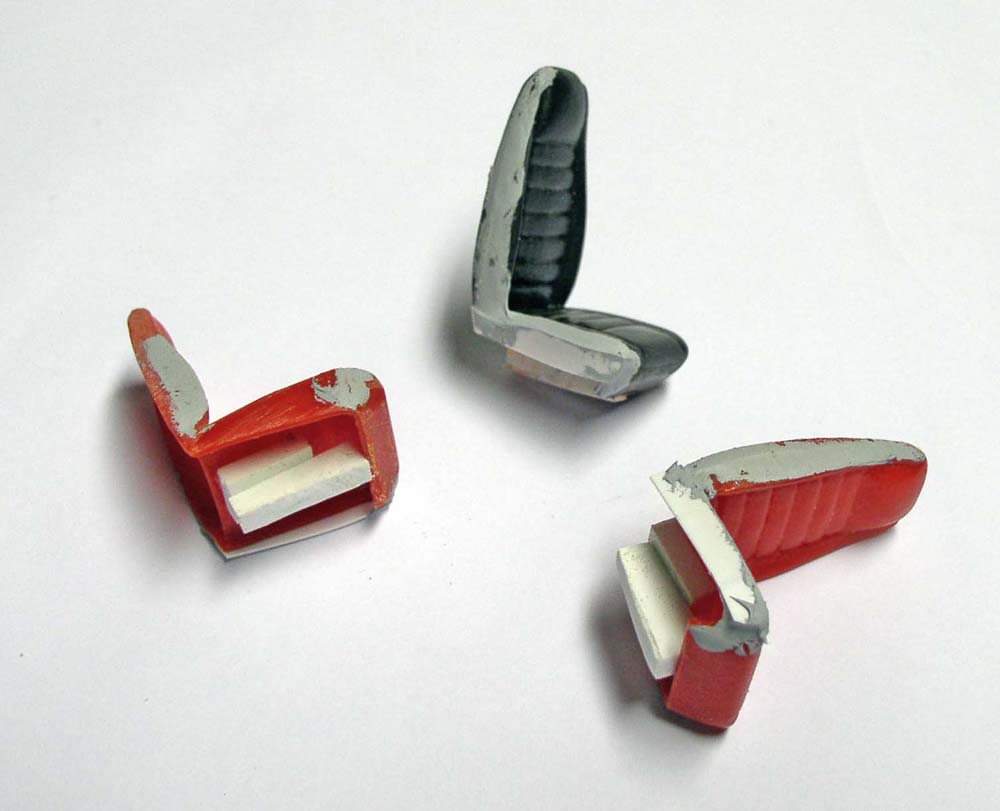
The 1/48 scale kit includes three seats, including the driver's forward-mounted center seat. I kept the same layout for the cockpit... Car seats were slightly modified to fit the space...
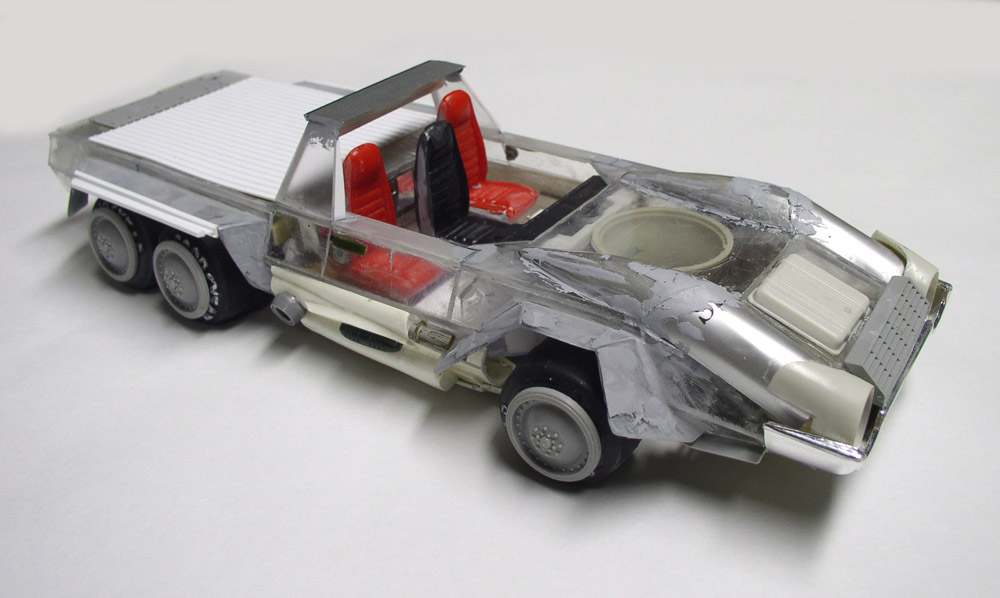
The seats in place for the simulation... The bodywork. The bumper and the new headlights called for a curved fender effect to achieve a more cohesive look... Half of an airplane fuel tank and some aluminum sheets will be perfect for achieving a consistent alignment...
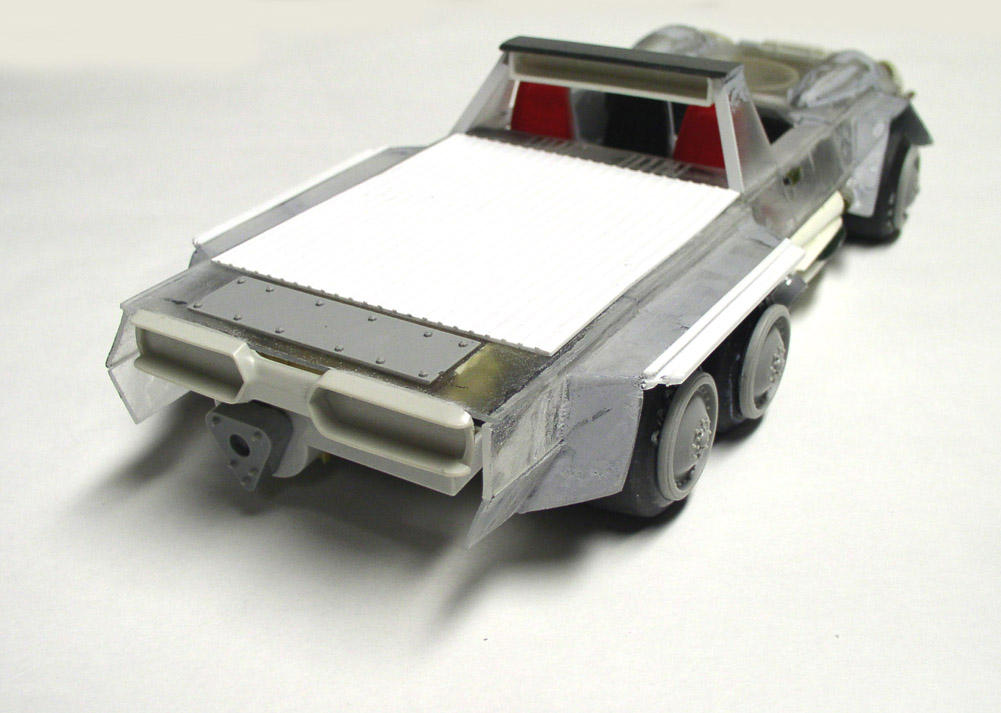
The floor of the aft deck, where the cannon will be installed, is finished with an Evergreen plastic sheet...
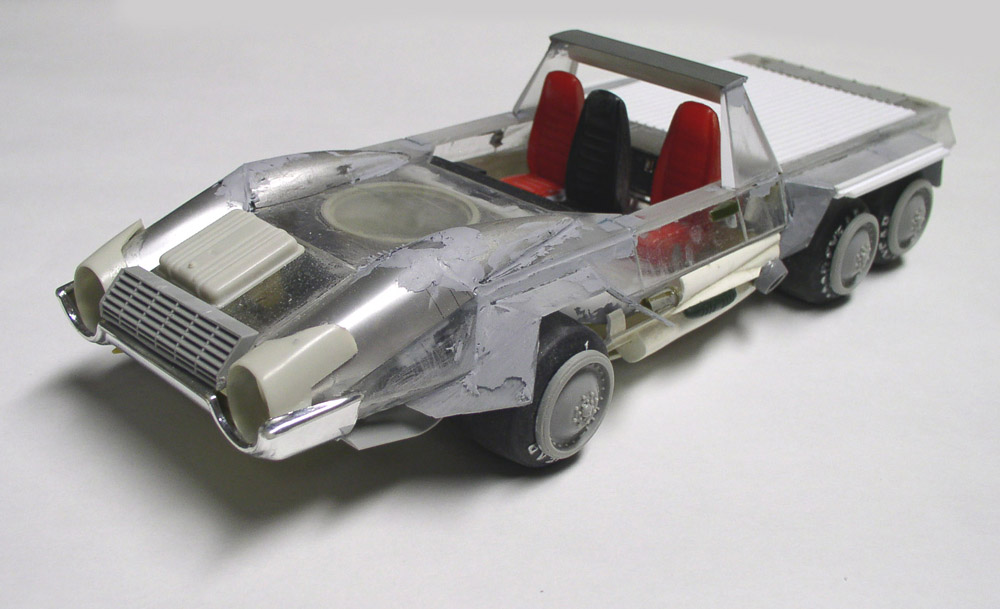
Another view of the body. A lot of sanding and filling will be required to remove the seams on the fenders and the curved sections...
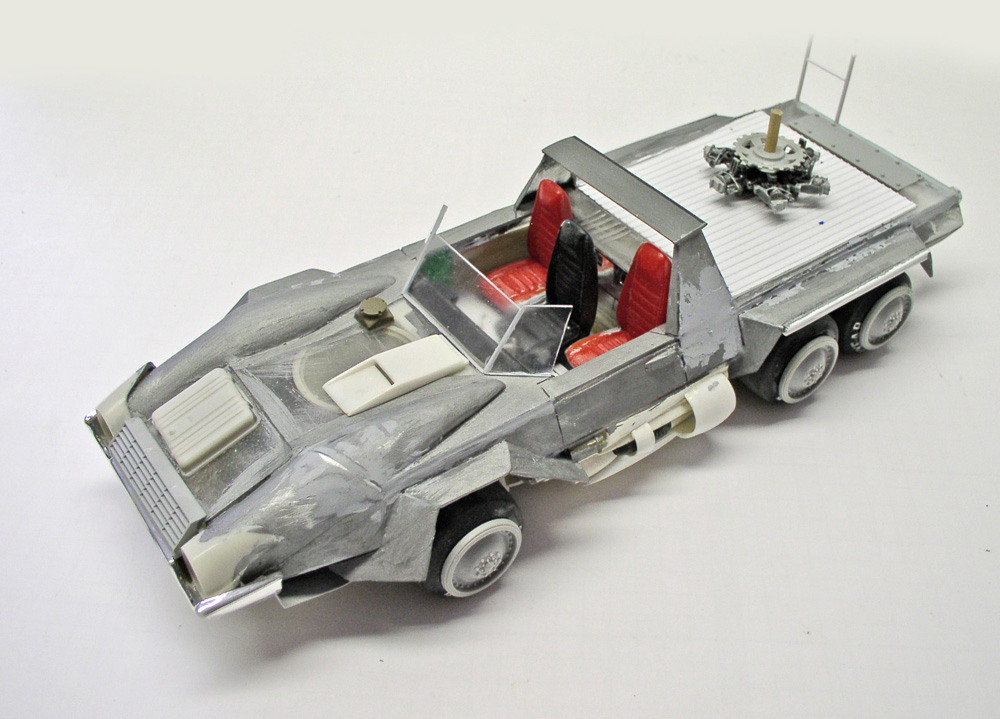
After sanding the front again, the barrel base is secured to the rear deck...
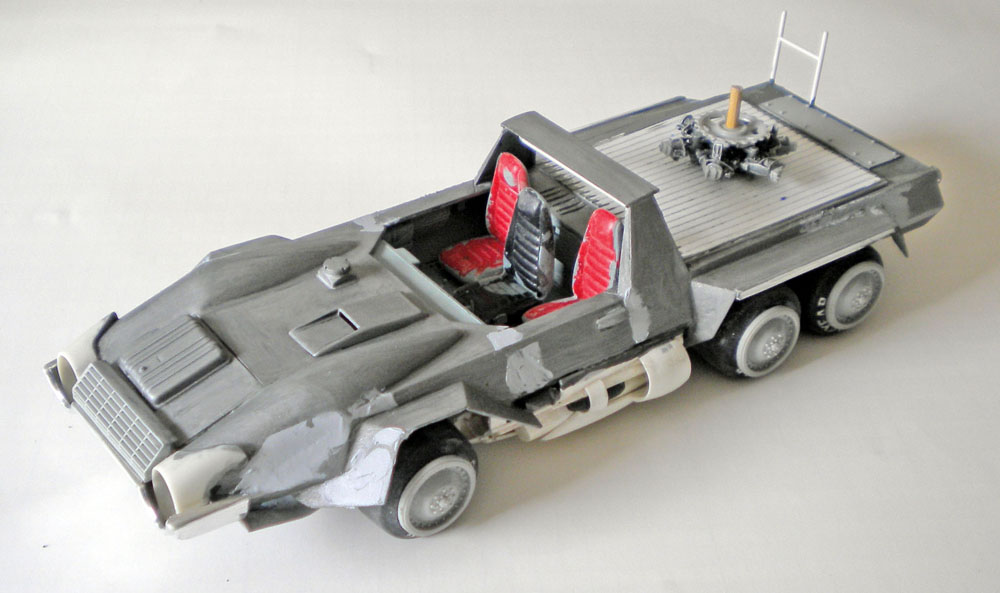
Time to sand again...
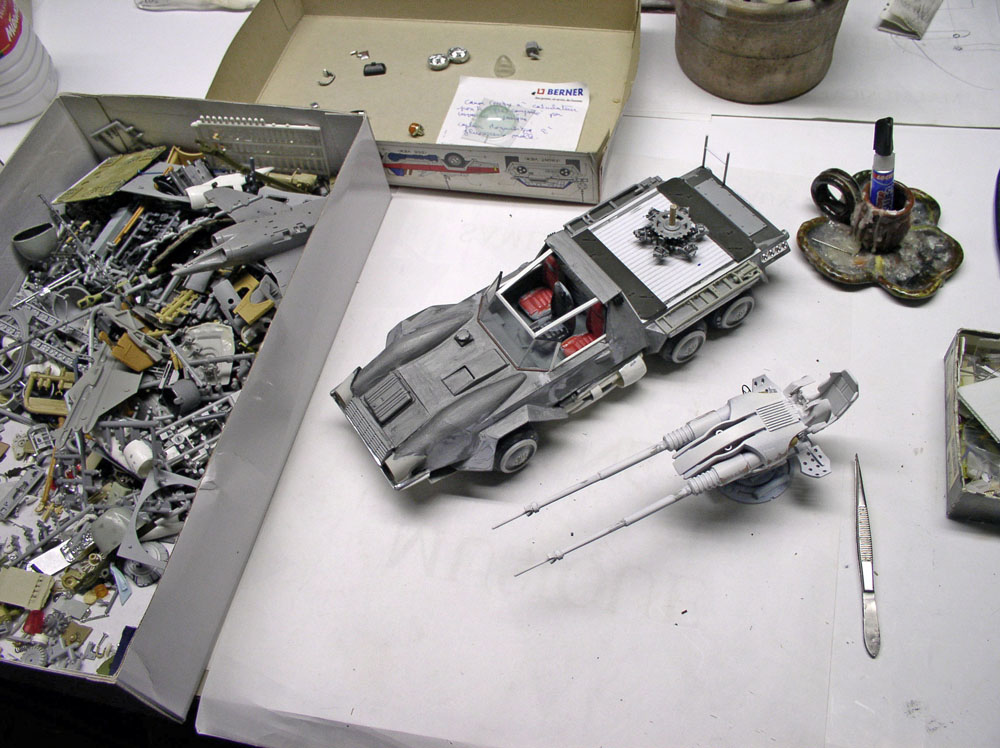
The scrap box—a must-have when you're "scratching"...
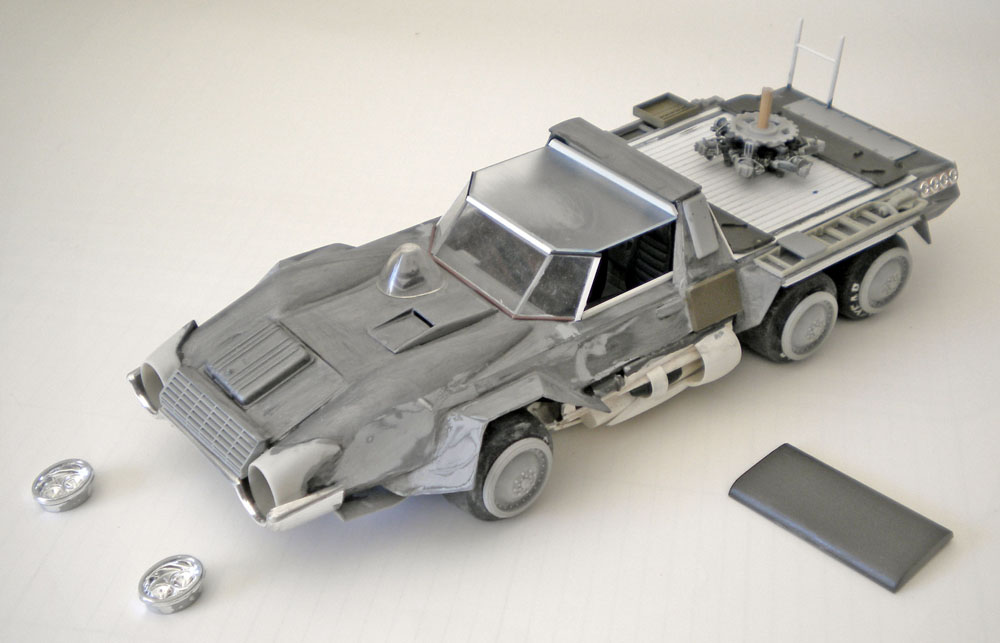
Re-sanding and re-installing the roof...
The Cannon
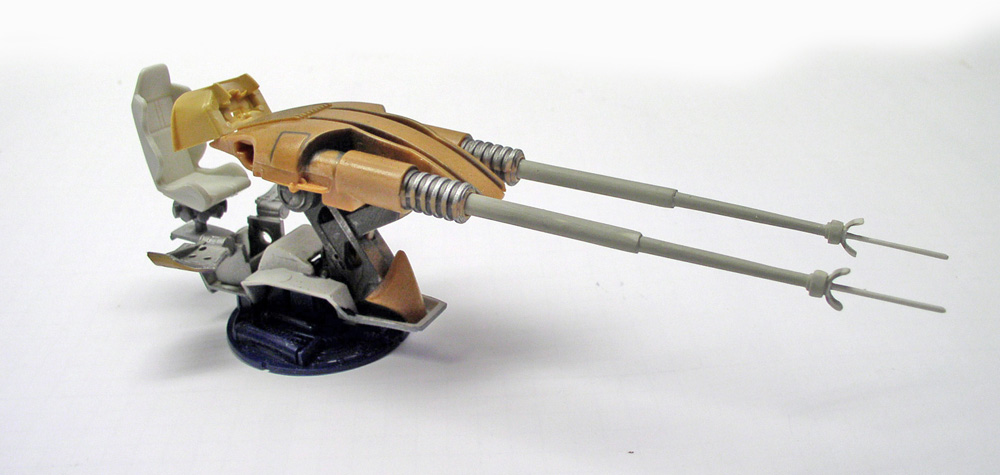
The cannon, first assembly. Star Wars fans will surely recognize some of the parts...
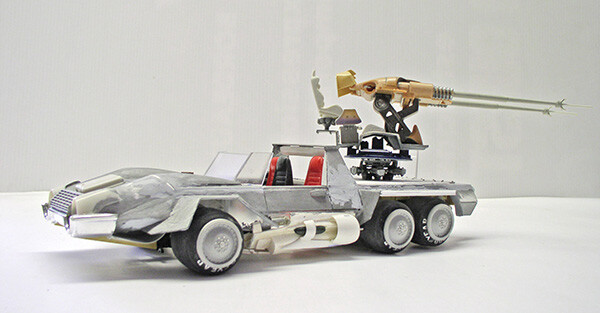
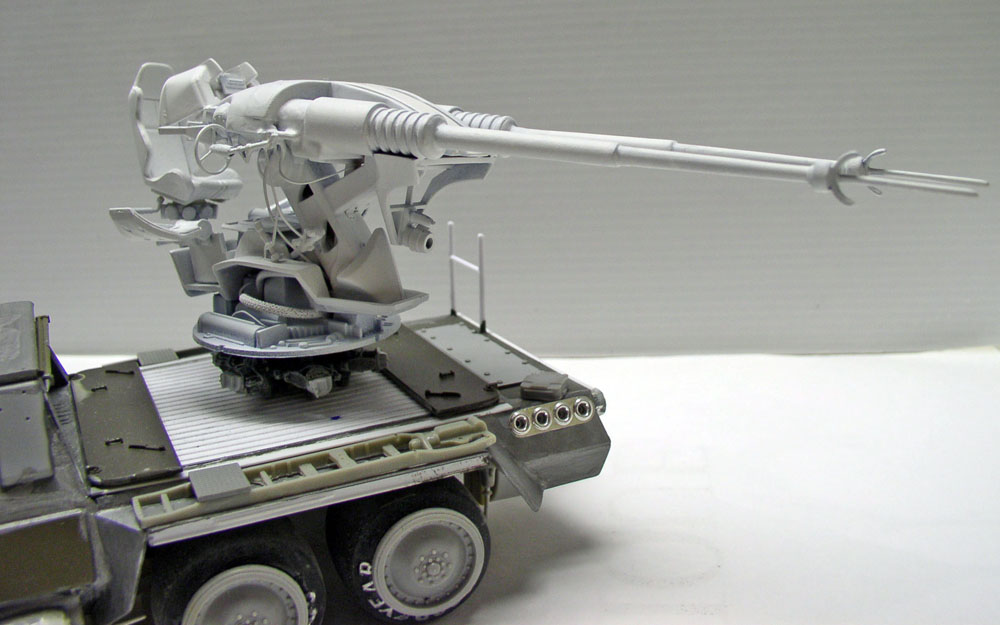
"Dry run" test on the vehicle...
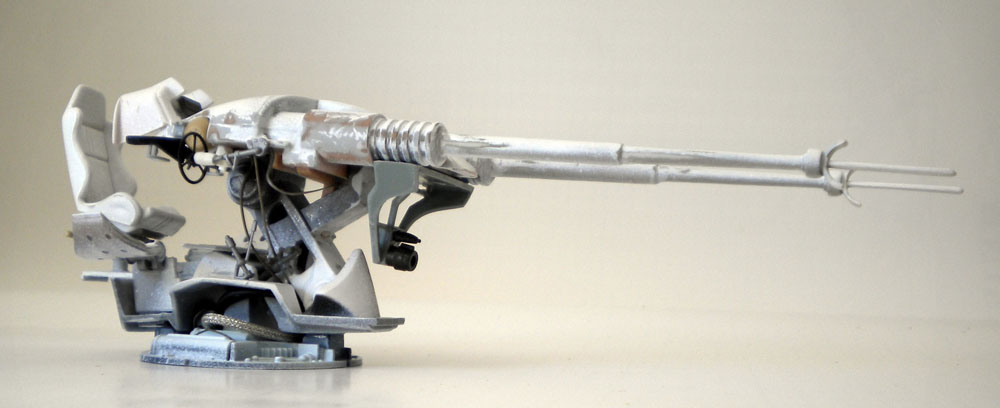
Trimming the piece and sanding the joints...
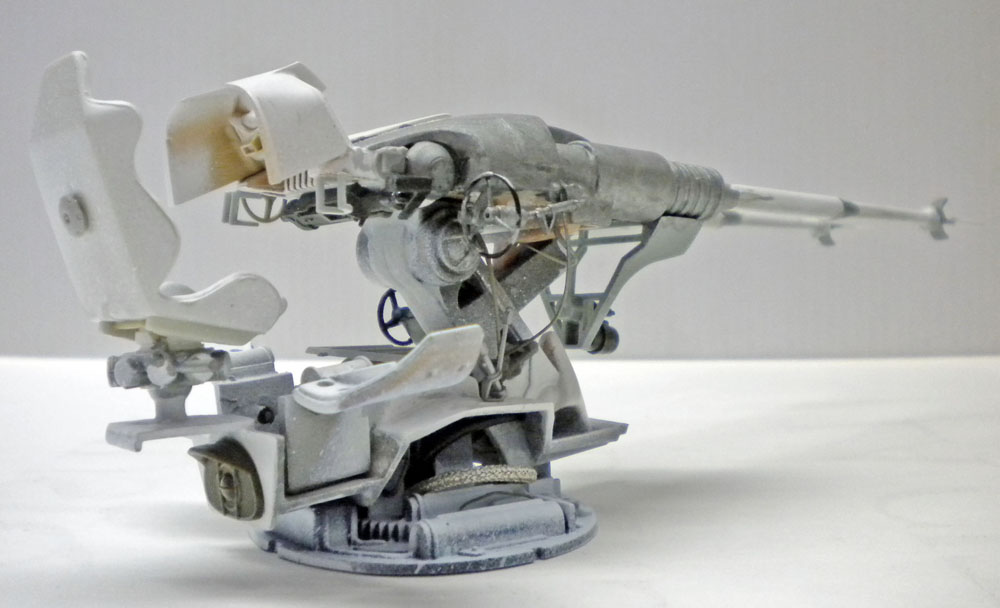
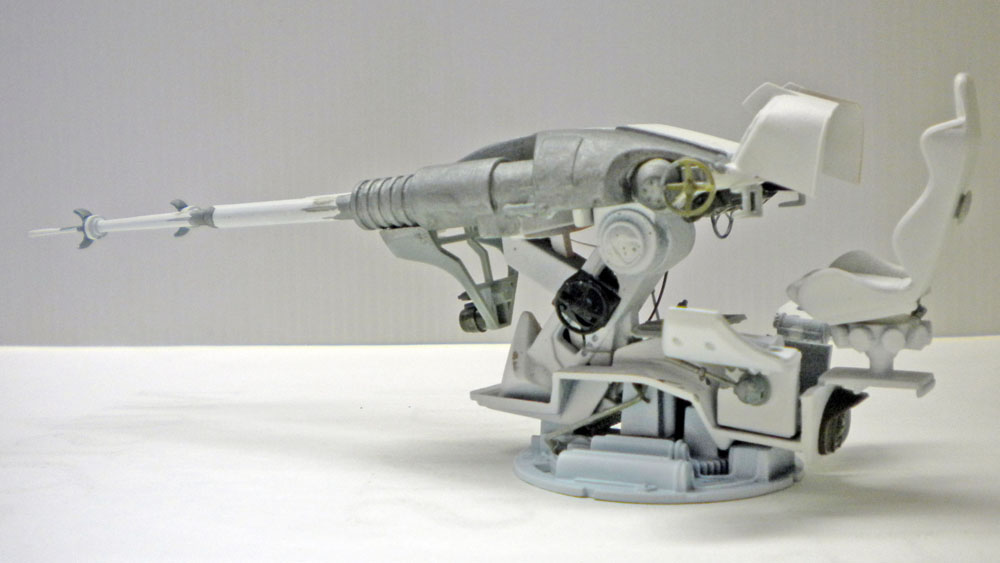
The finished barrel is given a coat of white primer...
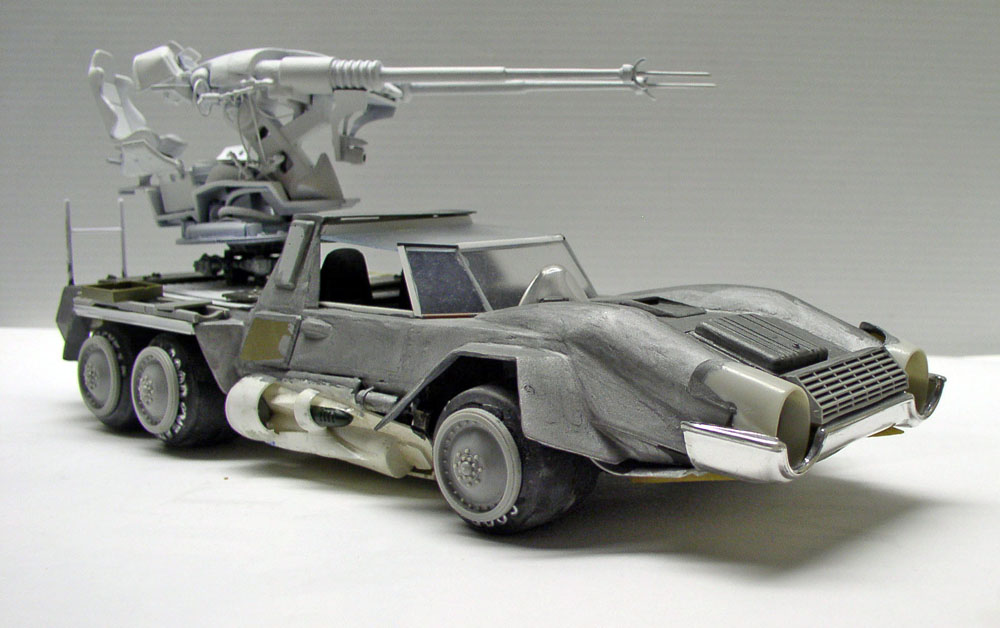
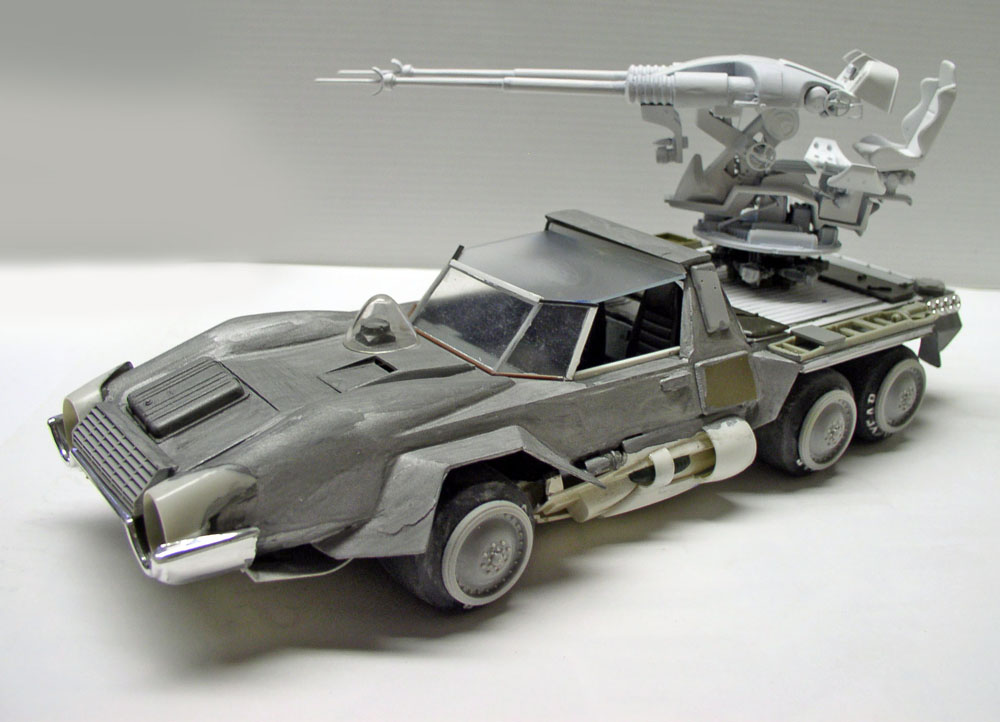
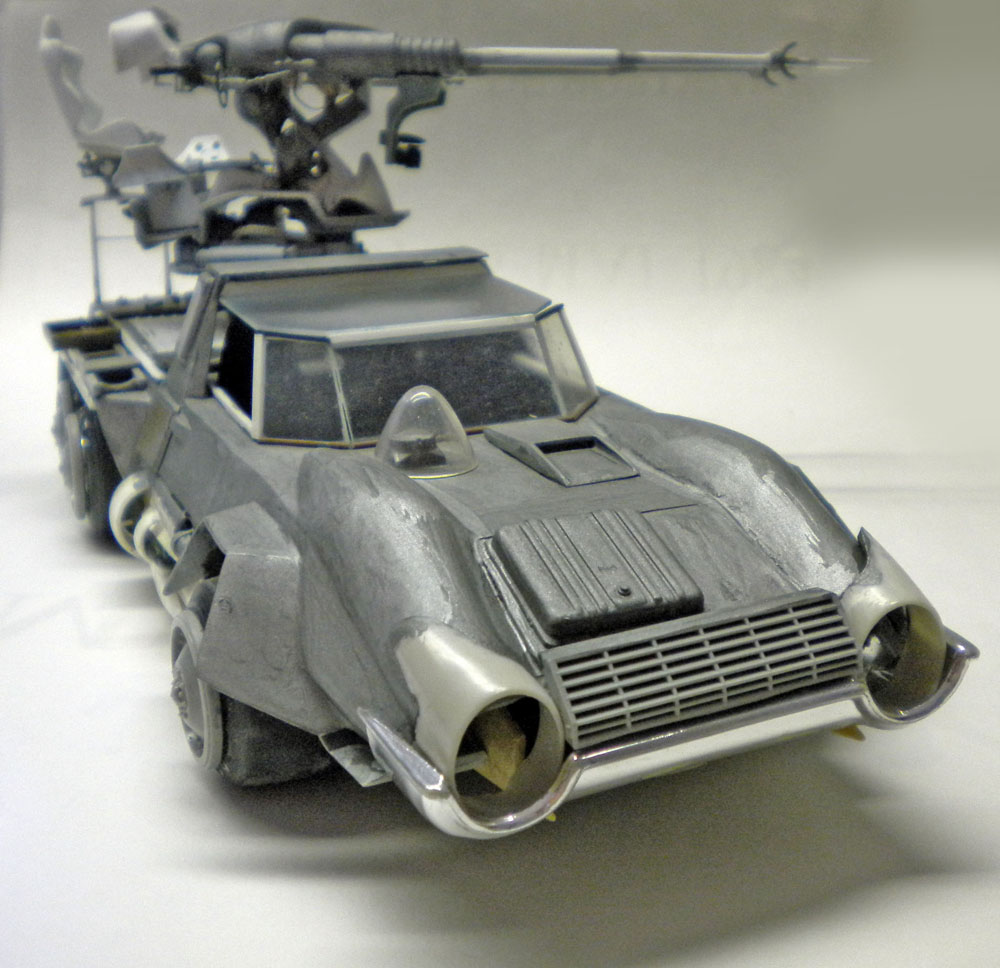
Front view; after several rounds of sanding and filling... The seams should become invisible...
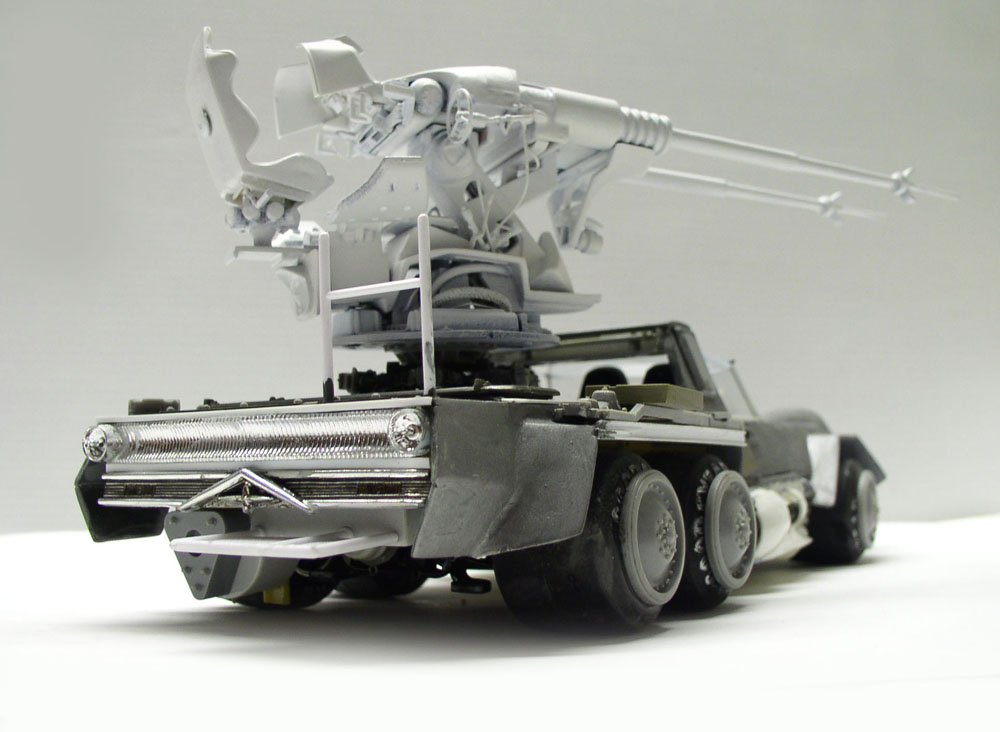
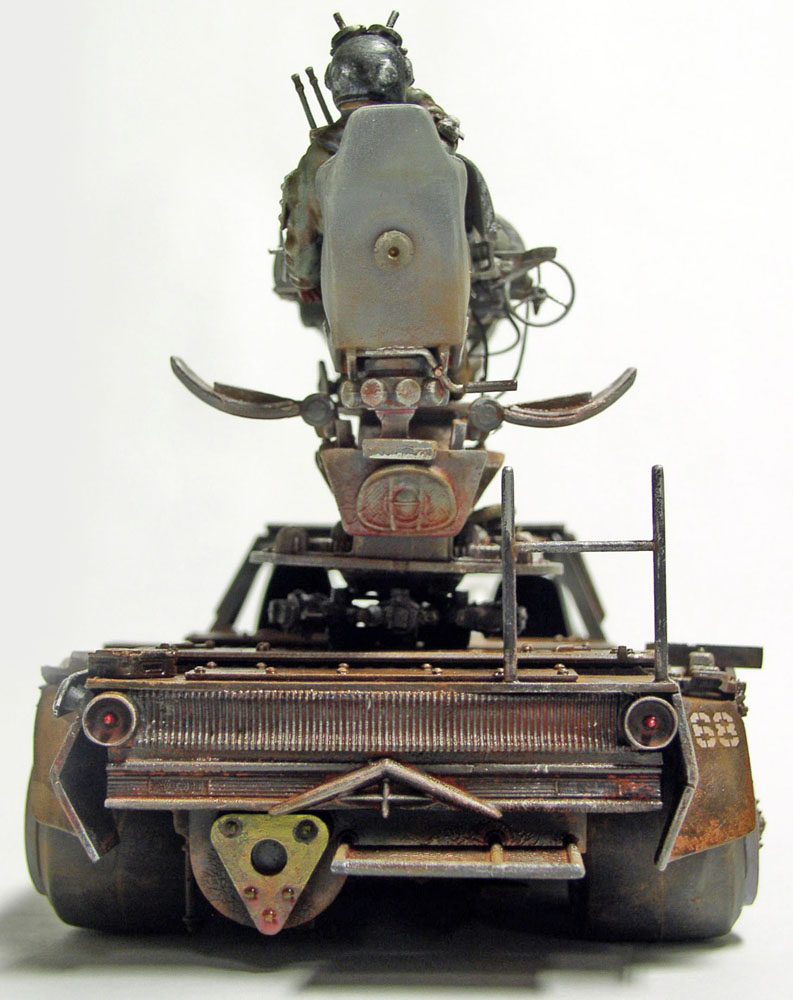
The rear end has been redesigned with a new grille and taillights...
The figurines
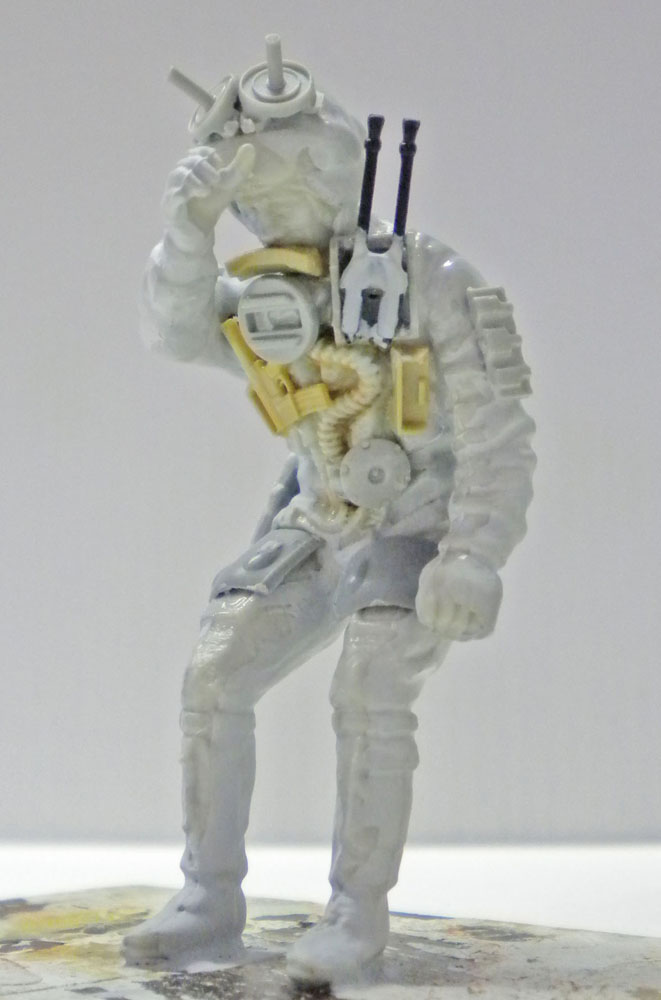 | 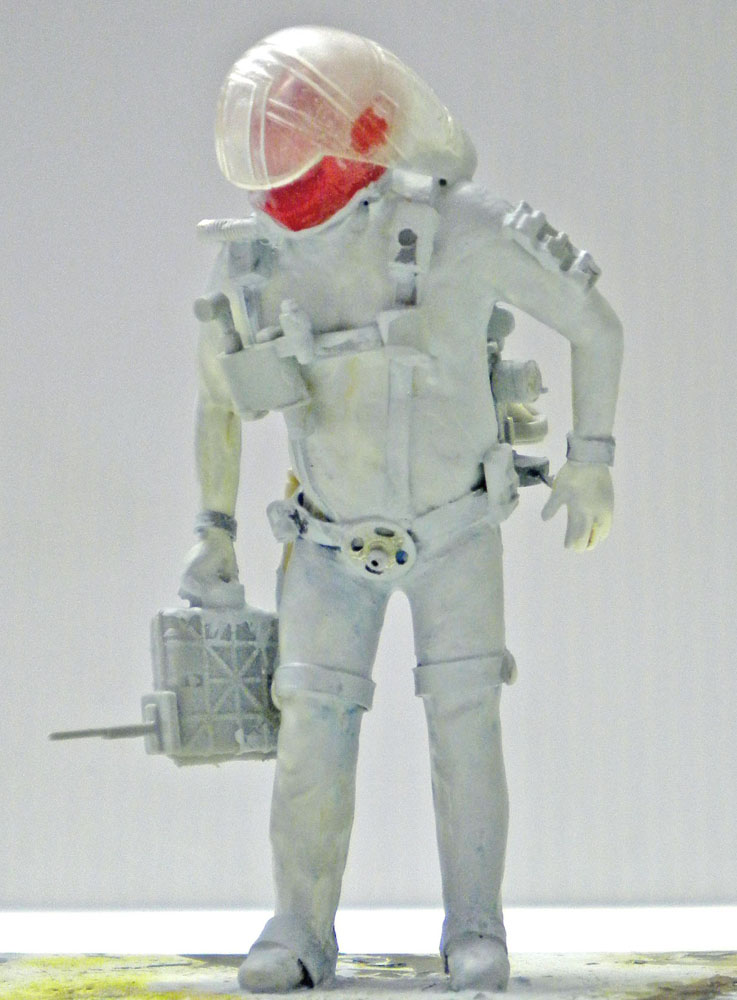 |
Les figurines : Un pilote de "Harrier" de la marque Airfix et un chauffeur de camion de la marque Italeri feront office de canonnier et d'astronaute après modifications et quelques pièces supplémentaires...
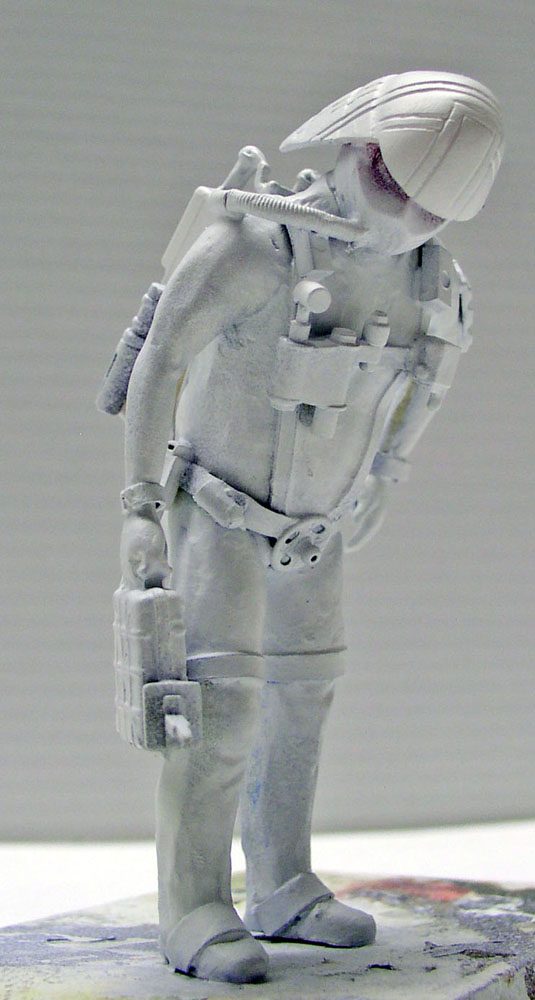
The model is then primed with white acrylic paint...
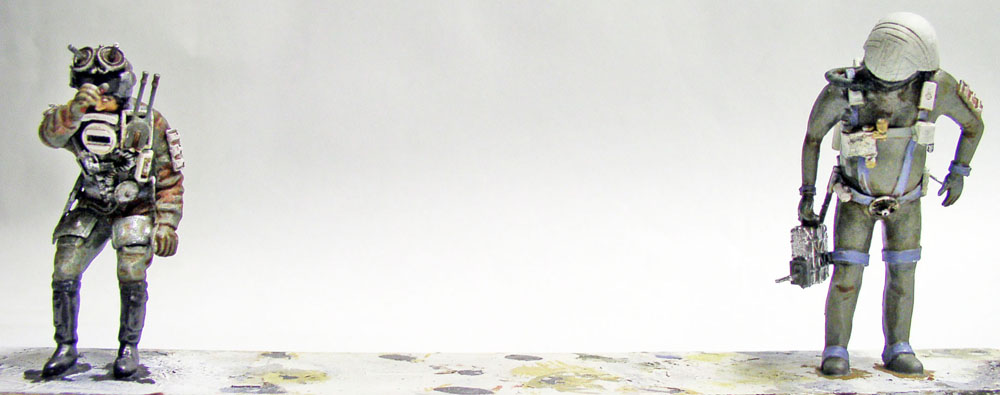
The figures are painted with Winsor & Newton oil paints for the faces and Humbrol for the rest of the equipment...
Painting
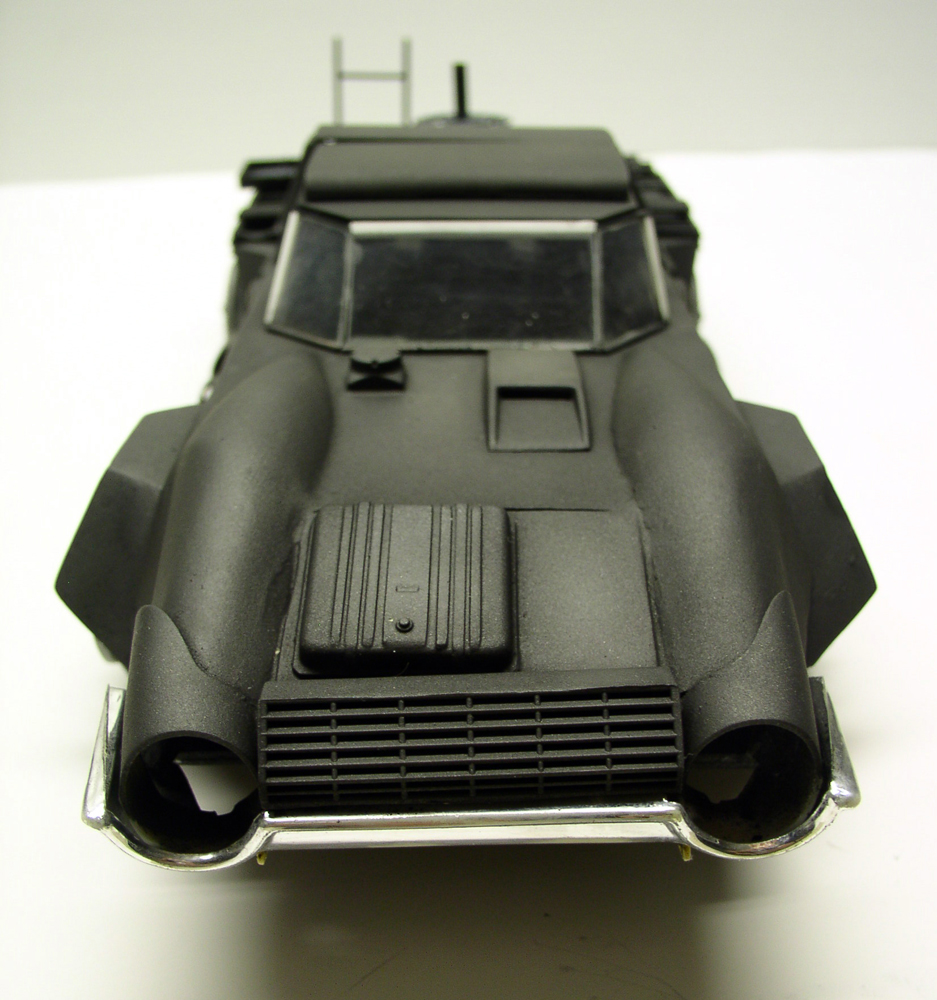
Base coat applied with an airbrush using Humbrol Black 33. Then a "light coat" of Model Master Chrom Trim Black...
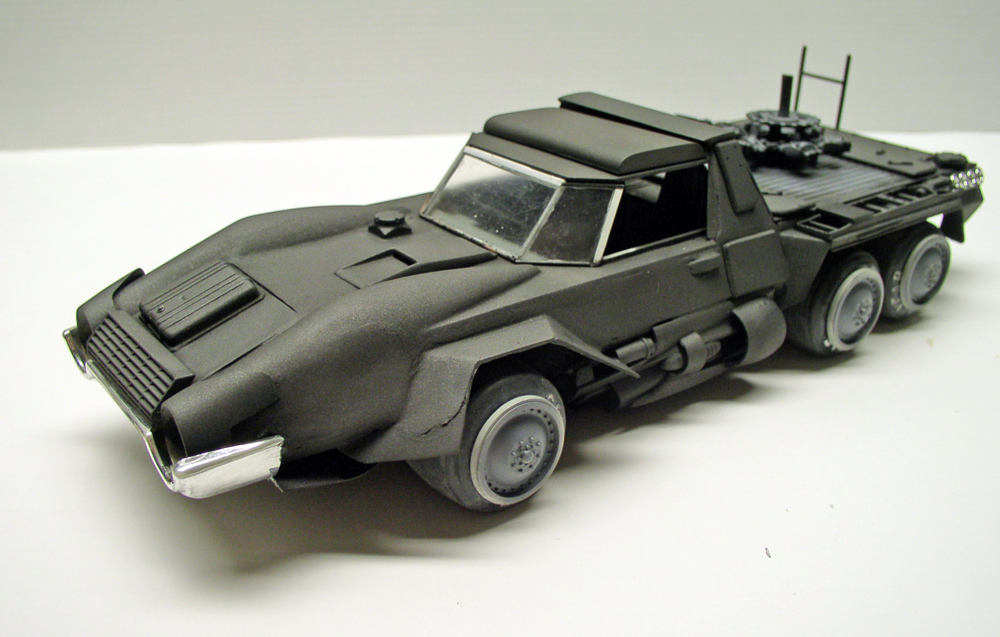
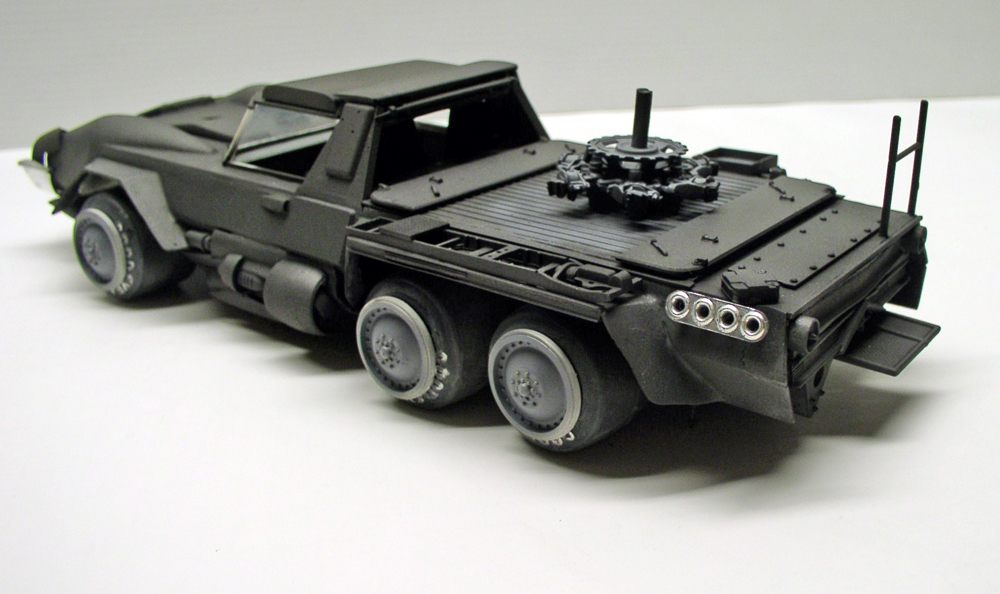
A look at the first layers...
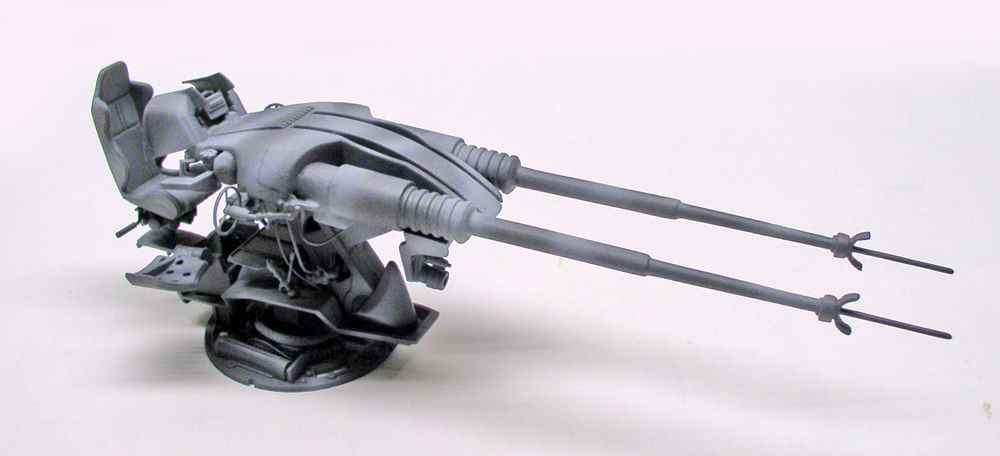
The barrel is spray-painted using Humbrol's Naval Gray, Phantom Gray, and HX5 Light Gray...
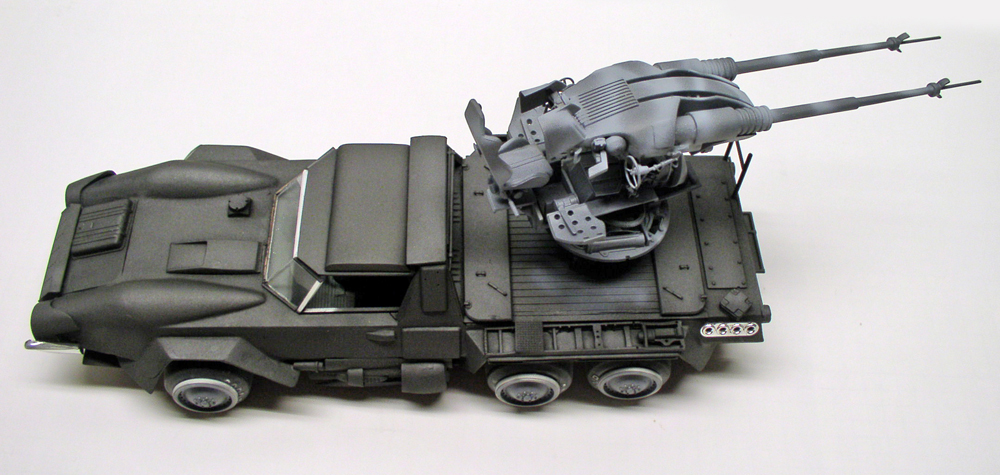
Top view...
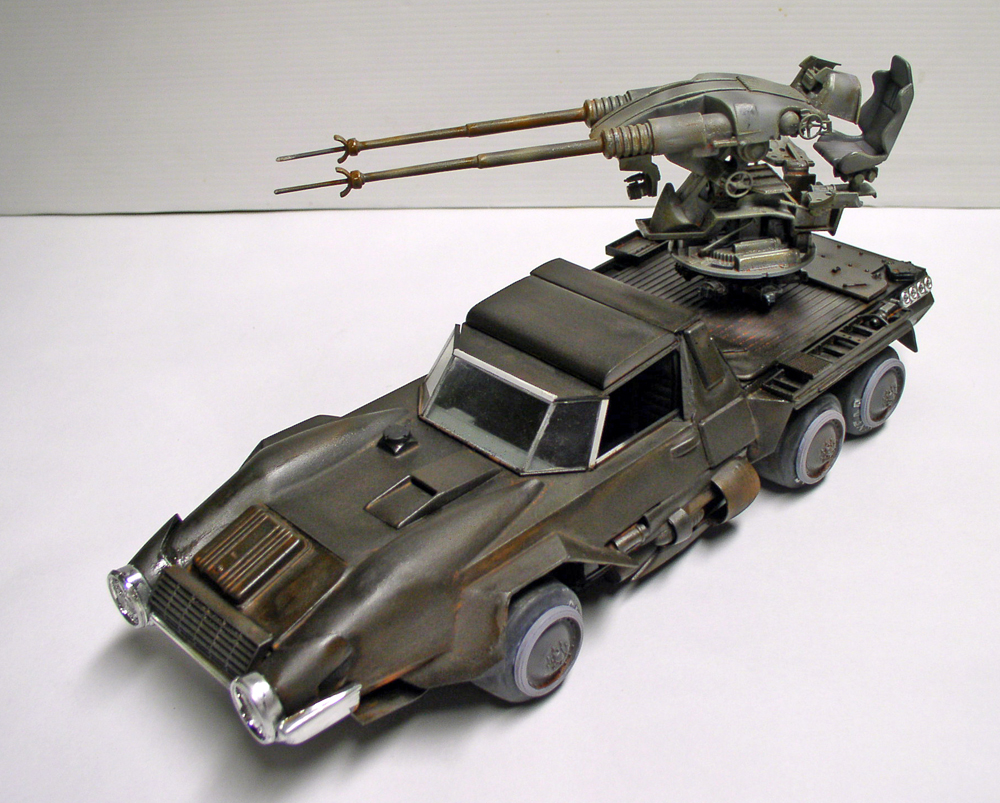
The entire piece is given a wash of Humbrol 153 diluted with turpentine...
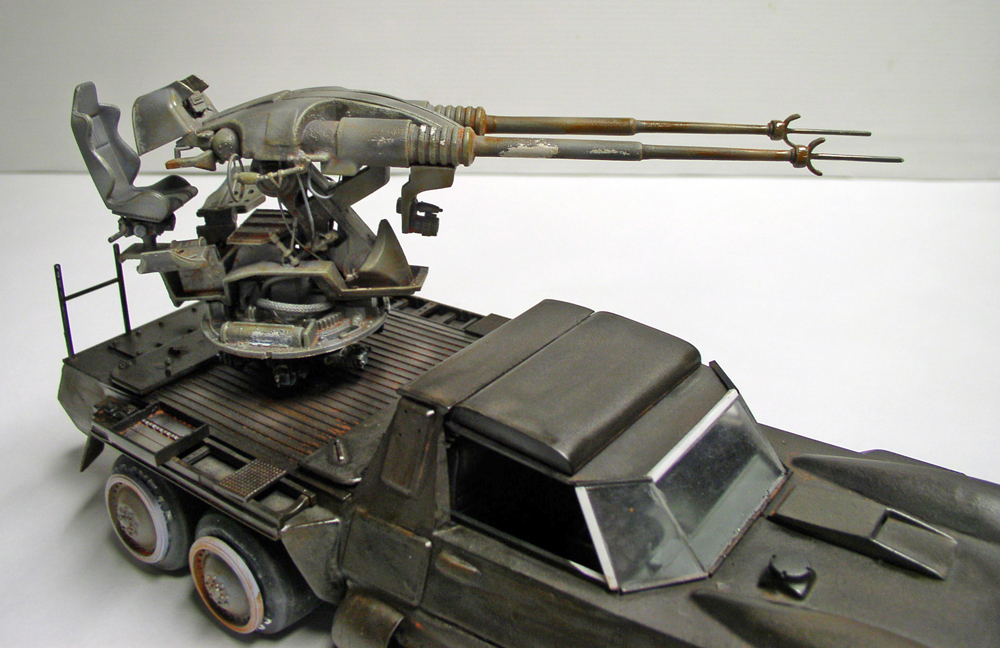
The model needs to dry for several days before the paint is finished...
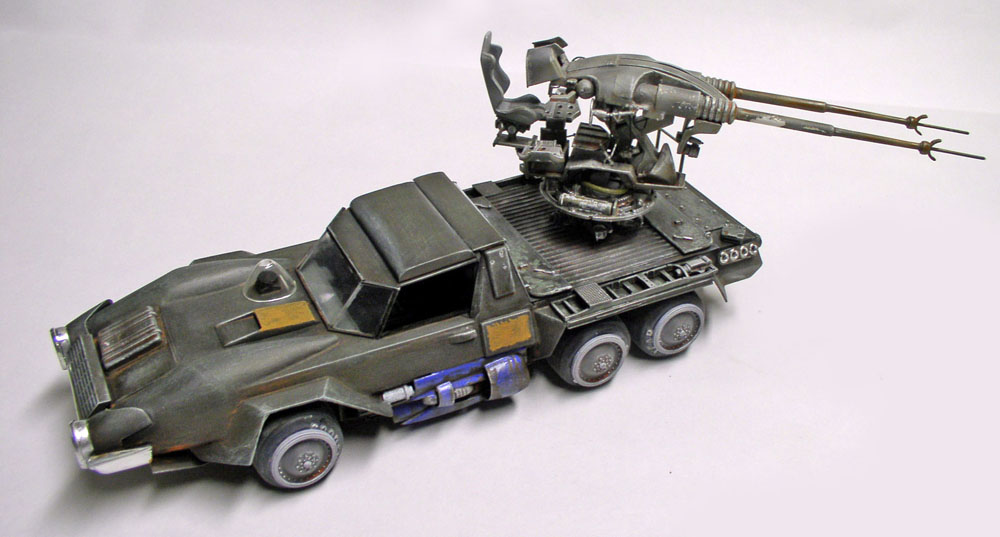
Several colors will be used for the paint chipping, the plates, and the vents: Humbrol 31, 87, 183, BLUE 14...
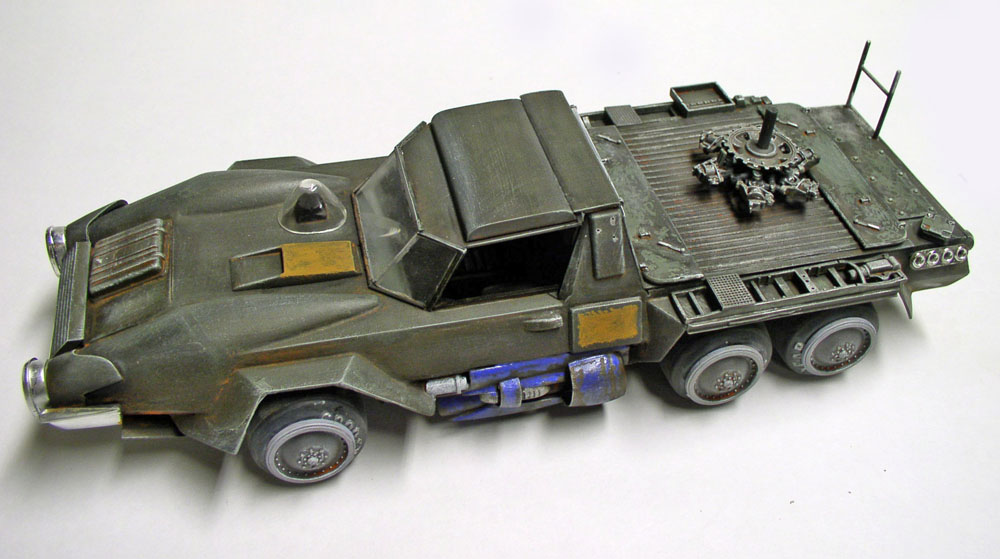
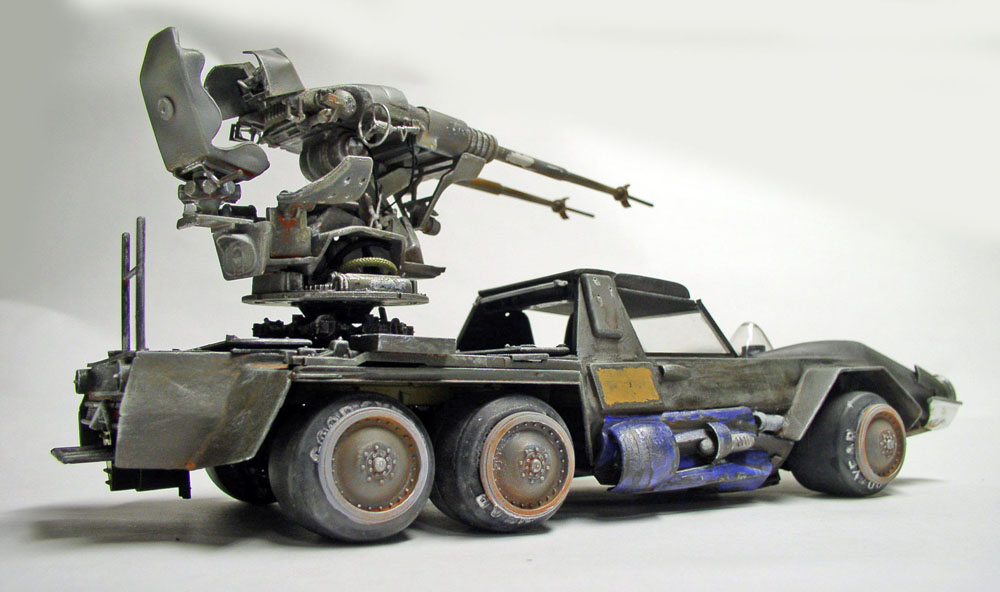
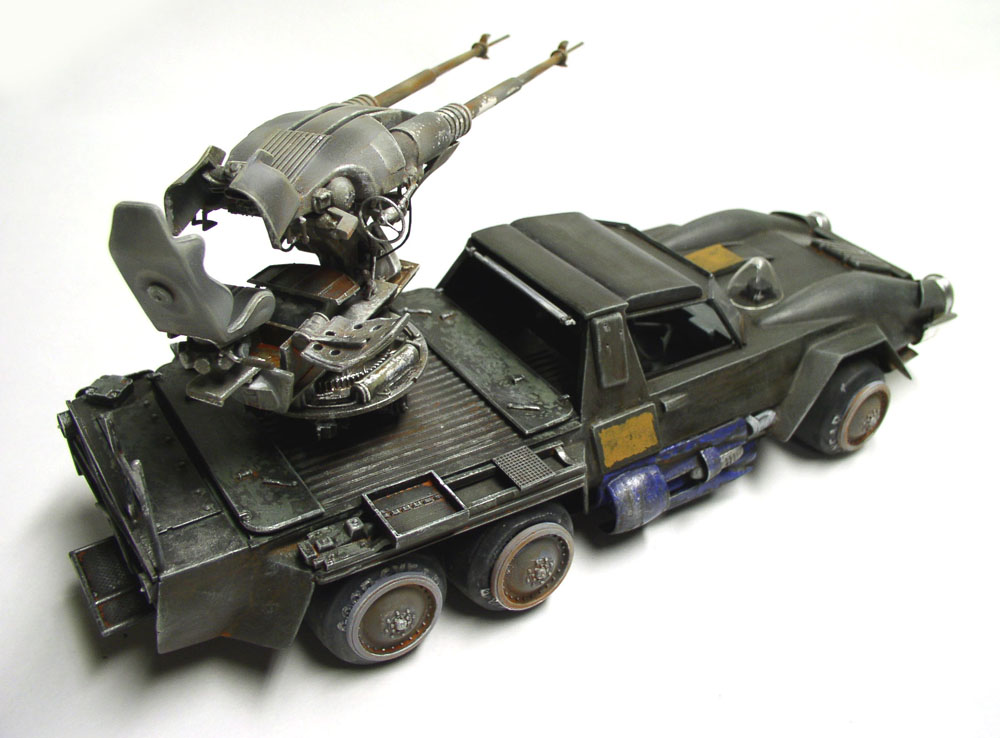
Three photos showing the chipping on the air vents and the rear shelf...
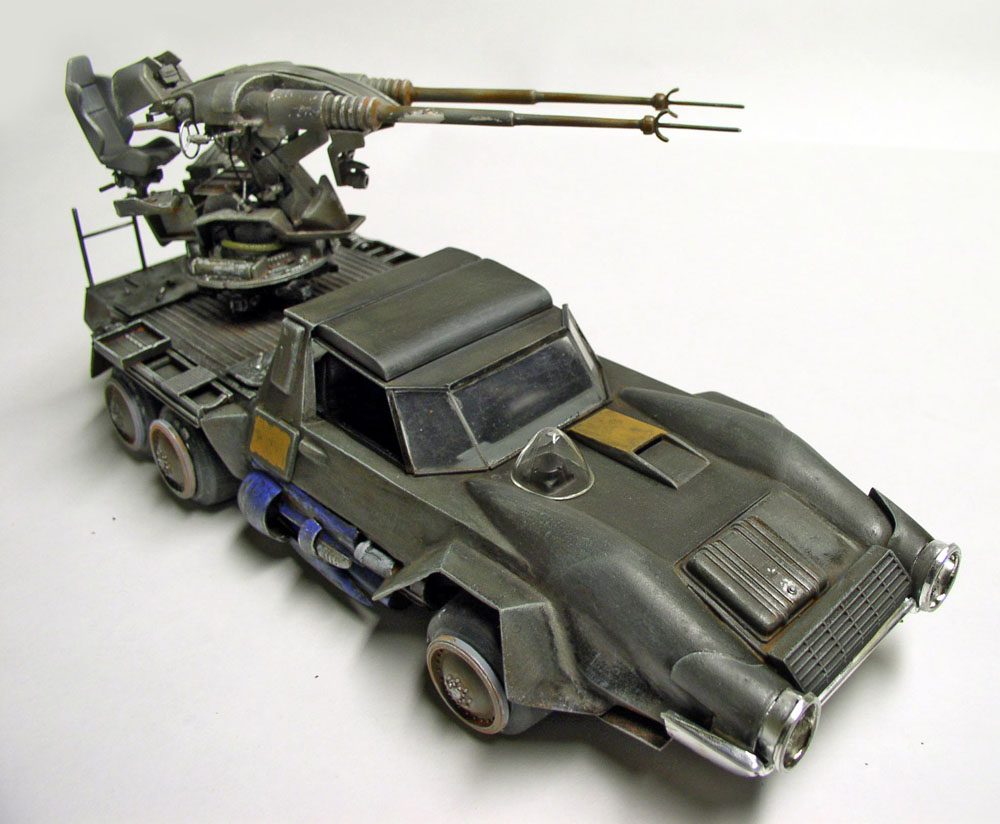
Another view...
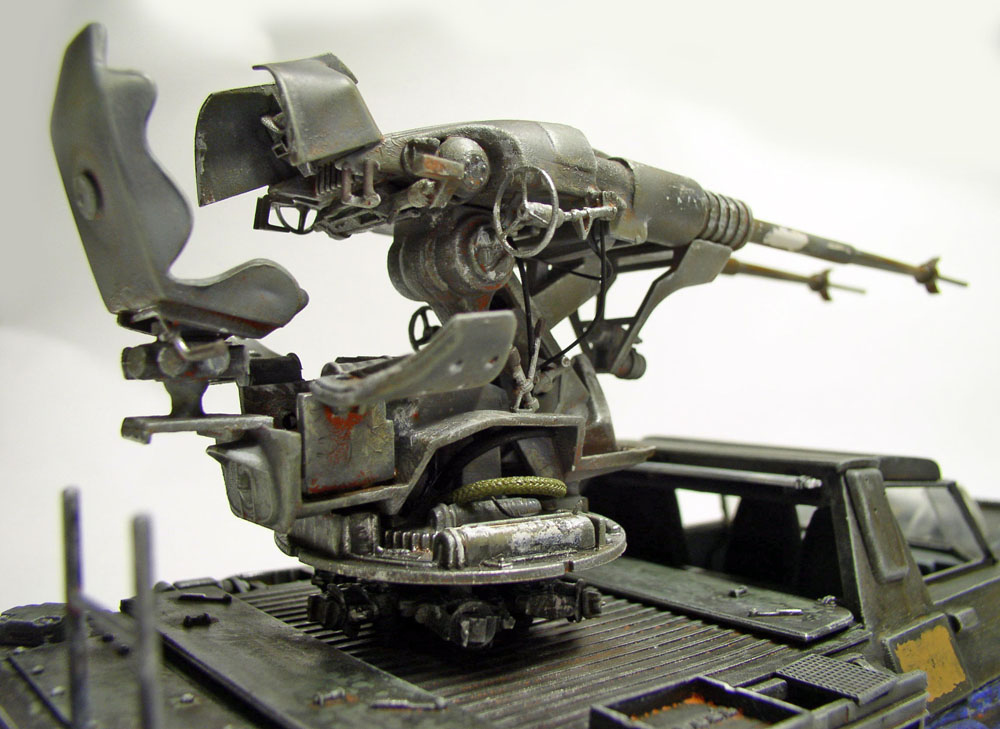
The bionic cannon, ready for action...
Patina
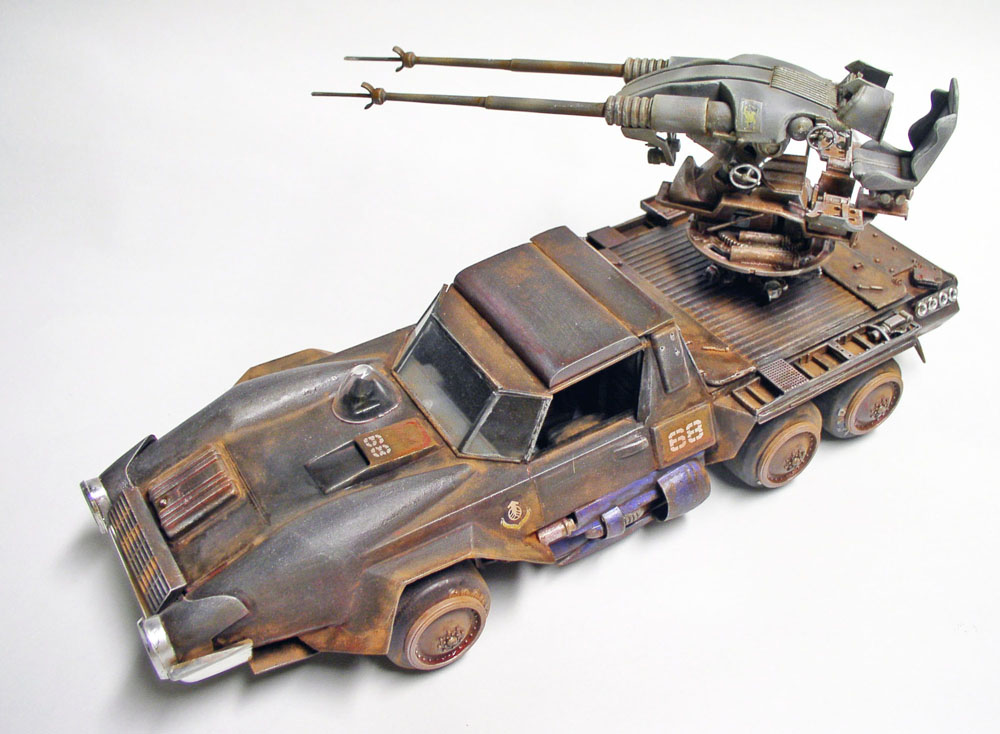
Some rust-colored pastel powder will provide the finishing touch and help it blend into the surroundings...
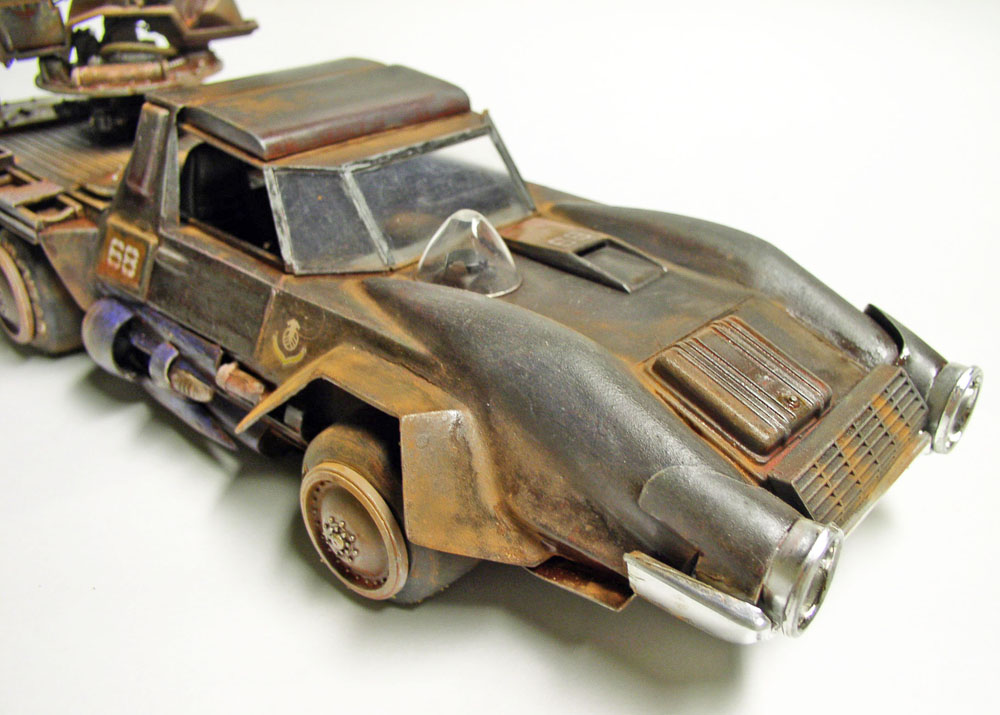
Details...
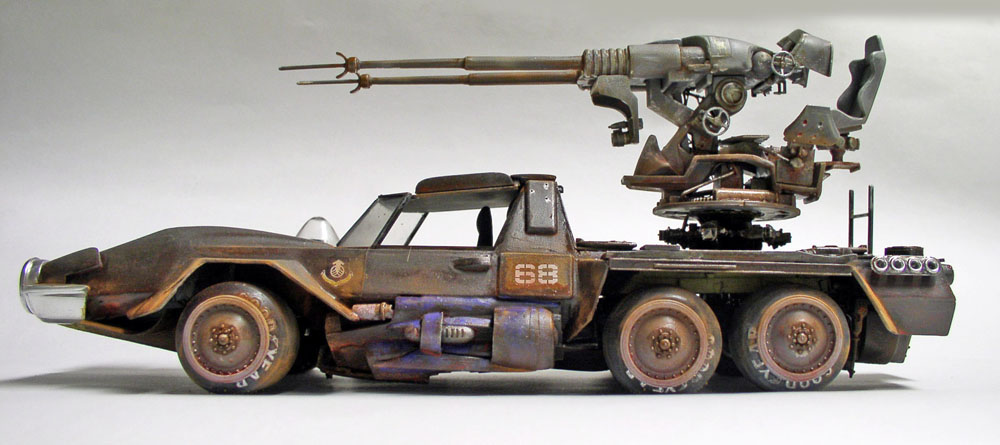
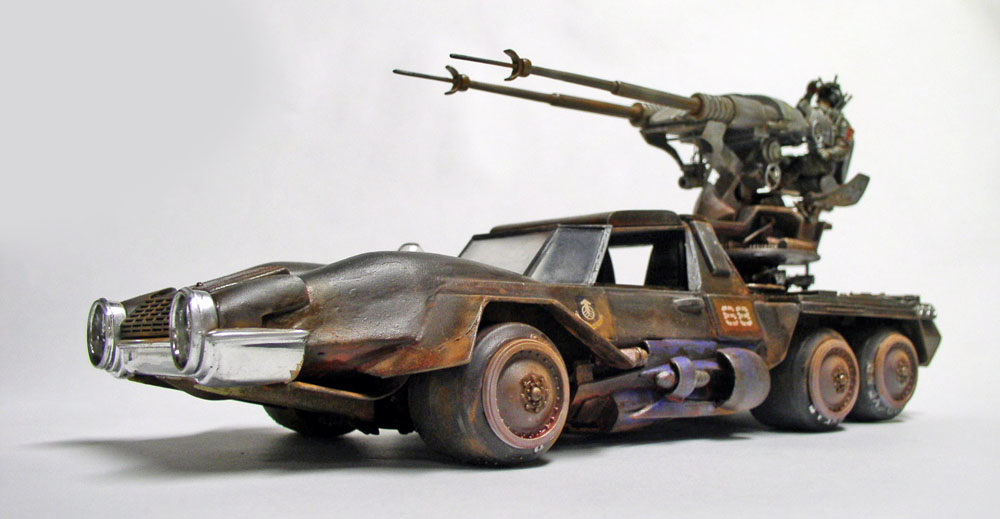
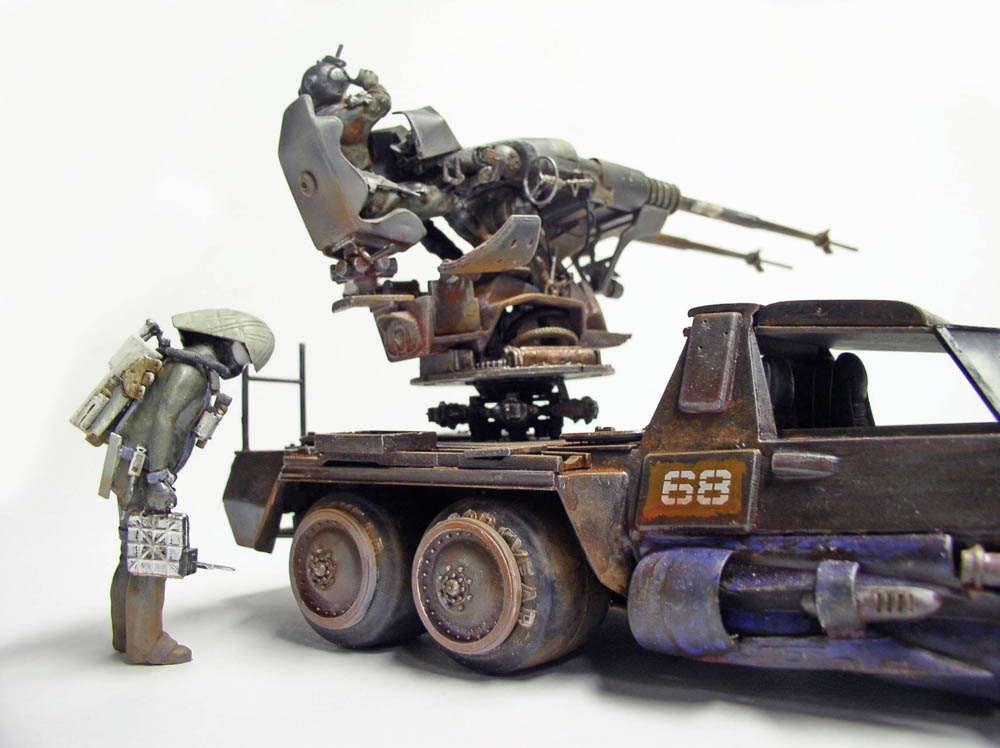
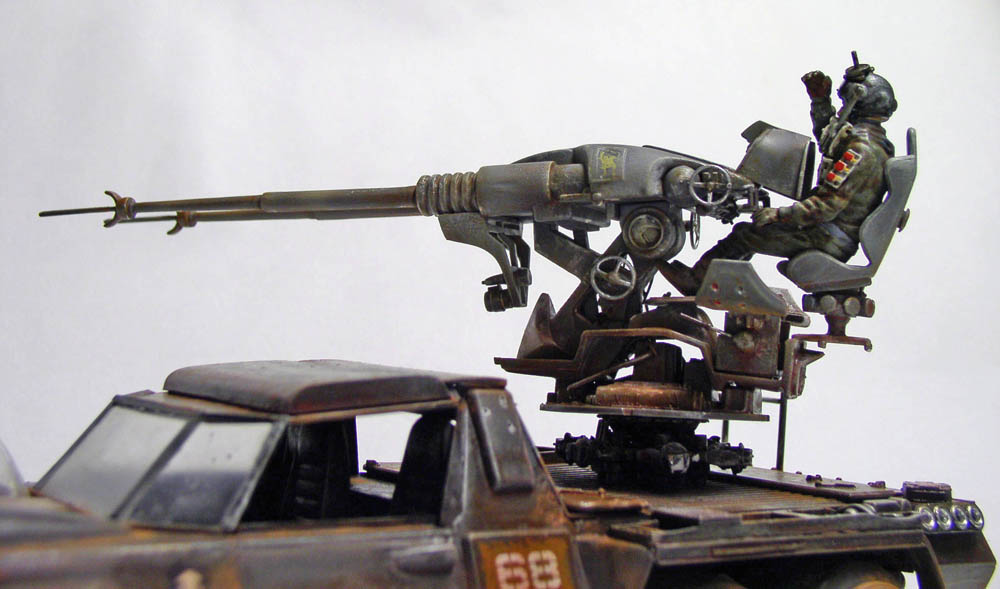
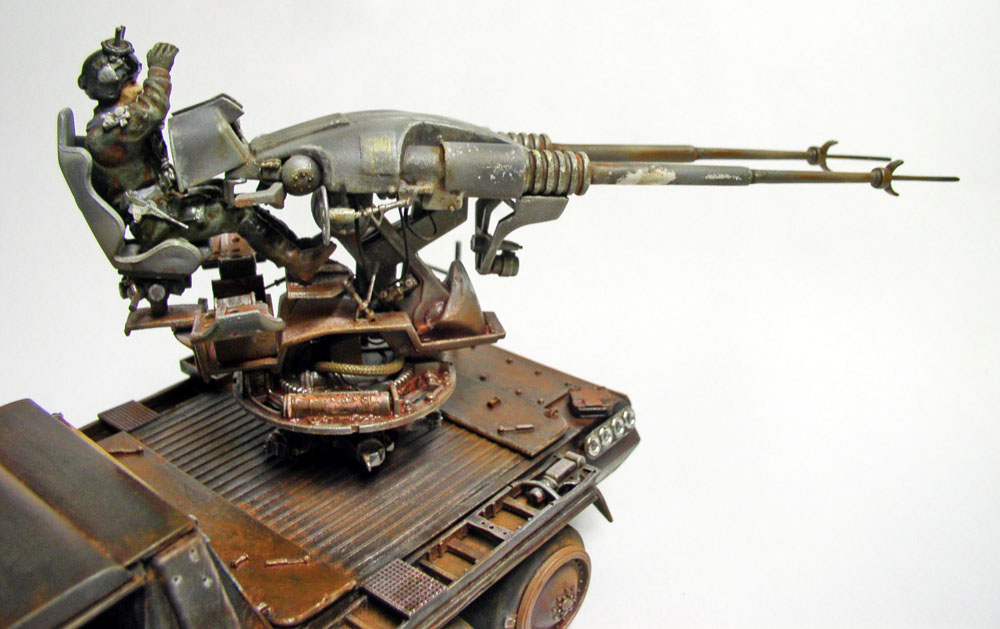
The Setting
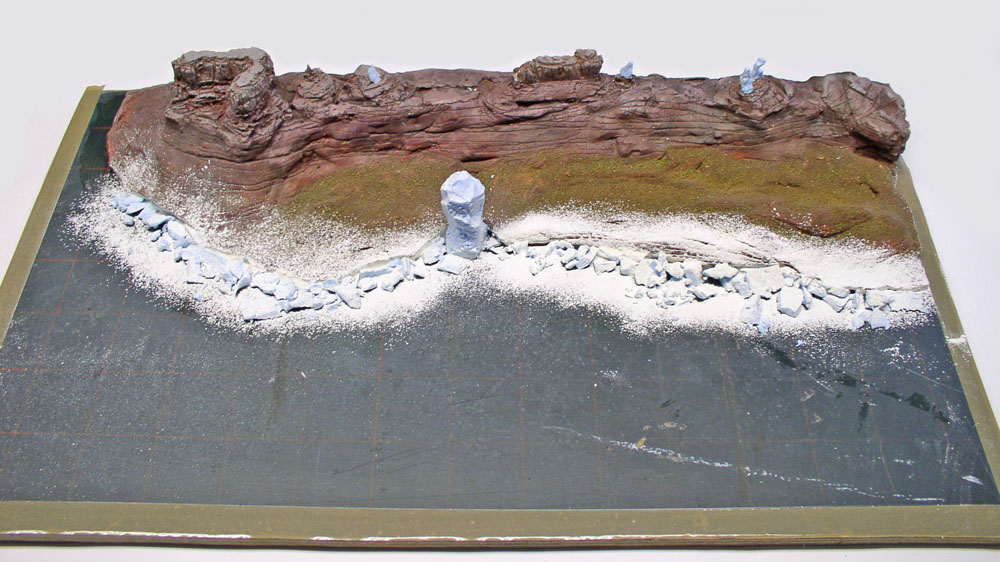
A wooden panel measuring 0.74 m x 0.42 m will serve as the base. A piece of Monument Valley scenery salvaged from an old diorama will serve as the backdrop for the horizon...
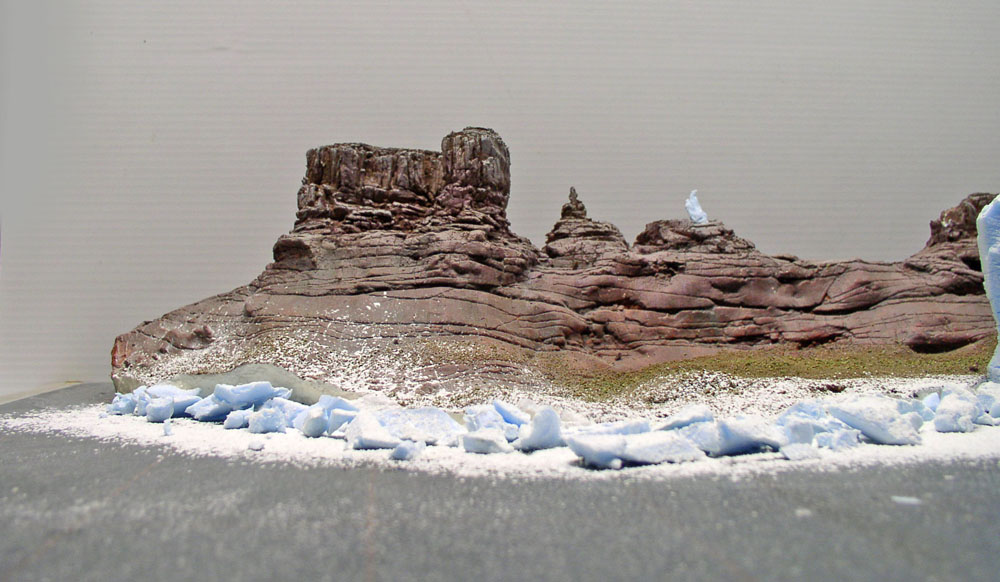
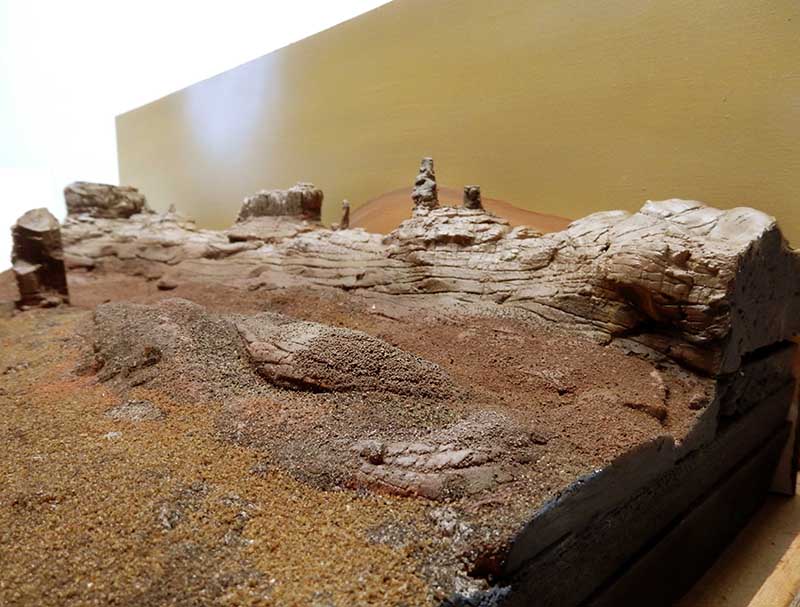
The extruded polystyrene scenery has been improved. Rocks will serve as a link between the mountains and the ground...
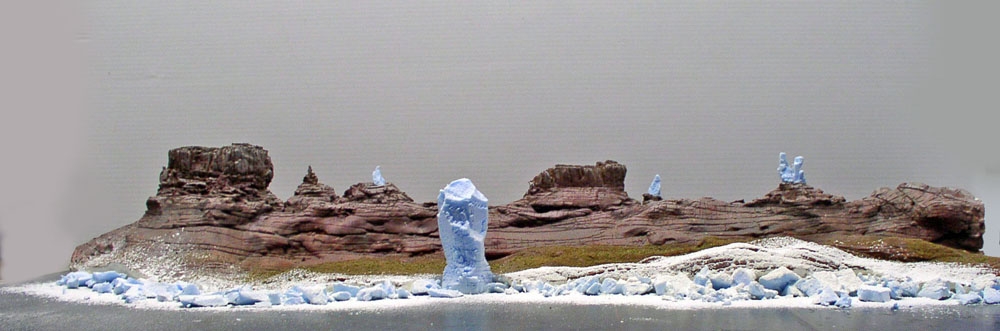
A view of the entire set...
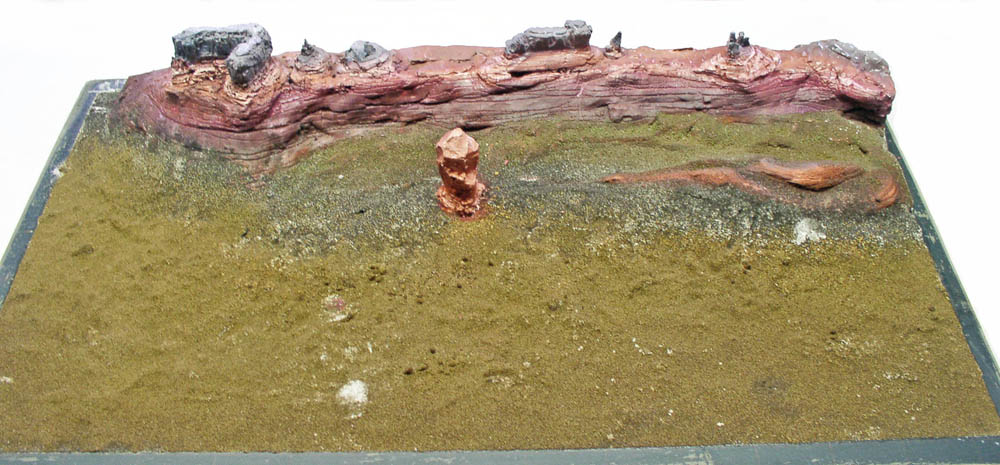
The powdery ground is made from plaster and modeling clay. The rocks are repainted with acrylic paint...
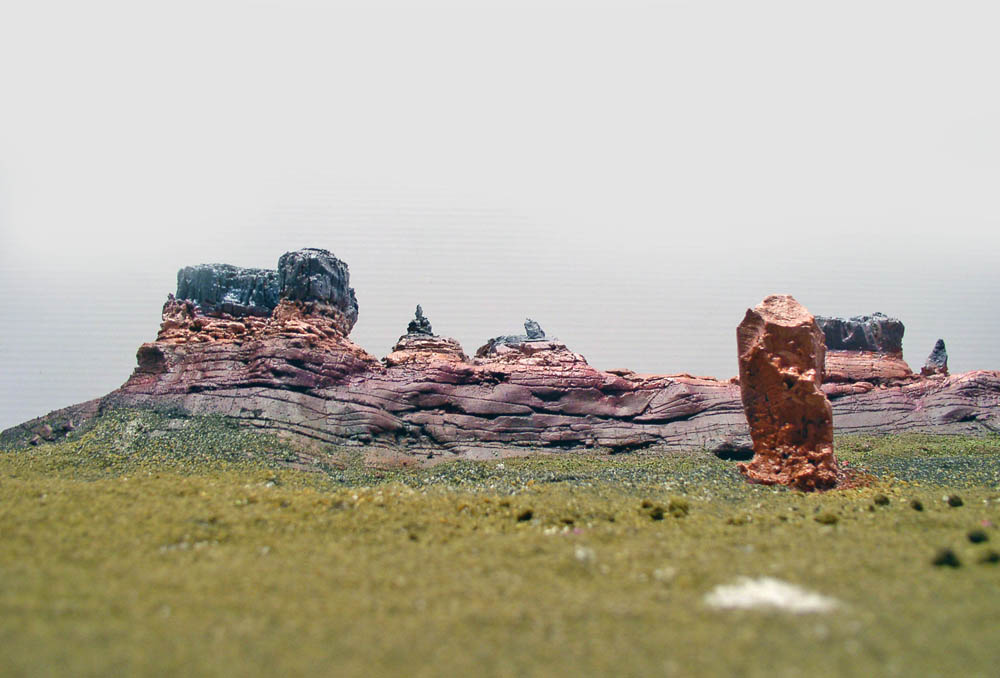
The finished paintings...