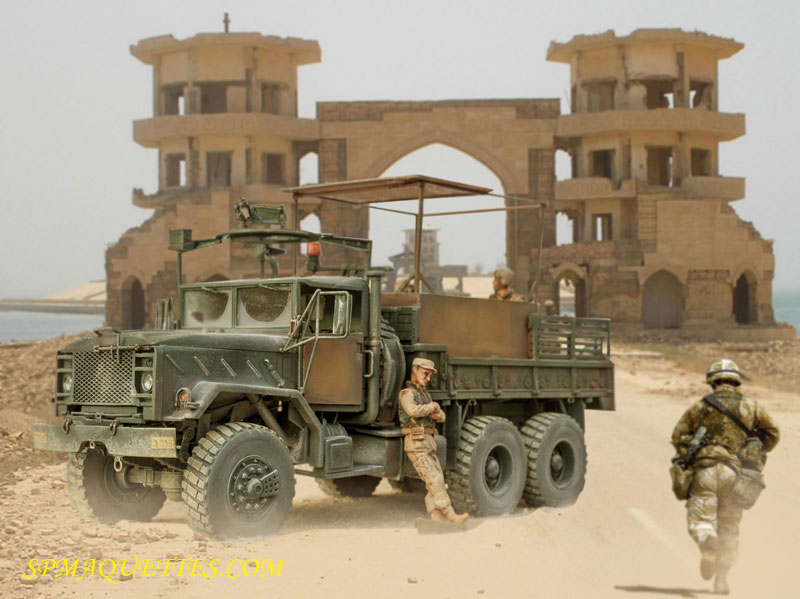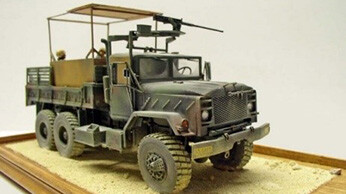
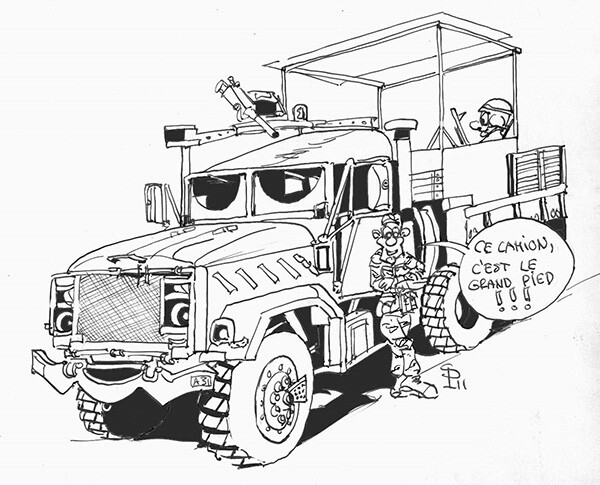
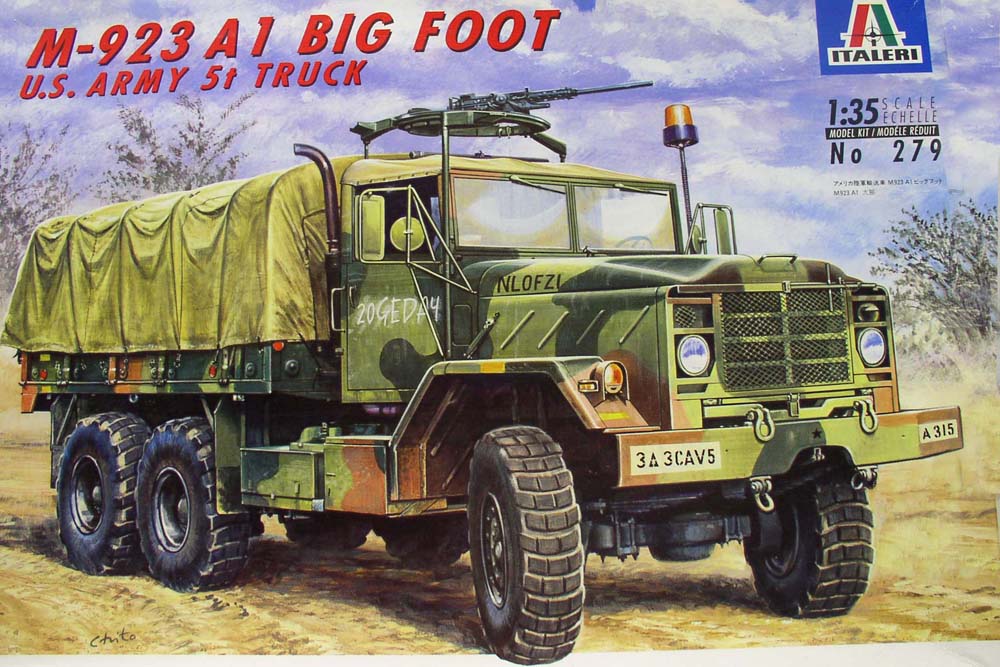
The M923 shown here comes in several versions, but it's the all-terrain version that interests us here...
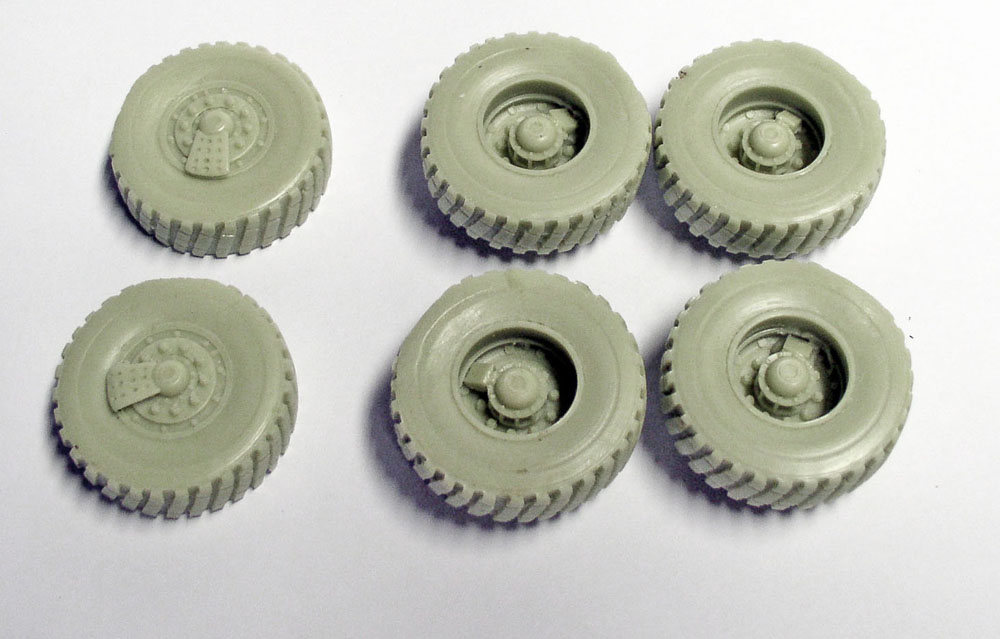
Since the wheels on the Italeri model's "Big Foot" do not meet the specifications, a Real Models kit will be a great replacement for them...
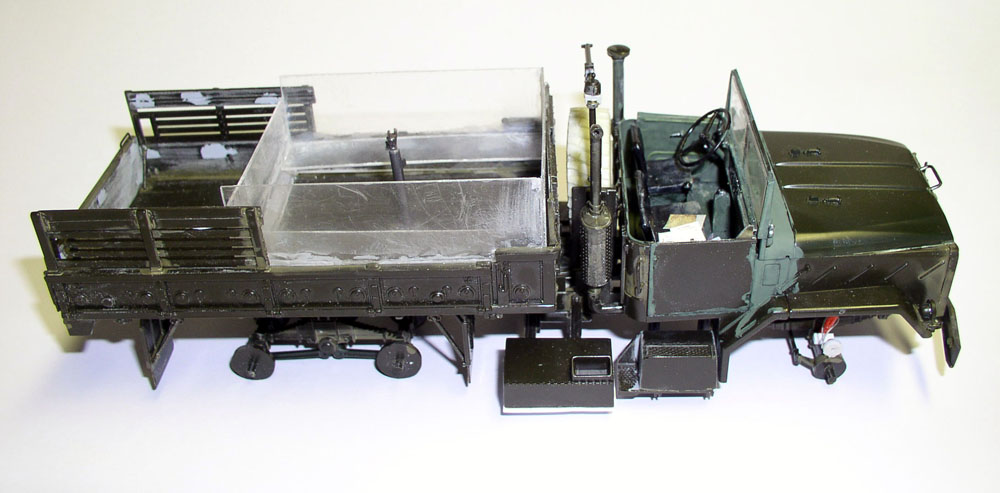
A work-in-progress view. The Italeri kit, while far from complete, at least exists... The brand has slipped in terms of build quality and requires some work... No real issues with the desired modifications. A piece of plastic card will be used to simulate the additional armor...
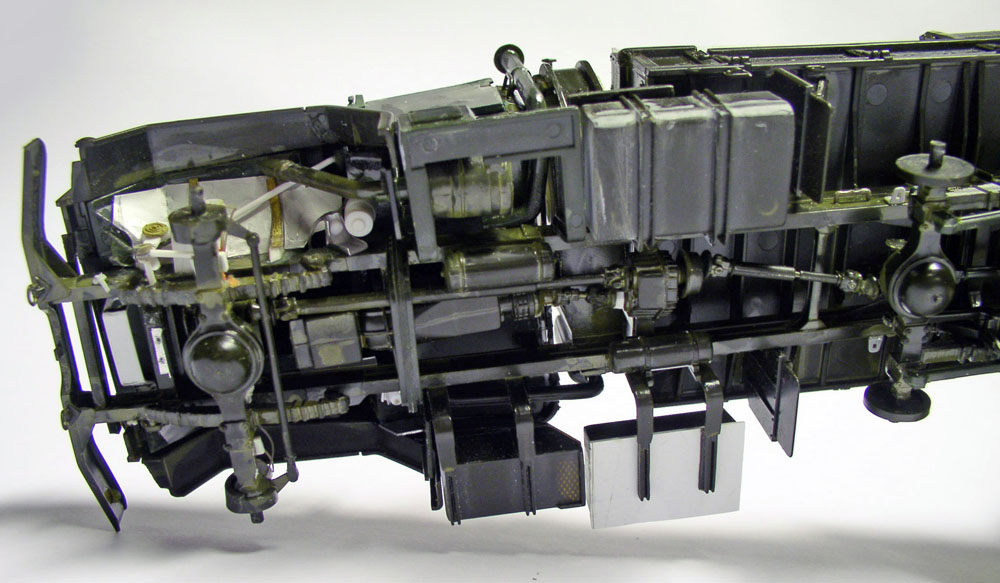
The part that "stands out" the most. A large gap around the wheel wells...
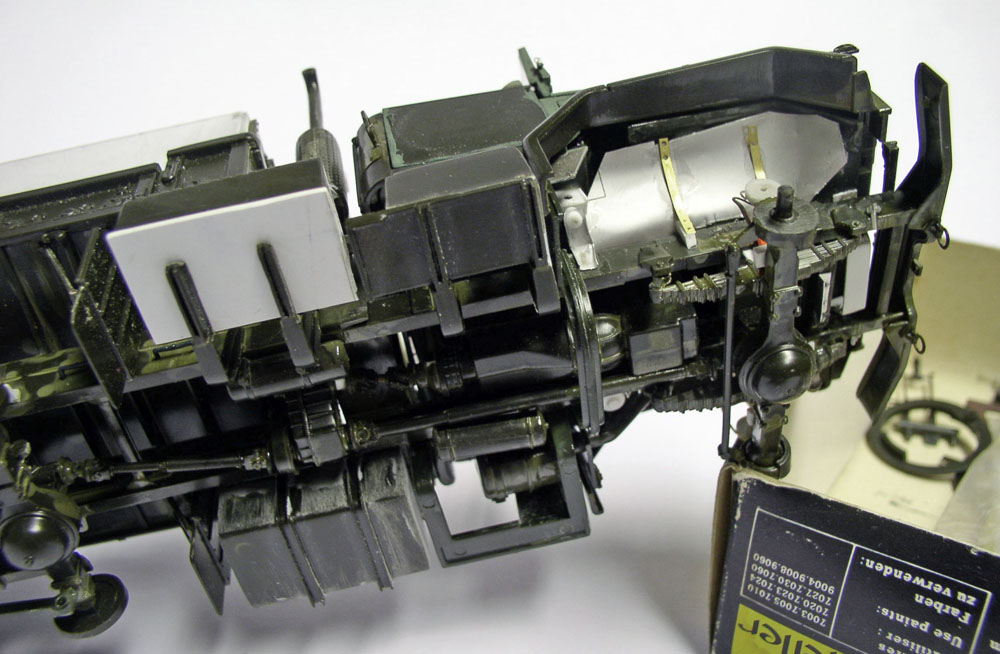
Aluminum foil will be used to reshape the wheel wells to make them more accurate, and leftover photo-etched parts will be used to form the fasteners...
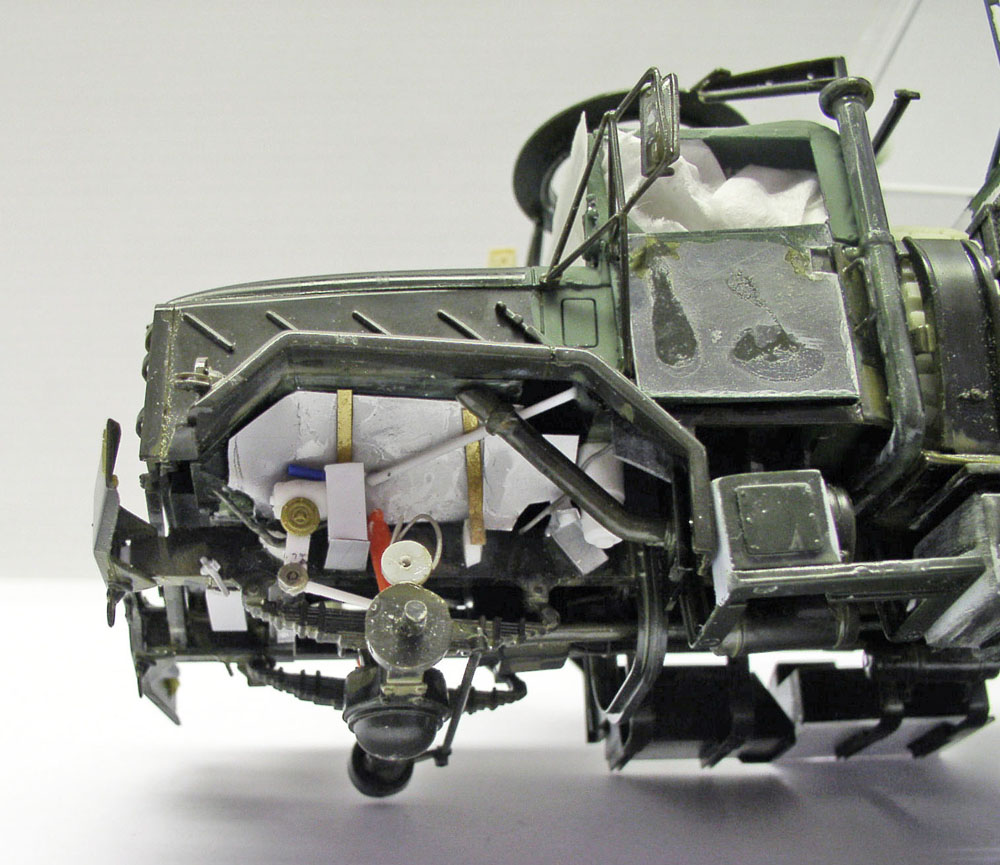
Left side view: The added parts give an idea of what’s missing from the kit. The red part is a shock absorber that reinforces the axle; it’s definitely present on the real vehicle (note that the model is based on the production version, so it’s not an off-road model)...
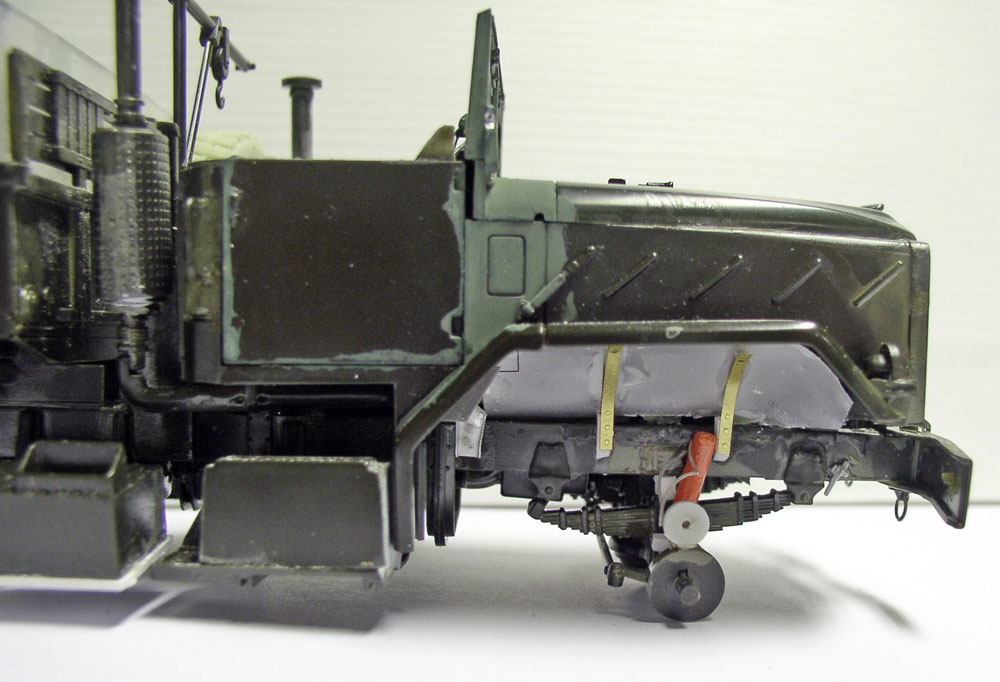
Since there is a significant gap between the fender and the tire, it is essential to fill this gap...
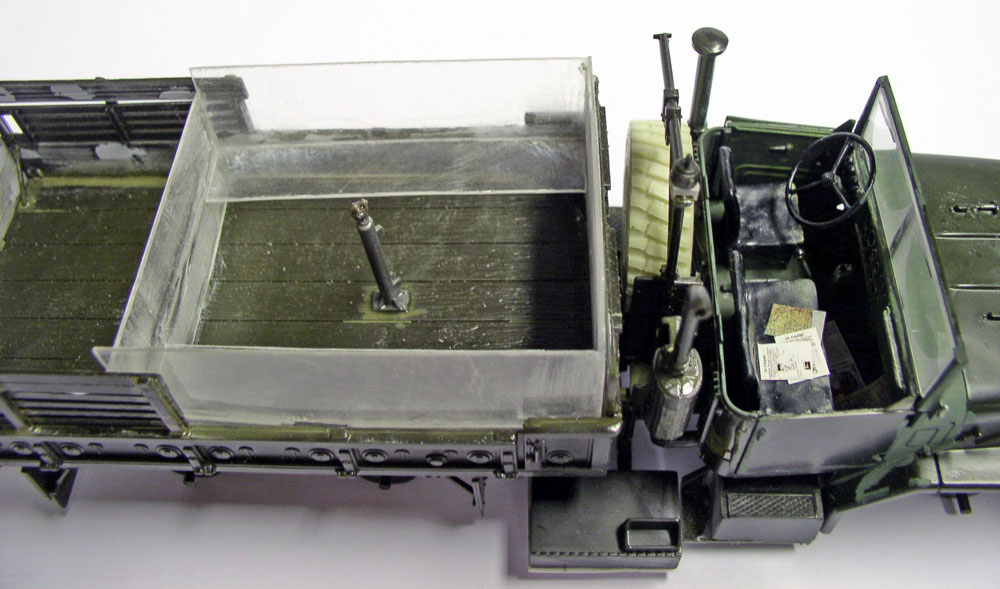
Top view: The spare tire is in place, and the cabin is mounted—since it will be closed. The base of the grenade launcher is secured to the floor, surrounded by armor plates...
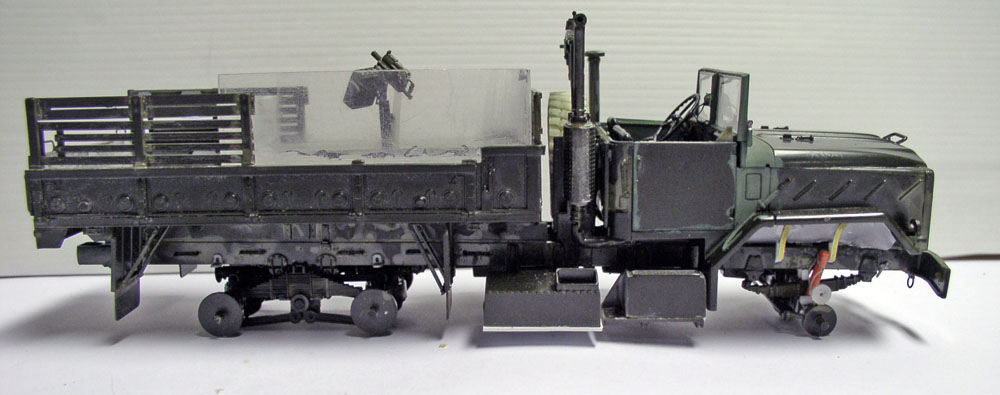
The grenade launcher is in place. Five handles have been added to each side of the rear chassis stringers...
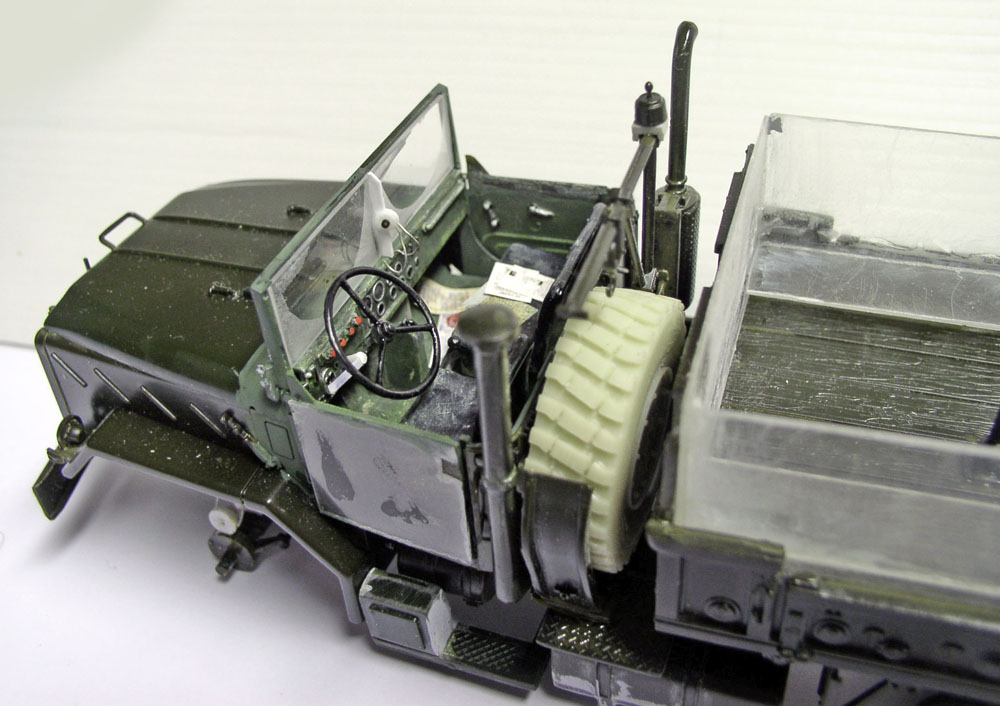
A bird's-eye view of the cab: here, too, improvements are being made to the windshield and dashboard. After painting, a few documents and pieces of paper are glued to the seats and the floor... A thin coat of matte varnish will simulate dust on the windshield...
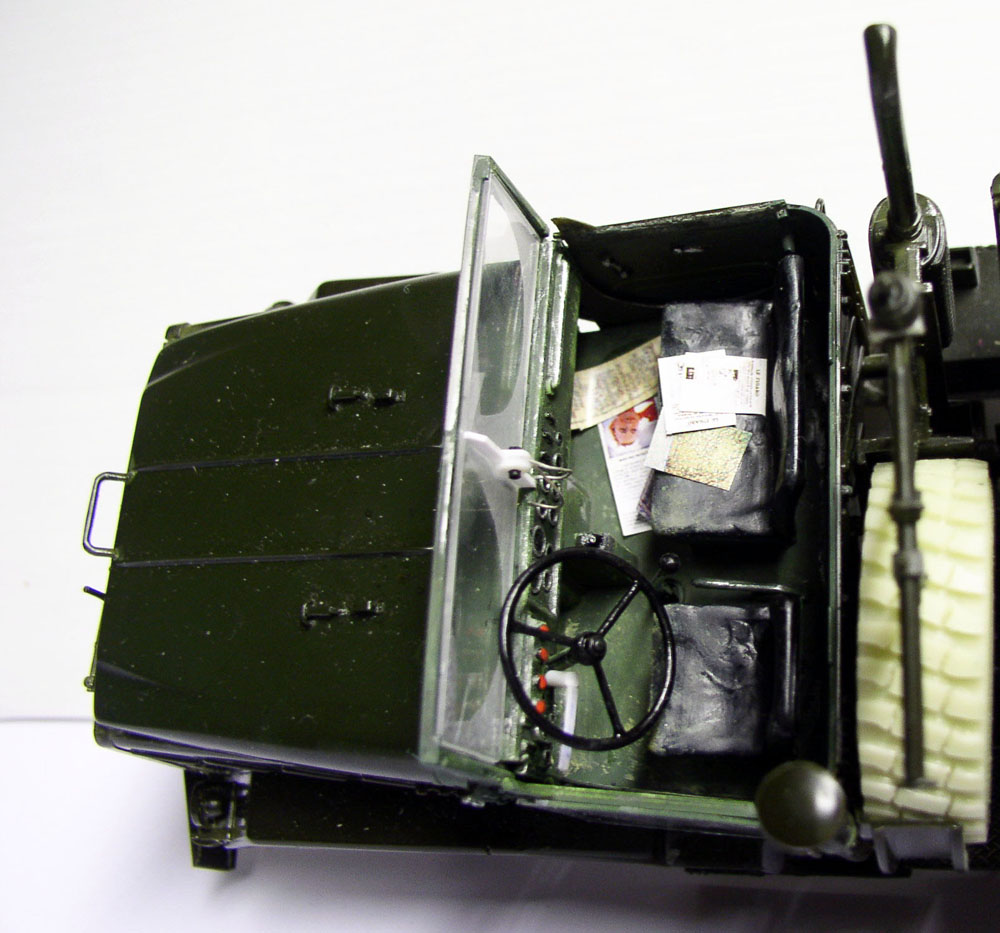
Details...
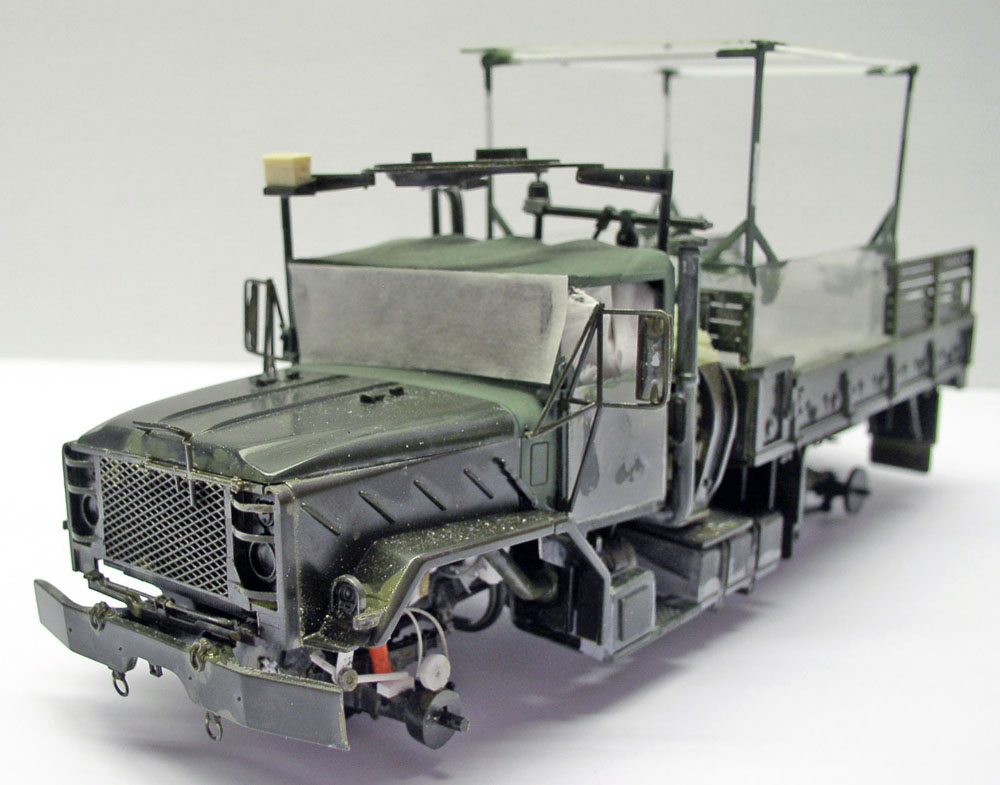
Adding the machine gun mount included in the kit. A platform made from Evergreen will shield the gunners in the rear from the sun... The tricky part: attaching the roof to the cab... Not easy. Putty will fill in the seam...
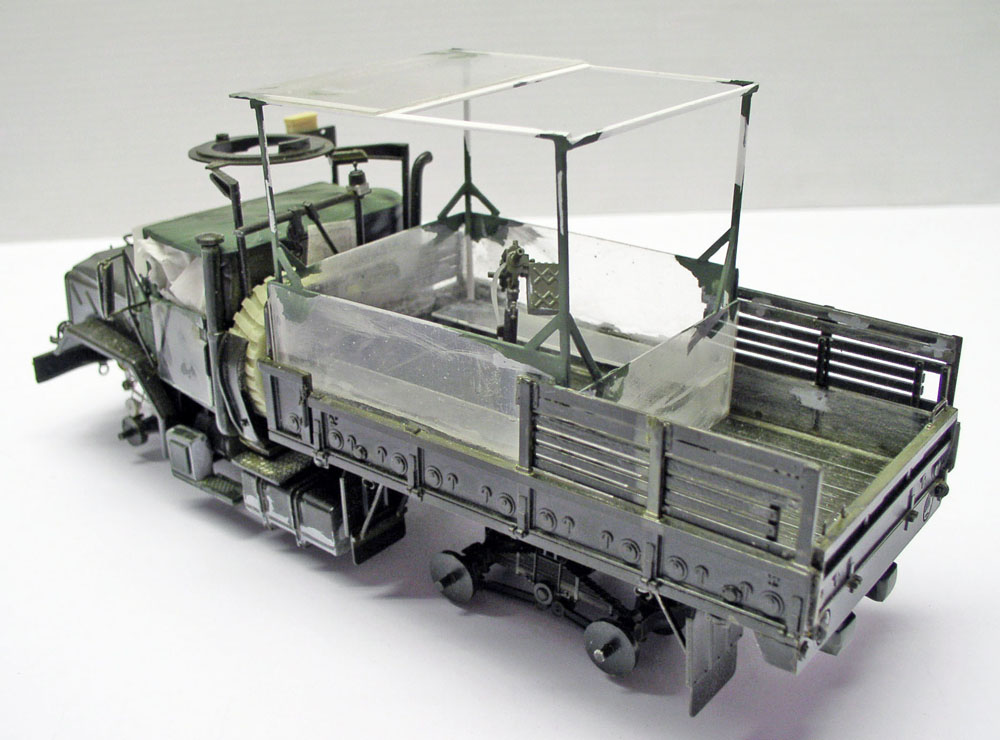
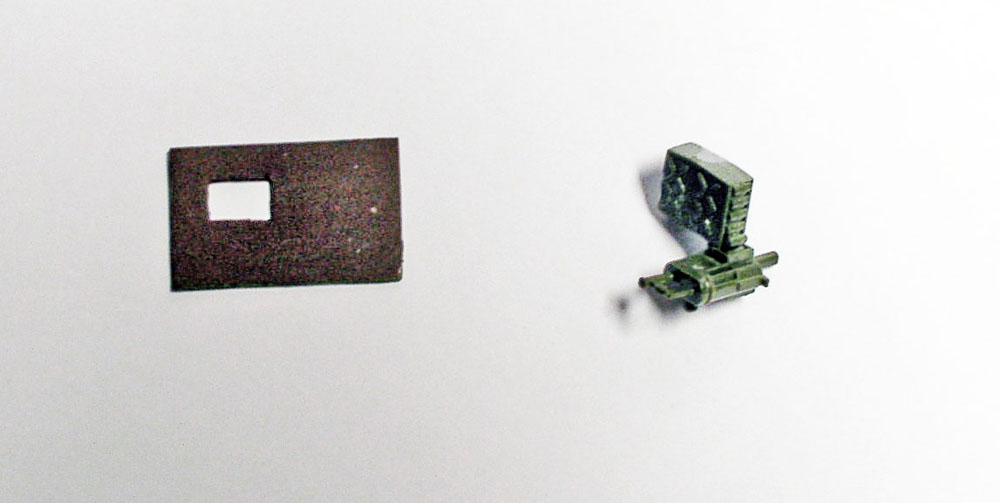
The openwork protective plate on the right door, made of plastic sheet, and the grenade launcher salvaged from a Tamiya kit...
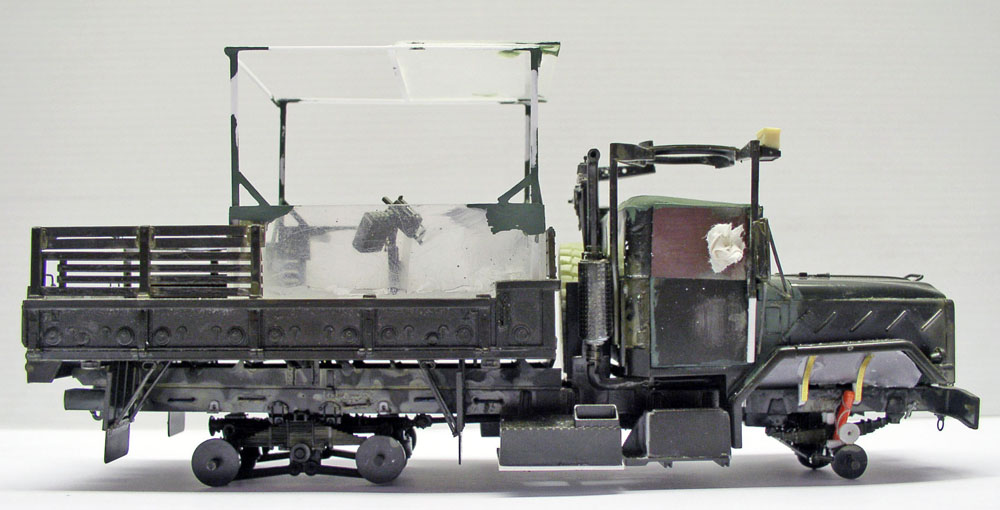
The two door guard plates are in place...
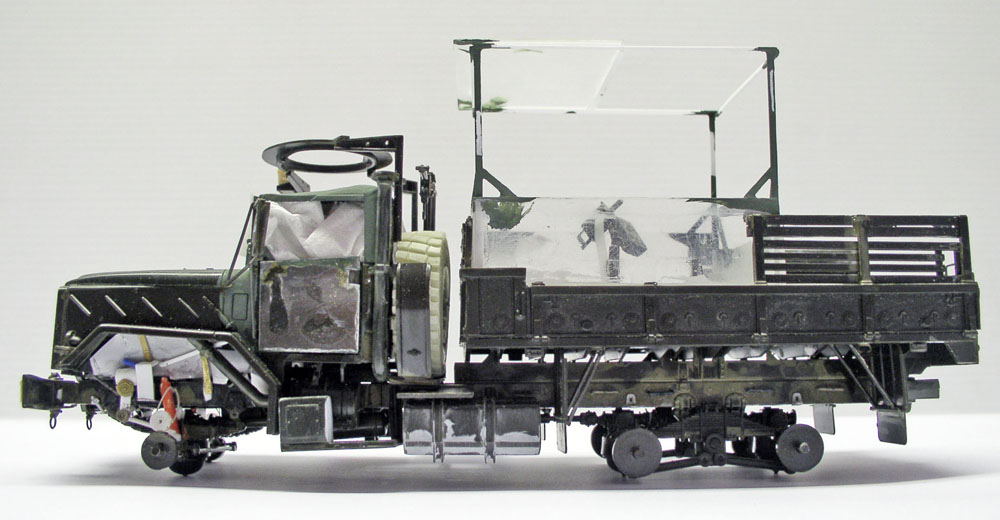
The model is ready for painting...
The figurines
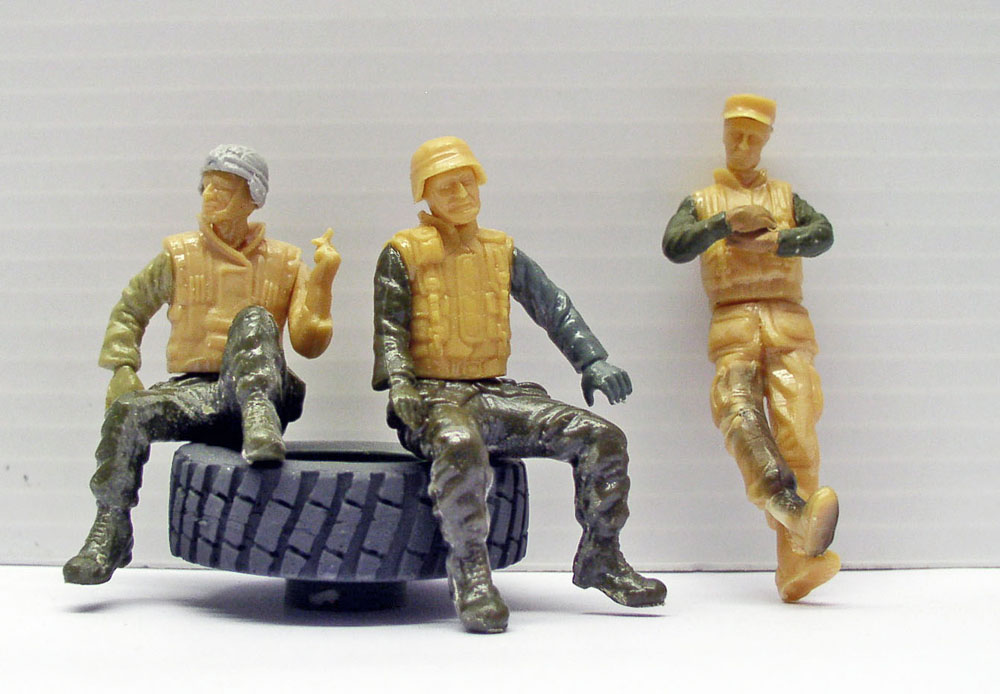
The crew: assembled from parts of various figurines...
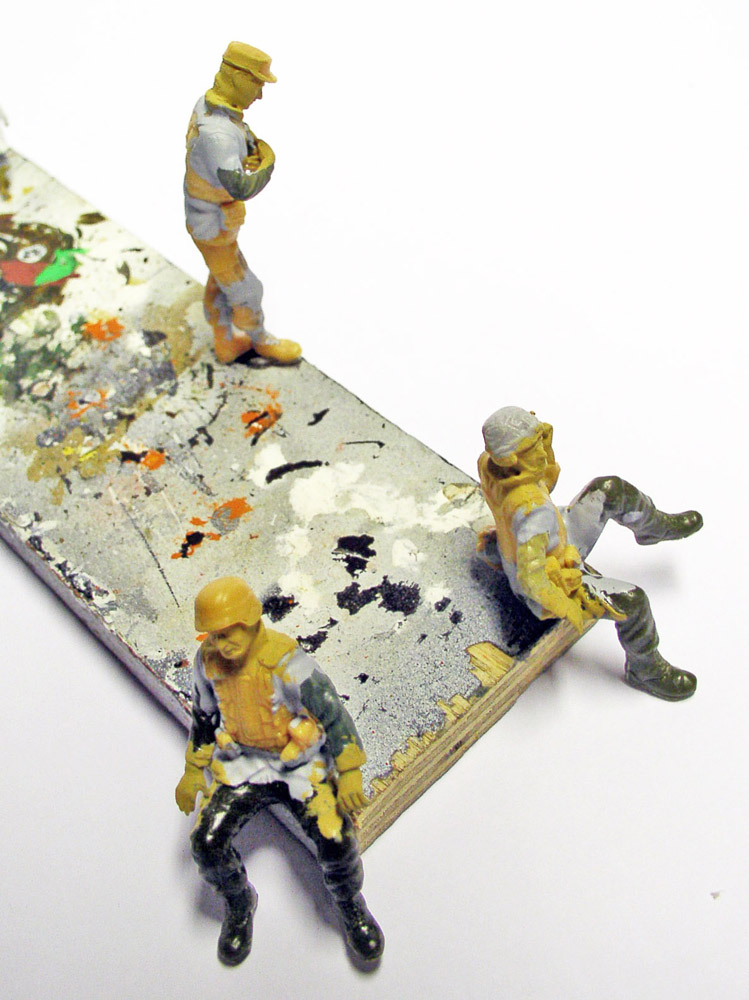
A liquid putty mixed with liquid glue was brushed onto the joints where the figures were glued together...
Note that there is a ready-to-use liquid filler available: Mr. Surfacer...
Painting
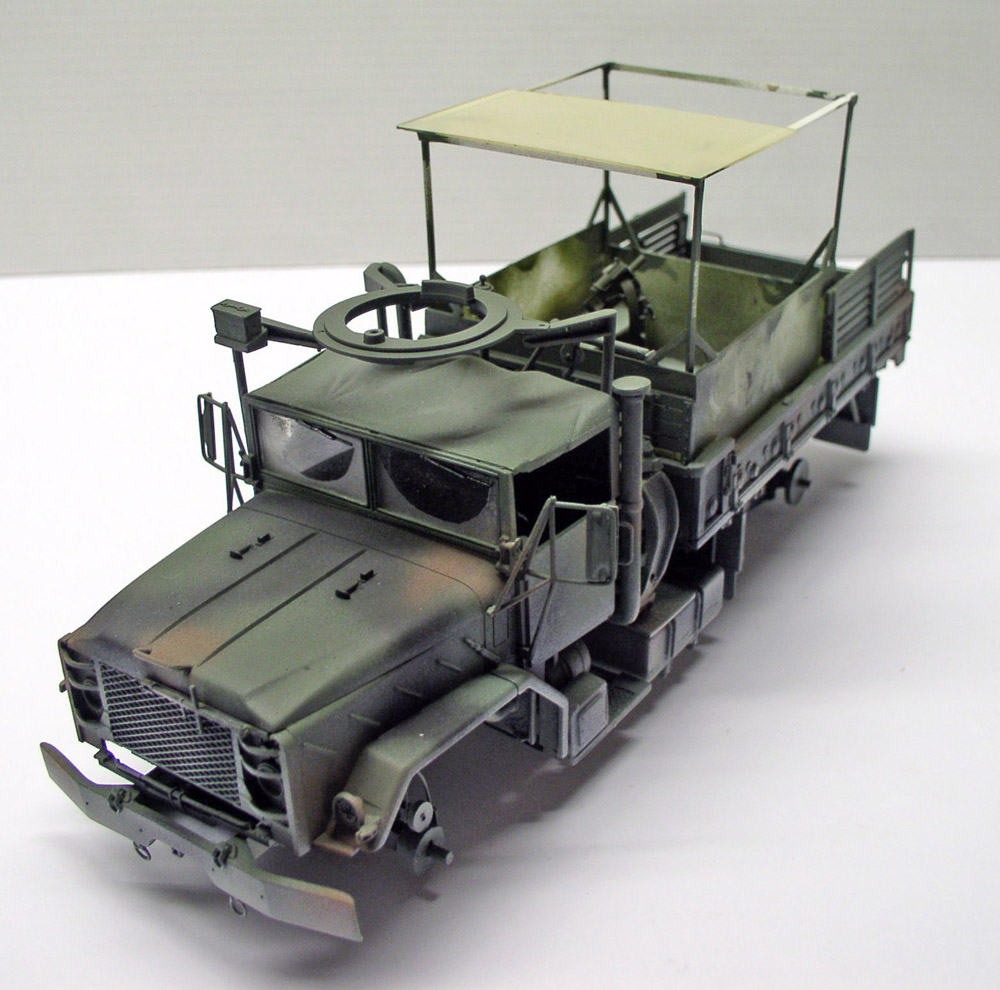
Humbrol oil-based paint. Base colors: Overall Green Hi 3 - Matt 30 - Matt 98...
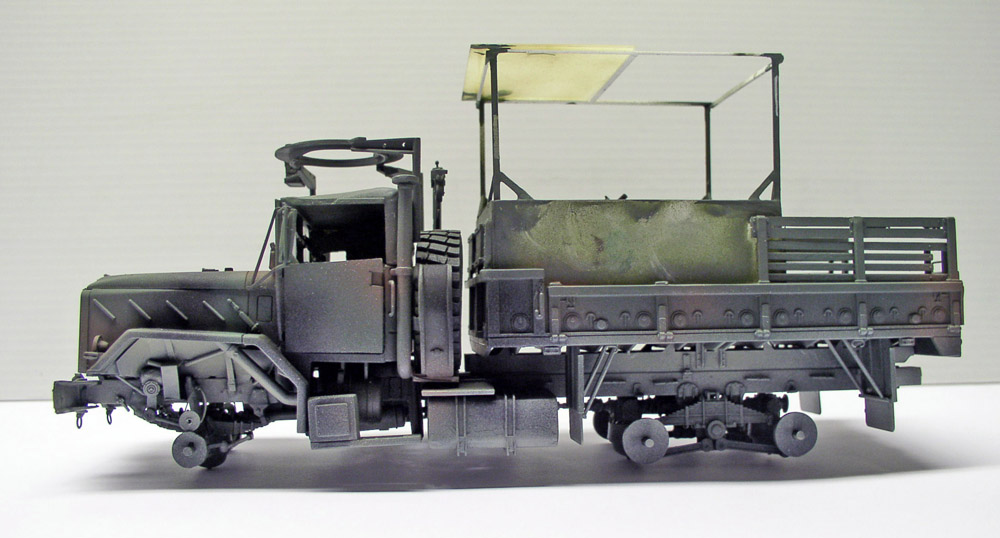
Humbrol 121 is used to create a dust film under and on the sides of the vehicle...
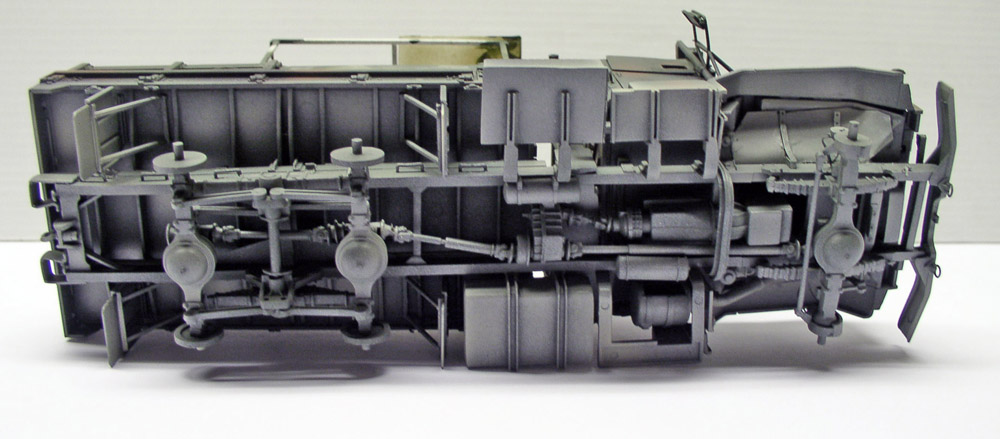
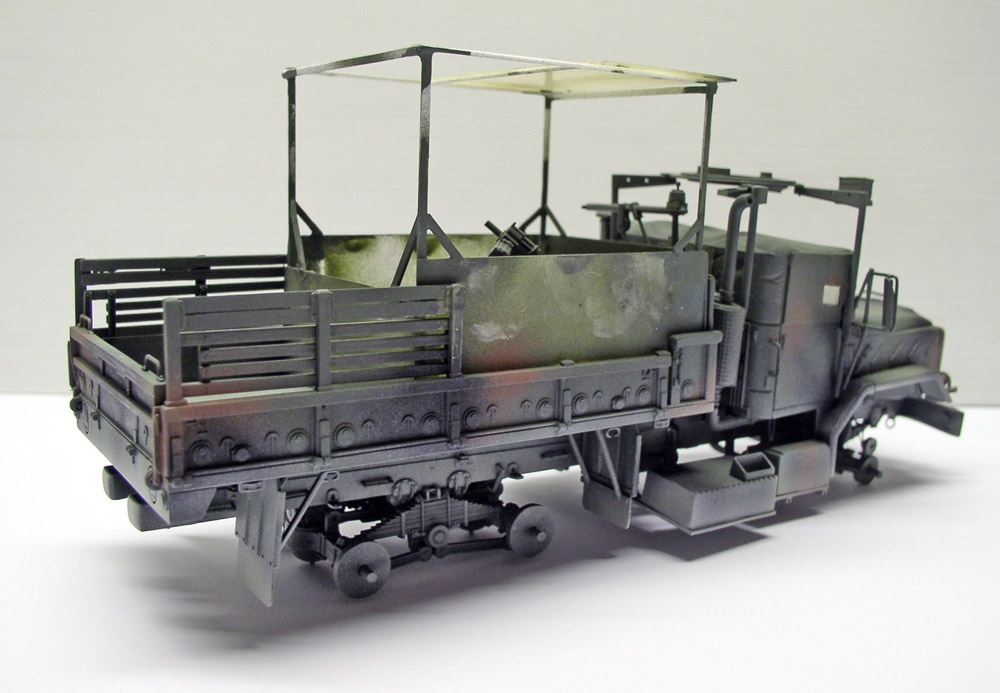
Drybrush the three main colors: 70 - 32 - 80...
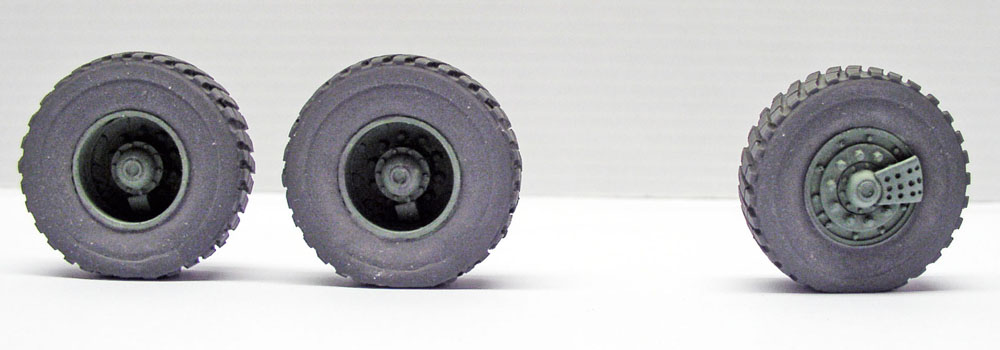
The wheels aren't left out—they're painted and dusted separately before being glued on...
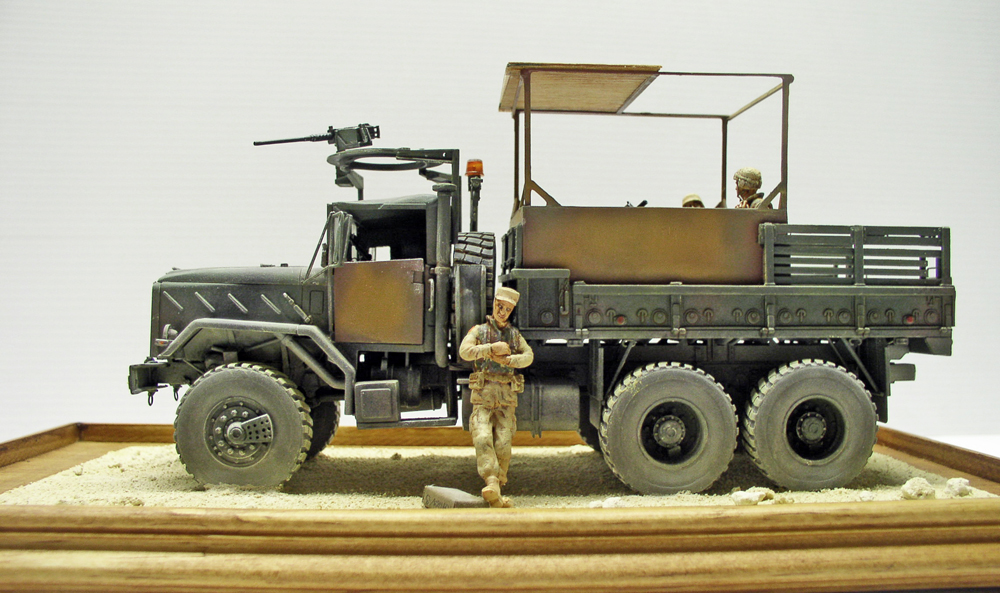
The panels are retouched with a brush using a light chipping effect made with gray 32, yellow 93, and a few metallic flecks...
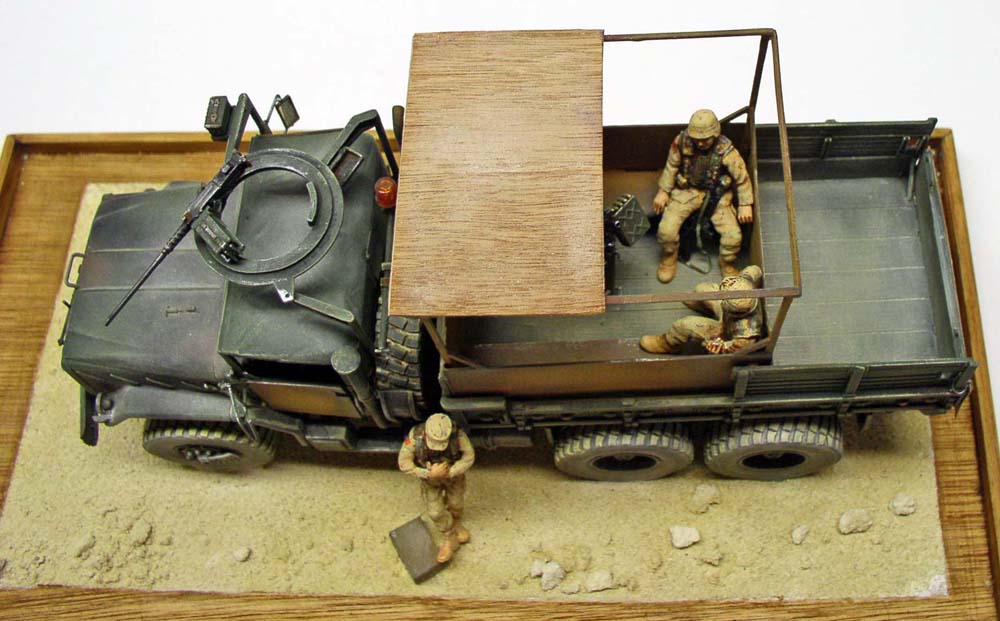
The plywood sheet for the roof is made from very thin cigar box veneer, which made it possible to glue it on both sides of the piece of plastic card...
Pastels
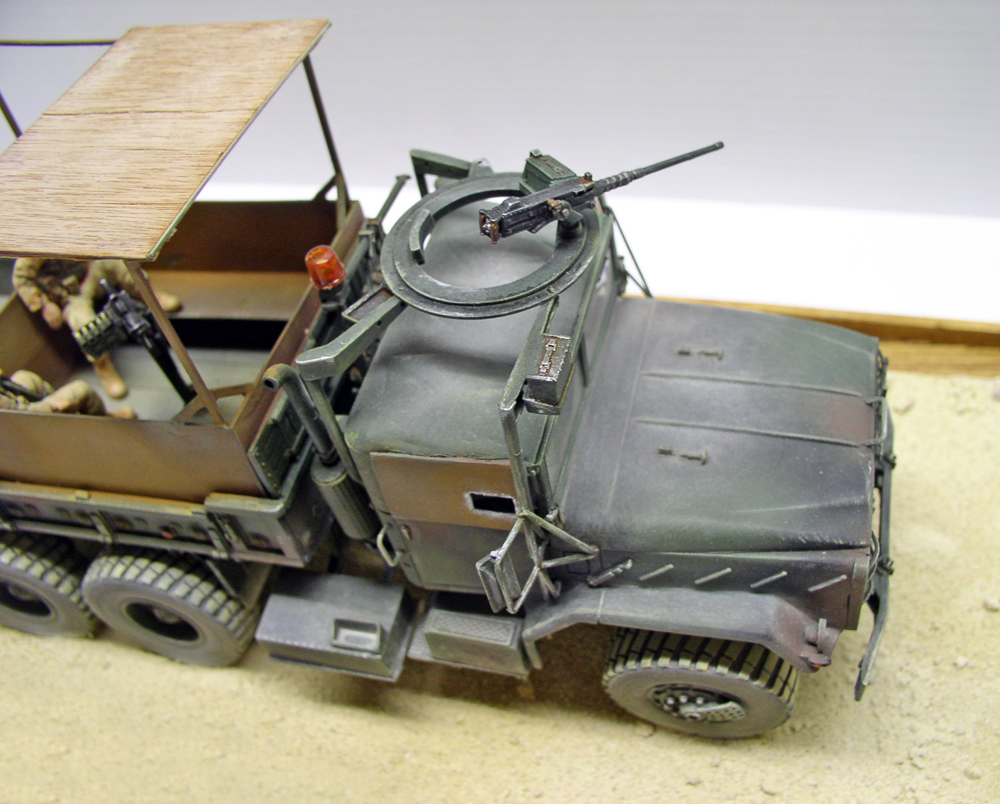
The top and interior of the truck are generously dusted with sand-colored pastel powder...
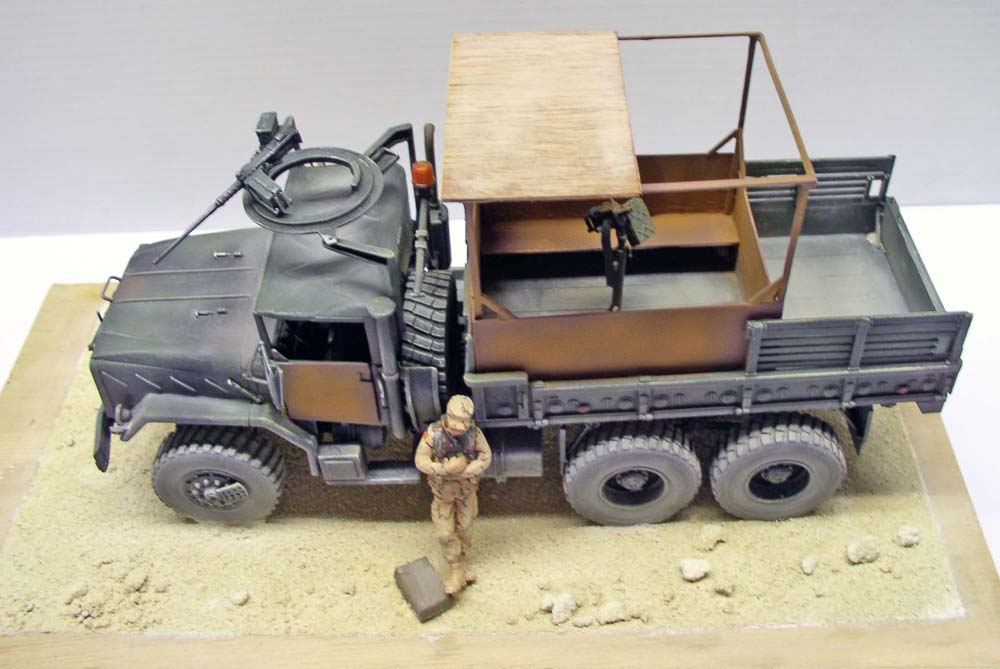
The plywood panel is also coated with pastel. The driver figurine is glued to a base of fresh plaster dusted with wall plaster, where the vehicle will be placed...
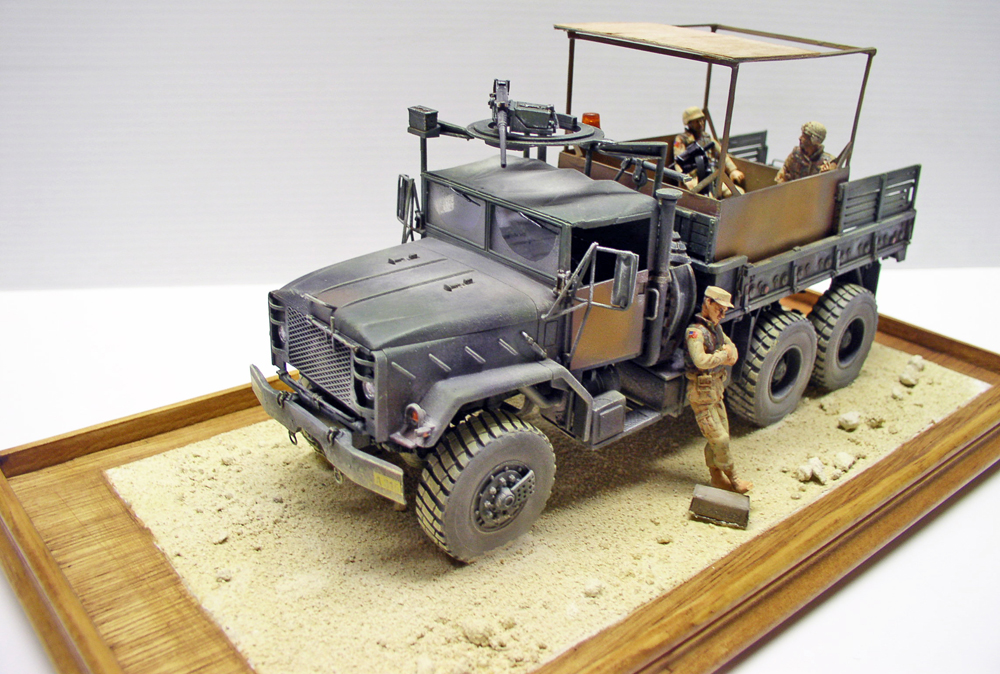
Setting up the figurines...
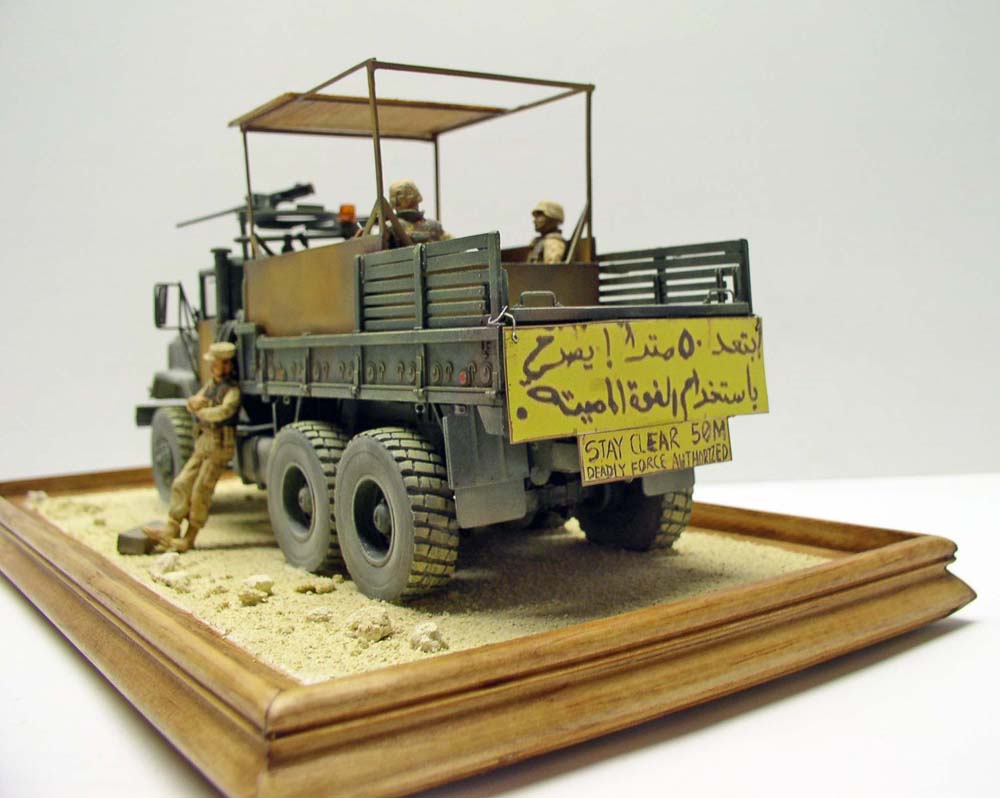
Addition of the warning sign. Following numerous attacks in Iraq, many American Hummers and trucks from the Gulf War now have a sign on the back with text in Arabic and English prohibiting any vehicle from approaching within 50 meters, under penalty of defensive fire...
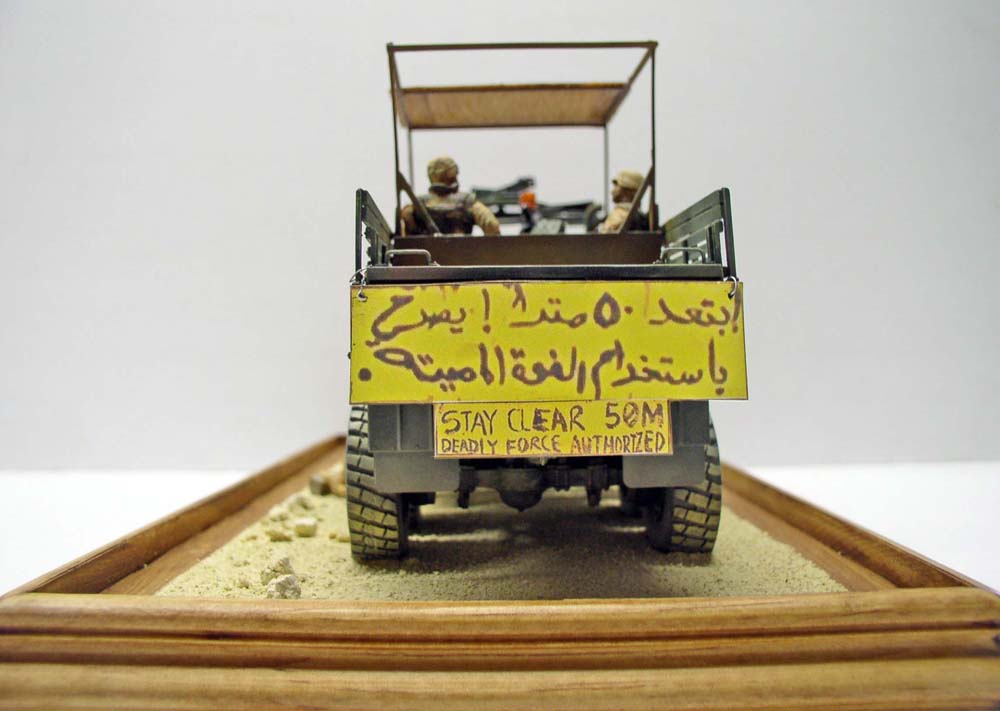
The panel, printed from a photo on a color printer, is glued onto a plastic card and partially retouched along the edges...