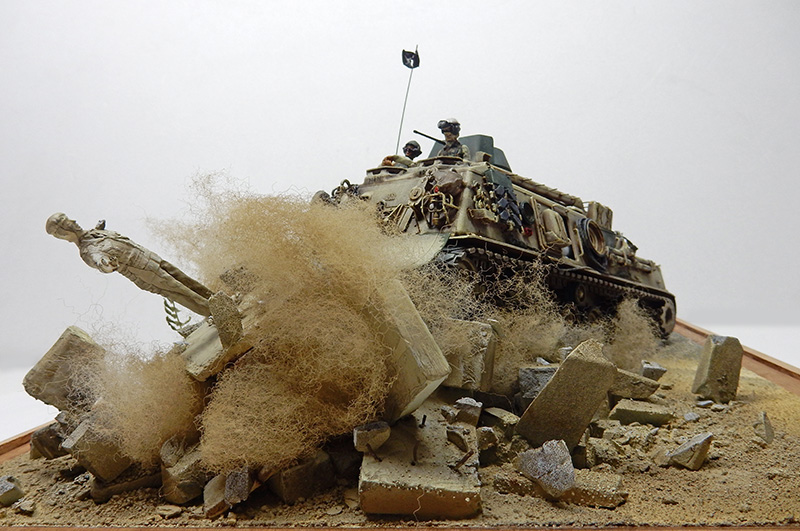
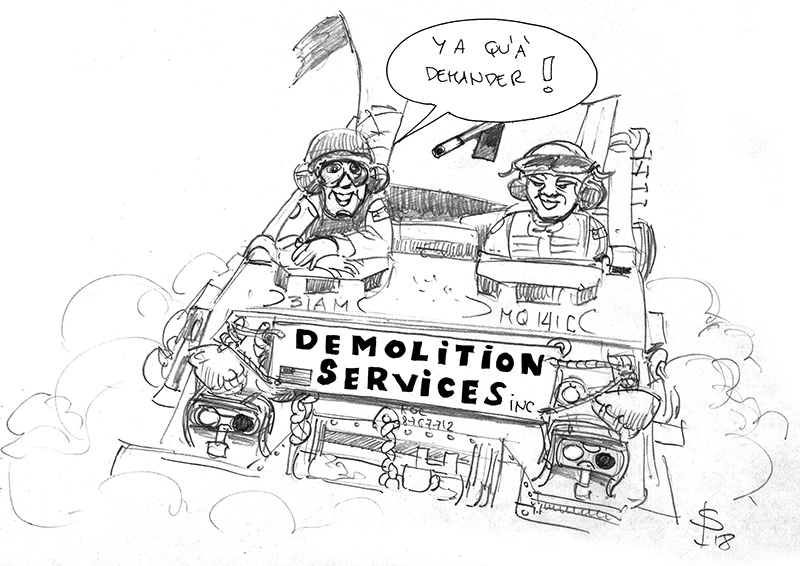
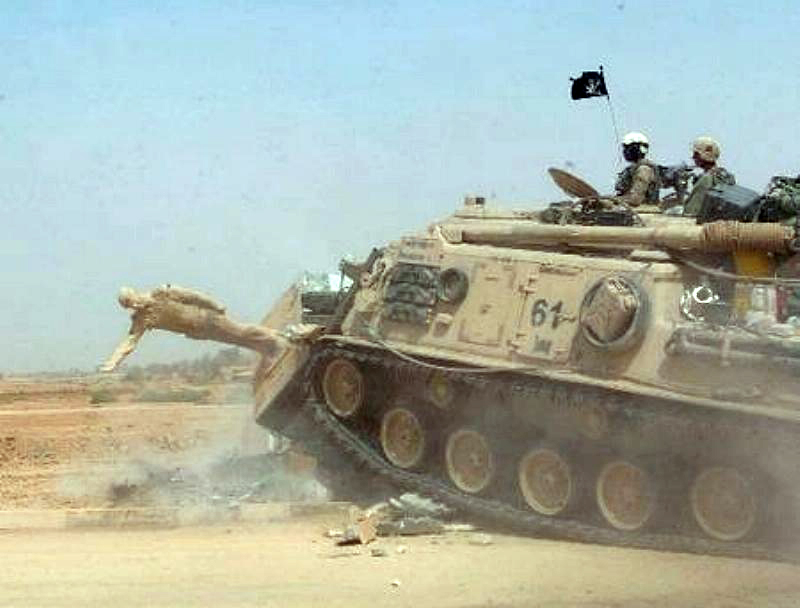
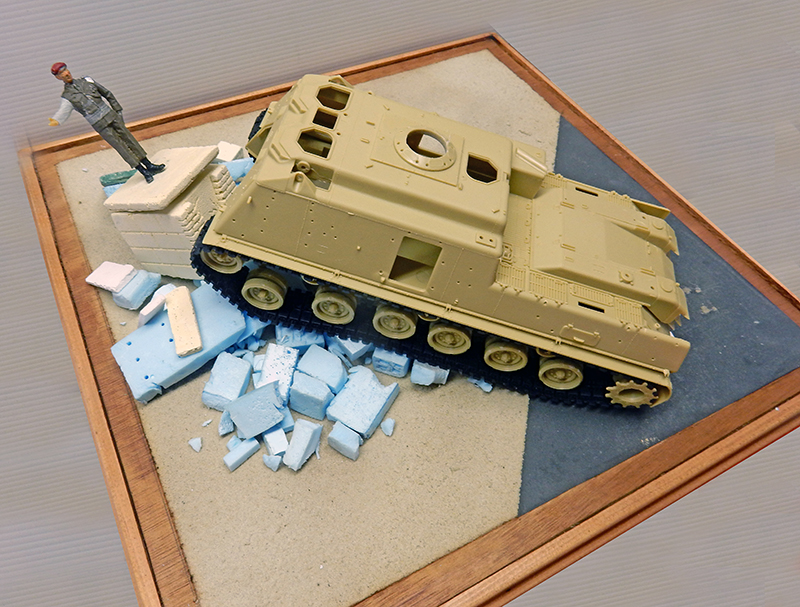
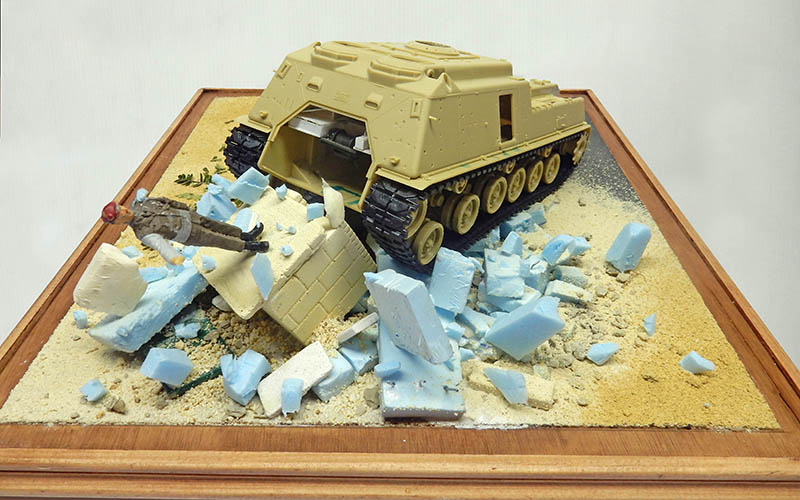
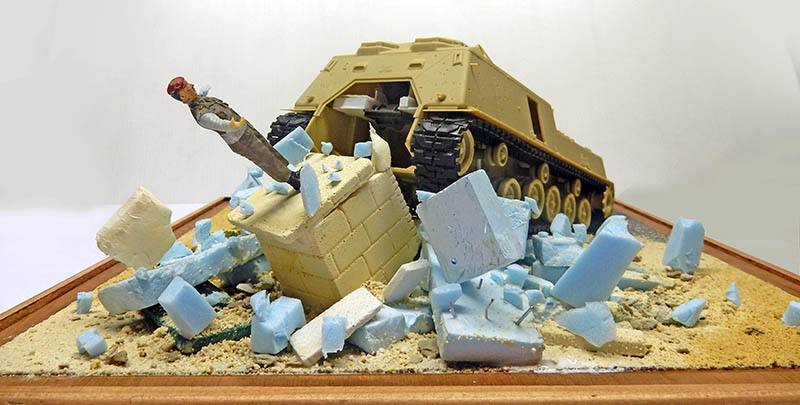
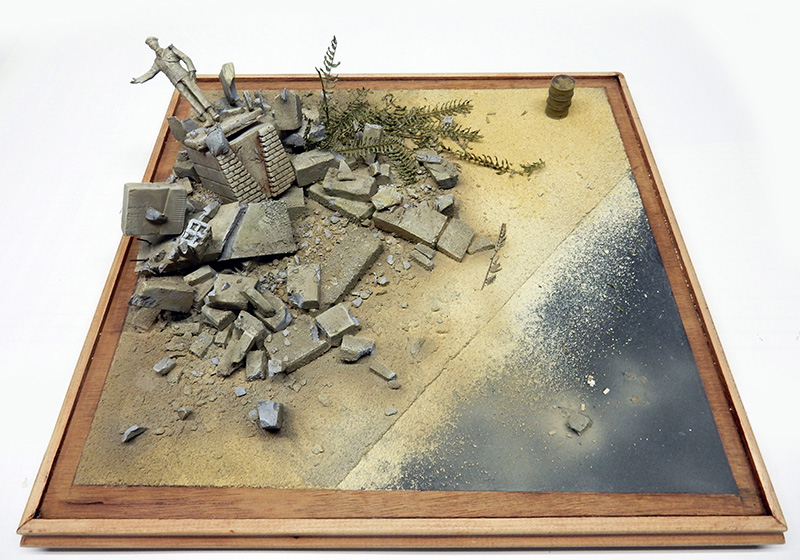
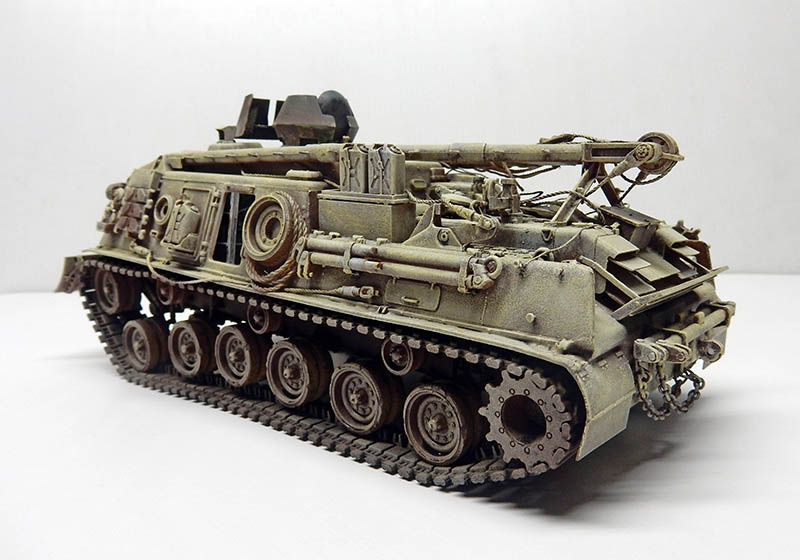
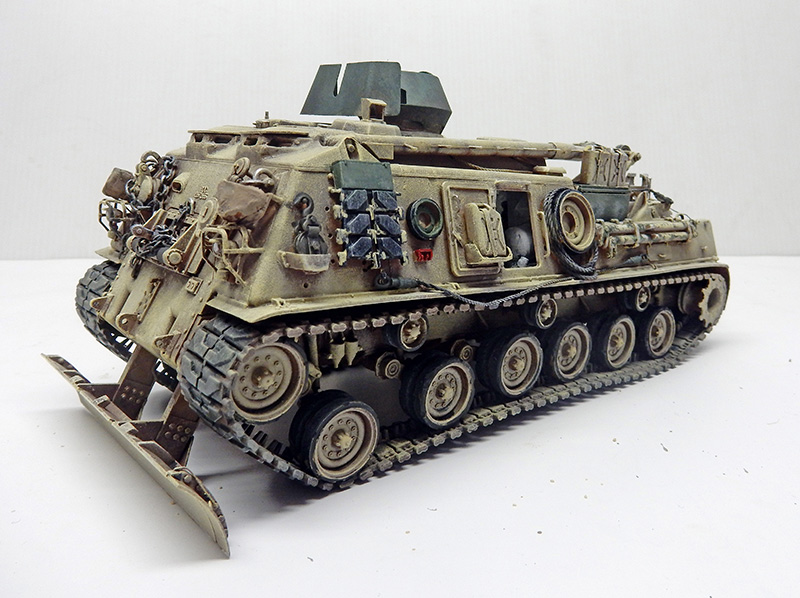
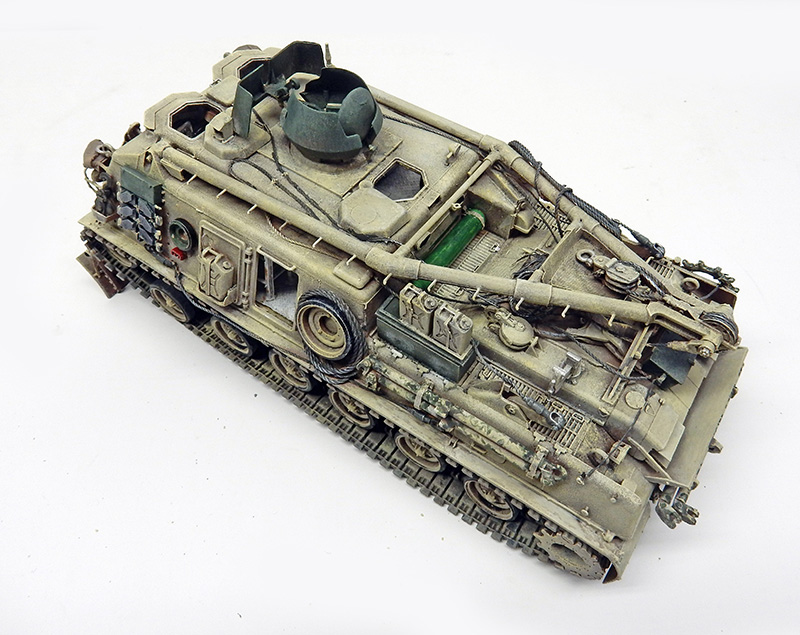
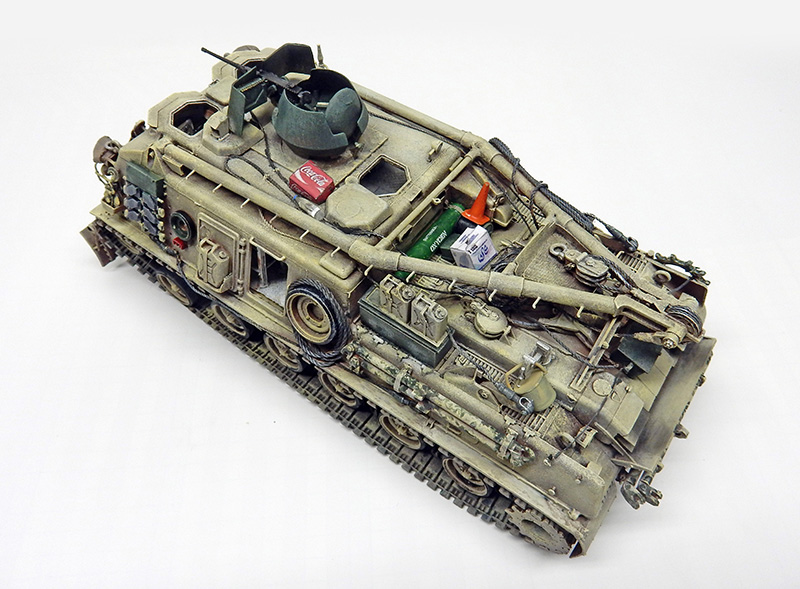
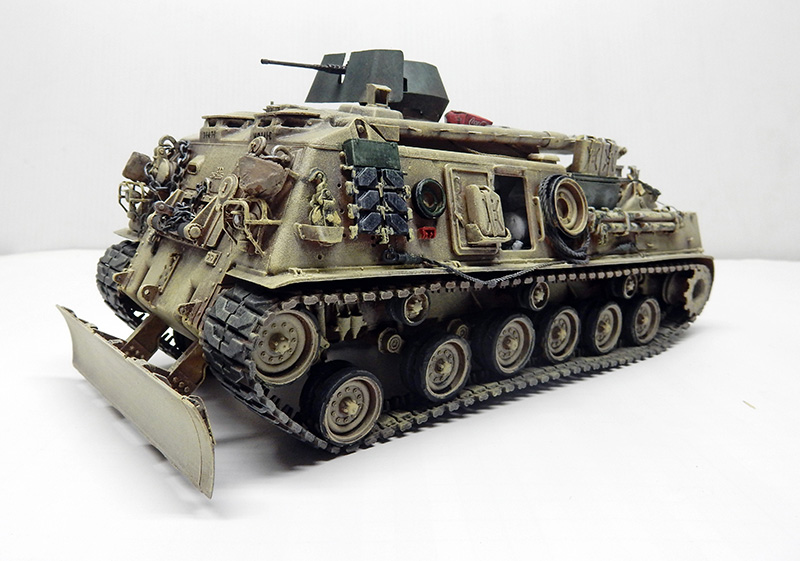
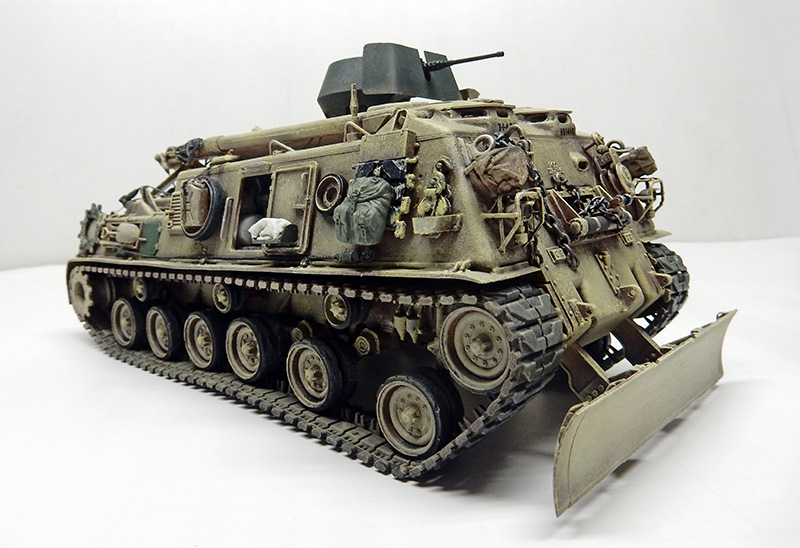
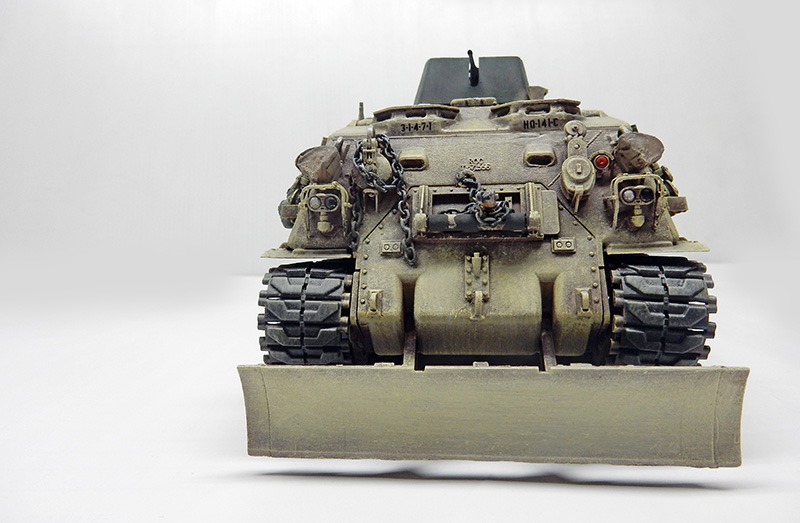
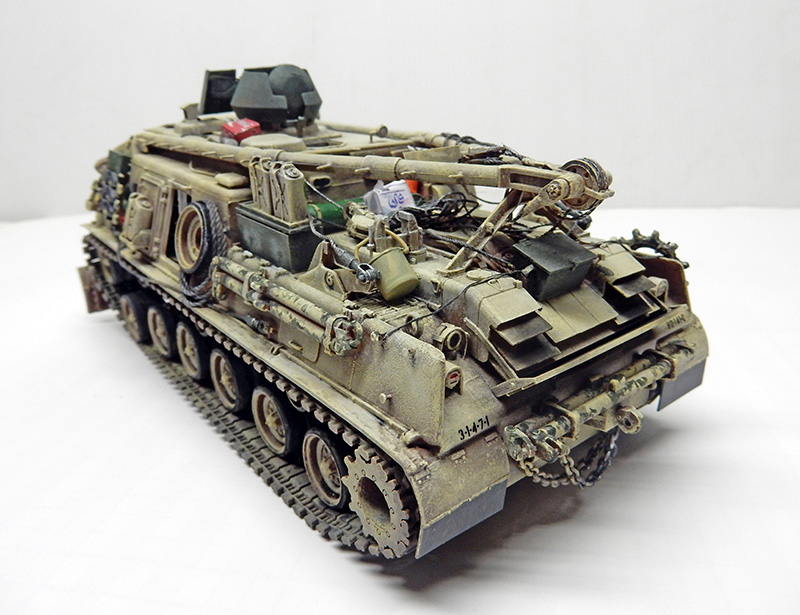
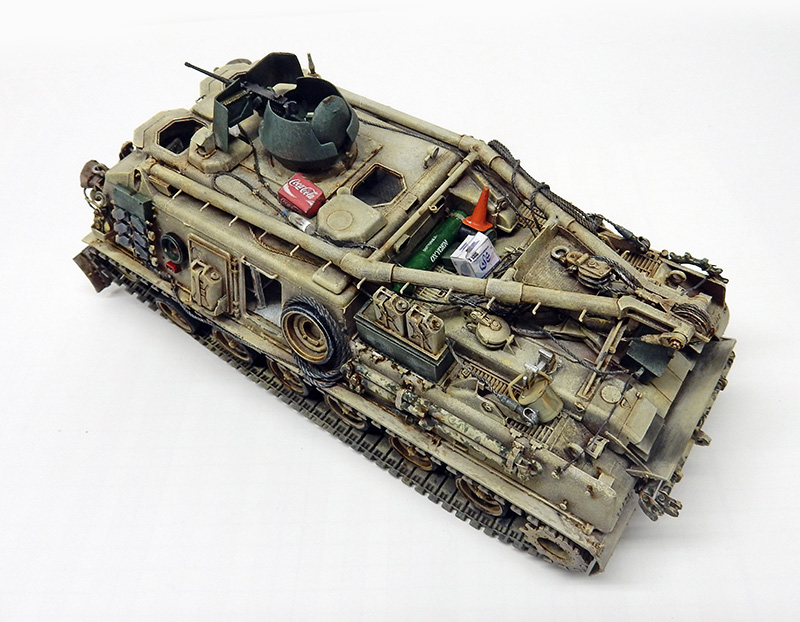
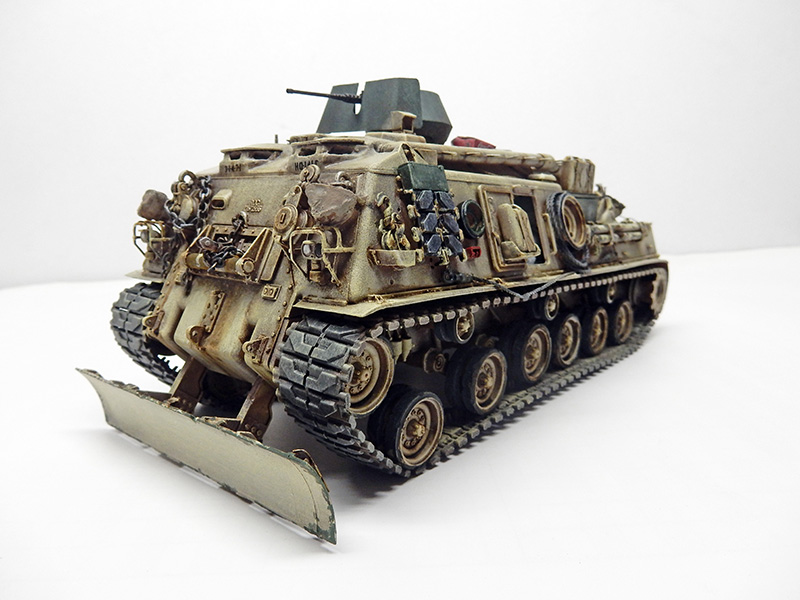
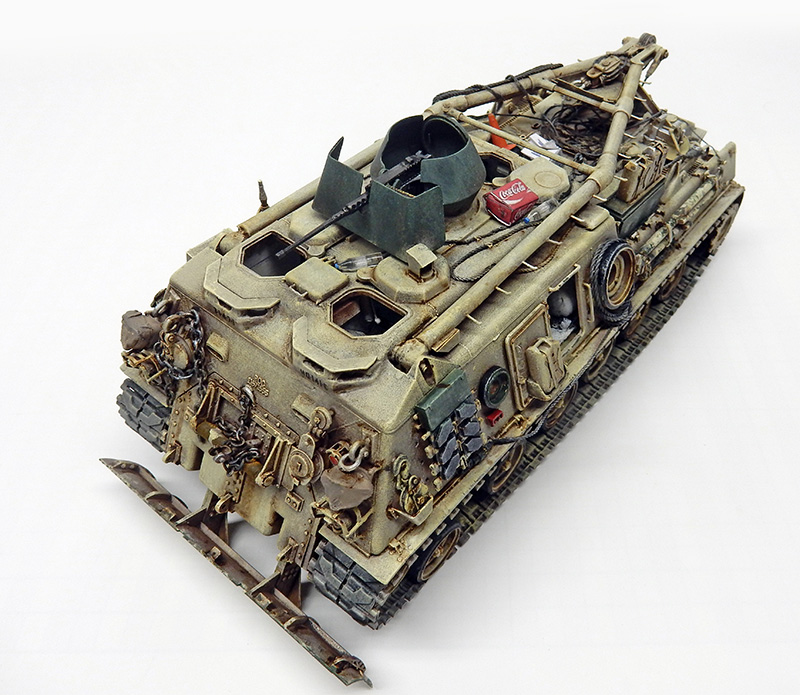
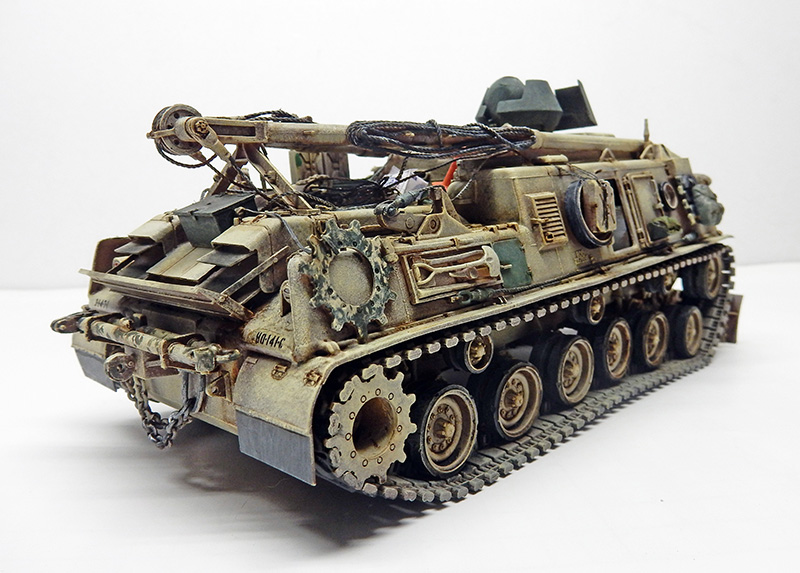
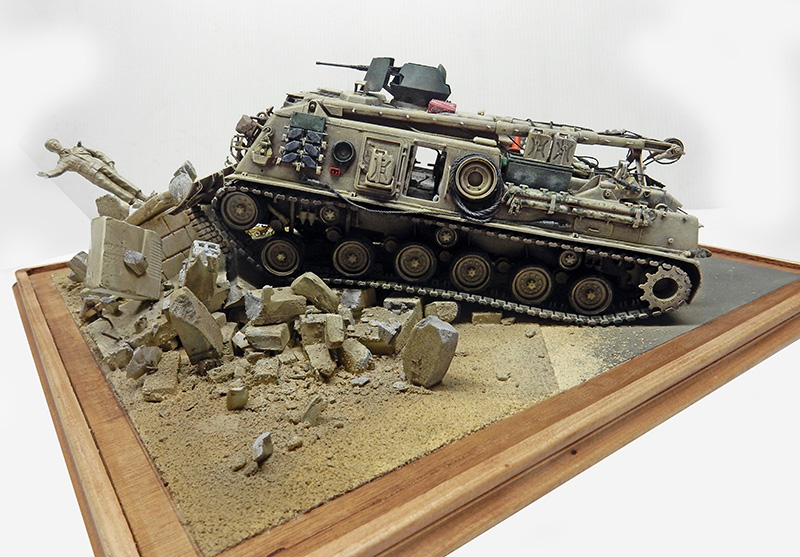
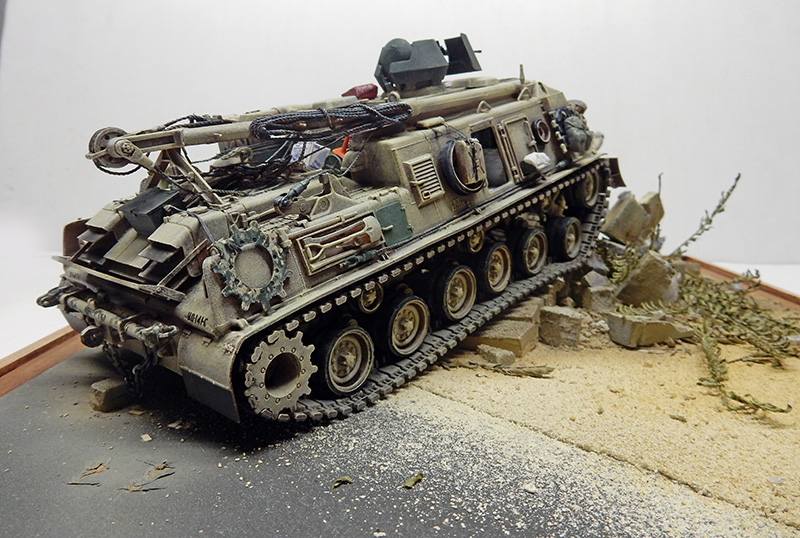
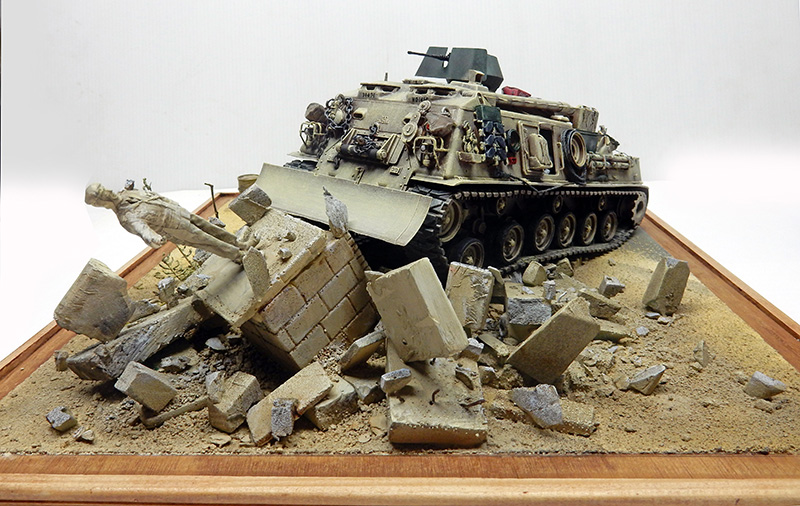
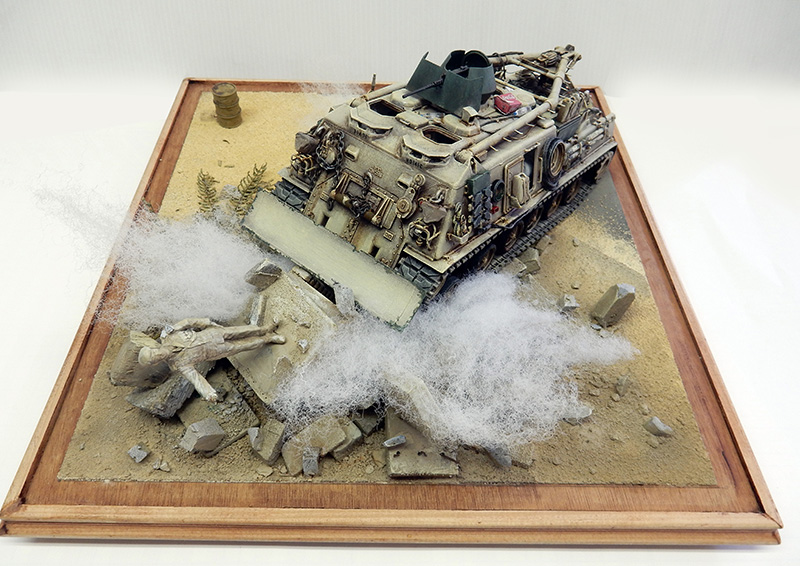
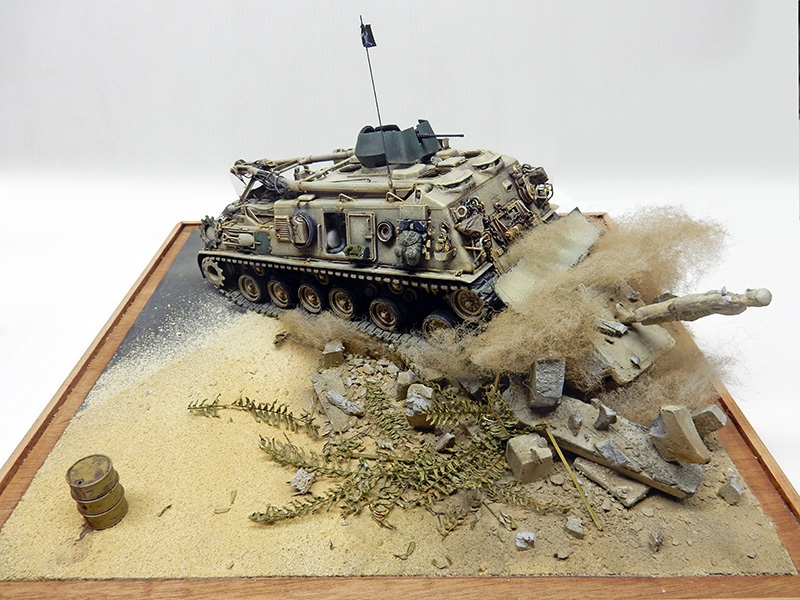
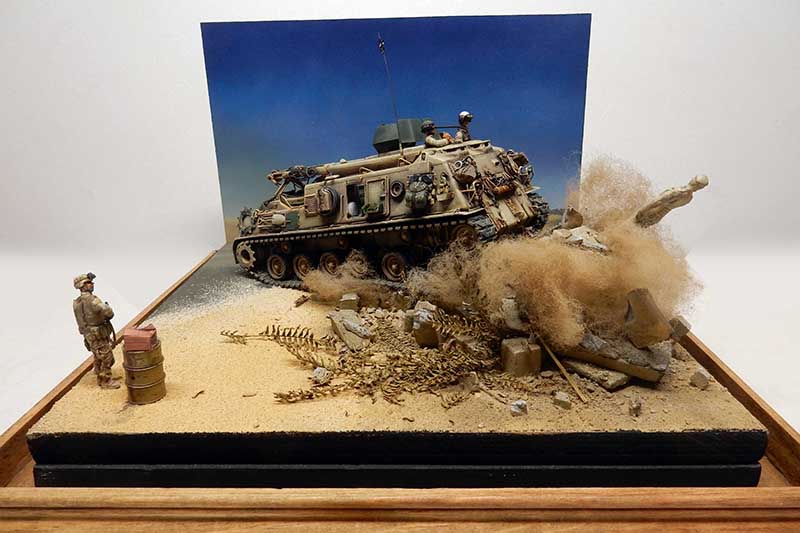
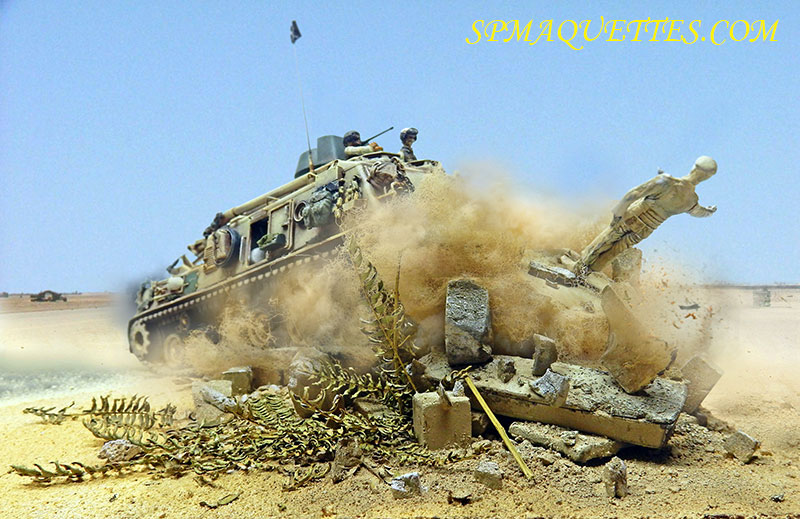
During the Gulf War, the Americans made it their mission to destroy all depictions of the late Saddam Hussein, including statues and other monuments... The M88 engineering vehicle, equipped with a bulldozer blade at the front, was the ideal tool for this task...
It was also an opportunity to create a unique diorama showcasing this interesting vehicle, which is rarely seen in model exhibitions. AFV CLUB has produced a very good model of this tank...
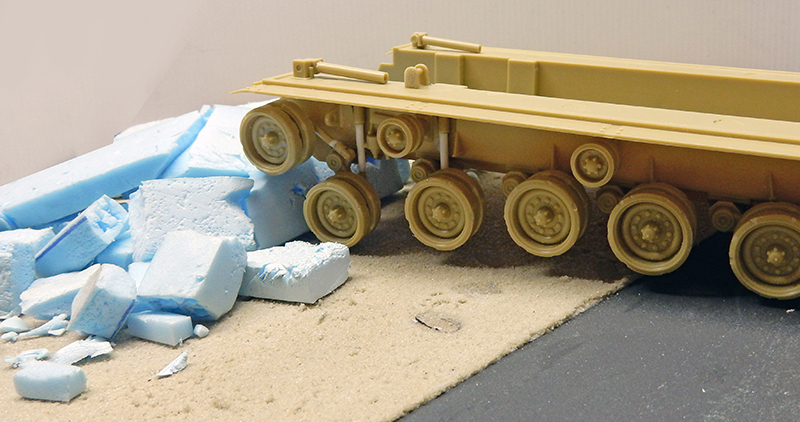
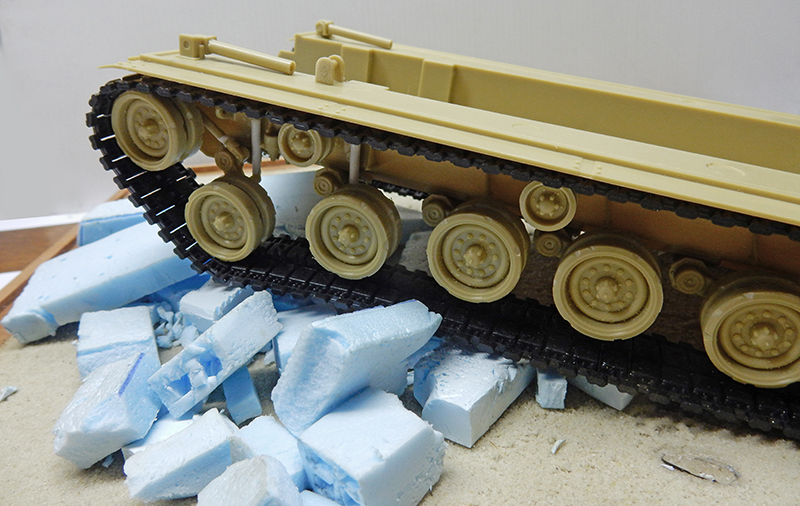
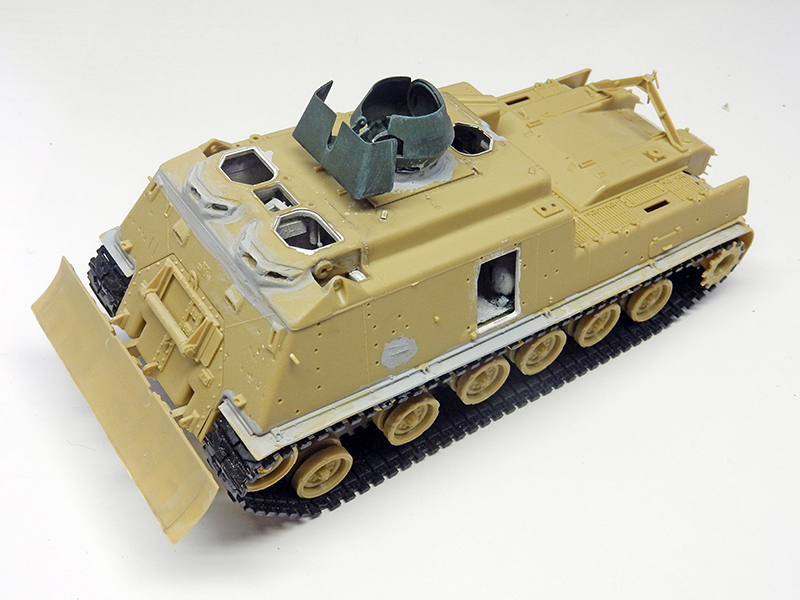
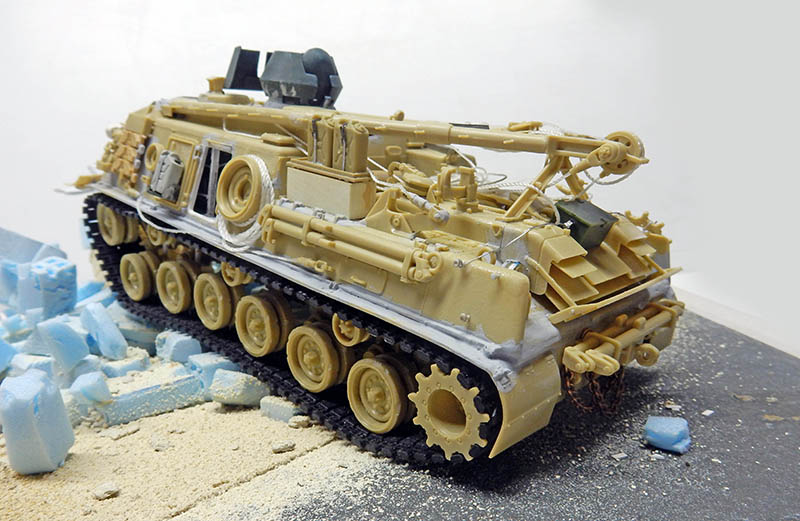
First thing: modifying the suspension of the undercarriage to handle the rubble and concrete slabs...
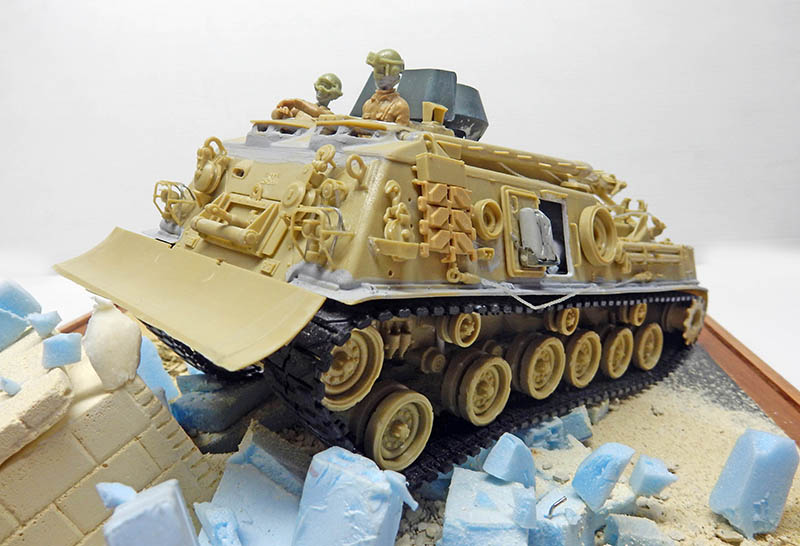
We extend the suspension using Evergreen rods, attach the tracks after installing the entire undercarriage, and then begin arranging the concrete slabs and rubble—carved from extruded polystyrene—to define the exact location...
The setting.
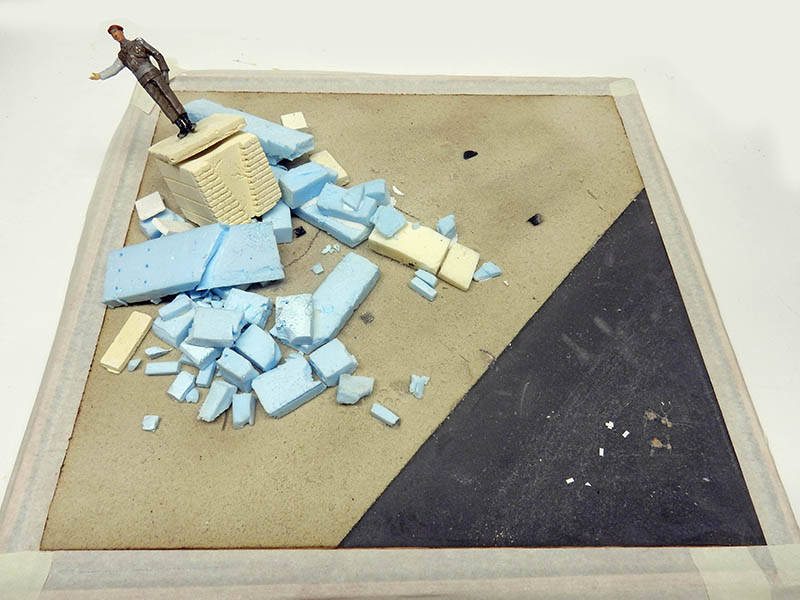
We'll pause the vehicle's assembly for a moment to focus on the set design, which is a crucial element here...
... more important for the overall realism of the scene...
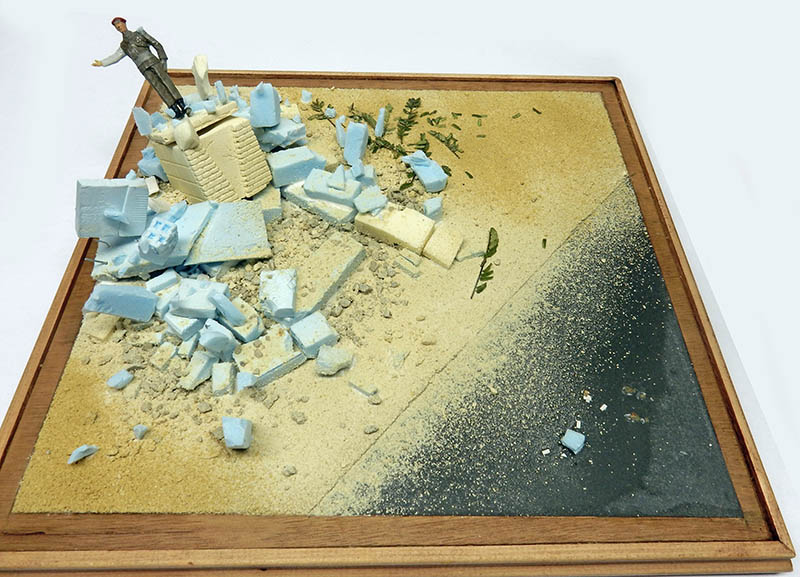
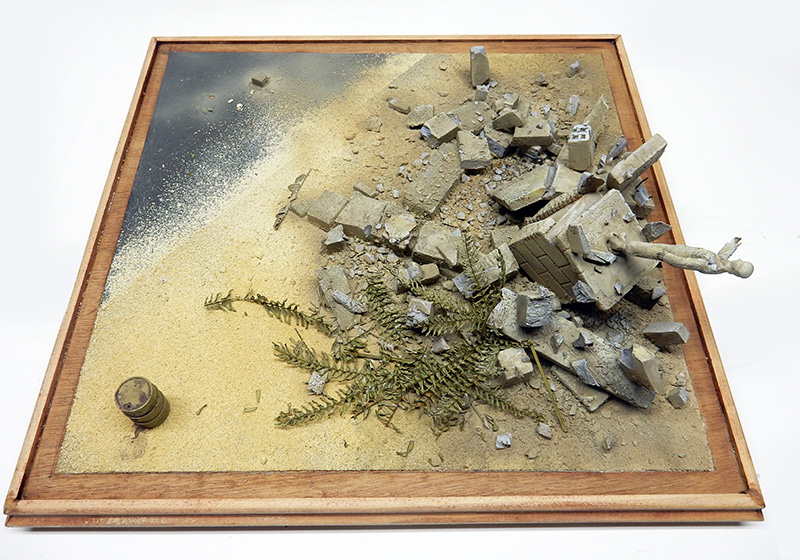
A base from another destroyed diorama; a lead military figure will serve as a stand-in for Saddam, while the resin pedestal is salvaged from the surplus box...
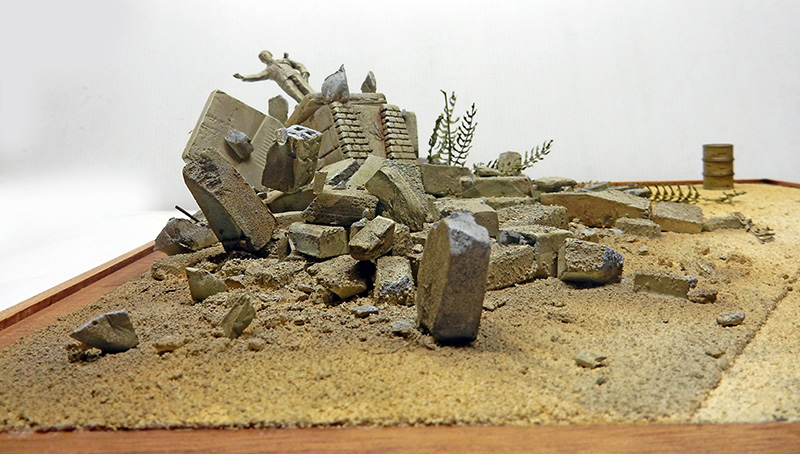
The point of the scene is to capture the moment when the stele shatters, when the pieces scatter and roll in all directions from the impact...
Hence, the need to give the stones a sense of movement...
The set is complete. Rubble and plants (dried mimosa leaves) have been added...
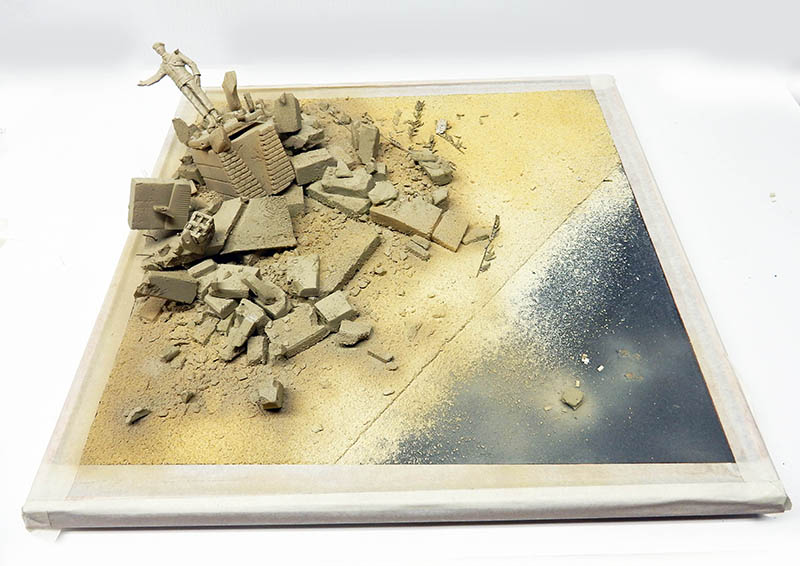
The entire model is airbrushed with Hobby Color acrylic paints in 85 Sail Color and 318 Radome...
Apply a water-based acrylic paint (never use any other type of thinner on extruded polystyrene) in shades of chocolate brown and black, then...
... After the entire model has dried, finish it off with a dry-brush technique using Humbrol 121 oil-based paint, light gray, and white...
Our set is now ready for the main piece...
Our decor is now ready for the main room...
The vehicle.
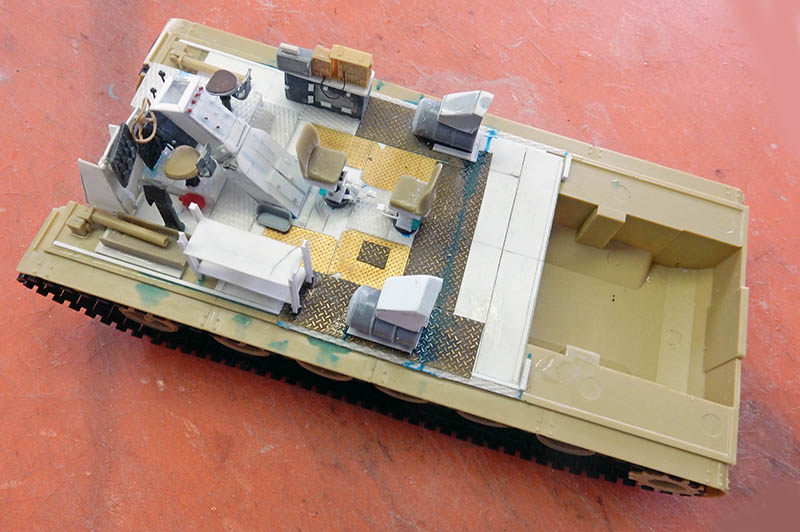
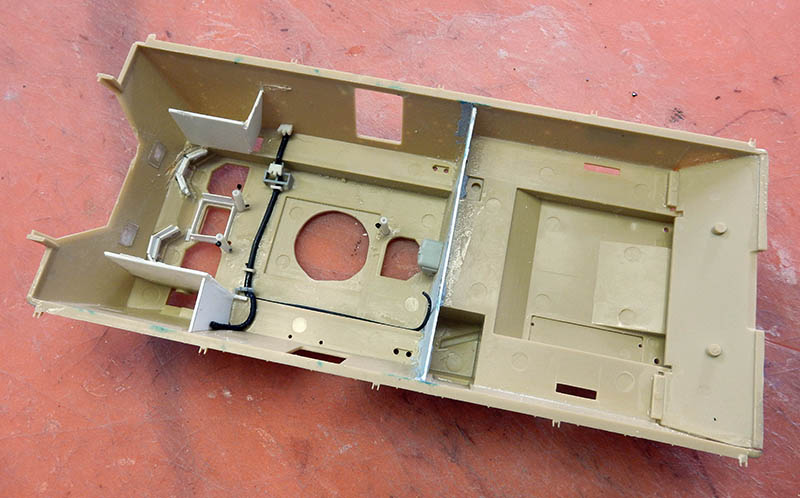
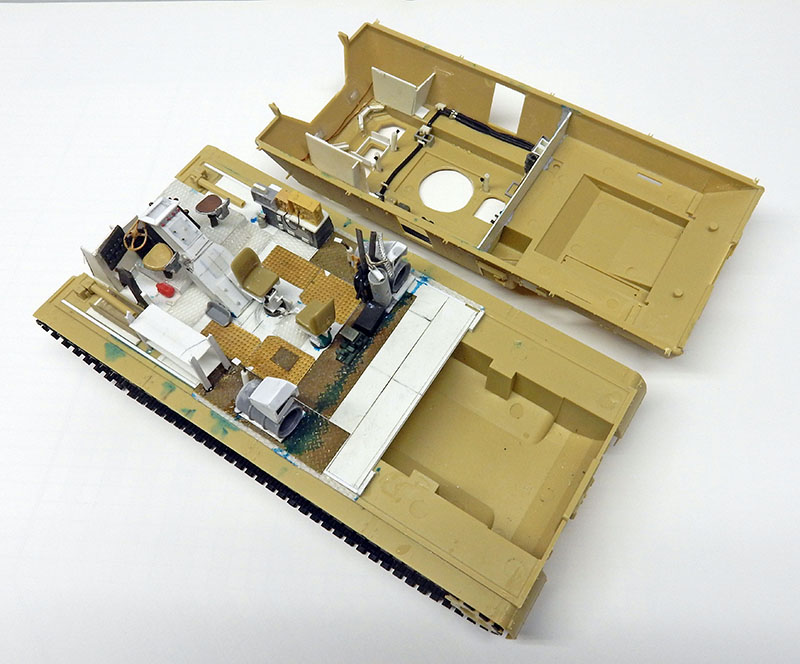
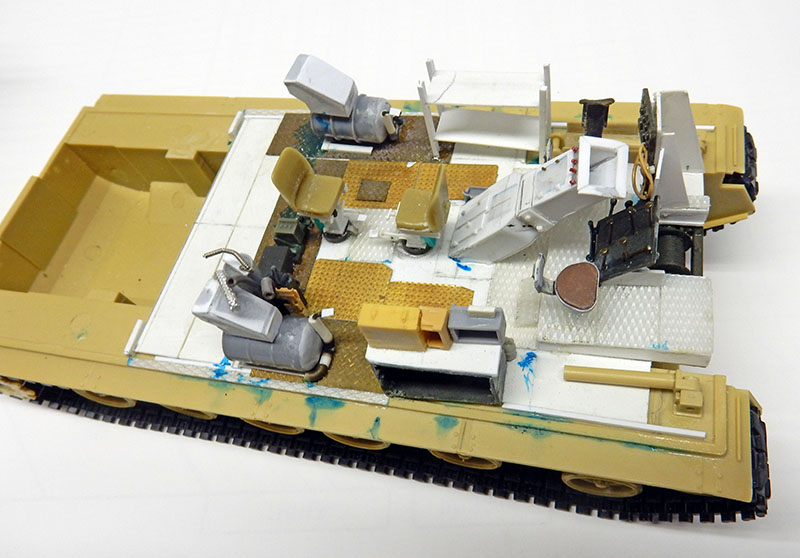
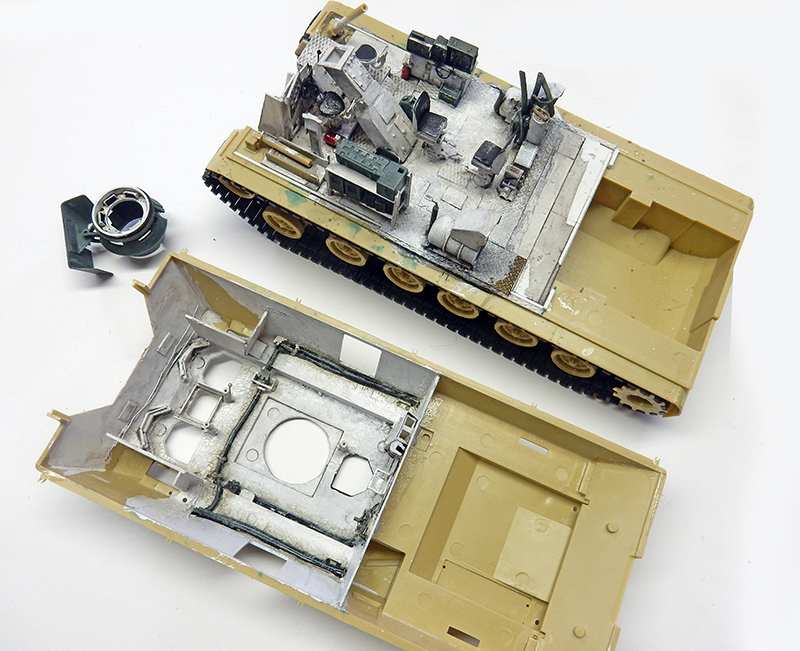
The M88 has quite a few openings that allow you to see its fairly "spacious" interior...
The interior of the vehicle, desperately empty...
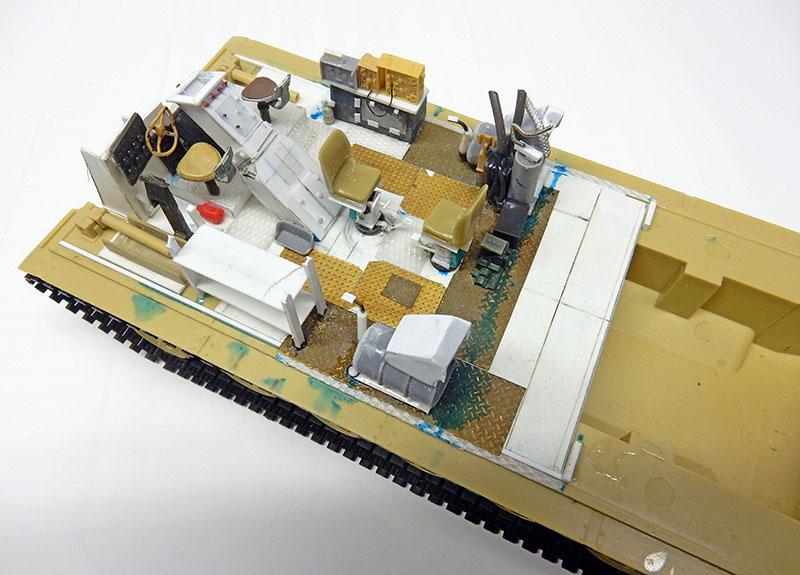
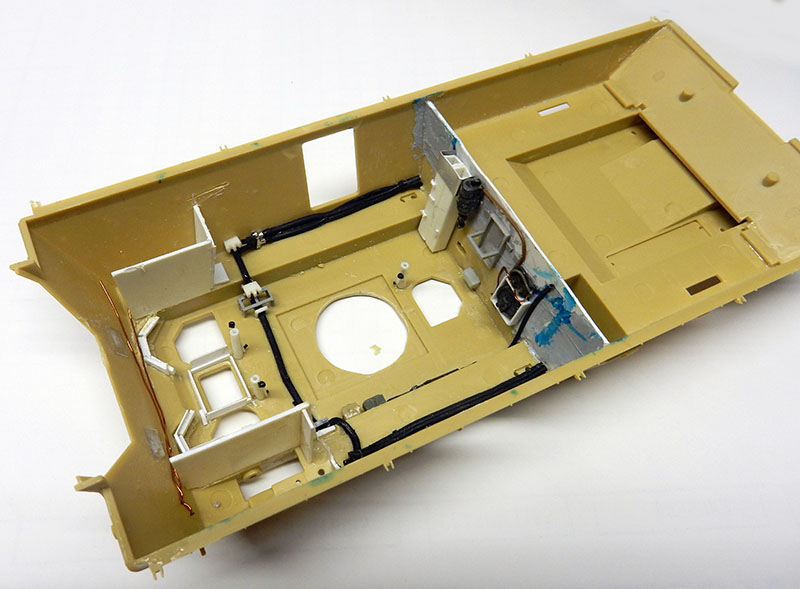
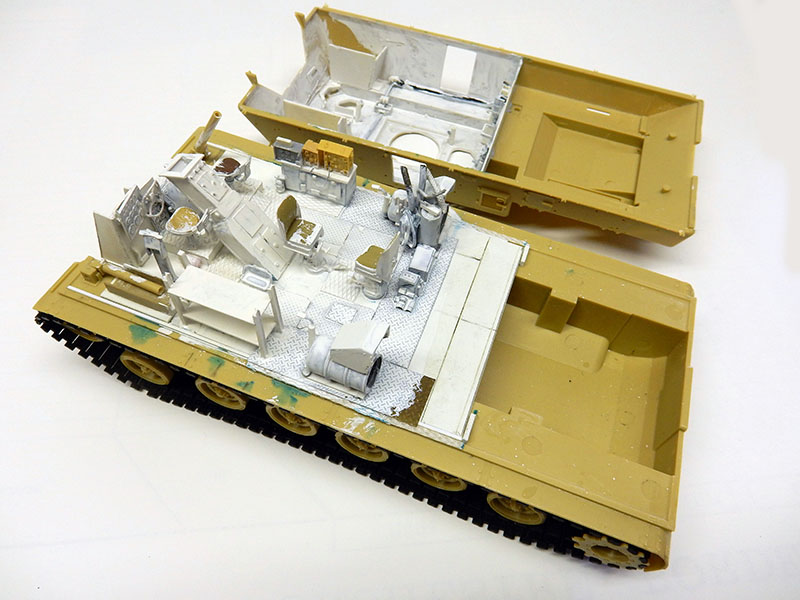
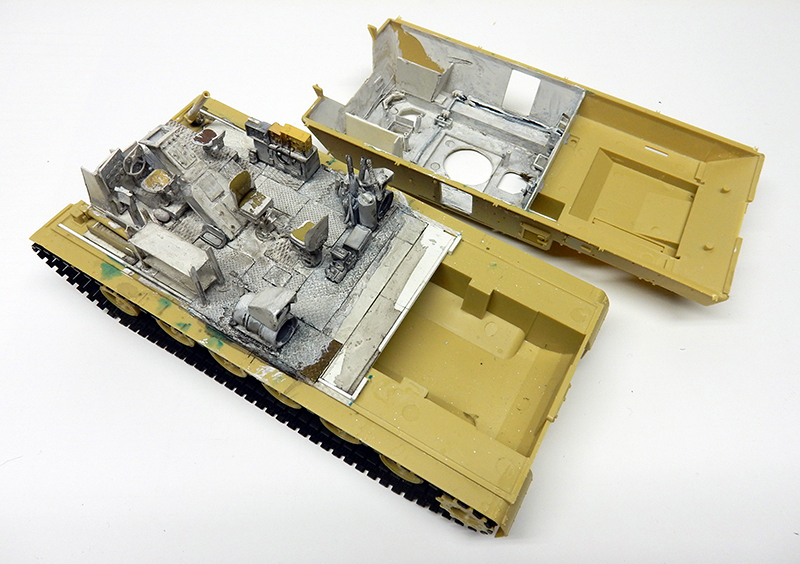
So, the solution was to create the set using plastic cards, items from the surplus box, photographs, and sketches...
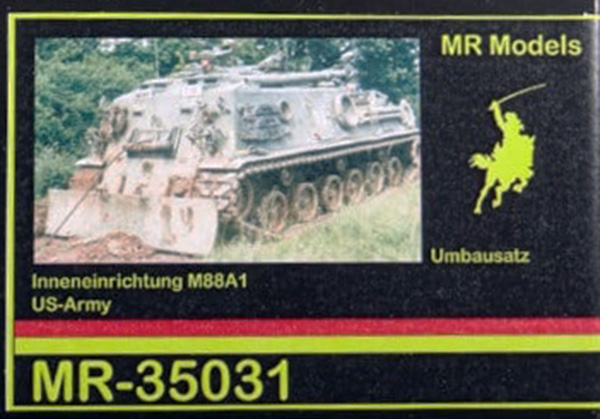
MR Models sells a resin kit, which I don't recommend... The casting quality is average for a price of over €50...
So, let's roll up our sleeves... and get to work!
We're working on the assumption that any parts that are hidden once the "hood" is closed won't be built. It's pointless and a waste of time... Especially since the two center seats visible through the two side doors each consist of 17 parts...
Let's not forget the details of the upper section, which includes quite a few cables...
After a few hours (especially of getting my fingers sticky!), the pieces are ready and are given a coat of matte white primer...
Followed—after it has dried completely—by a wash of Terre d'ombre and Winsor & Newton black oil...
Next, we move on to the final paint job using the dry-brush technique. The ACAV turret—included in the kit—is painted as well. The upper section of the hull has been widened, and the original turret has been removed...
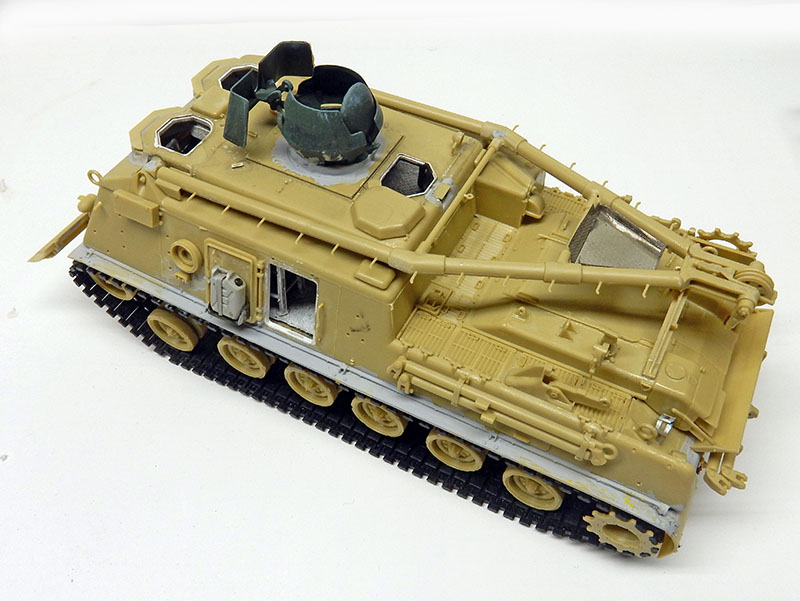
Gluing the top piece—phew!—making sure nothing gets caught and that everything is properly joined...
We're continuing to assemble the tank, specifically by installing the crane boom—a delicate, movable part that includes a photo-etched plate supplied in the kit... Here, in the road position...
The figures are positioned, and the front and rear headlight guards are remade from plastic and metal...
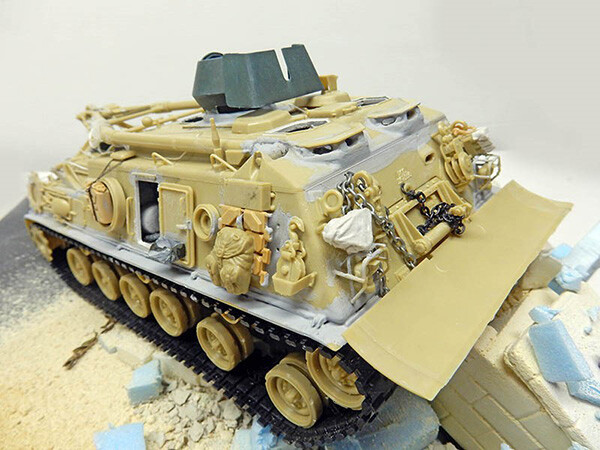
A rear view, showing the various cables that have been added. The side doors, which are glued in the open position, will hold a jerry can with its mount...
Various accessories have been added, including chains. The smoke canisters will be covered with toilet paper soaked in liquid wood glue. The episcopes have been perforated...
Painting.
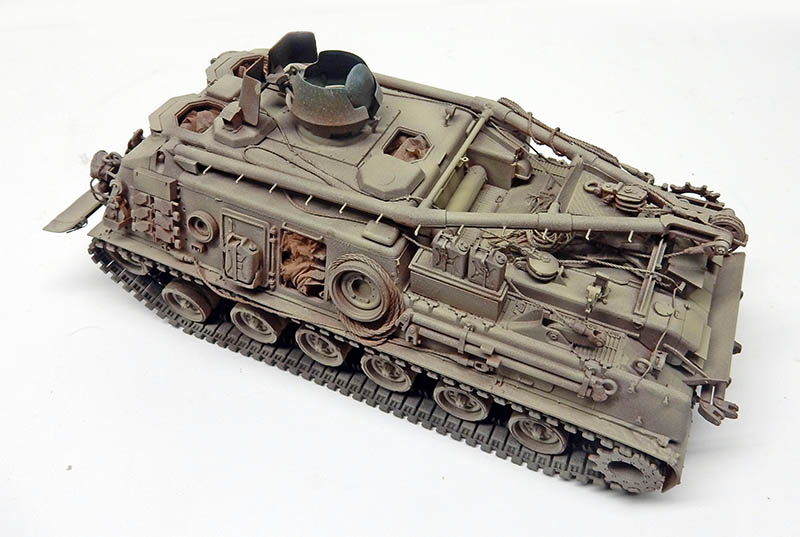
We plug all the holes with toilet paper or paper towels. Tamiya XF64 Fiel Brown acrylic airbrush primer...
Next up is Hobby Color 85 (sail color) and 318 (radome), softened to white...
We'll finish with a dry-brush using Humbrol 121, 103, and white...
We paint every detail of the body using photographs as references (which are always essential when working on historical projects)...
We use a fine brush to chip the paint, particularly on tow bars, rollers, and bulldozer blades...
Finishing up the paintwork on the details and adding the final accessories...
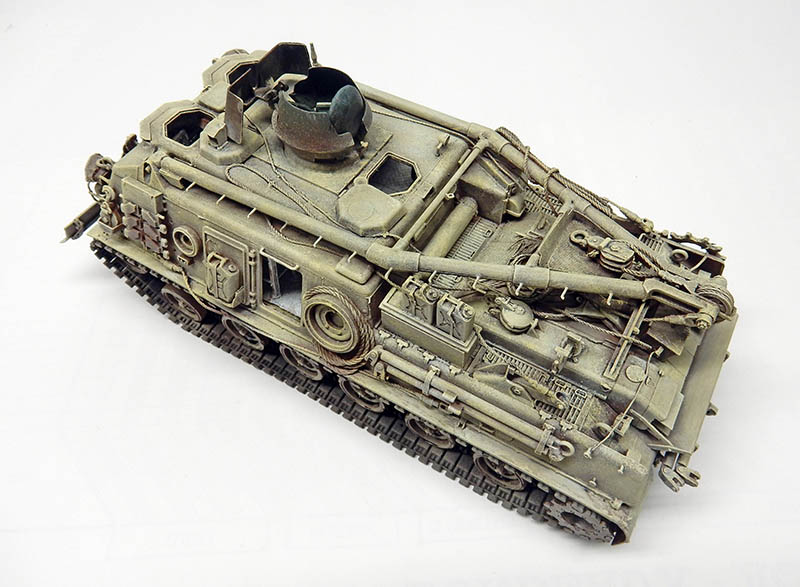
More views...
Other views...
The exhaust pipes are blackened with black pastel powder...
Apply a thin layer of Winsor & Newton oil paint made from umber and sienna over the entire surface...
Note that chipping effects were applied to the dozer blade and the tow bars using a fine brush and Humbrol dark green paint...
The model is finished...
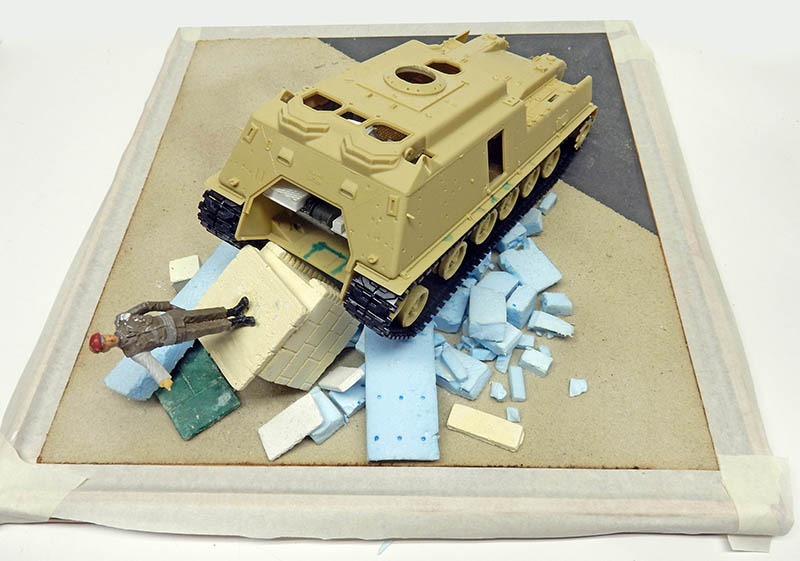
The tank is positioned on the set...
... Then glued with fast-setting wood glue...
Dust
Dust—the final touch! It’s hard to do without it in these hot countries... It will be made from aquarium filter material, which is much more pliable than ordinary cotton...
After being spray-painted, it is placed in the various crevices of the rock garden...