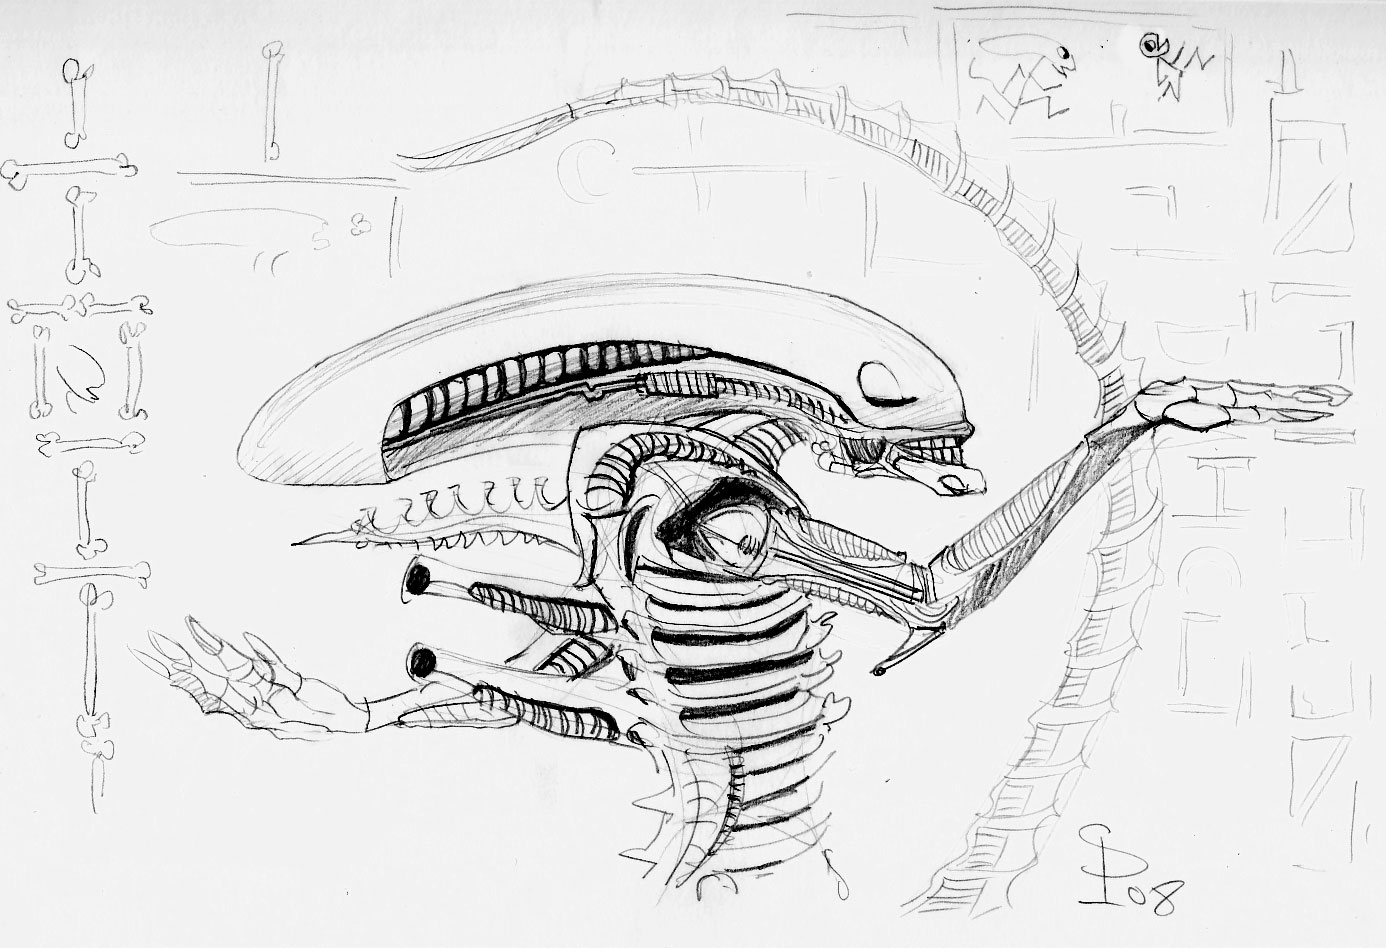
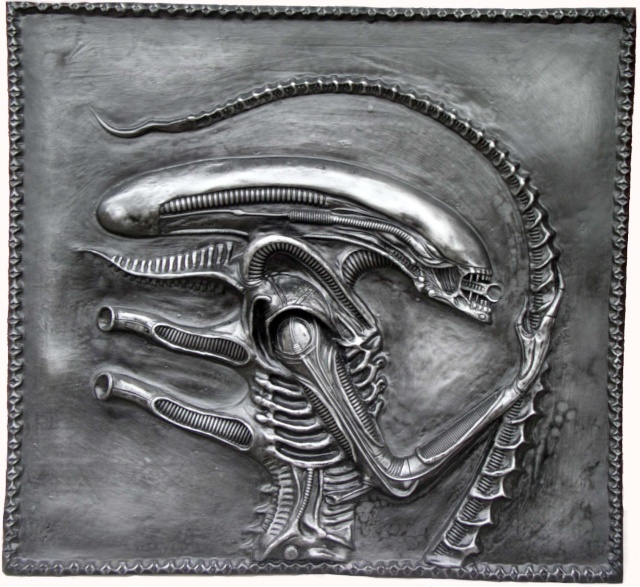
The purpose of this tutorial is to show you a technique for highlighting an item that’s fairly common to find online or at any of the usual decor stores we movie buffs frequent: an “Alien” bas-relief...
The technique used here is very accessible to everyone and will allow you to easily showcase similar objects, such as bas-reliefs, sculptures, and resin pieces intended to be incorporated into your home as decorative accents (such as those made to look like antique bronze or cast iron, and so on)...
The subject of our presentation is an “Alien” bas-relief. Whether licensed or not, and made of resin and/or synthetic plaster depending on its origin, the original “patina” applied to it is often of poor quality—usually just a coat of silver paint. Furthermore, the casting is often riddled with defects and air bubbles...
Sanding
Sanding
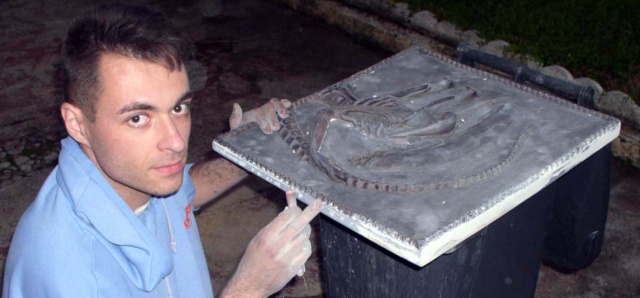
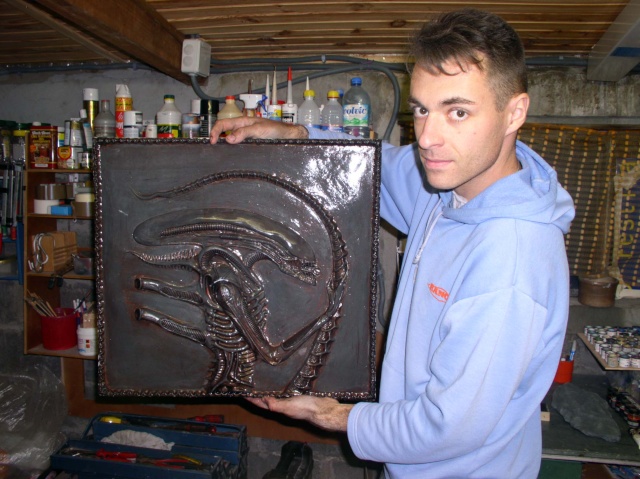
The first step, therefore, will be to correct all these defects, and then carefully strip away all the existing layers of paint...
TECHNICAL NOTE: Please keep in mind that it is best to work only with products that are chemically compatible with one another. By this I mean you should avoid using a primer with formula X, followed by a coat of paint with formula Y, and finishing with a patina of yet another formula. It might work just fine, but let’s avoid taking any risks...
Painting
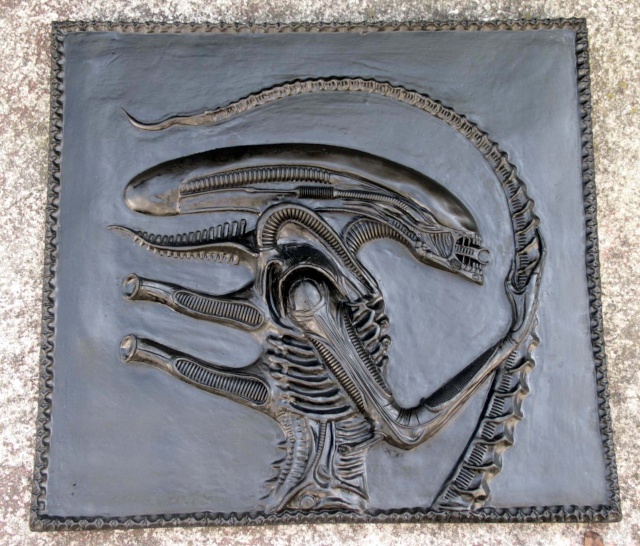
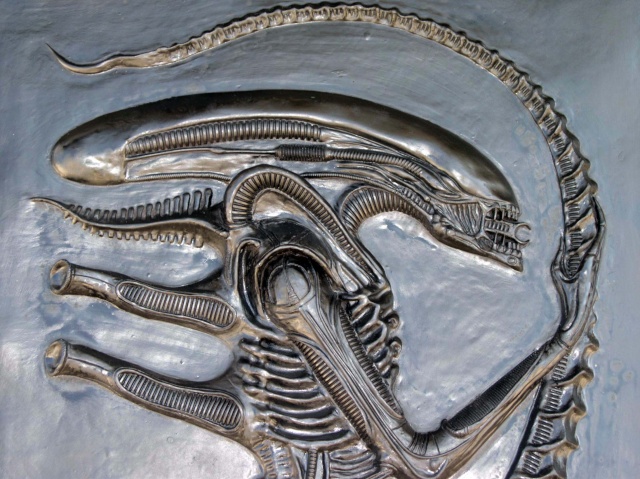
STEP 1:
After checking the surface condition (no defects, perfectly stripped, no dust, etc.), I painted it directly with a black satin-finish glycerophthalic (oil-based) spray paint, then let it dry at a temperature of at least 16°, in a dry place...
Why use a satin-finish paint? That’s the key to success with this technique...
If the base coat is too matte, the cloth will catch on it too much and leave too much paint behind...
If the base coat is too glossy, the cloth will slip and apply too little paint...
STEP 1:
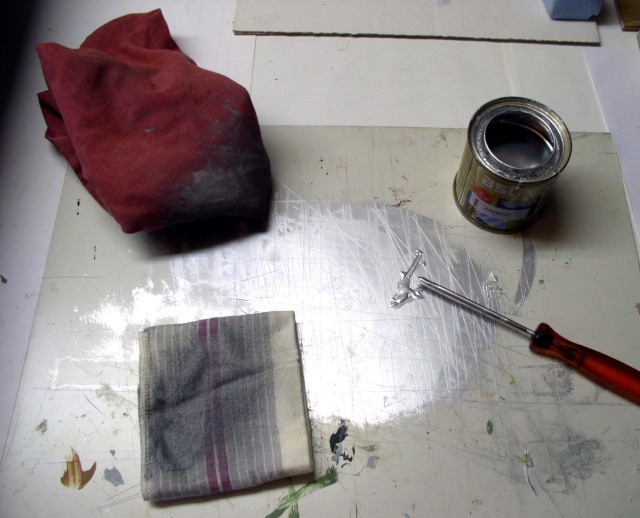
STEP 2:
We will be using a silver paint specifically designed for interior decoration (such as moldings and woodwork)...
The chemical composition of this mixture is as follows (according to the label): metallic pigments in a polyester resin base...
The point is to work directly with the pigments, so it’s a matter of scraping out the “paste” from the bottom of the jar—to put it simply...
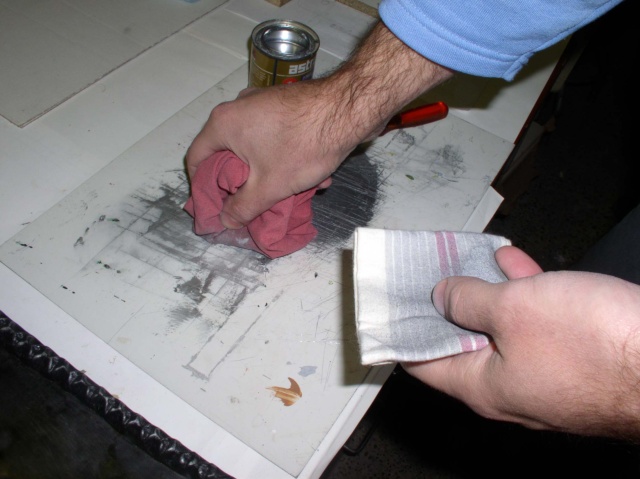
Apply pigments to a smooth, non-porous surface and rub them into a rough, lint-free cloth...
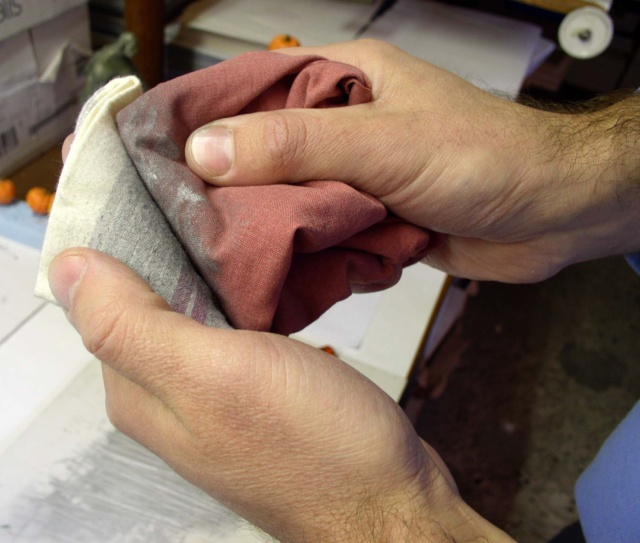
Rub this cloth vigorously against another cloth to “wipe it off,” removing any excess paint paste. (E7). Once this is done, rub your first cloth against another one to make sure almost no more paint comes off (a technique ultimately similar to dry brushing in model-making and figurine painting)...
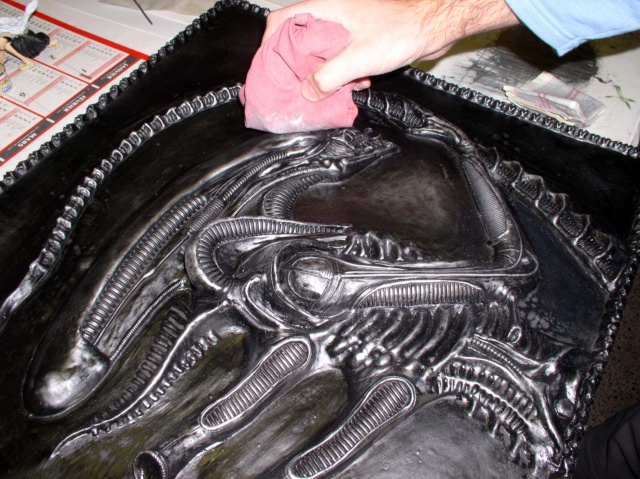
STEP 3:
Start applying the patina to your surface as follows:
-Your cloth is rolled into a ball so you can hold it more easily, for one thing
-and to evenly secure all the raised areas, on the other hand
Proceed in successive steps, checking the progress of the patina very frequently. It may be helpful to step back a few meters to get a better view...
Under no circumstances should you try to apply a patina to your surface all at once. It’s virtually impossible to remove excess patina without using a solvent (that would be the beginning of the end)...
Gallery
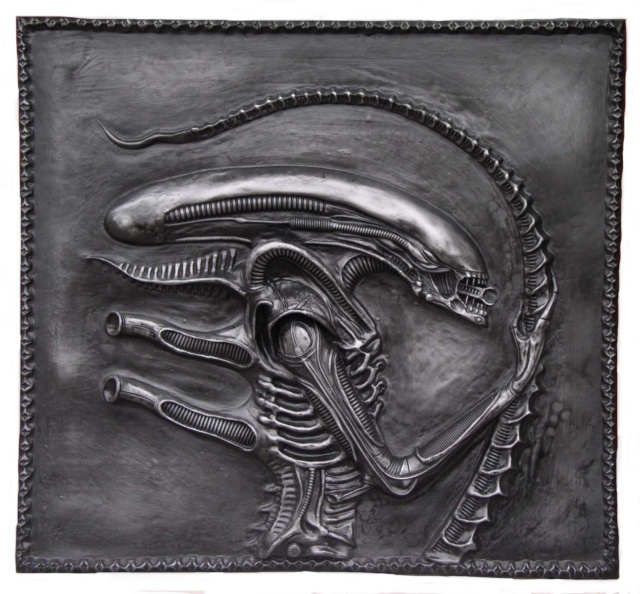
In conclusion, your stand is ready to be installed in your home theater room...
You can use this technique for any subject—large-scale "Heroic Fantasy" miniatures, upcycled sculptures, and so on.
This same technique can be used to create faux bronze effects and the like...
Below are a few photos taken under different lighting conditions...
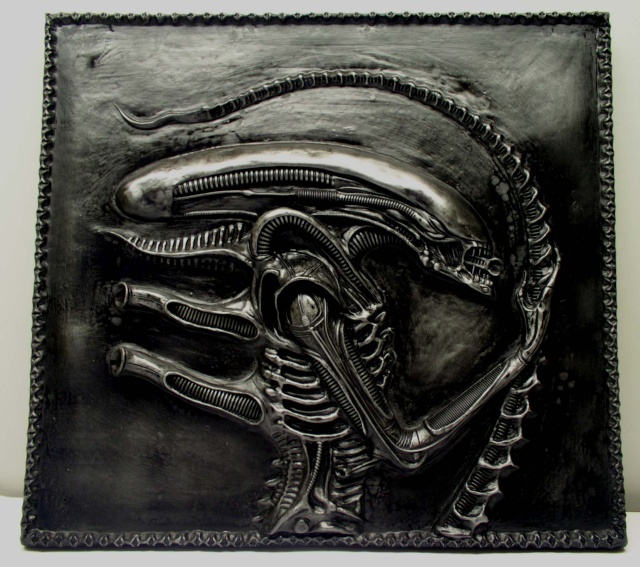
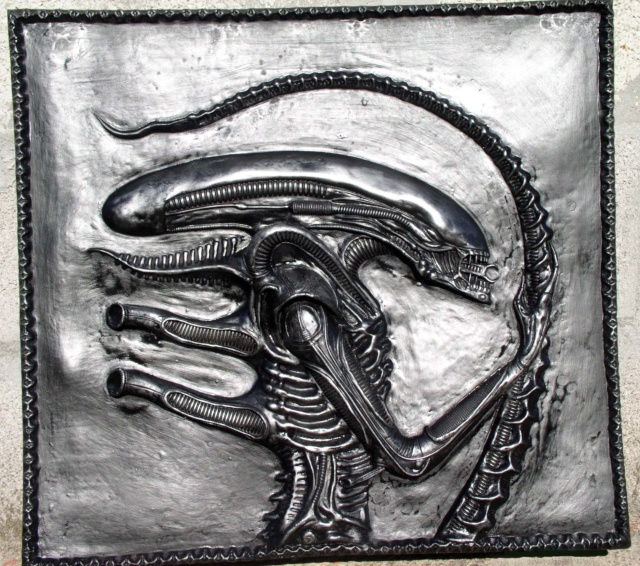
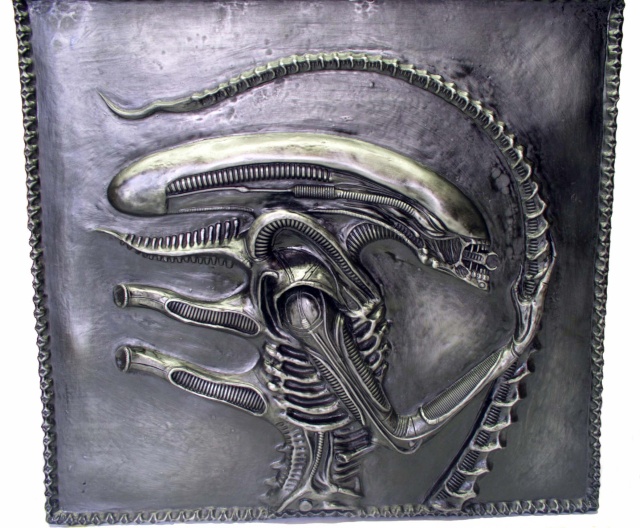
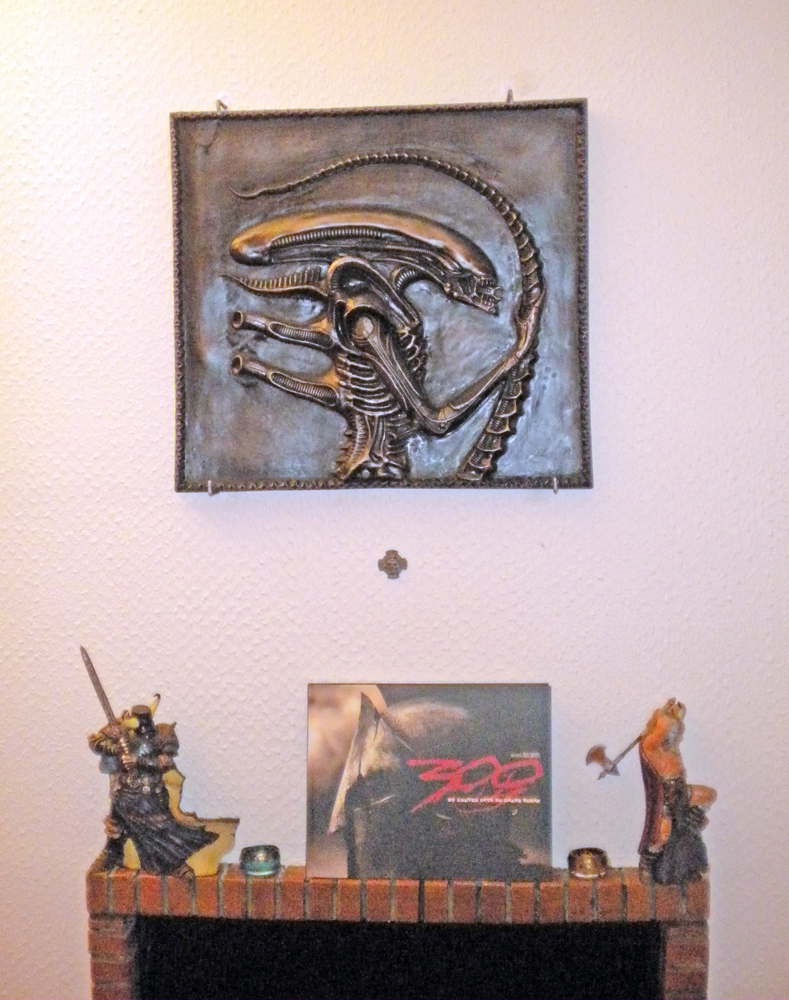
The plaque attached to the wall...