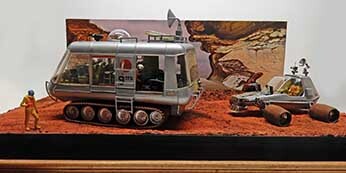
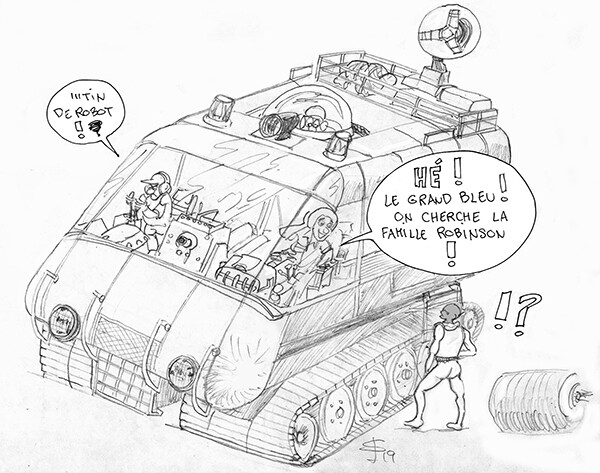
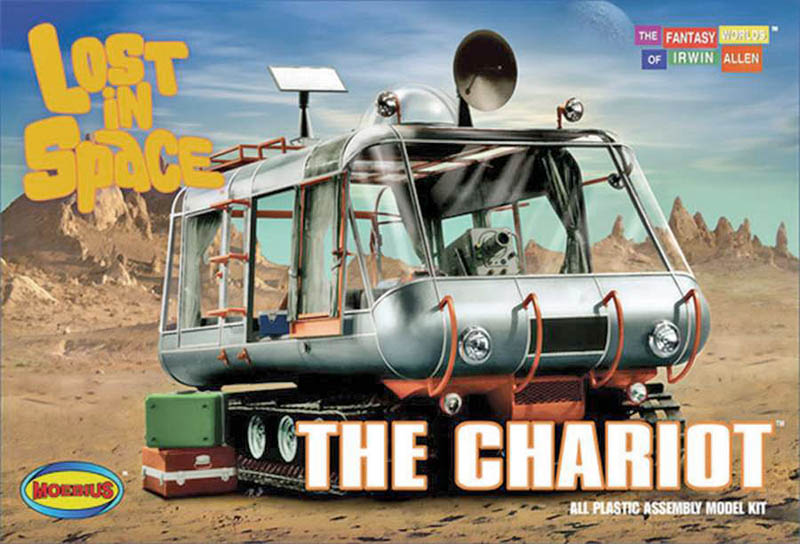
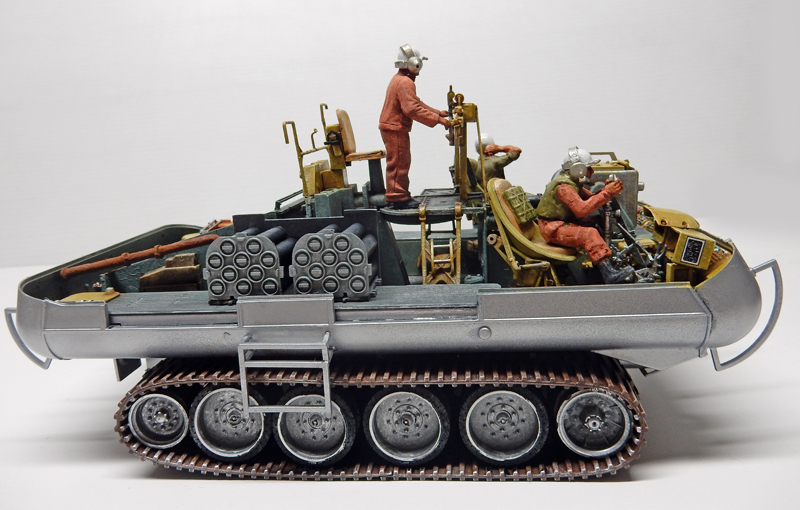
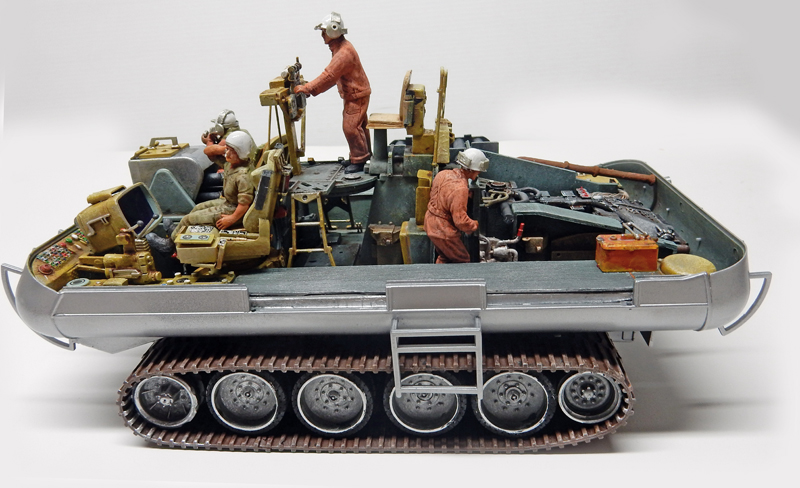
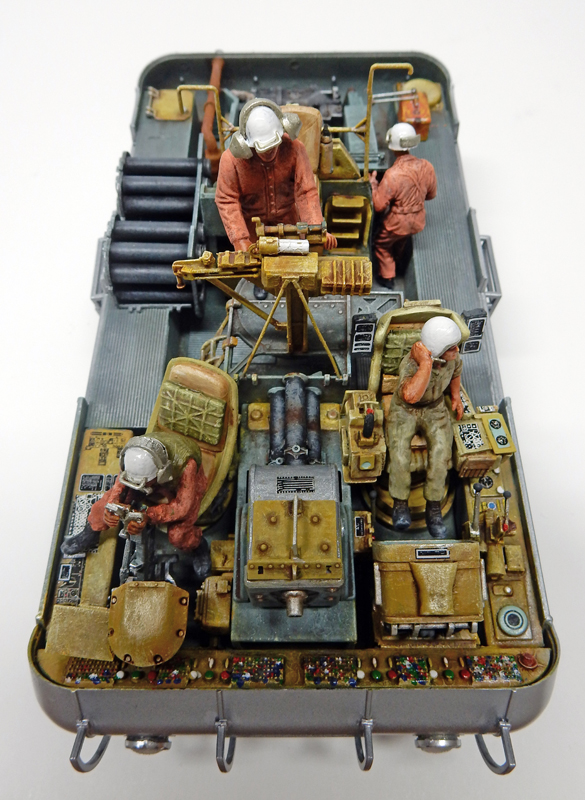
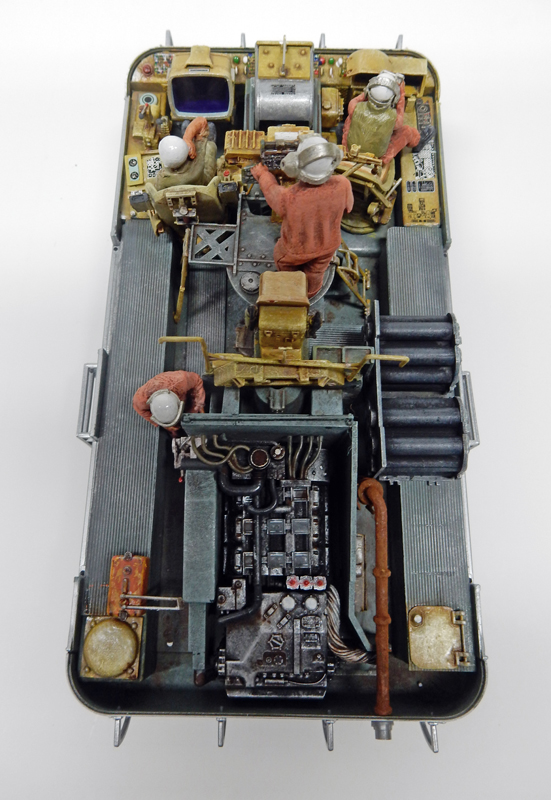
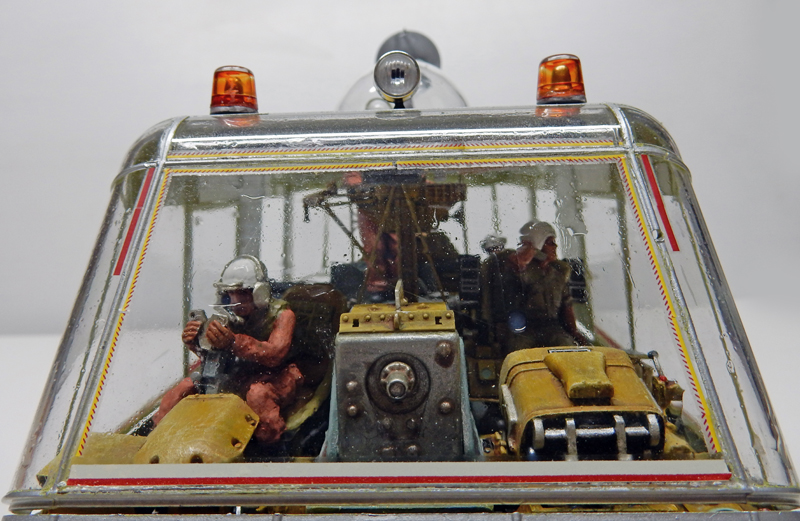
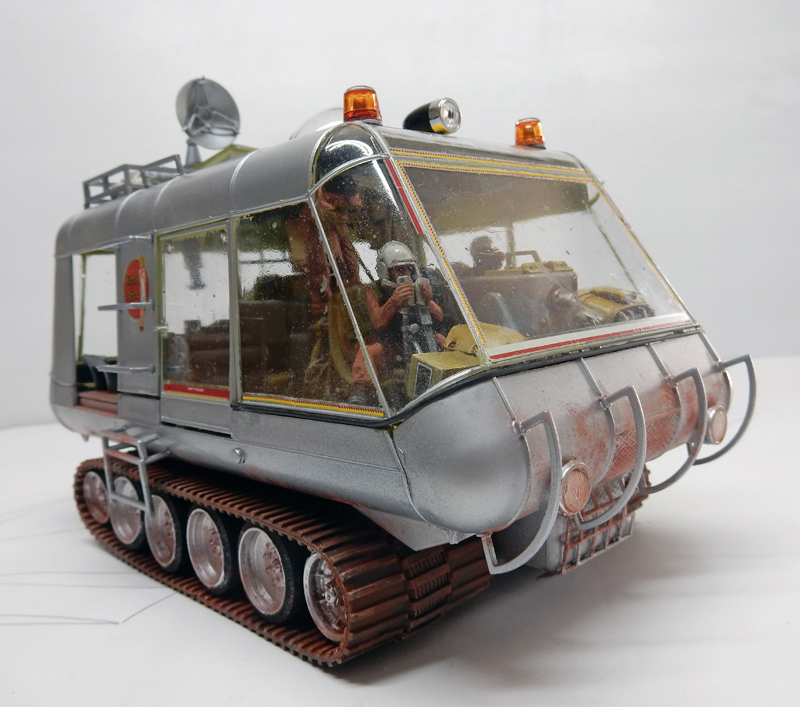
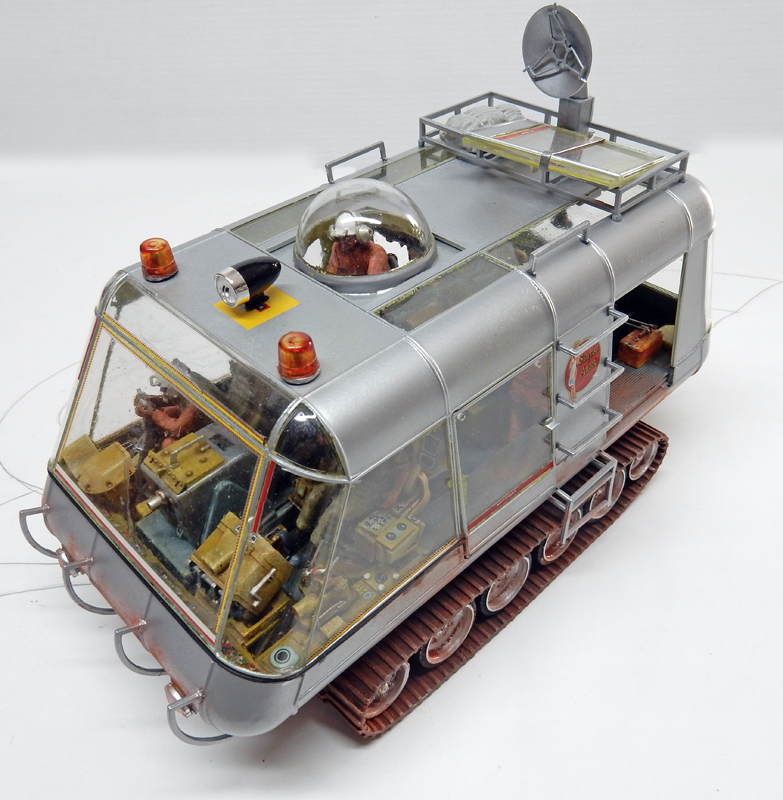
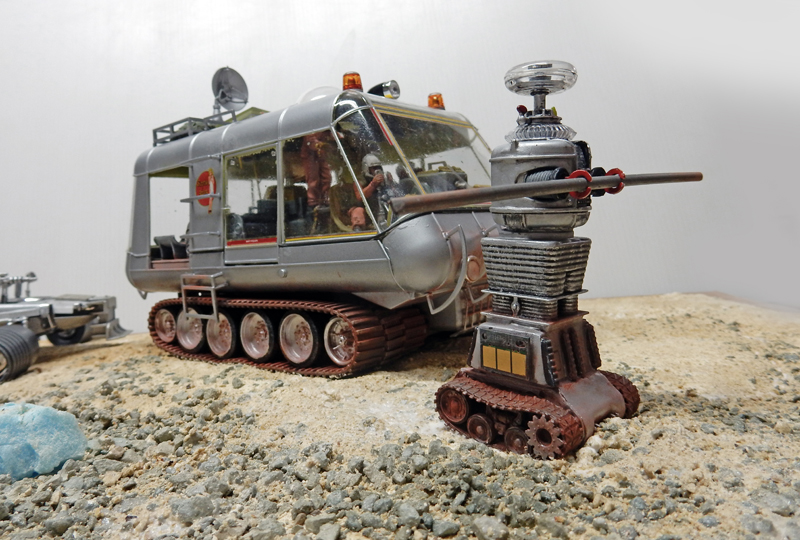
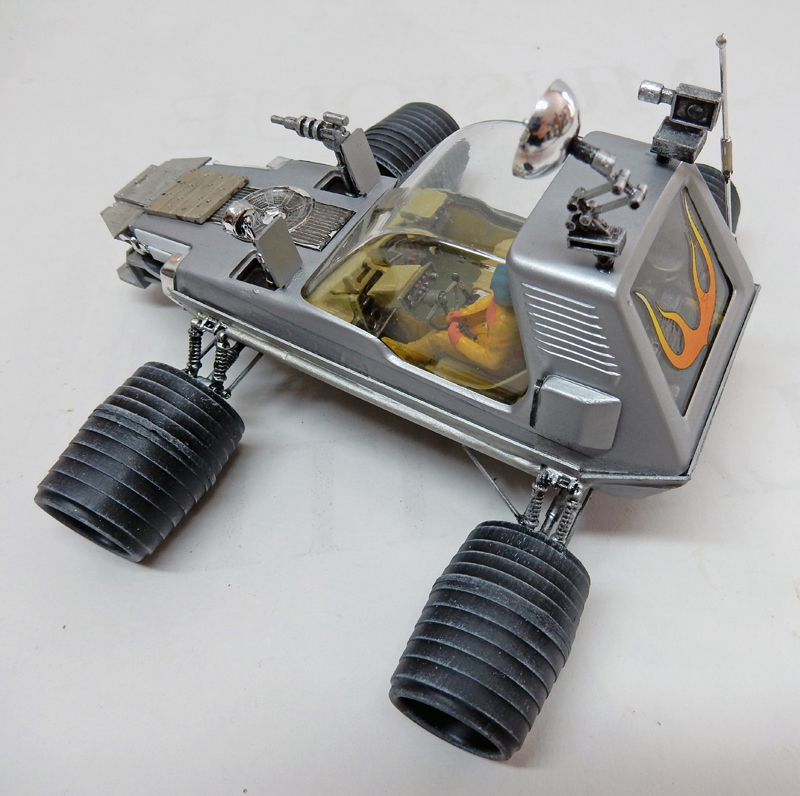
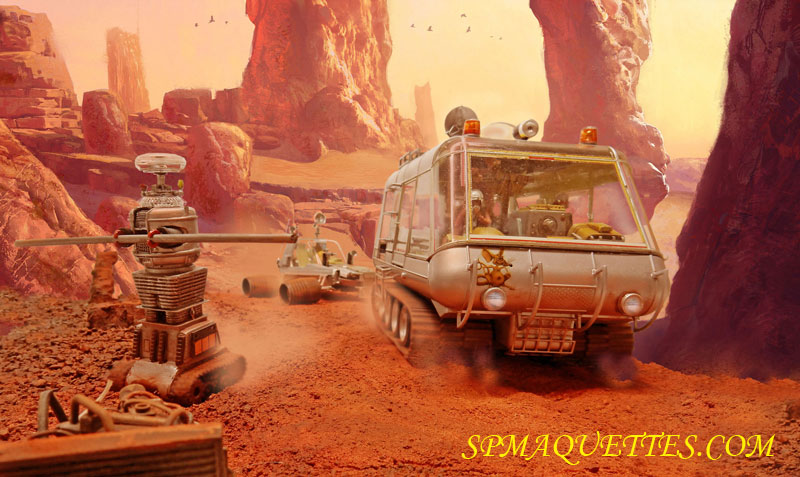
A very "kitsch" sci-fi diorama—the 1960s TV series *Lost in Space*...
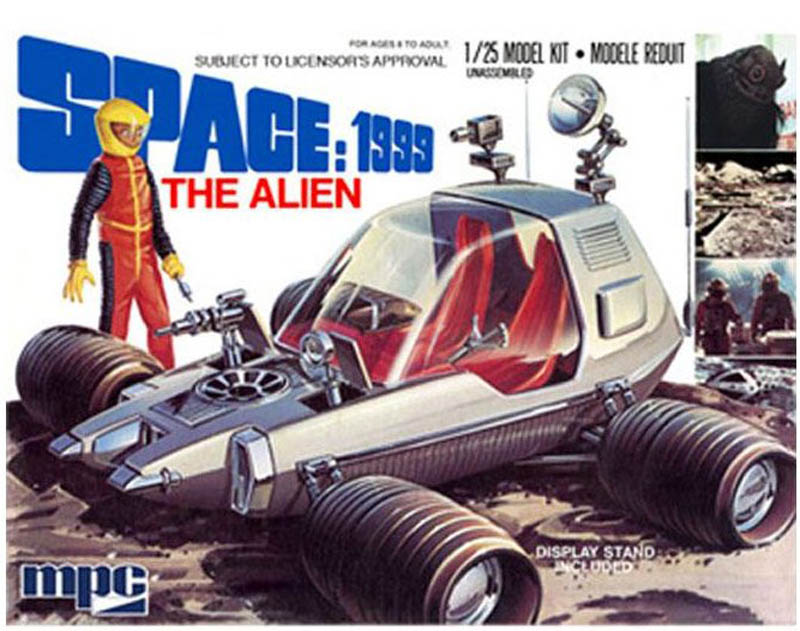
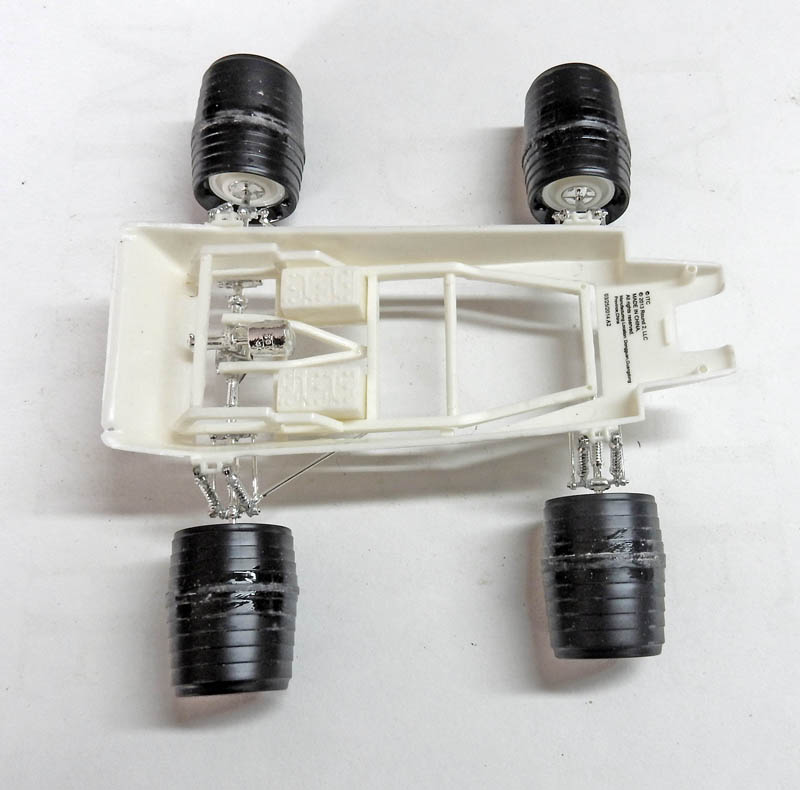
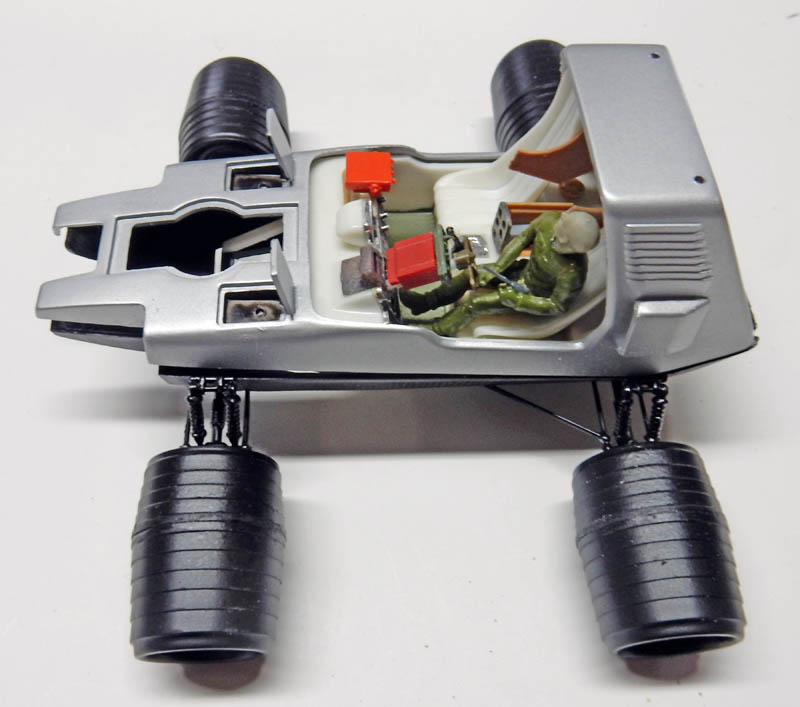
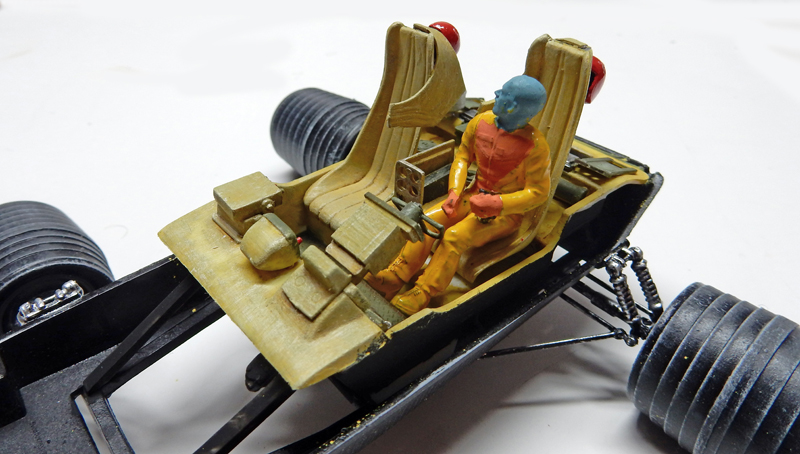
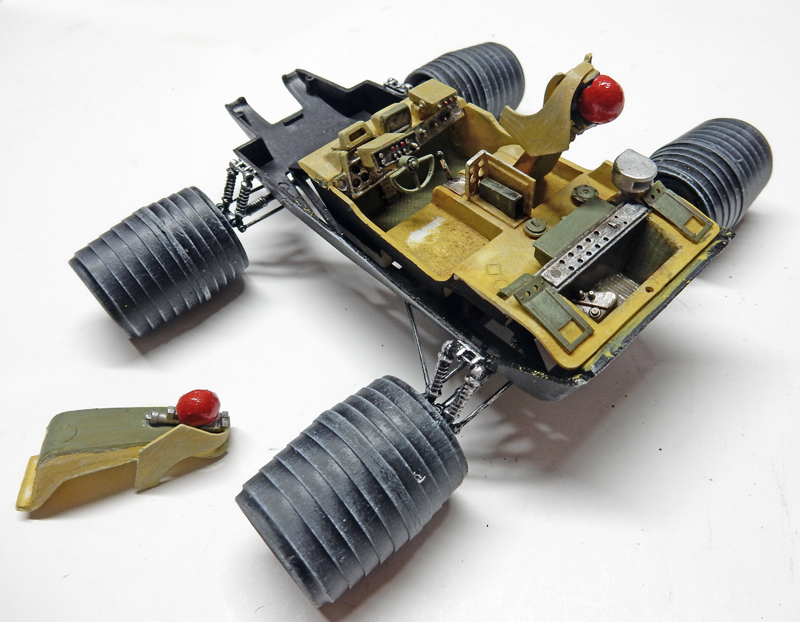
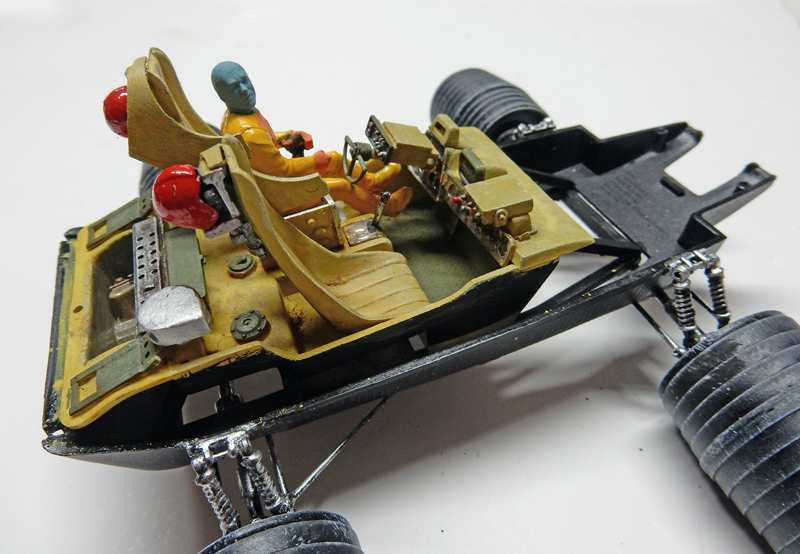
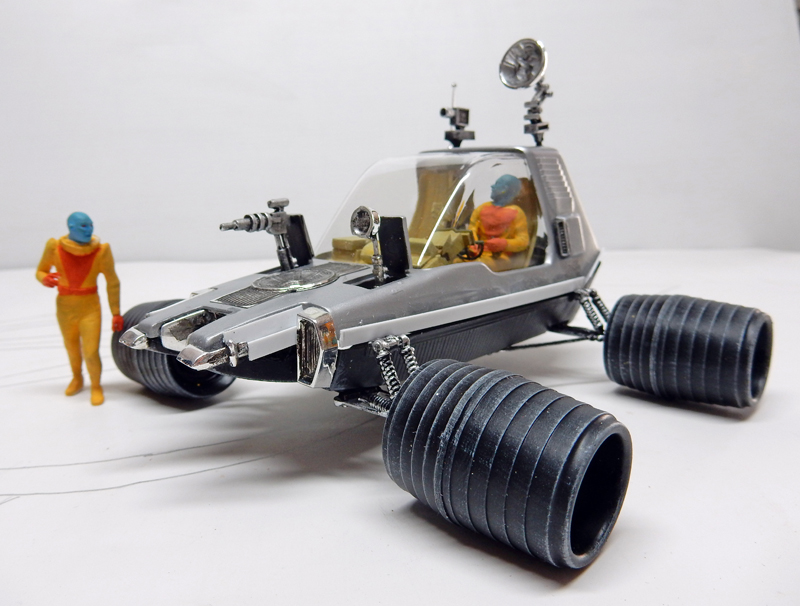
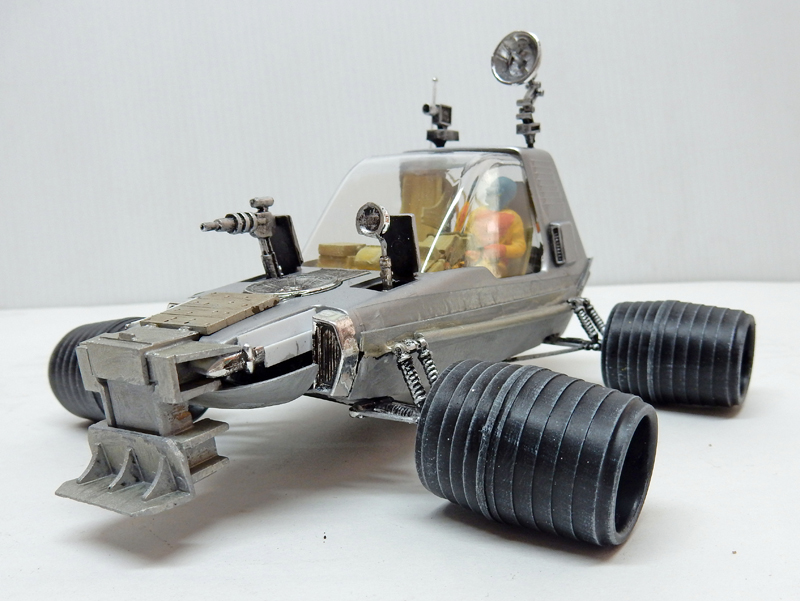
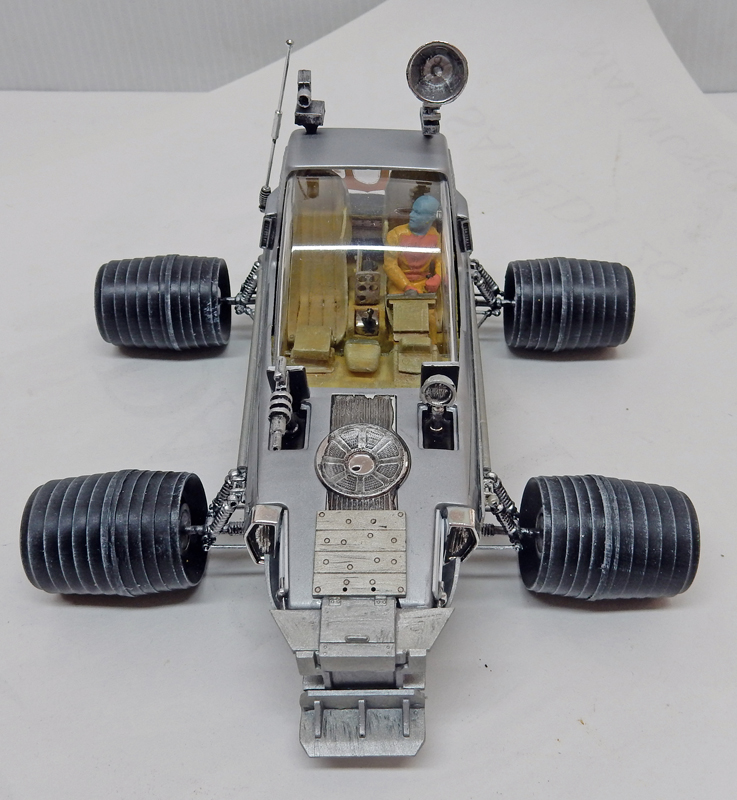
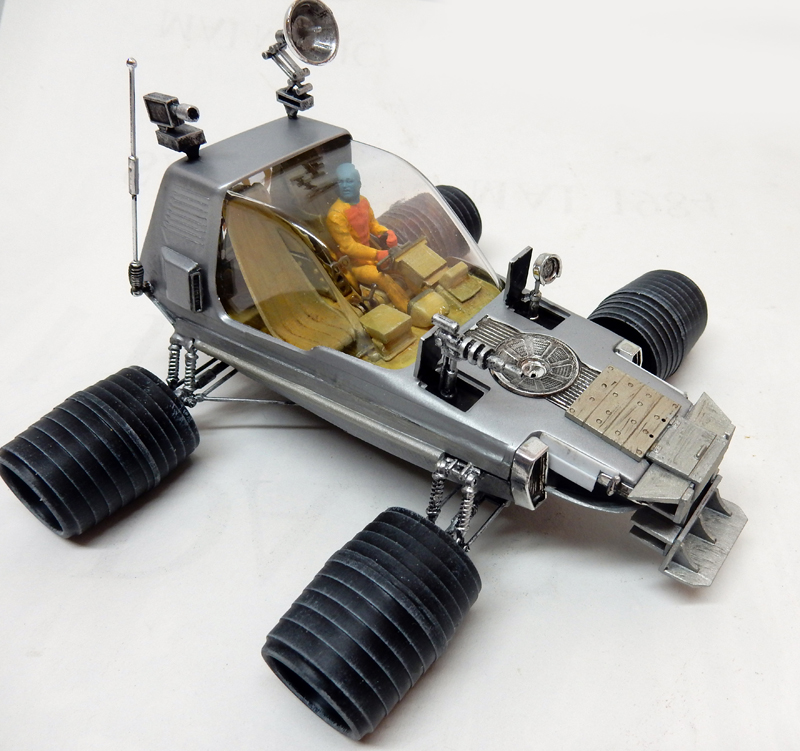
... and the alien lunar vehicle—from the series "Cosmos 1999"...
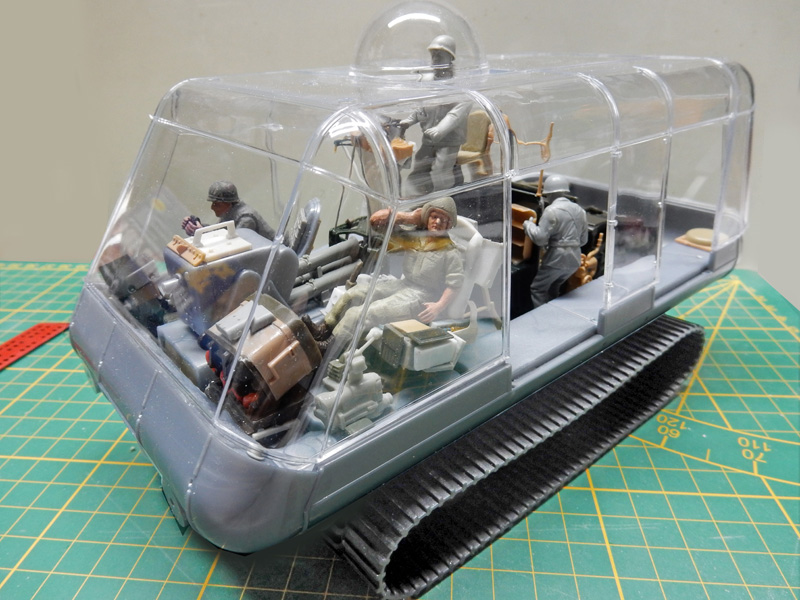
The cart
The two vehicles, which are currently at scales of 1/24 and 1/25, respectively, will be scaled down to 1/35 for the sake of the project...
These older kits—except for die-hard collectors—were surprisingly lacking in detail (with only basic seats and window curtains in the first one) for such large scales, so they deserved a different approach...
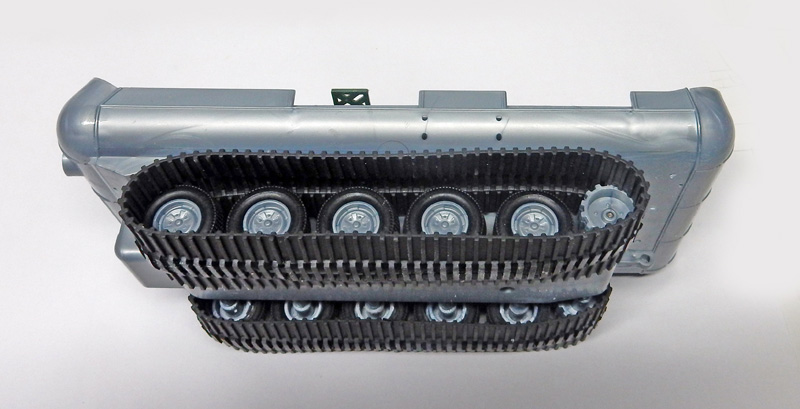
The tracks: the track pads are triple-layered, and the track assembly is too deep-set. Parts from Crusader will be added later to "thicken" the assembly...
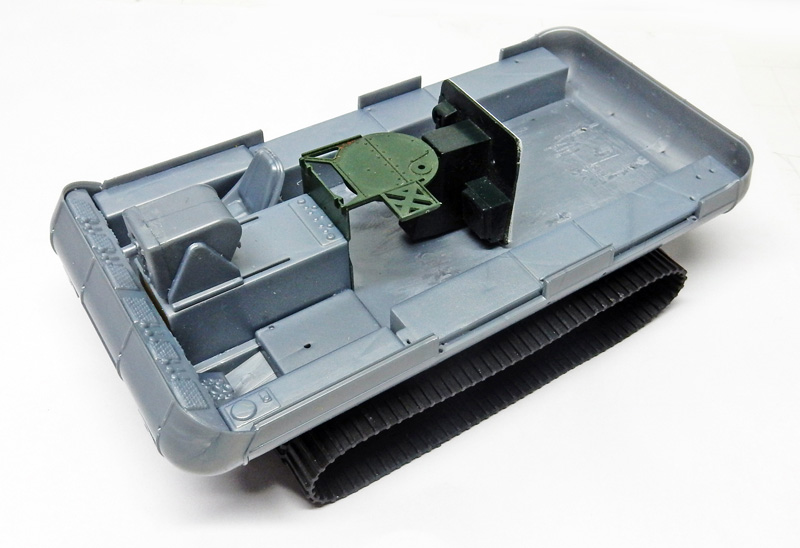
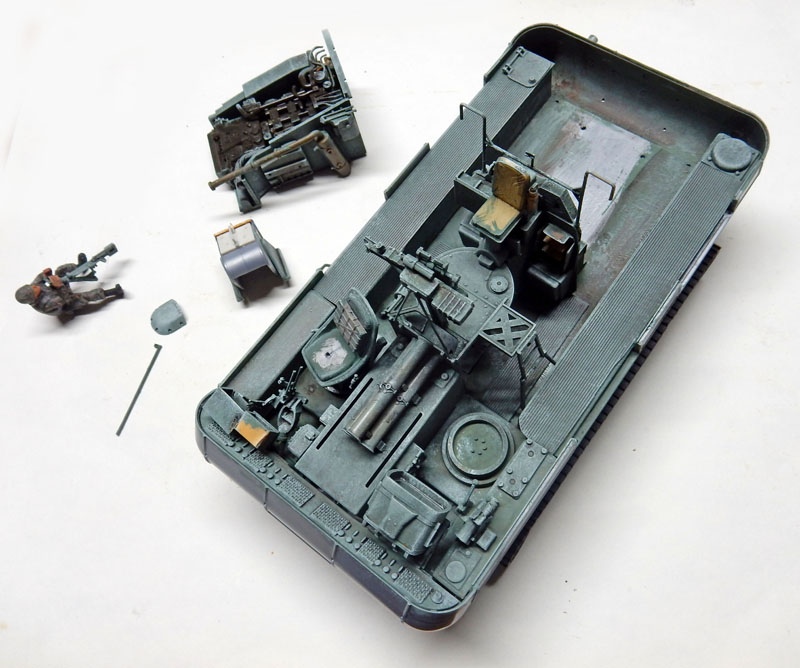
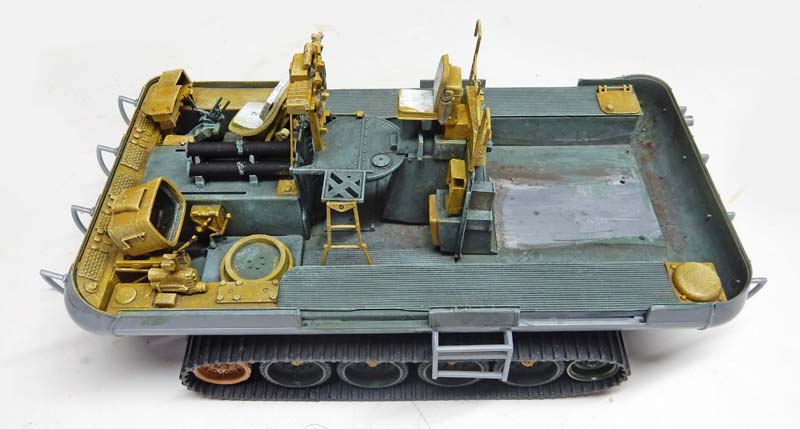
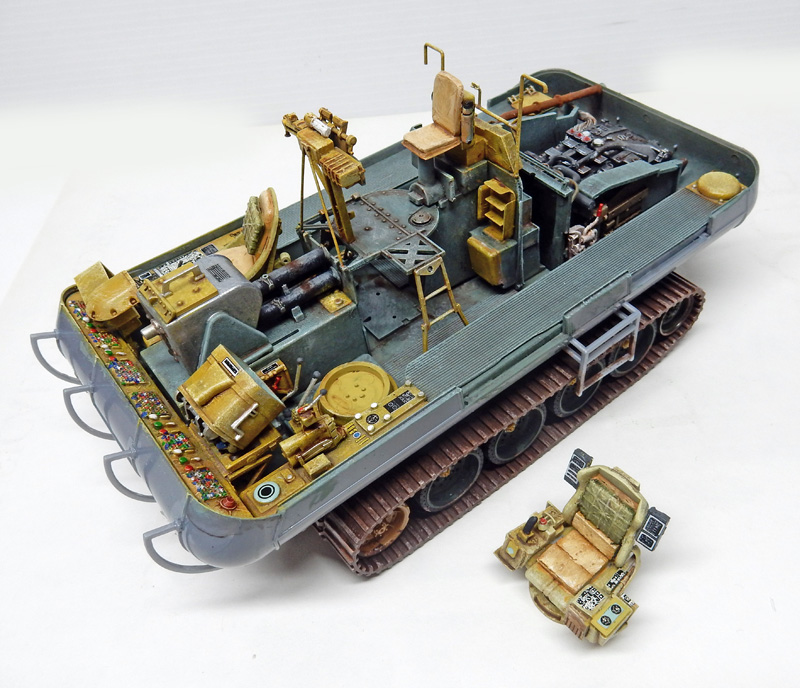
A frame is added for the operator, located beneath the roof canopy, along with a partition to insulate the engine...
Next... We dive into the surplus bin...
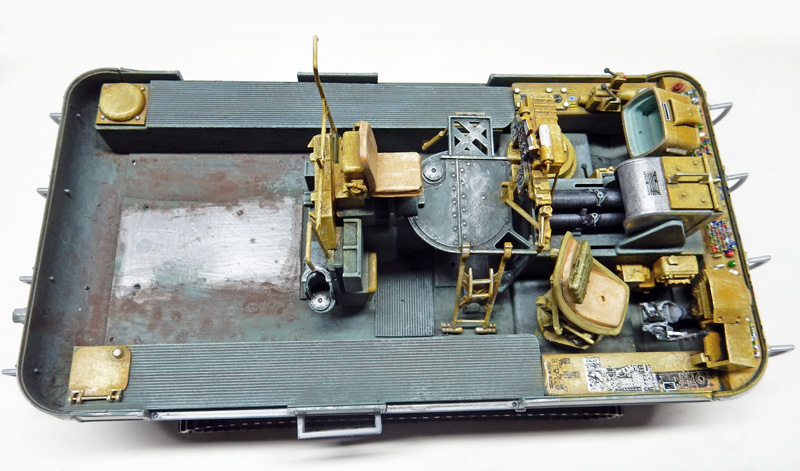
The figures come from various sprues and have been modified accordingly. Only one seat on the model has been kept for the crew member and has been detailed...
Testing the canopy that connects... Not great!...
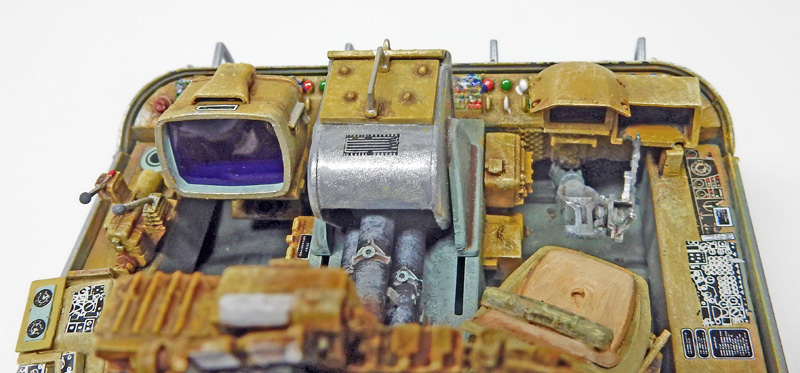
An external Patton tank projector serves as a monitor for the driver...
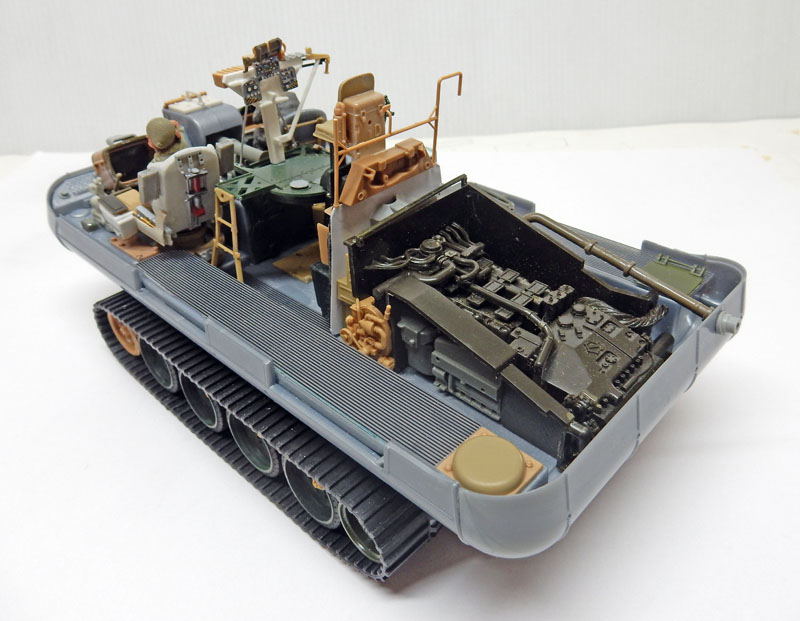
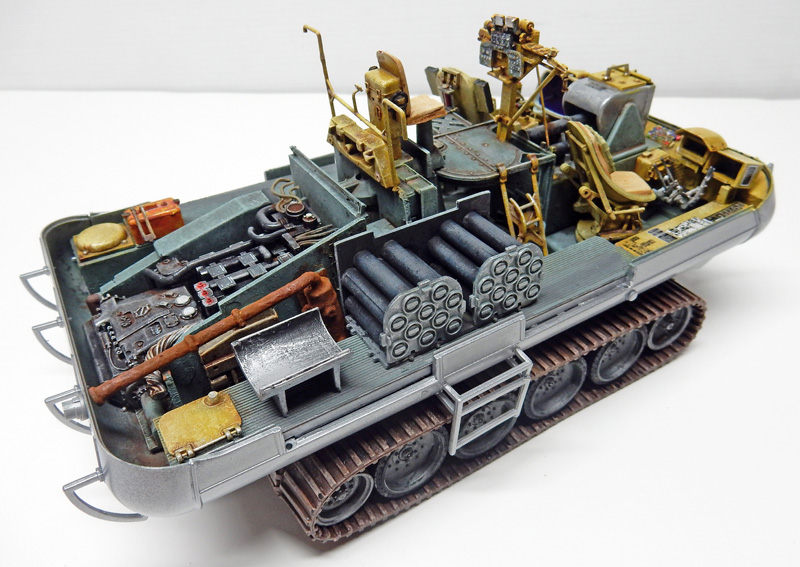
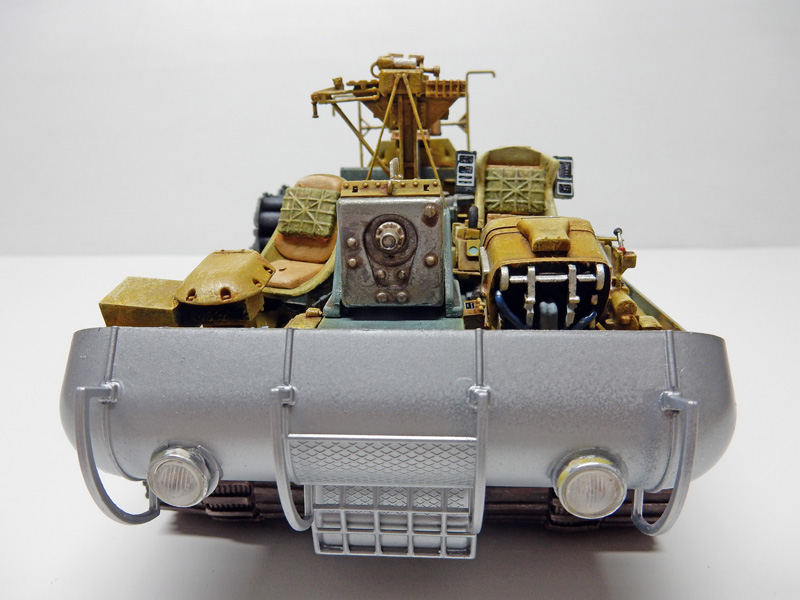
A Marder tank engine is installed at the rear...
Interior Painting
All painting will be done with Humbrol and Tamiya oil-based paints...
A basic army green and a lighter dry-brush with a little white added for the floor and the background. Next, we apply the usual aging washes of umber and sienna...
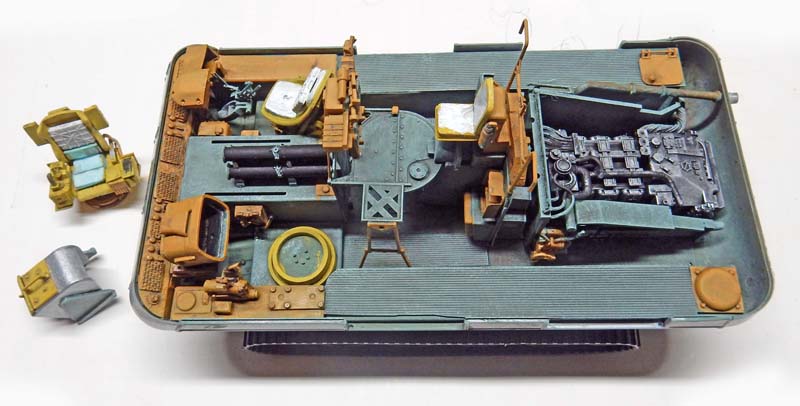
Another part of the interior—including the dashboard—is painted an orange-yellow...
We use yellow 69 for dry-brushing...
... then we lighten the yellow with a little white...
Applying decals and applying resin...
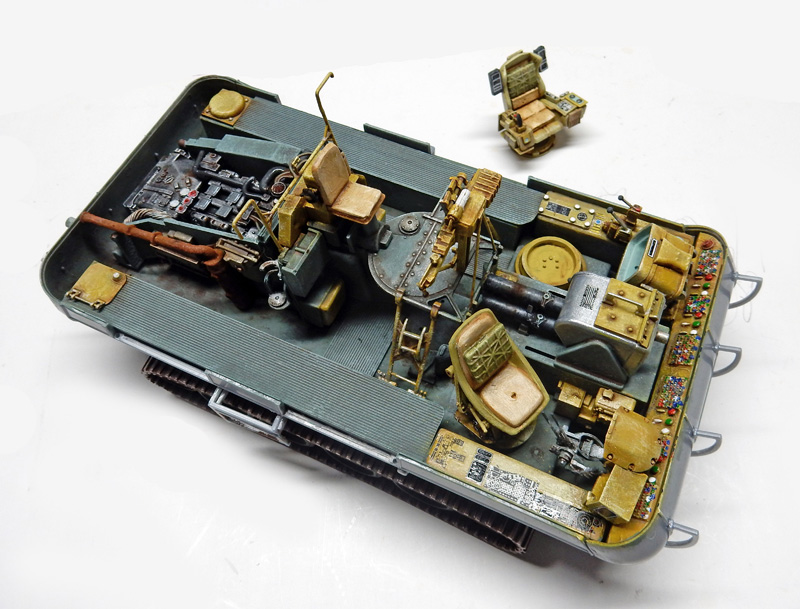
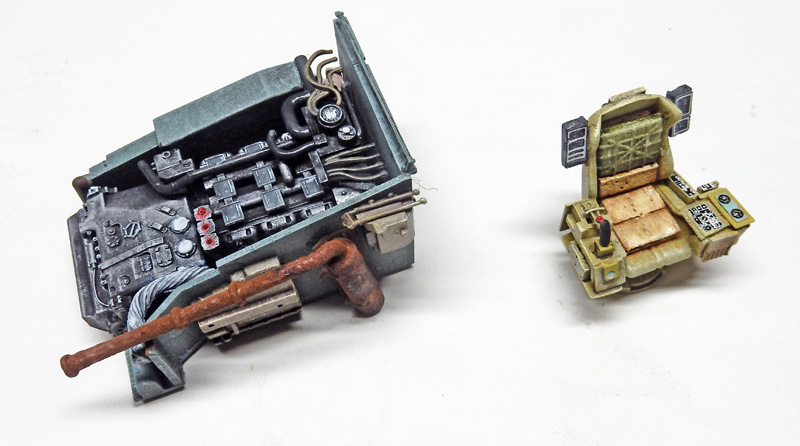
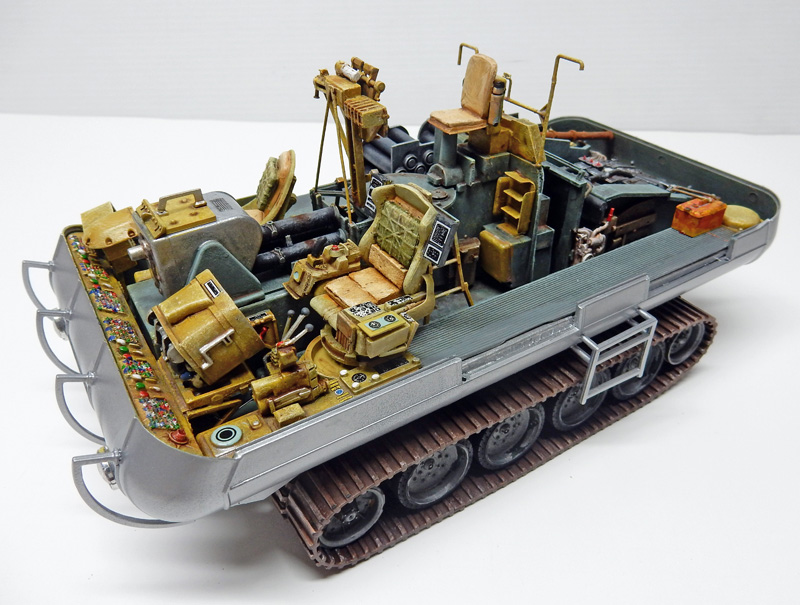
The engine and the pilot's seat haven't been overlooked... The pilot's seat was originally intended for Valérian's spaceship but had never been used...
A blue sheet of gelatin is placed on the monitor...
Installing and gluing the pilot's seat...
Installation and mounting of the engine and various accessories...
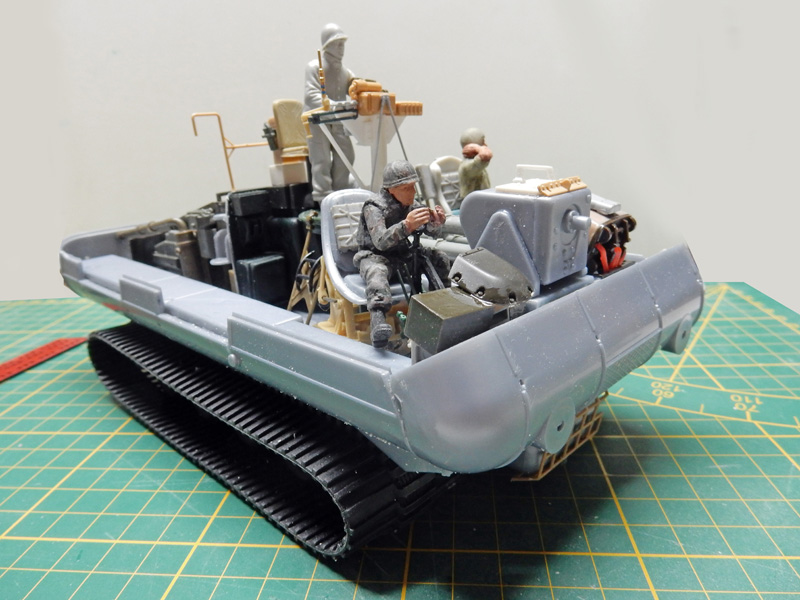
Front view. Note that the solid plastic headlights have been replaced...
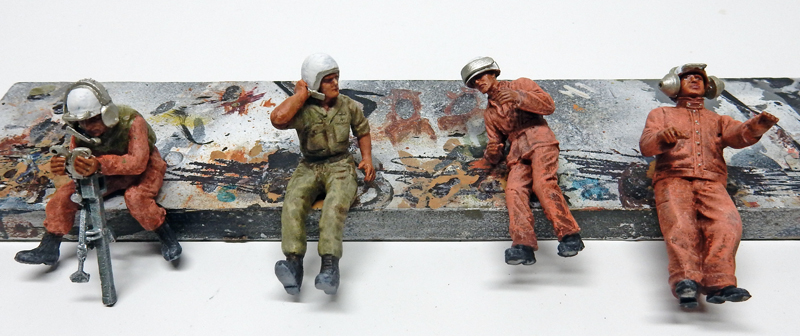
The figurines
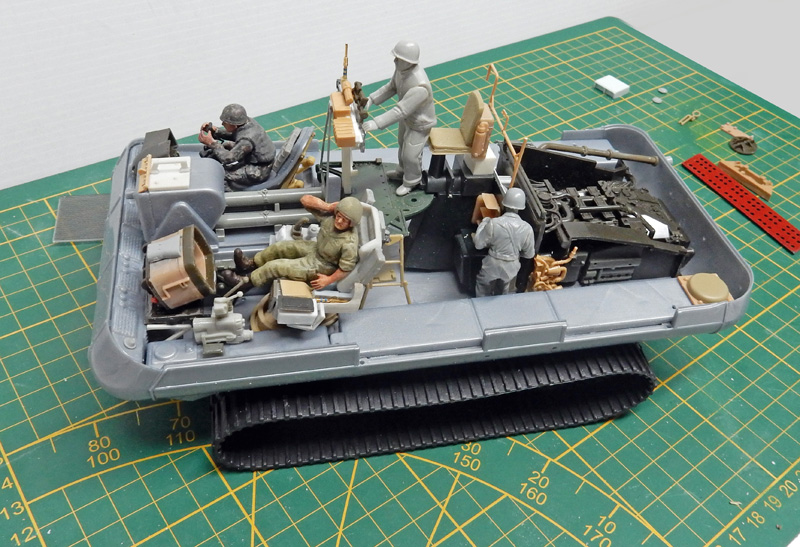
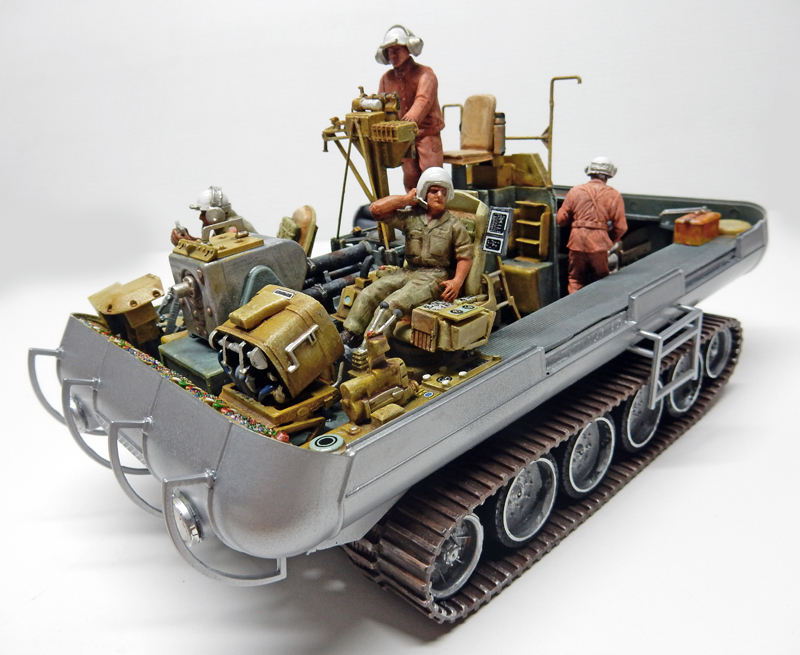
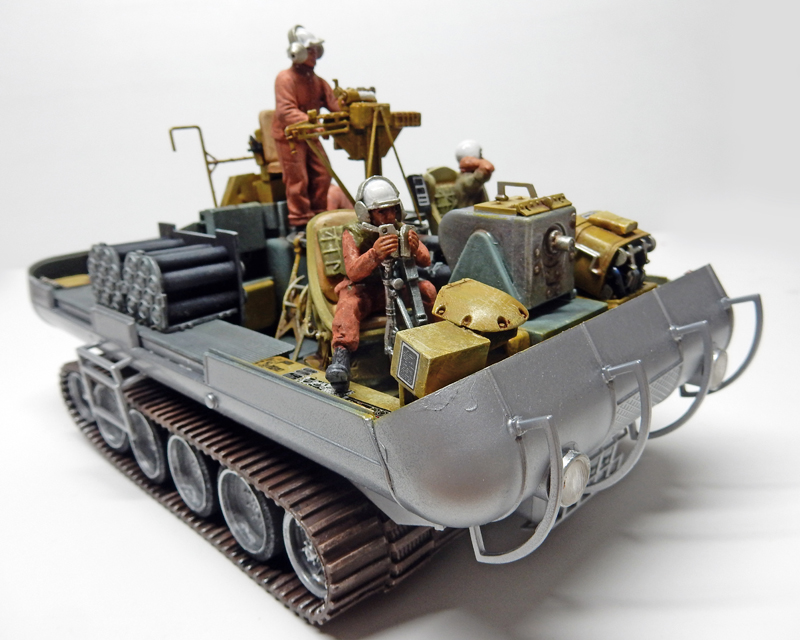
So, they are assembled according to the planned poses, painted with Winsor & Newton oil paints for the skin and Humbrol for the rest. The crew member on the left operates the mechanism that controls the robot moving outside...
The following photos show the crew in position, in action...
Note that the undercarriage has been reinforced. The track idler is no longer visible here due to the track's width...
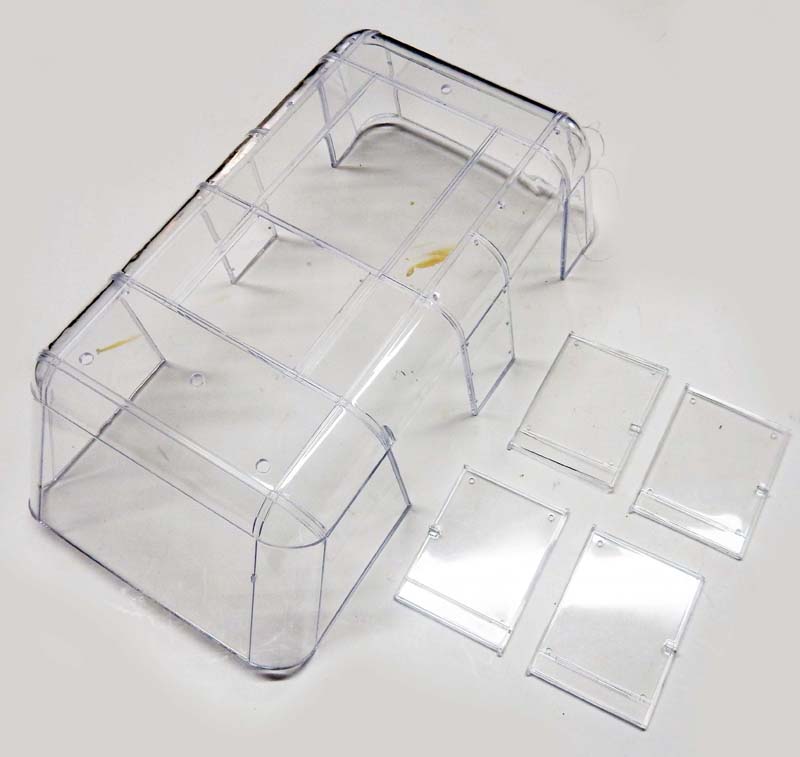
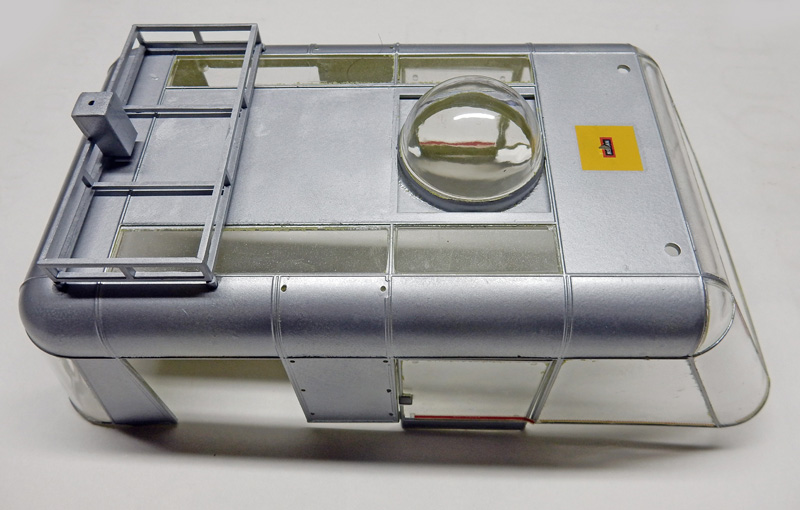
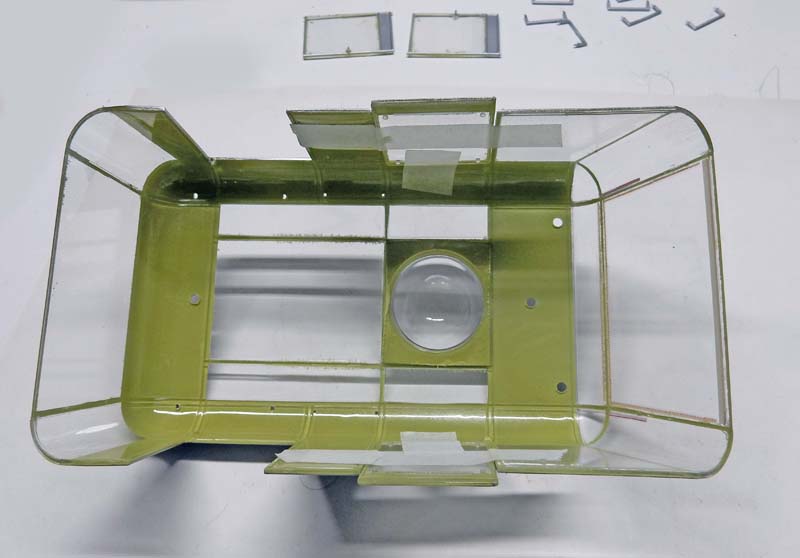
The painting of the glass roof
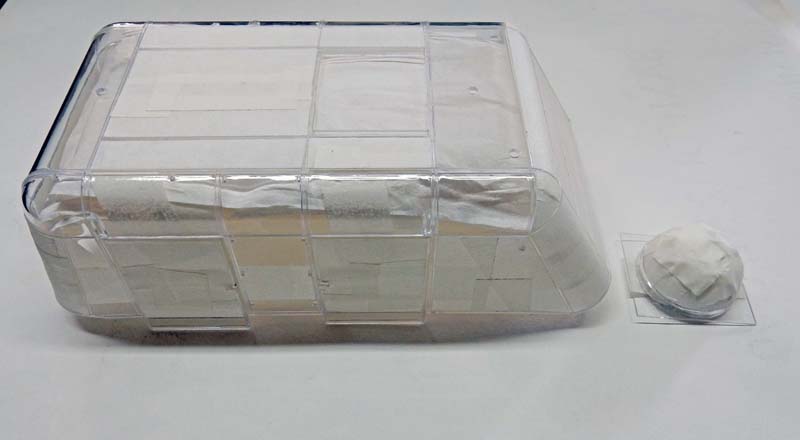
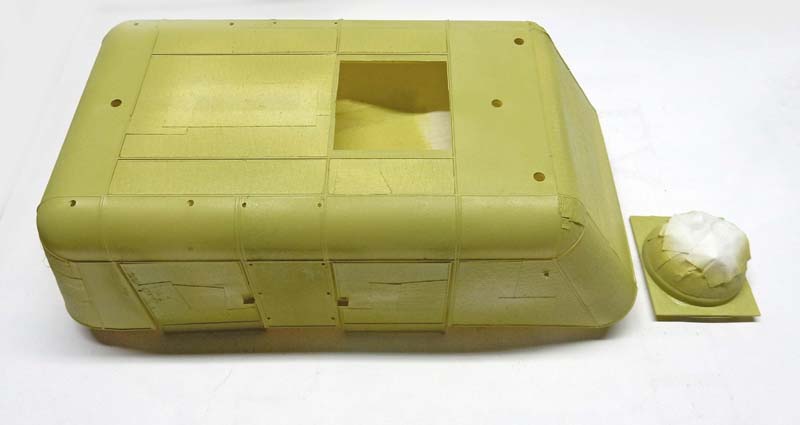
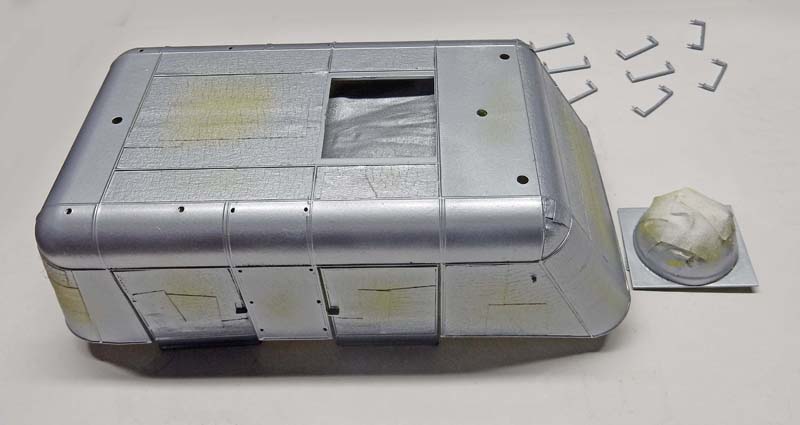
We'll be using a spray gun. We're going to paint both the inside and outside of the passenger compartment at the same time! That'll save time!
We carefully cover all the glass surfaces...
... Then spray the interior with paint...
... Then—after letting it dry for at least 24 hours—spray on the exterior color...
And that's it! Now let's add the external accessories... Thanks to Jean-Michel...
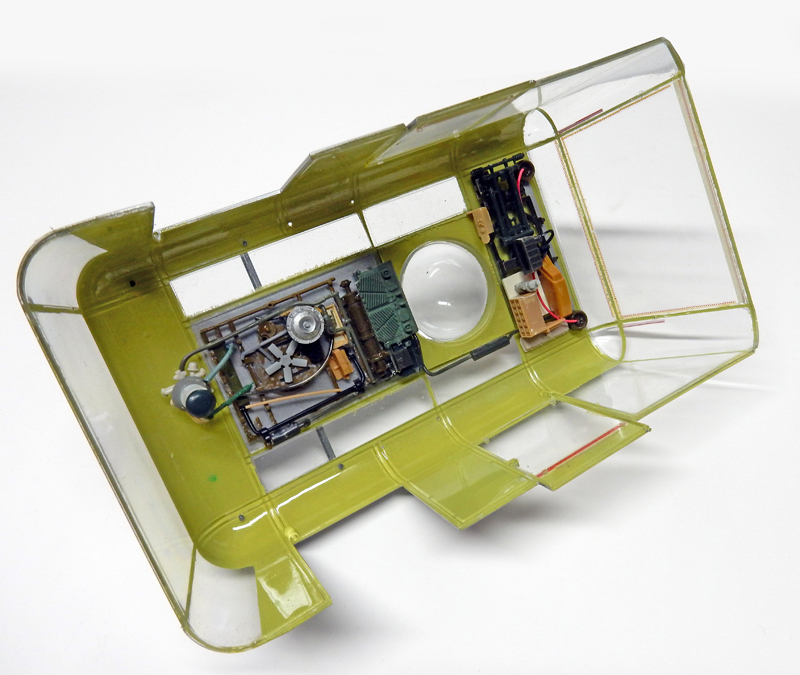
Interior view...
This empty space—very empty—is filled with a few pieces...
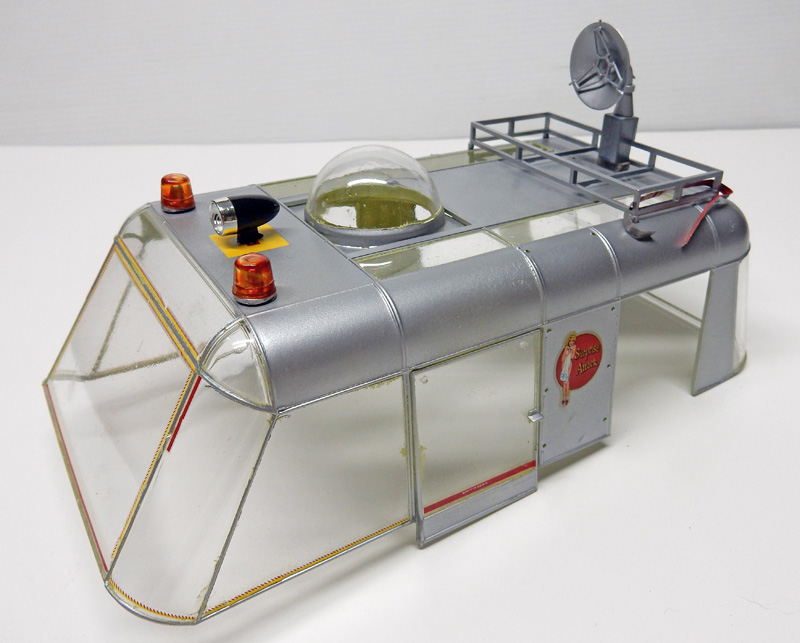
Installation of new lights, flashing lights, and decals...
And finally, installing and gluing the canopy. A coat of Klir will be applied to the inside first, and later to the outside on all the glass sections...
Given the poor positioning of the support points, a rubber gasket will be glued all around the canopy...
The vehicle is almost finished...
The robot
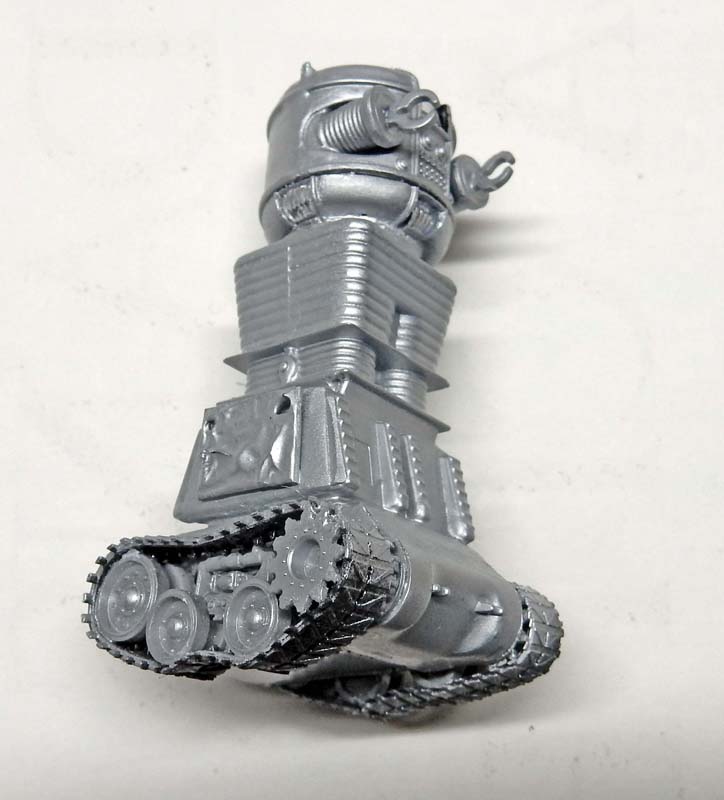
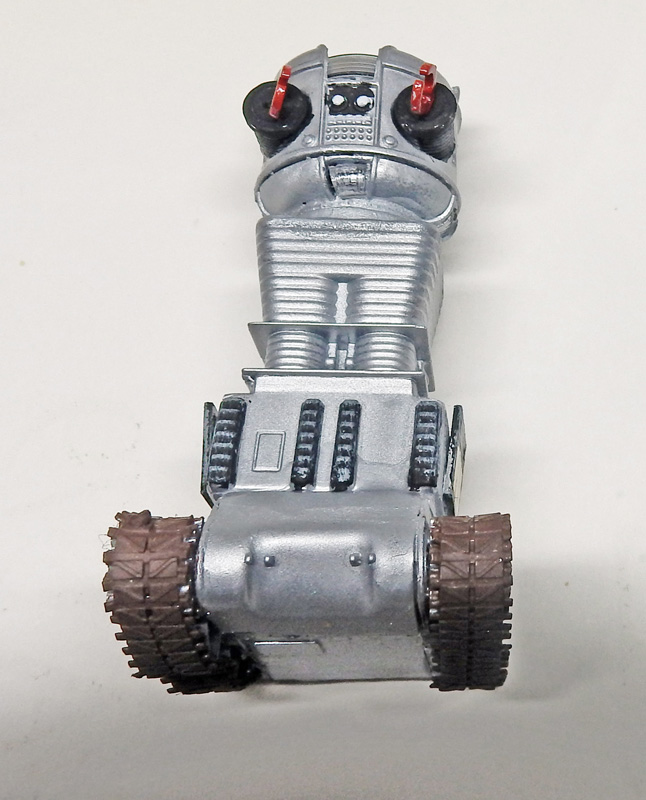
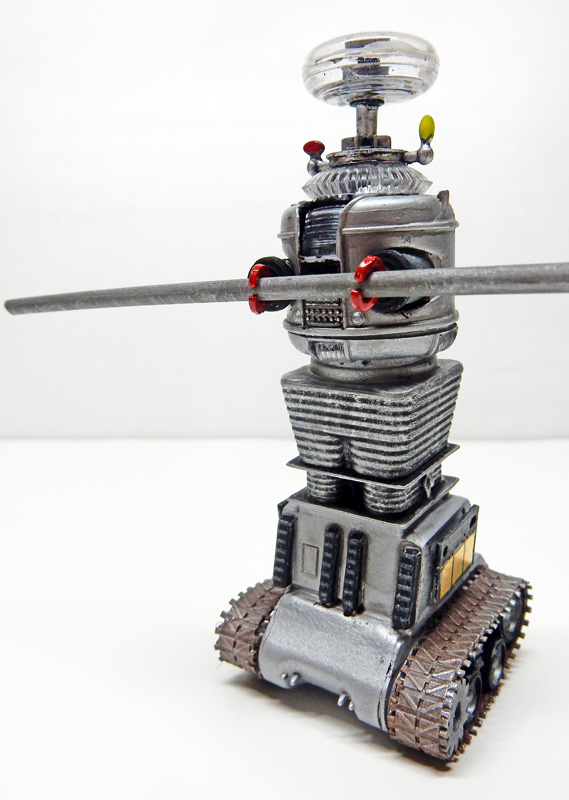
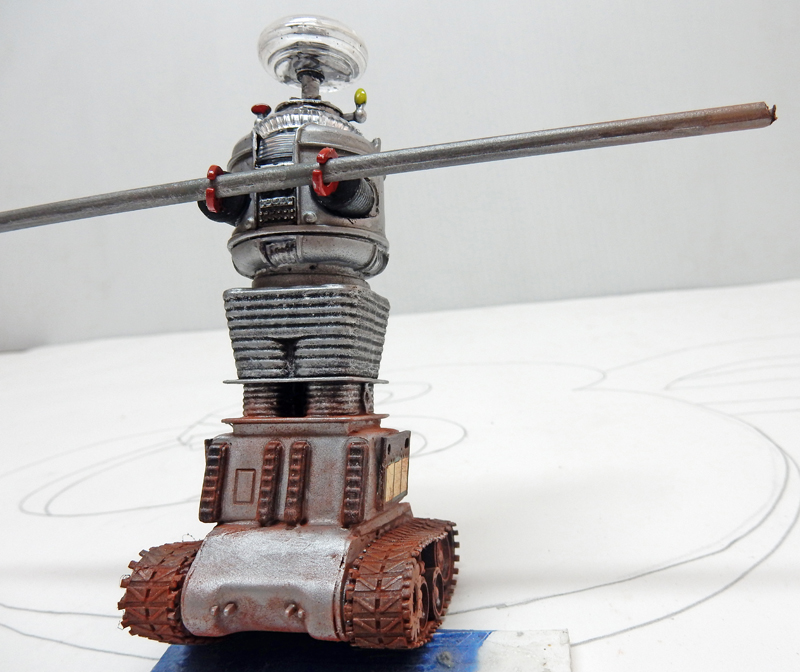
The robot from “Lost in Space” has also been upgraded. The poorly engraved tracks have been replaced with a real undercarriage made from 1/72-scale Sherman parts...
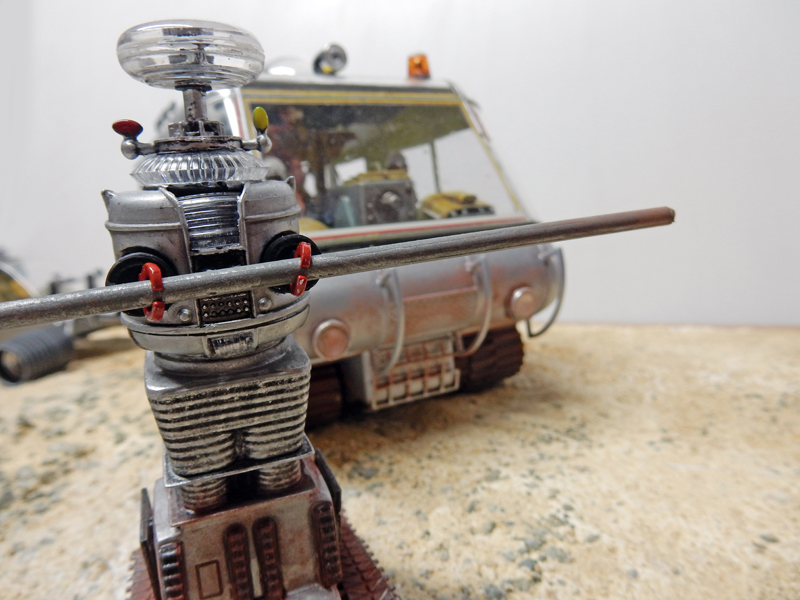
The finished robot, painted on the left and weathered in situ on the right (the bottom was dusted with pastel powder)...
Two views of the future set...
The Alien Vehicle
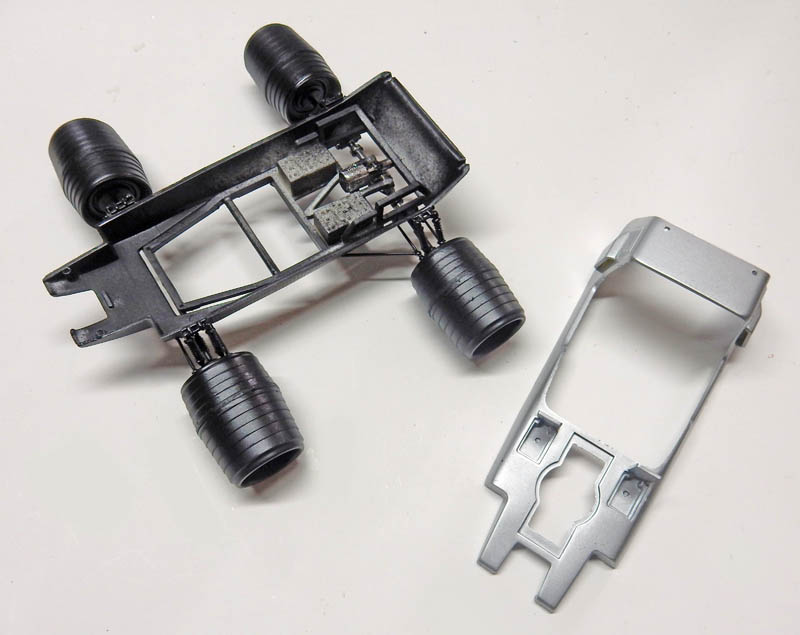
It's very easy to assemble...
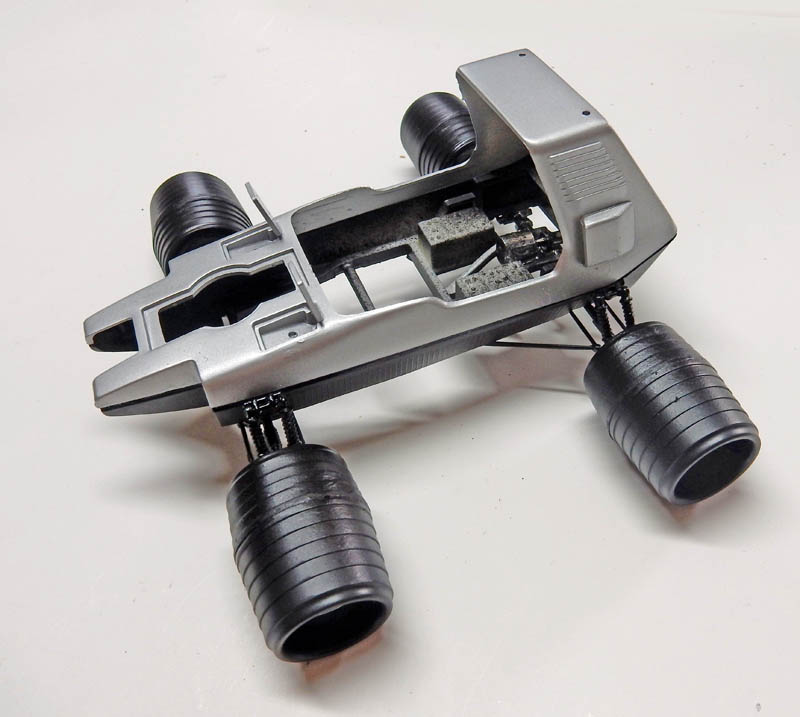
The body and chassis are also spray-painted...
Positioning...
Here, too, additional parts round out the equipment...
Deux 'extraterrestres' formeront l'équipage...
Painting
The interior is painted in the same colors as the Chariot...
The wheels are dry-brushed with Humbrol Gray 32 mixed with white...
Another view...
The finished vehicle with its accessories...
The front end—which isn't very attractive—has been modified for an "all-terrain" vehicle...
The model is ready to be placed in the diorama...
The Setting
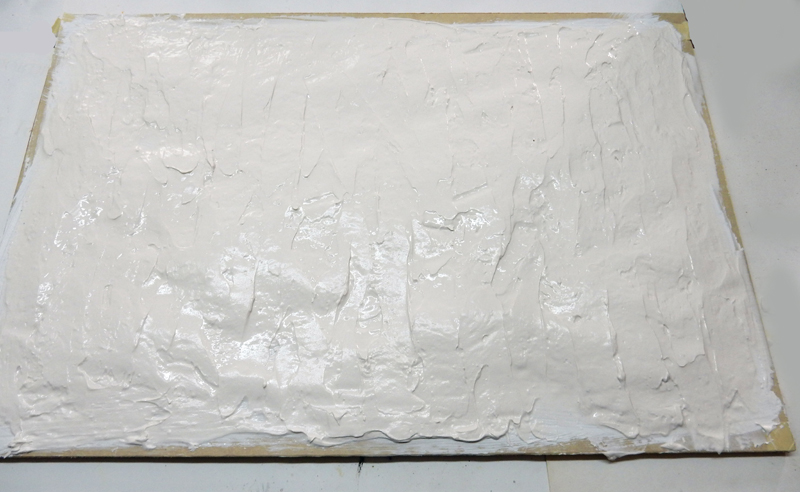
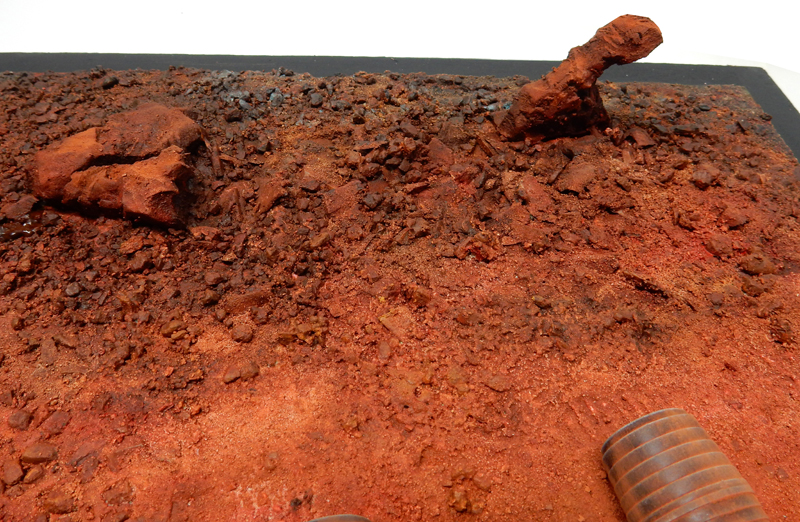
A 60-cm by 40-cm sheet of plywood is coated with a layer of white acrylic to protect it from moisture. Then tile adhesive is applied...
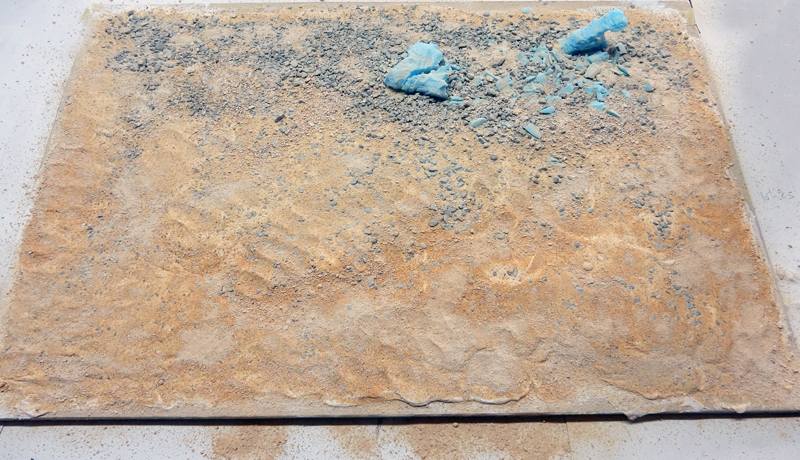
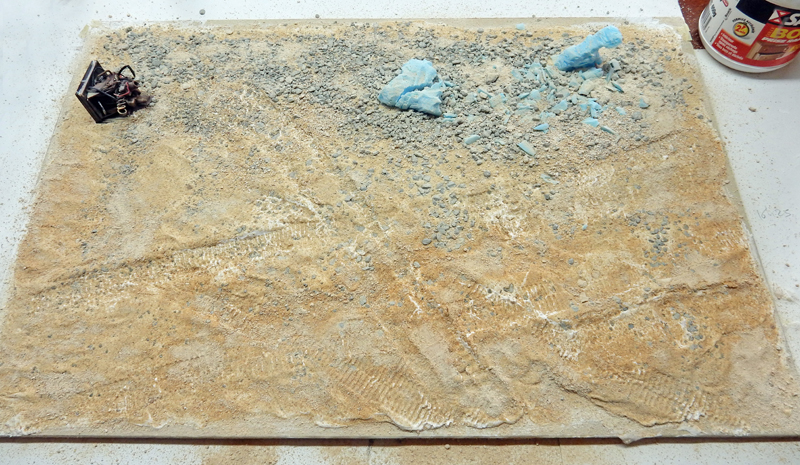
In the fresh plaster, we place engraved rocks made of extruded polystyrene, cat litter, gravel, and various powders...
Let it set a little—the glue takes a few hours to set—then mark the wheel and track tracks...
After they were completely dry—24 to 48 hours—we painted the scenery with acrylic paint from tubes and added pastel powder to the vehicles, rocks, etc.
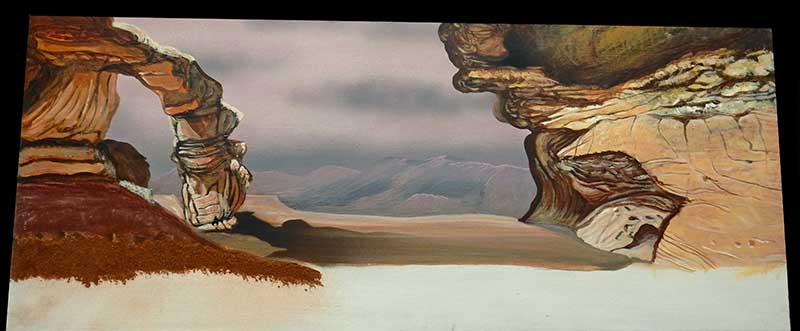
Painting the background of the set with acrylic paint...