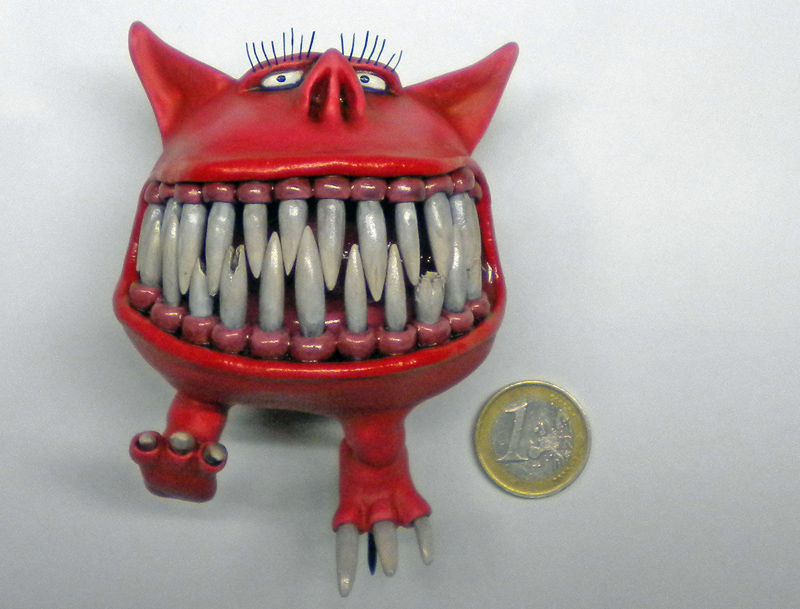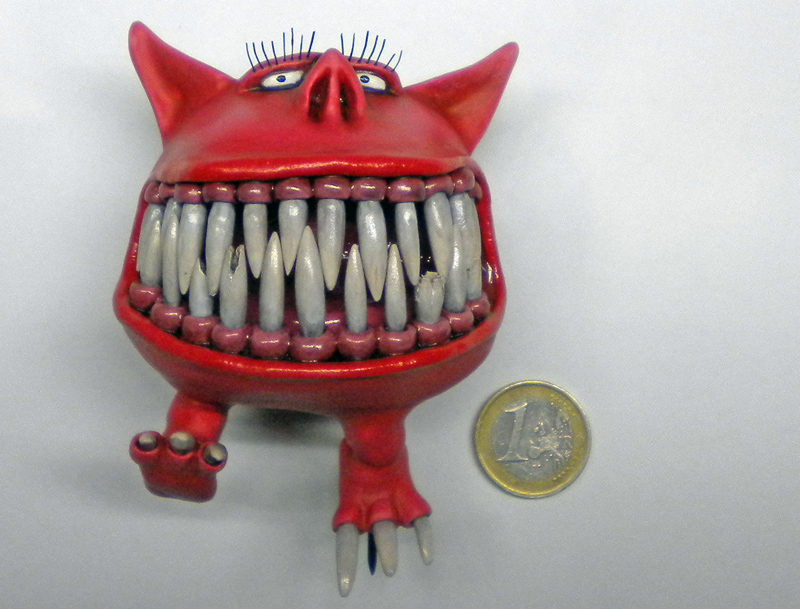
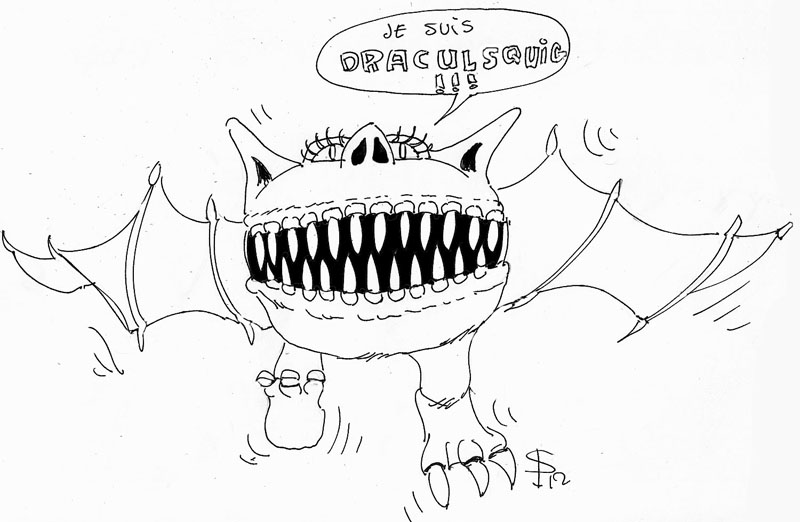
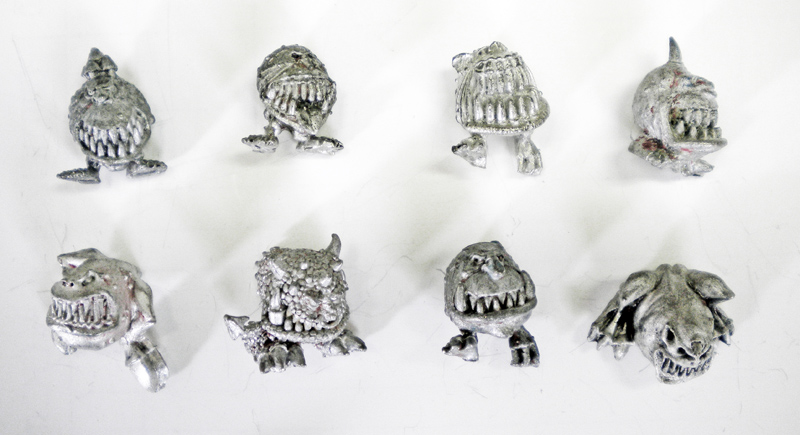
Here is a photo showing a series of 25mm-scale lead miniatures called “Squigs.” These miniatures are a kind of monster from the universe of the medieval fantasy-inspired strategy game “Warhammer Fantasy Battle” by the British company Games Workshop...
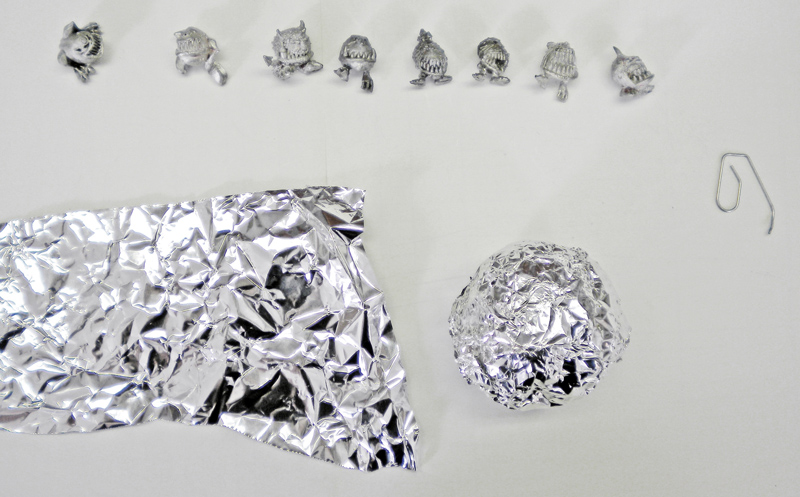
Getting Started with Modeling: We need a base so we don’t use an astronomical amount of modeling clay. In addition, the base we choose must be stable in the face of temperature fluctuations (see below for hardening through baking). Plastic is therefore off-limits. Just use aluminum foil...
Create a preform—in this case, a sphere—that’s slightly smaller than the sculpture’s final dimensions. Why? You’ll be applying a layer of clay, so that will add thickness...
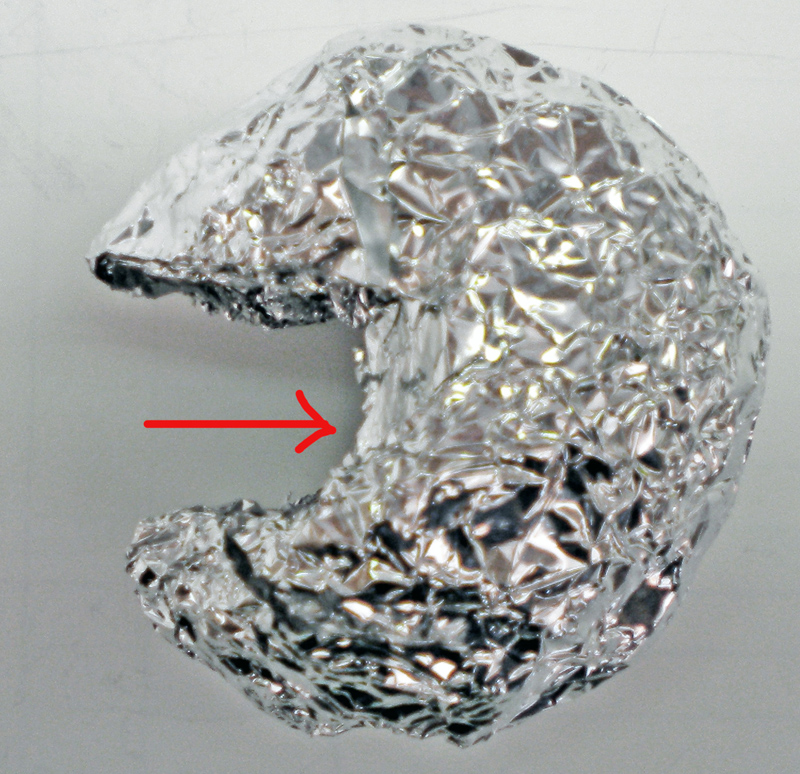
Use a utility knife to cut out the area for the beast's mouth, and carefully cover this cutout with aluminum foil to create a smooth, clean surface...
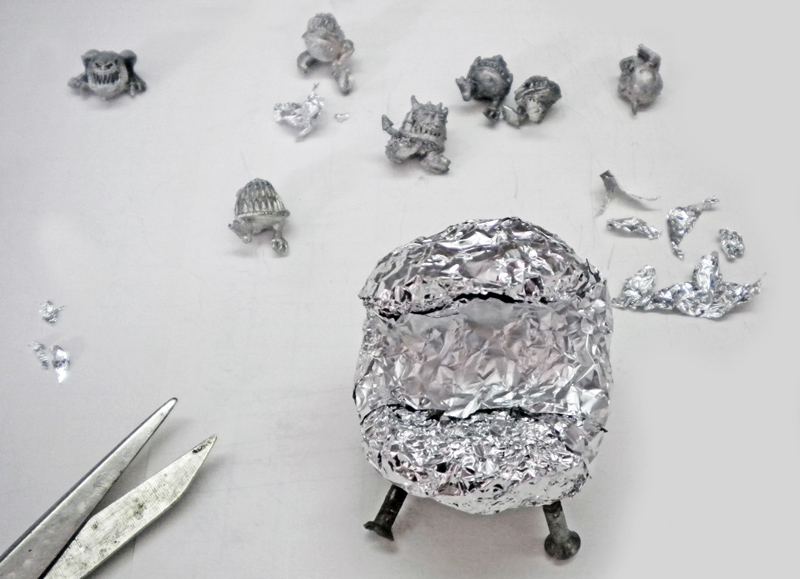
To make the legs, use two screws. Choose them carefully (the diameters of the screw shank and head should also be smaller than the final sculpture)...
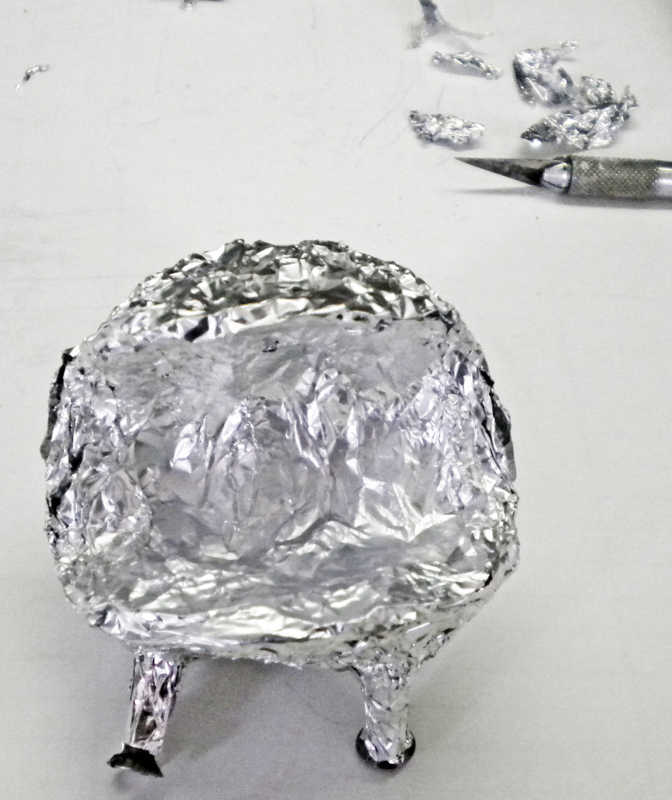
Cover the aluminum screws and the rest of the body (the top and bottom of the mouth) if you haven't already done so...
Precautions for Use: Before handling FIMO clay, it is best to wear a pair of gloves. Clean your tools with acetone as you work. Do not inhale the fumes...
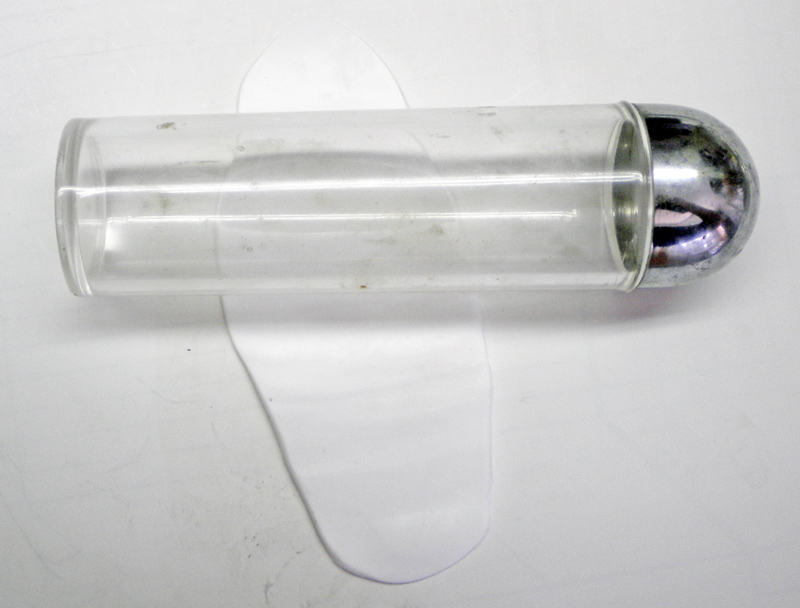
On a flat, smooth surface, use a pipe or any kind of cylinder to flatten a ball of FIMO clay into a sheet of uniform thickness...
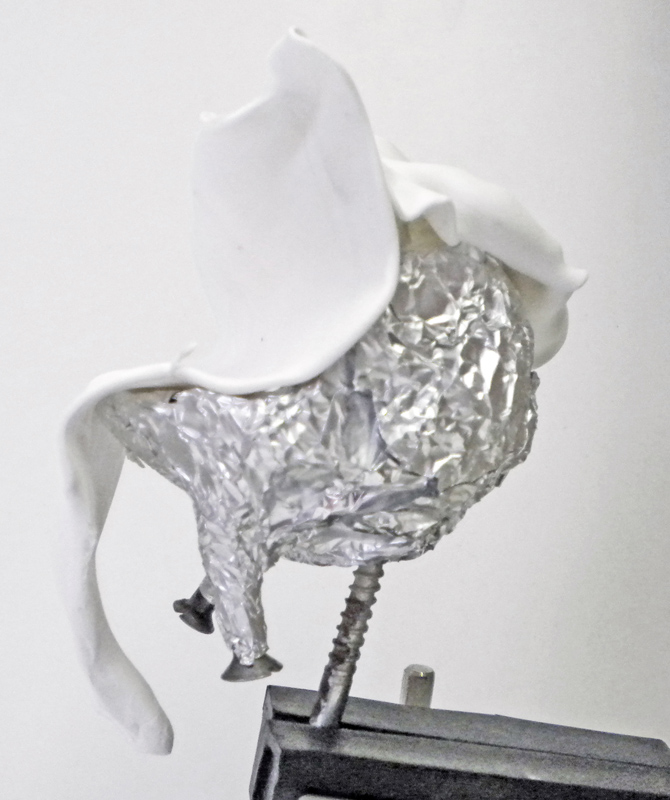
Gently lay your sheet of dough on your aluminum sheet. Where the dough overlaps or crosses (creating extra thickness), use a utility knife or very sharp scissors to cut one of the two overlapping pieces...
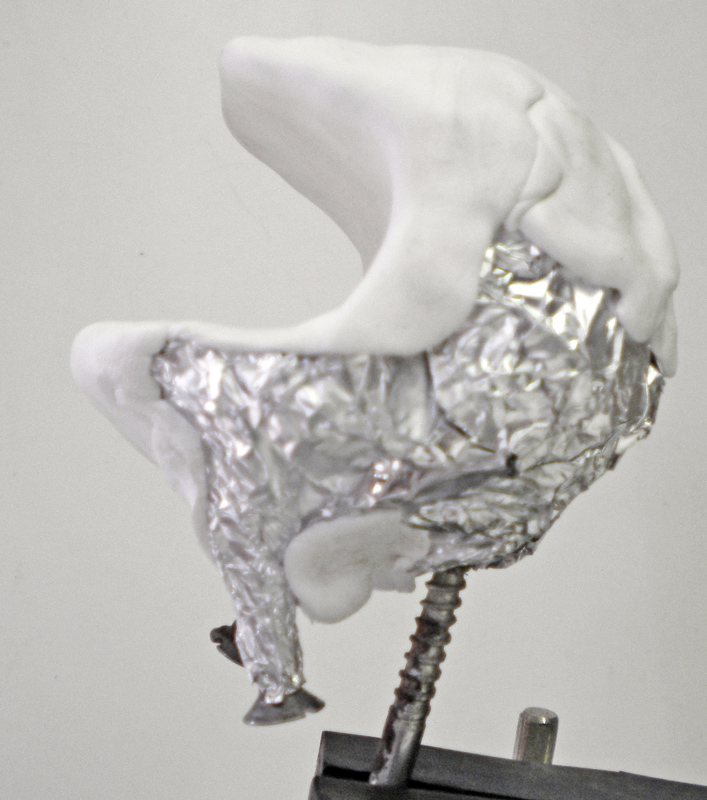
Smooth out your FIMO clay using tools of your choice (usually clay sculpting gouges). Quite simply, the back of a teaspoon, a knitting needle, a smooth steel rod, or a pen will do the trick. A toothpick and a skewer with rounded tips will also be very helpful if you don’t want to buy sculpting tools...
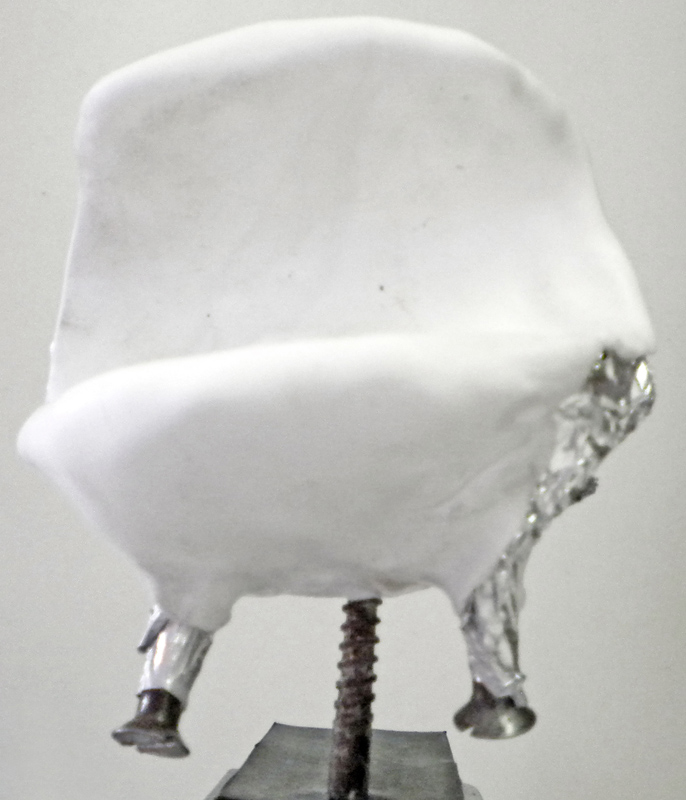
In areas where you feel there’s too much material, feel free to trim it with a craft knife, holding the blade flat. Clean your modeling tools often (with acetone) so they don’t snag on your model. That’s the advantage of FIMO clay—it doesn’t dry out quickly, so you can spread your work out over several days if needed...
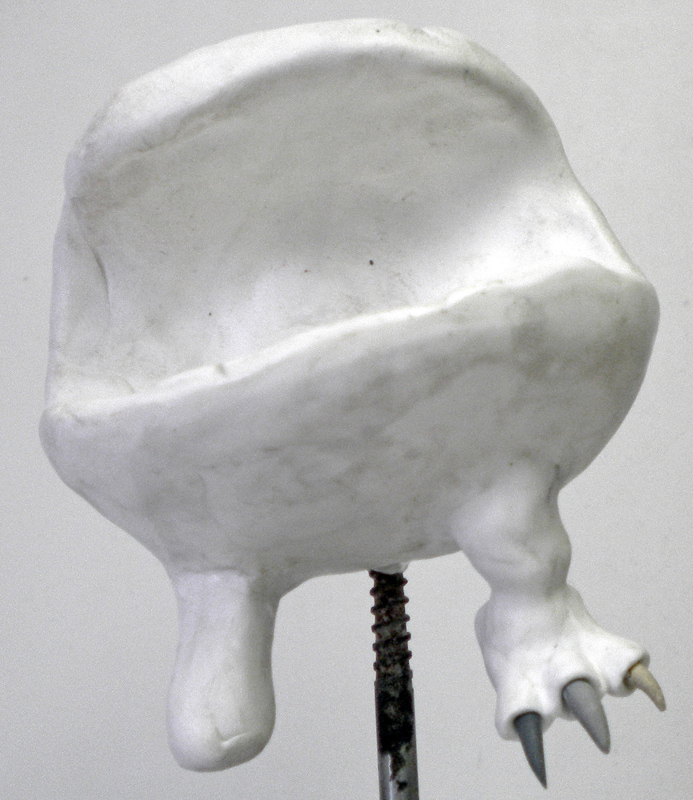
Once you are satisfied with the overall proportions of the body, move on to the secondary elements—in this case, the legs. Finish one leg completely, including the claws, to get a sense of the overall proportions and assess it before moving on to the other leg...
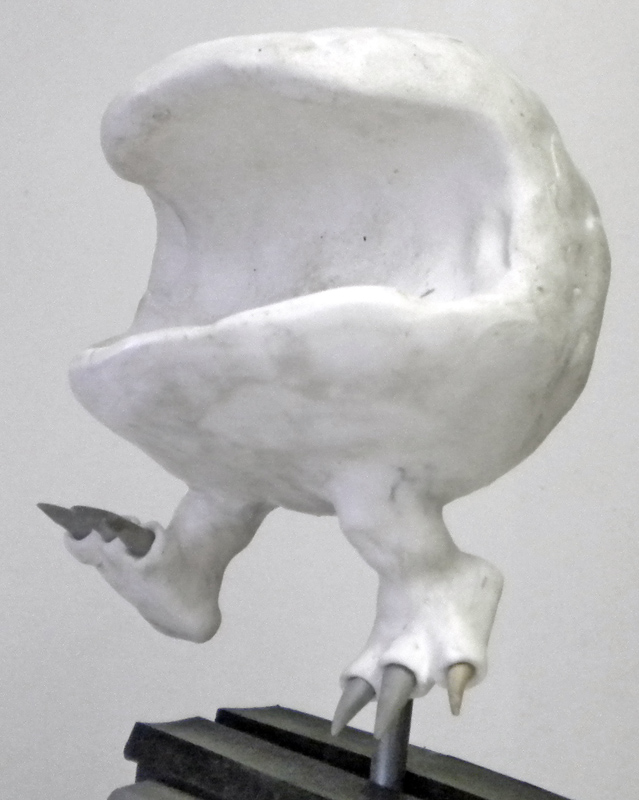
Finish the second leg. At this point, be sure to compare your sculpture closely with your original model...
At this point, if you're satisfied with your sculpture, smooth out the entire surface of your Squig's skin by applying acetone with a soft, flat brush and wiping away any drips very frequently...
If you want to sculpt dragon or reptile skin, a slightly modified grid pattern created with a craft knife (or the use of a stencil applied in the appropriate places), followed by the same smoothing process using acetone, will help you achieve a harmonious look...
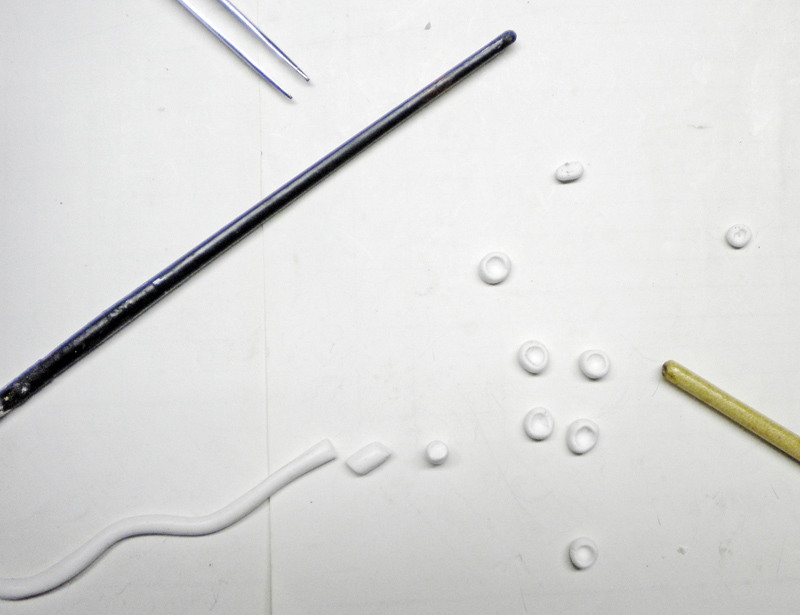
Making the gums. Roll the dough into small logs. Cut them with a craft knife, then flatten them slightly with a rounded tip of the right size (such as the tip of a paintbrush handle)...
Teeth
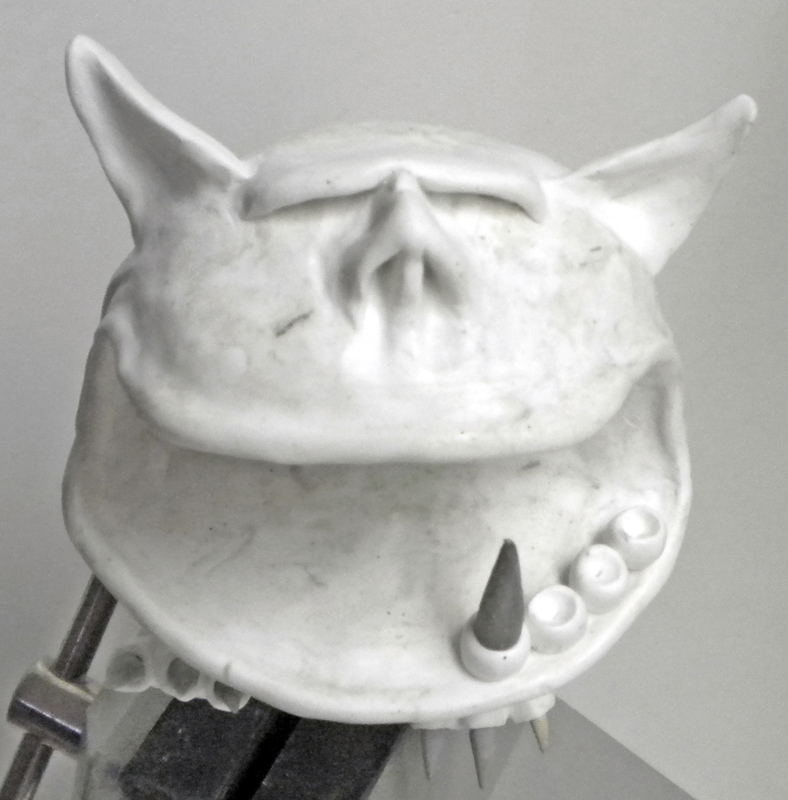
Position a few pieces of gum and a tooth, and check the overall proportions. Position them using an angled needle or a thin toothpick...
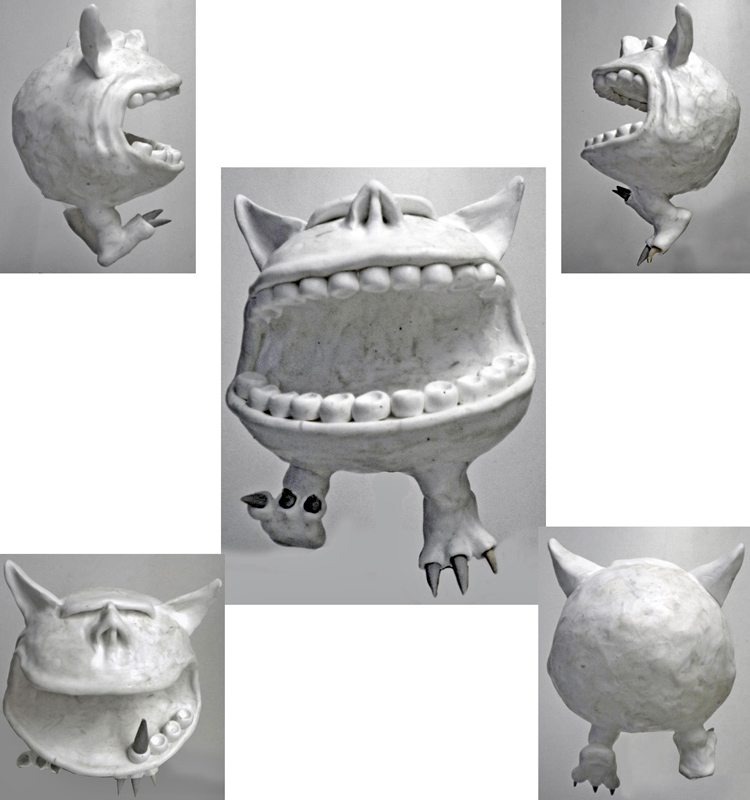
Positioning of all the gums...
Making the teeth. Use scraps of plastic model sprues or rounded profiles...
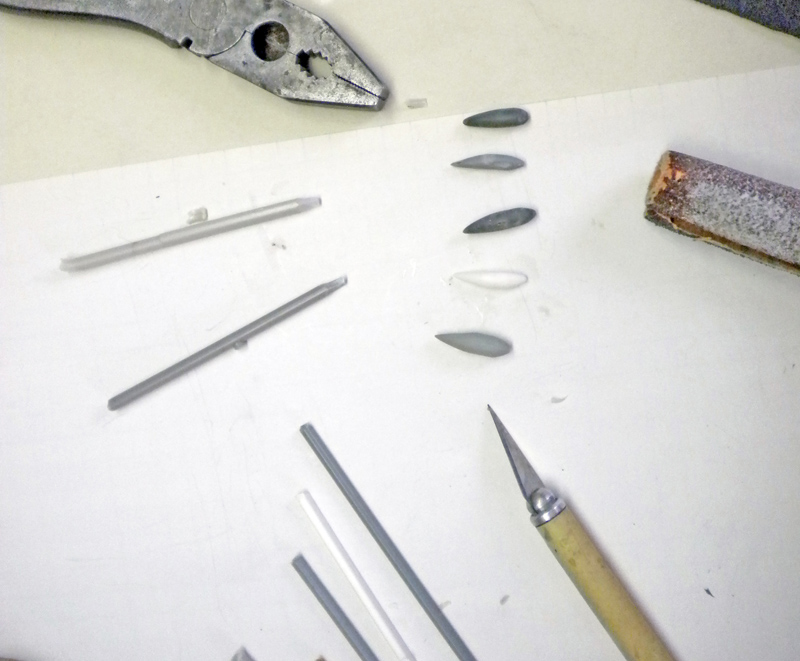
Use a utility knife to cut the pointed teeth, sand them down so they're thin, etc...
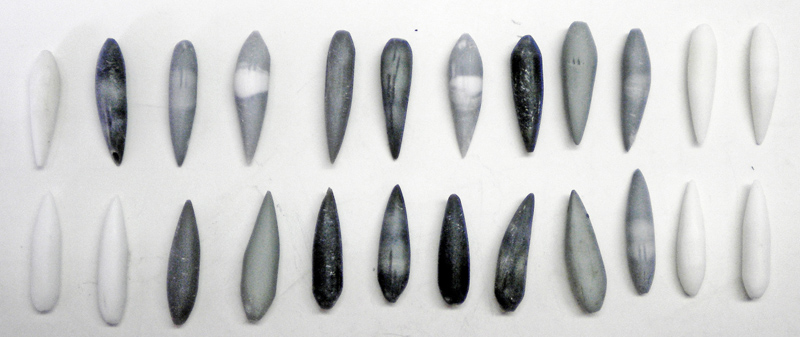
Place your teeth side by side as if they were in the jaw to check the overall proportions...
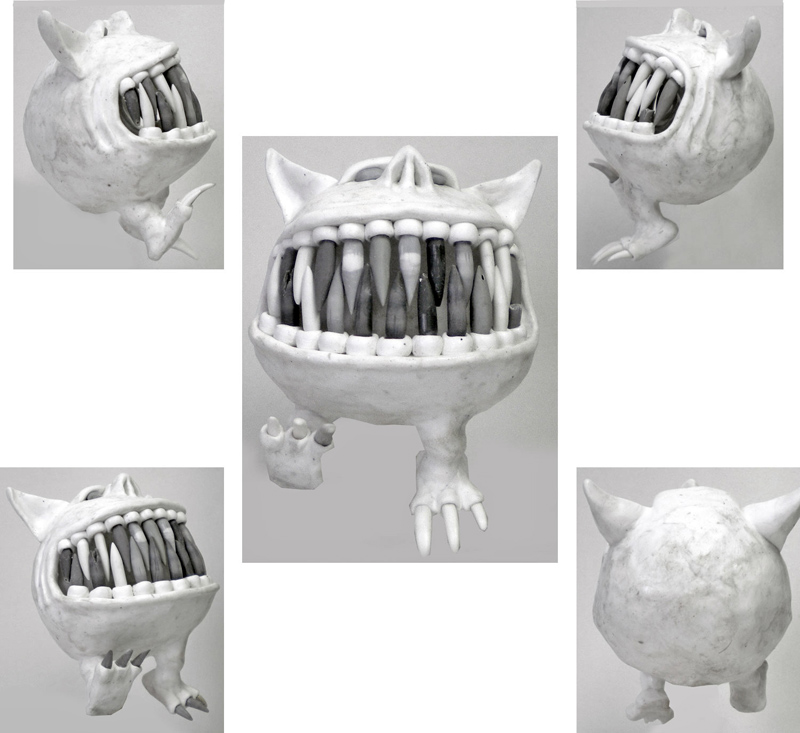
Fitting the teeth into the squig's mouth for testing and final validation of the model by comparing it to the original subject that served as inspiration...
Your model is now complete...
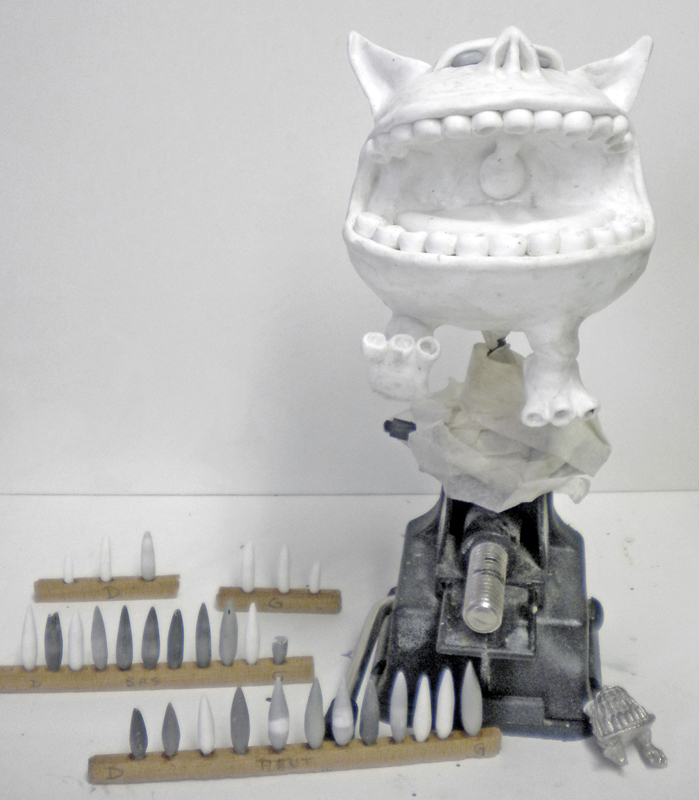
Remove the teeth carefully, or they'll melt during cooking!
All you have to do is bake it in an oven specifically designed for this purpose—NOT in your home oven. Be sure to strictly follow the manufacturer’s instructions regarding baking time and temperature...
Painting.
We are going to paint a polyurethane resin cast of our sculpture. The process of making the mold and casting the resin will be covered in another tutorial...
After allowing our casting to cure (until the material has finished shrinking)—a minimum of two days at 20°C—we must remove any traces of silicone that may have transferred from the mold to the resin...
The most common and least expensive (and, for once, non-toxic) solution is to soak our friendly, gluttonous biped in white vinegar for a night or two. This method is used by professionals. Then wash it, clean it with detergent, and dry it thoroughly...
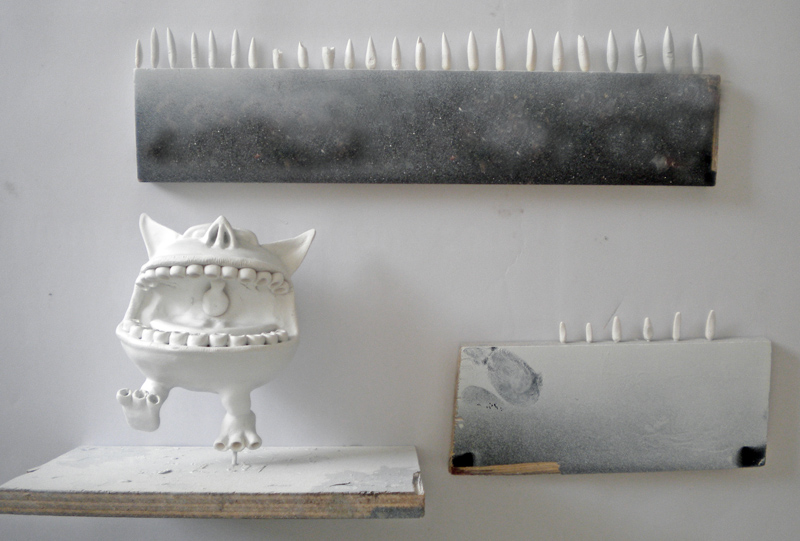
A white undercoat—the lighter it is, the brighter it will be once it's finished...
Technical note: We will be working with very thinly diluted acrylic paint (any brand will do)...
Paint/teeth
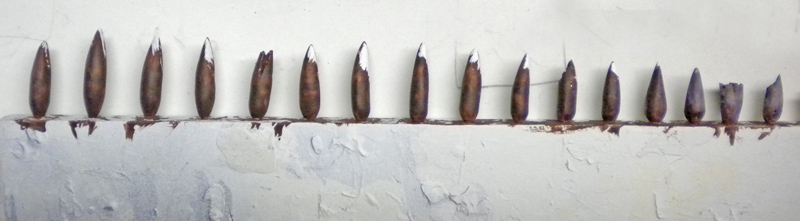
Paint the base (root) of the teeth and claws dark brown, extending the paint only slightly up the tooth...
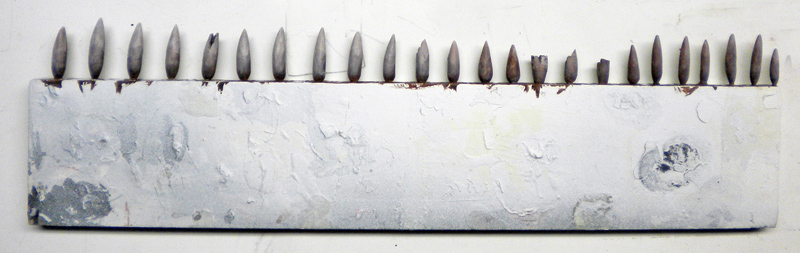
To a base of pure white, add a hint of the brown shade used earlier and apply it to the ends, blending it toward the roots...
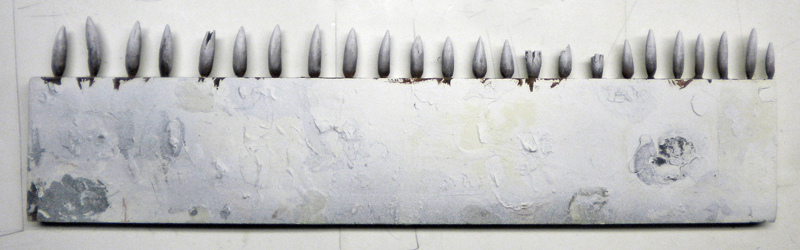
From now on, we'll be working with pure white diluted to about two-thirds strength; we always start at the top of the tooth and work toward the root...
...Two coats (or more, depending on your preference) to make your claws and teeth opaque and "whiter"...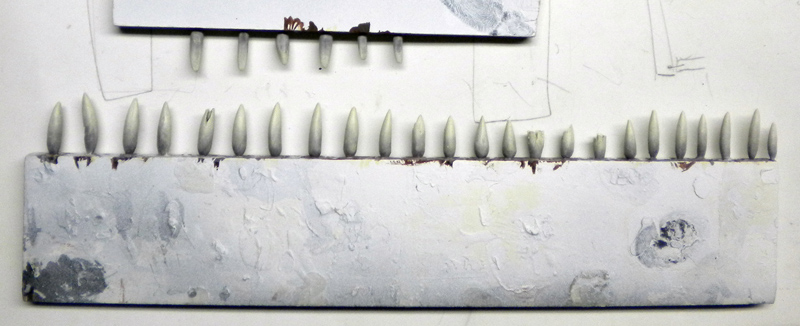
To the previously diluted white, add a little yellow (just a tiny bit) and apply this color...
...still very diluted, applied to all the teeth...
Apply a glossy polish to the teeth and a satin finish to the claws...
Body painting.
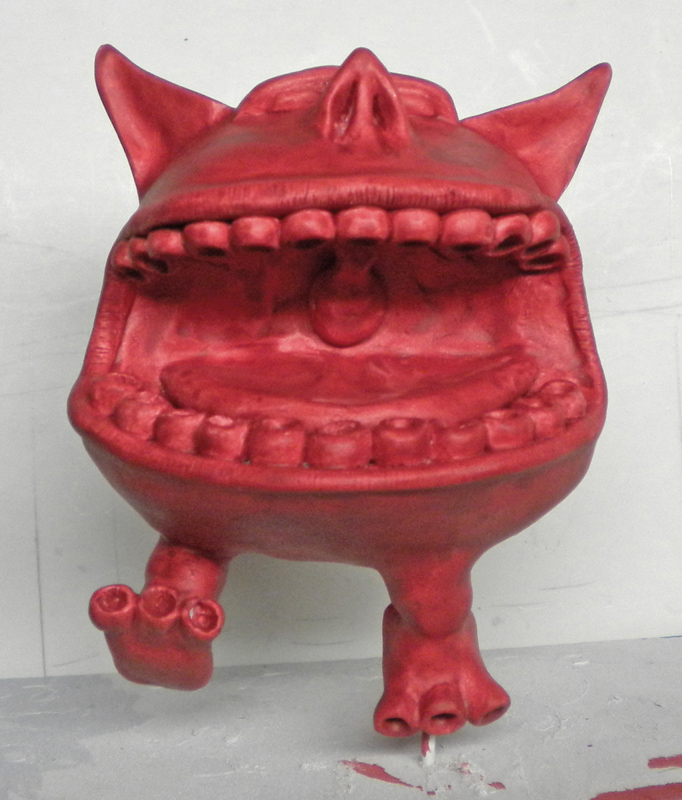 | 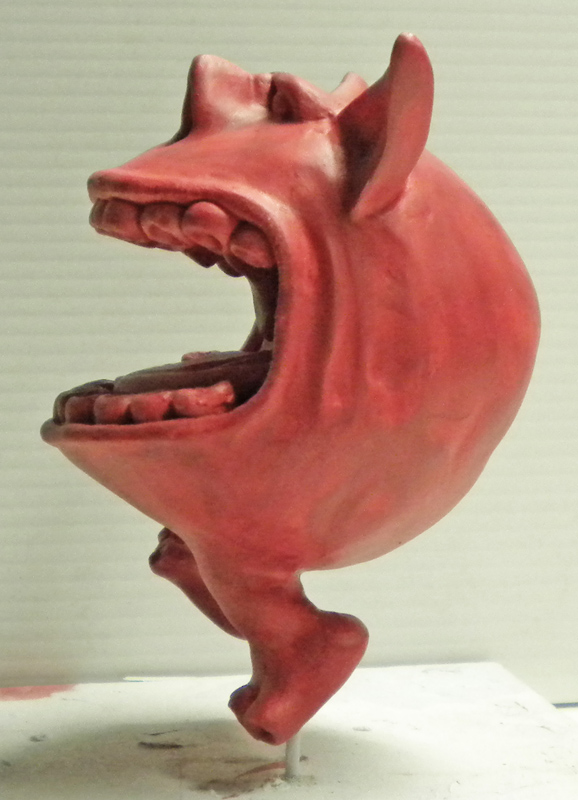 |  |
Le corps. La difficulté et aussi l’intérêt est de peindre la peau (presque toute lisse), sans voir de traces de pinceau, donc sans utiliser d’aérographe. Cela est plus facile qu’il n’y paraît...
You should thin the paint more than usual and apply it with a flat, soft brush. The flatter the brush and the softer the bristles, the better you’ll be able to apply an even coat of paint without leaving streaks. Check the area you’ve just painted very frequently to make sure no drips are forming. If any do, immediately “blot” them away with your flat brush. We haven’t included any photos because this is a technique that takes some practice to master. In the past, auto body repairmen were able to paint cars (“old clunkers”) freehand with a brush, and the paint came out streak-free…
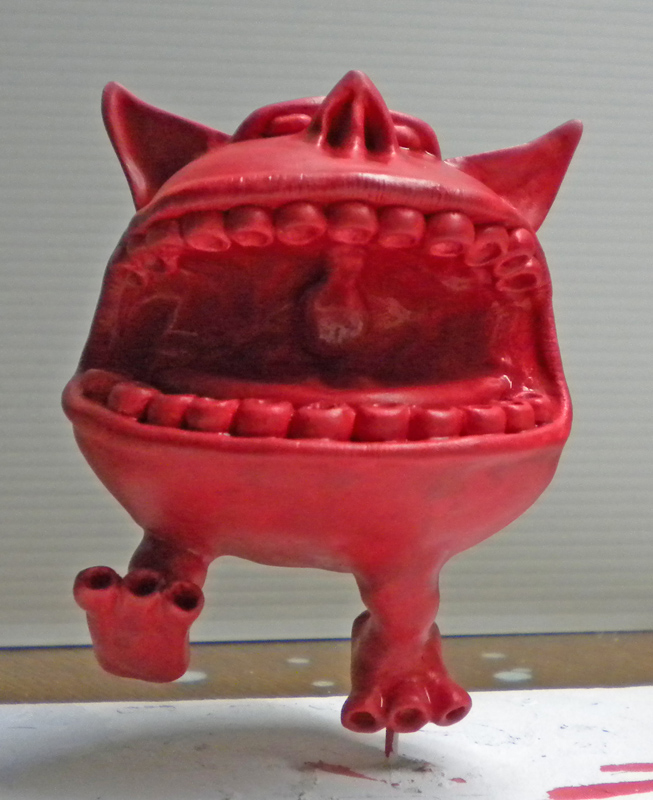
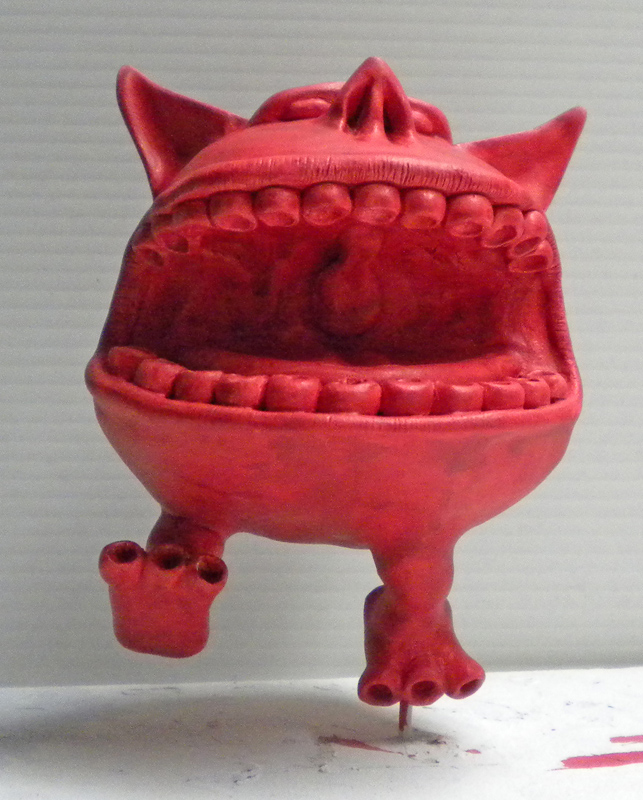
Depending on the color you choose and the color of the primer, you’ll need more or fewer coats. Keep in mind that red and orange are among the colors that provide the least coverage. You’ll need four or five coats (allowing each one to dry thoroughly, of course)...
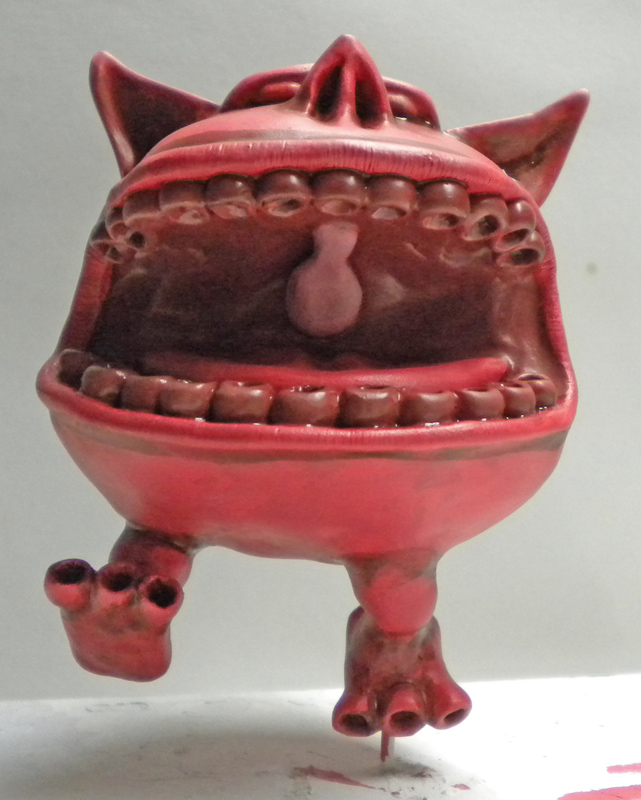
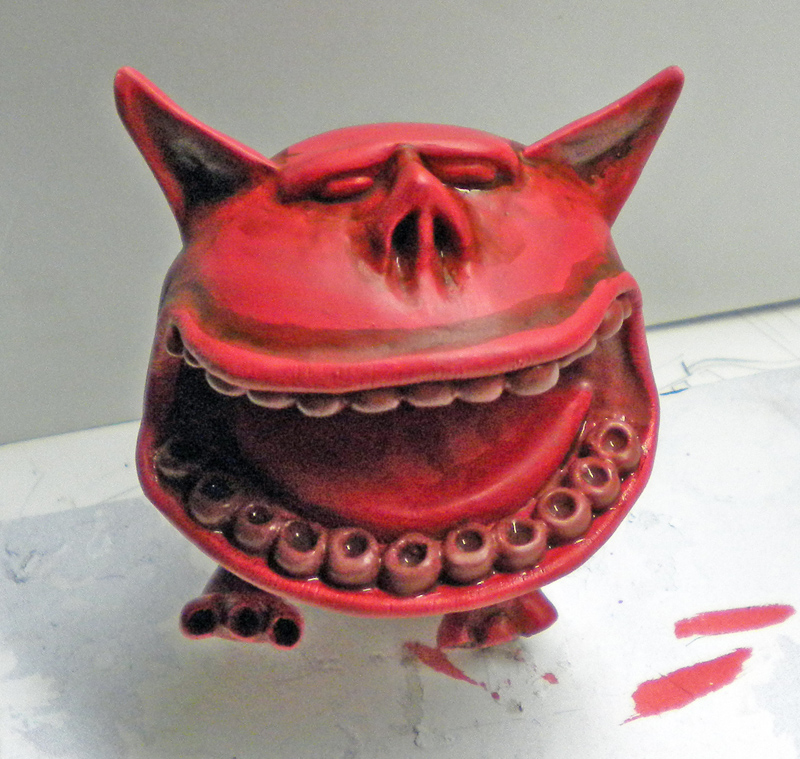
Inside of the mouth: The glottis is painted pink; the tongue, palate, and gums are painted a nearly bright red using a mixture of one-third brown and two-thirds red...
After these layers have dried, lightly highlight the tongue with a few washes of a slightly lighter shade of red. Apply a brown-red wash over the entire area (glottis, tongue, palate). The gums will be lightened with a little light purple mixed with red, then with the same color mixed with white...
Next, apply a glossy nail polish to the entire inside of the mouth. Paint the lips bright red, then add a satin-finish polish to make them stand out a little...
 |  |
On réalise des « pré-ombrages et des pré-éclaircissements » avec la couleur de base rouge additionnée de marron ou de blanc. On les passe légèrement dilués. Les laisser sécher complètement...
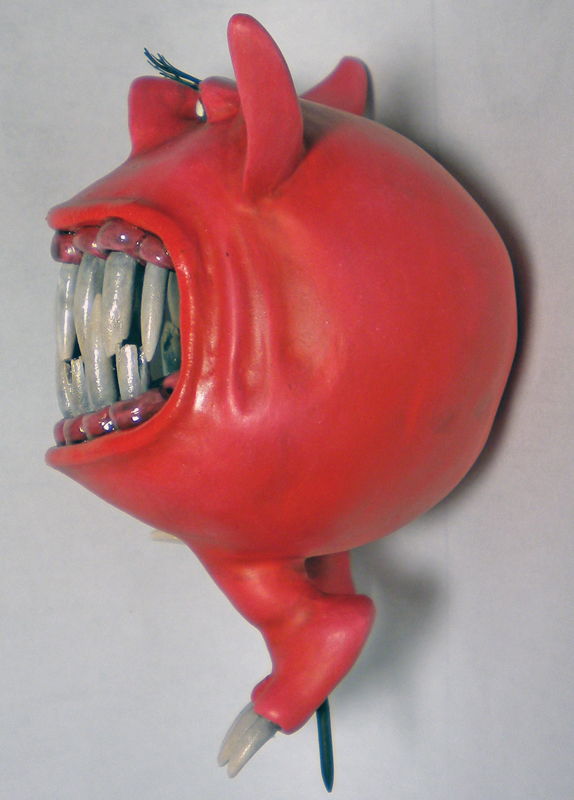
We use the base red of the body again, applying it diluted in several successive layers. We focus on areas where the shading or highlights are too pronounced...
You can finish with very light touches of diluted pink on the cheeks, the tips of the ears...
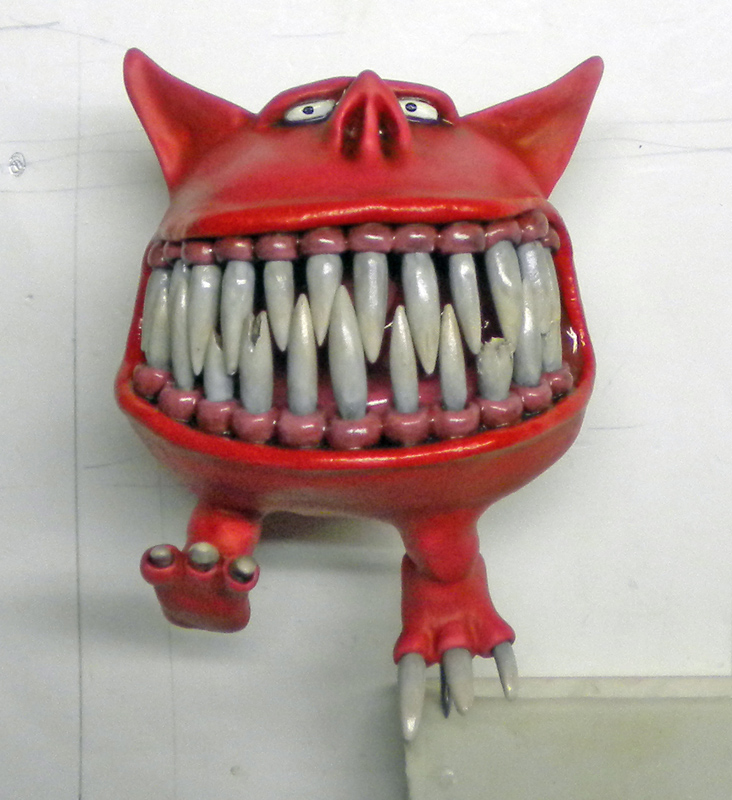
The painting is finished. Glue the teeth one by one using cyanoacrylate. Lightly scrape the inside of the gums with the tip of a utility knife so that you’re gluing resin to resin, not paint to paint to paint. Once the teeth are glued in place, apply a glossy varnish to the entire surface of the teeth and gums...
Eyelashes
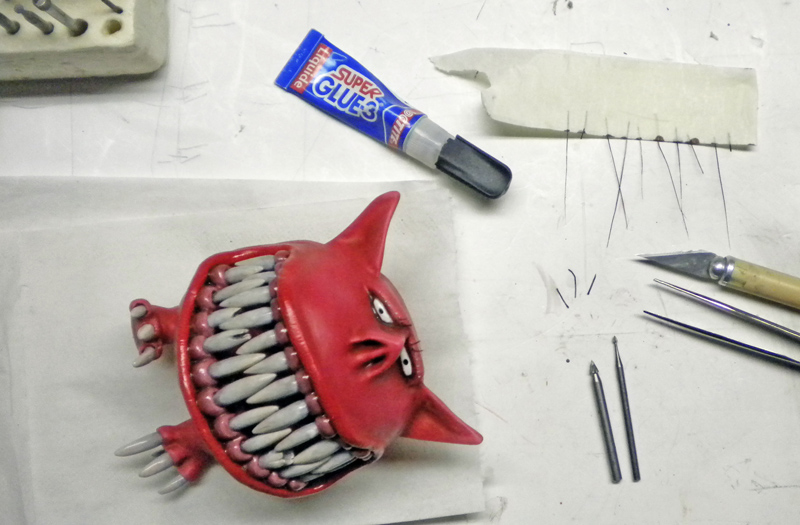
Eyelashes! Take some bristles of the right thickness from an old craft brush, paint them black. Cut them to the right length, and curl the thinner end...
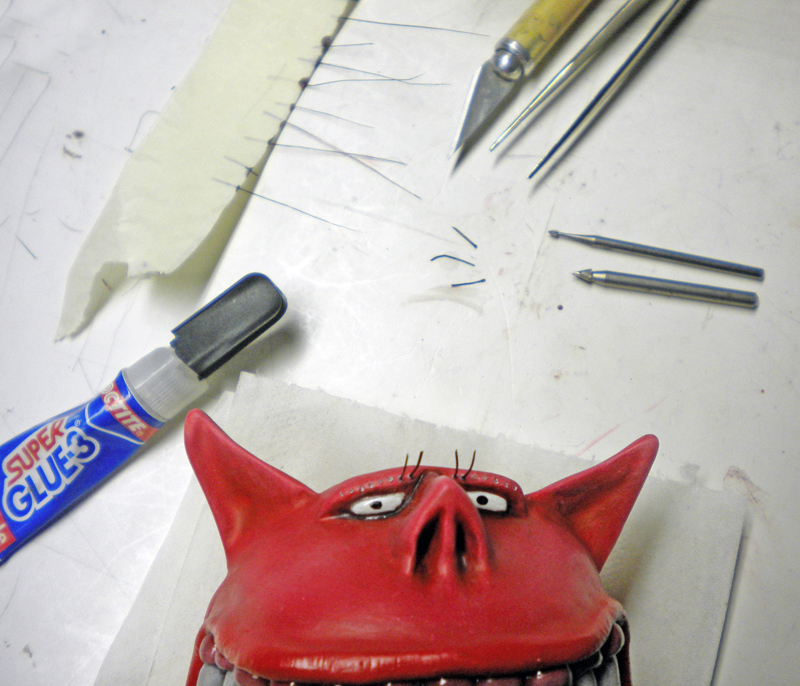
Using a very fine craft knife, cut small, evenly spaced holes. Then, using either the same craft knife—rotating it—or a mini drill bit, enlarge the holes slightly so that they can accommodate the eyelashes...
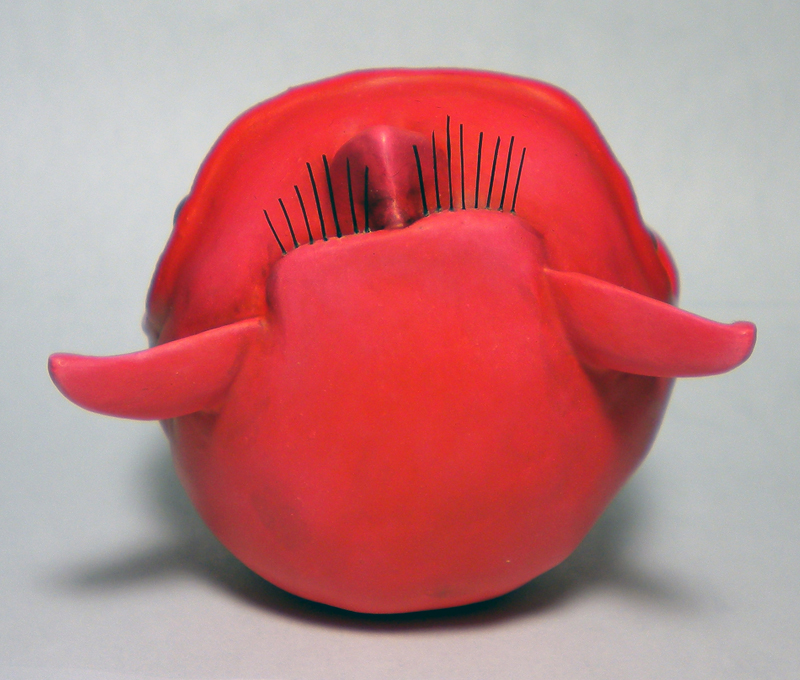
Glue them on with Cyanolite—apply the glue to the eyelash and then place it in position...