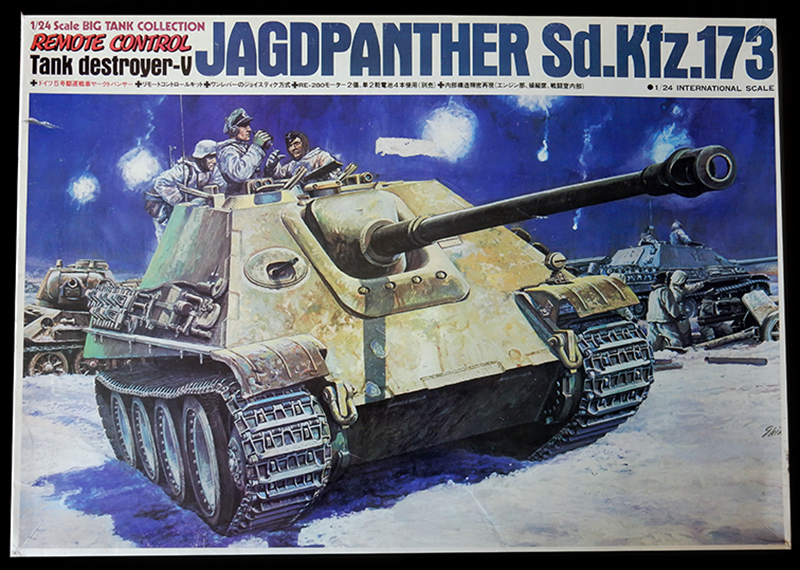
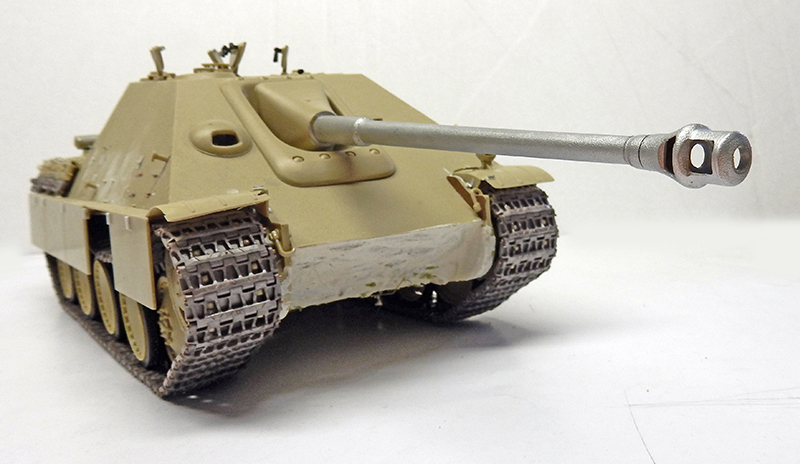
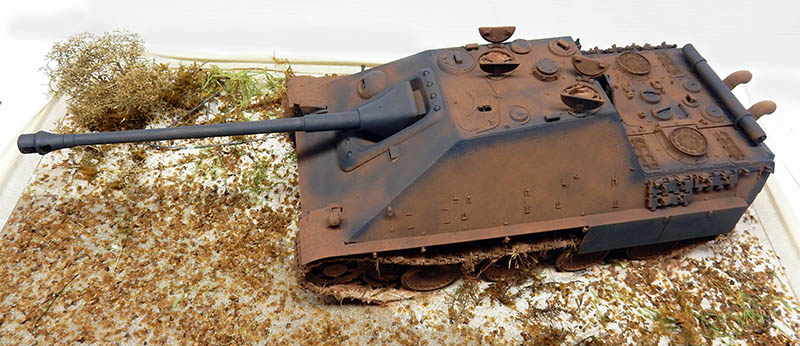
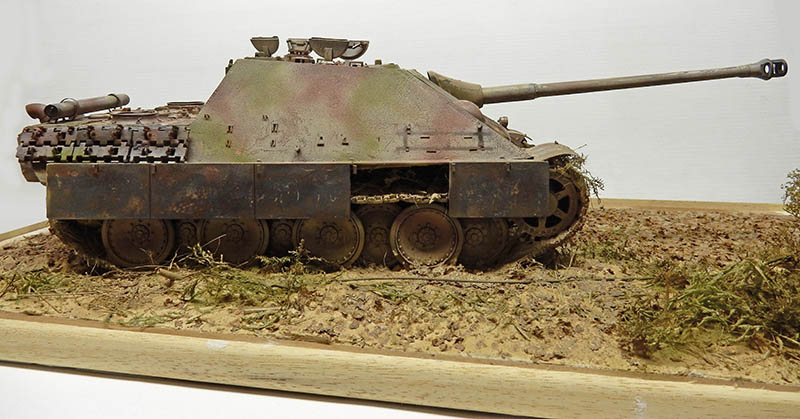
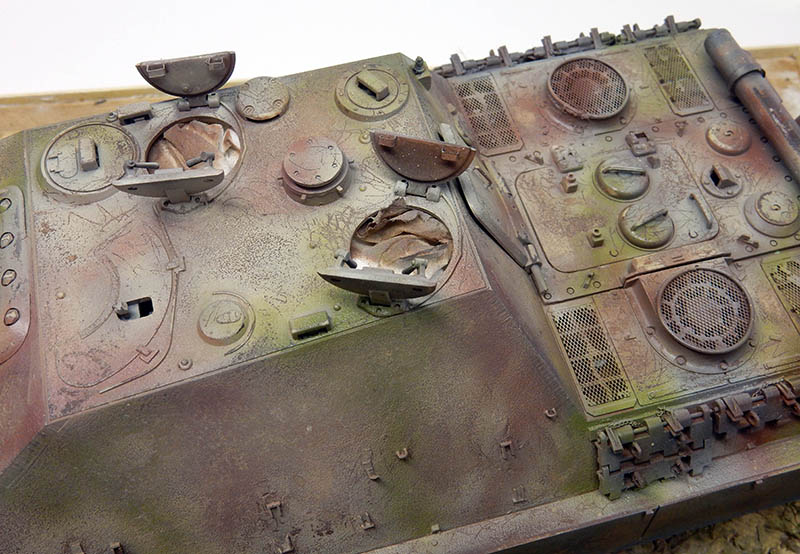
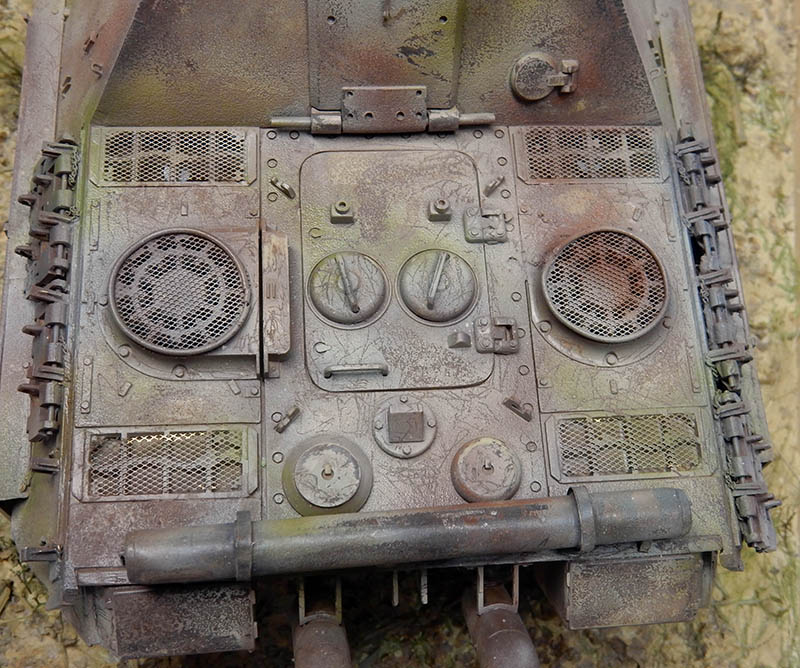
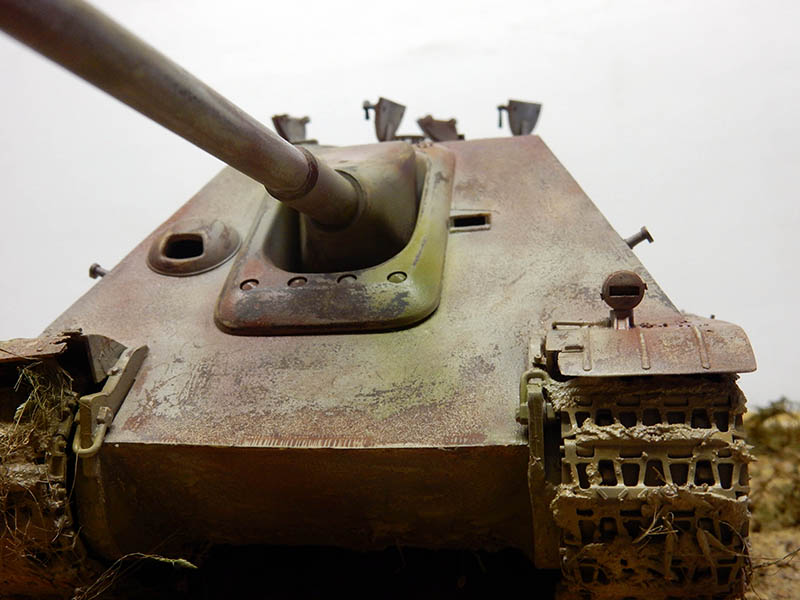
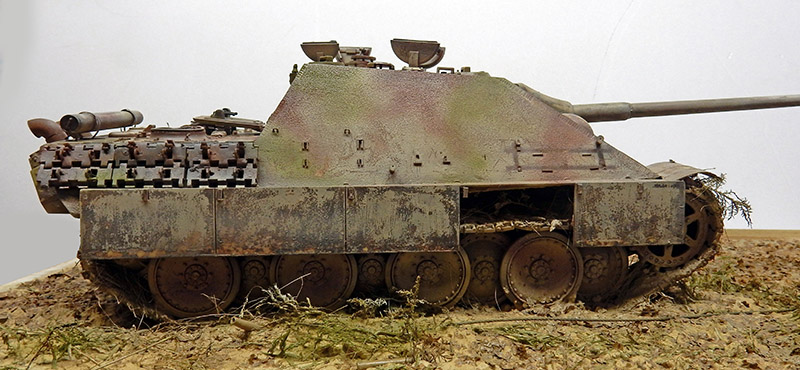
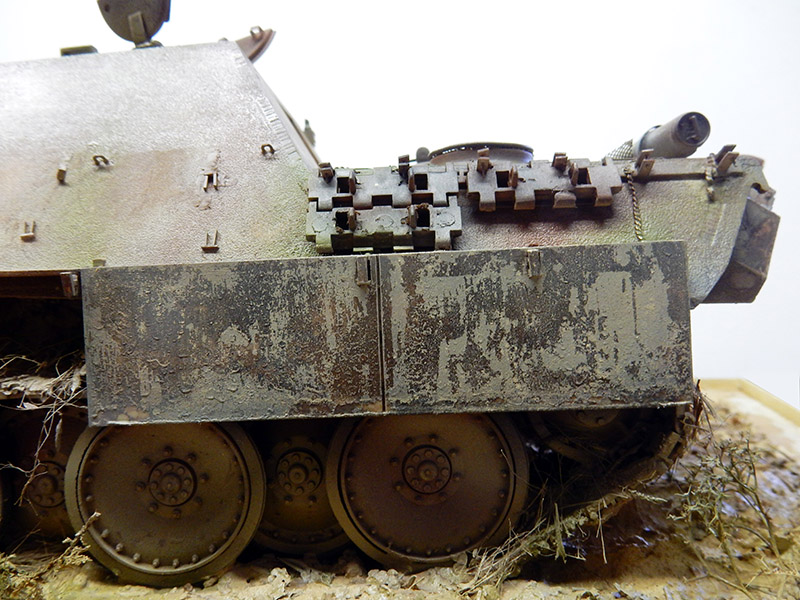
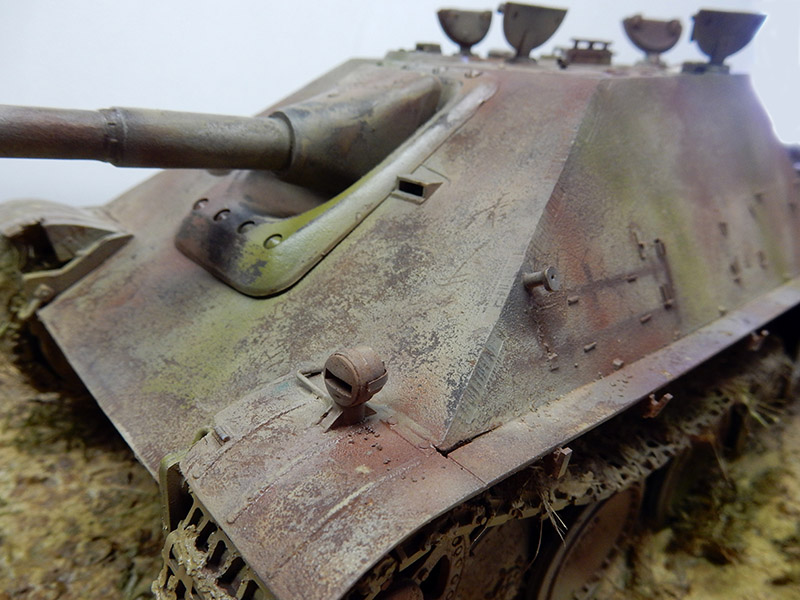
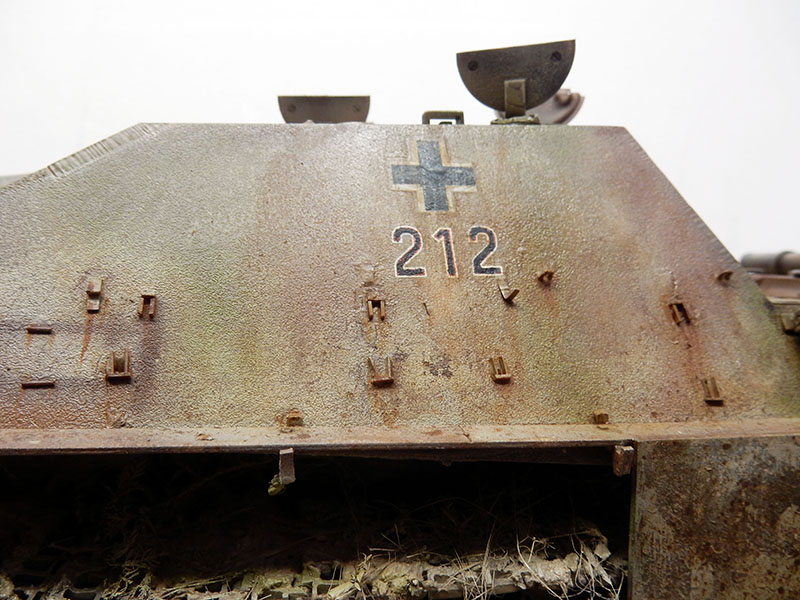
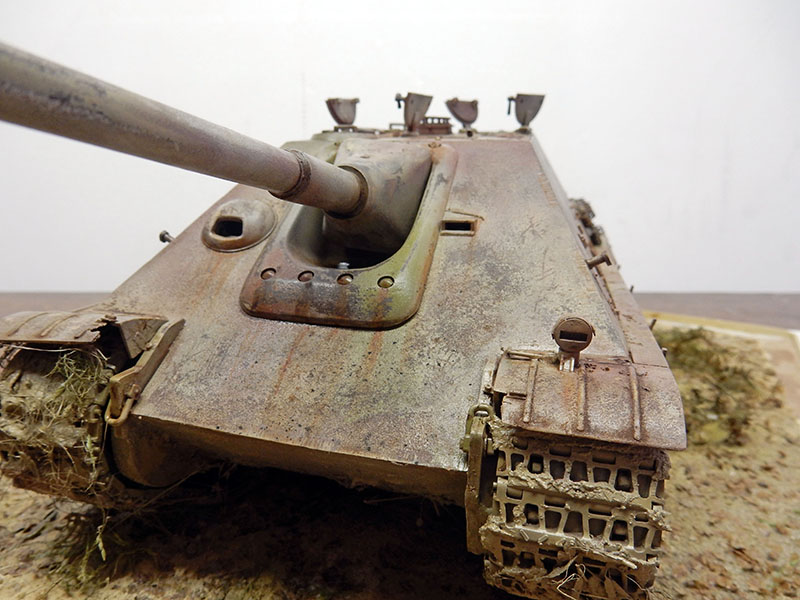
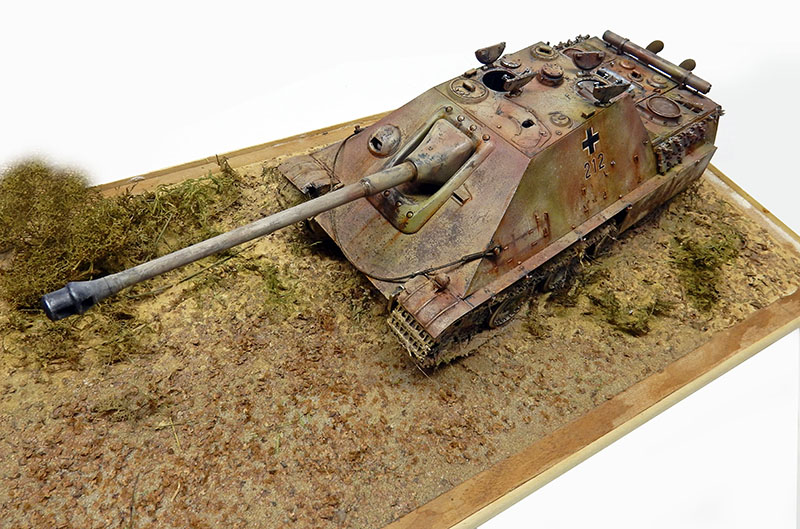
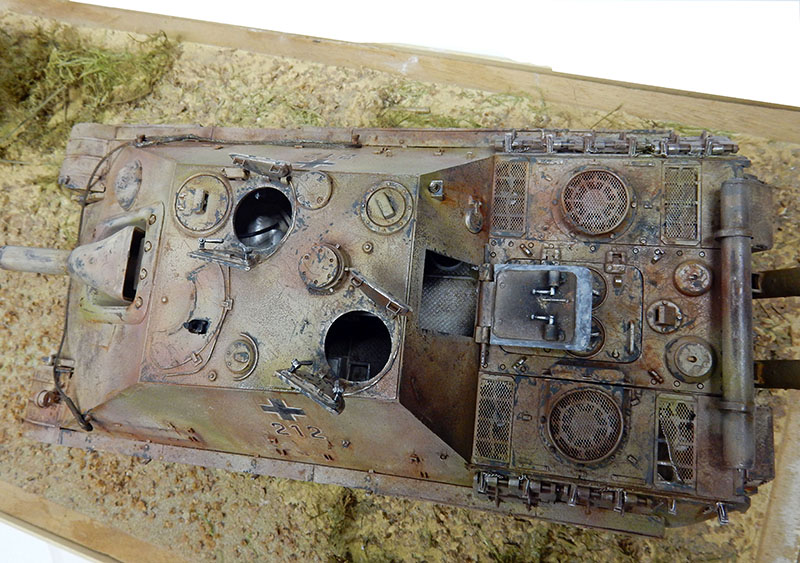
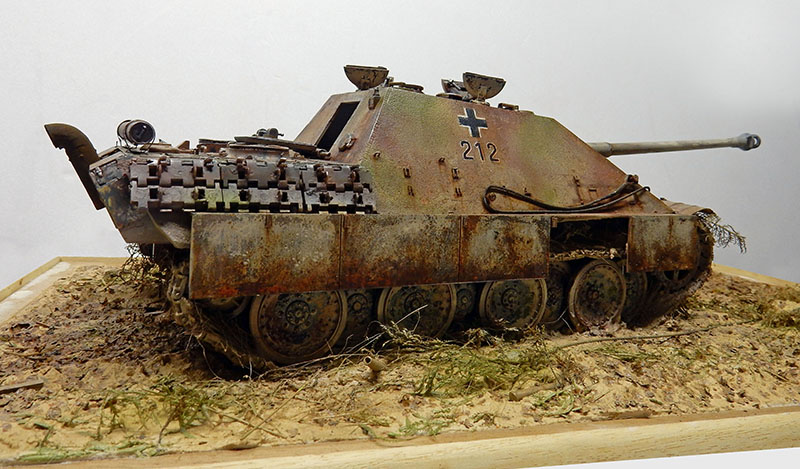
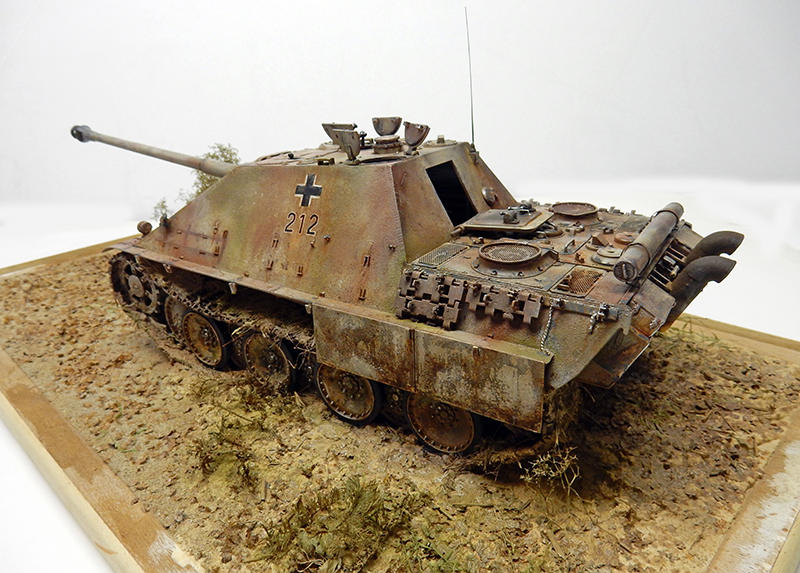
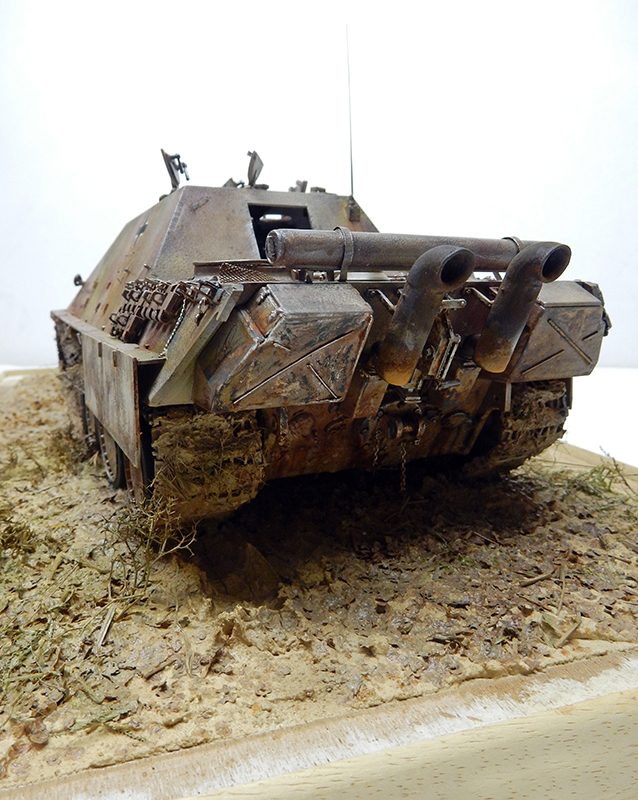
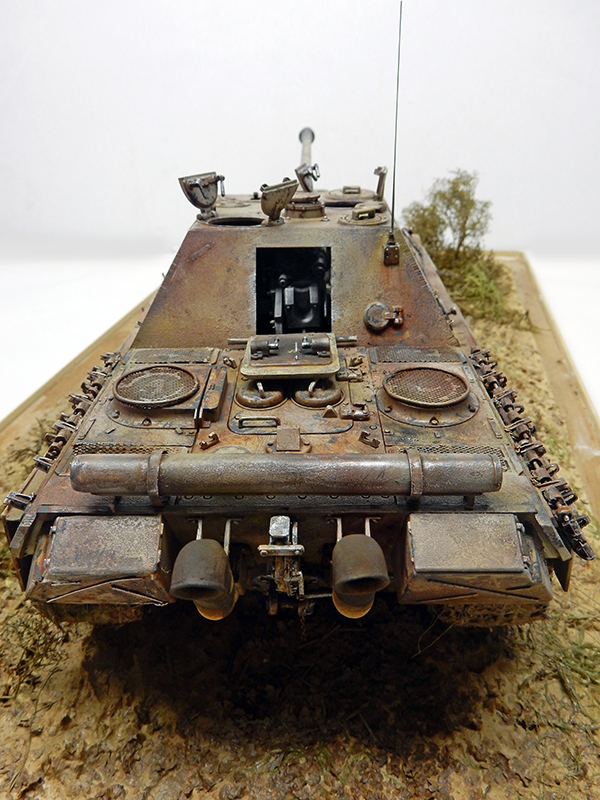
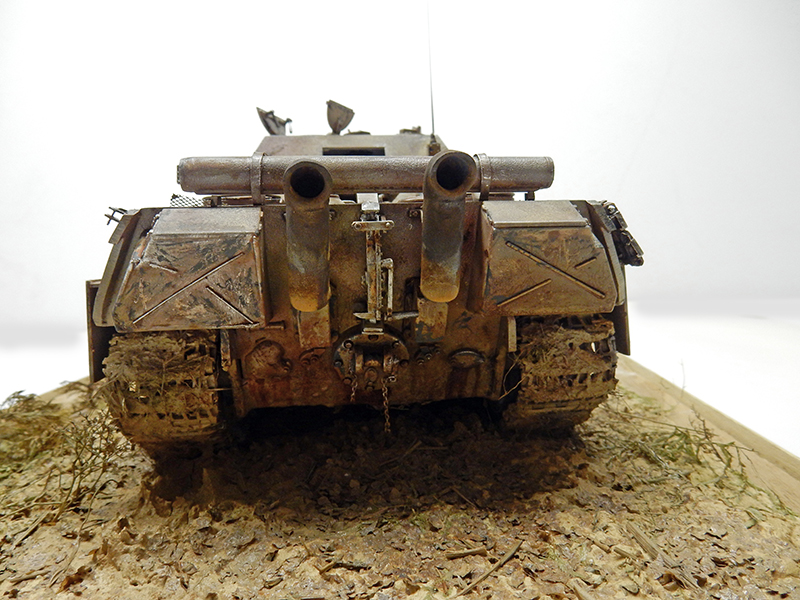
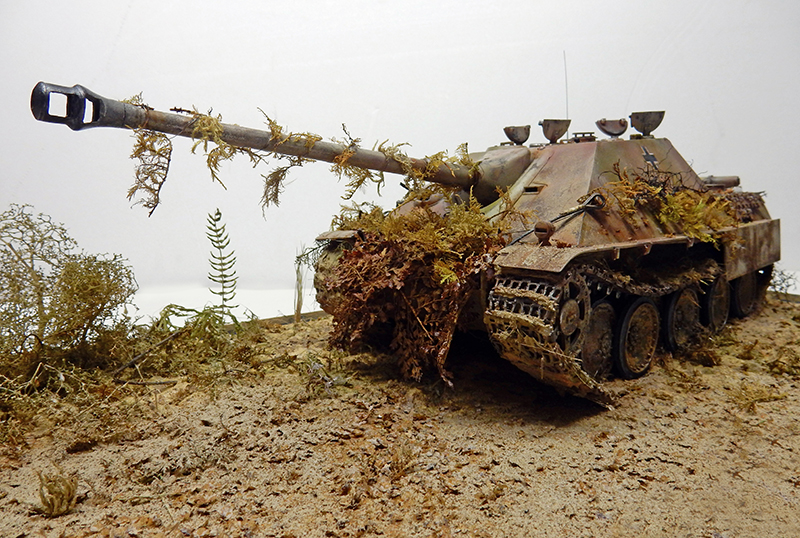
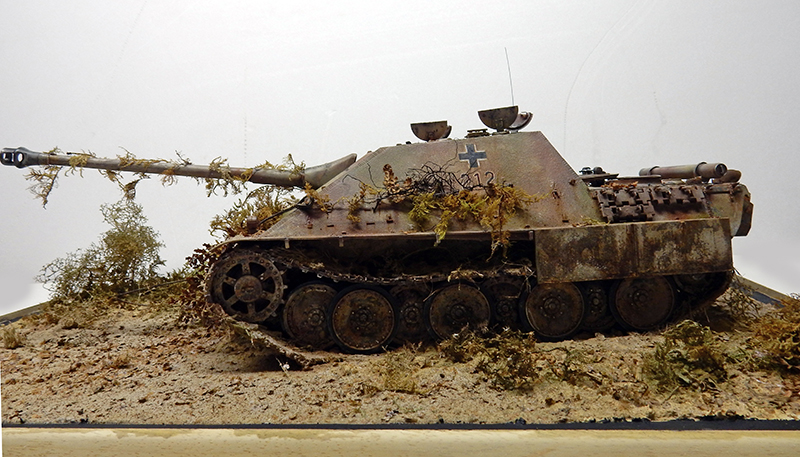
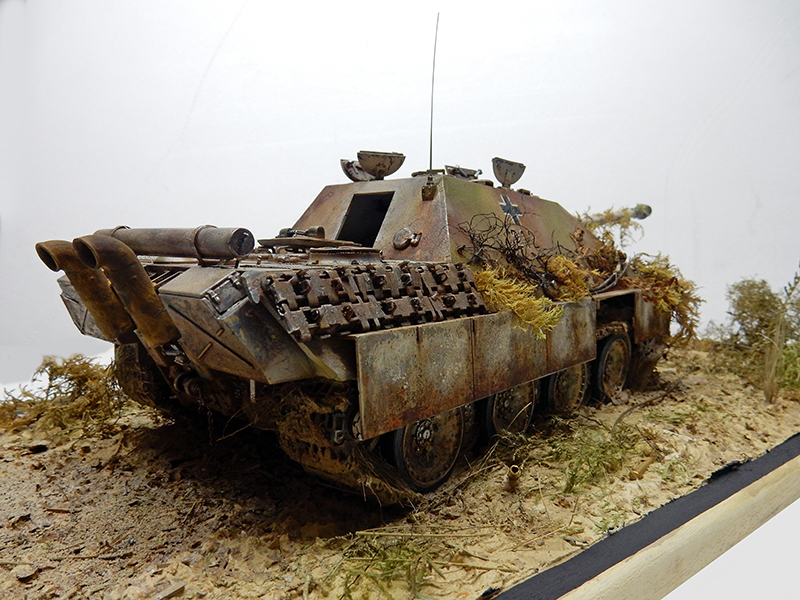
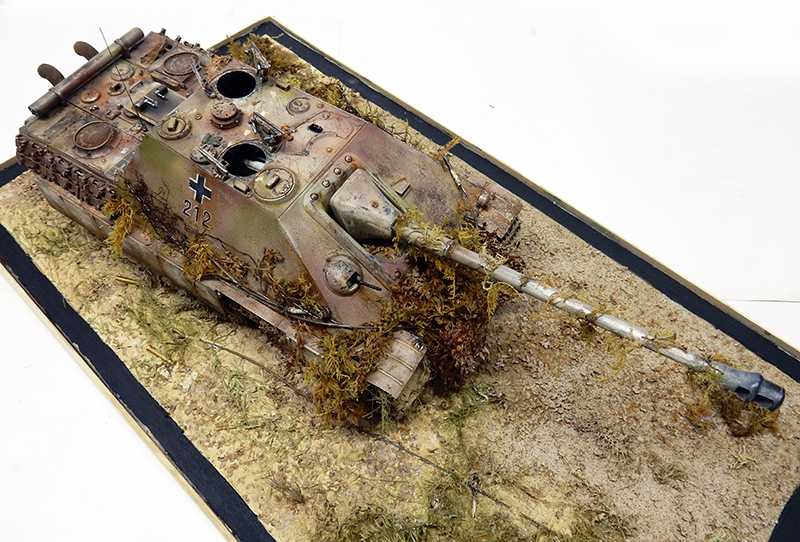
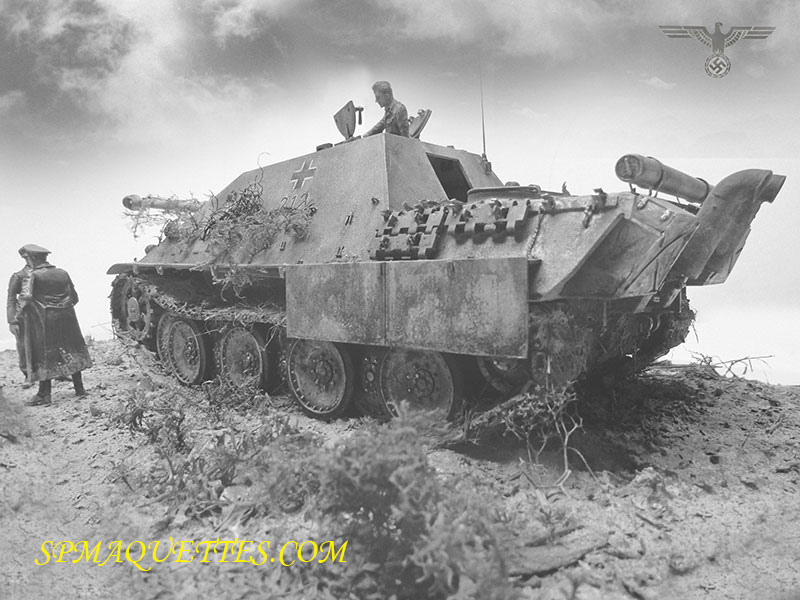
The BANDAI 1/24-scale Jagdpanther—a beautiful model, though an older one, with a gun that’s nearly 45 cm long! It comes with a remote control—which you’ll have to assemble yourself! —and a drive kit for the front axle if you decide to make it movable. Note that there’s also a Panther (which will be the subject of a future tutorial) and a Tiger B available at this scale...
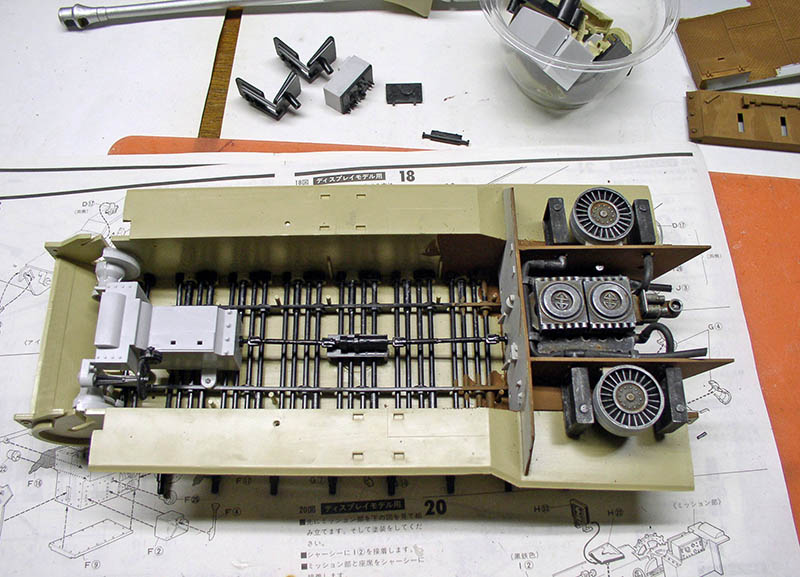
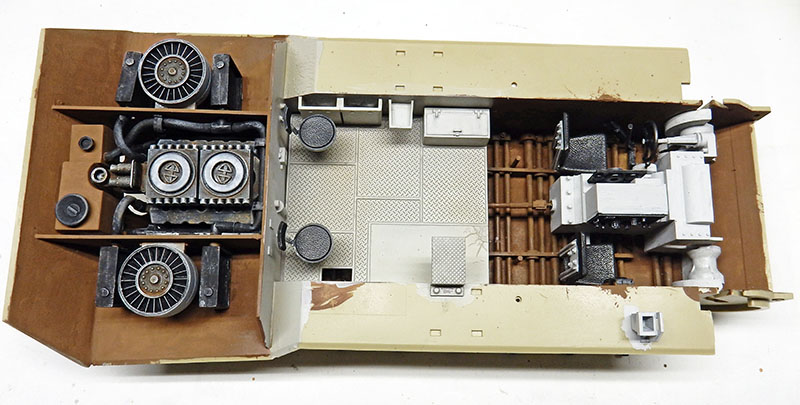
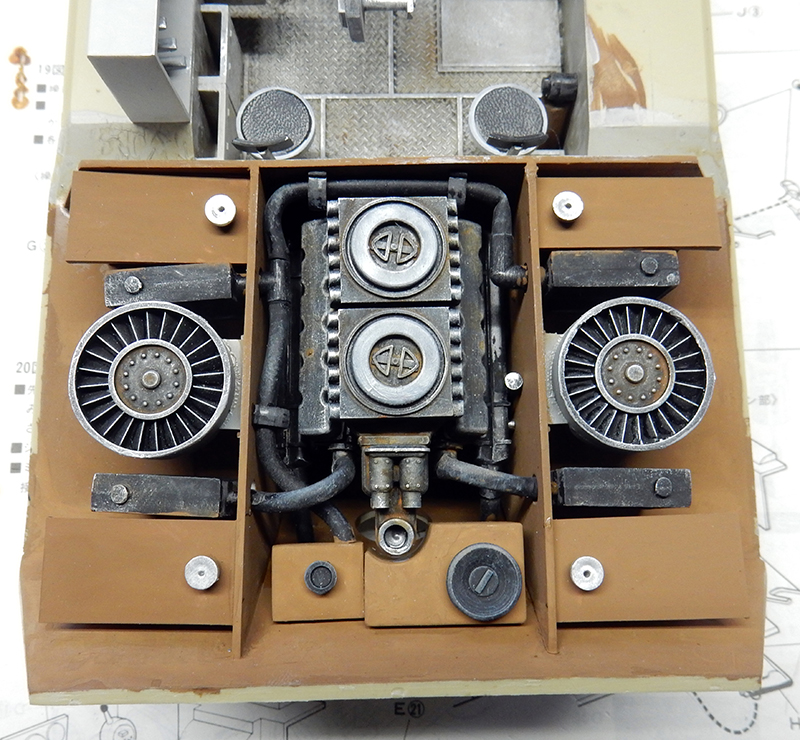
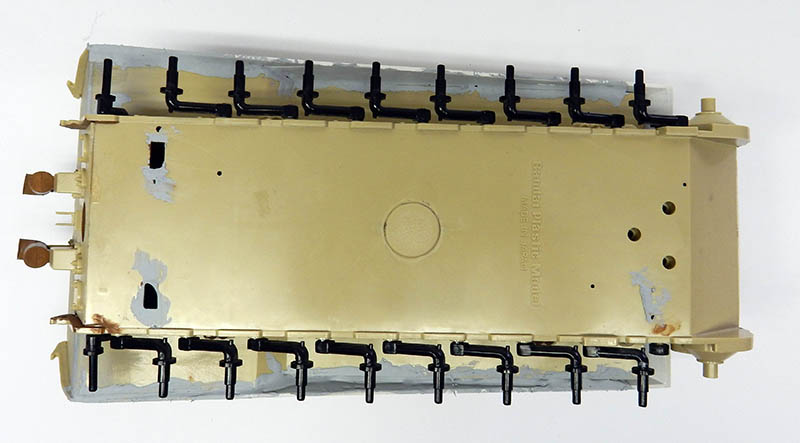
Assembling the body. The drivetrain is installed, along with all the drive shafts supplied for both axles. The engine compartment is installed, and then the engine—which has been painted and weathered—is glued into place...
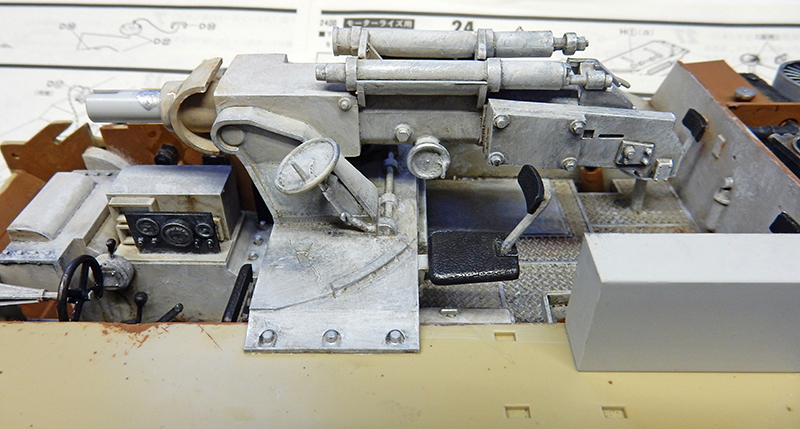
Installation of the seats and driver's station, painting the inside of the body, and installation of the floor. Gluing the rear engine bulkhead and the oil reservoir...
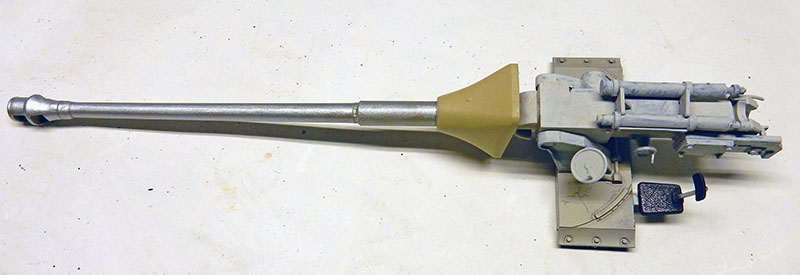
Assembly of the 88mm gun barrel. The barrel is glued together in two parts; the joint is filled with putty and then sanded, after which an aluminum-colored paint is applied to ensure a perfect finish...
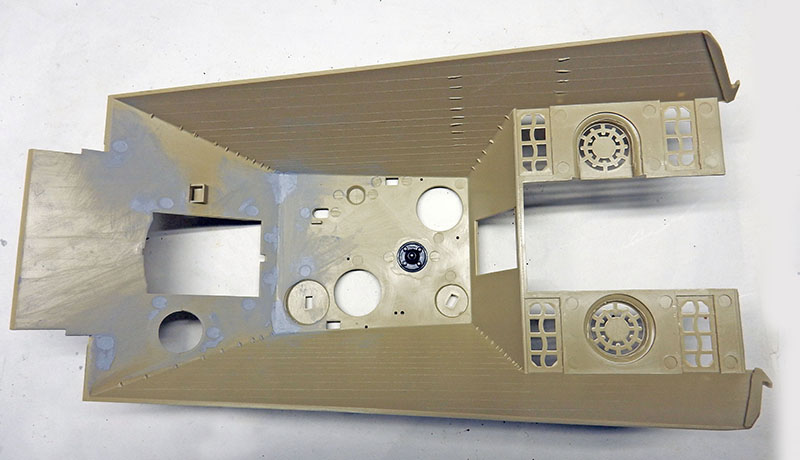
Some of the casting marks on the inside of the structure that are too noticeable are filled with putty and then sanded down...
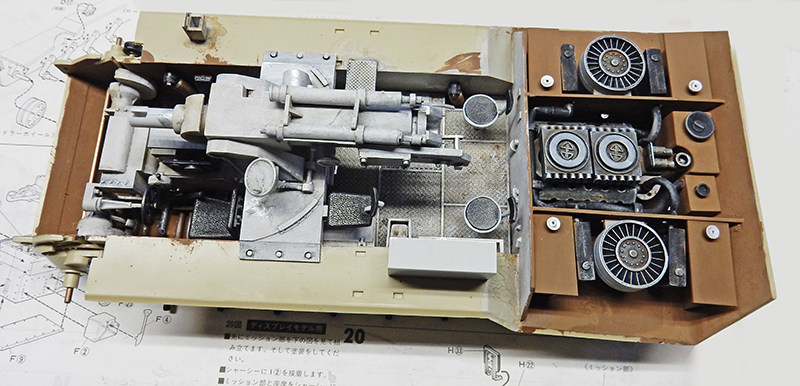
Testing the positioning of the cannon on its mount. The fuel tanks, which were missing from the model, have been added. They are made of plastic card...
A view of the engine: it isn't shown in much detail, since we'll only see it through the air vents... Which isn't much...
The barrel is glued to its base. A few details are added—bolts, brackets—based on the reference material. The entire piece is painted with Humbrol light gray and white using the dry-brushing technique, then weathered with washes of umber, sienna, Naples yellow, and other colors...
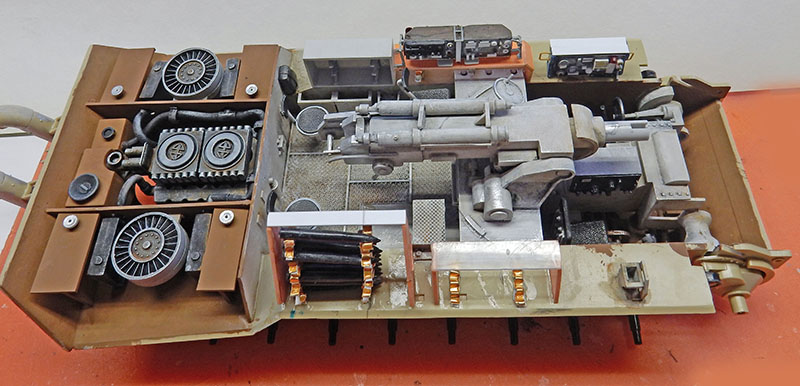
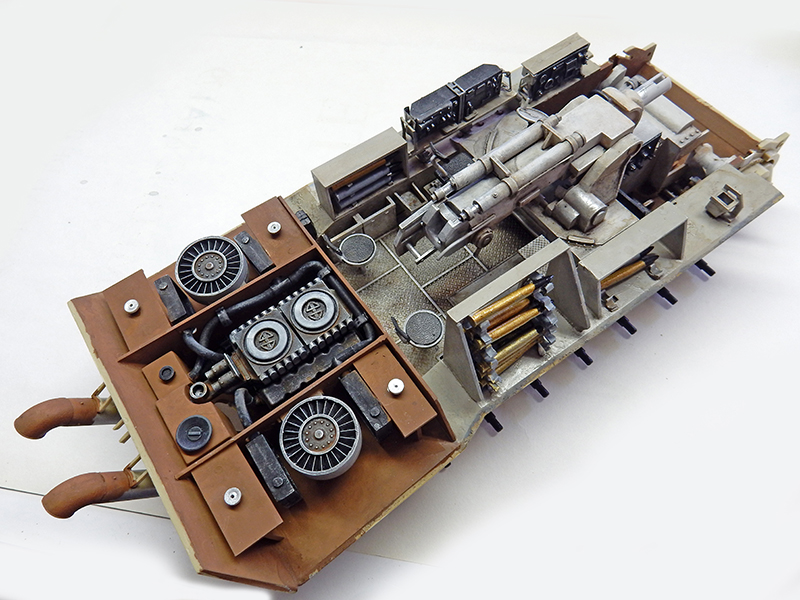
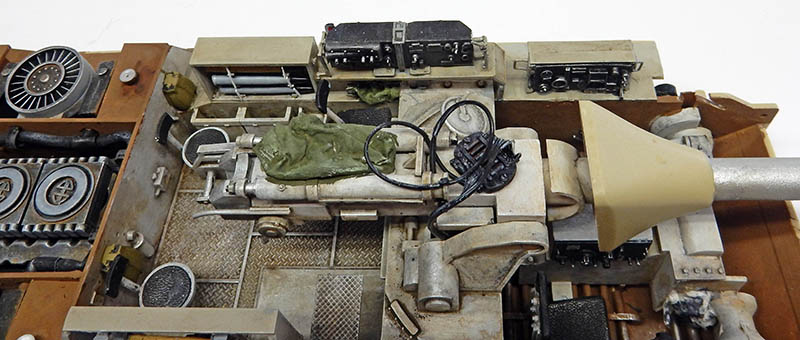
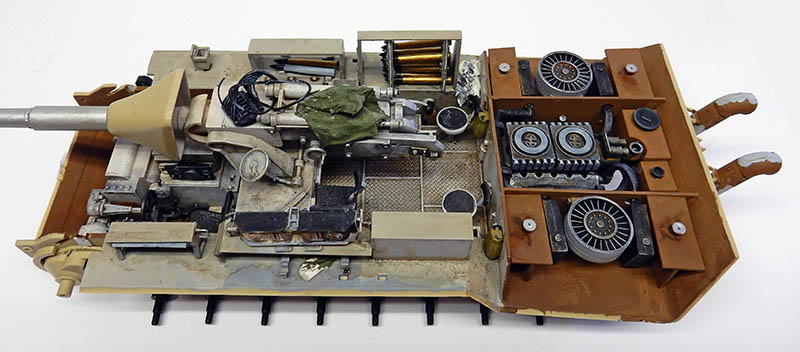
Since the interior layout is fairly minimal on the model, I built the shell racks, shelves, and FU-15 and FU-16 radio stations. All made from plastic card...
A view of the completed and painted piece...
More details are still being added, including a tarp...
Another view...
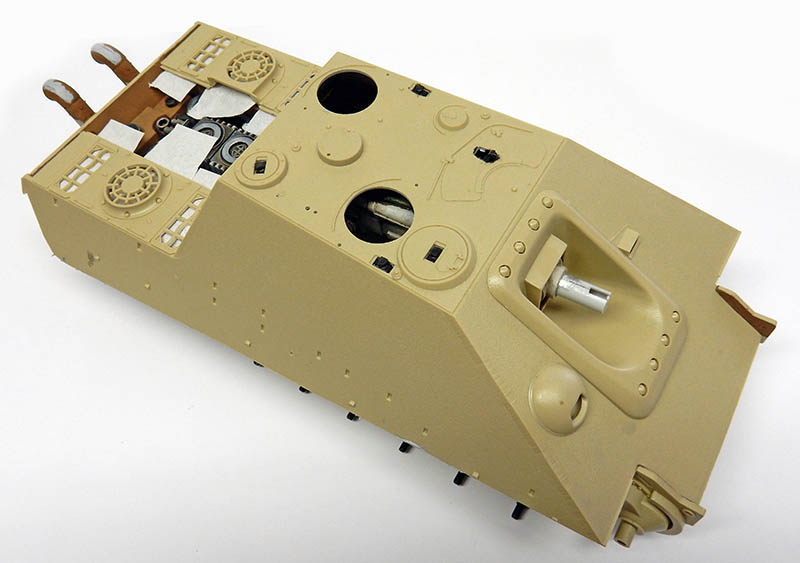
Gluing the structure together after installing the periscopes and various cables. We're covering the engine grilles in preparation for painting...
... And filling and sanding to achieve the perfect joint on the "wings"...
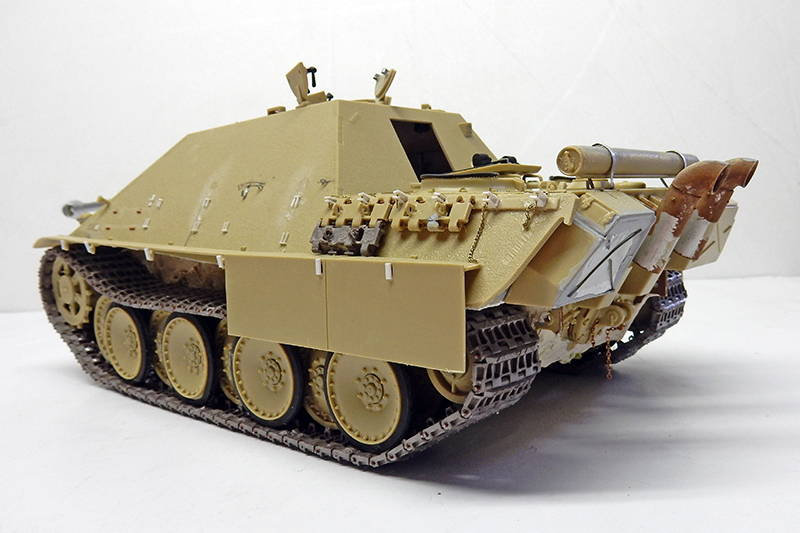
The tracks must be assembled one track plate at a time, using two metal rods per track plate. Kudos for the relatively easy assembly of the track, which fits together with the last track plate to the nearest millimeter!...
The structure has been redrawn in greater detail. Since this is a later model, the crew quickly realized that the tools mounted on the sides of the hull were quickly destroyed by enemy fire, so they no longer placed anything in those locations. Clips and hooks have been added. The gun maintenance kit is also located on the rear deck. Mounts for spare tracks and missing track links have been added. The rear left storage compartment has been slightly indented and the panel lines redone...
The Setting
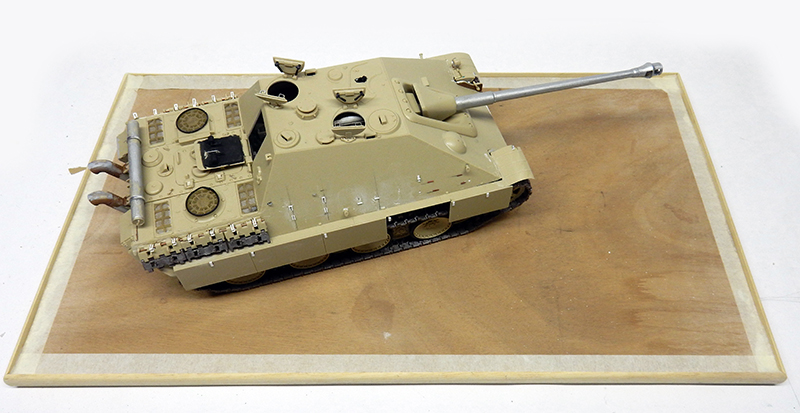
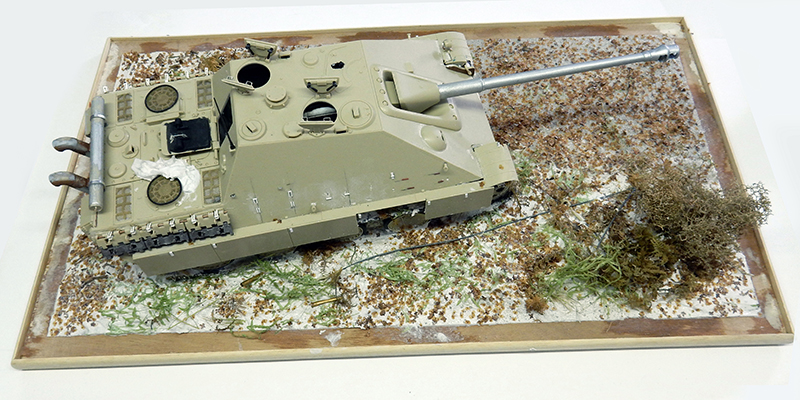
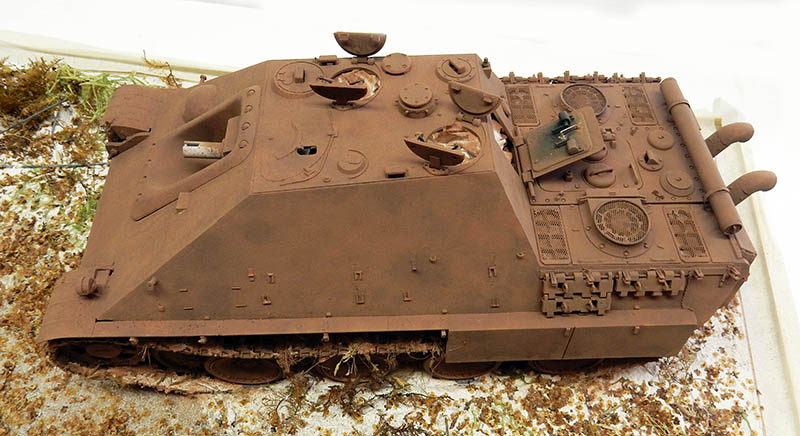
As a one-time exception, we're going to build the scenery here before painting the tank and then paint the entire assembly. Given the tank's weight and size, it will actually be easier to paint it in its natural setting...
For aesthetic reasons, we avoid positioning it parallel to the decor...
... In addition, it will be easy for dirt and branches to get caught on the tracks and in the wheel wells.
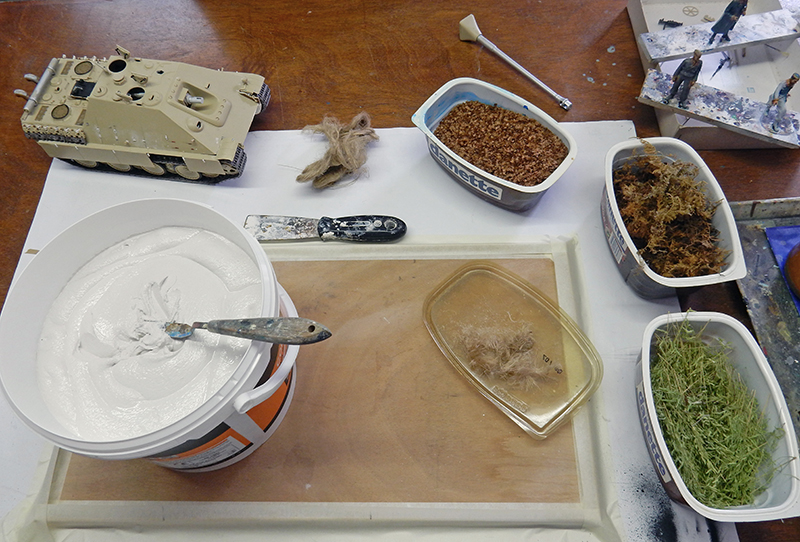
To do this, we use ready-made tile adhesive, various leaves and roots collected in the forest, and birch seeds that look like little leaves...
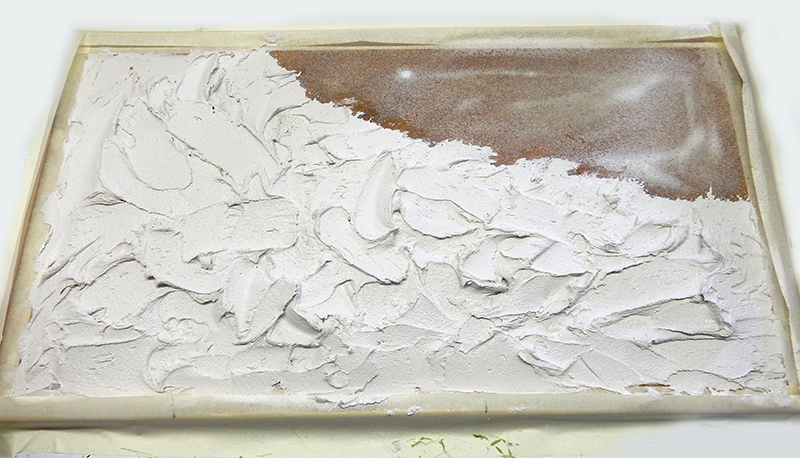
After applying a fairly runny layer of wood glue, apply the tile adhesive to the panel...
We arrange our various branches and leaves, a little sand, and some Zeechium to create the shrubbery...
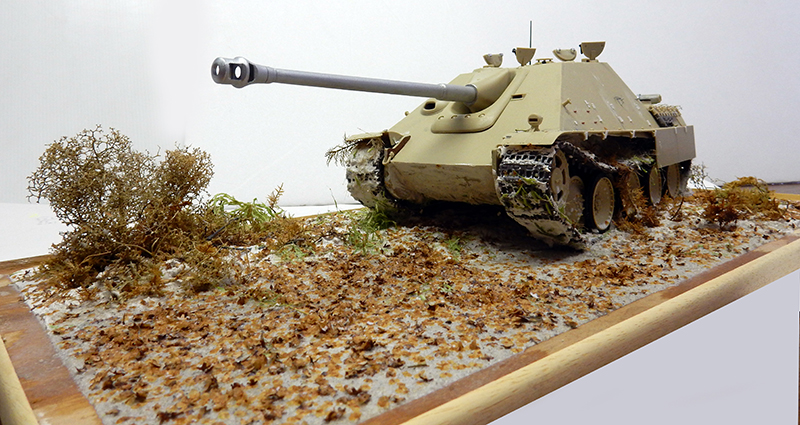
Overview. Care is taken to distribute soil and plant matter evenly over the tracks while leaving some parts of the metal exposed. A bed of fallen leaves adorns the ground...
The Tank's Paint Job
After sealing the various hatches with thin paper, we spray the base with Tamiya XF64 acrylic paint using an airbrush...
Some parts are then painted with Hobby Color FS 36231 dark gray...
The acrylics used to paint the body...
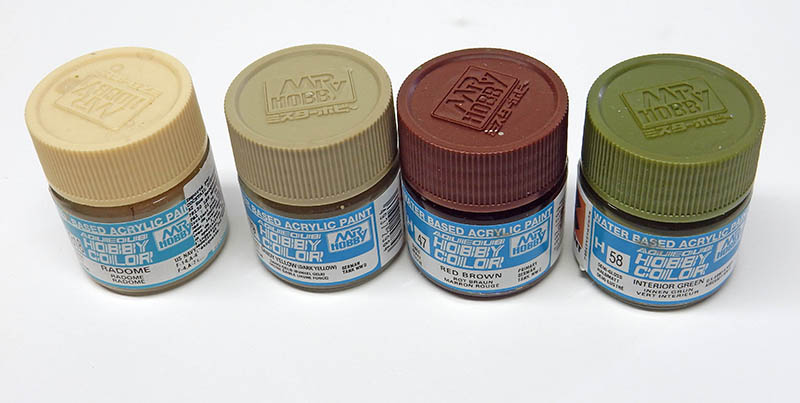
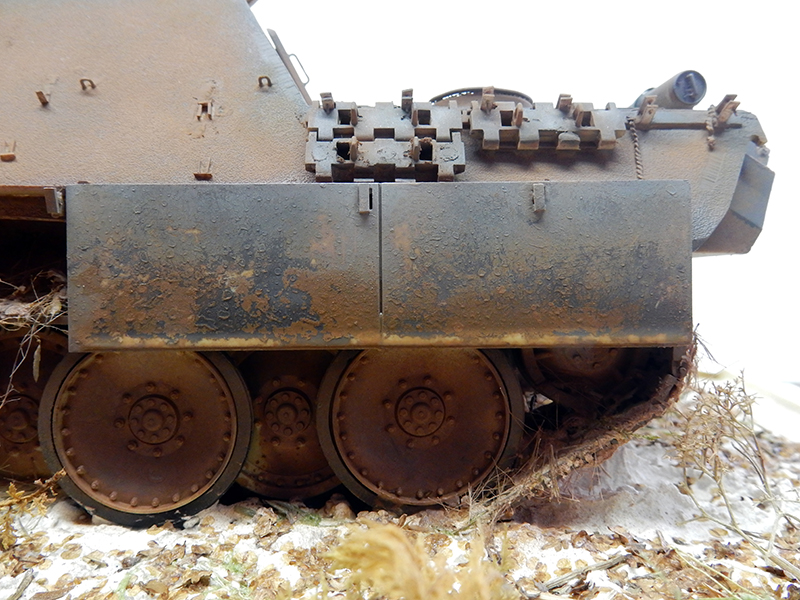
The protective plates are first treated with hairspray. Apply a coat of sand yellow, slightly lightened with Hobby Color Radome. Once the coat is dry, gently and carefully rub the surface after moistening it with a brush and wet 600-grit sandpaper...
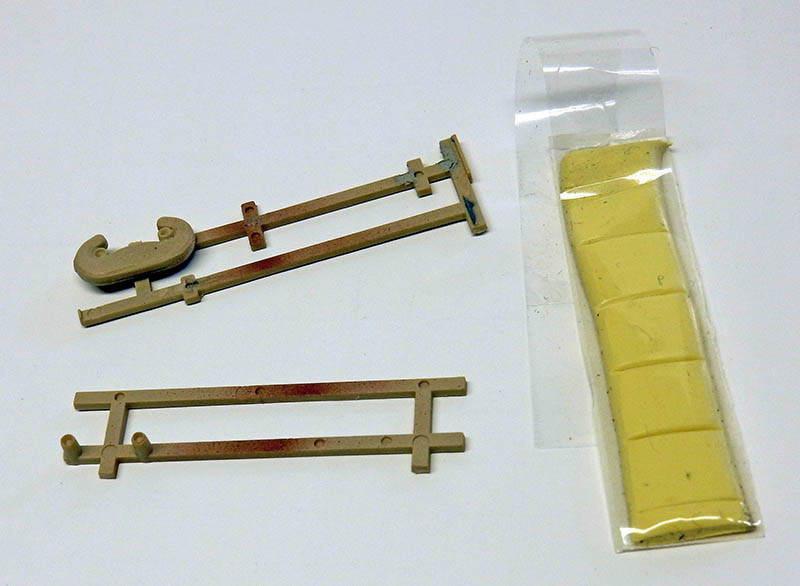
We'll use the side tool racks to mark their locations before removing them from the sides of the truck bed.
We'll tape them down with Patafix while the paint dries...
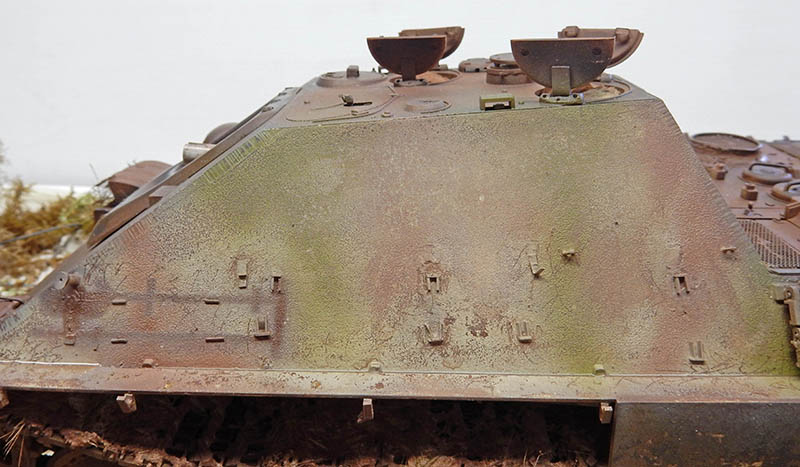
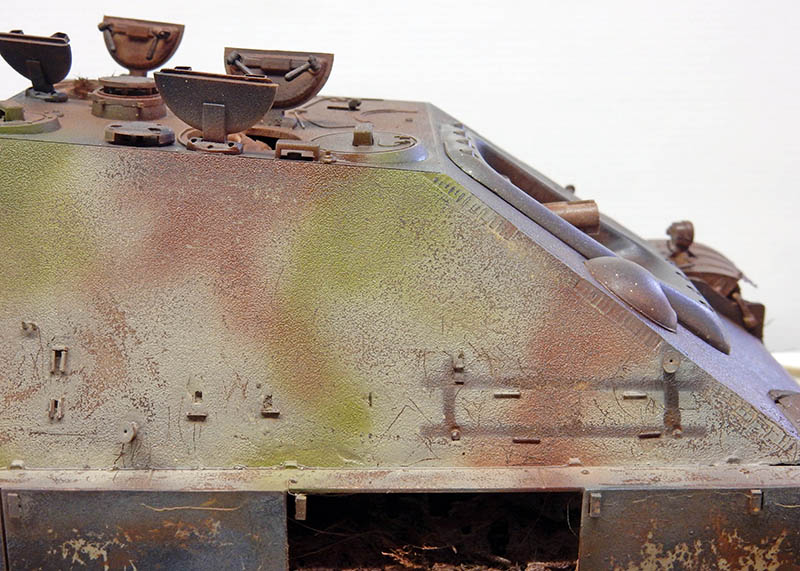
A view after the paint has been applied...
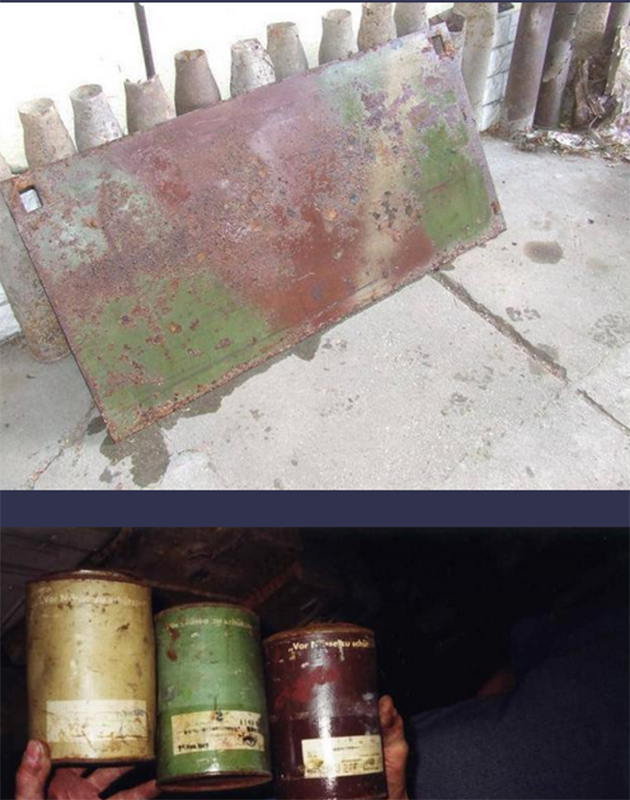
A photo showing the original paints used for the camouflage. The green has been lightened on the model to make it look less vivid...
It's clear that, given the size of the model, we need to work panel by panel when applying color and weathering. For the base coat, we always use Hobby Color's Sand Yellow + Radome, along with Tan and Interior Green for the camouflage...
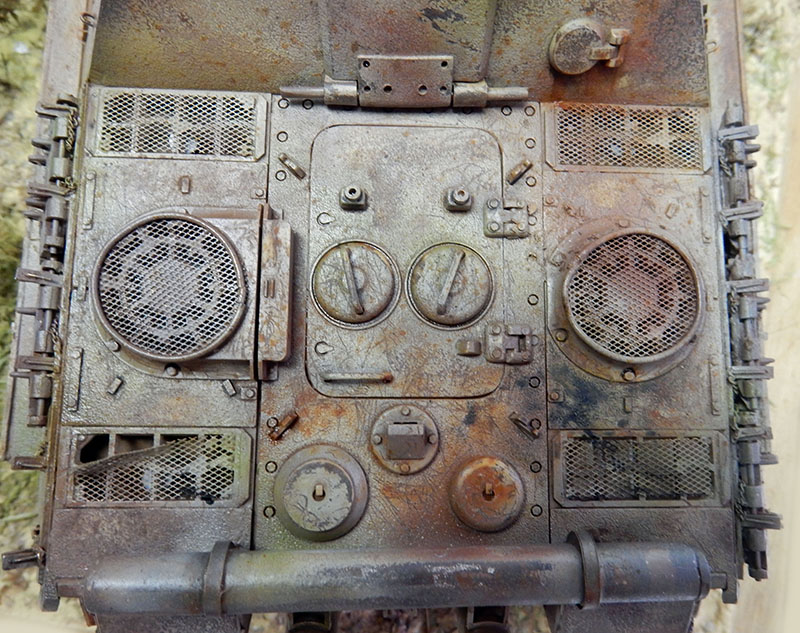
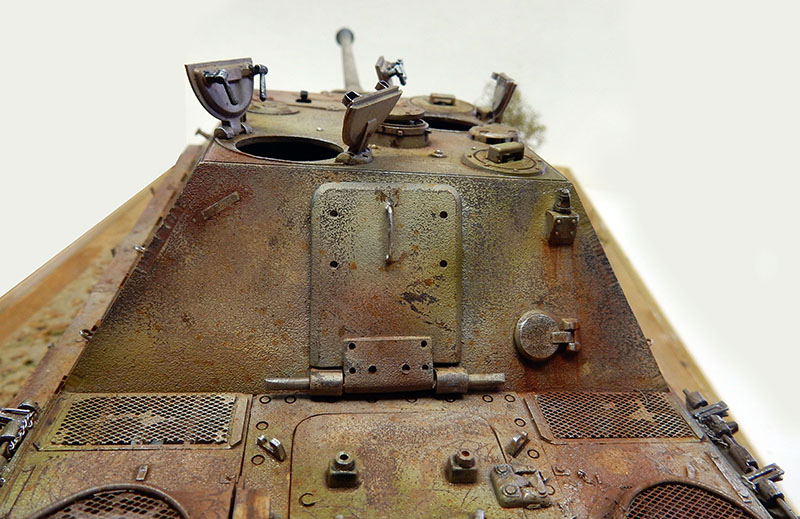
We're taking this opportunity to paint the ground and the vegetation... A view of the aging process. Note the various protective grilles for the engine and ventilation that have been added—they are not included in the kit...
Various tools are used to create scratches and scuffs, such as toothpicks, brushes of varying stiffness, and wet sandpaper...
Another view...
The protective plates are refinished with hairspray and sand yellow...
Details...
The glacis has also been improved in some places...
Applying the decals, securing them with Micro-sol. Starting the weathering...
Juices
We won't use any filters here. The final color we get is good enough on its own...
The various streaks and drips were created using umber and sienna in oil...
Here, too, it's helpful to consult the available documentation...
Splashes
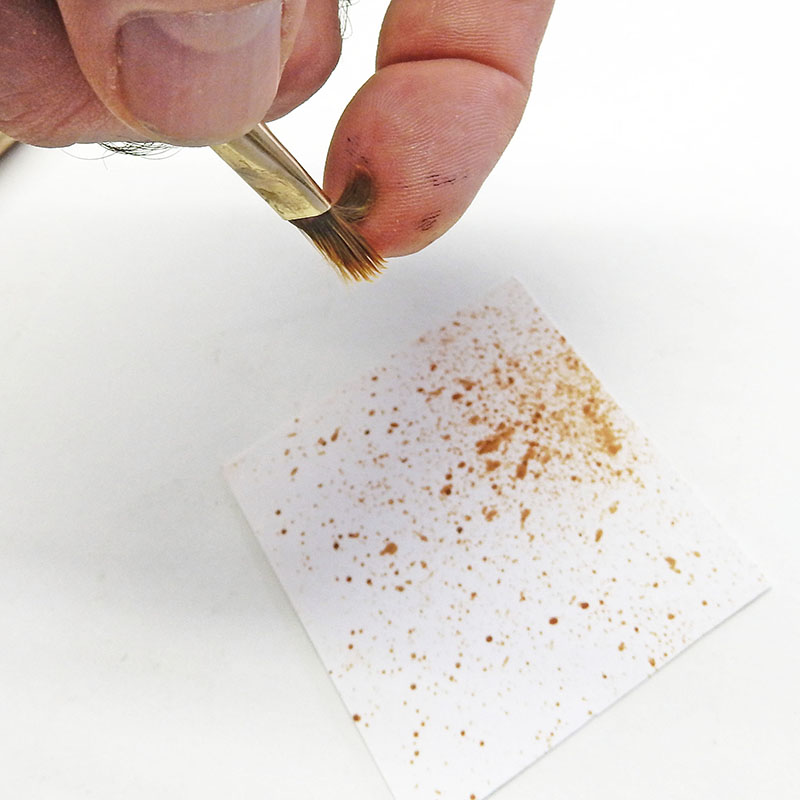
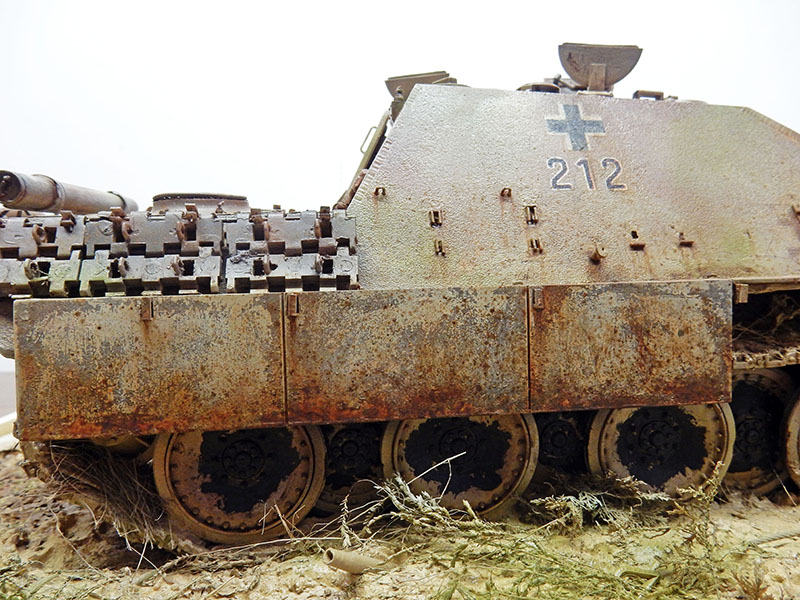
We'll use the splatters to enhance the effects of rust and various types of wear and tear. Use a soft, flat brush that you bend to create the effect...
...The spots will depend on the amount of thinner used and the pressure applied to the brush; therefore, it is recommended that you experiment extensively on paper to achieve spots of various sizes and colors.
You can also airbrush by adjusting the pressure or using special-effect nozzles...
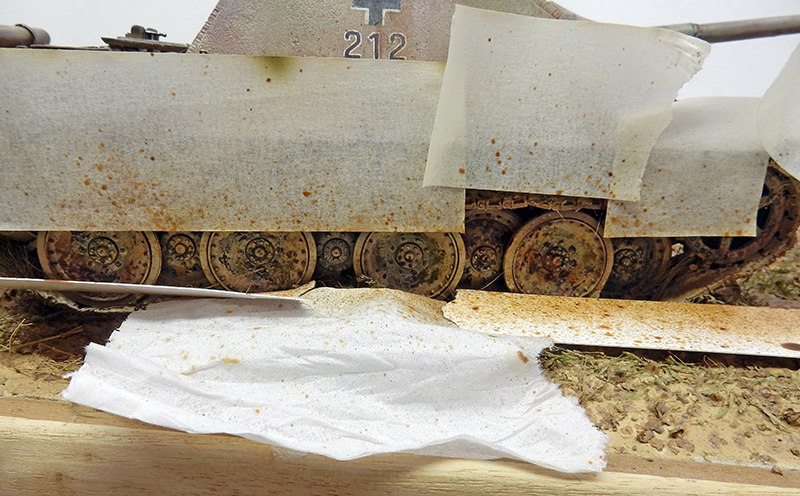
We always work on one panel at a time, protecting the other parts...
Another view...
Then, after it has dried, we chip away the worn areas using a fine brush and Humbrol Gray 32...
We also apply a coat of Humbrol matte black annealed metal #11 to frequently used areas...
Painting the rollers. As shown in the images above, we applied gray around the roller axles, and after dry-brushing with light gray and camouflage colors, we applied splatter effects while protecting the other parts of the vehicle and the ground...
The result isn't very visible here. The central parts will also be metallized, particularly the bolt heads...
The rubber seals on the rollers are painted gray (32), then lightened with 140 and white, and weathered to match the ground...
The exposed tracks and hull skids are painted in rusty brown tones, then weathered and given a metallic finish in certain areas...
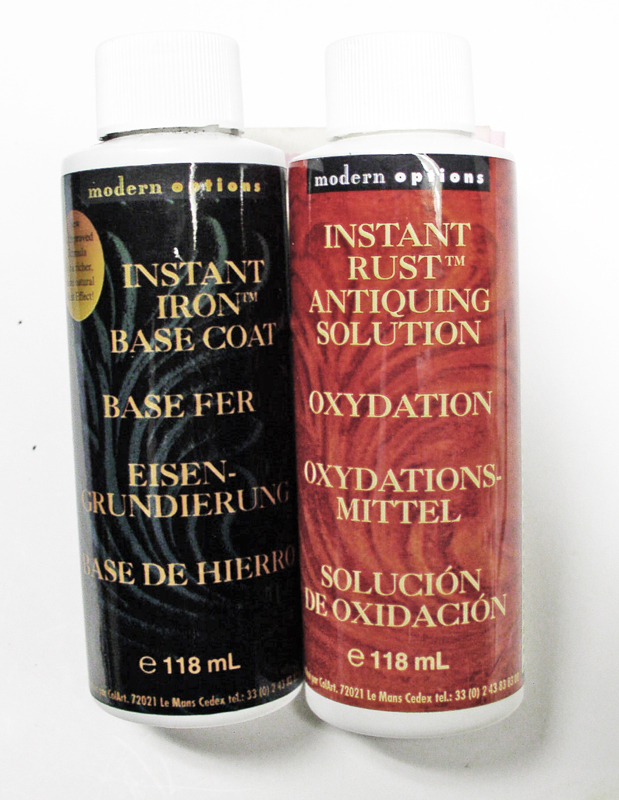
The exhaust pipes are treated with the two-component oxidizing agent Instant Iron + Instant Rust...
...Posted in several parts...
...until the desired effect is achieved...
The jack is painted separately, scratched, weathered, and glued into place...
Chains are added to the central back plate...
Vegetation on the tank
It is clear that the Germans skillfully camouflaged their vehicles, particularly in the Normandy countryside, which lent itself well to this...
The tank's cables, which had been cut at the mantlet, were replaced with real steel cable... ...Small hooks and fasteners were added to the body, along with steel wires—particularly around the barrel to hold various types of vegetation in place...
We skillfully mix together branches that have already withered and "fresher" parts that were added recently...
We add more vegetation and sand to the ground and then apply additional colors with an airbrush...
The figurines
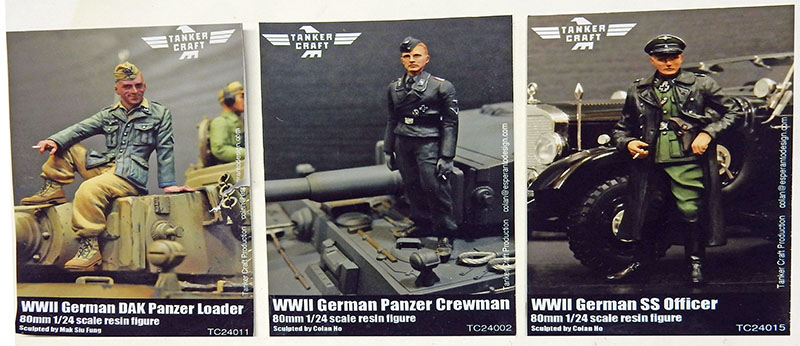
The Tanker Craft brand has developed some very well-made 1/24-scale models...
We'll use three different ones here...
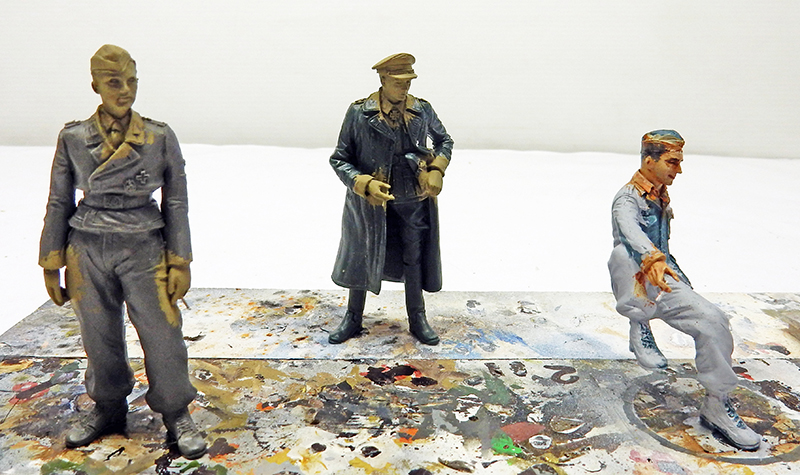
No major renovation work here. Just a few seams to sand down. The heads and hands need to be glued on separately...
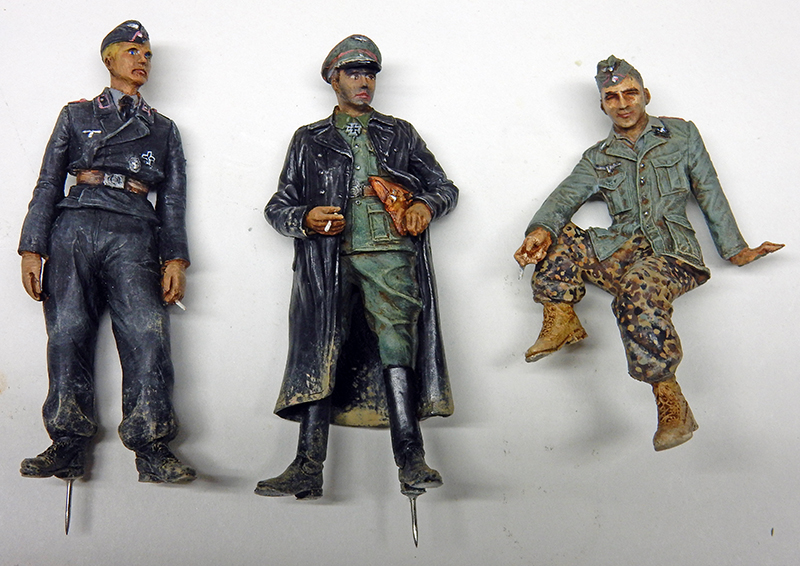
The faces and hands are painted with Winsor & Newton oil paints, as are the belts, pistol holster, and boots of the seated soldier, while the uniforms are painted with Humbrol oil paints. A glaze was applied as a finishing touch. The officer’s leather coat and boots are weathered with graphite on a matte black background...
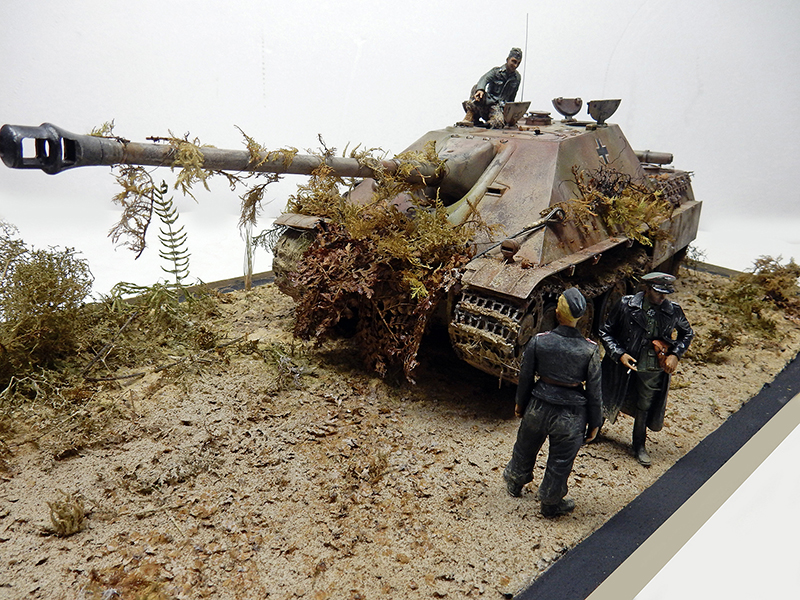
Setting up and gluing the figurines...
Note that the vegetation—other than sea foam (Zeechium, Teloxys aristata)—can be collected in the woods rather than purchased. (And even then, you can buy seeds and grow them in your own garden...) No various SPECIAL treatment products—which are expensive given the small amount provided in each jar—such as those that simulate grease, dust, wear, etc... that “enhance” your model are neither purchased nor used here, with the exception of the rust effect*...
Unless you have money to spare at the expense of the kit—or you’re short on time (but in that case, you’re better off doing something else—patience and time are the essence of model building). Especially since the small amount included in these products and their shelf life may be limited (even if you tell yourself you don’t use much each time)...
* A two-component oxidizing agent (118 ml included for 8 euros, compared to the very small quantities found in jars sold in specialty stores and online) purchased at a supermarket, which will be the subject of a tutorial,
Please note that this product is harder to find these days...
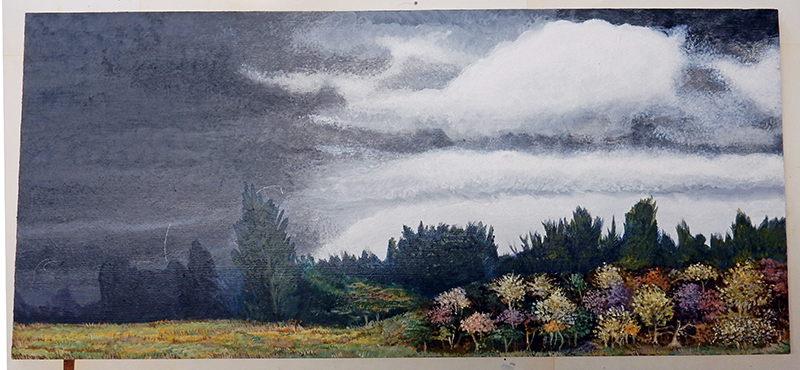
Painting the background of the set with acrylic paint...
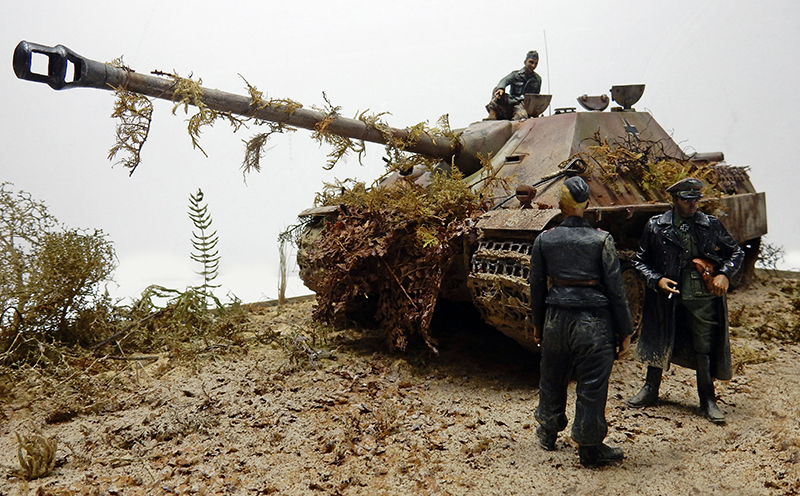
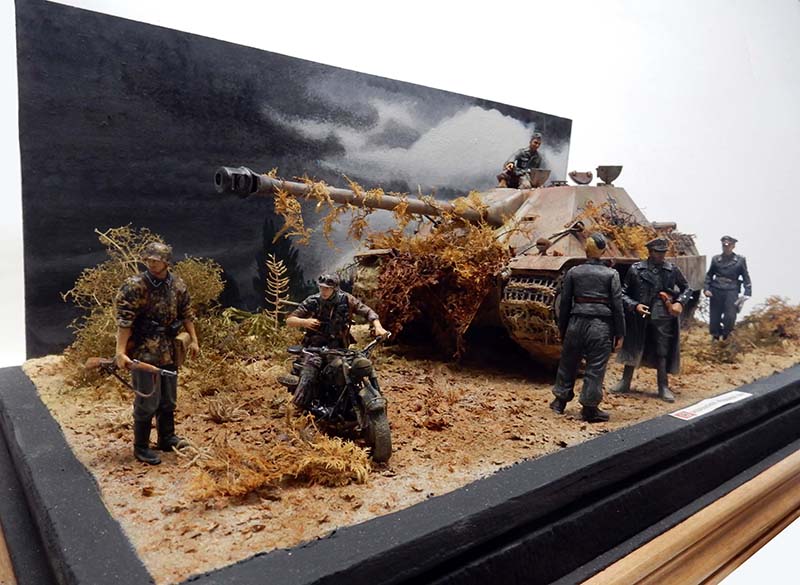
The diorama with its background and added figurines...