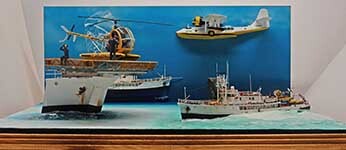
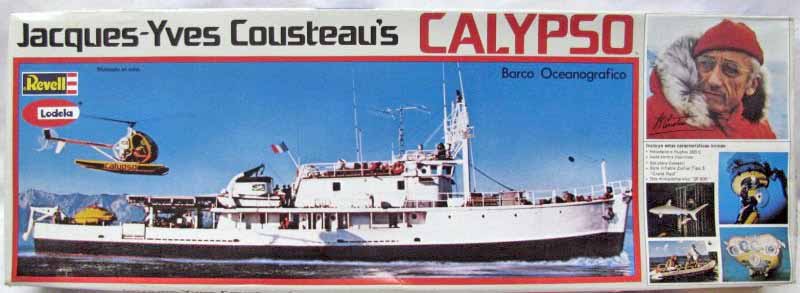
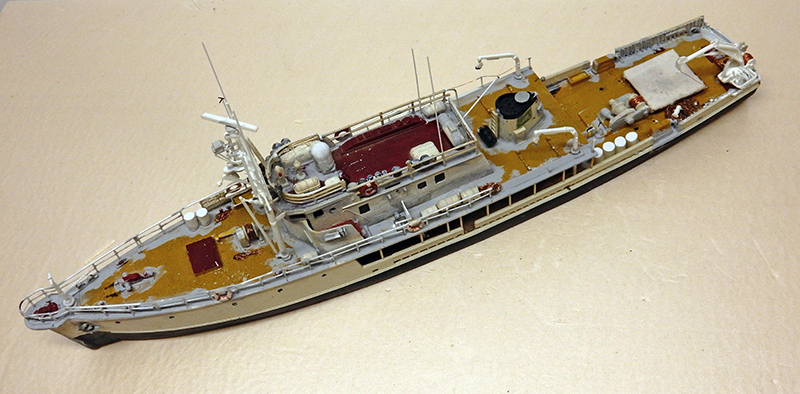
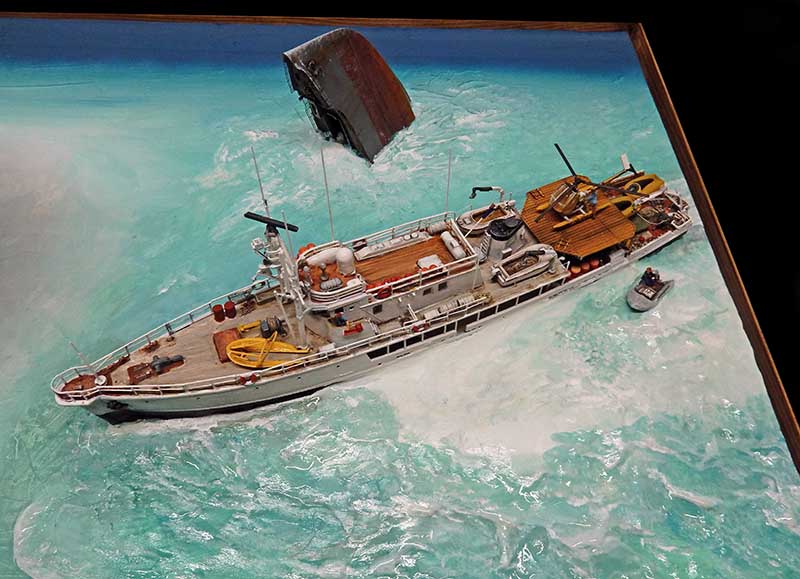
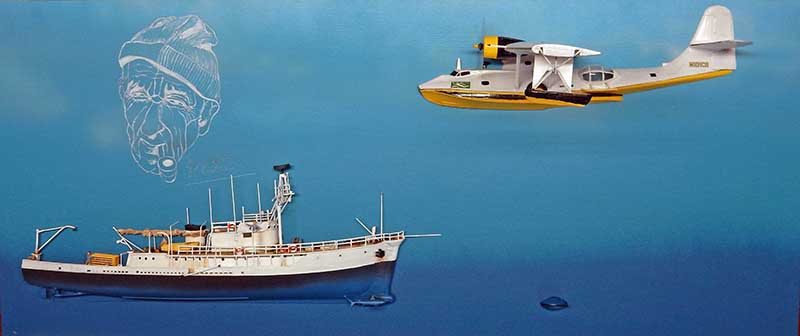
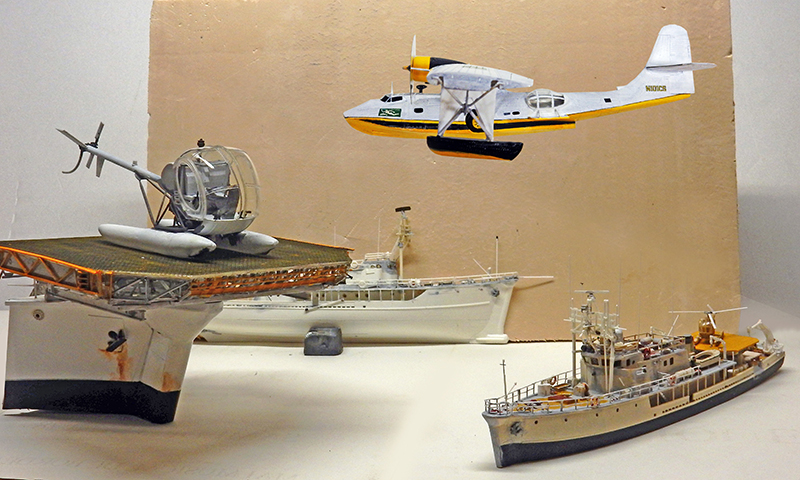
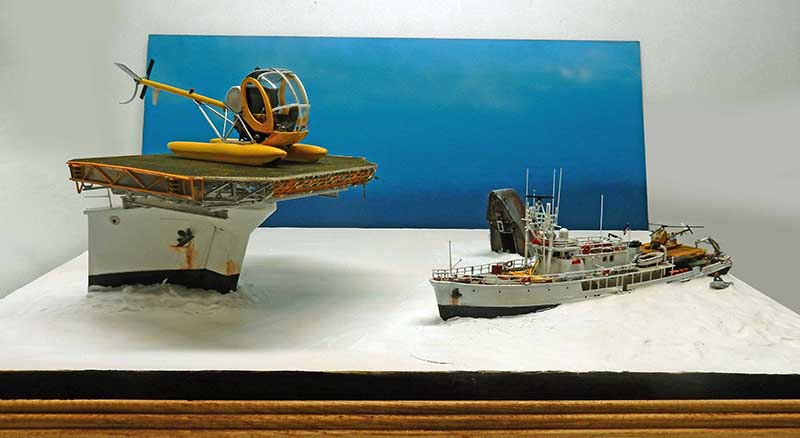
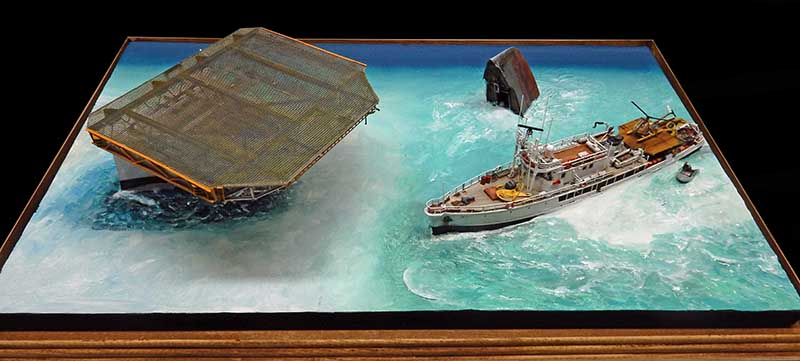
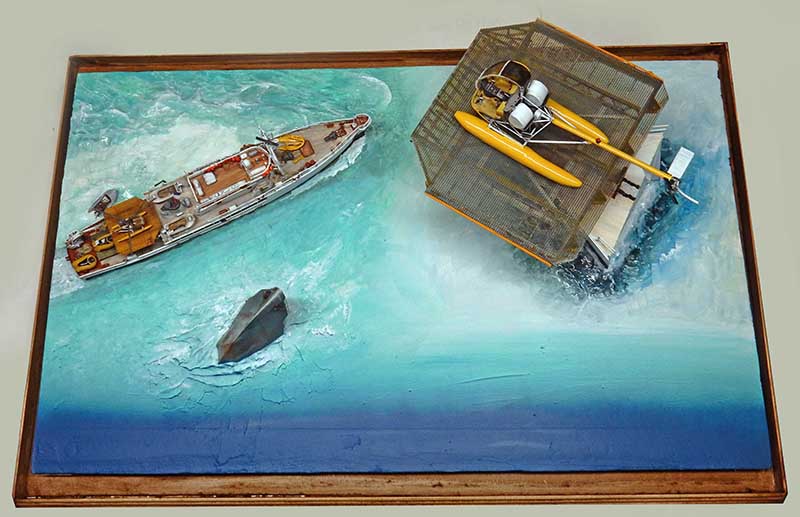
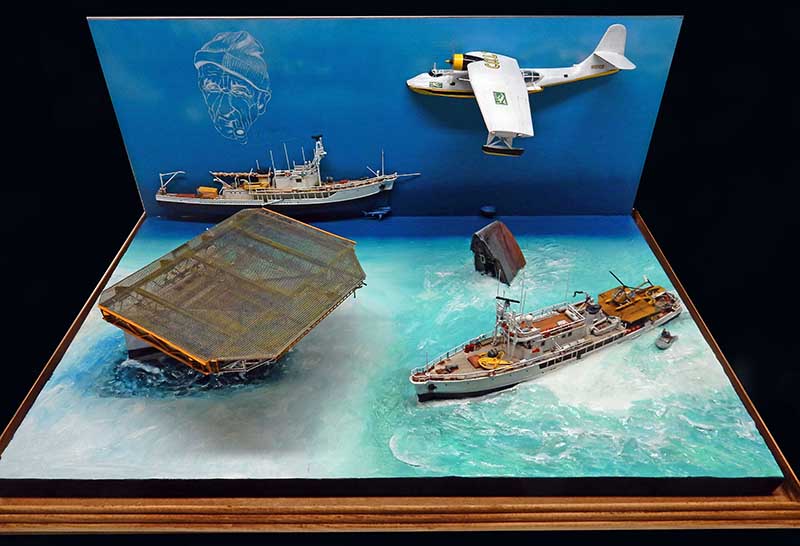
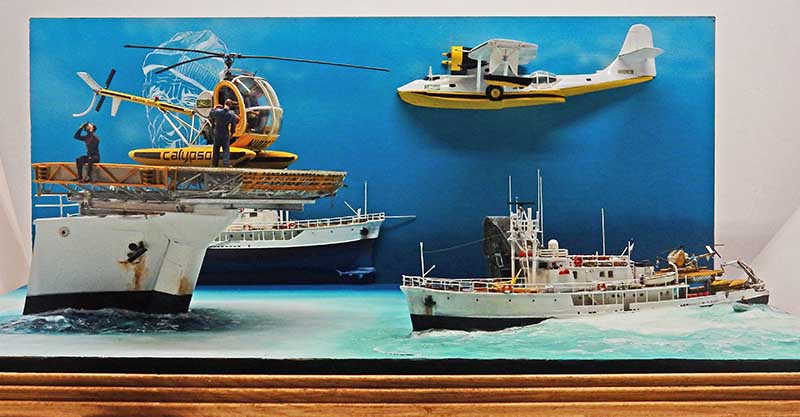
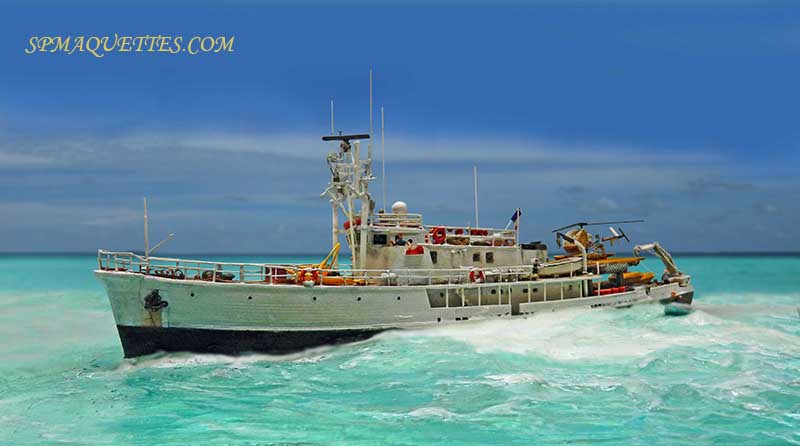
This diorama will feature several models, including two "Calypso" models...
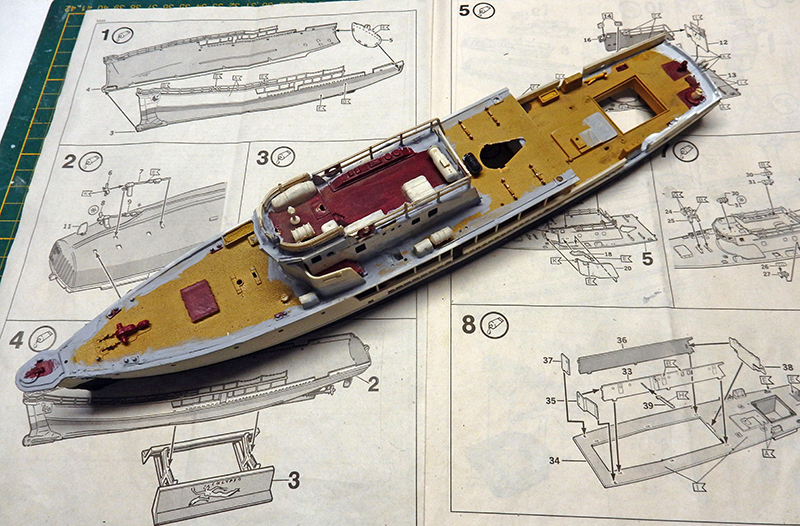
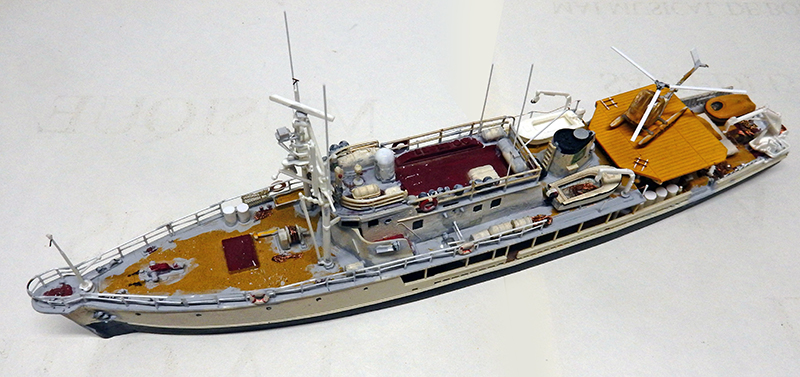
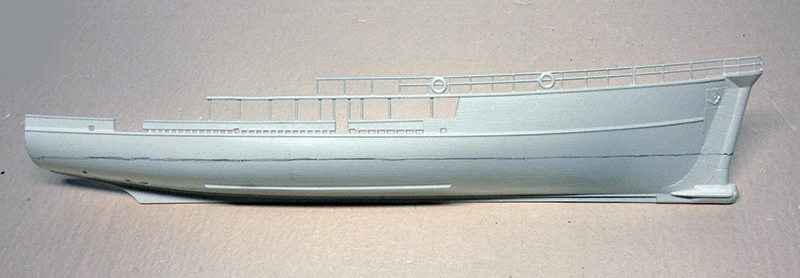
I'm reviving an old kit that I'm going to improve for this project. The deck railings have been removed—they were too thick—and remade from stretched plastic. Liquid putty was then applied to all the seams...
The railing is in place...
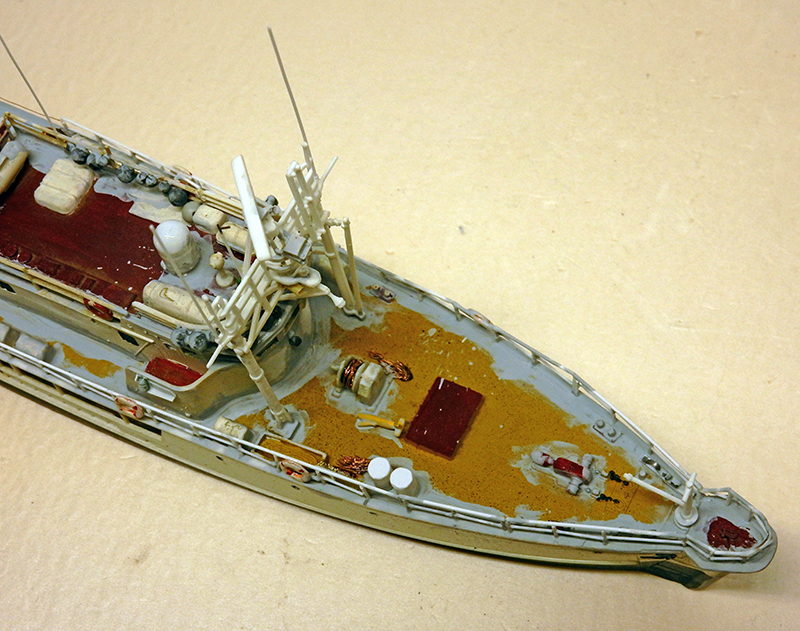
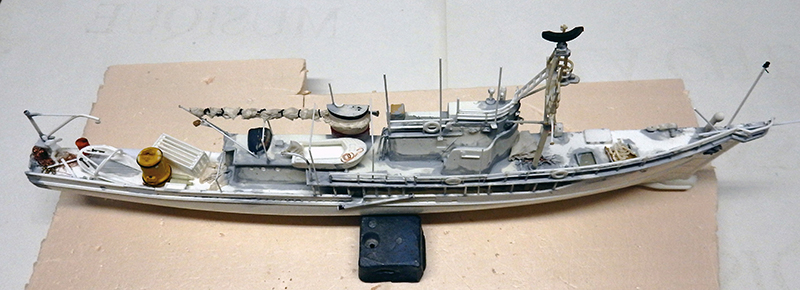
Bow details: Improvements to the antennas on the gantry, including the radar antenna and spotlights. The winch cable has been replaced with copper wire. Accessories, cables, ropes, and barrels have been added. The latest-generation radar antenna on the roof is made from an empty antibiotic capsule. The navigation lights on either side of the roof have been upgraded...
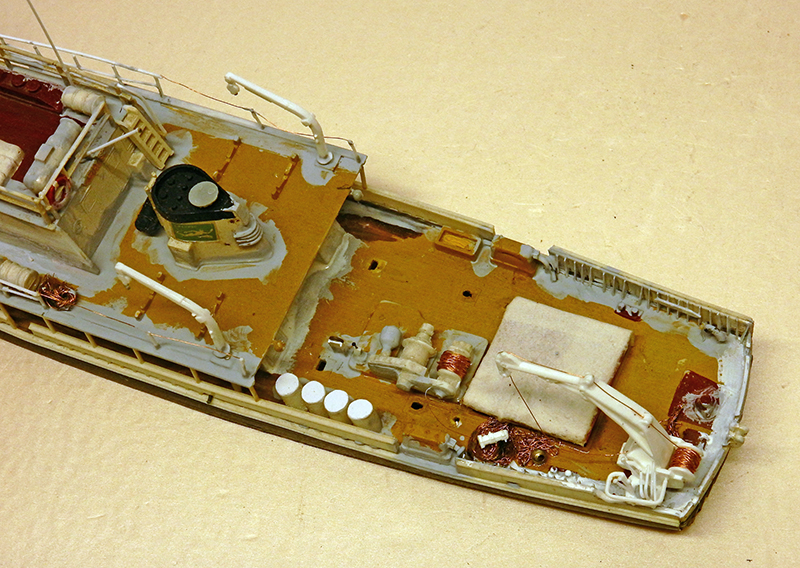
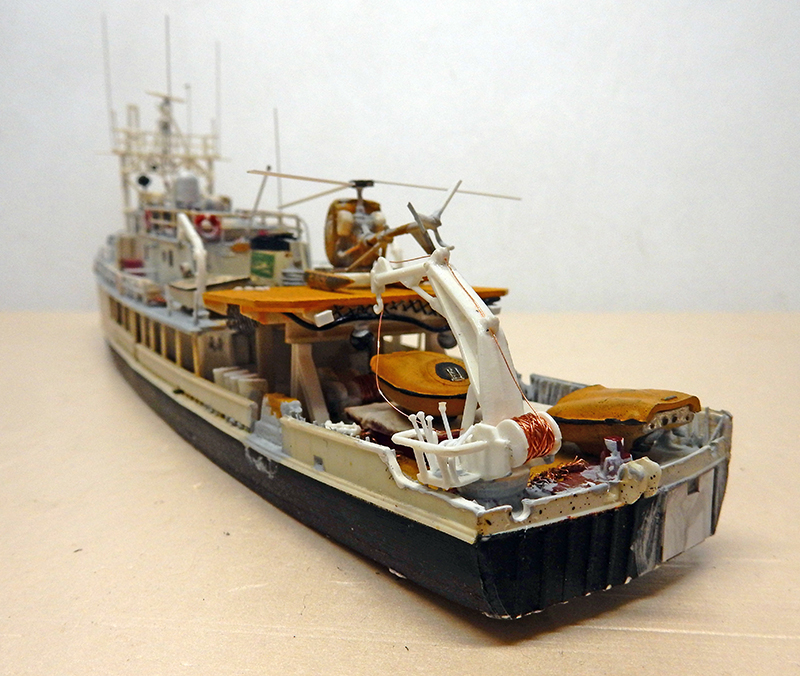
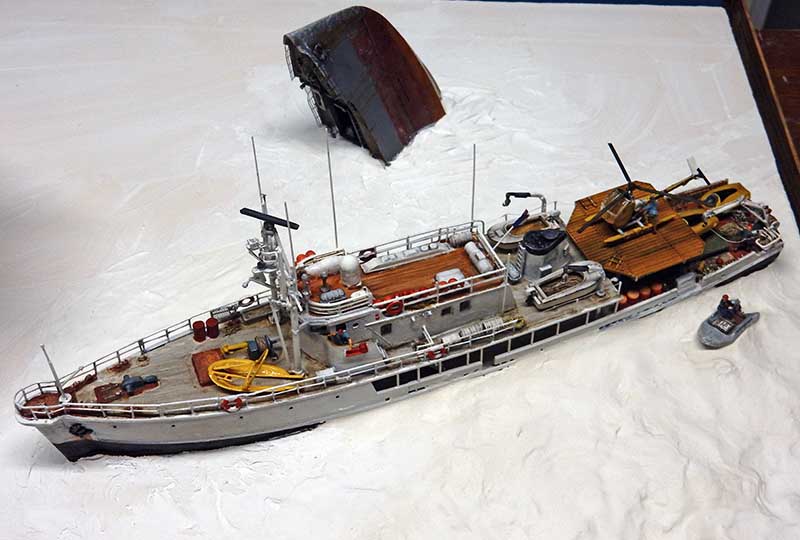
Detail of the aft deck: the (fictional) funnel has been upgraded with a ventilation grille. The boat cranes are from another kit. The dual aft winch and the "Yumbo" crane are equipped with electrical wire for wiring. A control panel has been added for the winch. The crane has been upgraded with control levers and cables. Additional accessories have been placed on the deck. The inner side frames of the hull on the aft deck are made of thin plastic sheet. The hold panel is covered with a paper tarp soaked in liquid wood glue...
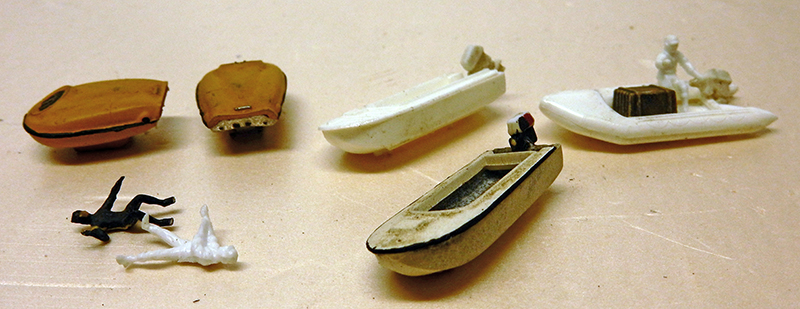
The vessels and the two SP500 "Puces de mer" submarines...
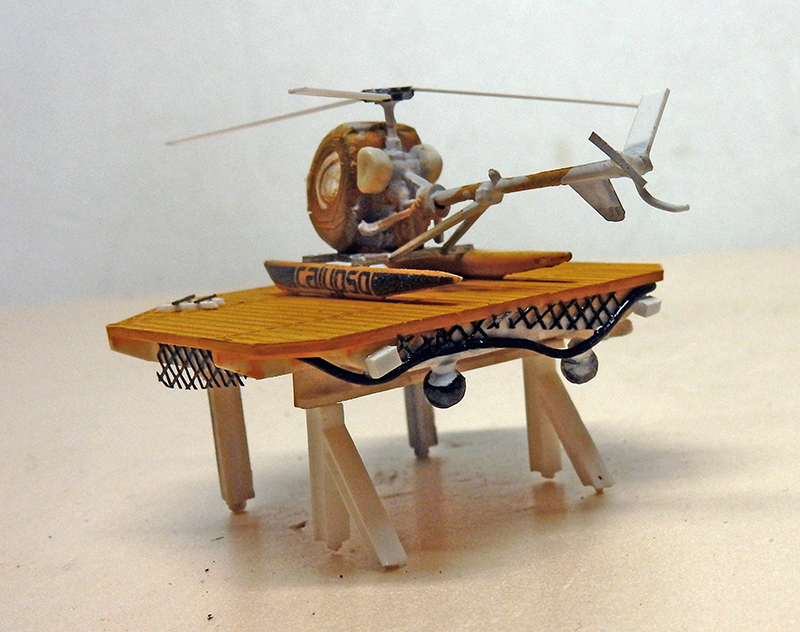
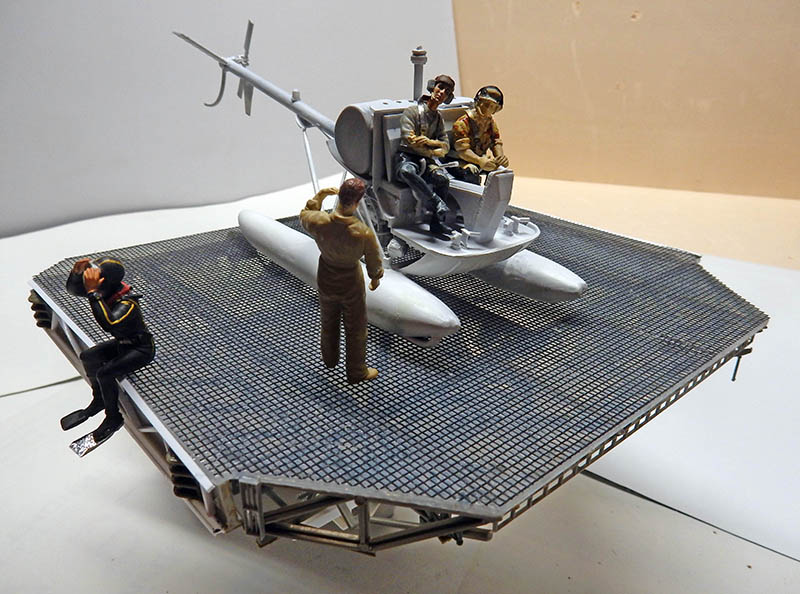
A close-up of the helicopter, whose rotor blades and tail have been refined. The platform has been fitted with grilles, buoys, lights, and wiring...
Everything is installed on the ship before painting...
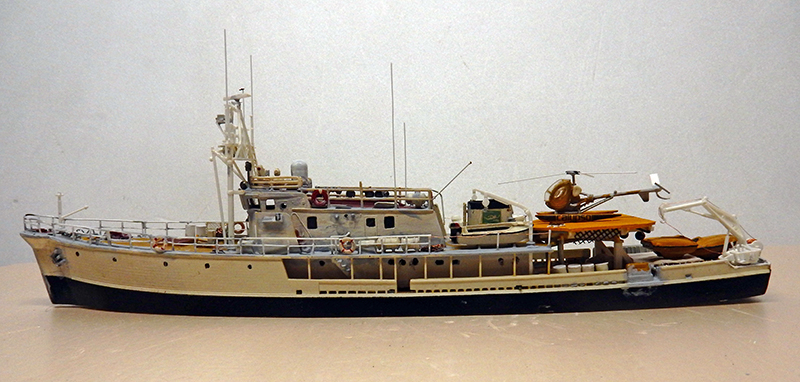
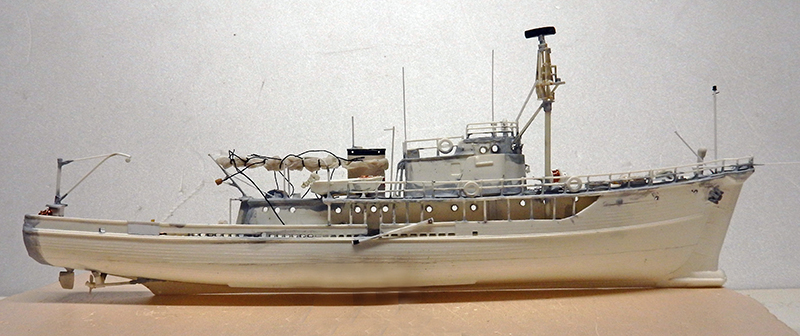
Side view: All the portholes have been drilled (except for the one on the roof), and a sheet of transparent plastic—painted black on one side—is glued to the inside...
Another view of the aft deck with the landing gear in place. You can clearly see the detailing on the "Yumbo" crane...
The Calypso is then painted by hand based on period documentation...
The "Calypso" from 1955
The Calypso has undergone major transformations over the years since it was purchased—a former U.S. minesweeper—in 1951. As a huge fan of the Cousteau team, I just had to build another version of the ship. This will be the 1955 version that set sail for the Red Sea to film *The Silent World*. A different kit is being used for the modification...
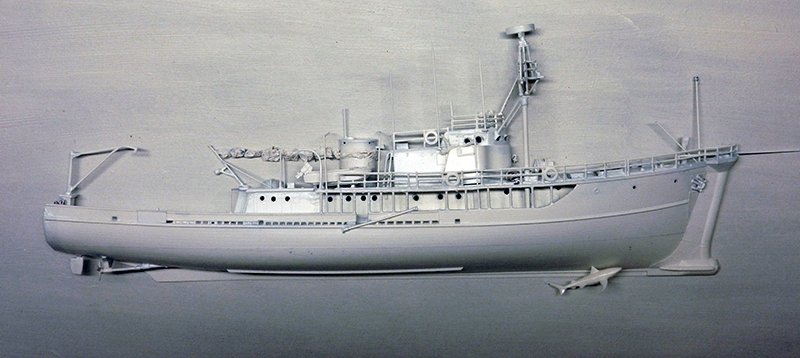
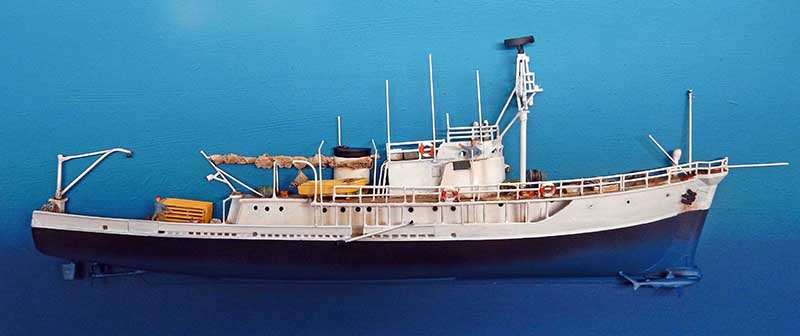
The goal is to create a half-hull of the ship, glued to the bottom of the display to show it in its entirety, including the underwater observation chamber...
Even half a hull is a lot of work. The ship is very different from the 1980s version...
The bridge is modified with round portholes featuring visors. Another radar is installed. All portholes are cut out. The hull is cut open on the sides to move the cabins forward. Sun protection is added with poles and a tarp behind the funnel. An air scoop is installed at the bow. A crane is mounted on the aft deck. Part of the railings is rebuilt...
The finished model is coated with a layer of primer...
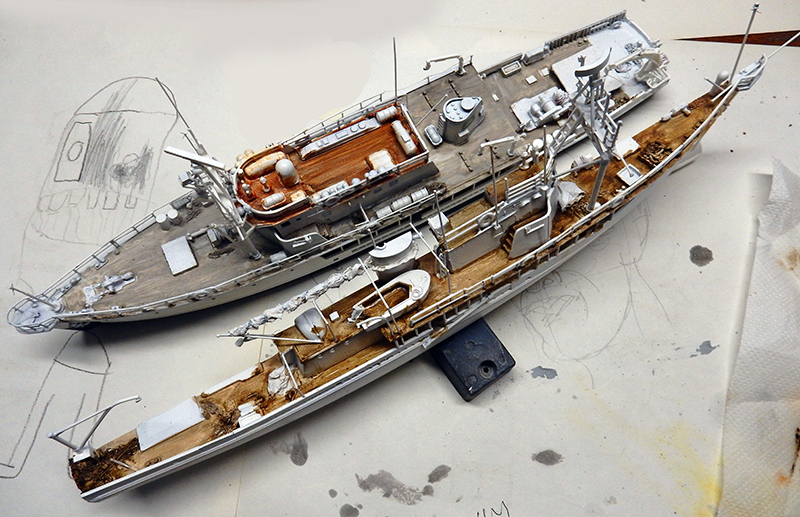
A top view showing the two "Calypso" boats while their decks are being painted...
The ship, painted and glued into place...
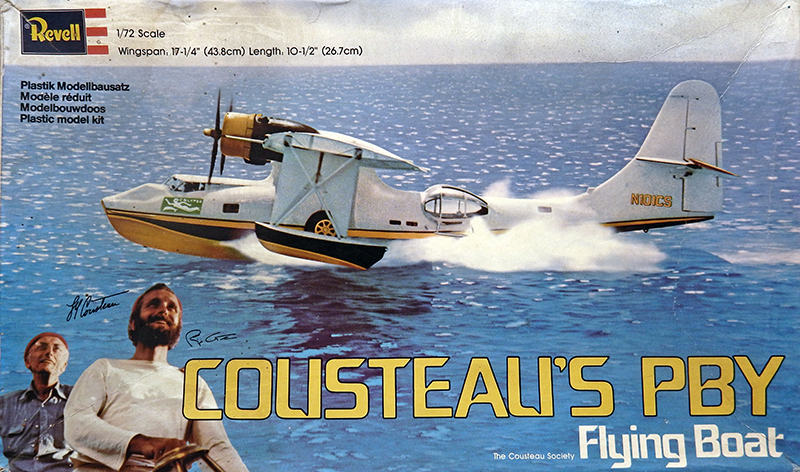
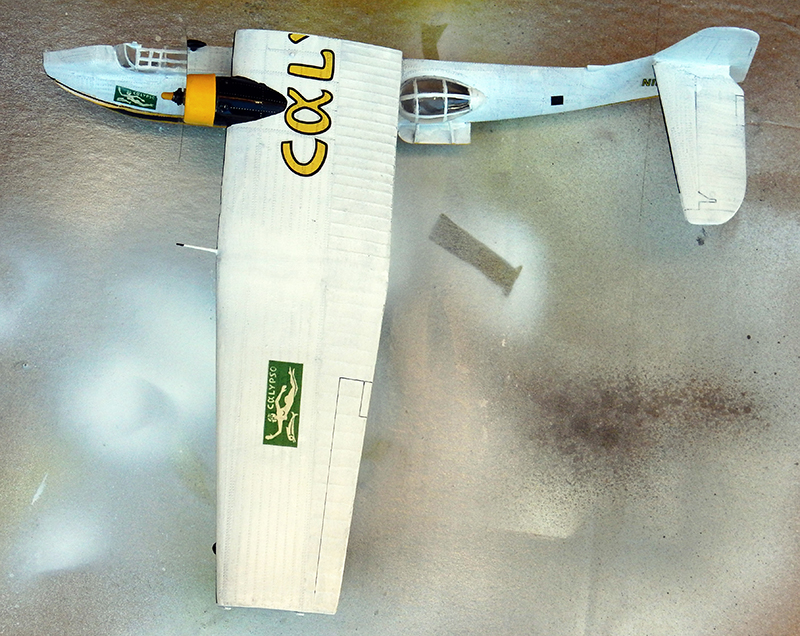
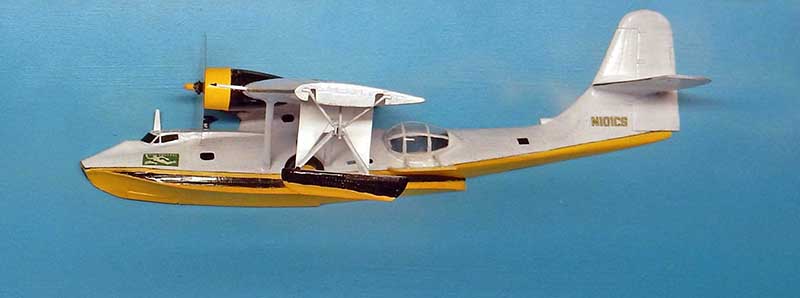
The "Catalina" Seaplane
This one, too, will be made as a half-shell to be glued to the bottom of the set...
There isn't much assembly involved, and painting it is easy...
The inside of the glass roofs is painted black...
A view of the back of the set with the SP350 saucer at the bottom...
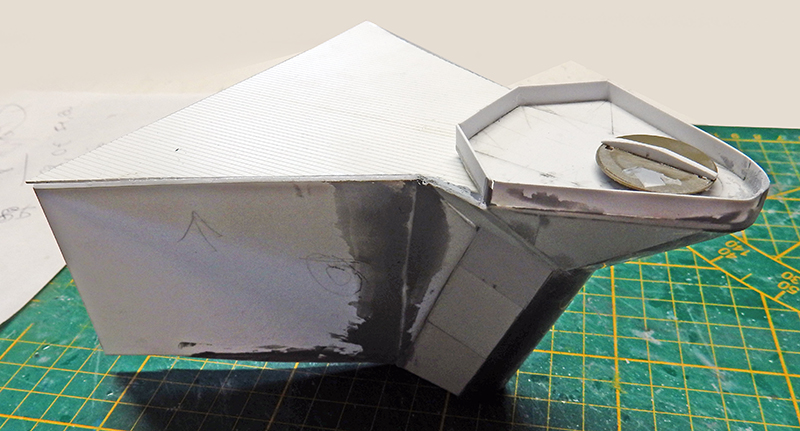
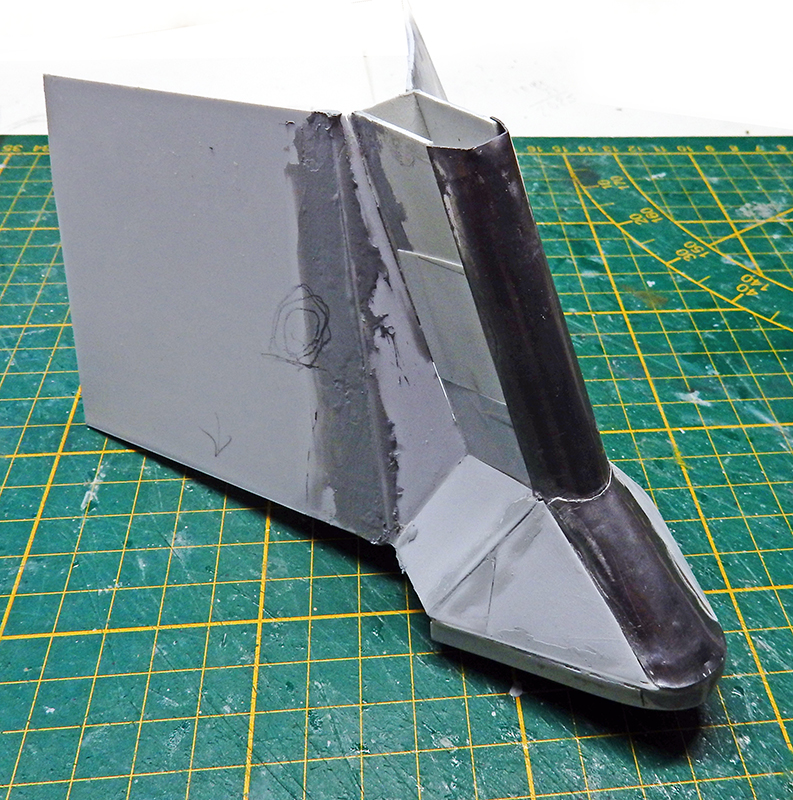
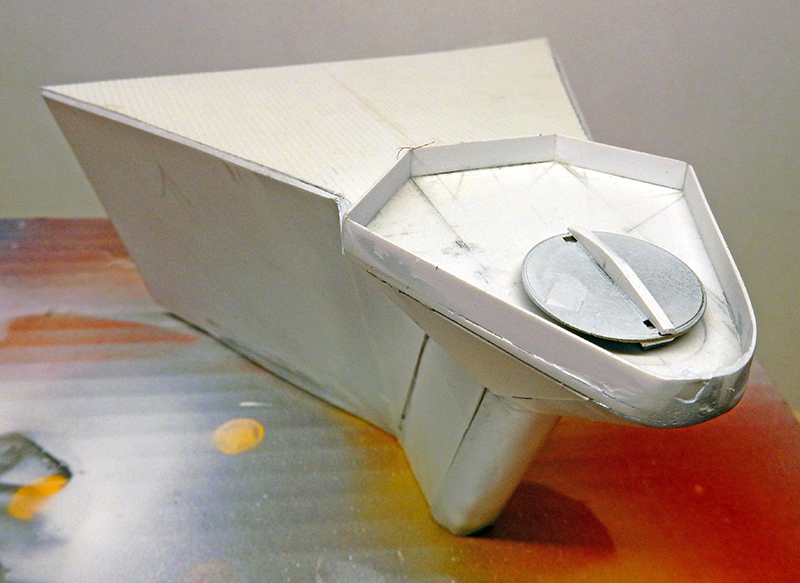
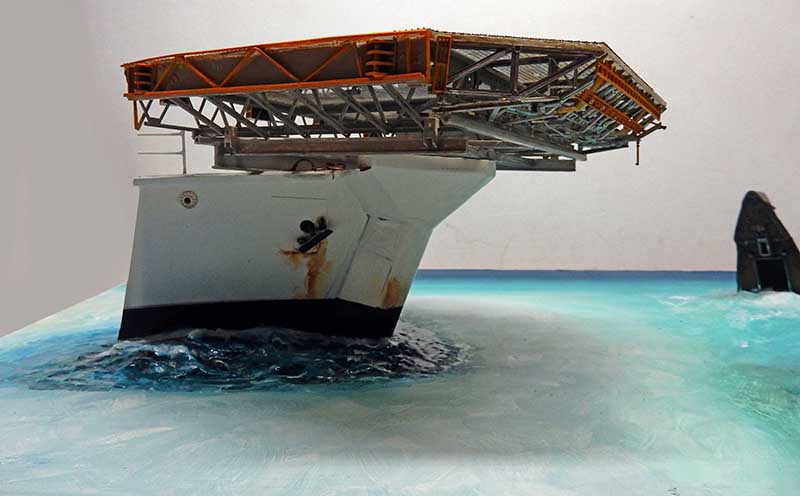
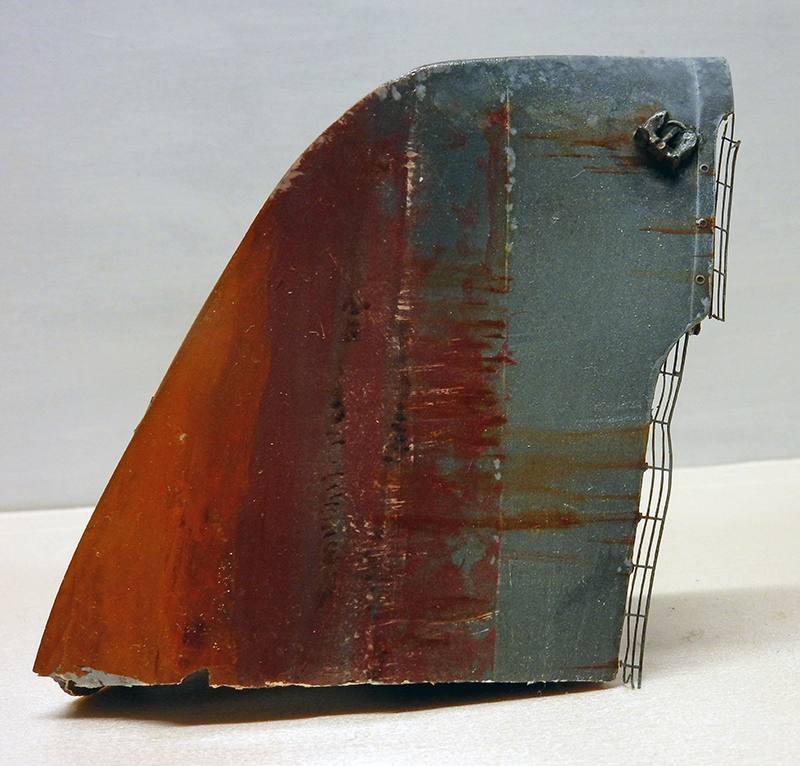
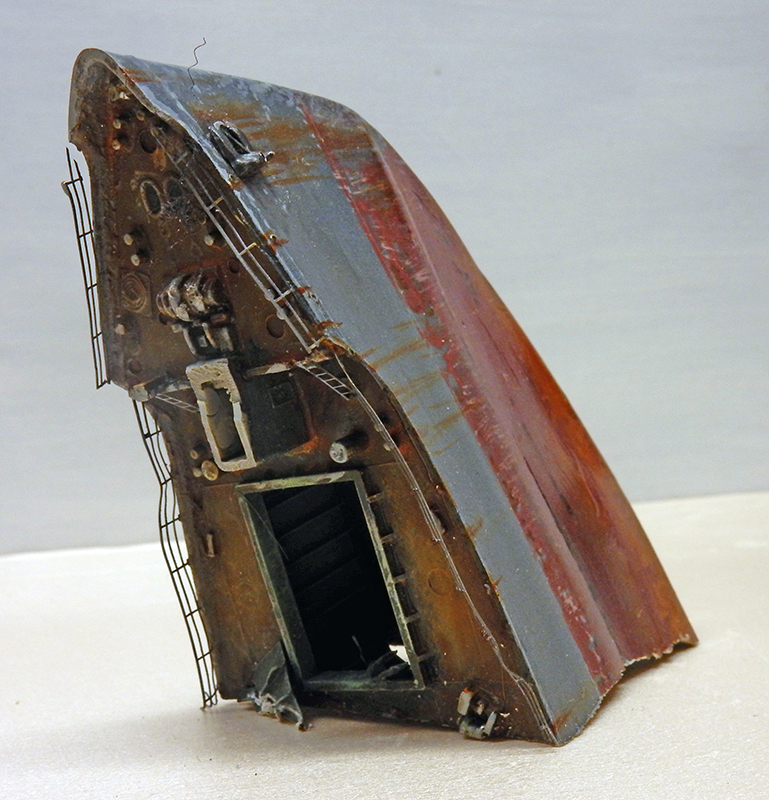
The bow of the "Calypso" on a 1/32 scale
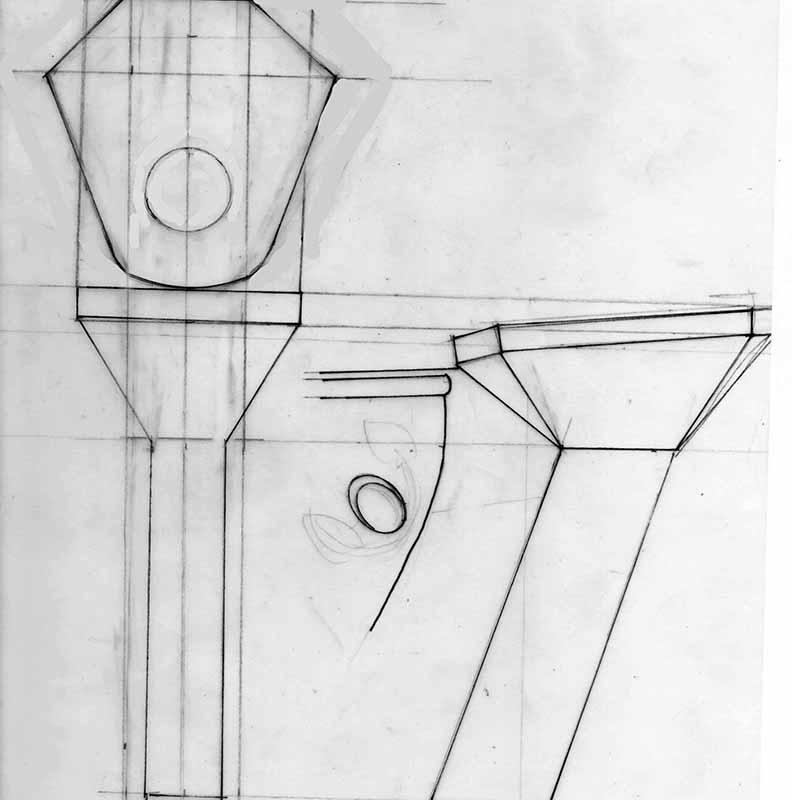
Creation of a scale drawing, specifically of the observation room at the front...
Made of plastic...
...And lead sheeting for the bedroom vent...
A coat of primer before sanding again...
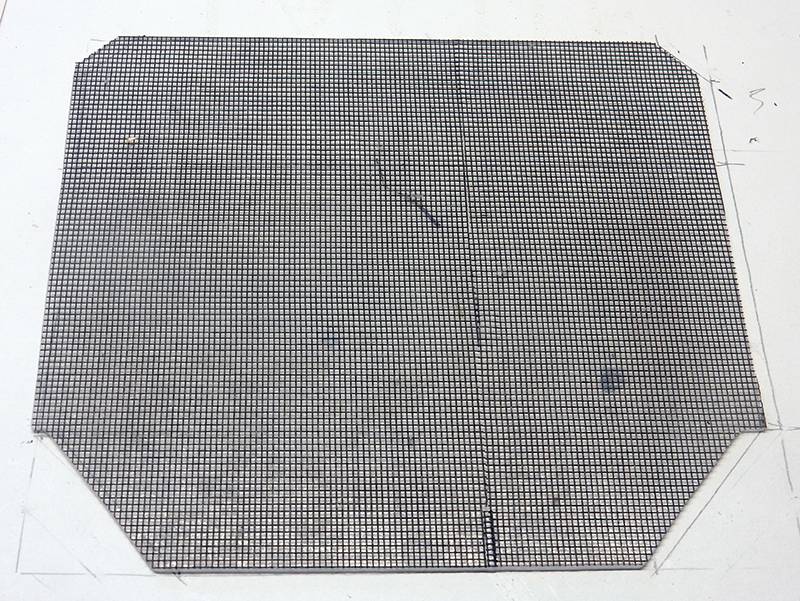
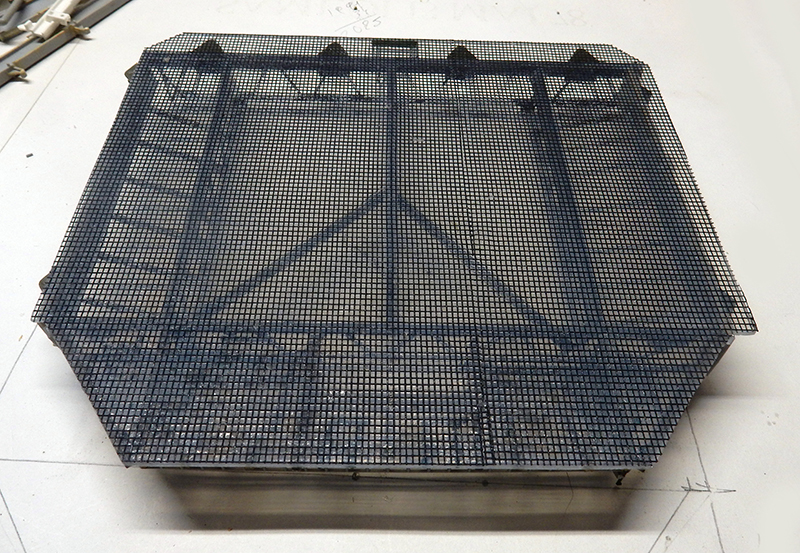
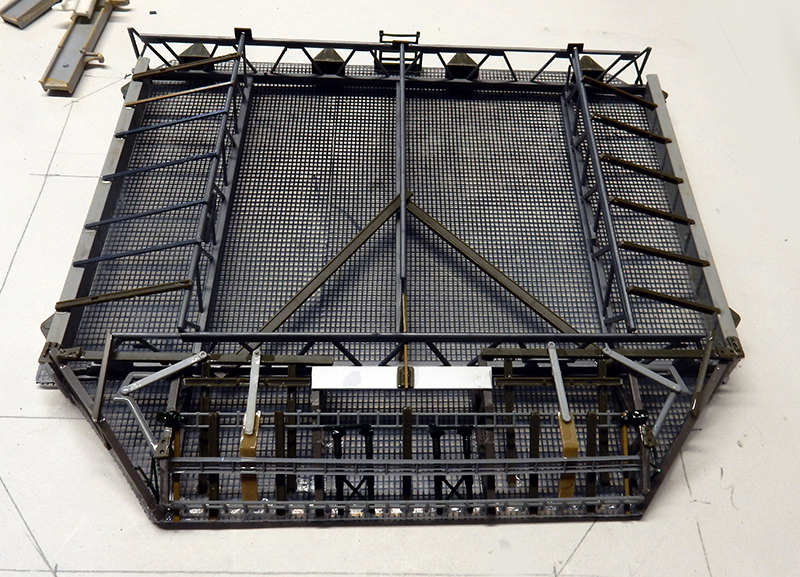
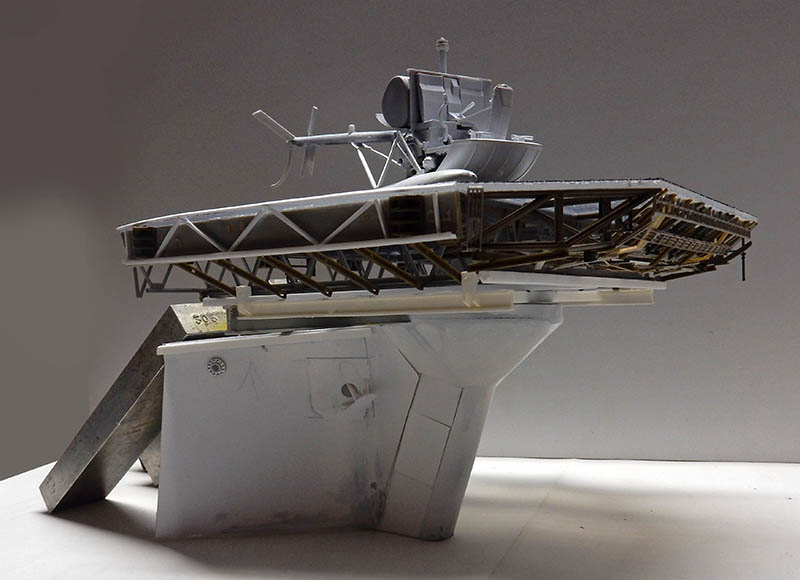
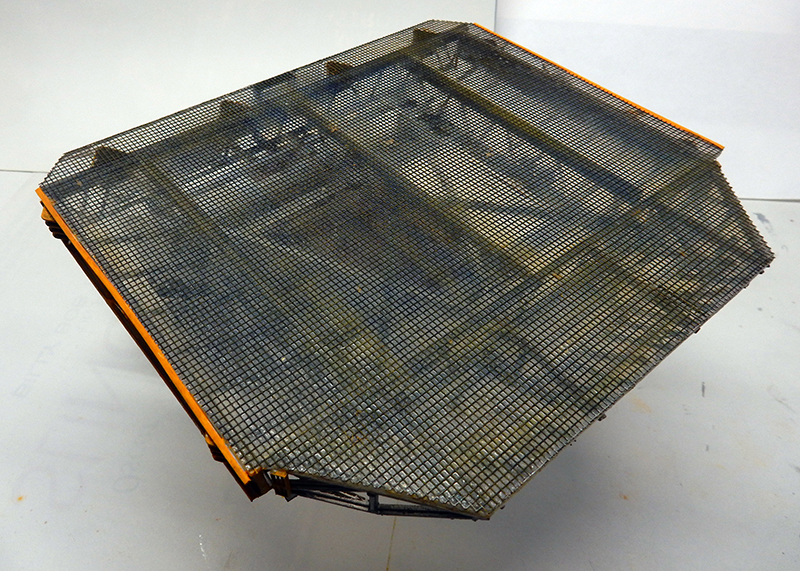
The platform: a 3-mm-thick transparent plastic sheet and a fine plastic mesh...
Making a frame out of "Evergreen" plastic rods and various materials...
A view from below...
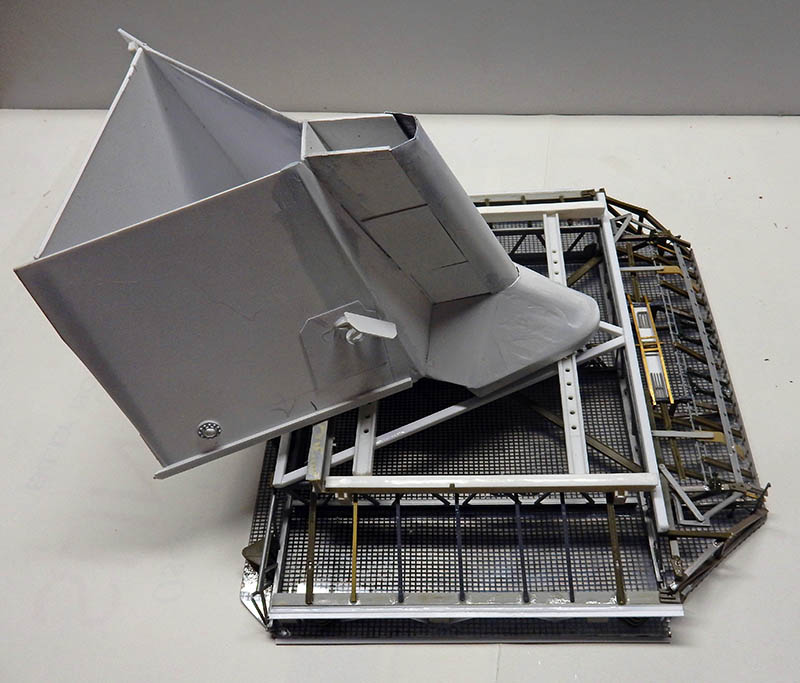
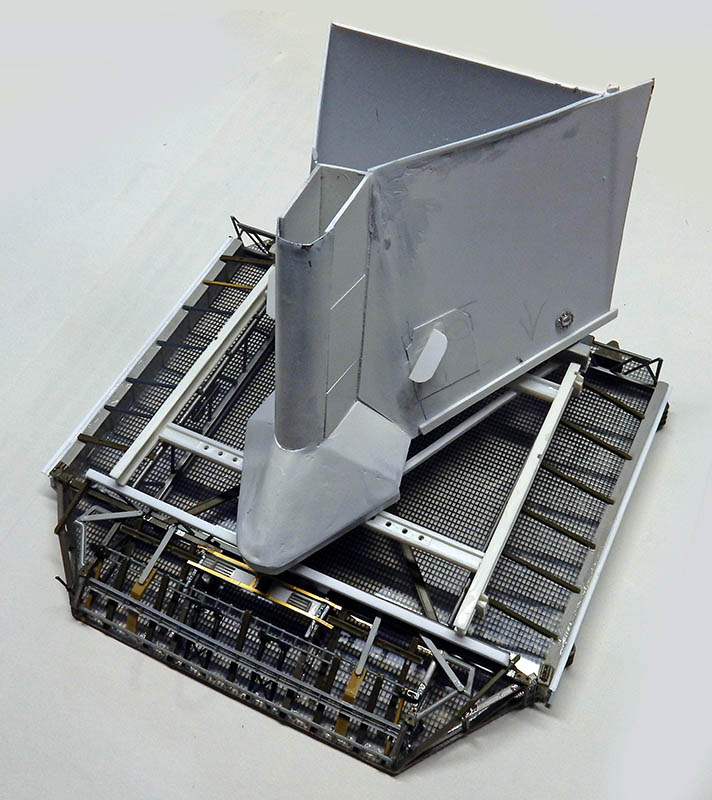
Testing the positioning of the two parts...
Another view...
Glue the two pieces together...
Painting the platform. The plastic card really captures the translucent effect...
An overview of the completed installation...
The Hugues Osage Helicopter
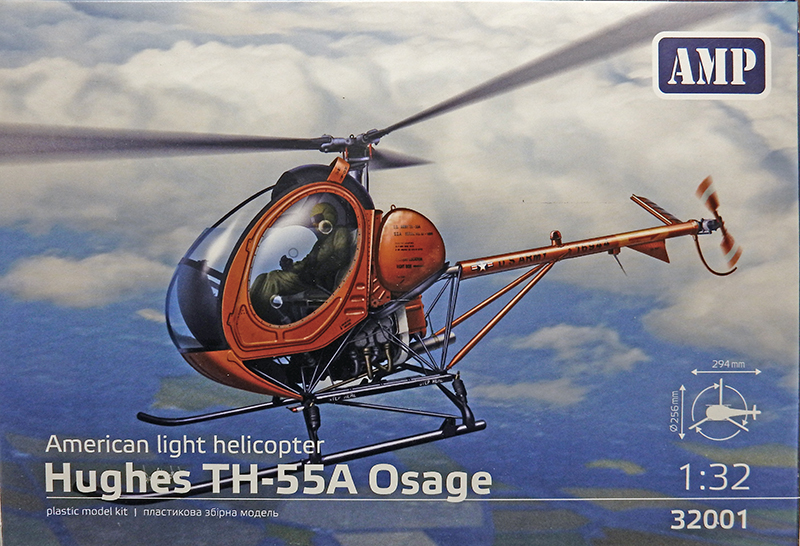
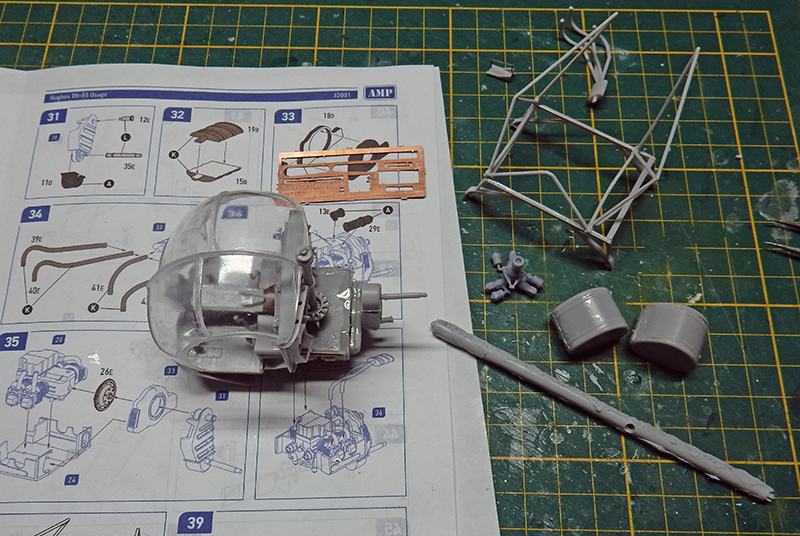
The model used for the diorama. Very detailed, with photo-etched parts, a raised instrument panel, and a very fragile resin rotor (fortunately, a plastic version is included). The instructions aren't always very clear. Not recommended for beginners...
A work-in-progress view... The engine nacelle, the fuel tanks, and the tail boom. The whole thing isn't easy to assemble...
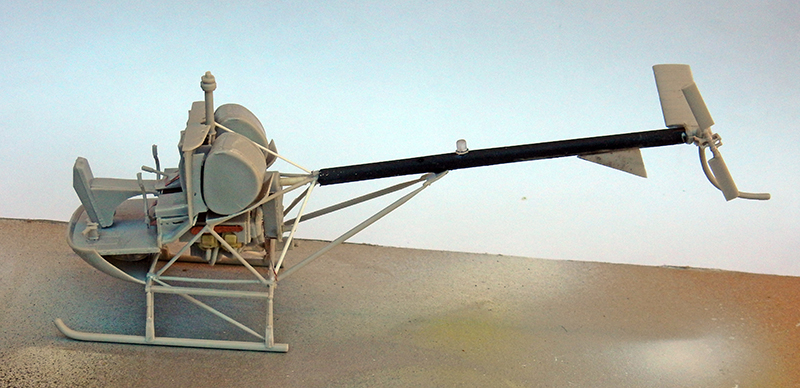
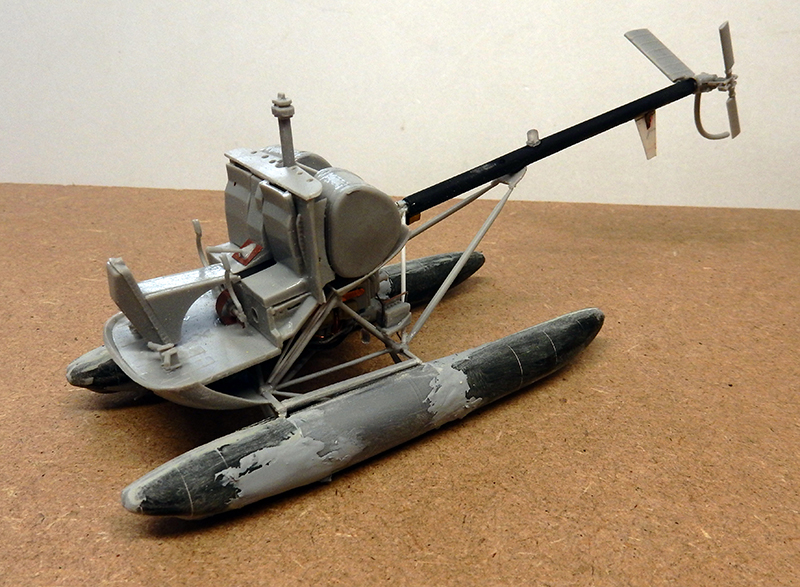
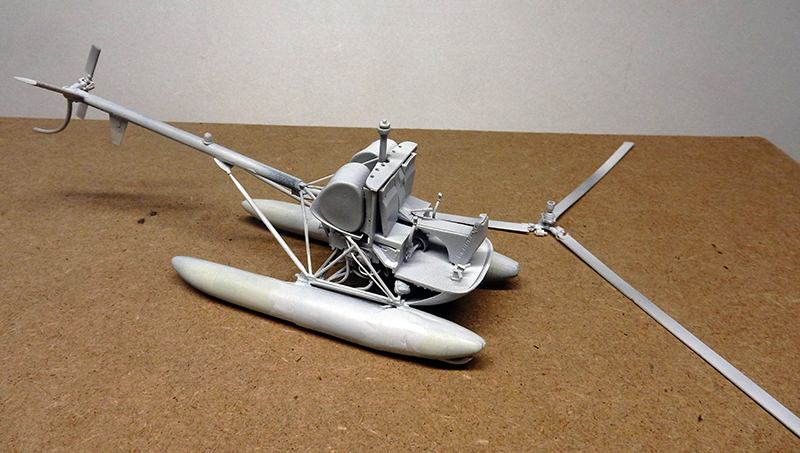
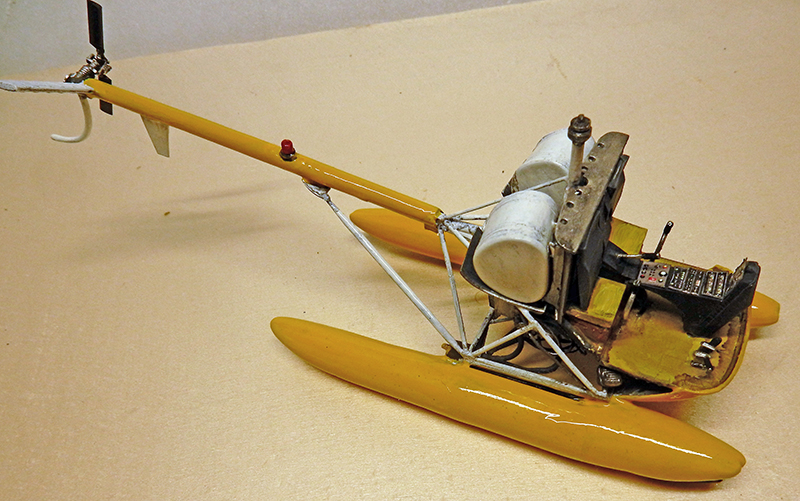
Two views of the assembly...
The battery housing has been rebuilt (on the motor support rods). Wiring and hoses will be added to the engine. The floats—designed for the Cousteau team’s version—will be built on the original skids, using tanks and aircraft bombs...
Then, apply a coat of primer to the entire surface...
Various characters—including Commander Cousteau—will liven up the scene on the platform...
Paint job on the model. You can clearly see the included dashboard panels...
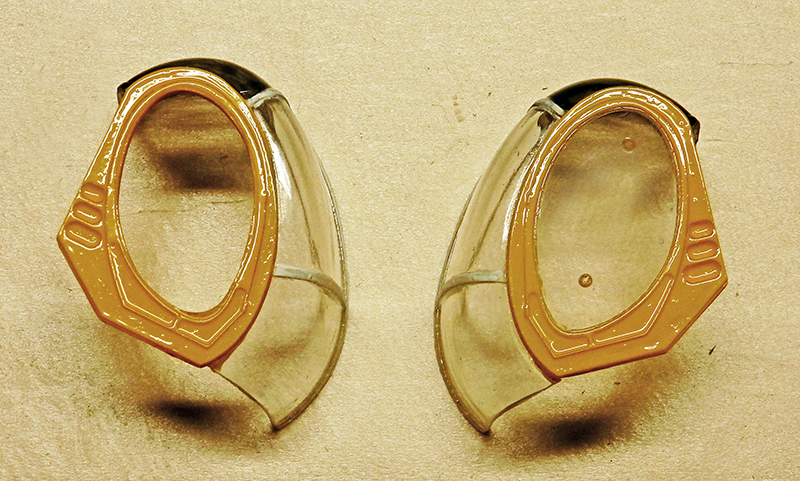
The glass panels are painted. The roof is coated with a layer of transparent smoky black. The glass in the door on the right side is removed...
The painting is finished...
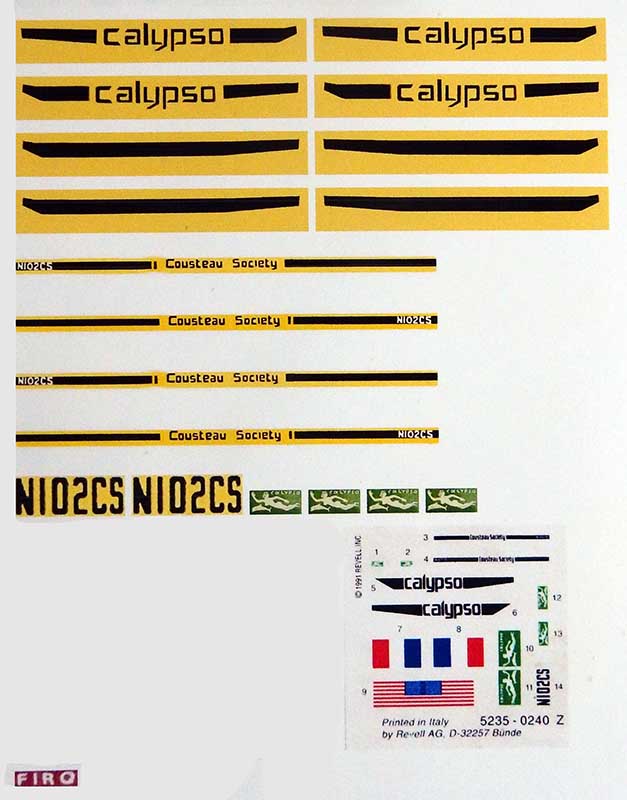
Creating decals for the helicopter based on photos of the model...
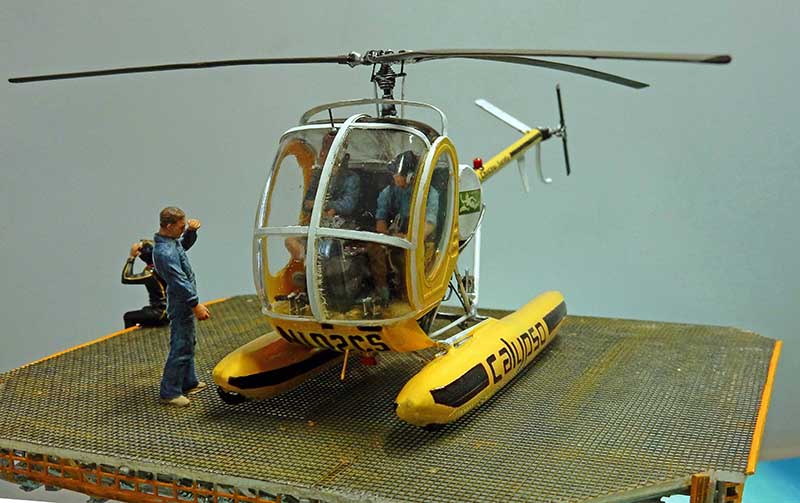
The figures are glued into the cockpit. The two parts of the canopy are glued together. The decals are in place...
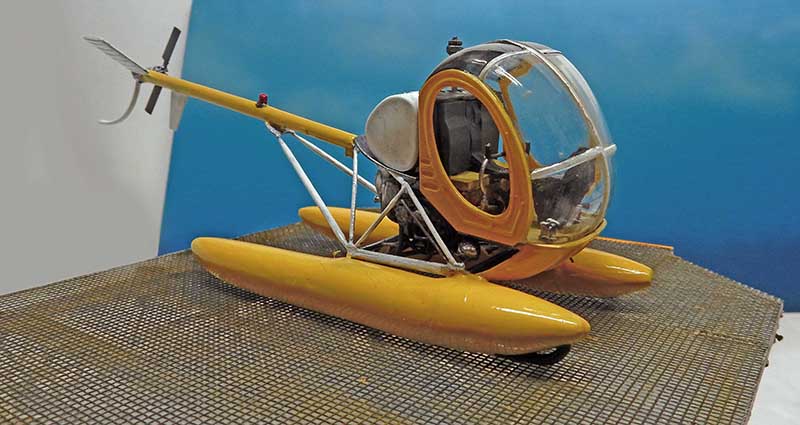
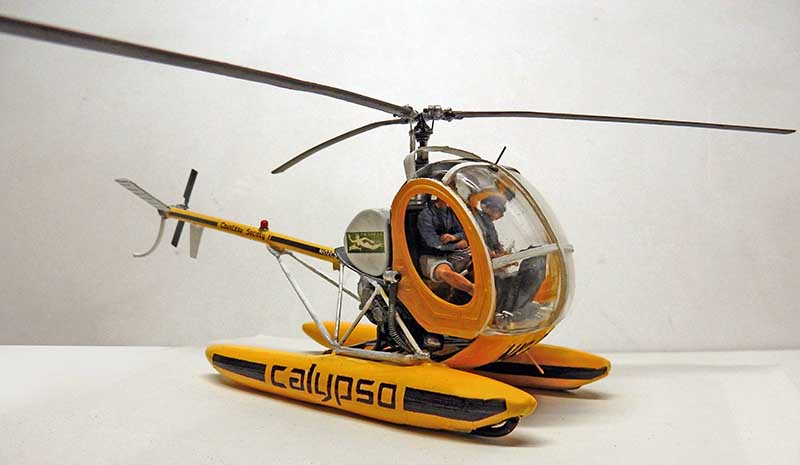
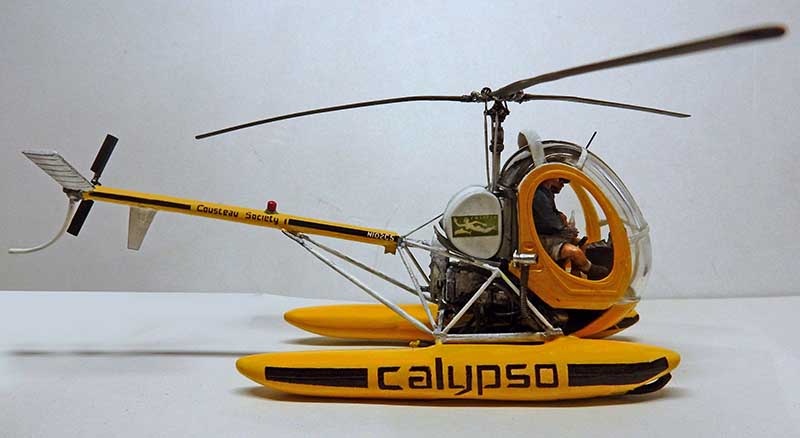
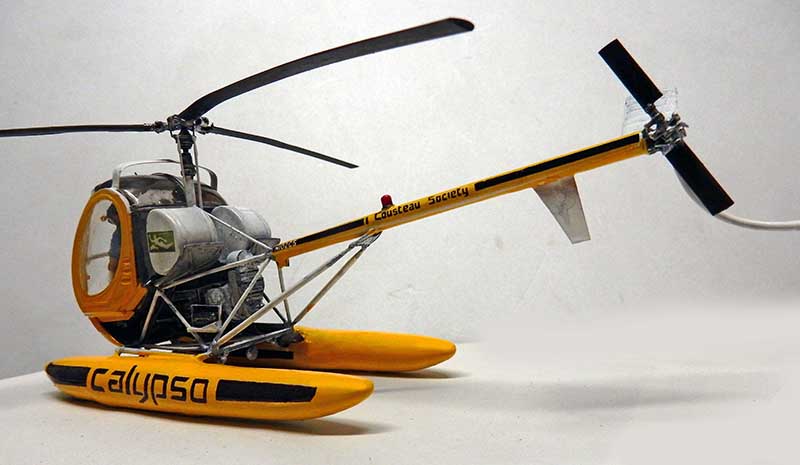
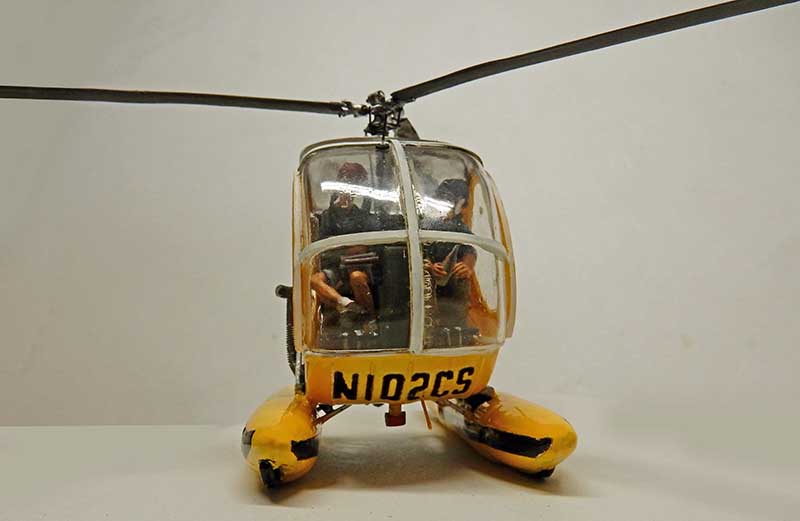
Three more views of the finished model...
Assemble and glue the entire set onto its base, complete with the figurines...
The Setting
A preview of the future set...
Creating the water for the Calypso on a sheet of extruded polystyrene using spackling compound...
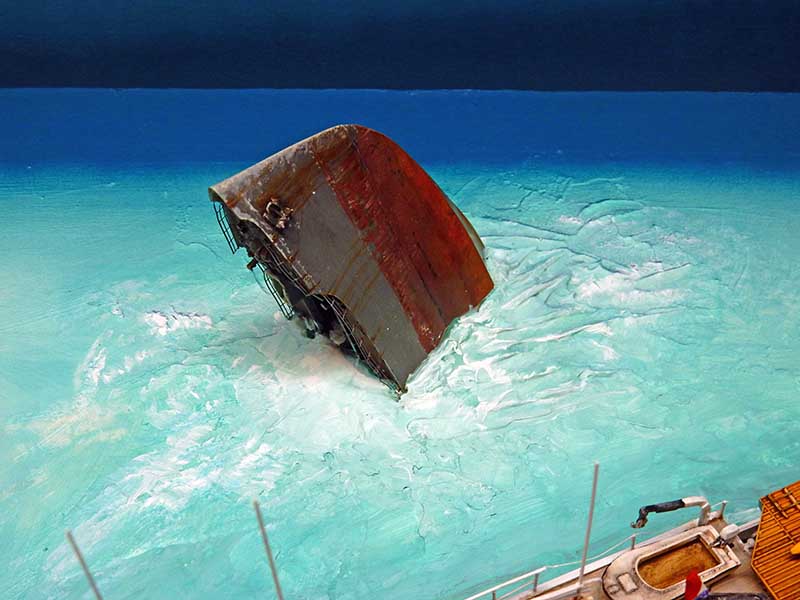
The bow of another ship will serve as a wreck jutting out into the sea...
A view on site: the swirls were carved into the fresh plaster...
The sea is painted in acrylic using various shades of blue, including turquoise for the background of the Calypso and darker shades for the platform...
Another view...
A background of sky—at the top—and sea—at the bottom—is created with an airbrush...
A stylized portrait of Jacques Yves Cousteau is painted in white on the background...