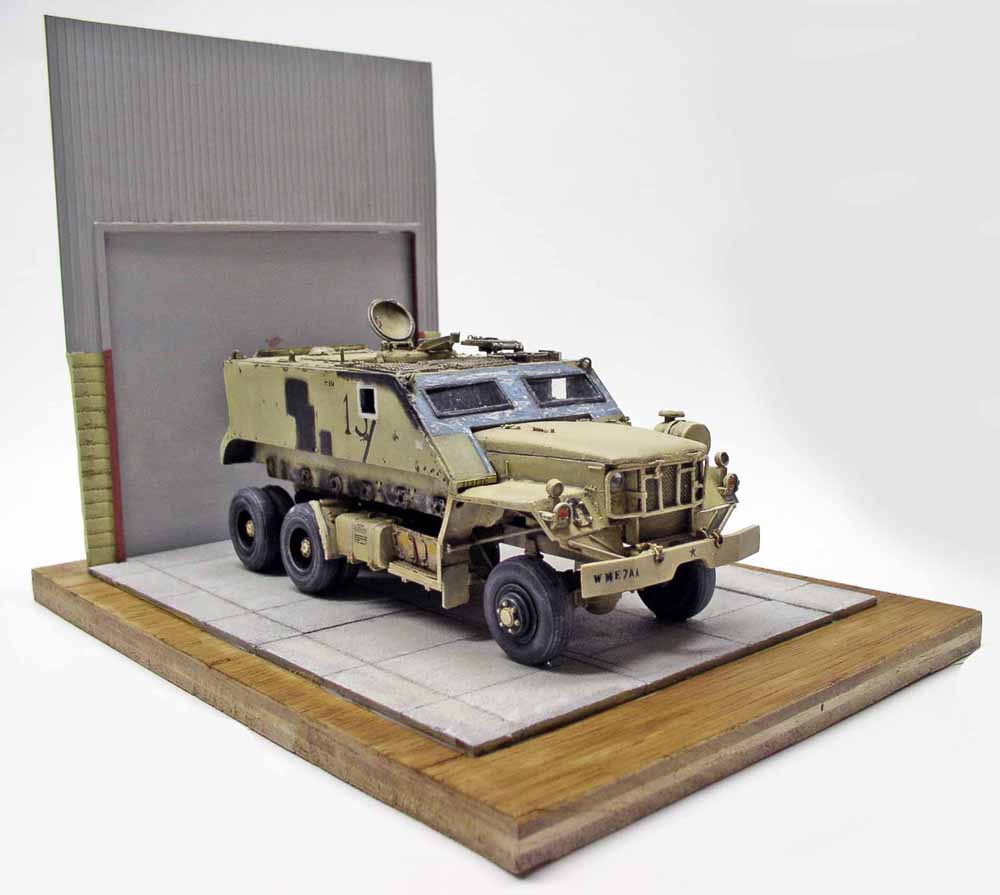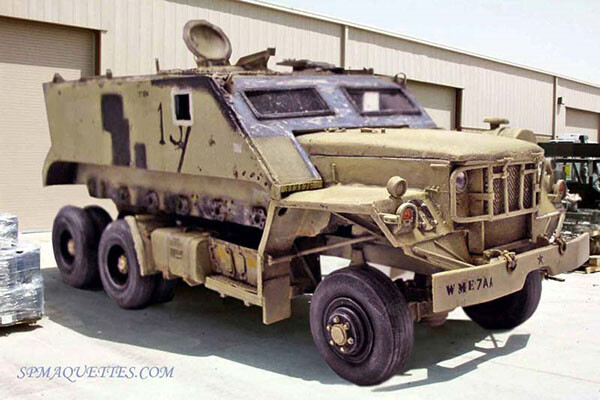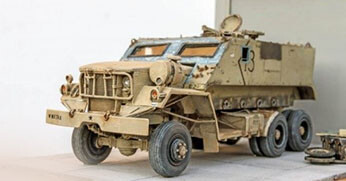
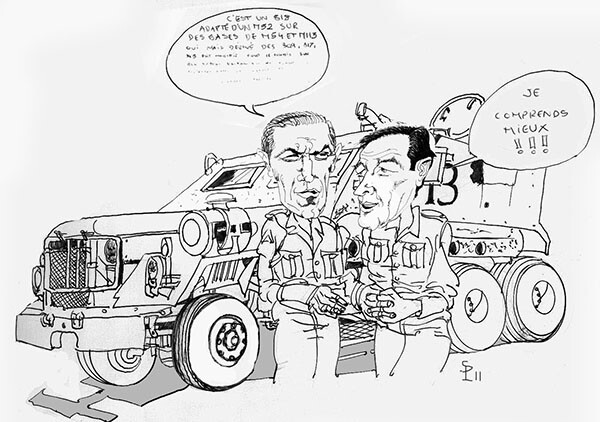
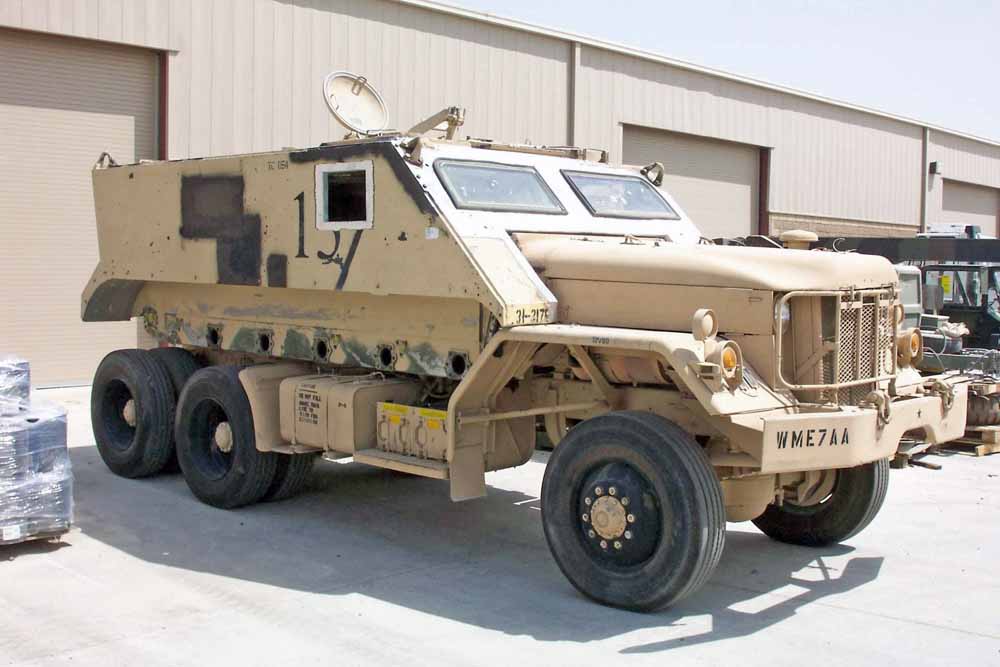
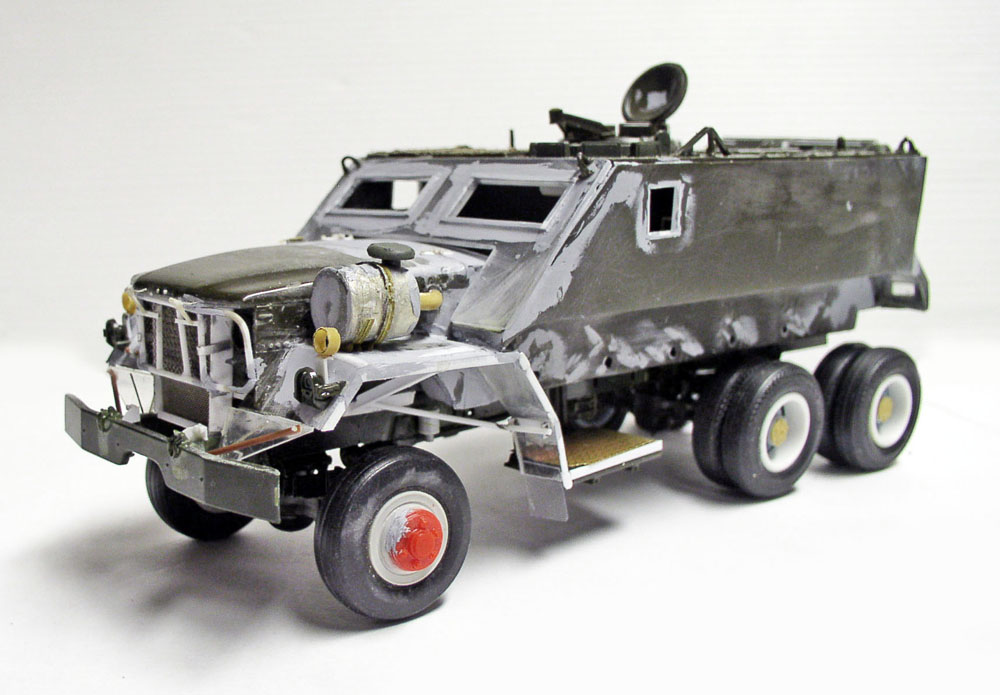
This vehicle is a mystery. Inspired by the Guntrucks from the Vietnam War, it was not used on a large scale during the Iraq War. A few photos found online made it possible to create this small-scale model. The photos do not make it clear whether this vehicle was "kitted out" on-site or in the U.S. The M113 was likely salvaged in 1991 and may have come from Kuwait...
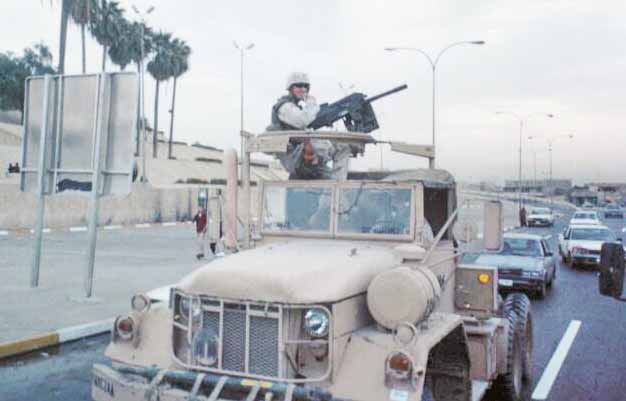
The tractor is an 818, a machine that is usually used to pull large trailers—here in Iraq, in 2003...
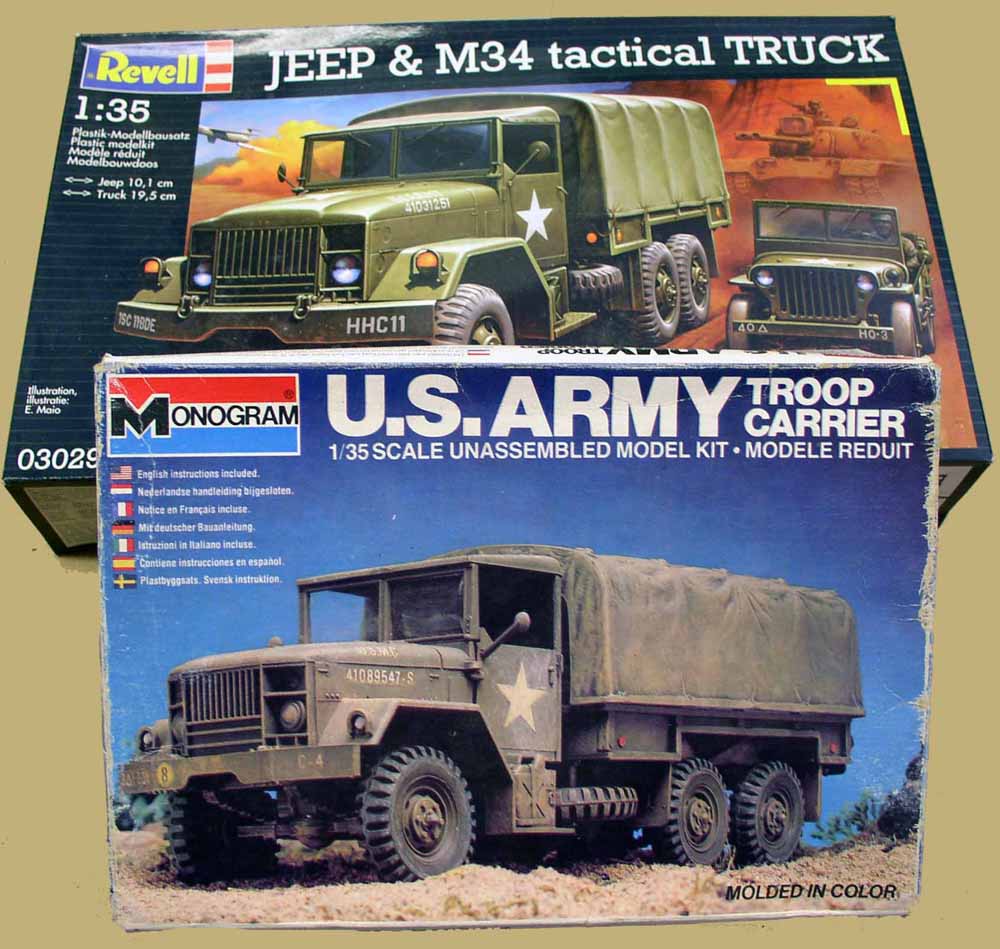
The basic kit for building this model is an M34 (or M35 from AFV-CLUB), which most closely resembles the 818—a model that has never been produced as a plastic or resin kit... Revell has reissued this model—with a Jeep thrown in as a bonus—an older kit that isn’t very accurate...
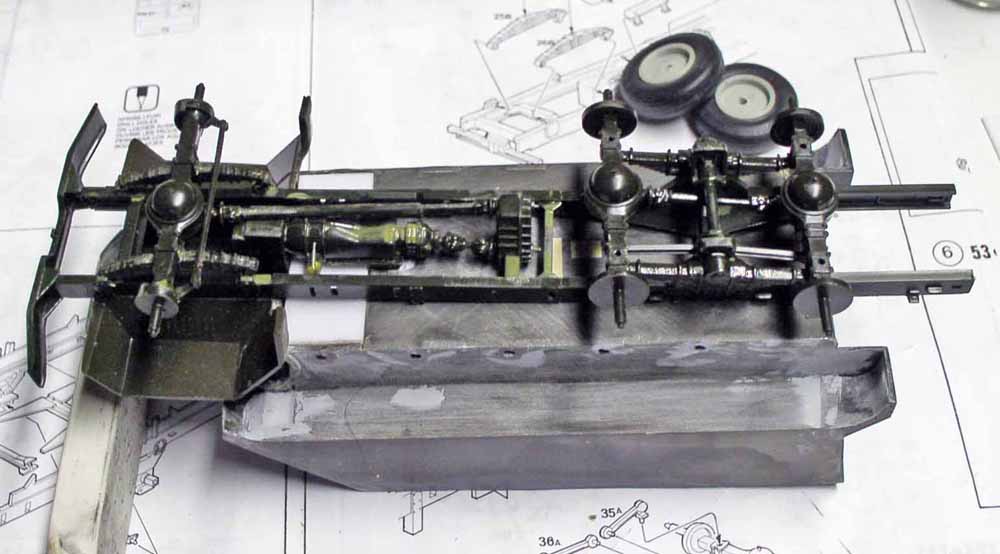
First challenge: adapting the M113’s chassis, nose, and body. The truck’s chassis comes from a 923—which is more accurate than that of the M34—and has simply been shortened to the correct length... The M113’s shock absorbers are ground down, and holes are drilled where they would go...
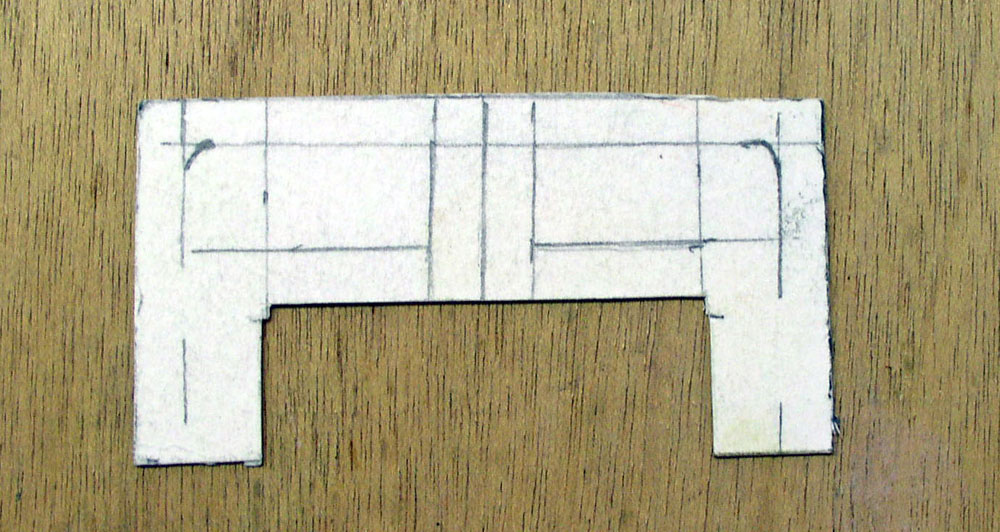
A cardboard template will help determine the placement of the future windows and replace the front windshield of the M113...
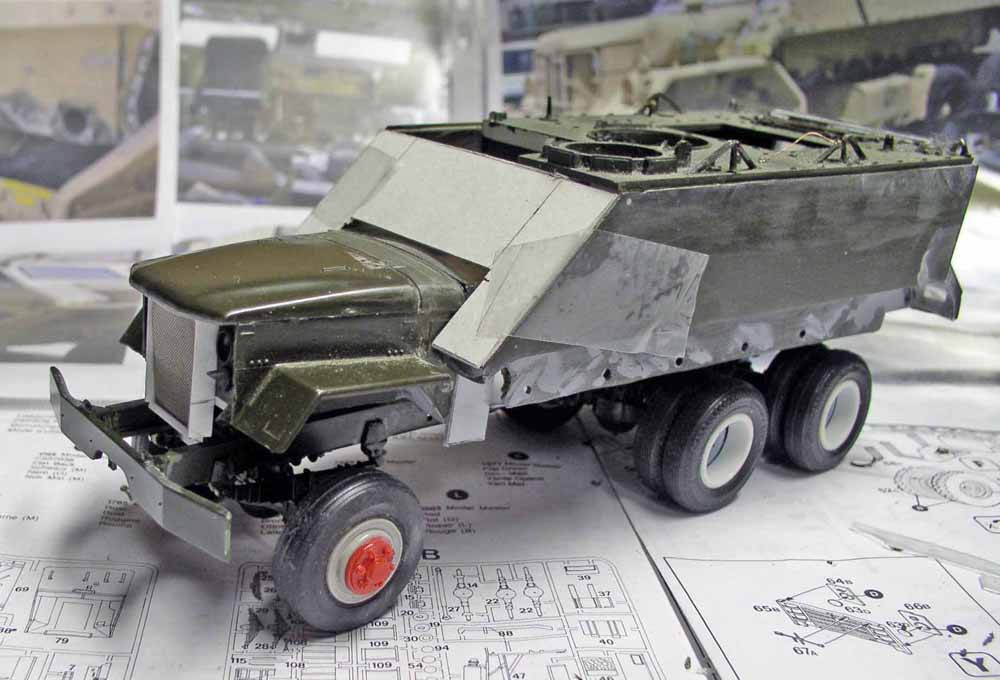
Overview of the components currently in place...
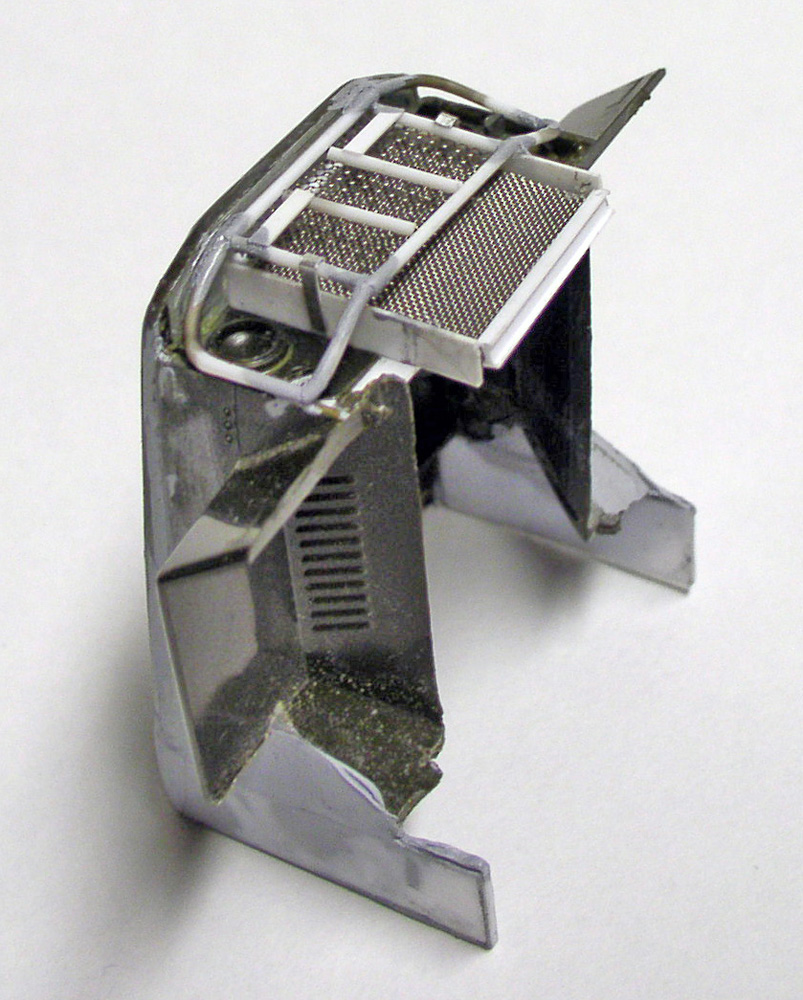
The M34's grille has been modified. The headlights have been raised. A new radiator has been built. The protective bar typical of the 818 models is made from Evergreen rod. Photo-etched wire mesh will complete the assembly. The hood has been lengthened by a good centimeter...
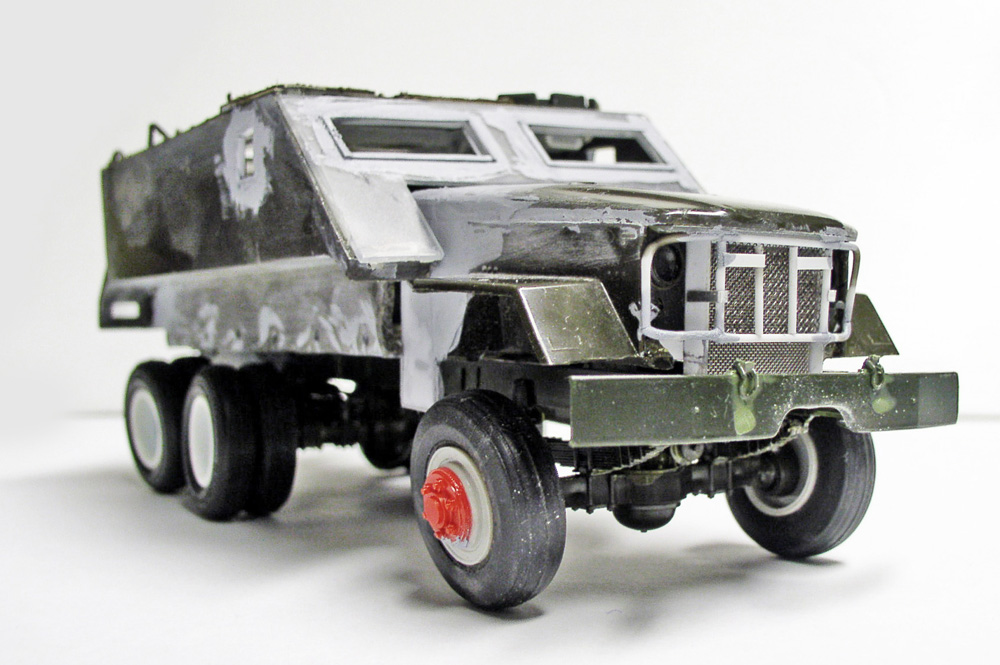
Attaching the main components after cutting window openings in the M113’s hull. The wheels, simply placed there, give a sense of scale. The wheels from the M34 and the 923 don’t fit at all, since the original uses civilian truck axles! I decided to use 1/24-scale car models, since the tire design is that of a civilian truck and the size is as close as possible to the kit...
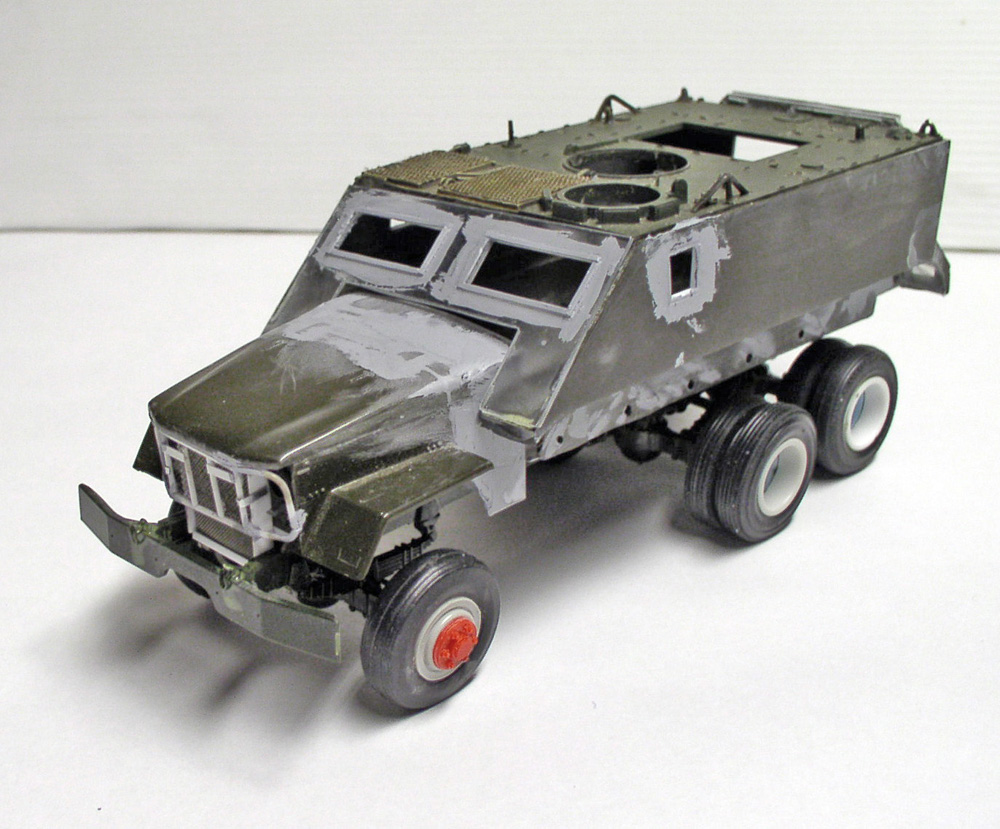
Top view: You can clearly see the cutouts and the extended hood designed to fit into the M113's glacis...
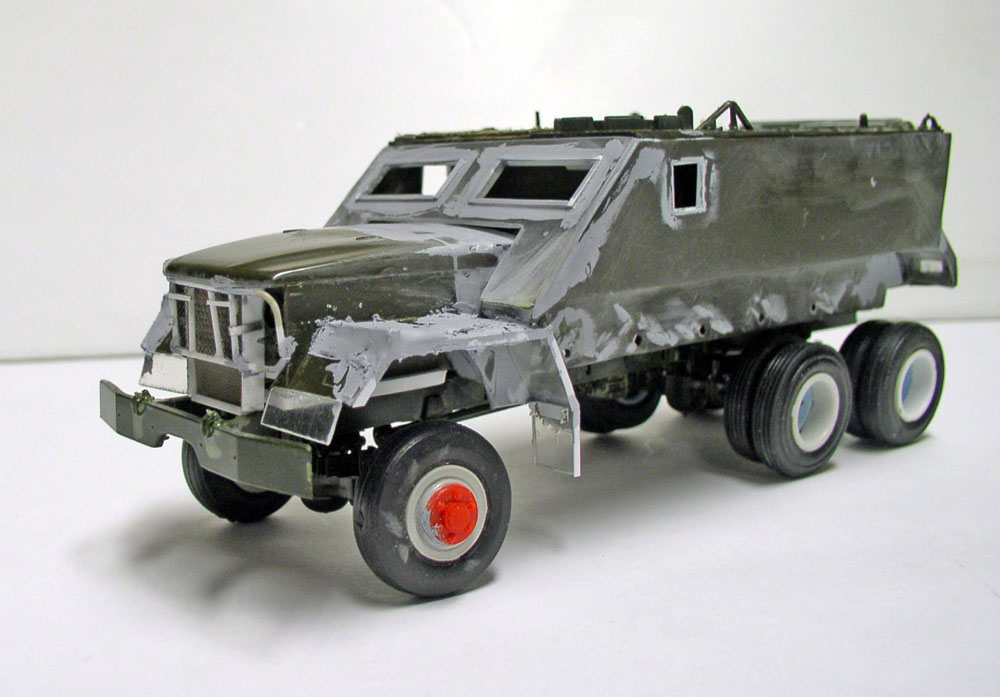
Mudguards that aren't wide or long enough are modified and filled with putty to eliminate the seams...
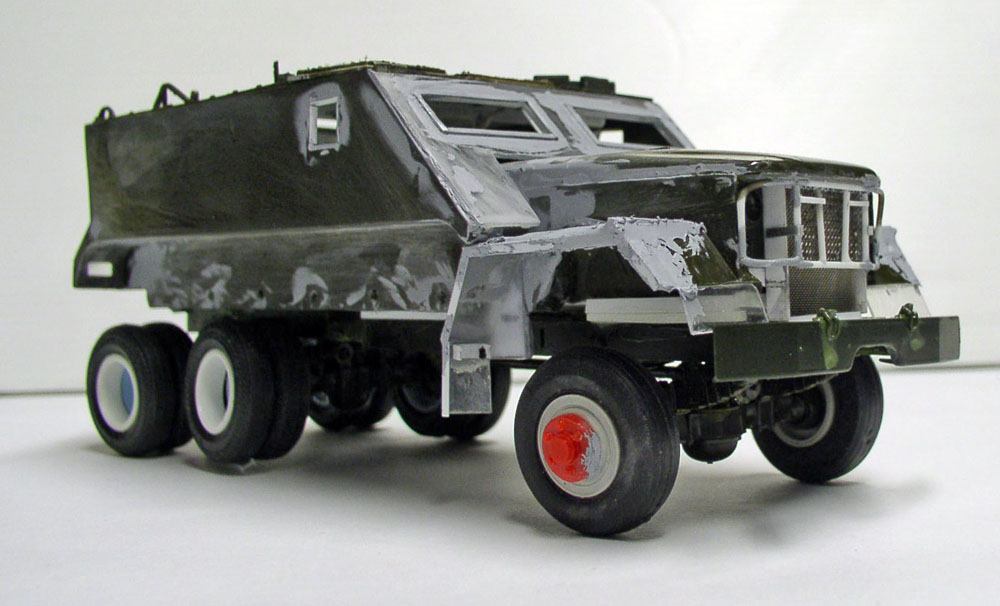
Another view...
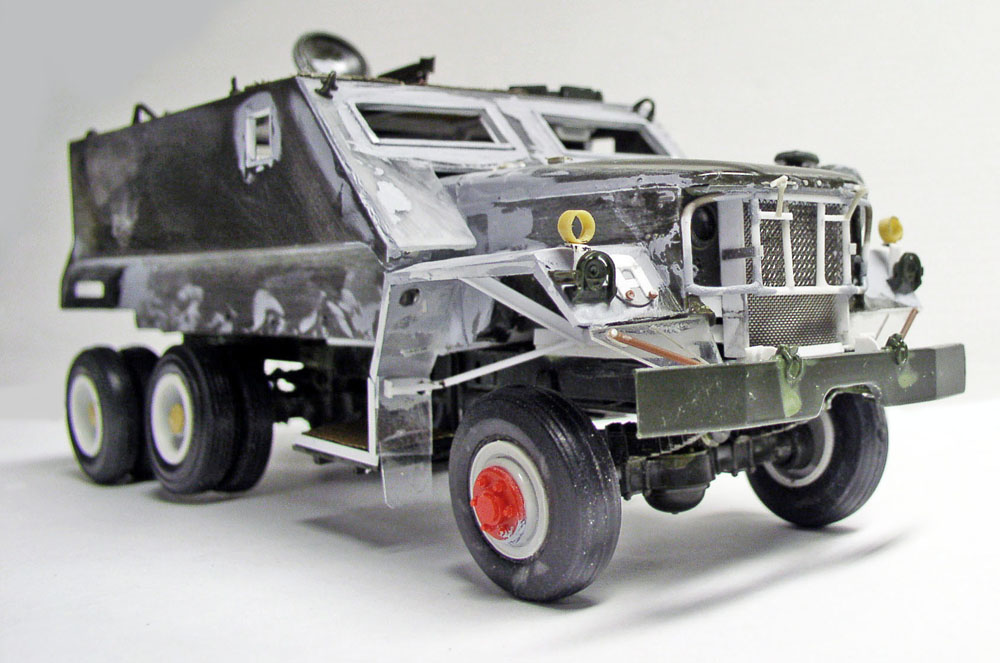
Installing the fender reinforcements and the fender lights...
Installation of the air filter and the steps supporting the fuel tanks and batteries. These parts come from the 923 and have been slightly modified...
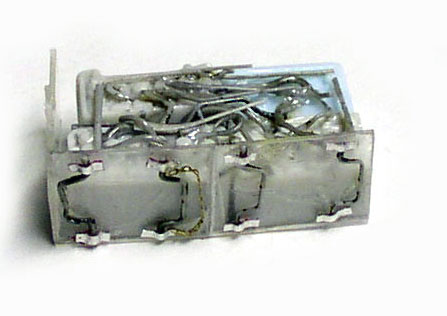
The battery compartment is made of plastic. The batteries come from 1/24-scale motor kits... Wiring and handles are added...
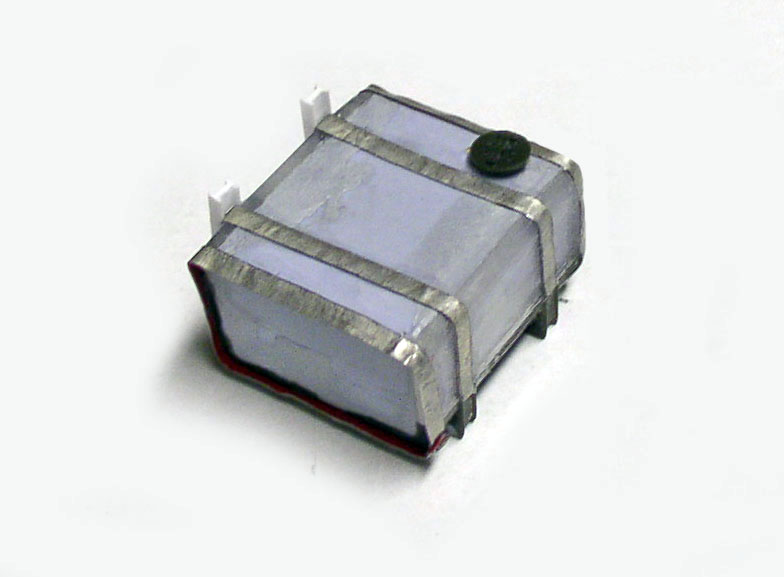
Manufacturing the tank based on a 923 part...
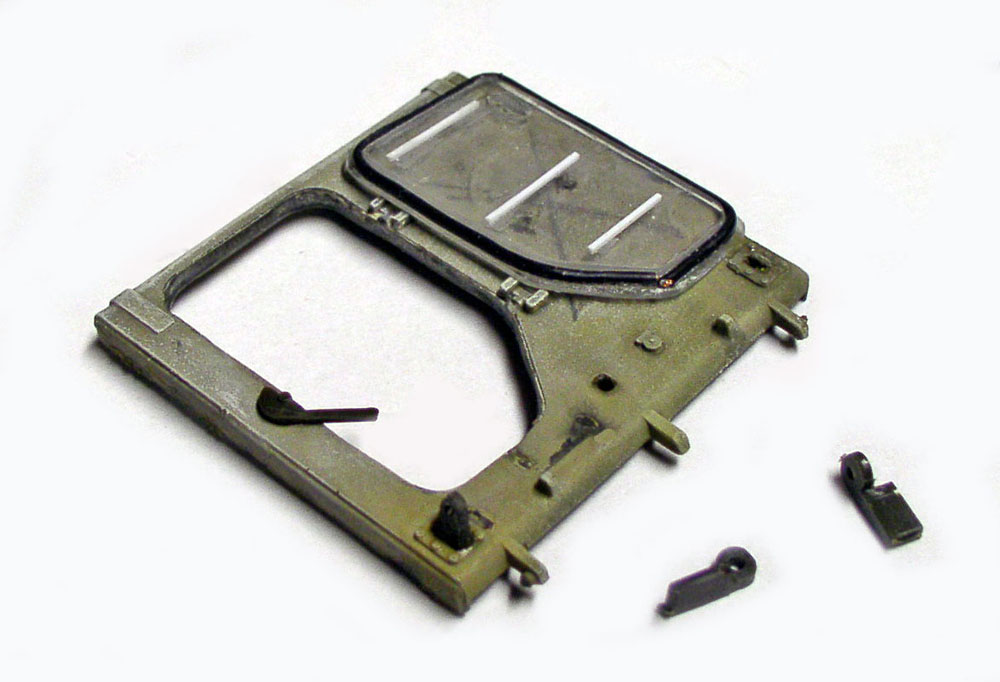
The door on the M113's hinged rear panel is cut out, while another is recreated using plastic sheet. A rubber gasket completes the assembly...
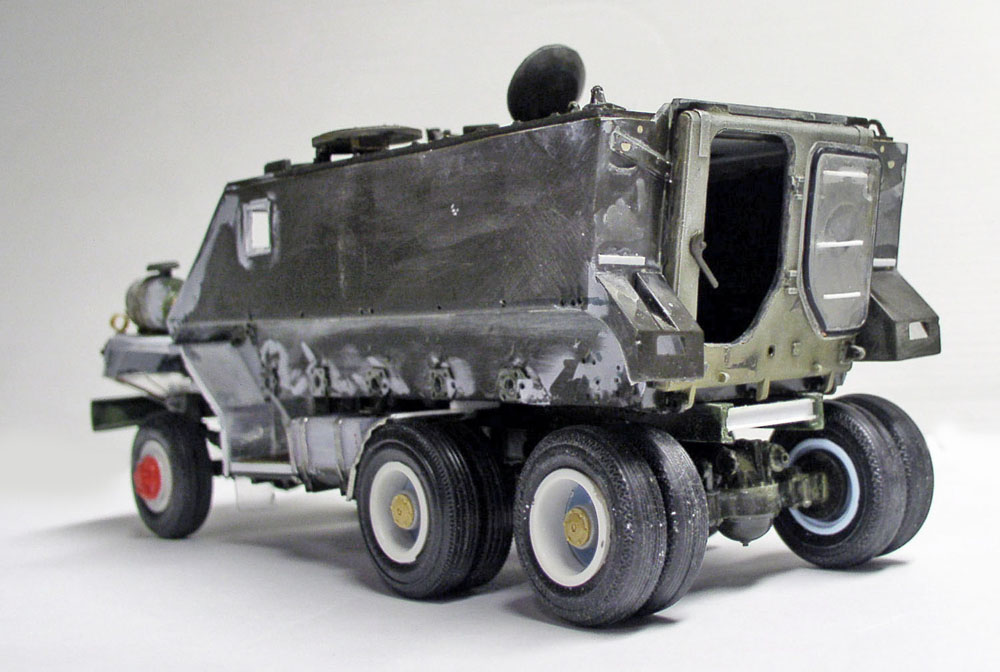
Installing the rear panel and the left side tank...
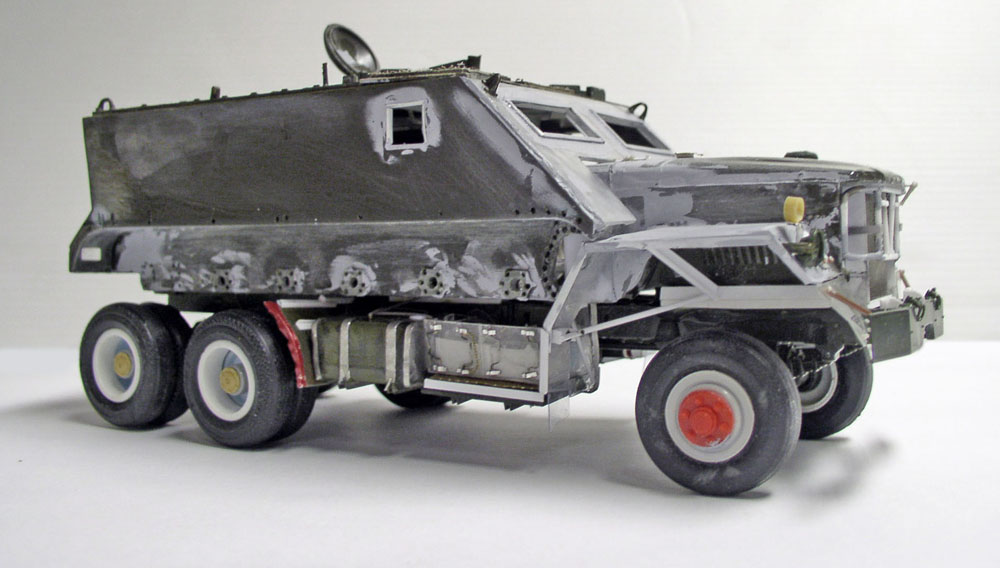
Installation of the battery box, the right-side fuel tank, and the rear fenders made of aluminum sheet...
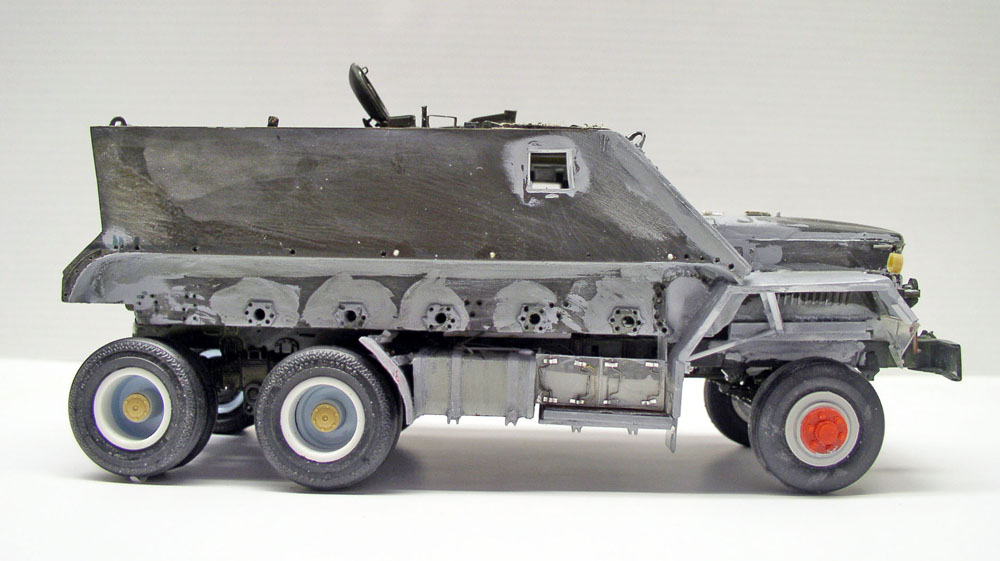
Installed the shock absorber guards on the M113 and drilled all the mounting holes one by one! Phew!
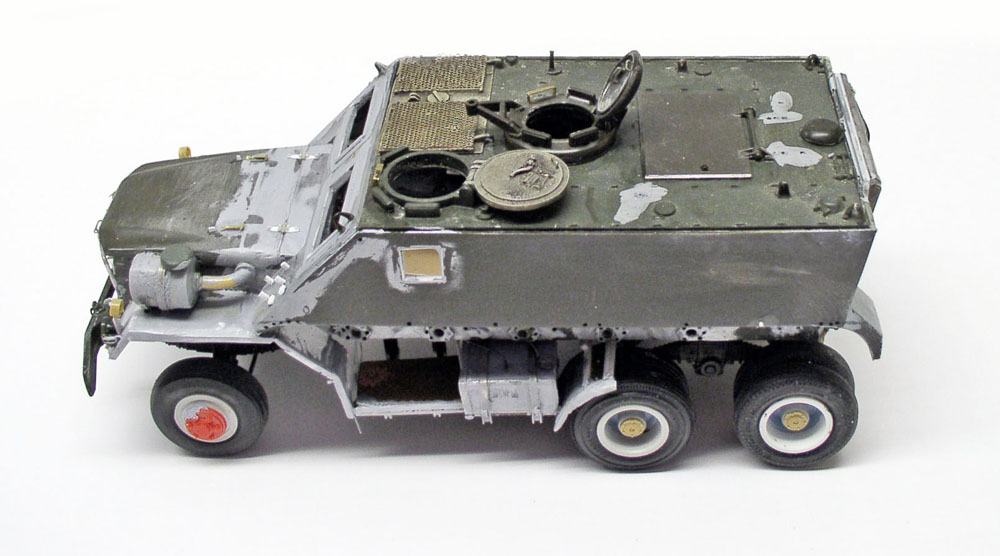
Top view...
Installing the taillights on the chassis...
Painting
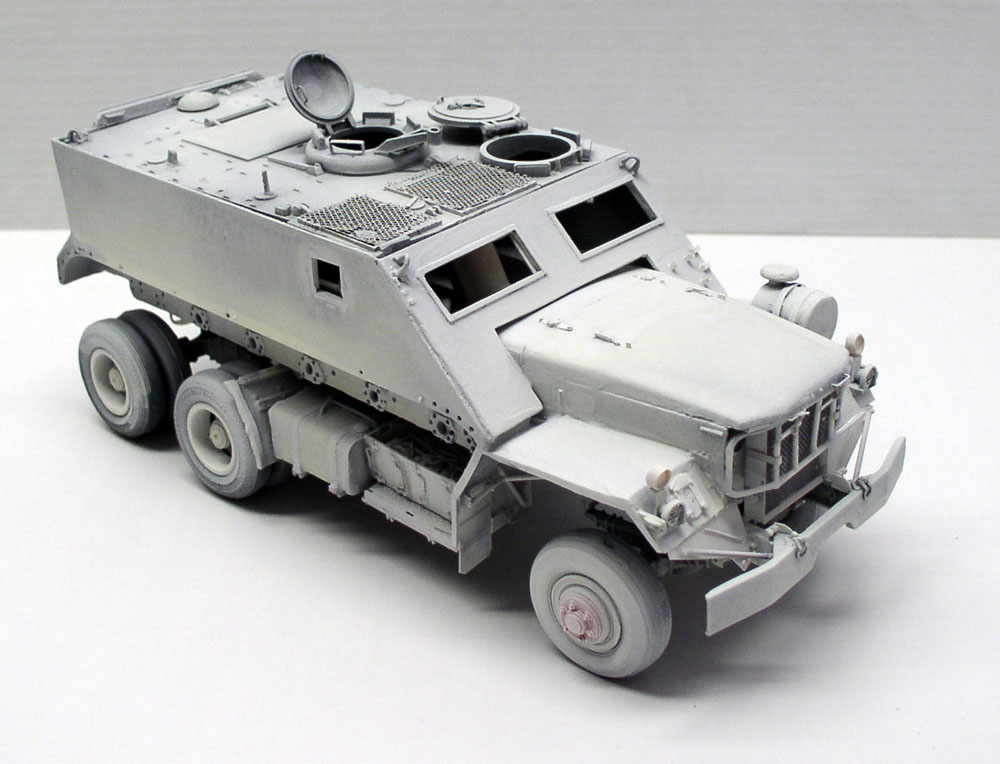
A coat of primer will reveal the many imperfections that aren't always visible during assembly...
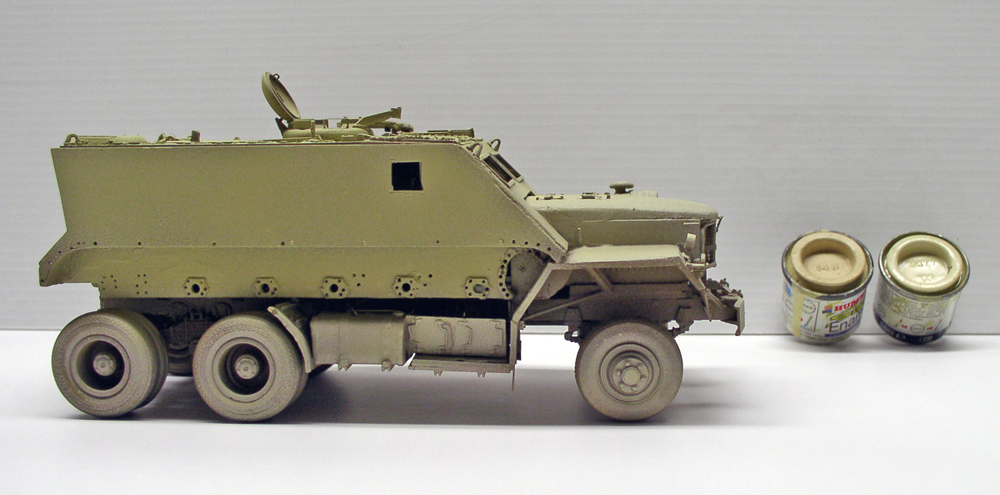
The paint used is Humbrol oil-based paint. Looking at photos of the actual vehicle, you can see that the 818 isn't the same shade as the M113—which is more yellow—while the M113 is more orange...
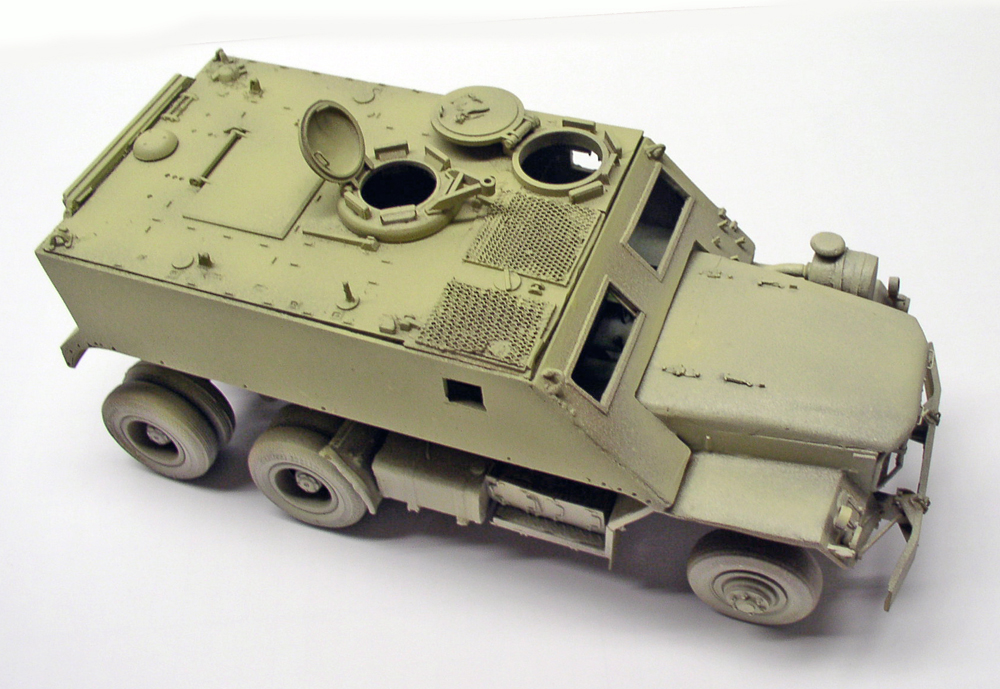
On a base of 110, the M113 is coated with a layer of 103, and the truck with 148...
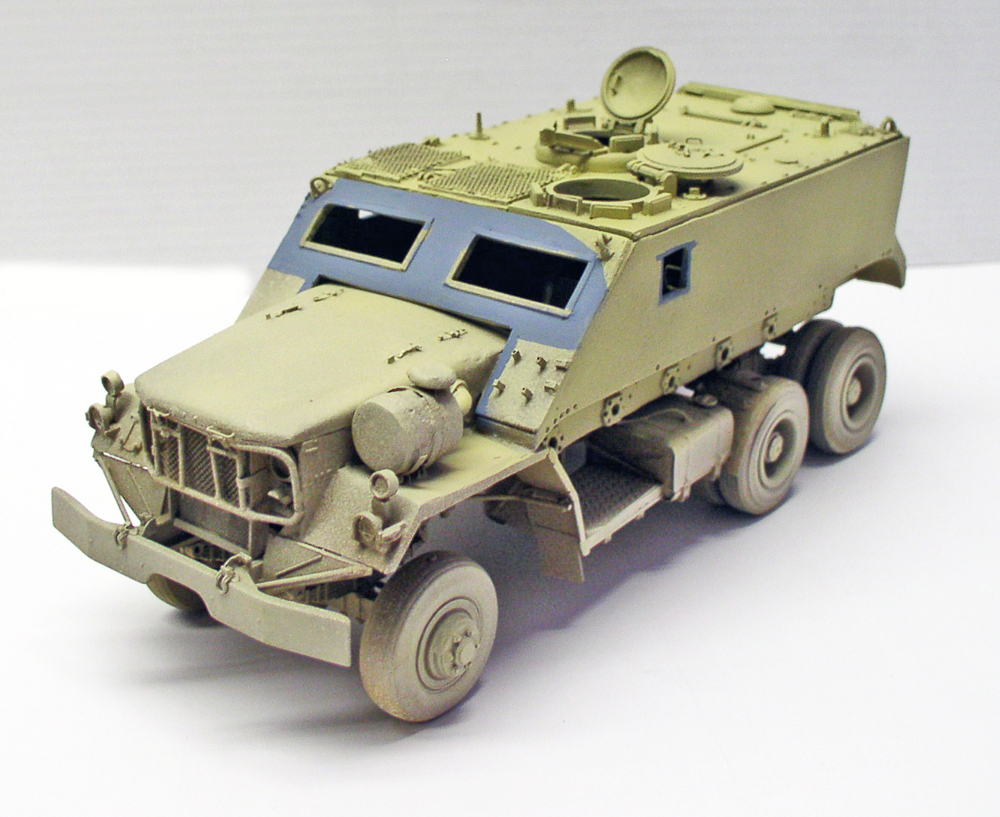
We're painting the blue exterior of the M113...
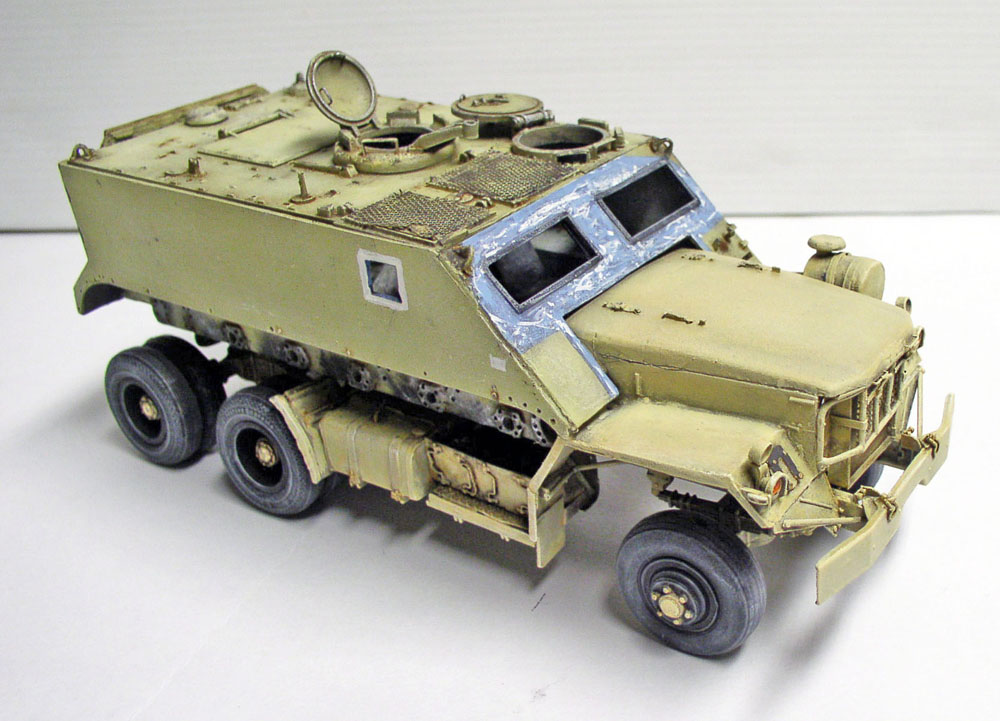
The model is painted with a black wash and 98 chocolate diluted to 60%, followed by a light dry-brush of 148 on the nose and sides, while 103 is used to finish the M113. Scratches are painted using light blue and white on the front of the windshield. The tractor is given a wash using 62 all over...
Painting/Interiors
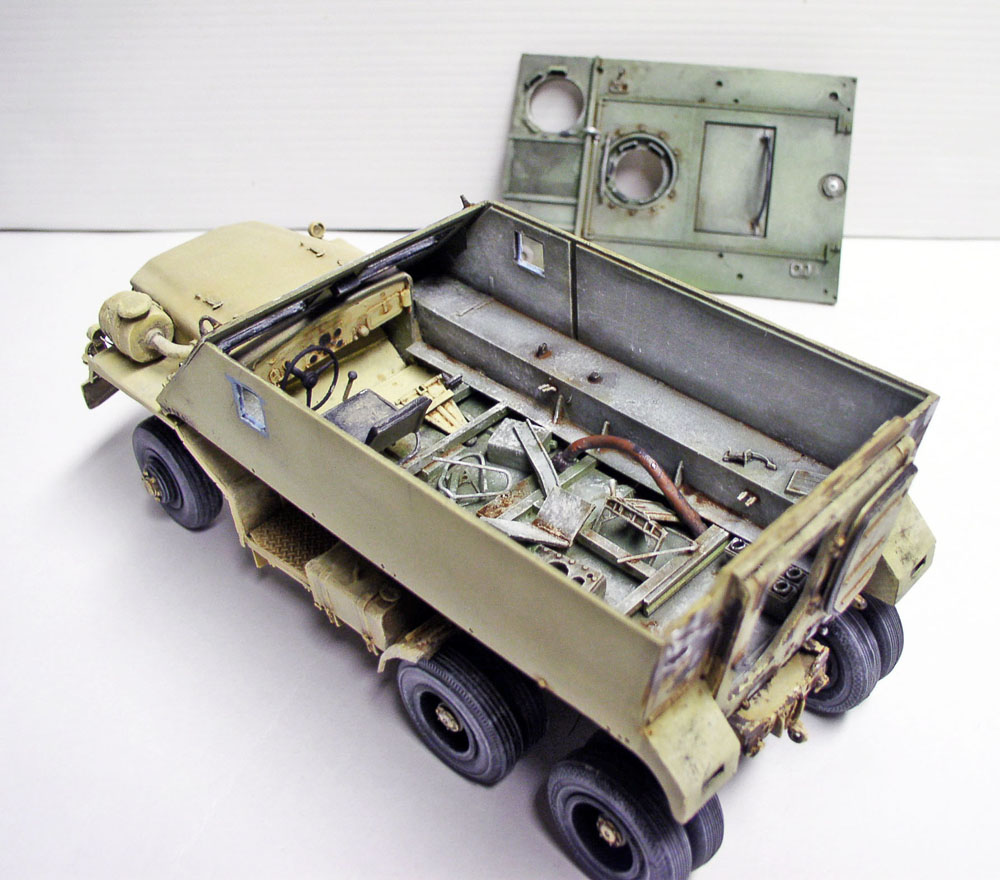
The interior of the M113 features various unfinished and abandoned parts. A base coat of 105 and 90 green will be applied, followed by a dry-brush with 23, which will then be lightened with white to complete the paint job. The truck's cab is painted with 148...
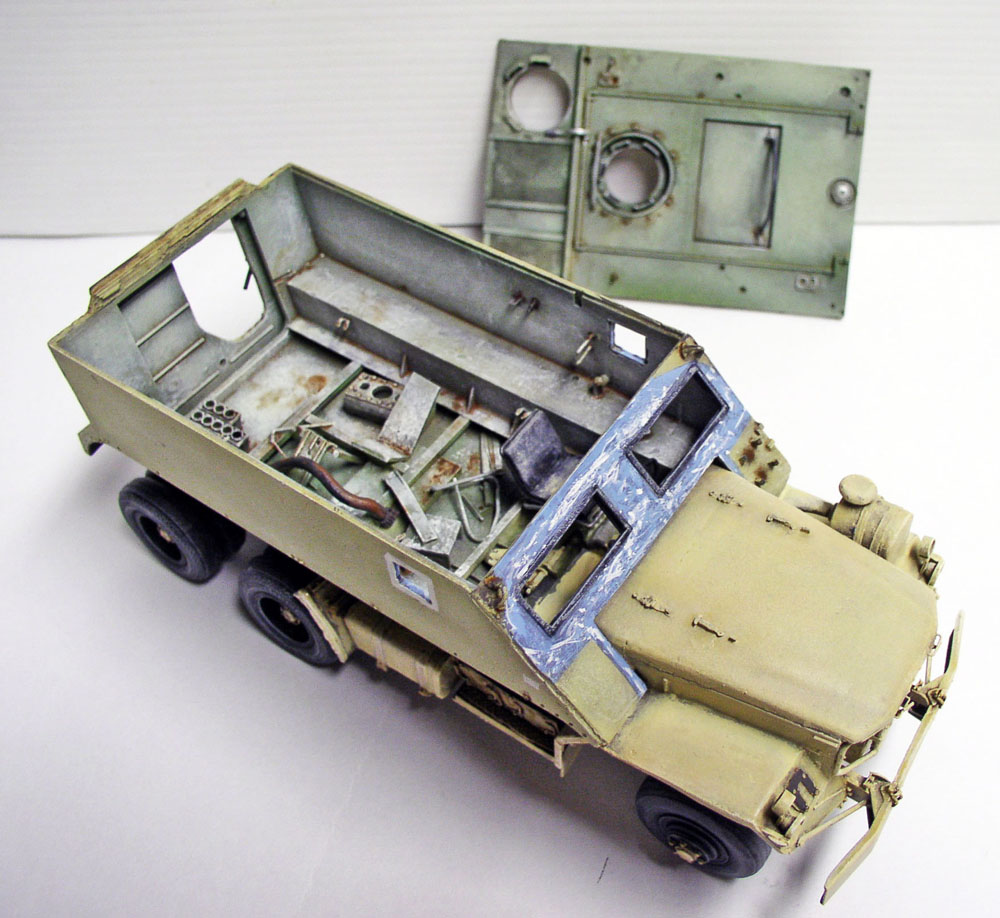
Another view...
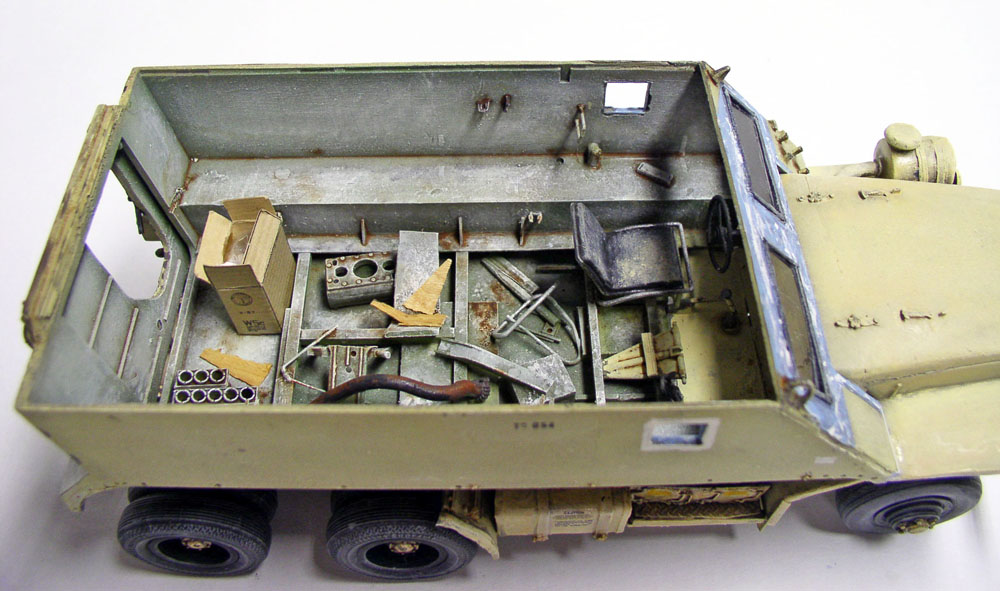
A Tamiya cardboard box will complement the original one filled with...
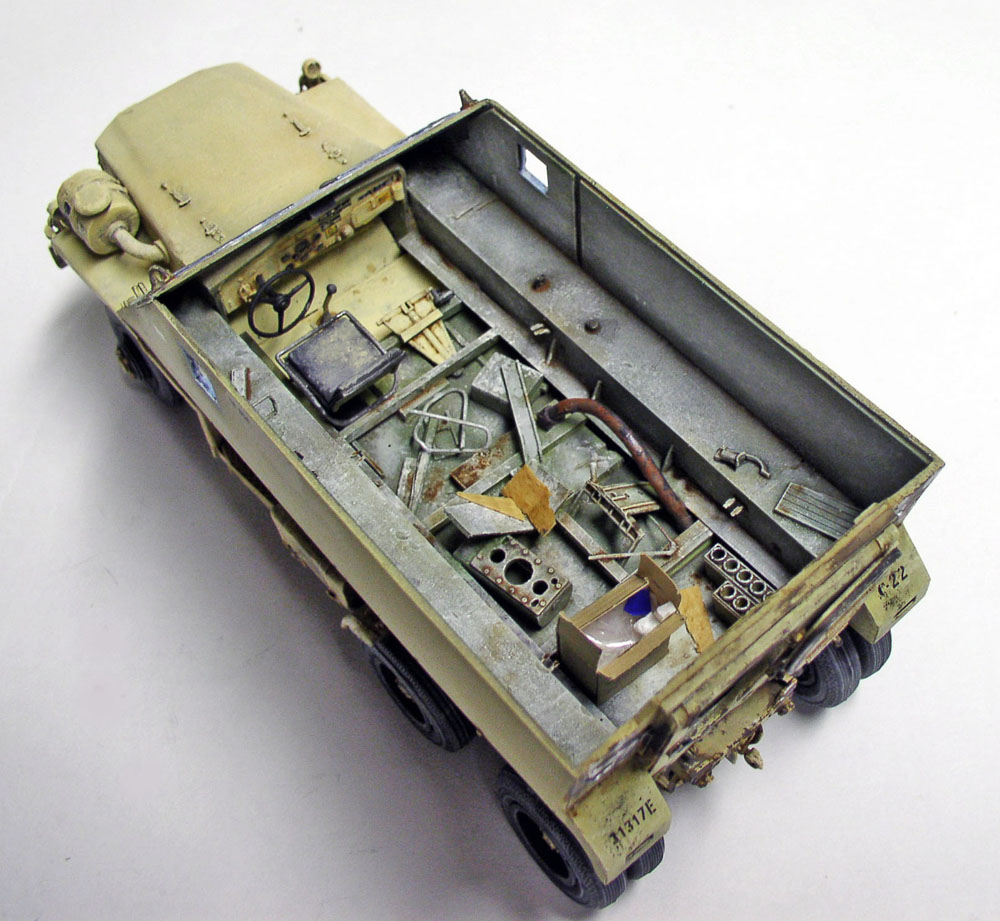
... polyethylene and polystyrene...
Effects/Rust
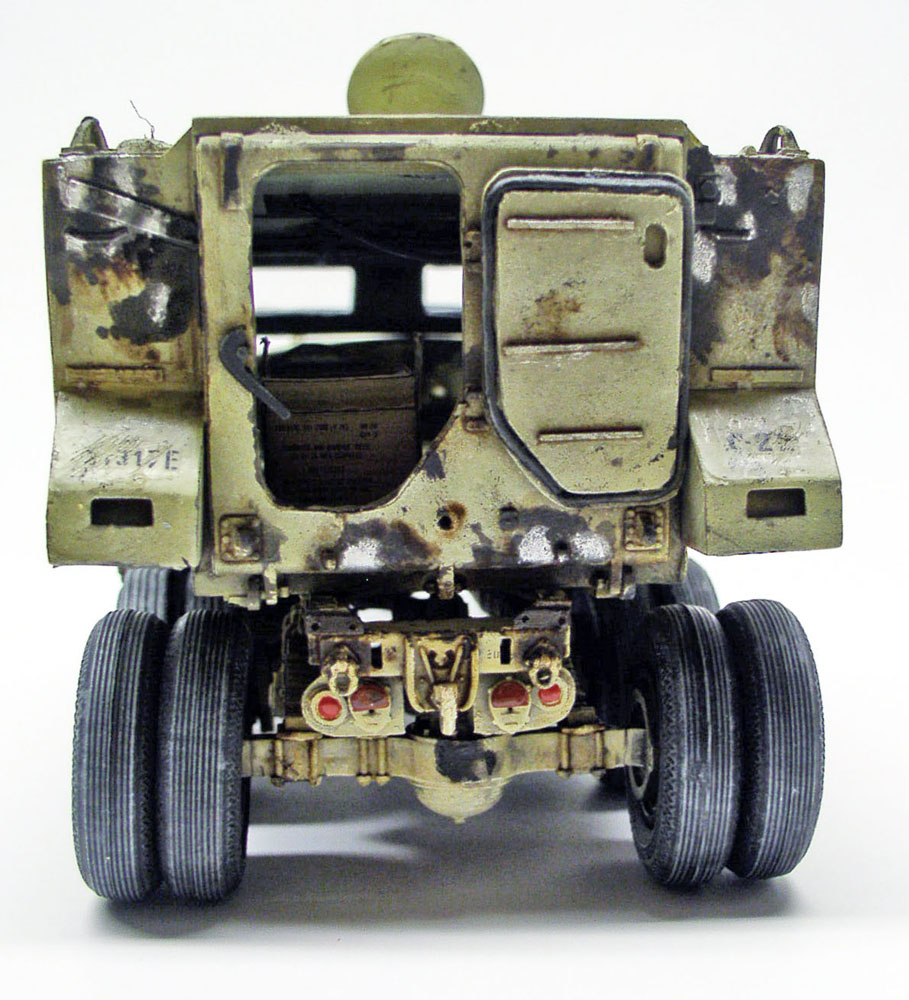
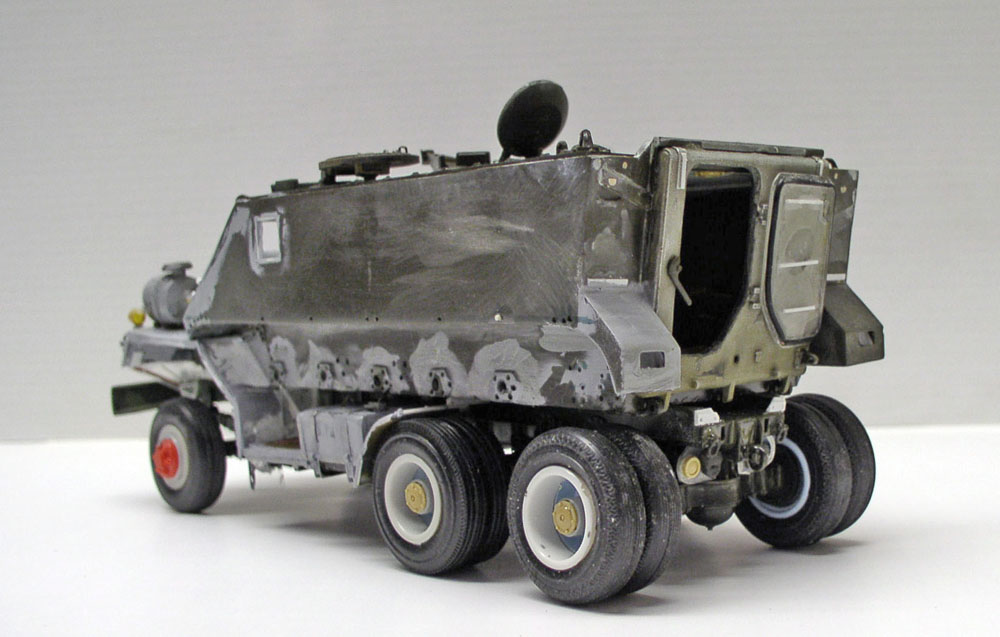
Rear view showing the grinding marks made on the aluminum and the various rust spots applied with a brush...
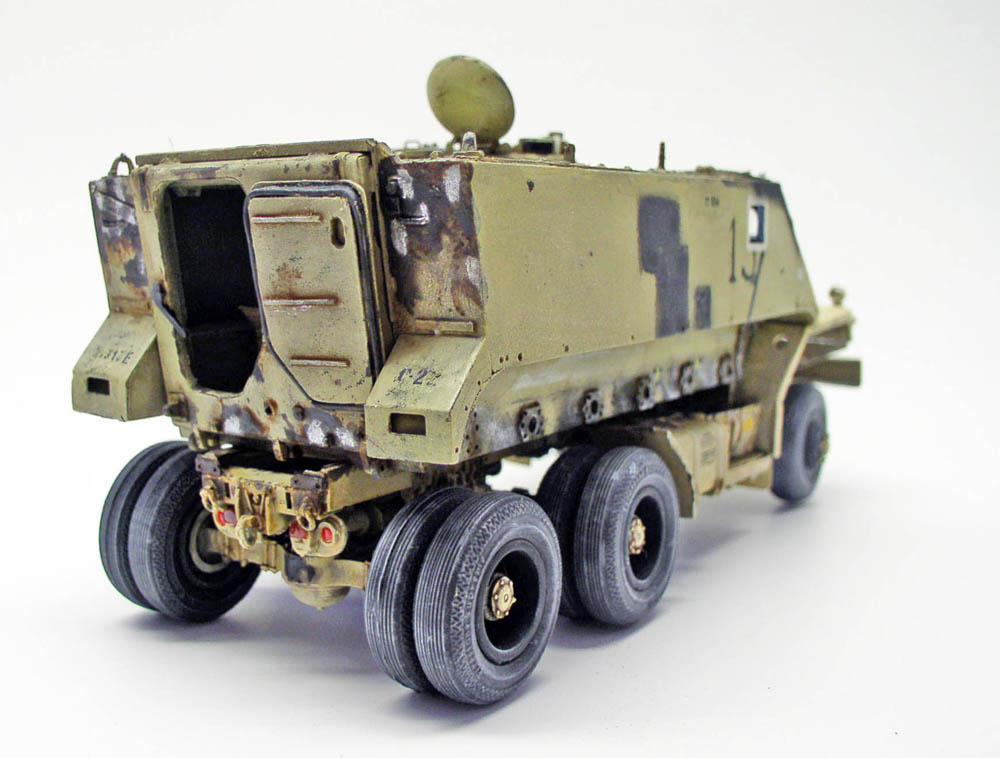
Another view...
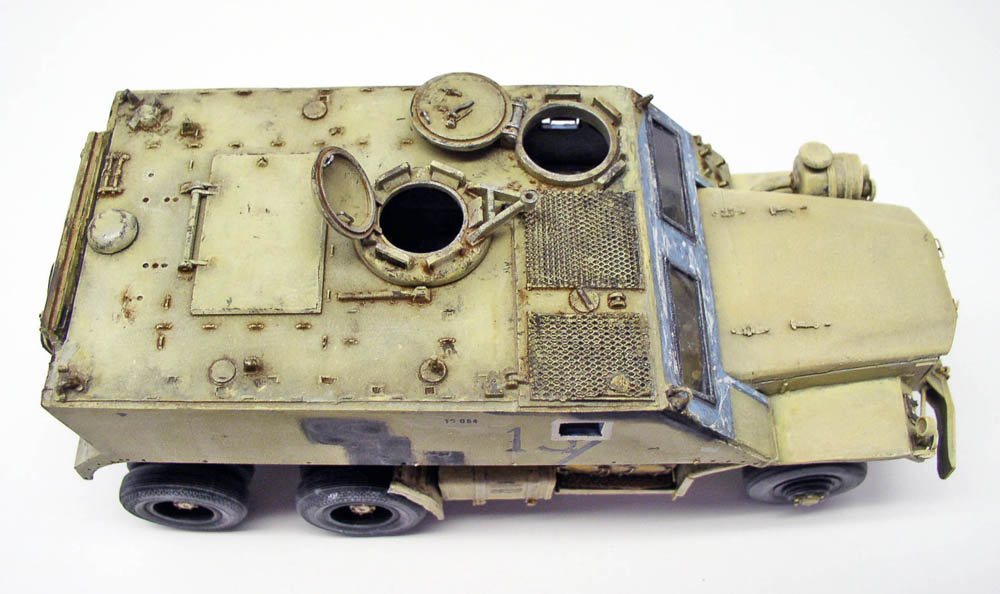
The effects of rust on the M113's hull are much more pronounced than on the tractor...
Markings
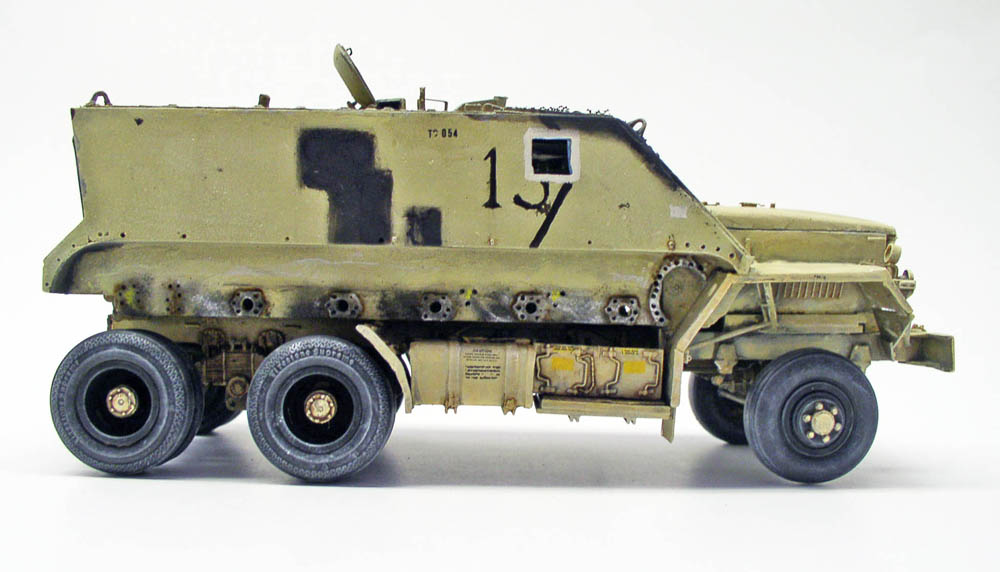
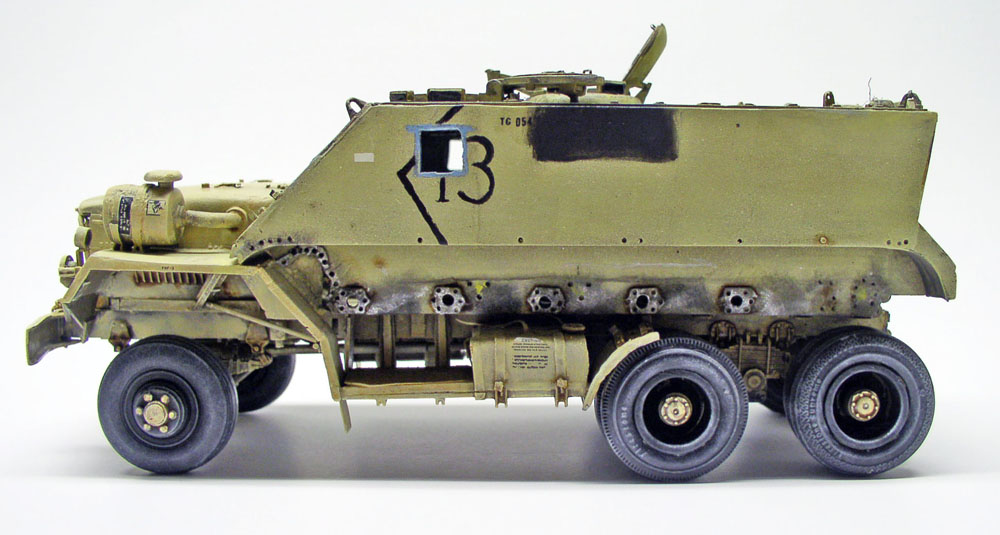
Side views...
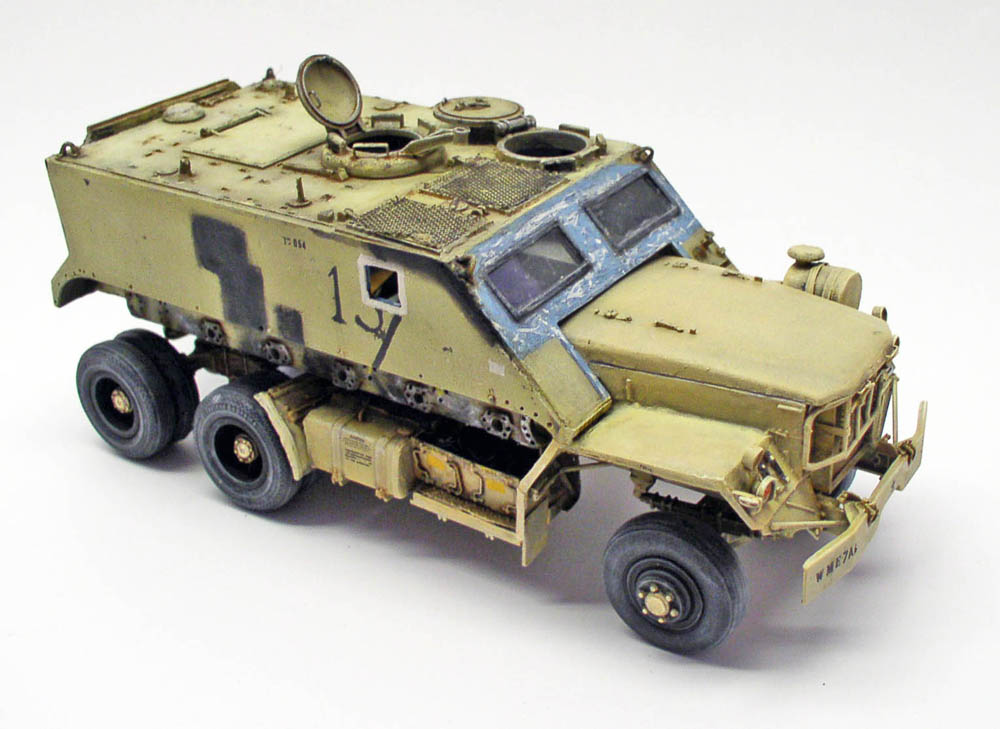
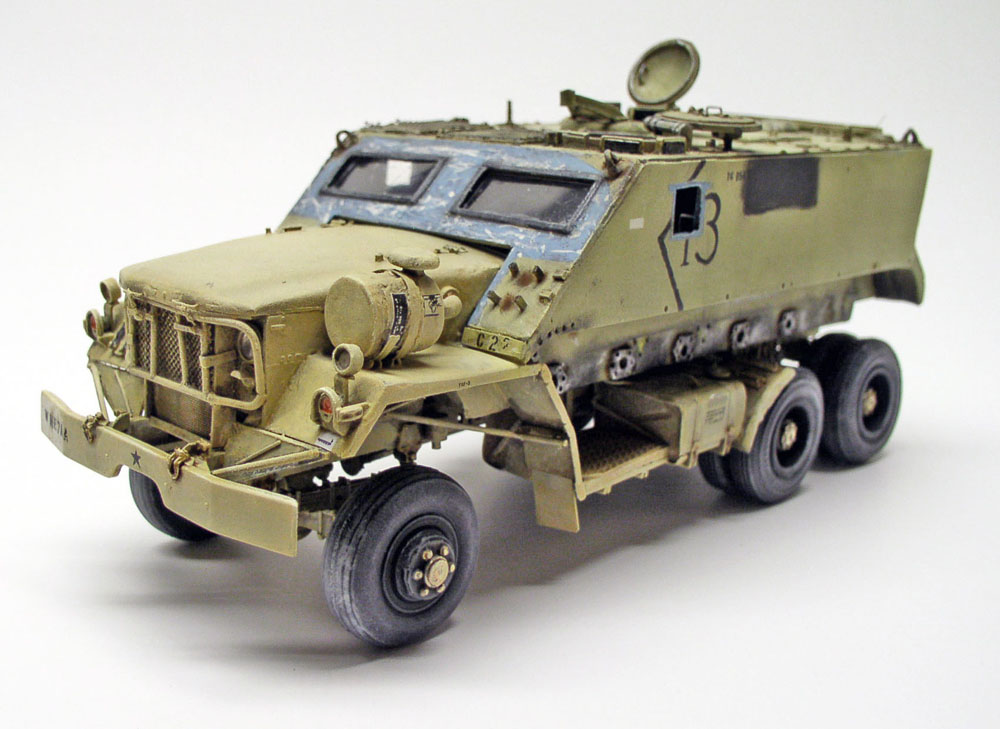
The Setting
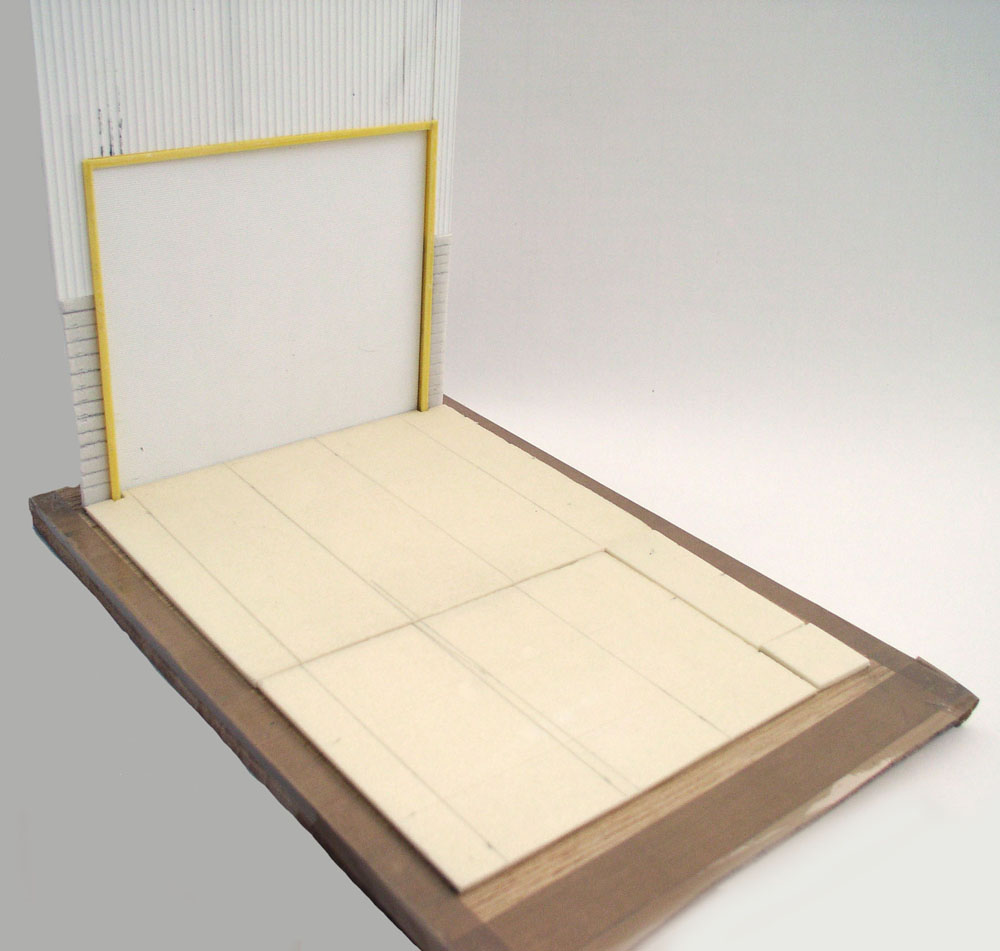
It's very simple and is built into the bottom of the hangar door in front of which the vehicle is parked. Extruded polystyrene forms the floor, while Evergreen sheets will simulate the door and the edges of the building...
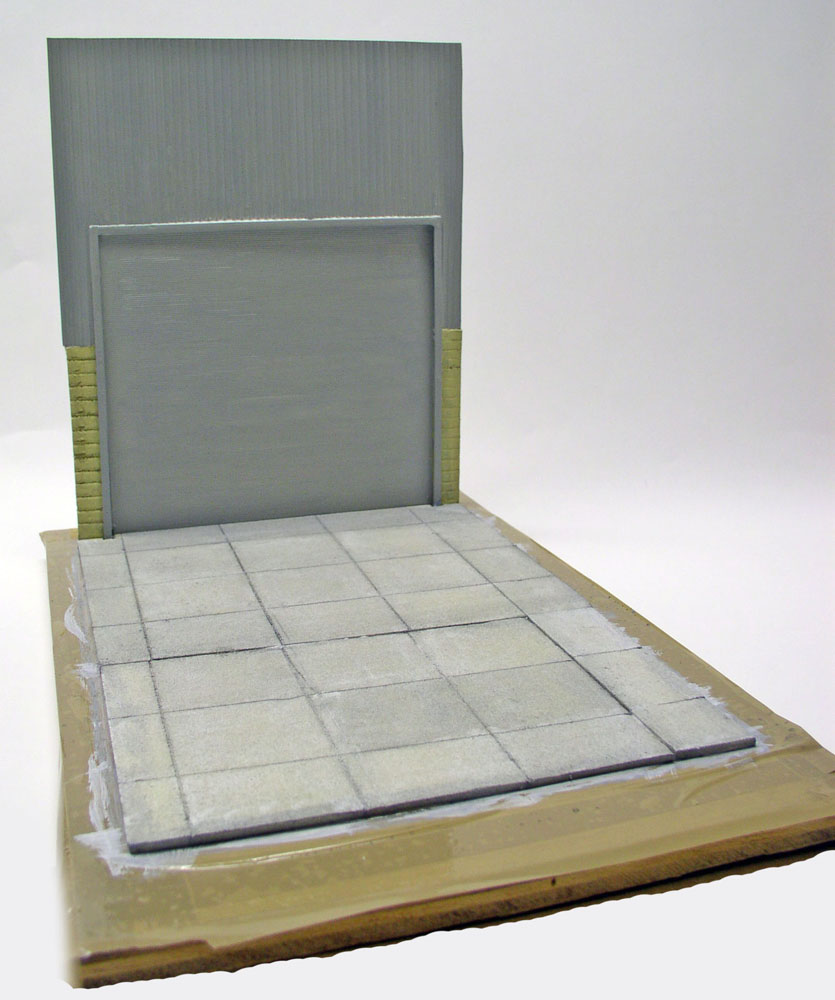
Paint on the set and normal wear and tear...
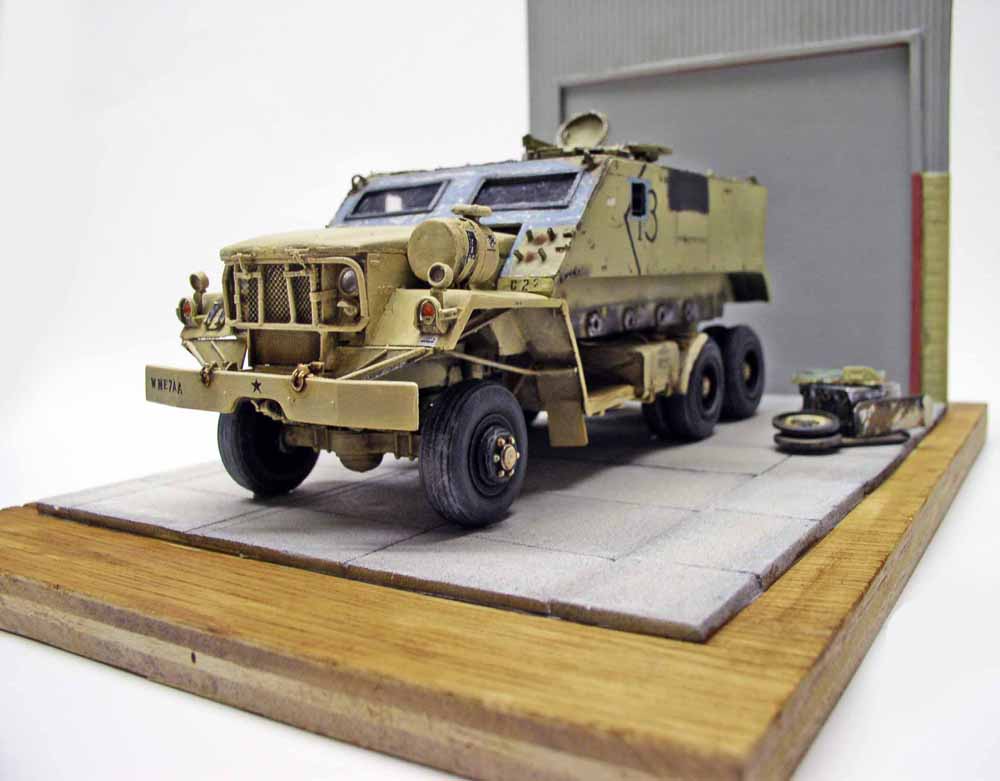
The model in place on its base...
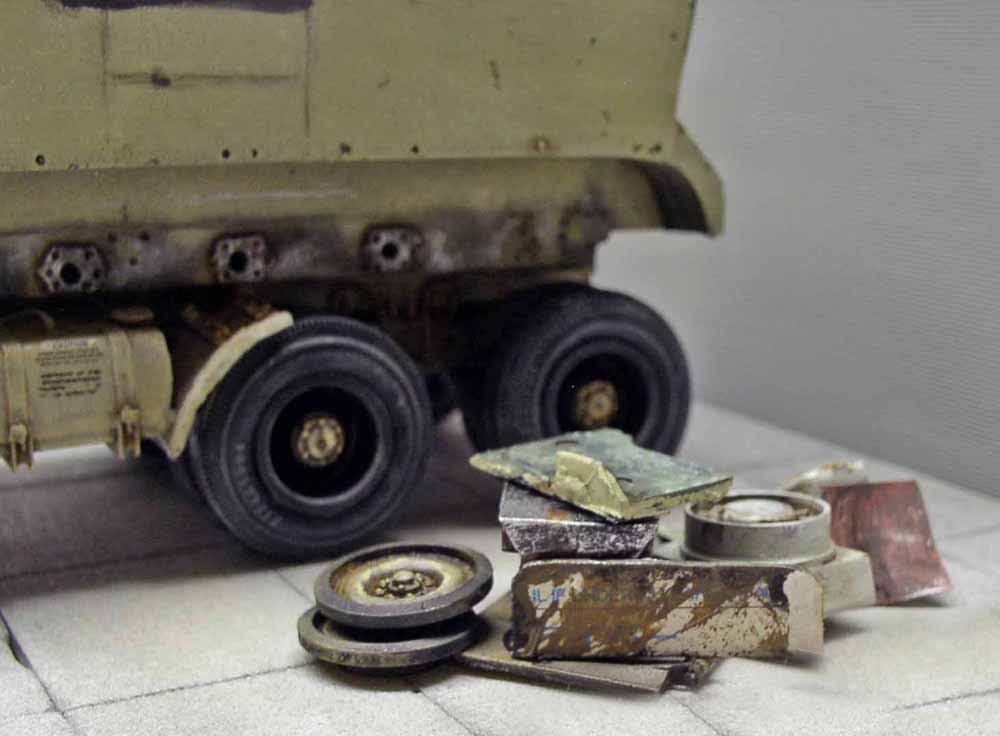
Some parts of the M113 were placed on the side to add a little texture to the scene... Oddly enough, in the actual photos, the ground is relatively clean...