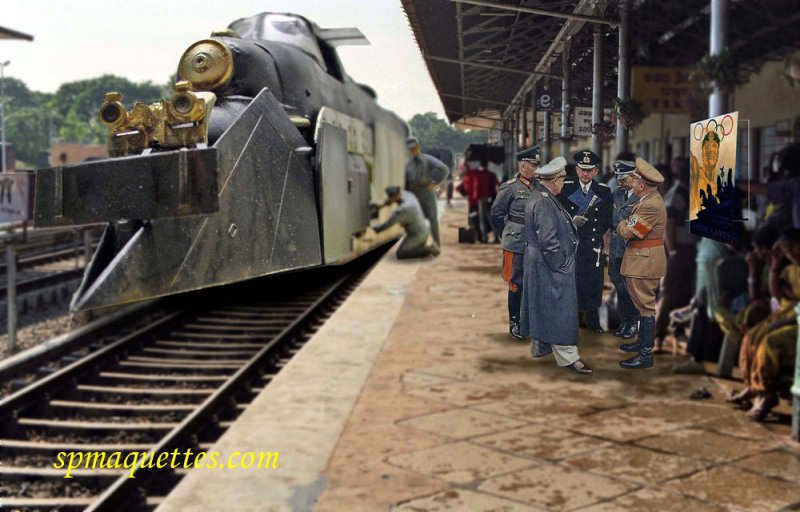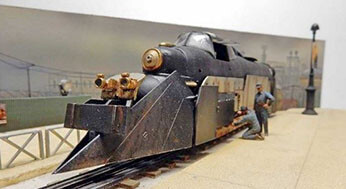
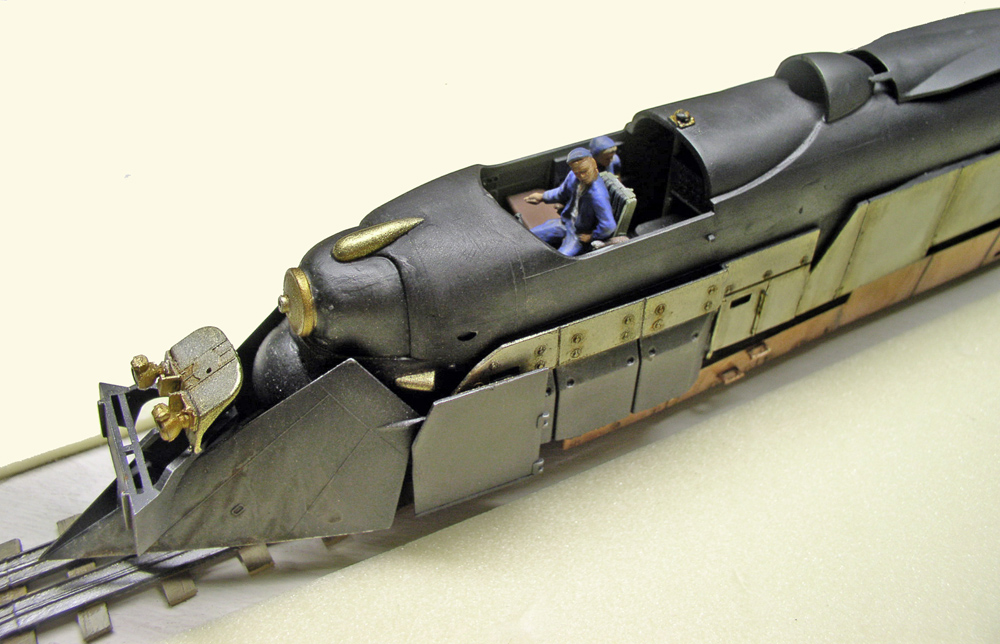
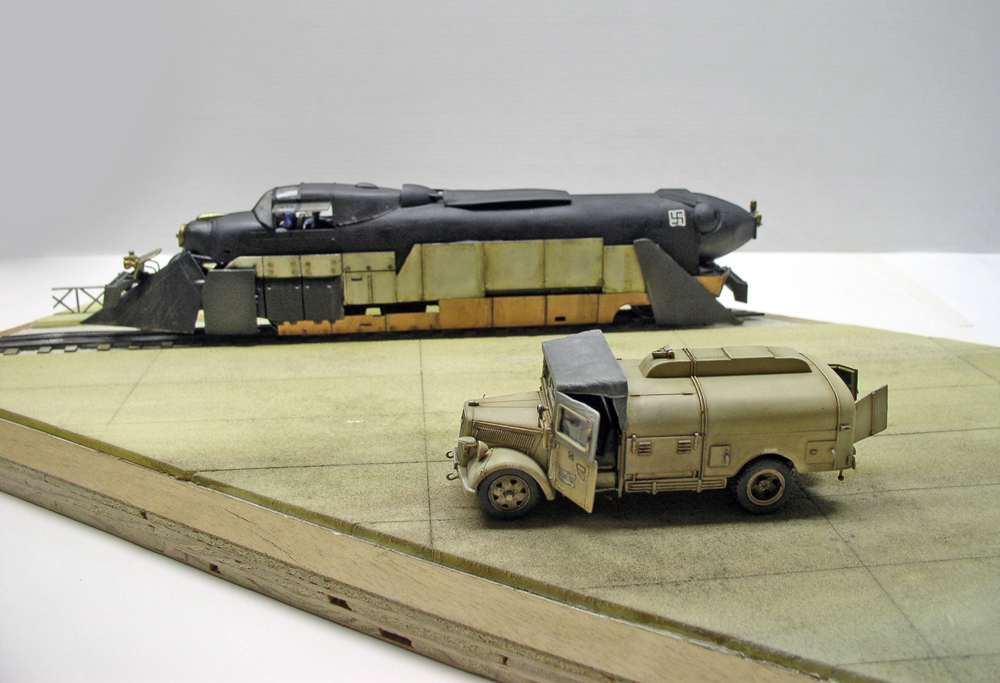
The "Steampunk" style combines the copper and metal of early 20th-century machinery with a more modern era that extends to the present day. The idea was to create a locomotive in this style—in this case, a German model from 1945...
This build is inspired by the "kitbash" technique to create a model that doesn't actually exist—not even as a model kit (the kitbash technique will be the subject of a tutorial explaining the basics of the process)...
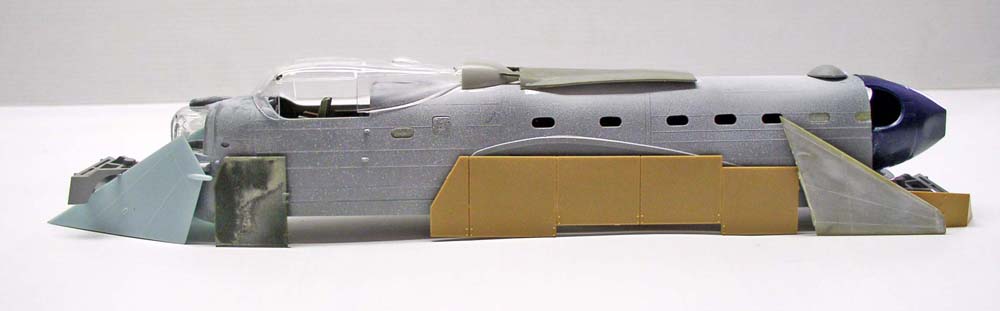
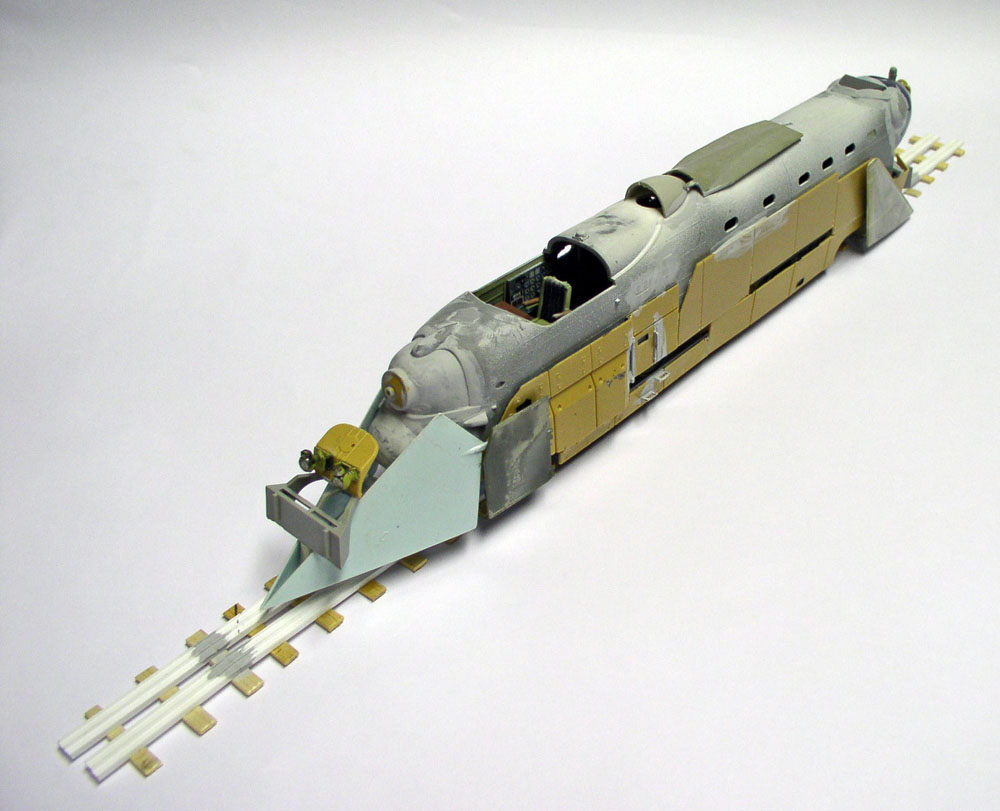
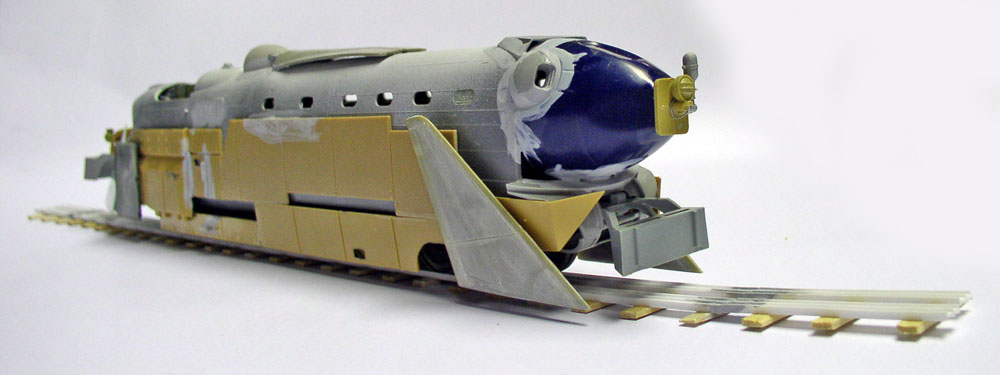
The basics: The main structure consists of a shortened Lancaster fuselage, aircraft tail sections, and armor plates from tanks...
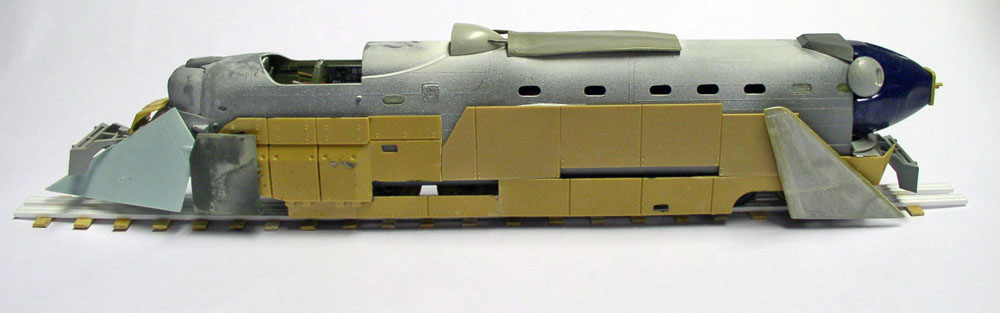
Since the goal is to build an armored locomotive, we're adding more detailing to the exterior... We're using parts from the surplus box to add details to the whole model...
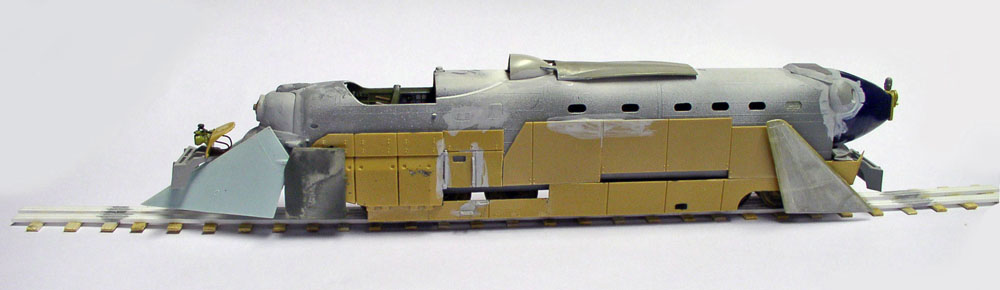
Once you're sure of the layout for the main parts, after gluing them together, fill the joints with liquid putty (you can use Mr. Surfacer ready-to-use putty)...
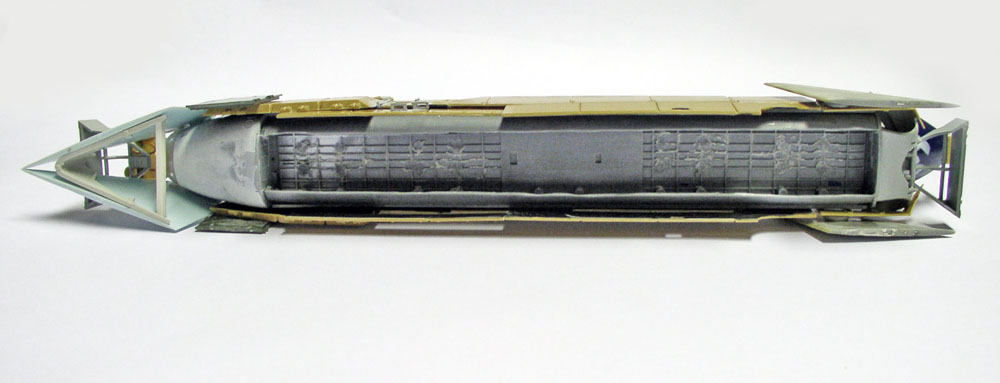
View from below: The airplane's cargo hold will be used to house the locomotive's wheels. The two side landing gear hatches are trimmed to length and then glued to either side of the cargo hold in their usual positions... The inner studs are sanded down to create a smooth surface for mounting the landing gear...
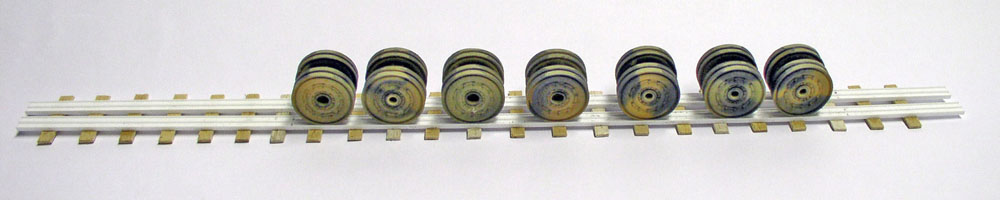
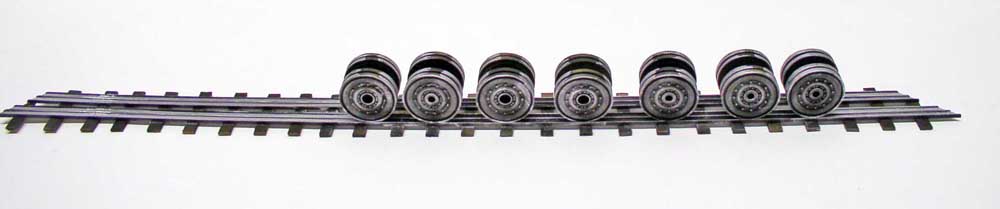
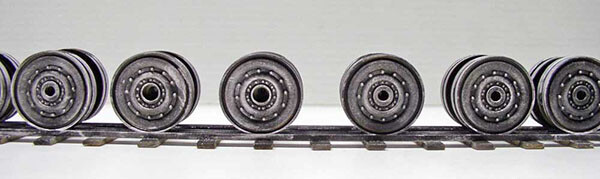
The locomotive's "wheel set"... Fourteen sets of Tiger tank wheels. The track is made of Evergreen plastic, with balsa wood for the ballast...
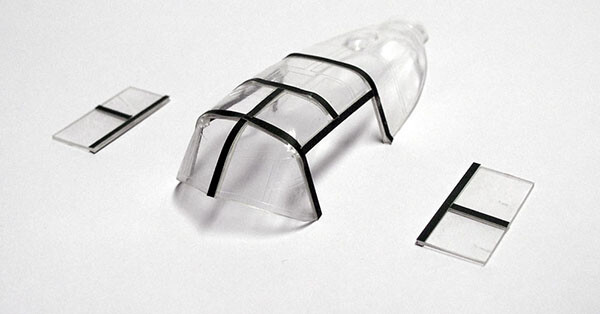
We redo the canopy supports using architect's tape, which is then treated with Klir to remove the micro-scratches...
Painting
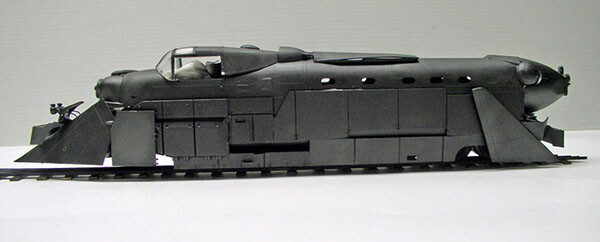
The base coat consists of Testor Model Master oil-based paint—black chrome trim and black metal. The canopy is masked off before painting...
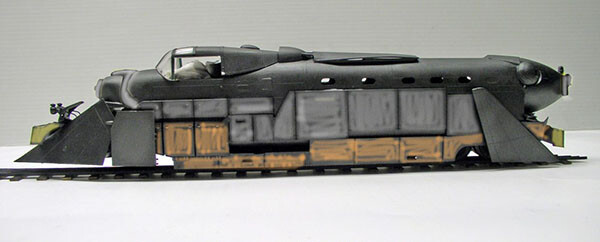
A test run of the software to get an idea of the license plate colors...
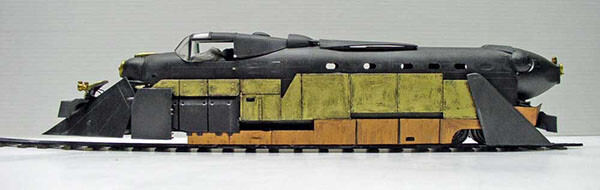
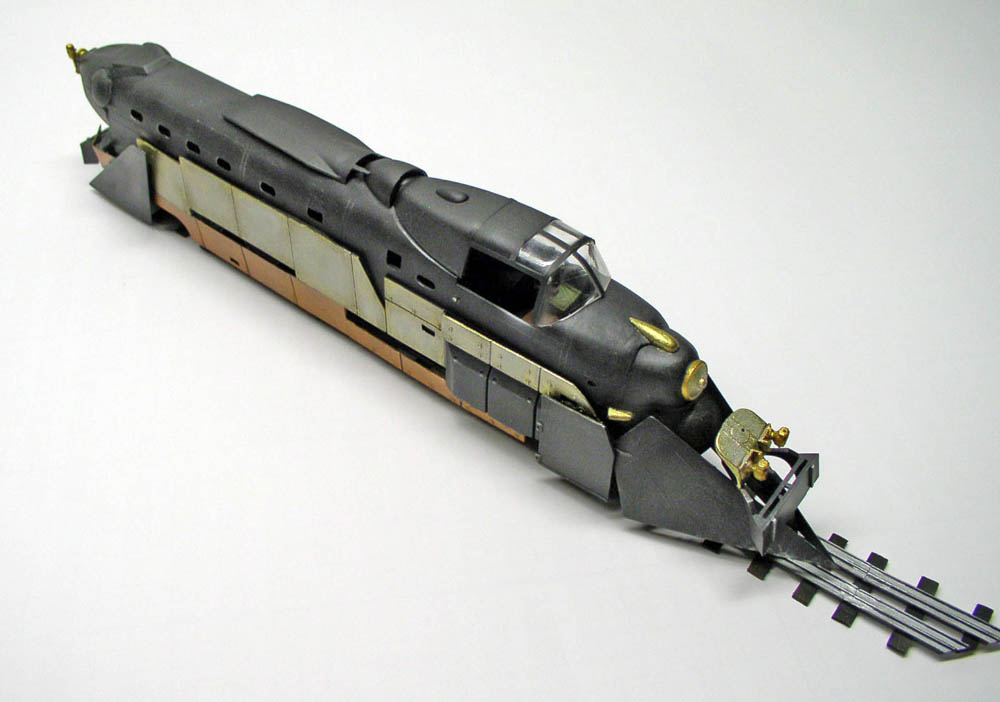
After testing, the colors will lean toward copper and brass tones: Humbrol 54 & 12, Testors Light Brass, and Revell Car Metallic 391...
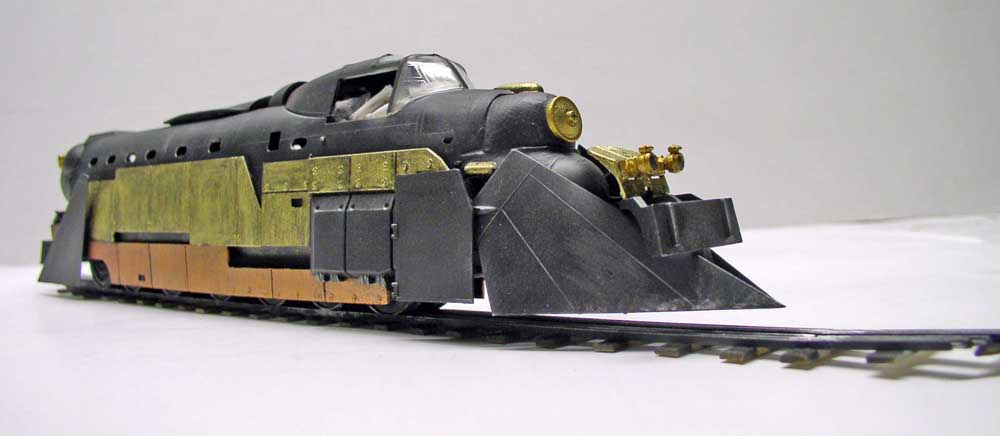
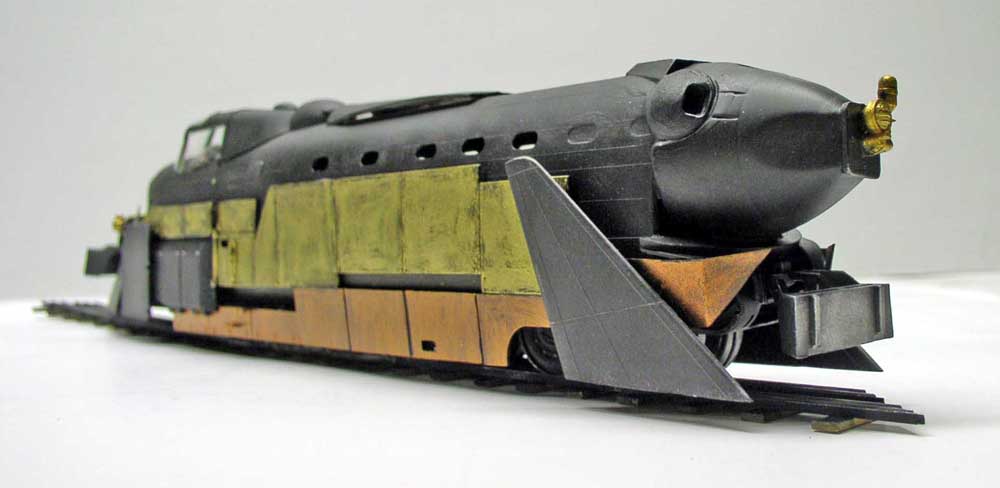
Deux vues montrant la couleur de base des plaques. Entre temps, la partie foncée a reçu un drybrush légèrement métallisé...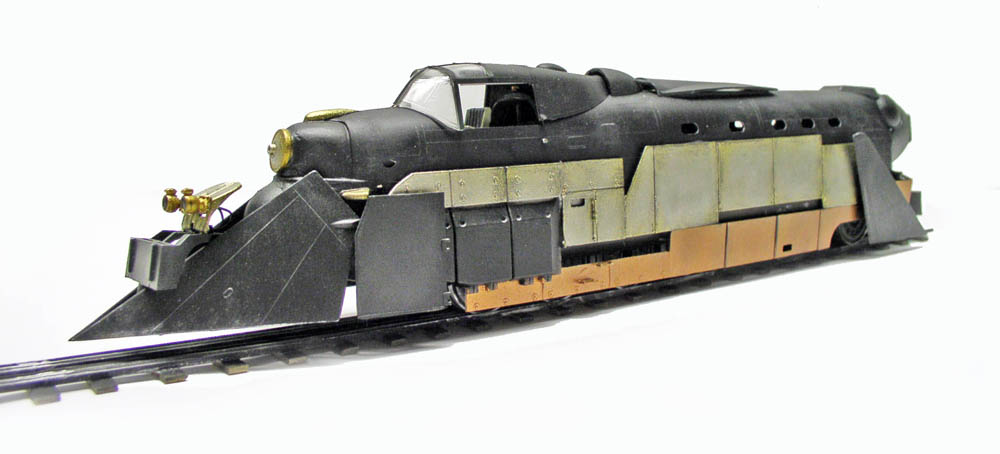
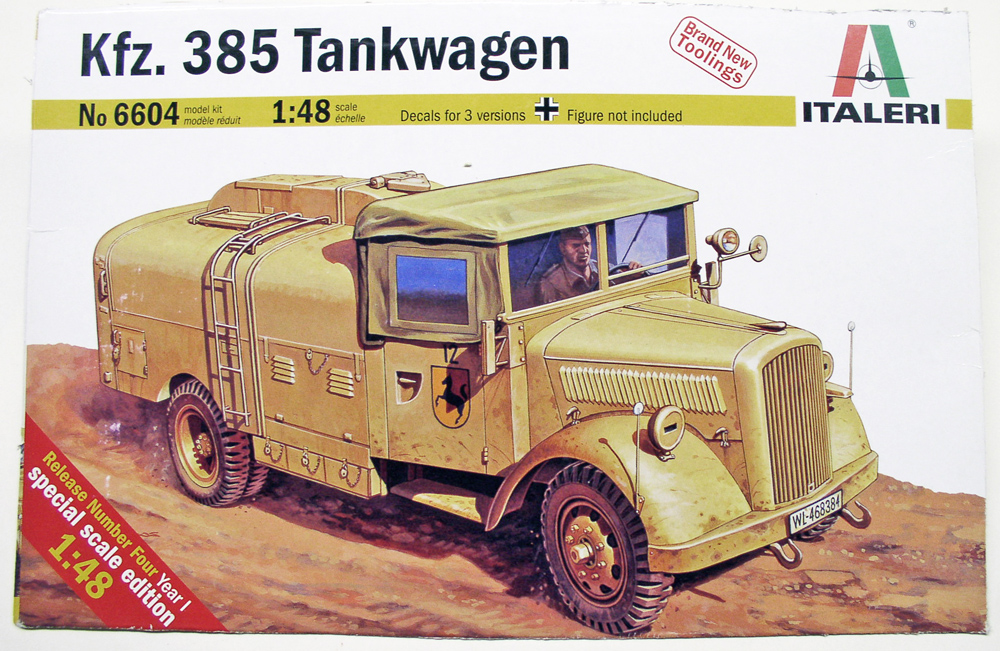
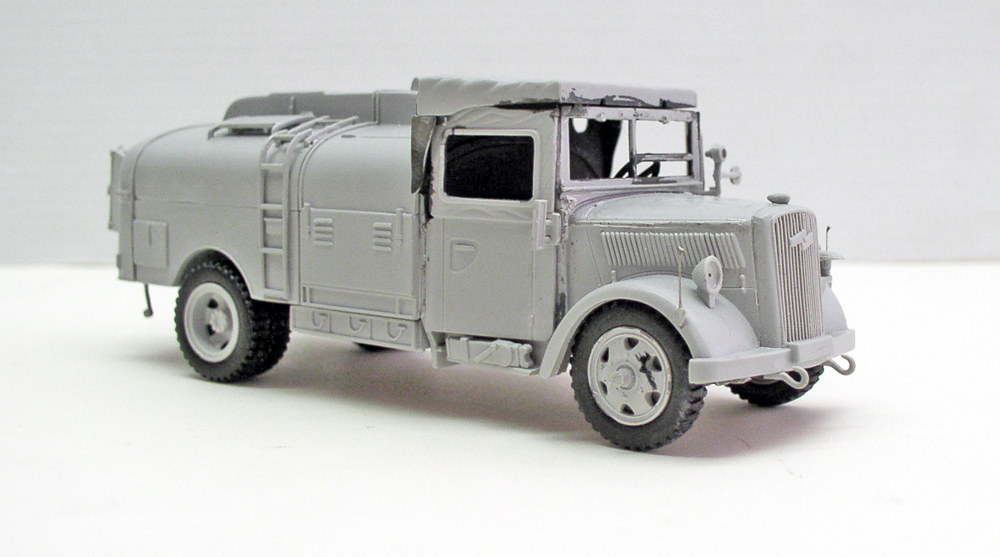
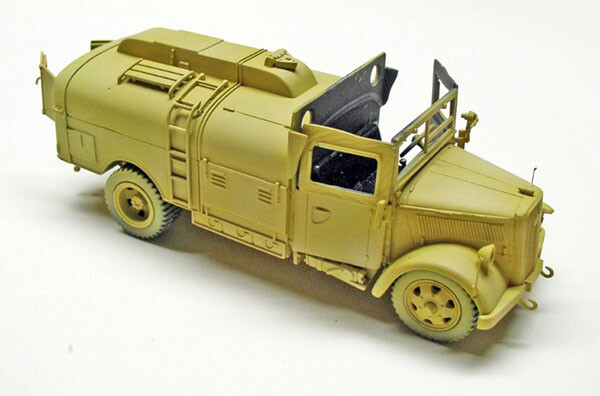
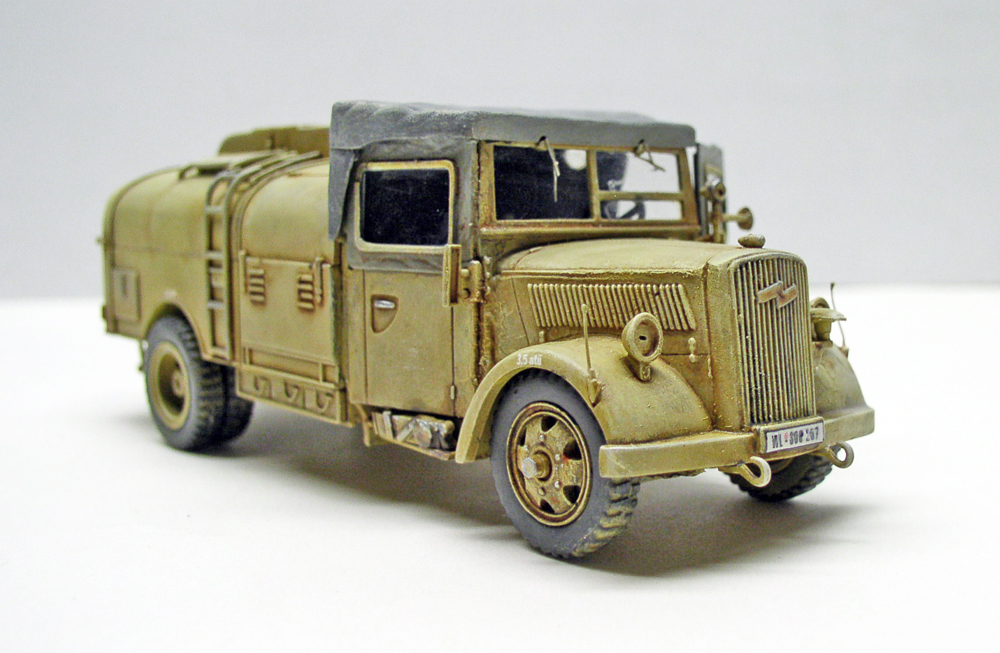
Tank truck
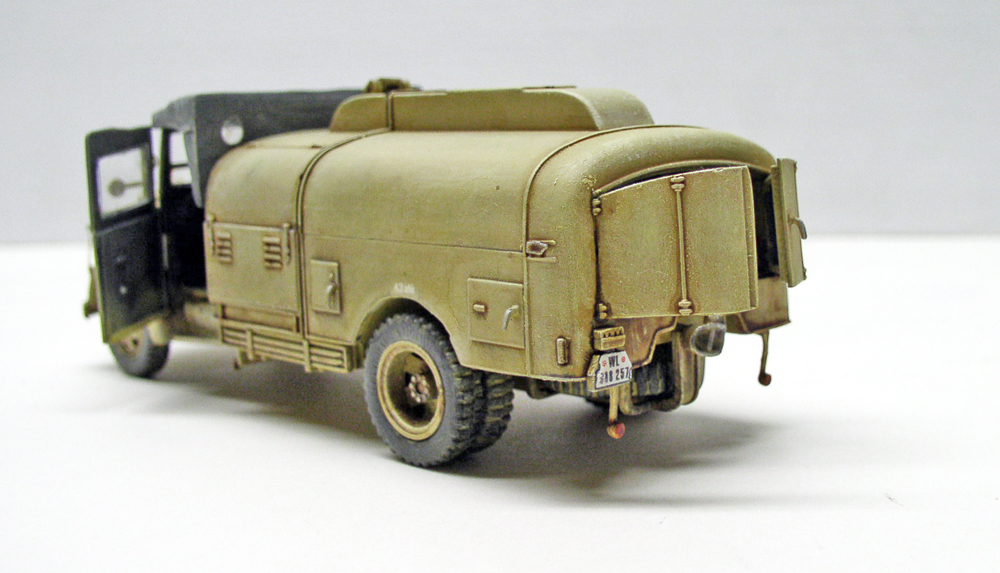
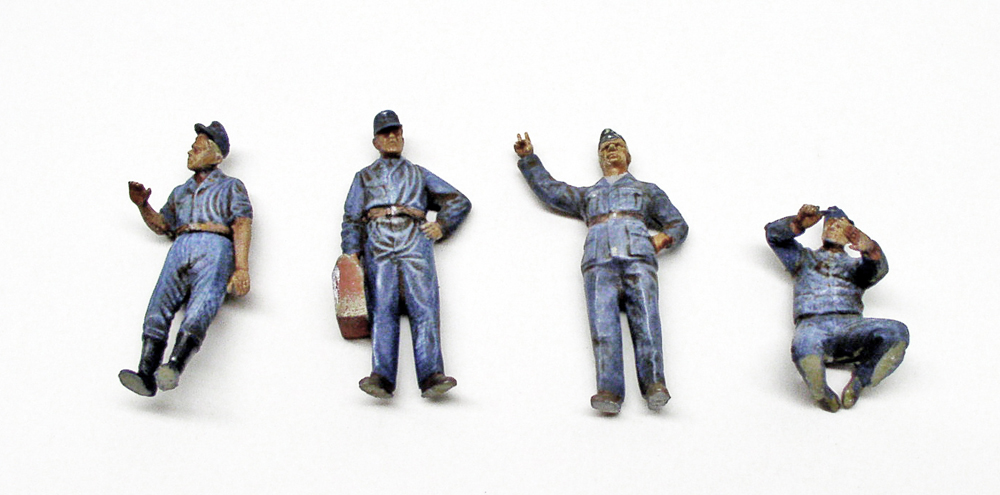
The figurines
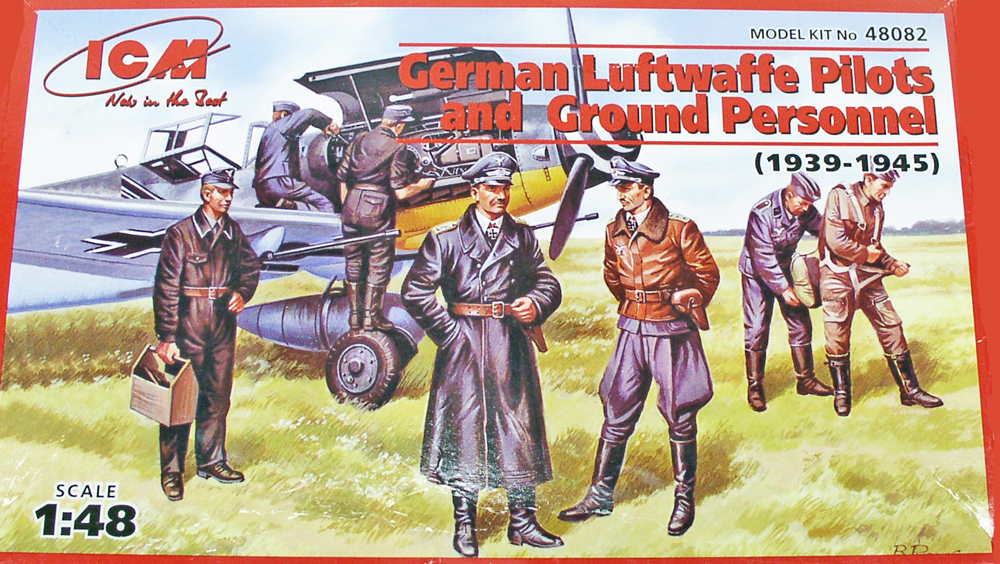
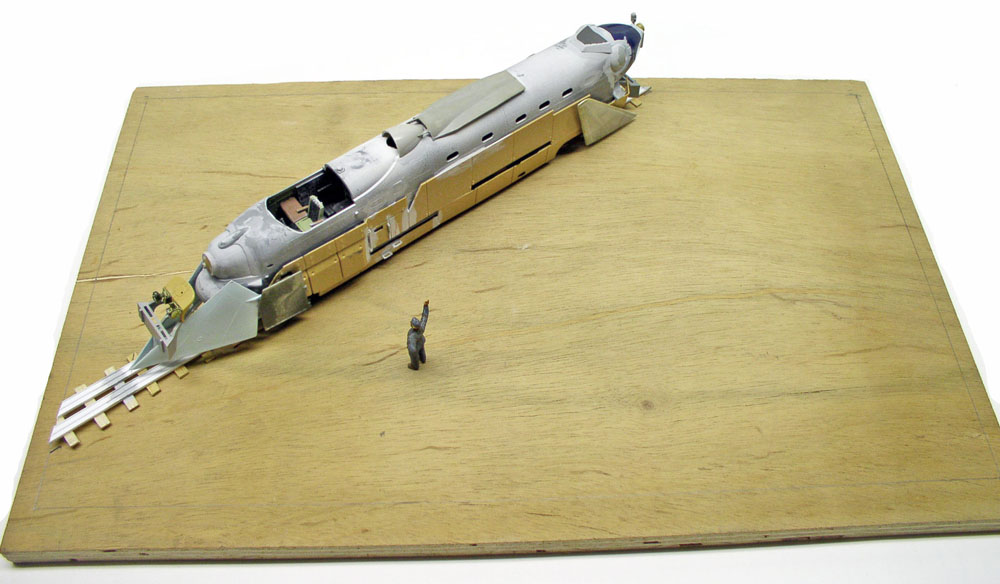
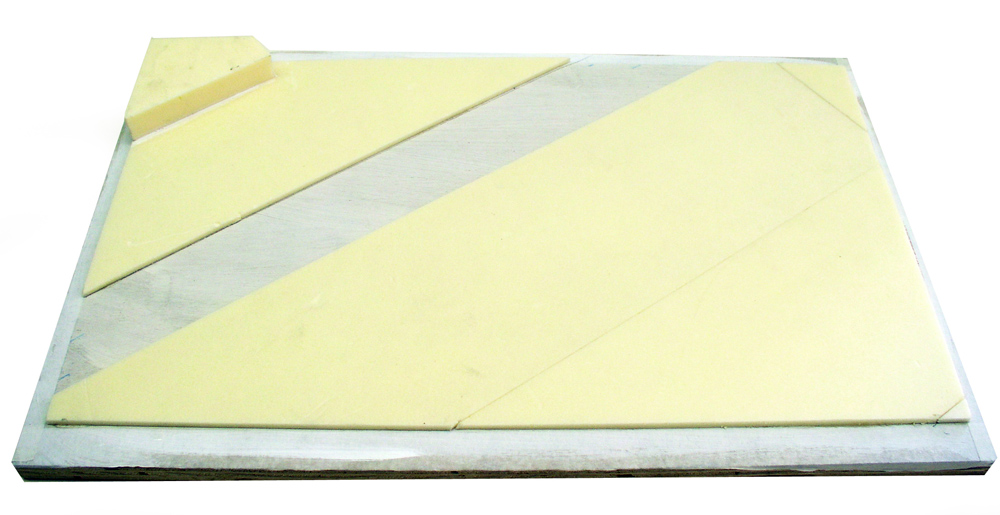
The Setting
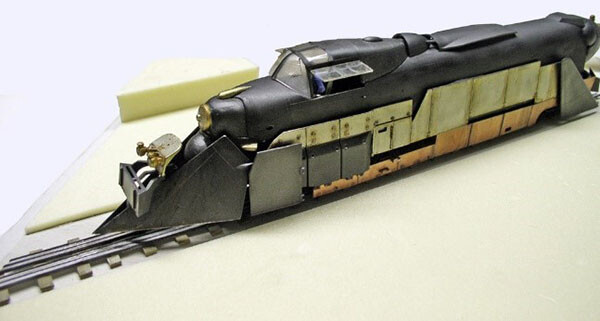 | 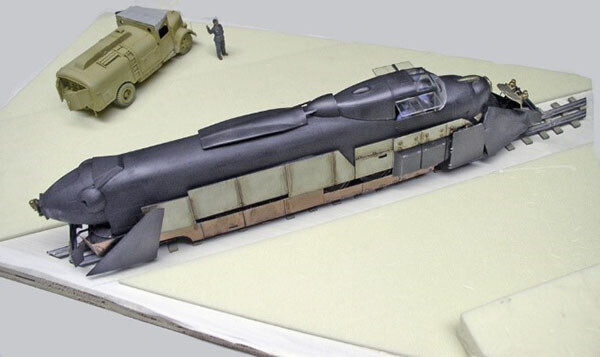 |
Pose de la machine sur ses rails...
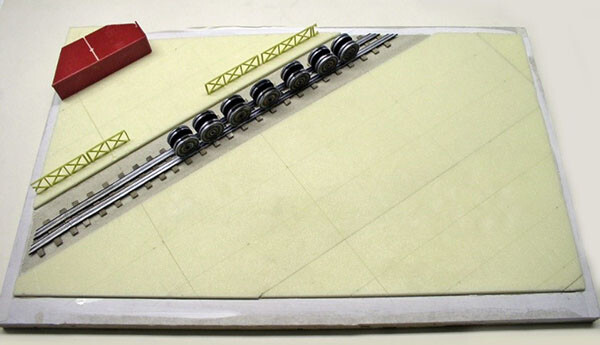
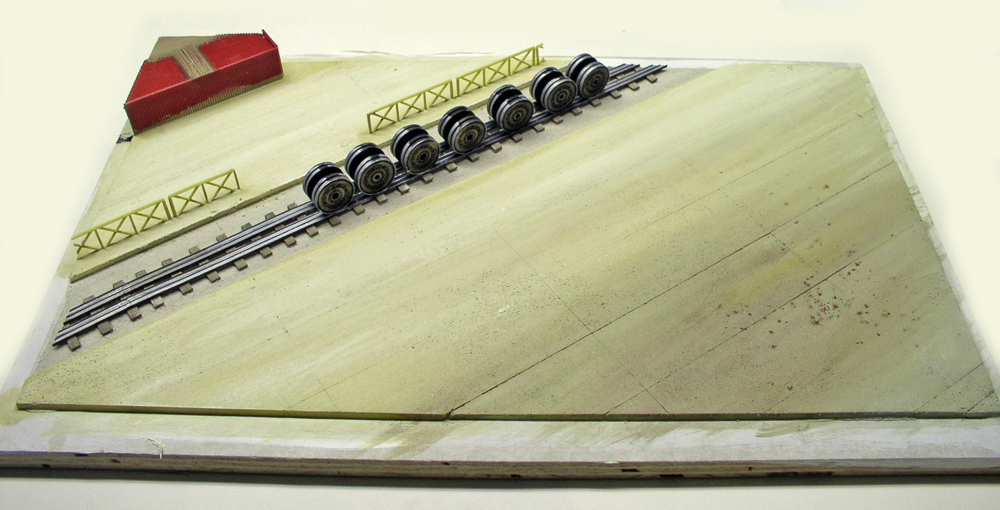
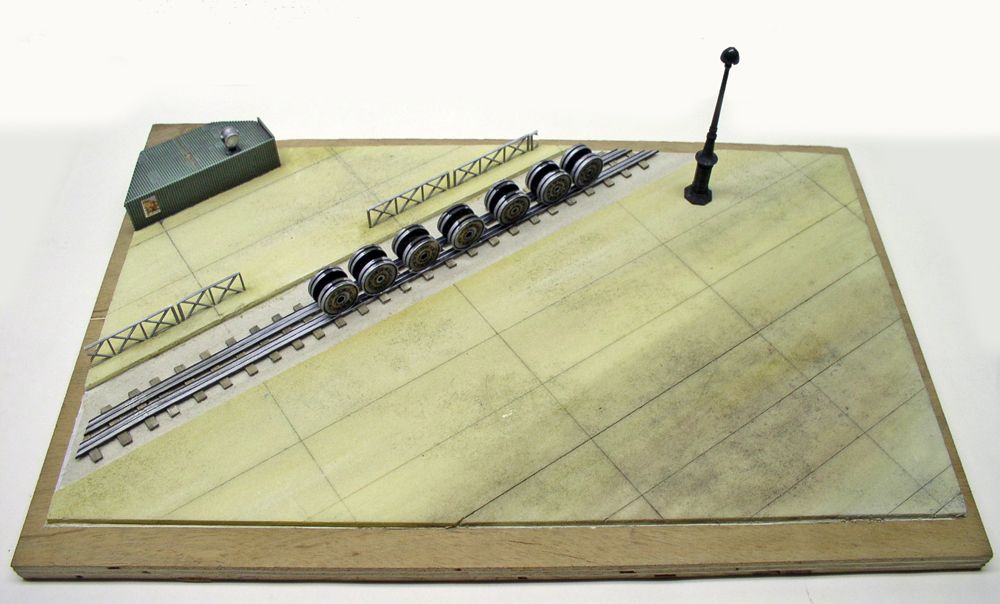
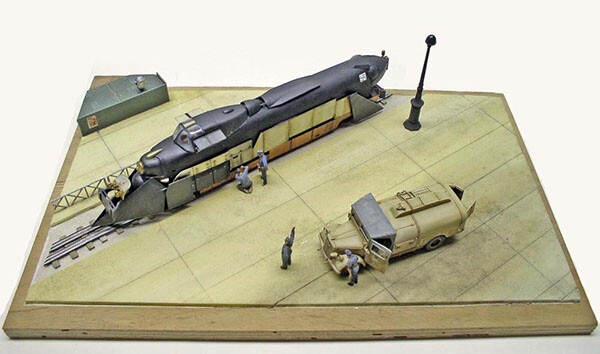
A corner of the hangar is set up, along with platform barriers. The tracks are glued down after sprinkling the ground with fine powder. Paving patterns are drawn on the ground with a utility knife. The surface is then worked with a wire brush and the thumb to create slight deformations in the ground and small holes characteristic of concrete...
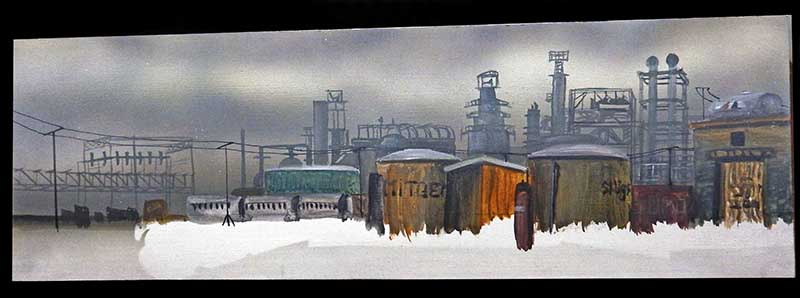
Le fond
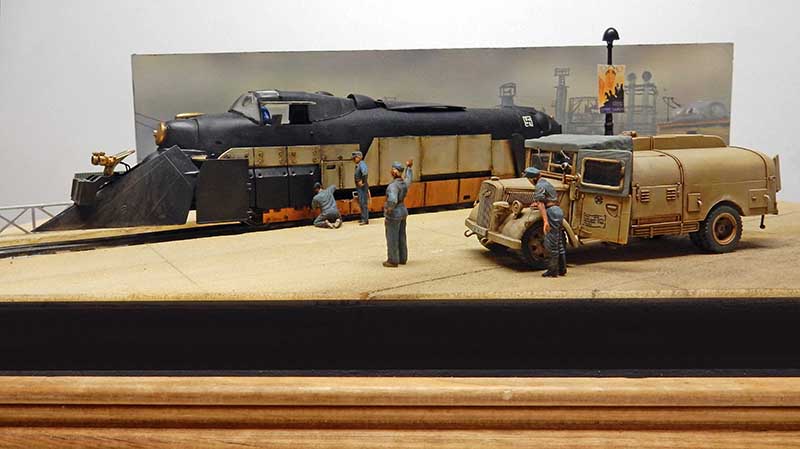
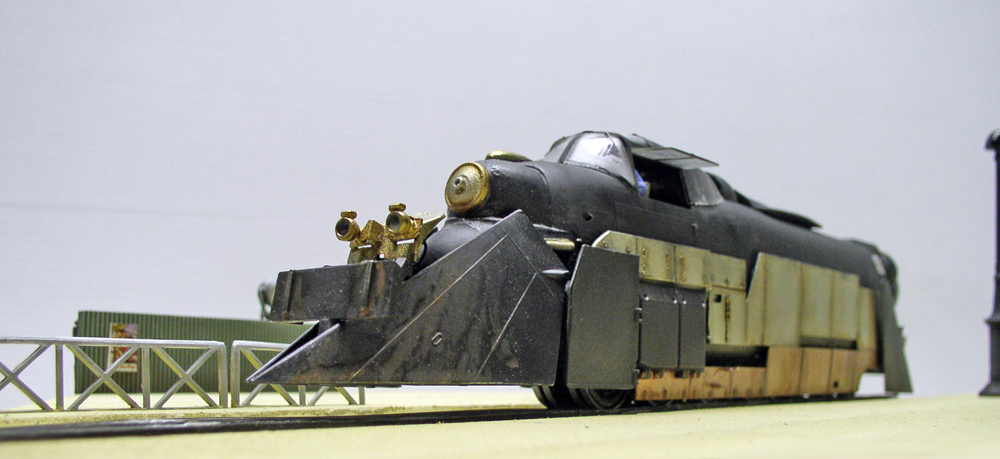
The finished diorama. All in all, a unique diorama that didn't cost much...