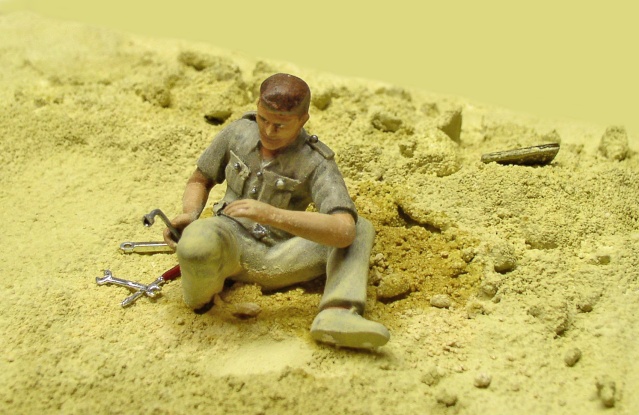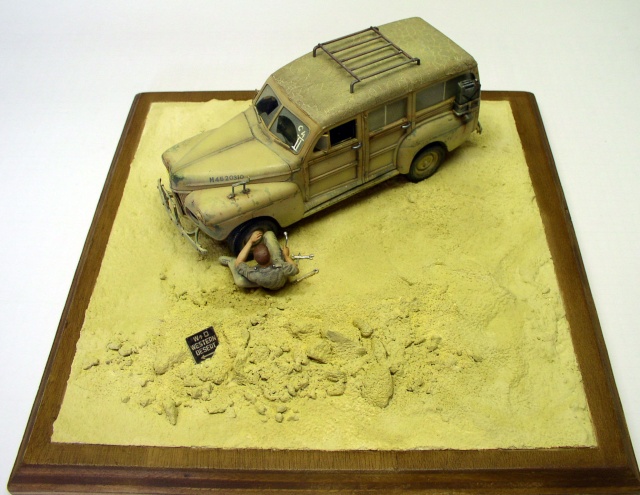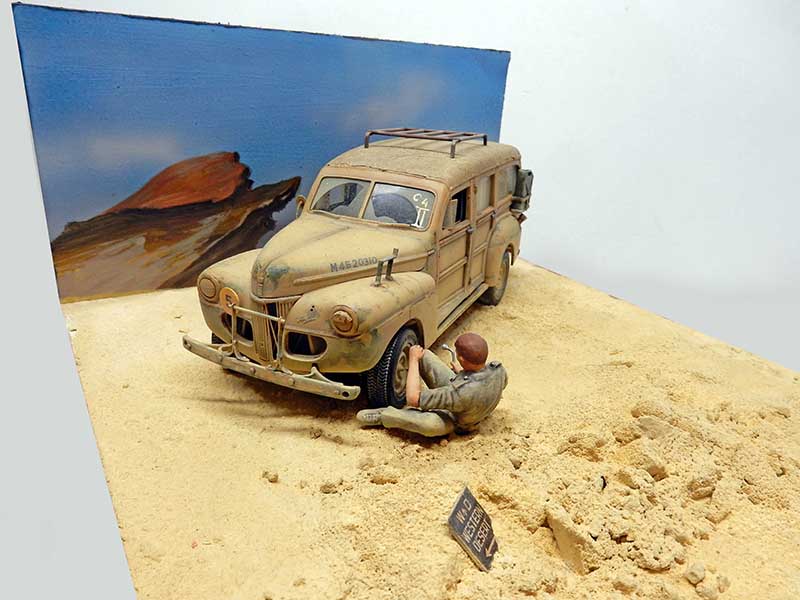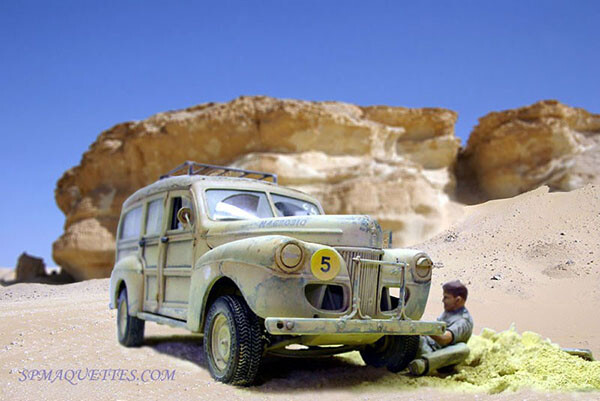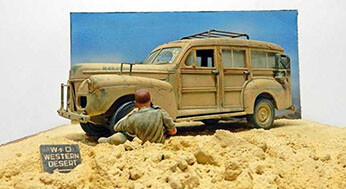
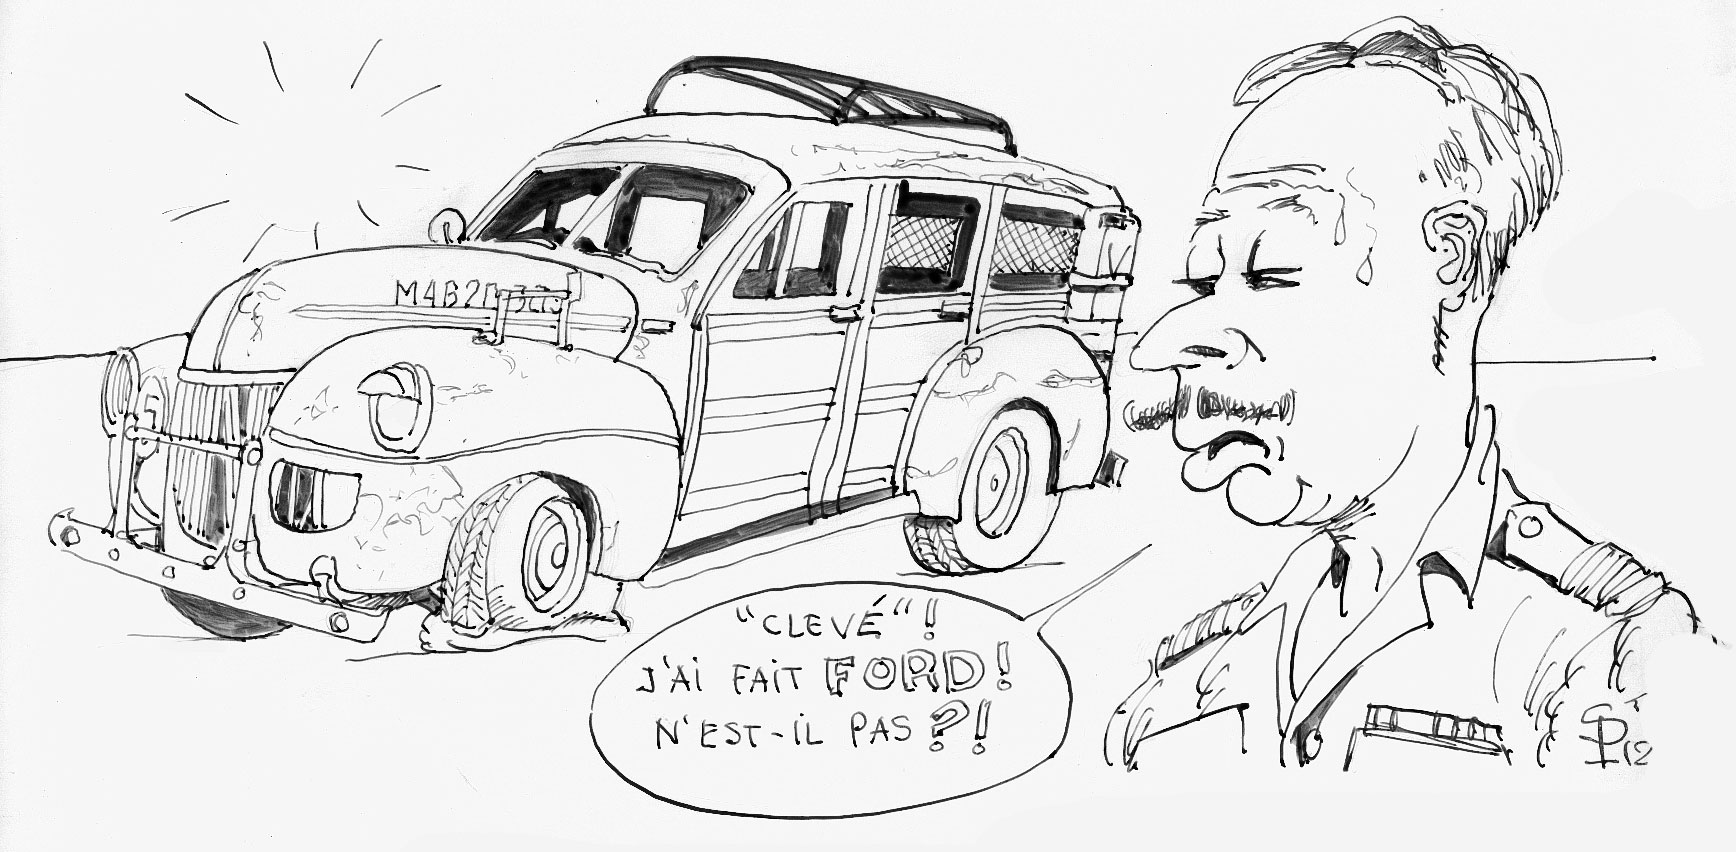
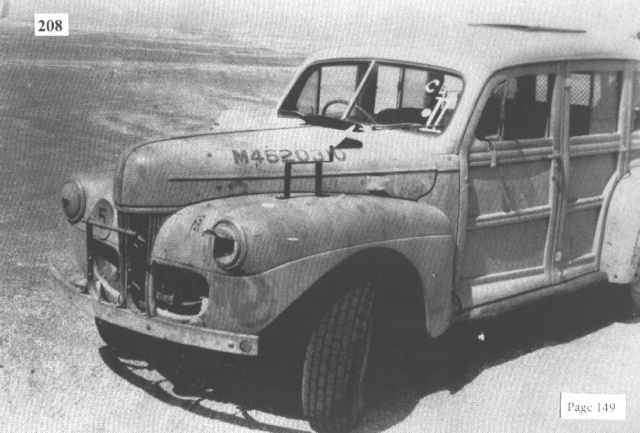
Thanks to a few technical photos I found, I was able to get started on converting this vehicle, since the 1/24–1/25 scale offers modelers very few military vehicles and even fewer soldiers...
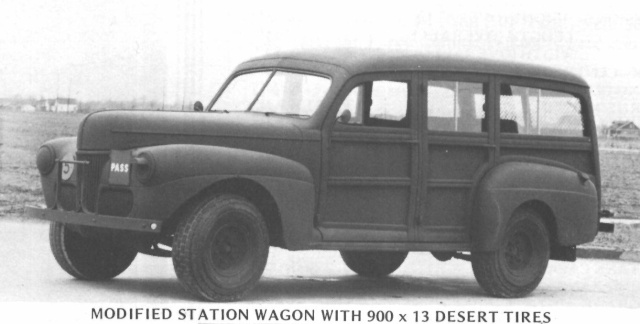
Used by the British in Cyrenaica, often as a command vehicle, it would come face to face with Axis forces in 1942...
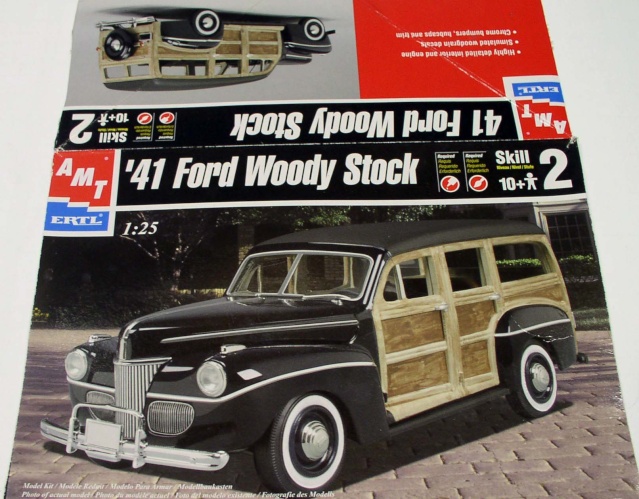
The model used for the modification, a 1941 Ford Woody from AMT...
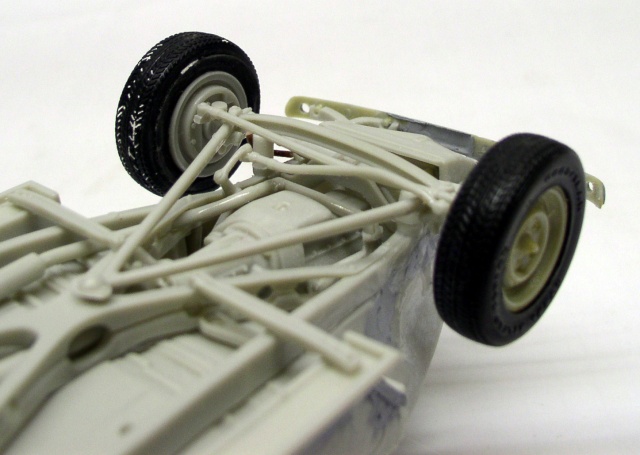
1st modification: Raise the decks. Four 6-mm-long round sections of EVERGREEN will suffice...
2: We replaced the civilian version’s “skinny” tires with larger ones. It was a battle of wills between the rims and the modeler… In the end, the modeler won!
3: Since the Station Wagon is a British model, it became right-hand drive. Since the dashboard is fairly simple, there aren’t any major issues. We reposition the steering column, the steering linkage, and the pedals. A new glove compartment replaces the old one, which has been sanded down and sealed off… We drill a hole for the exhaust pipe…
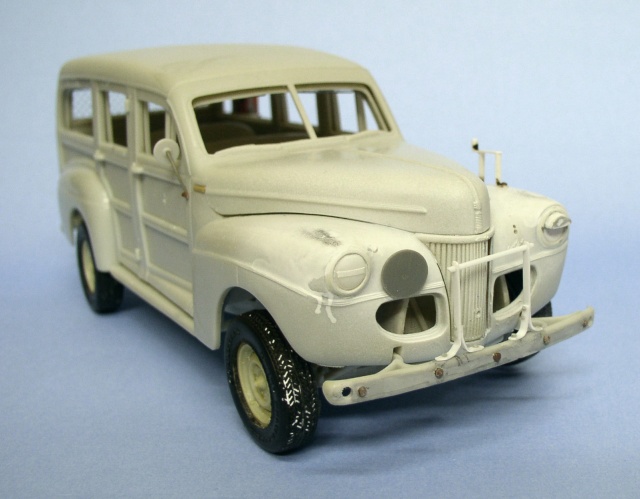
4: The holes where the exterior mirrors were mounted have been filled in, and a single mirror with a Velcro attachment will be reattached to the right door...
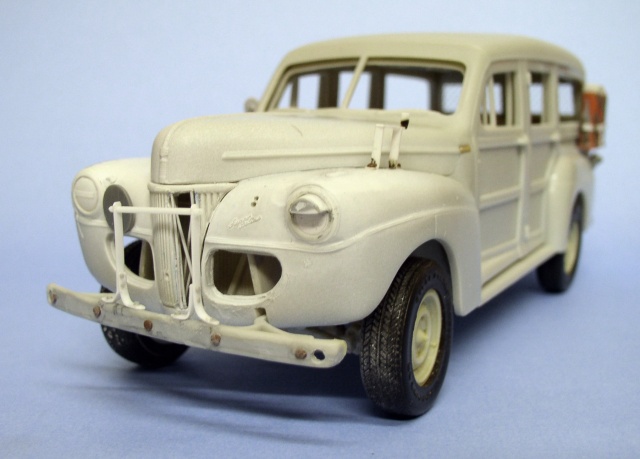
5: The front end. The left headlight has been modified, while the right one is covered with a mask that will be removed after painting...
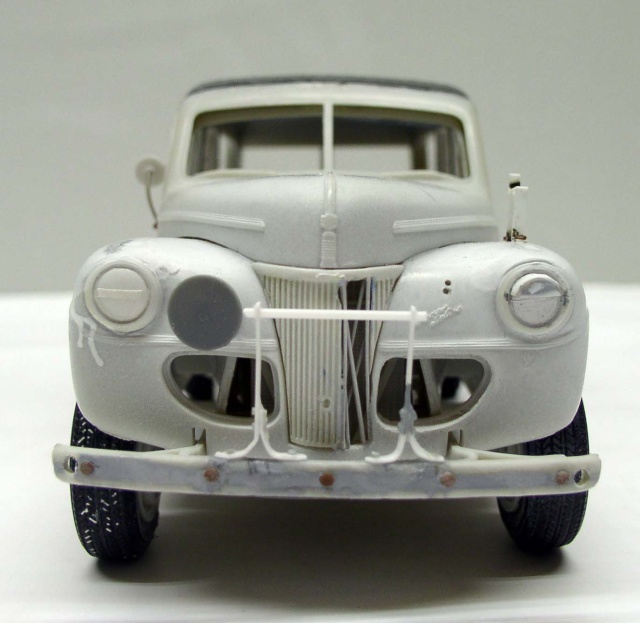
6: The grille was dented. After cutting it out, the thin slats were recreated using stretched plastic and repositioned as shown in the photo. The other two grilles will not be installed, to improve engine ventilation in the desert...
The turn signals were removed and the holes filled in. On the left fender, a linkage was added that was used to attach a bag...
The non-compliant civilian bumper was rebuilt. The central groove was removed, and the tow hooks were eliminated. Two holes and five rivets are added.
The radiator grille guard is rebuilt using EVERGREEN rods. A round number plate is attached on the right, while only the two mounting holes for the PASS plate suggest its original location...
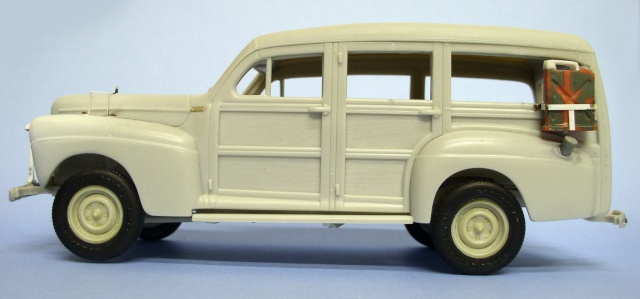
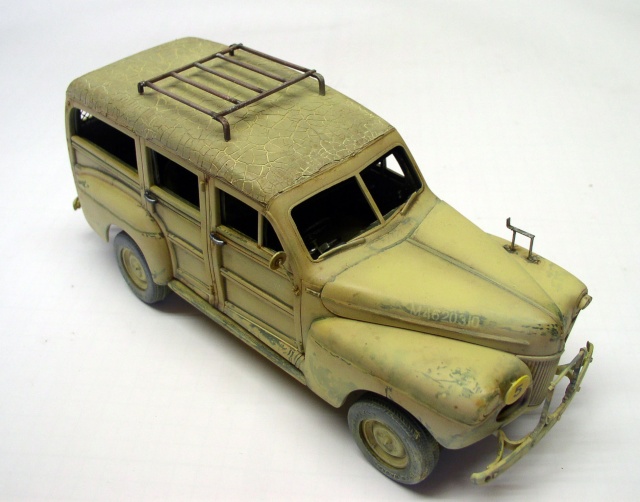
7: The fuel cap is now external and is therefore made of Velcro. A modified jerry can will be mounted on its bracket above it...
The rear spare tire and its mounting bracket are being removed... Two complete wheels will be installed in the trunk. A mesh screen will protect the rear windshield...
Crackle Varnish
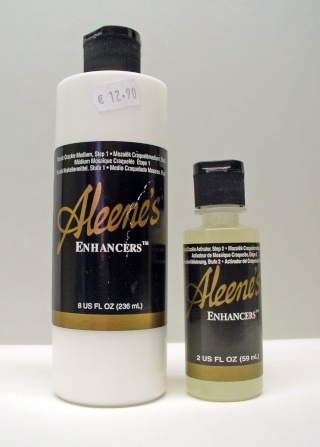
During some unsuccessful experiments with crackle varnish on posters, I took the opportunity to test it on plastic models, particularly to create the look of sun-bleached paint and crackle effects...
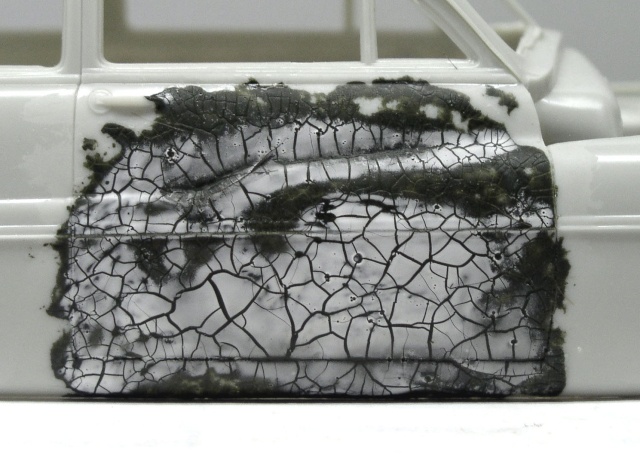
Crackle varnish is a very delicate product that reacts to temperature and the way you apply it. In this case, the temperature was too low, which prevented the white part from drying properly, normally revealing only the paint underneath. The varnish mixes only with acrylic paint...
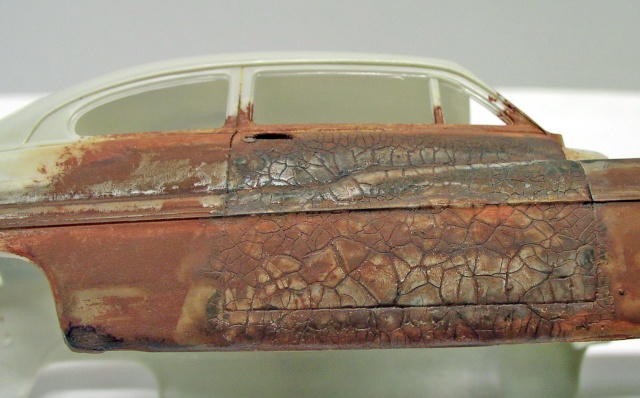
After painting, you get some interesting splatters...
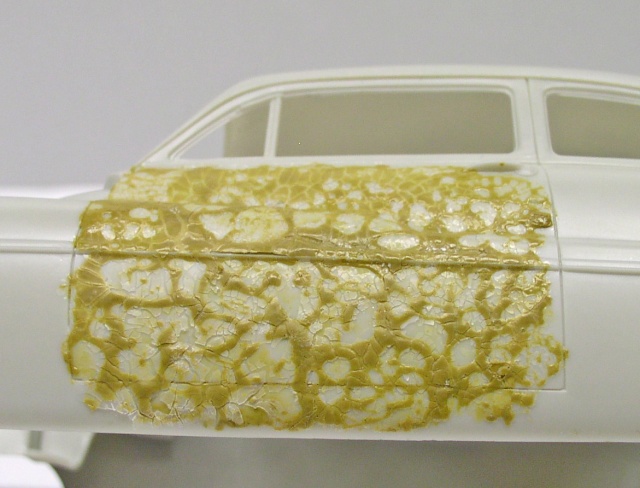
Here, the same varnish mixed with Humbrol paint. It dried well, but it has trouble blending with the oil. That’s why it’s so important in painting not to mix just anything together...
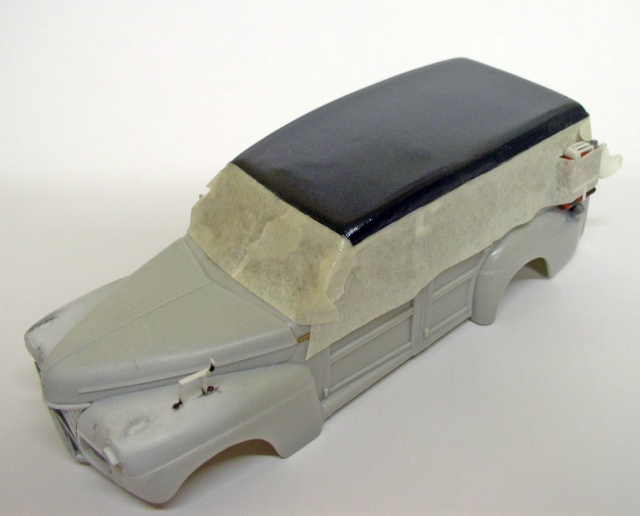
So, I decided to paint the tarp covering the roof to look burnt and cracked by the sun. First coat of Humbrol 32 matte. Then a coat of Medium Step 1. Let it dry...
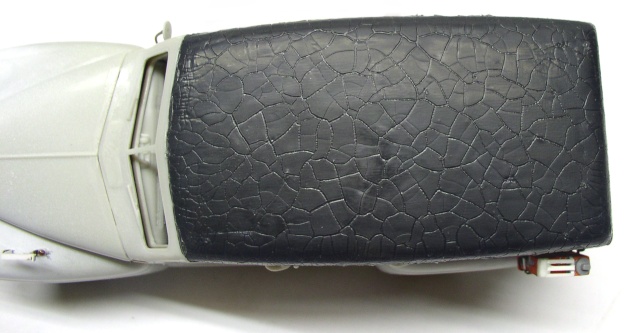
Next, apply the activator, and... here's the result after it dries!...
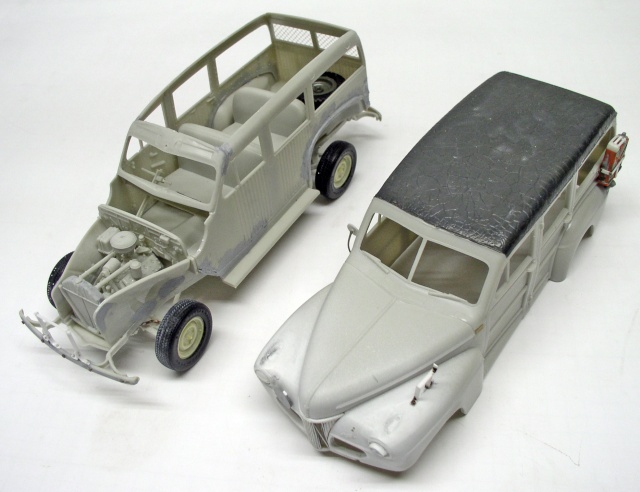
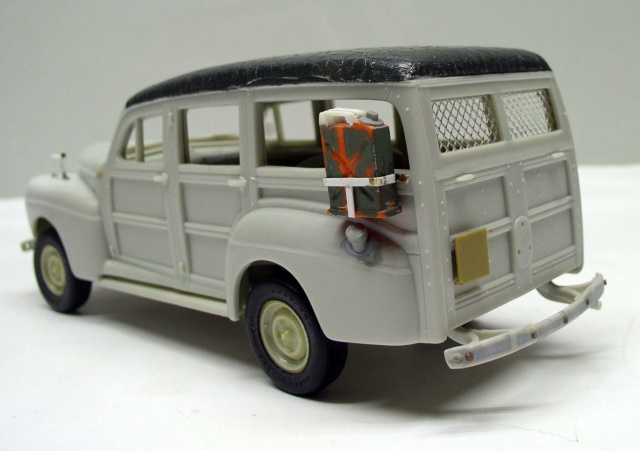
Our model is almost ready to be painted...
Painting
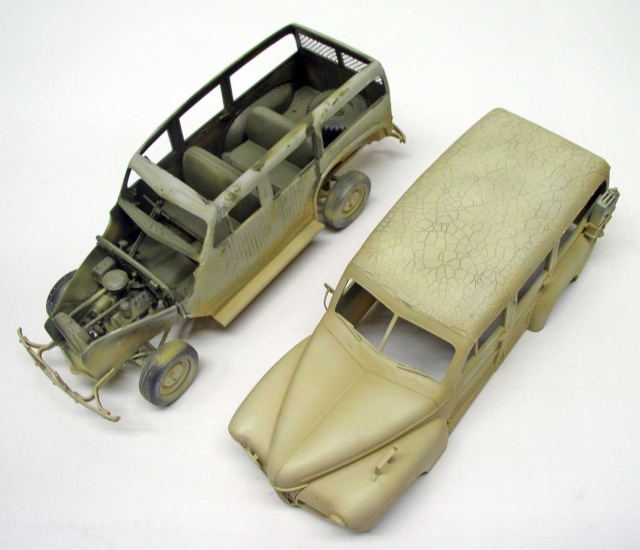
First coats of Humbrol 94, 103, and 41 applied with an airbrush...
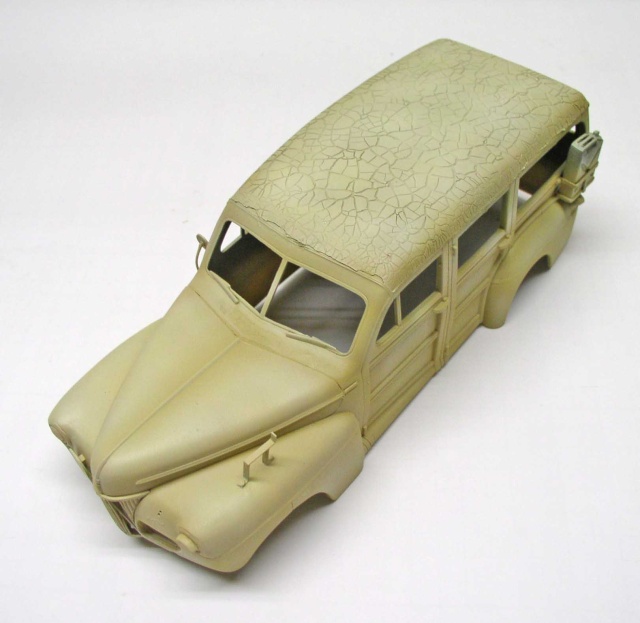
I didn't take any photos between steps because the synthetic thinner eats through everything... Gloves, my nose, plastic... The layers go from dark to light. The interior is painted army green...
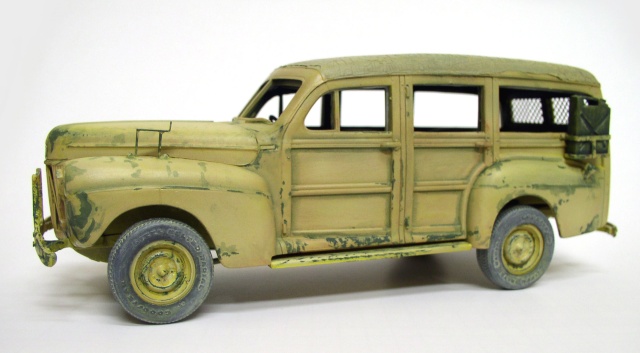
After applying two coats of yellow 94 and 69, I used a brush to add brushstrokes of wear that reveal the army green in some places... Next, I'll apply a wash of Earth Shadow...
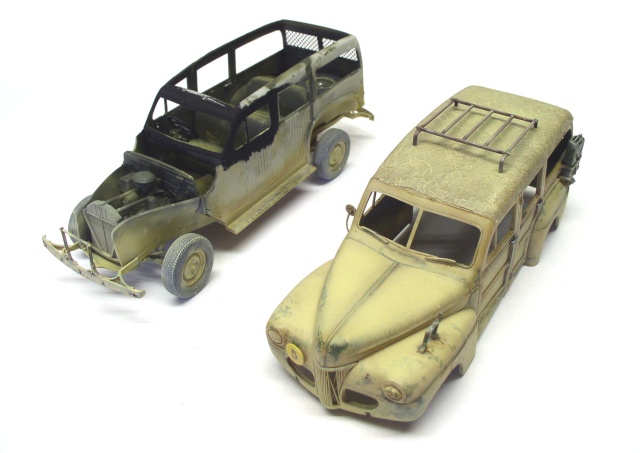
I applied a wash of Umber and a little Sienna for the fuel streaks to the model, then dusted it with Humbrol 103 using an airbrush...
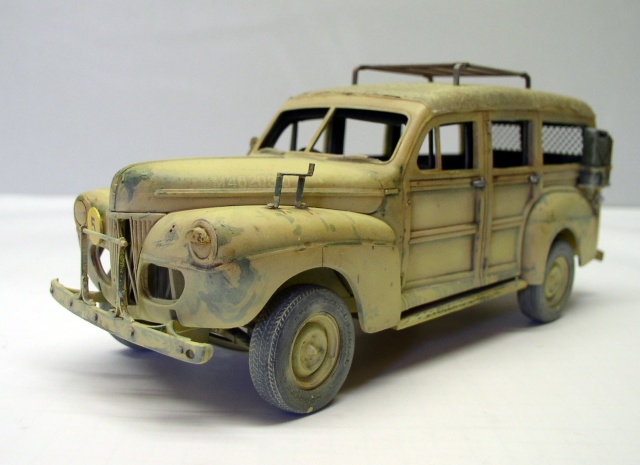
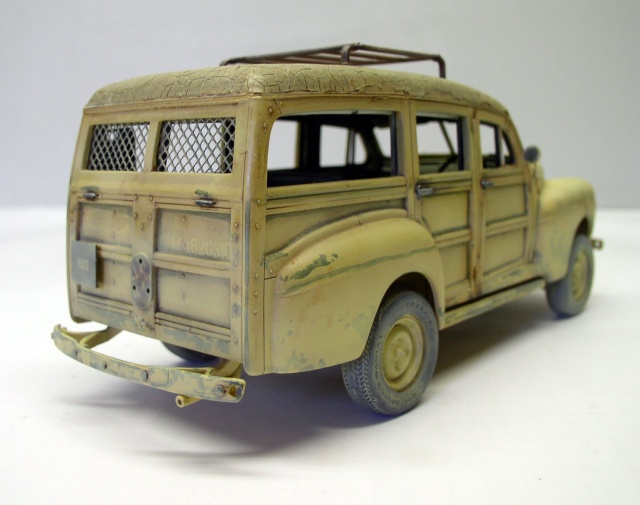
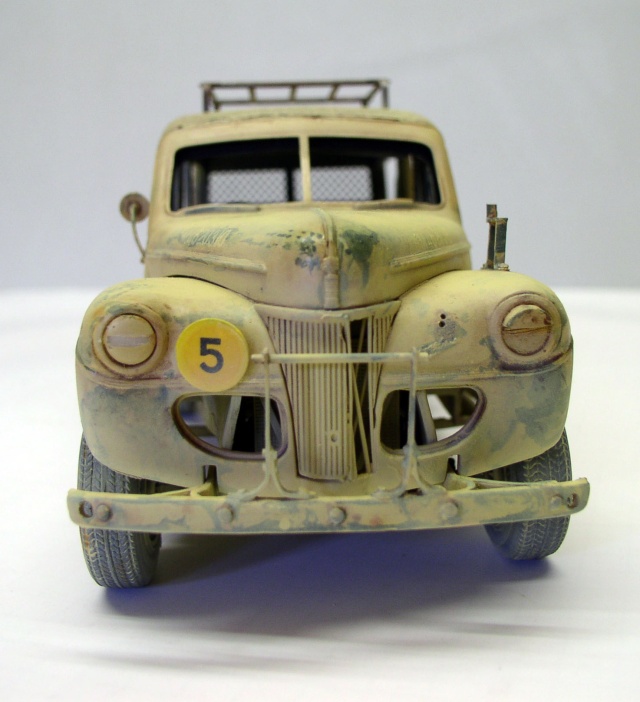
We've added more dust effects to the lower body panels and the chassis. The aluminum parts are painted: handles, gas can, wear on the tarp fasteners on the fender...
The windshield
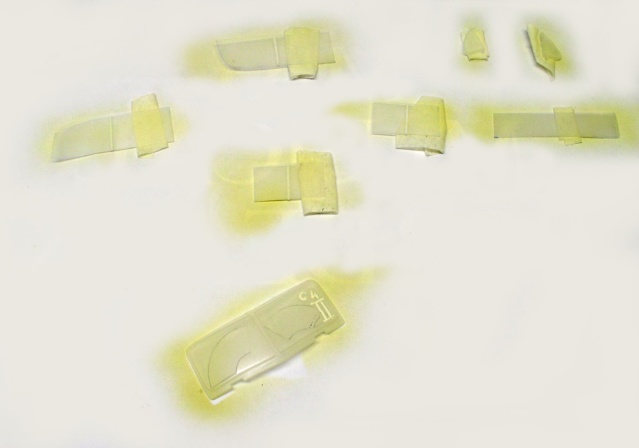
Dust has accumulated on the windows again after applying the stencils...
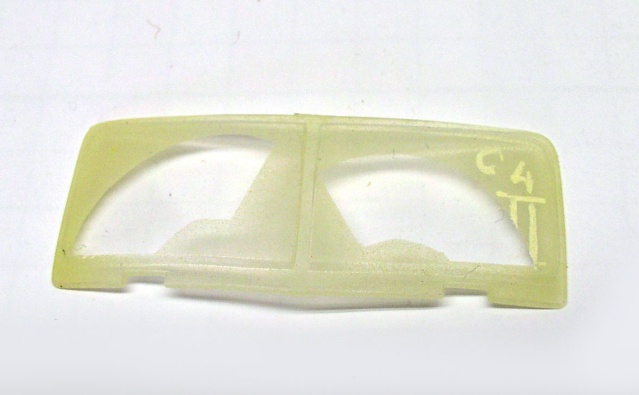
Le pare-brise est prêt...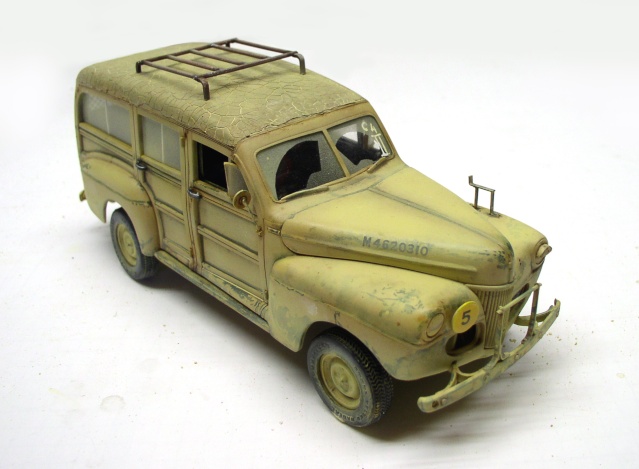
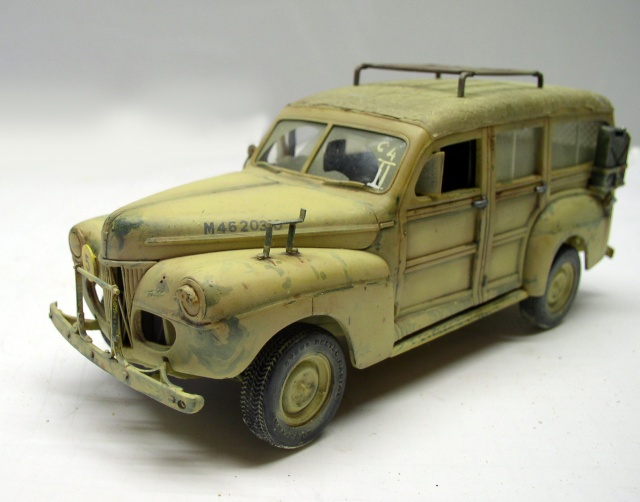
The Setting
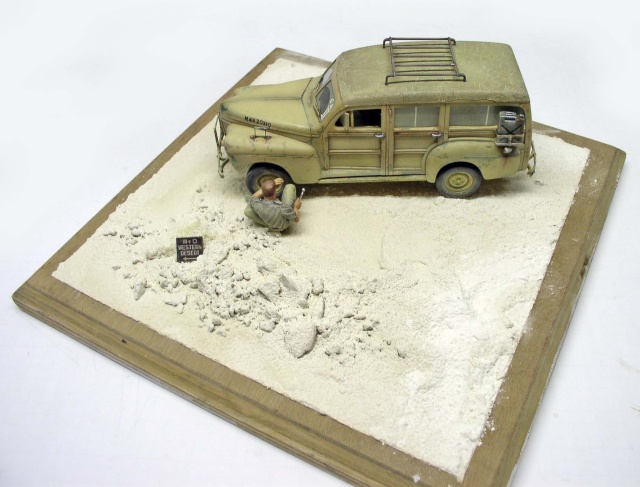
It's simple—made of plaster and debris glued together with wood glue...