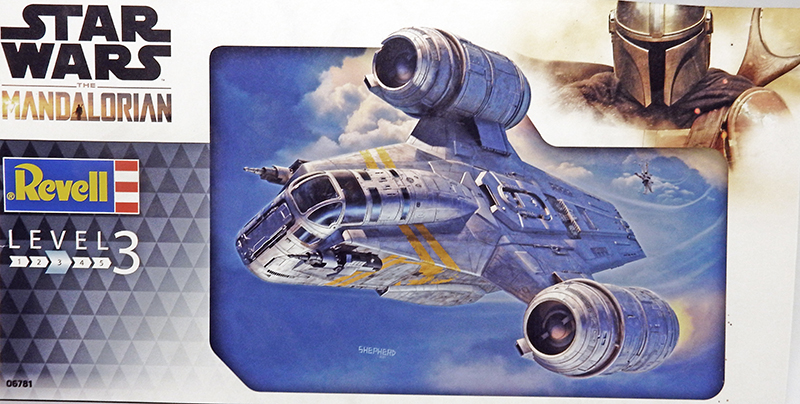
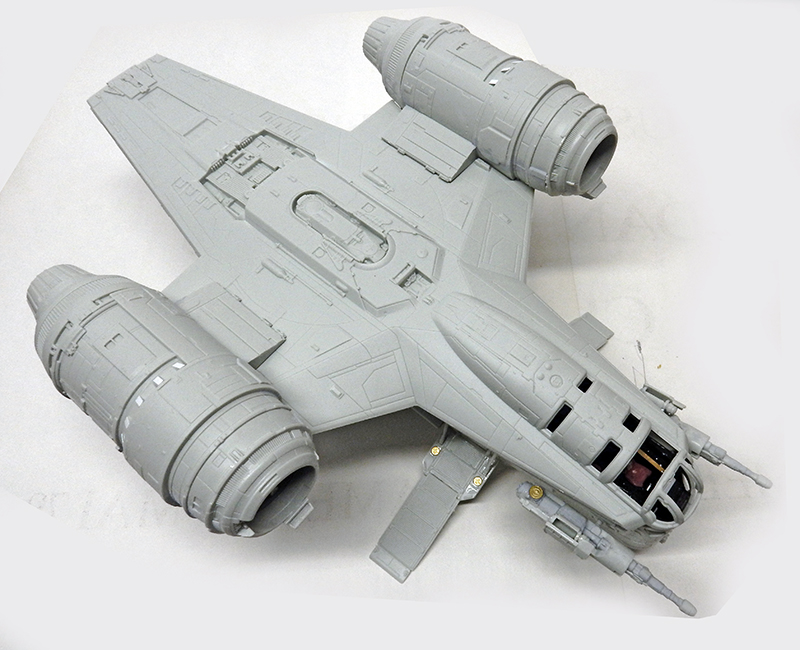
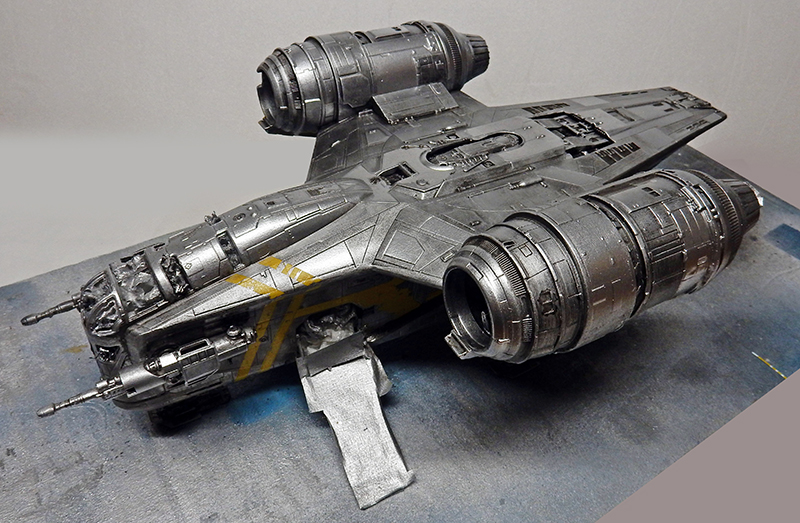
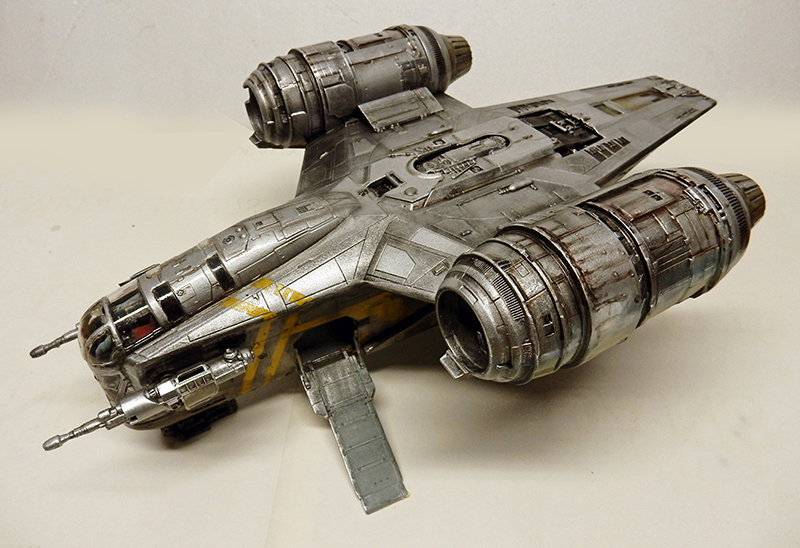
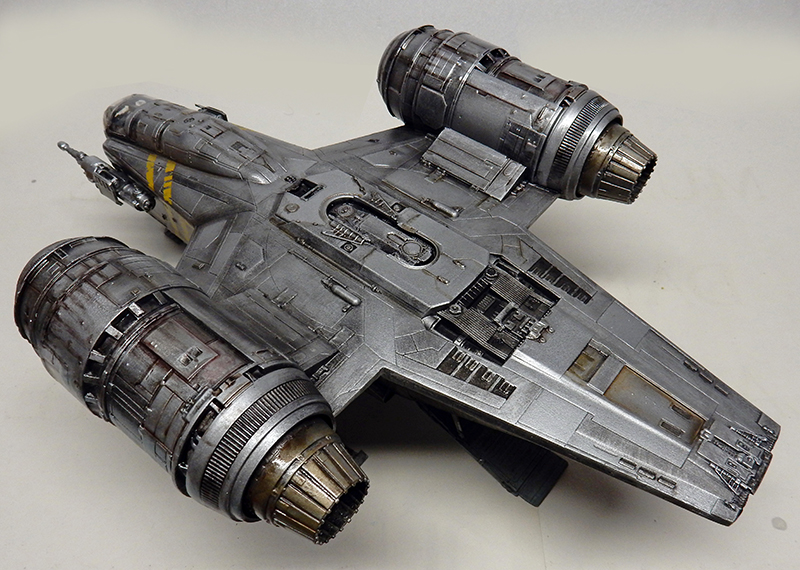
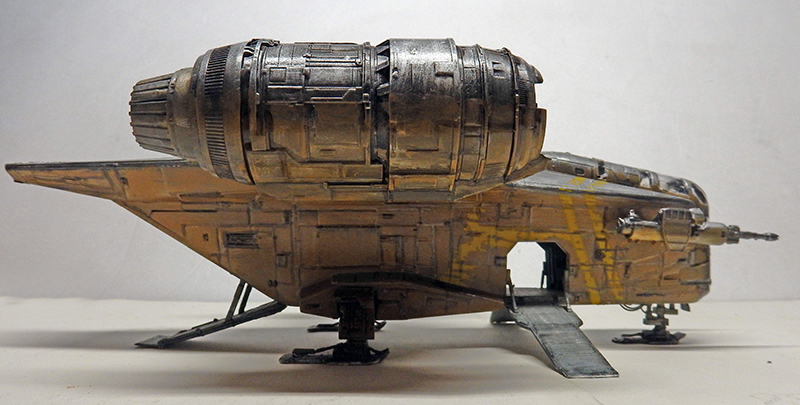
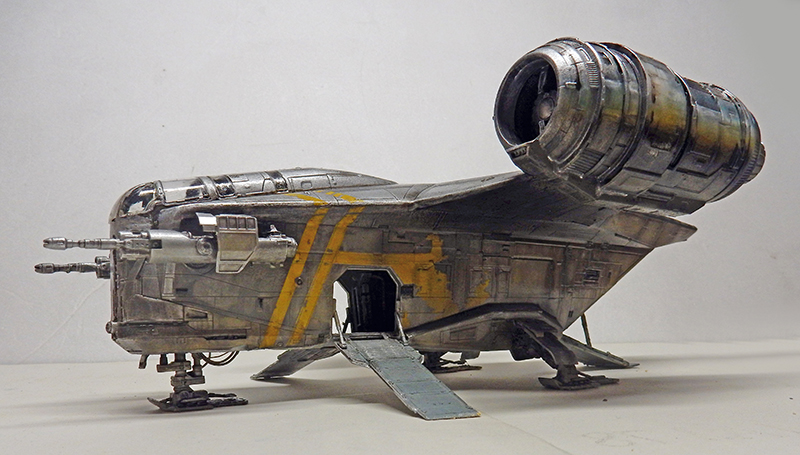
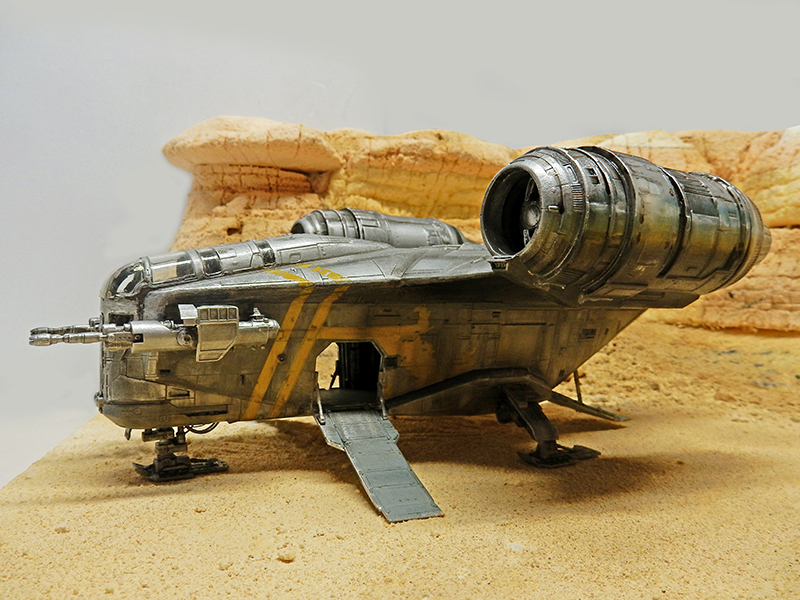
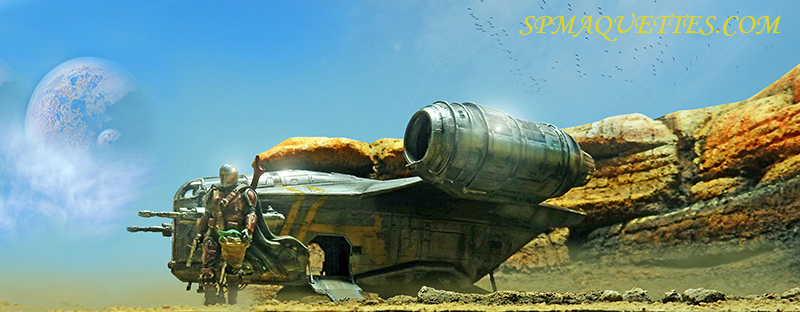
La boîte du kit du "Razor Crest", qui se décline en deux modèles : celui-ci que l'on peut trouver aujourd'hui autour de 78 € et une version avec l'intérieur détaillé à... 150€. Simple à monter, peu de pièces, ne justifie pas son prix...
Not to mention 5 photo-etched and resin kits that will cost around $250!!!...
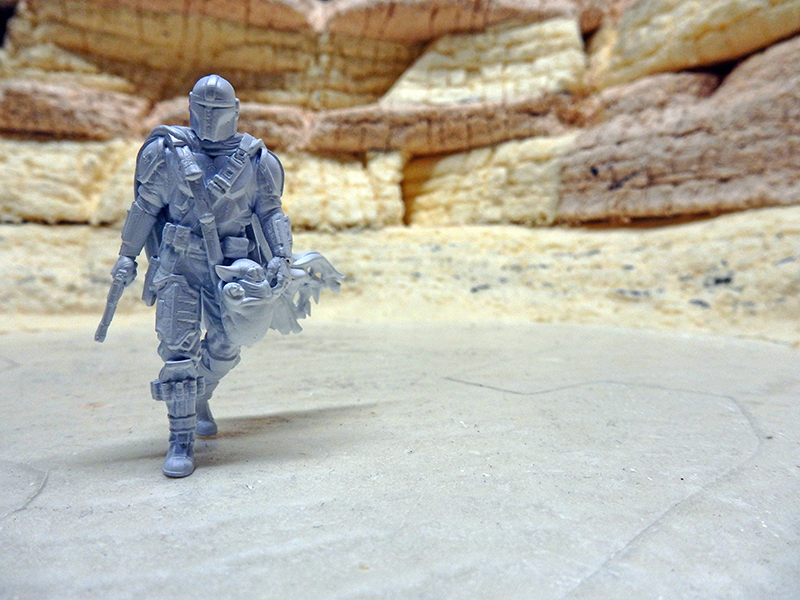
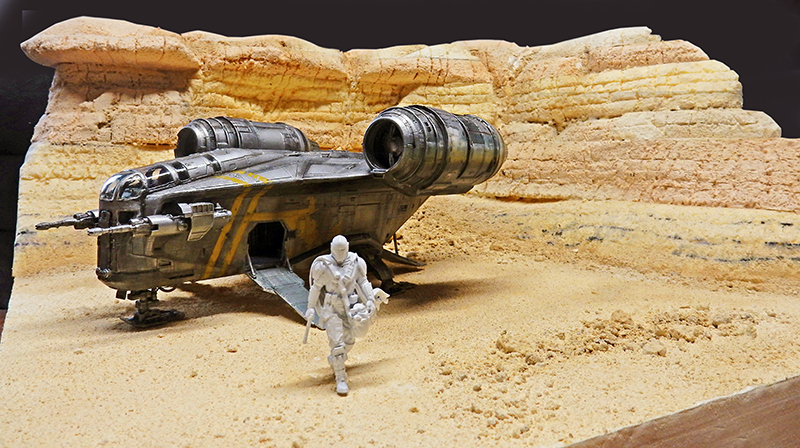
En complément de la scénette, viendra s'ajouter une figurine en résine à l'échelle 1/32ème du Mandalorien...
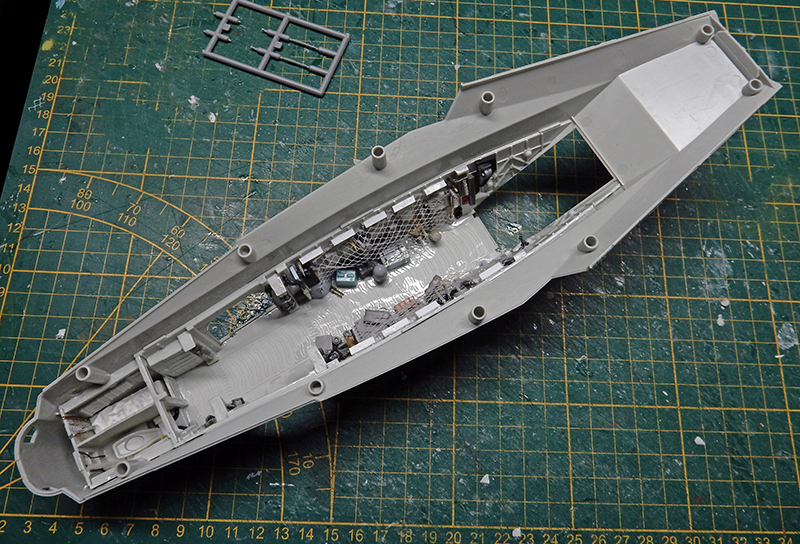
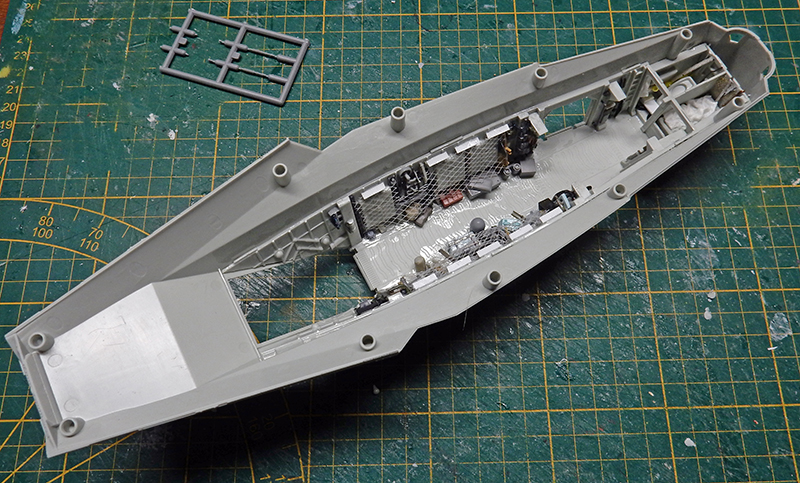
Fortunately—good news—you can improve the kit without breaking the bank using a little imagination, salvaged parts, plastic card, etc...
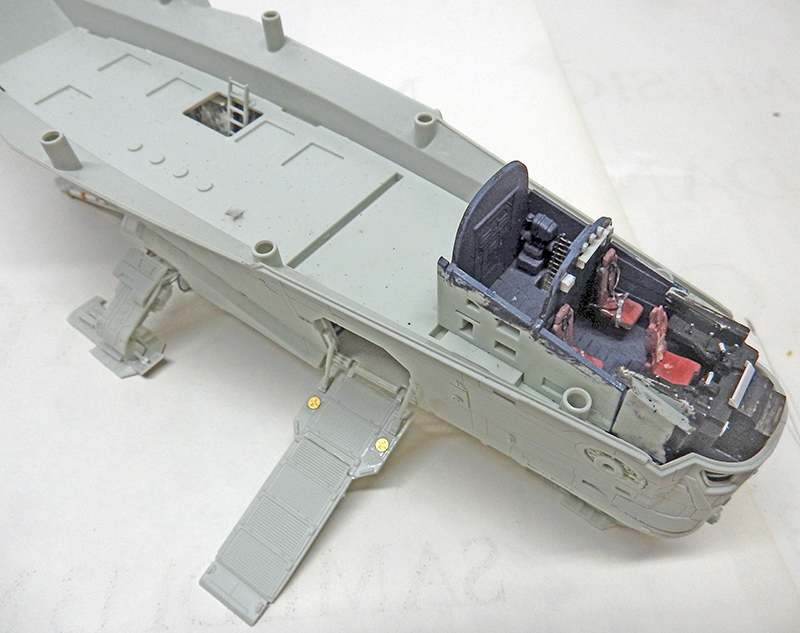
Le plancher étant gravé, nulle nécessité d'en refaire un...
A look at photos of the ship's interior from the series is essential to help guide you...
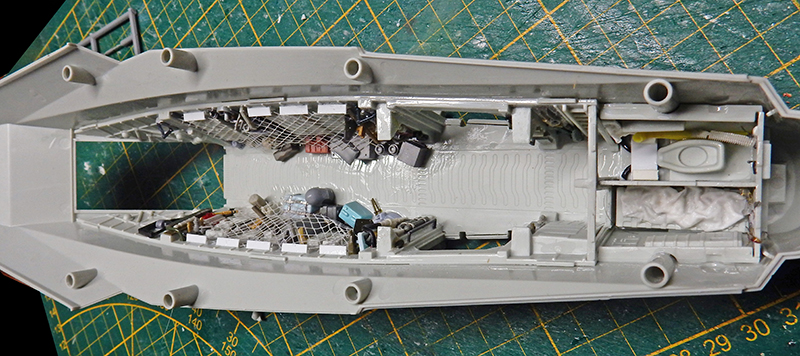
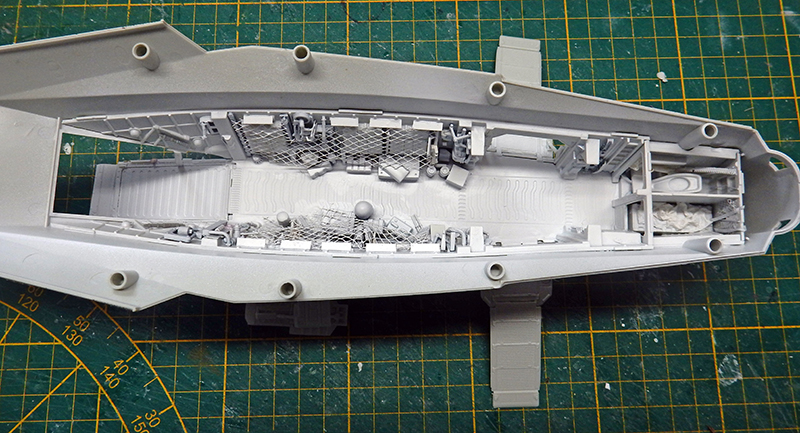
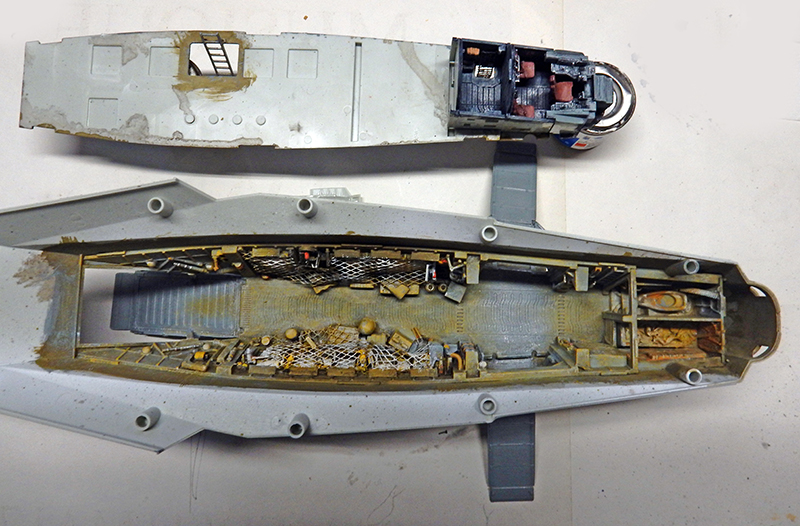
Des lampes sont ajoutées, divers bagages, des détails sur les poutres intérieures et des accessoires, des câbles, du papier enduit de colle à bois très liquide pour simuler les tissus. Les filets qui retiennent les objets sont en tulle fin...
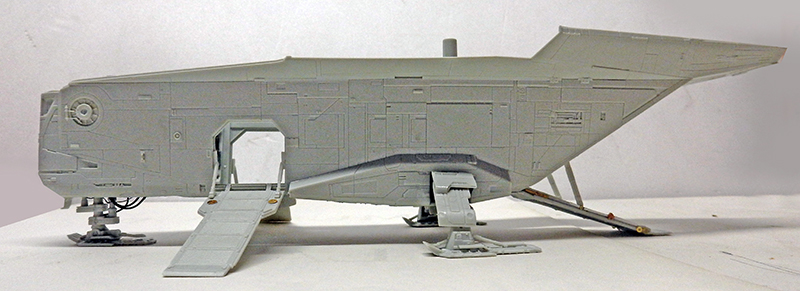
Des échelles ajoutées, les encadrements et ouvertures de portes et soute re-détaillés, ainsi que des panneaux de compartiments...
An exterior view of the aircraft: here, the fin bases have been upgraded to plastic sheet (the panels are only deployed during in-flight braking or for repairs, so there’s no point in using the photo-etched kit—which saves money!...
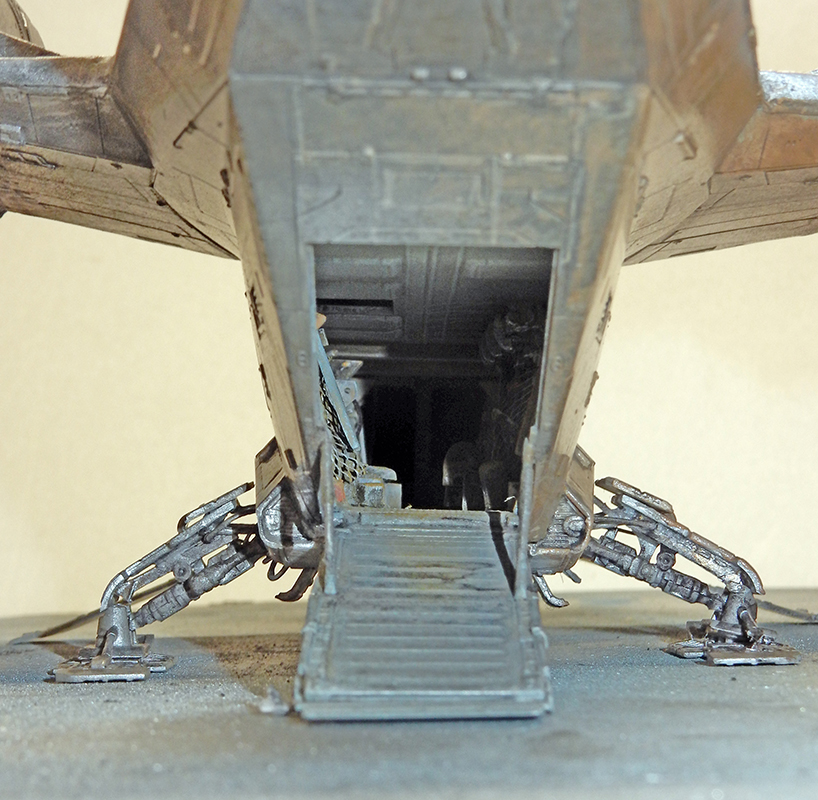
Vue latérale : les ouvertures de portes sont améliorées ainsi que le câblage manquant des trains d'atterrissages...
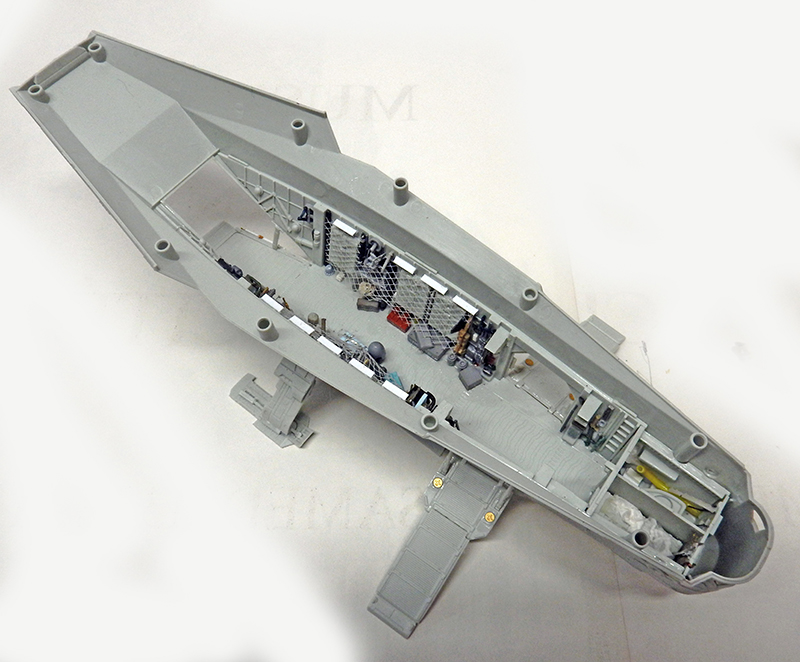
A view showing the interior of the cargo hold, equipped with its accessories, and part of the wiring for the rear landing gear...
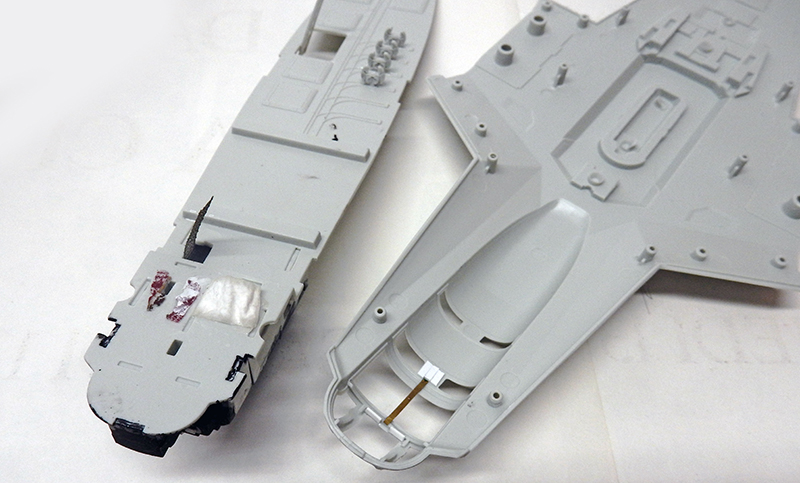
We're adding a missing railing near the cockpit and improving the ceiling that connects to the first floor...
Amélioration du cockpit dont les ceintures de sécurité. Les decals fournis ne sont pas utilisés...
Le détaillage terminé, on passe une couche d'apprêt blanc...
Peinture des accessoires et d'une lumière d'ambiance en fonction des éclairages...
Painting
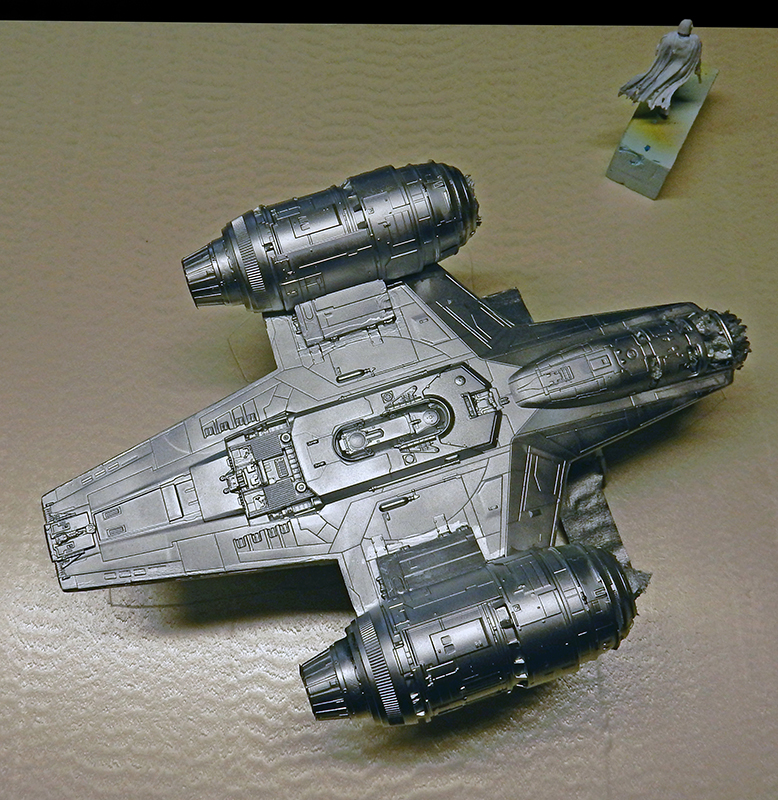
All the parts were, of course, glued together, as were the reactors...
The seams were smoothed with liquid filler and then sanded; the model was given a coat of primer, and the keel and cockpit were masked off to protect them from the paint...
The entire set is painted in metallic silver...
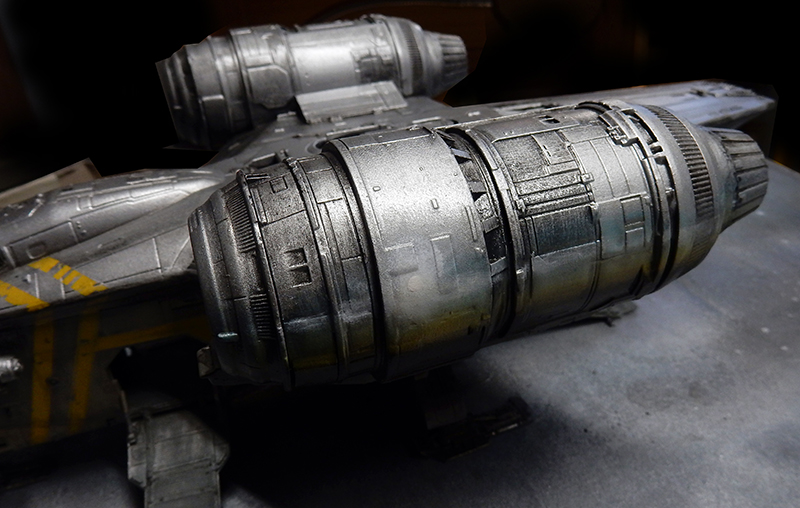
We highlight certain silver-colored panels with metallic shades of varying lightness to create depth...
After it has dried completely (24 hours), apply a coat of gloss varnish, and then, 24 hours later, apply a wash made of black and umber over the entire model, focusing on certain areas...
Before applying the paint, the decals are applied. They are fairly thin and do not need to be replaced with stenciled paint. You just need to apply another coat of clear coat over them...
Détails des panneaux...
L'intérêt de ce diorama est de restituer les reflets environnants sur l'appareil qui est comme un miroir...
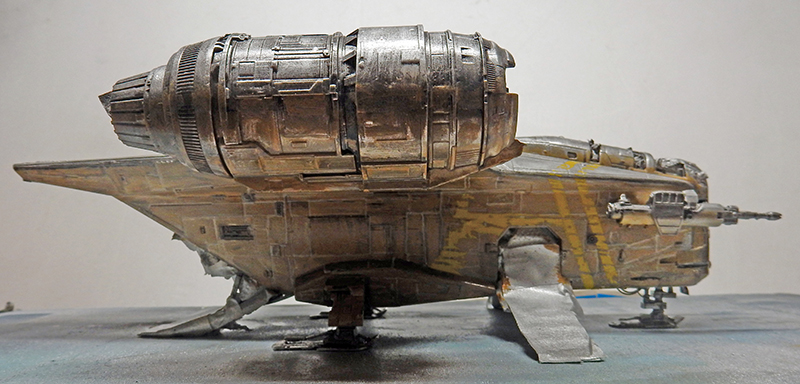
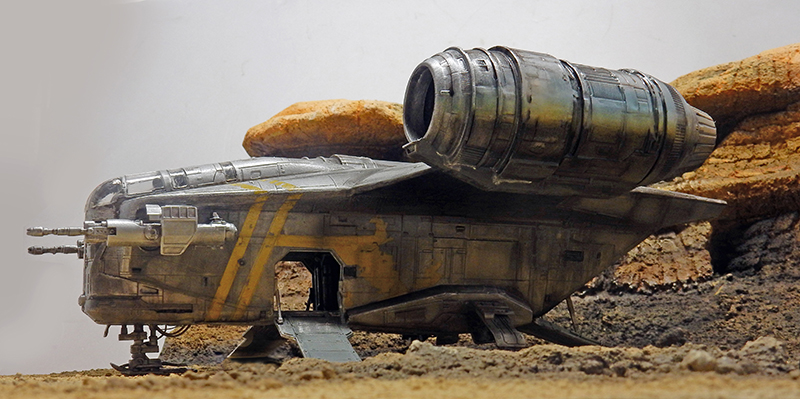
The right side of the model is located near a cliff, the texture of which is reflected on its body. The entire right side and the bottom of the jet were not silver-plated but painted with acrylics in orange and earth tones matching the cliff and the ground. They were then varnished. Glazes were applied afterward to create a weathered look...
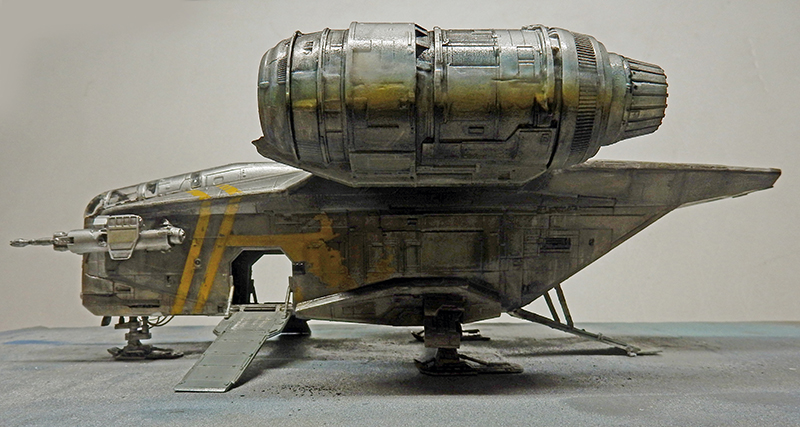
Le côté gauche reflète le sol, avec, sur la moitié du réacteur, une partie du ciel et des nuages, le soleil...
A veil of black has settled beneath the wings...
Install the "filters"!...
In issue No. 23 of "The Weathering Aircraft," the author of the article on the "Razor Crest" uses no fewer than 9 filters and 2 Mig thinners to achieve weathering and wear effects!!!
You can save a lot of money by creating washes using acrylic varnish and paint. The photo above shows the result...
Il suffit de doser quelques gouttes de peinture dans le vernis brillant acrylique et déposer avec un pinceau, traînées, traces diverses, que l'on peut diluer ou effacer, ou modifier avec un mouchoir en papier...
Each time, we choose a color from among black, umber, sienna, sand, etc...
Fine smoke trails were also airbrushed onto the engines using black acrylic paint...
A photo showing the aging effect on the side, which has also been enhanced with washes...
Autre vue - Another view...
Les reflets sont retravaillés ainsi que sur le réacteur...
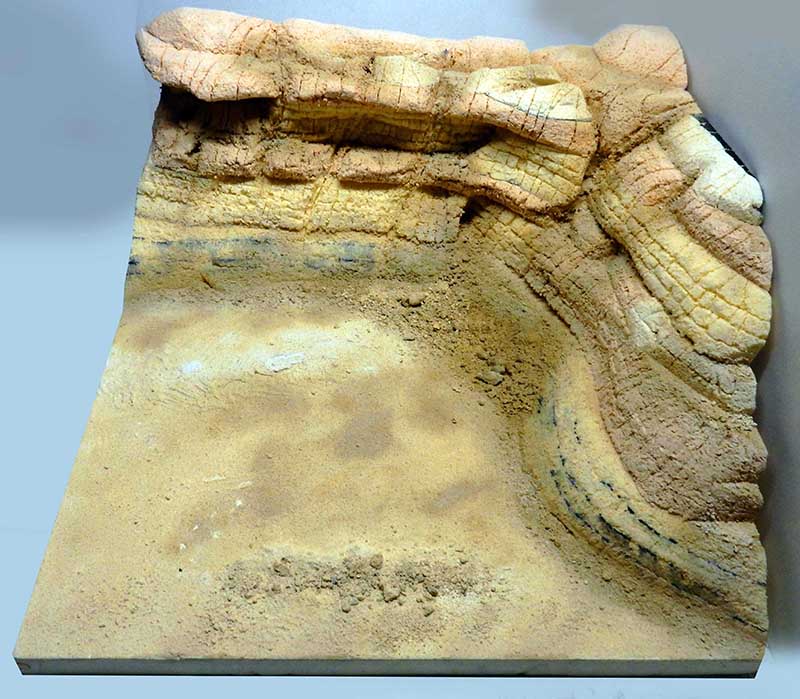
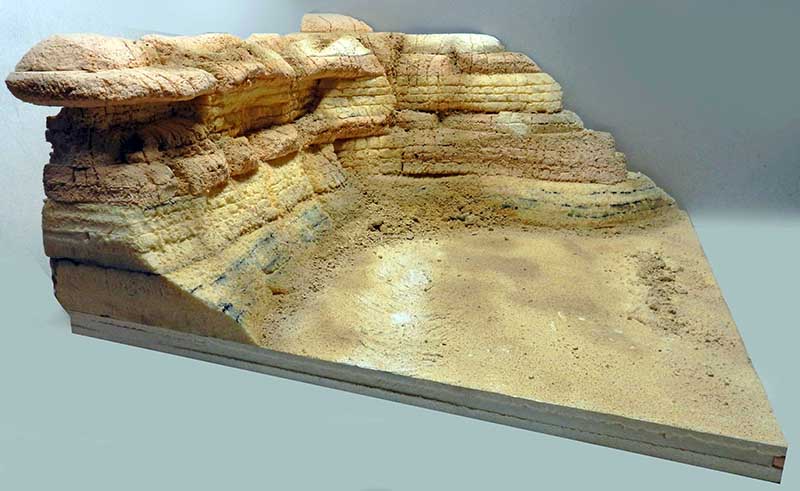
Une vue sur le futur décor non peint...
Positioning the Mandalorian figurine on the future set...
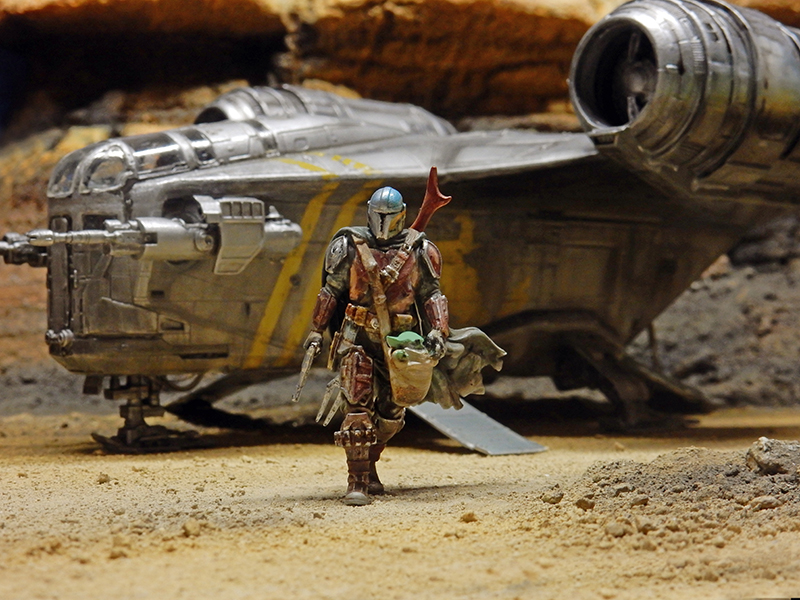
La peinture du modèle terminé. Tous les reflets sont créés en peinture...
The Setting
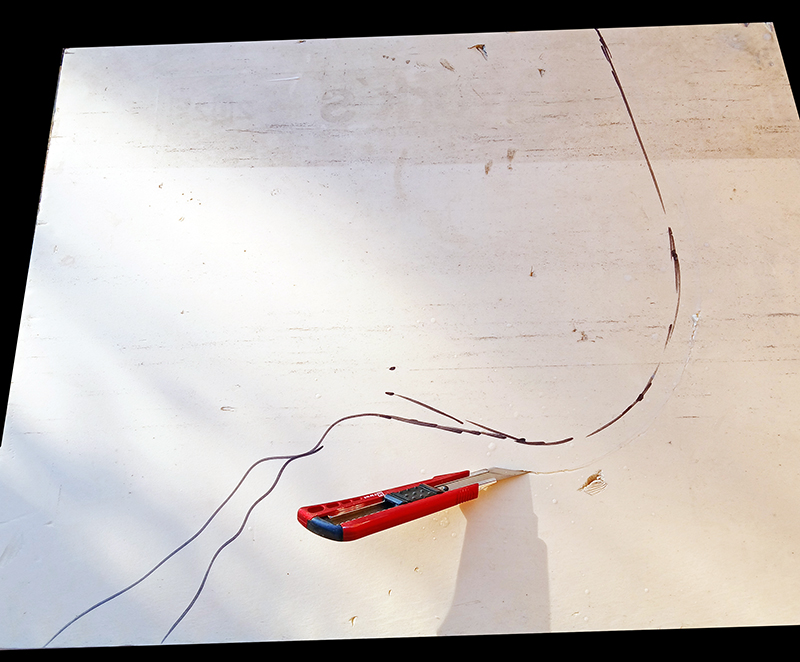
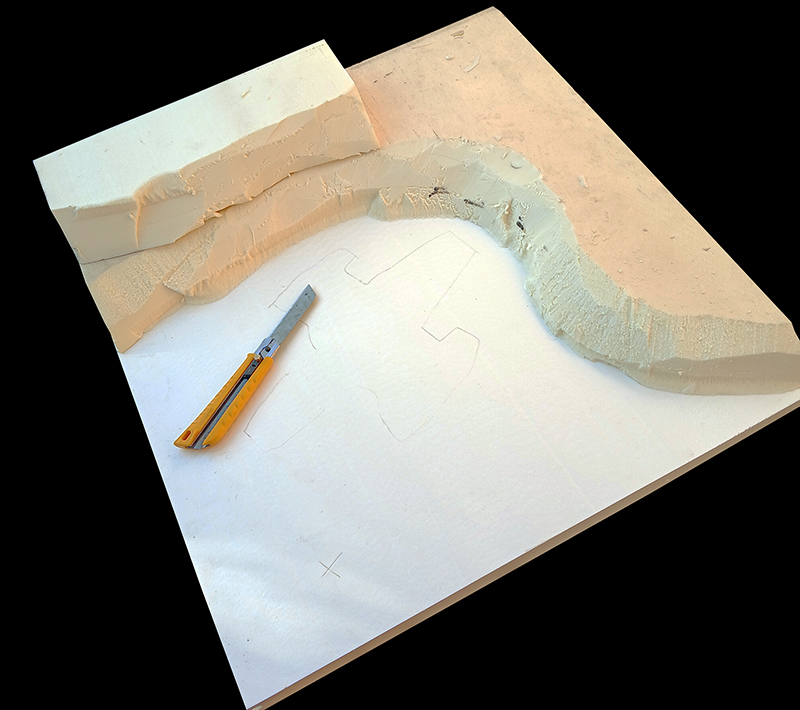
The base is a sheet of extruded polystyrene measuring 60 cm on each side and 3 cm thick...
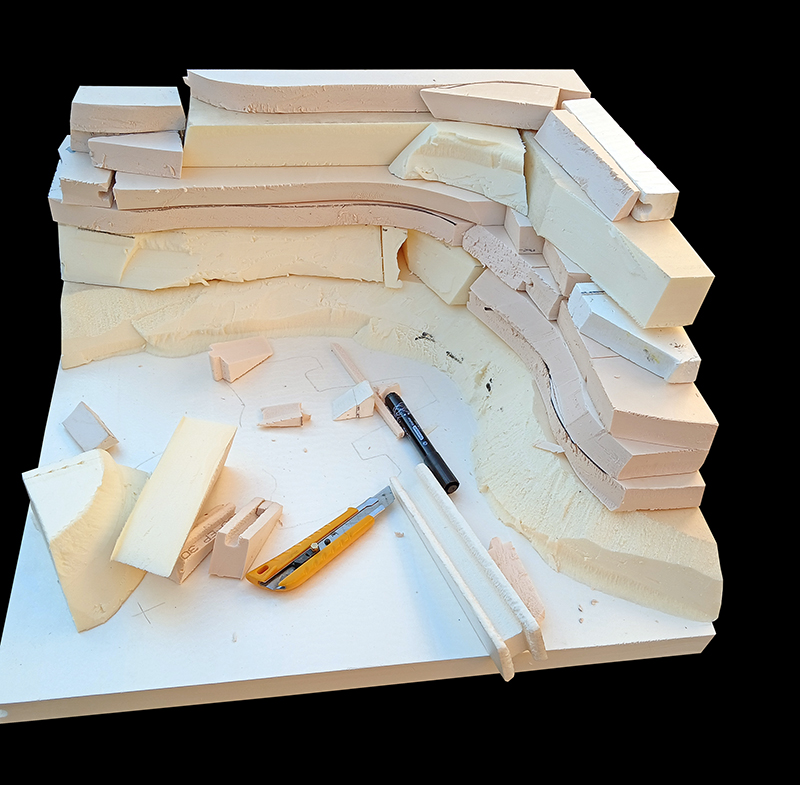
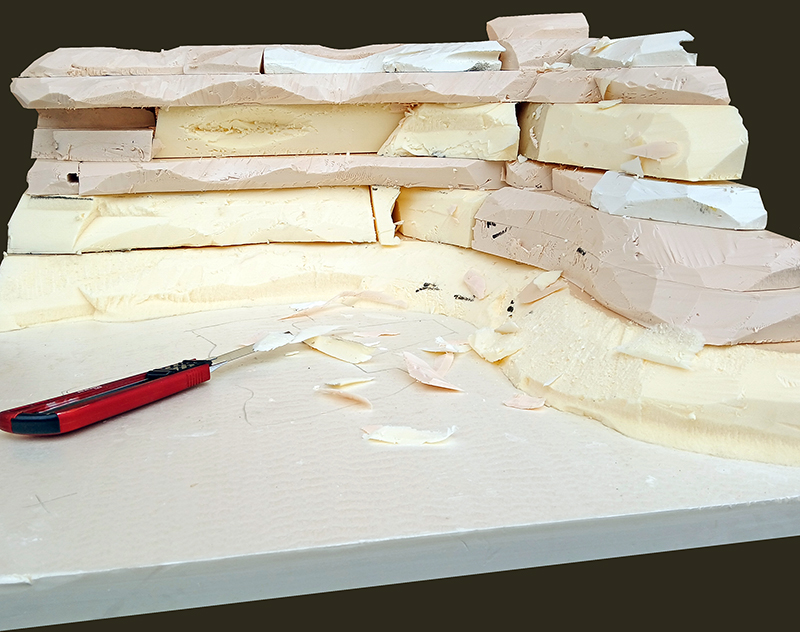
The setting will consist of cliffs surrounding the aircraft's landing site...
A very detailed tutorial on how to work with this material can be found here...
Ici, on a utilisé divers morceaux par économie, mais on aurait pu découper directement de grandes longueurs...
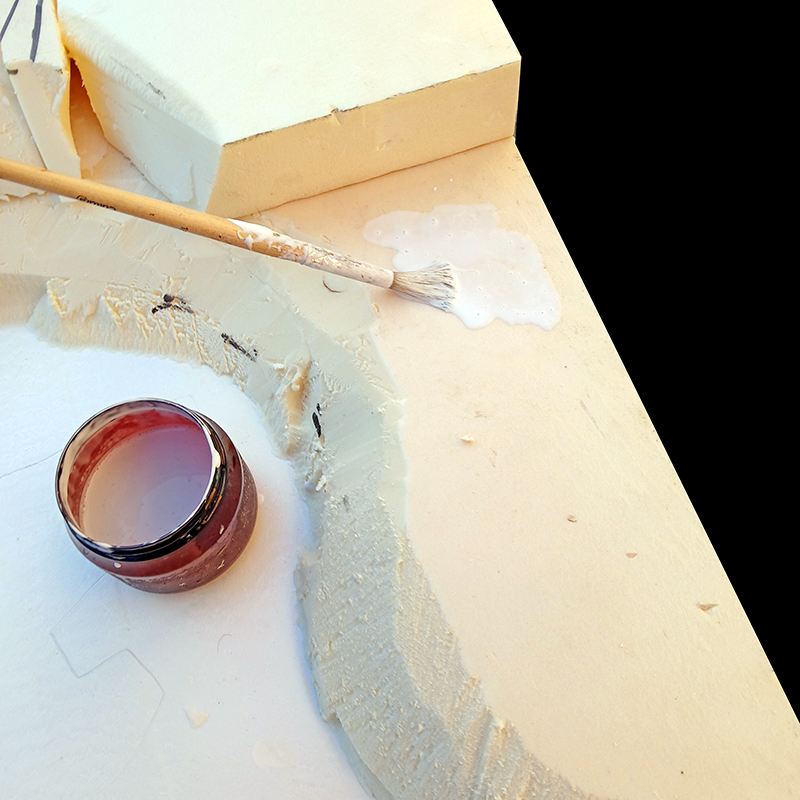
La colle à bois à prise rapide diluée va permettre d'unir tous les éléments...
On laisse sécher 24h minimum...
Début de la sculpture pour affiner les roches...
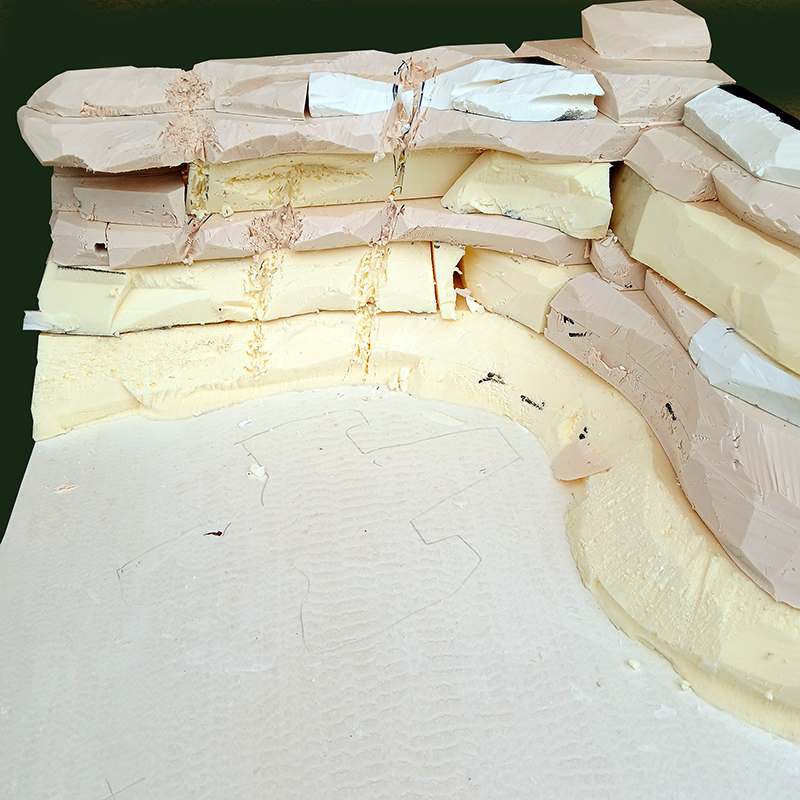
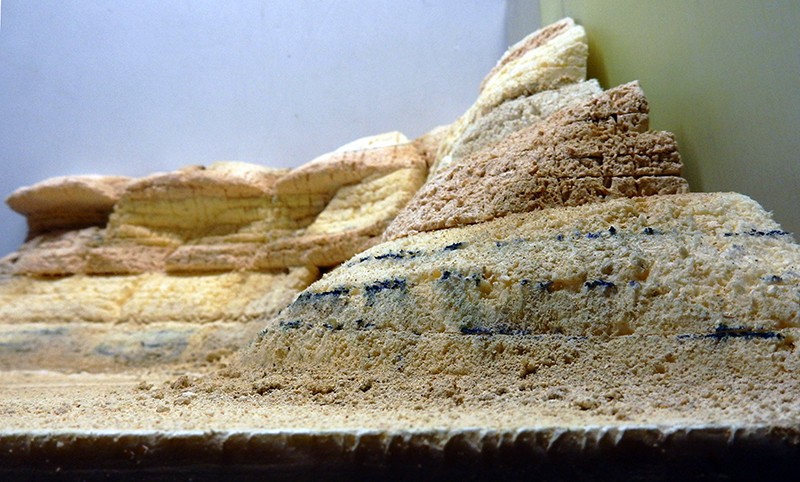
Tracing the cracks. We always take our inspiration from photos...
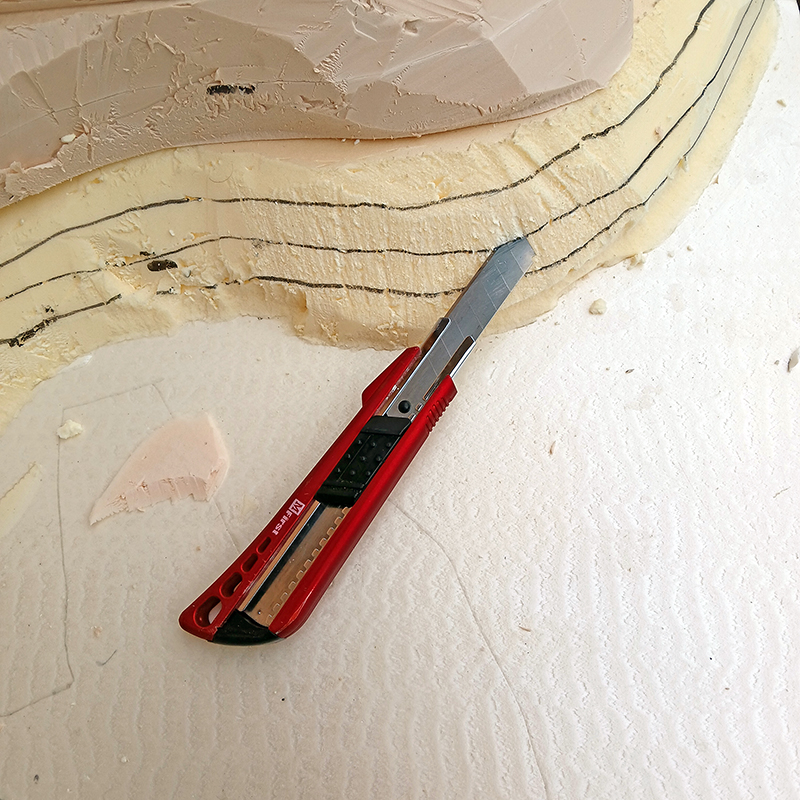
Detail of the elevation change at the base of the cliffs...
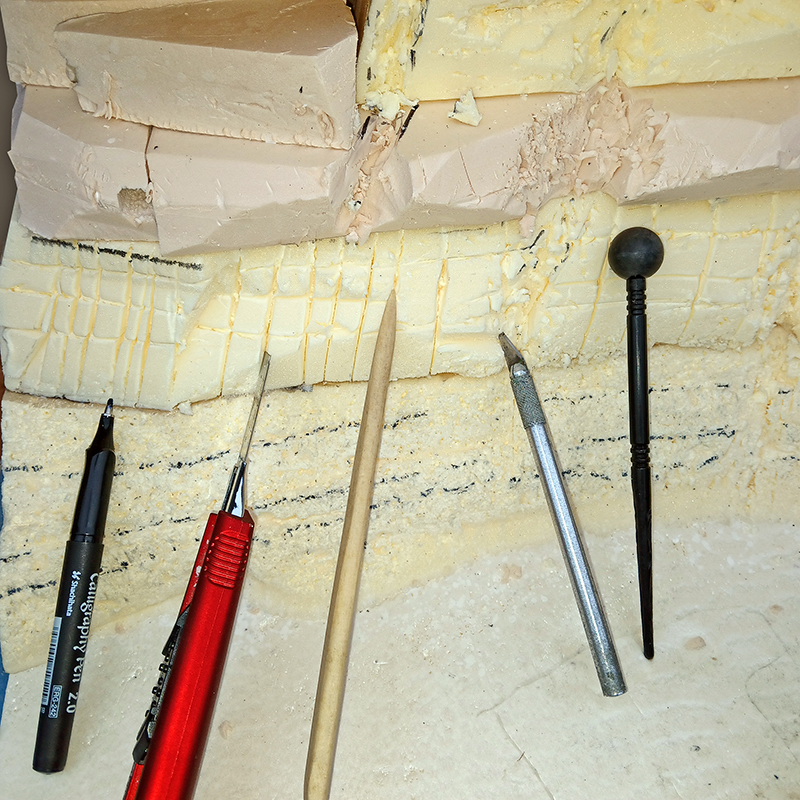
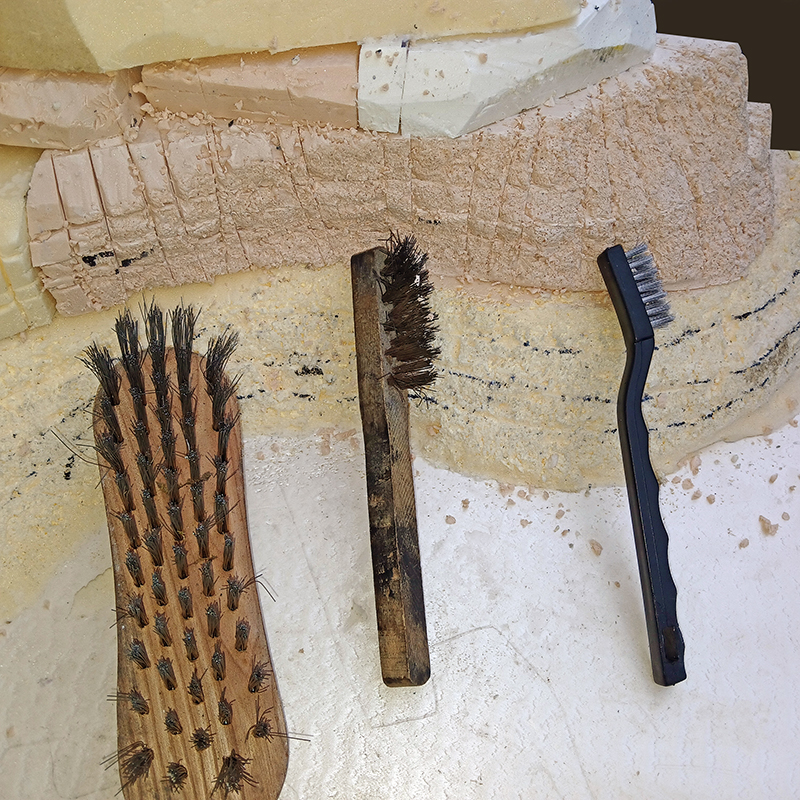
Details on the various tools used in the workshop tutorial on extruded polystyrene...
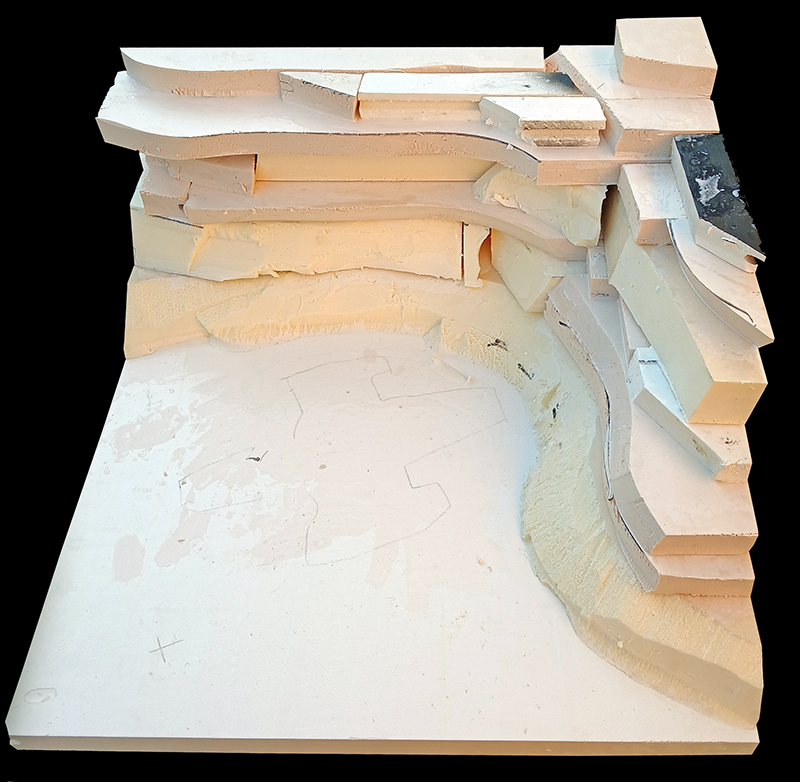
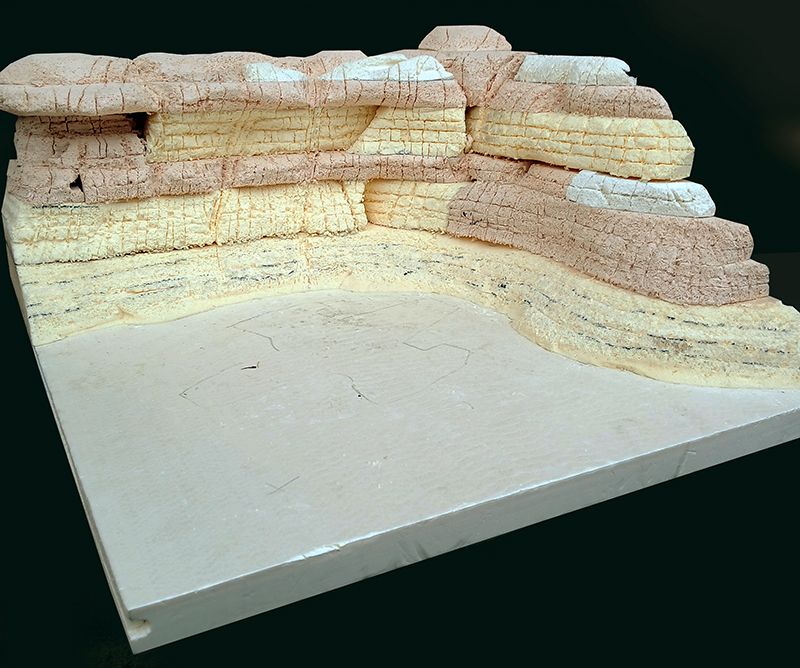
After a few hours of work, you end up with a detailed rendering of the rocks...
The holes and cracks have been filled...
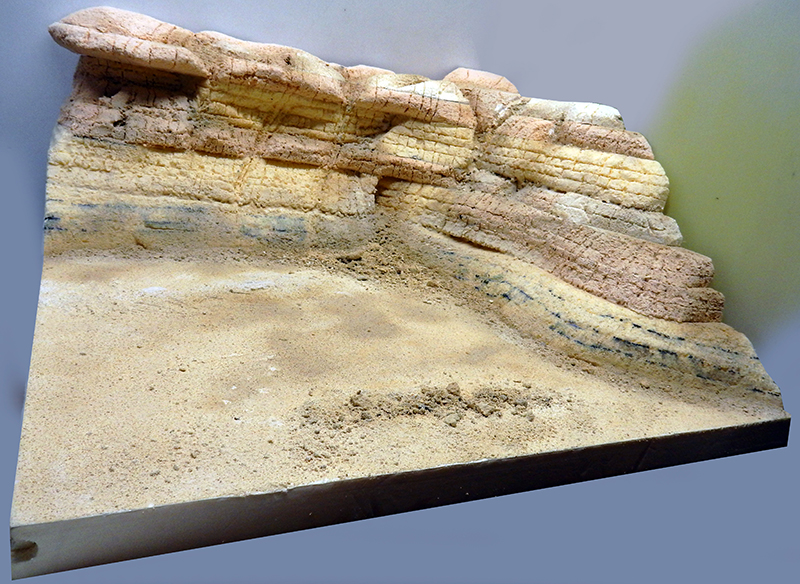
We continue by adding various materials of different densities, ranging from cat litter to fine sand, as fine as flour...
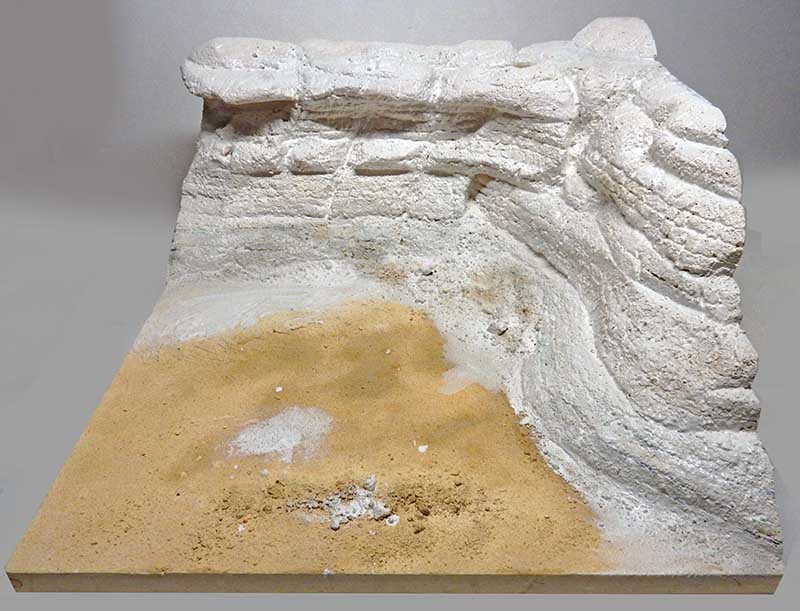
The floor is also plastered...
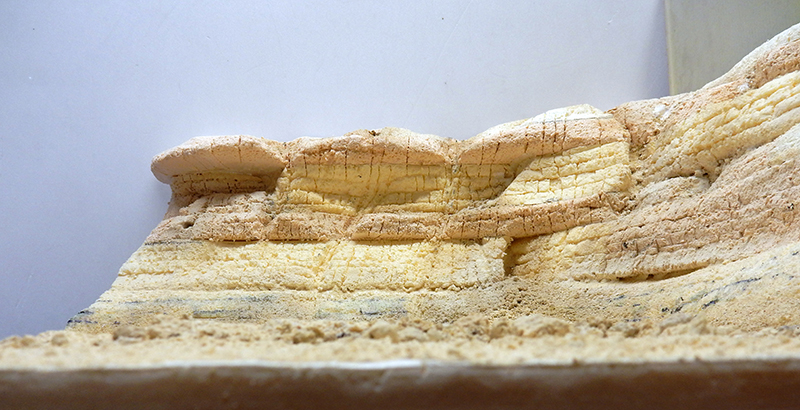
Détails...
Une vue plongeante montrant le nivellement du sol...
Another view...
Painting the Set
Passage au pinceau large d'un enduit acrylique Gesso...
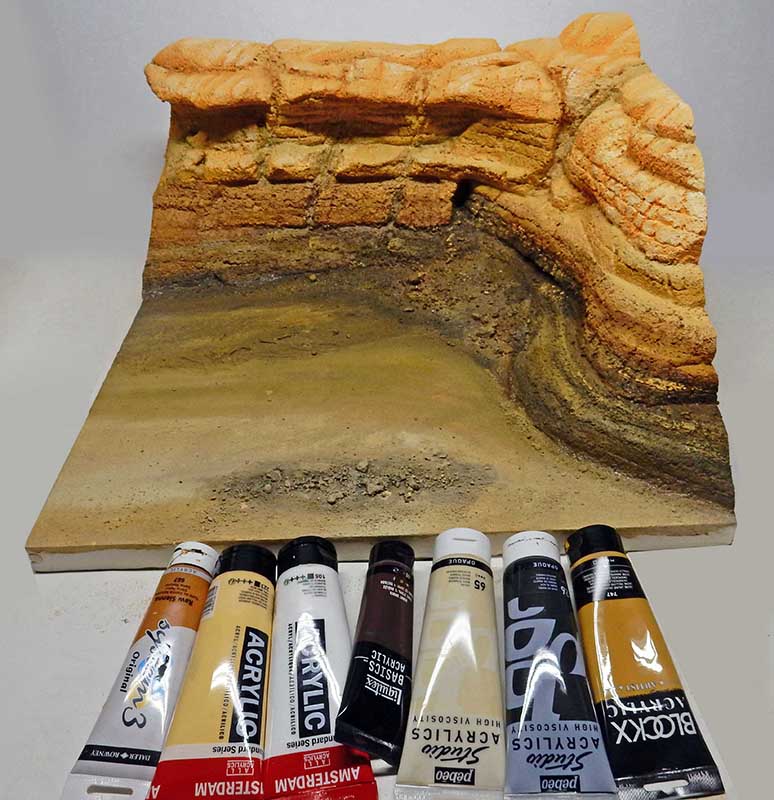
Assortiment des acryliques utilisées pour la peintue du décor...
Black is never used on its own...
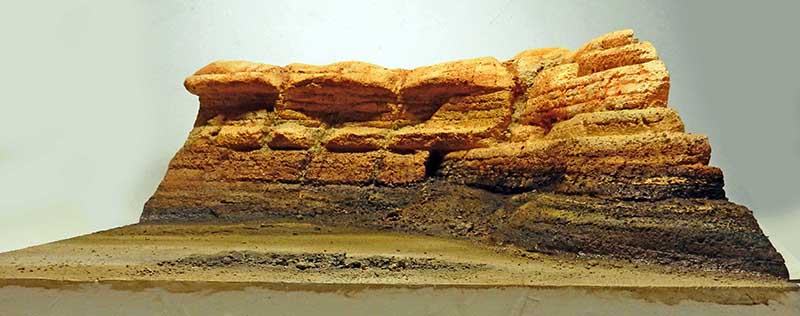
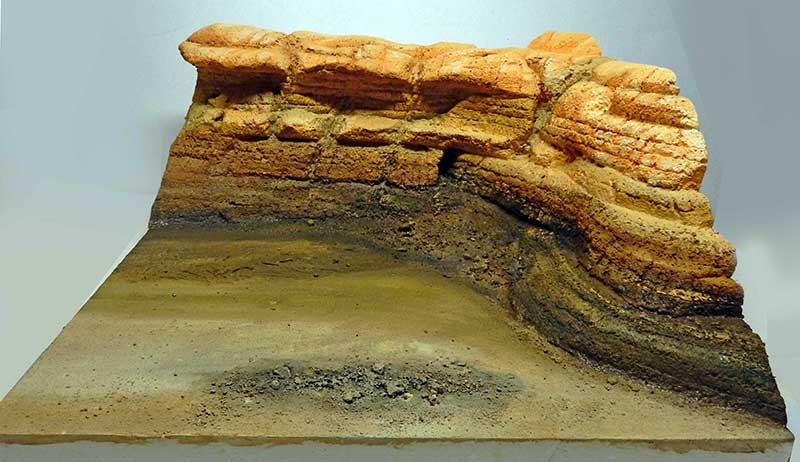
Le soleil éclairant le haut des falaises, celles-ci ont été éclaircies...
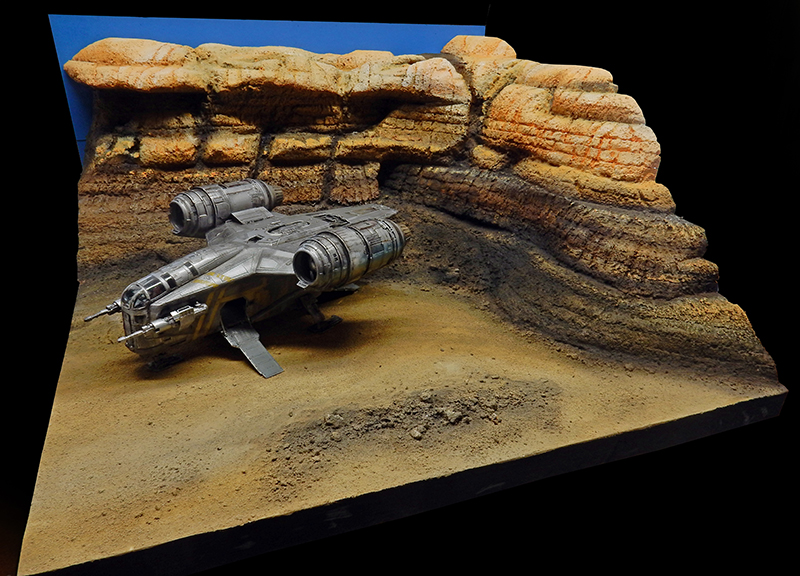
L'appareil est fixé sur le décor. Les ombres des roches ont été retravaillées...
The smoke from the reactors has seeped into the rock at the back. We add some black pastel powder...
La figurine est peinte à l'huile et fixée sur le sol...
The helmet is airbrushed in metallic silver with reflections of the sky and the ground...