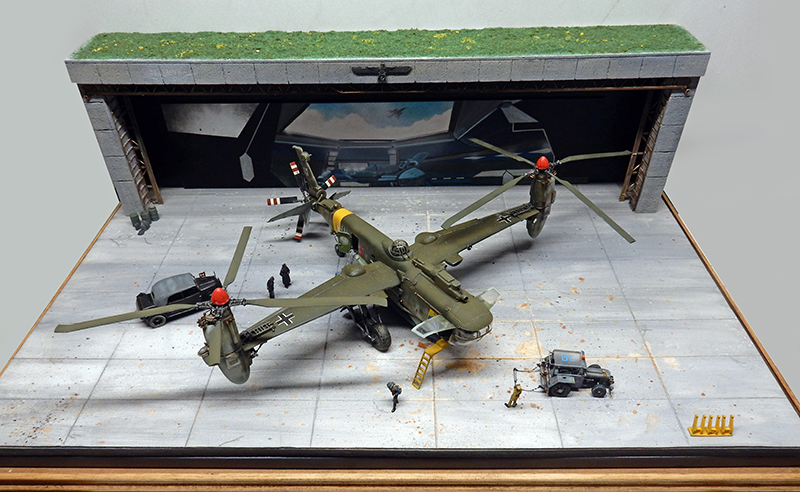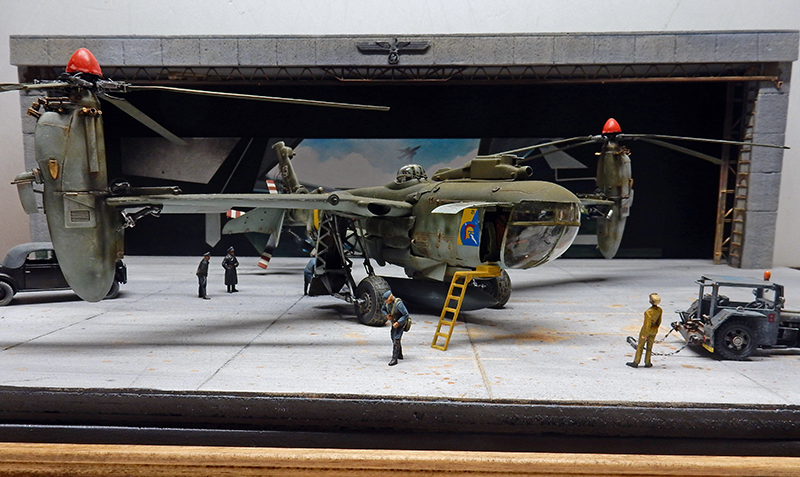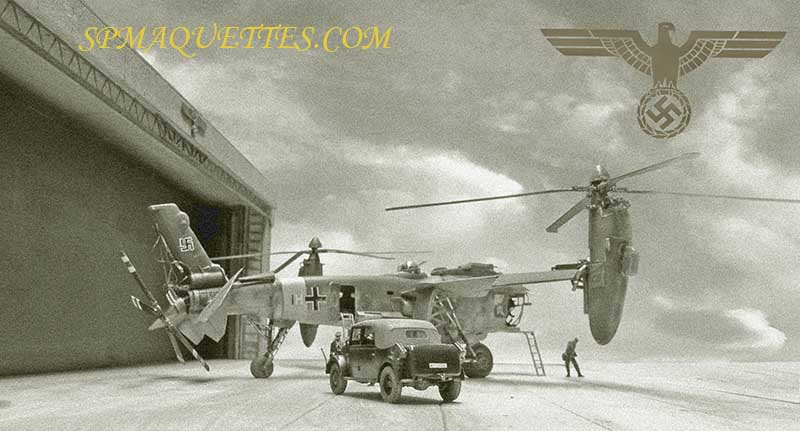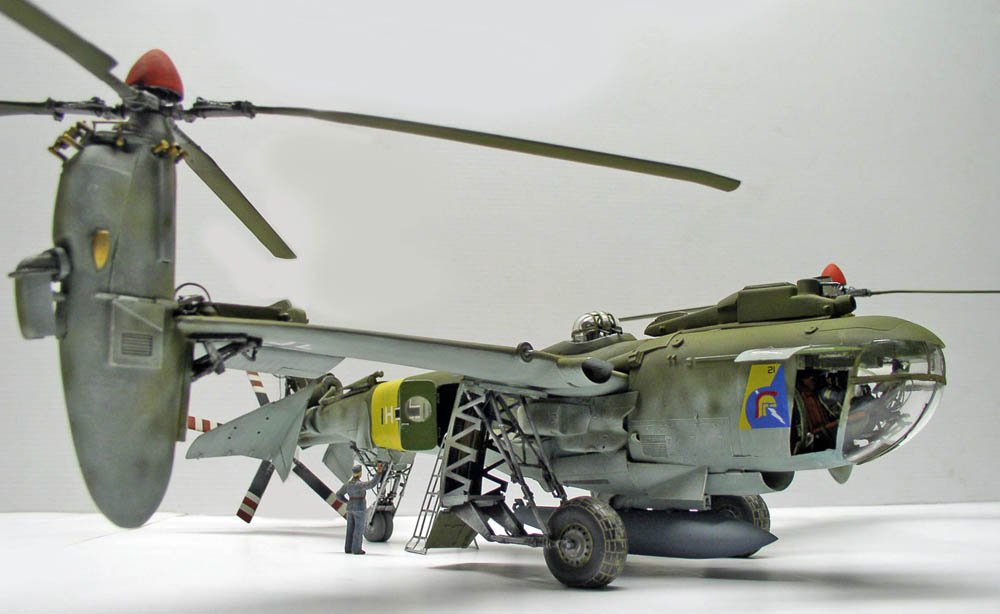
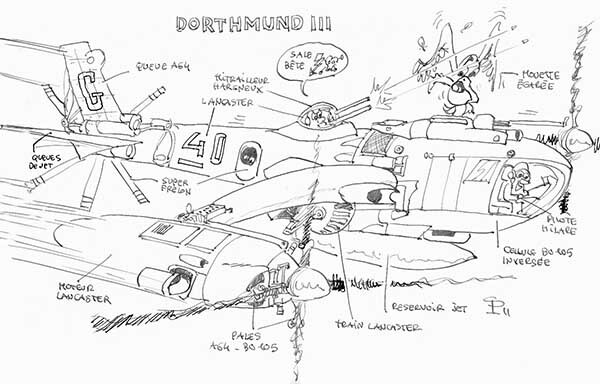
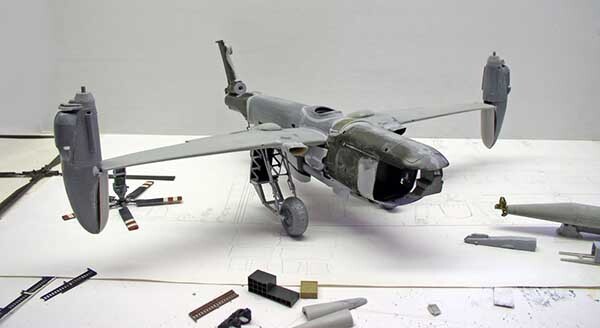
Here's an example of "kitbashing" with this Dorthmund III, which uses only parts salvaged from other kits...
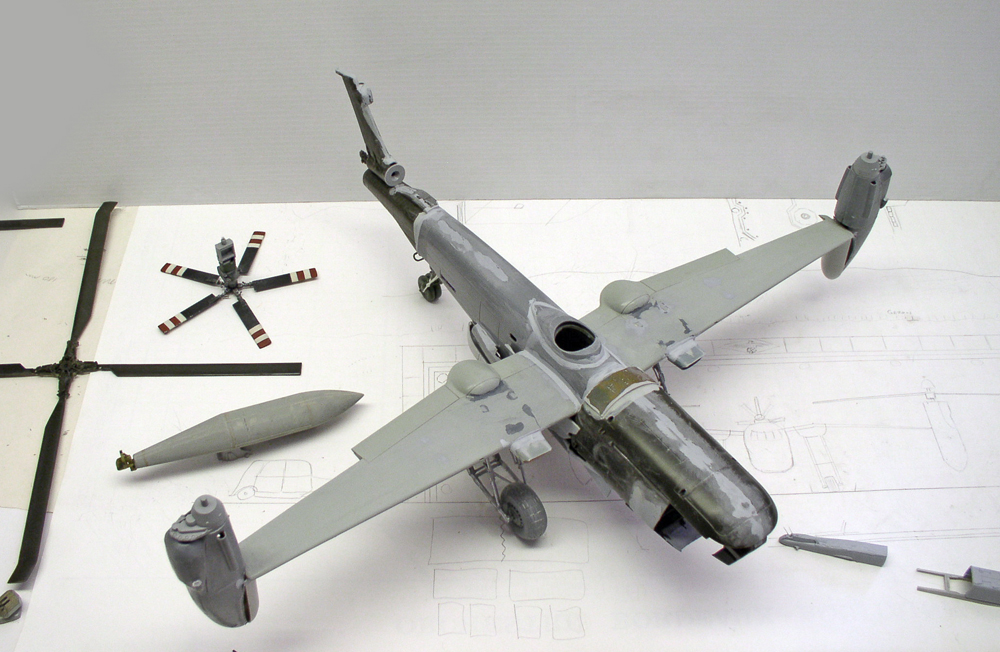
Initial assemblies and gluing. The goal is to build a vertical takeoff aircraft. Needless to say, the surplus box will let us freely dip into our stash of parts to come up with something that actually works...
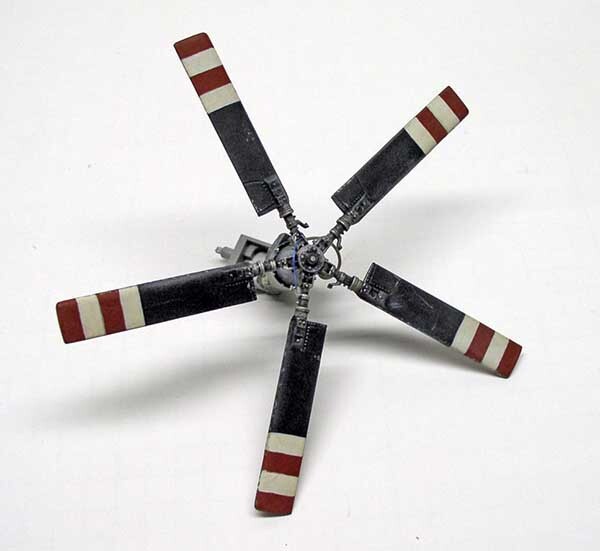
The helicopter's rotor has retained its original paint. The only thing that has been added is some wiring...
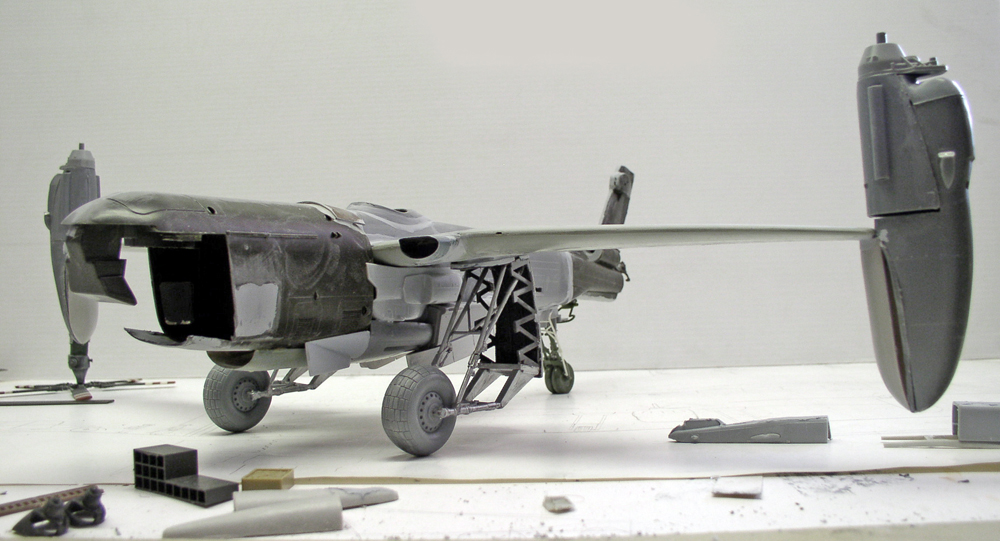
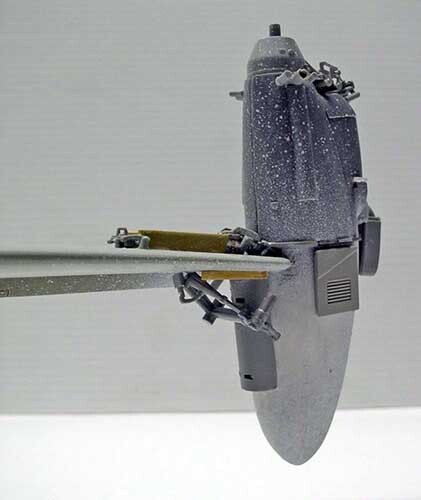
Details of the engines mounted at the wing tips...
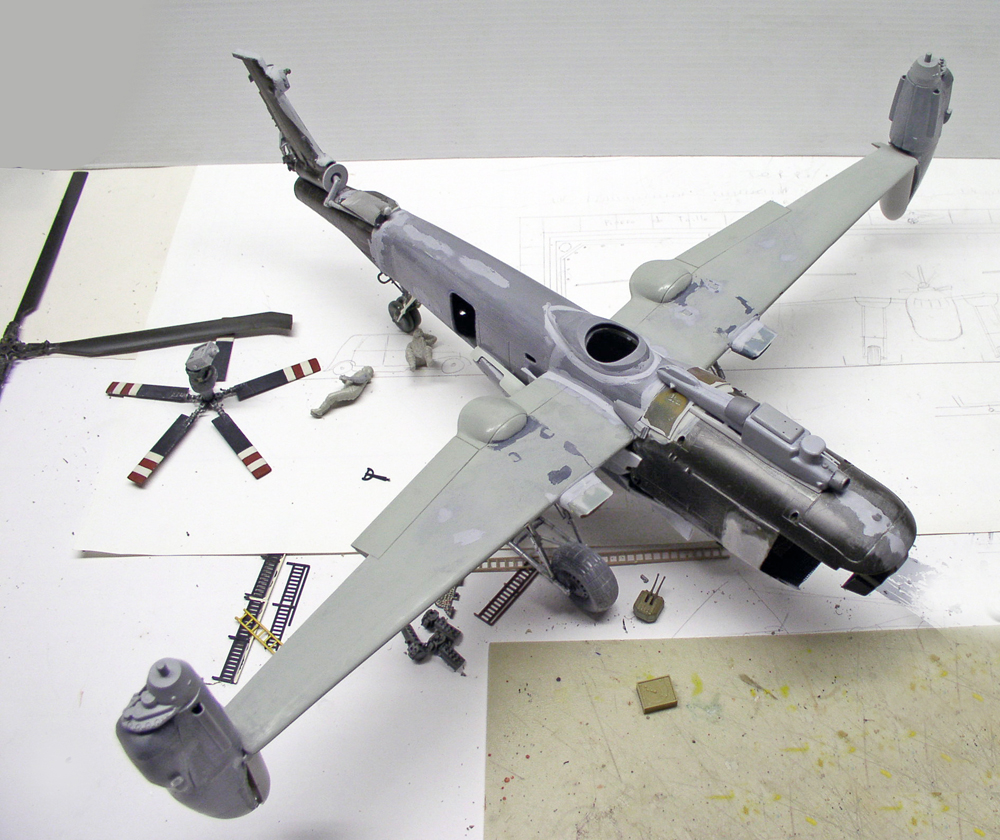
A top view
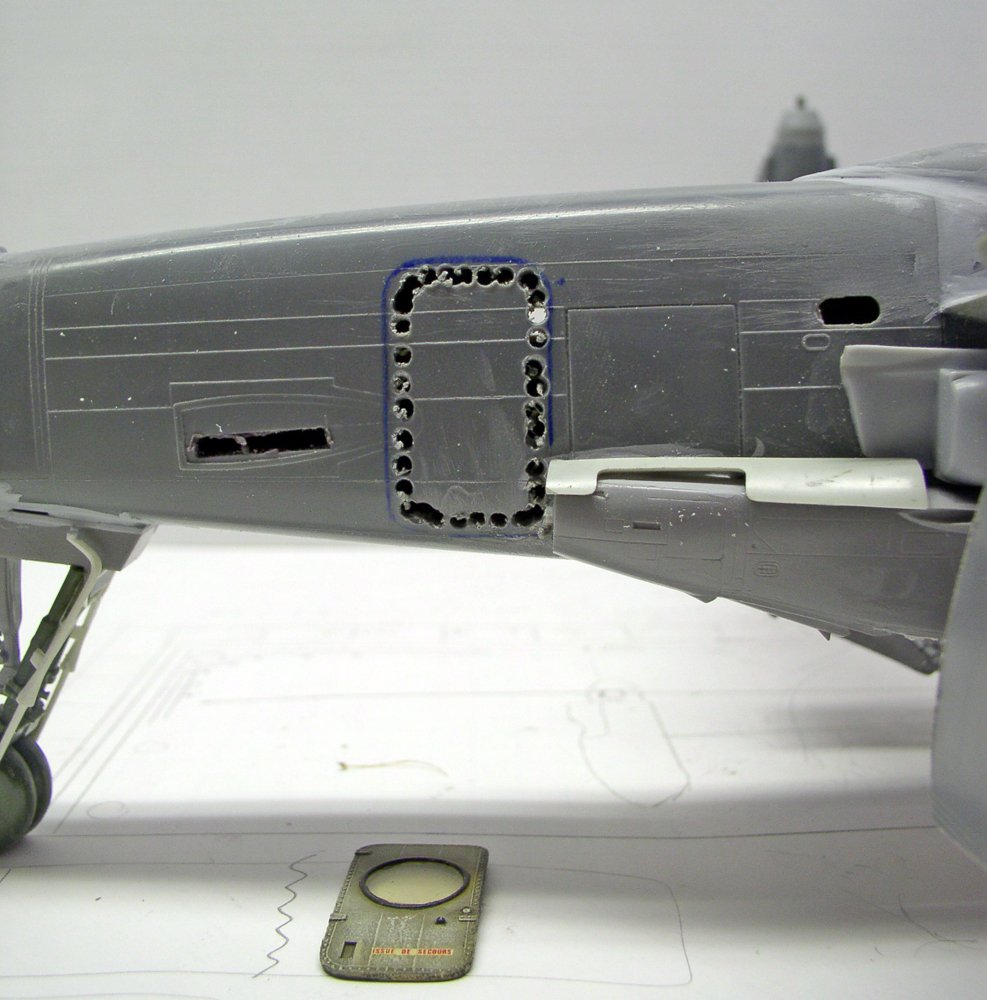
An opening is cut into the fuselage to accommodate the future door of the Superfrelon...
After drilling and cutting, the frame is sanded, ready for the door to be installed...
The cockpit is made from a BO105 airframe... turned upside down! The challenge was to recreate a cockpit with a crew in the correct orientation... But I'll come back to that later...
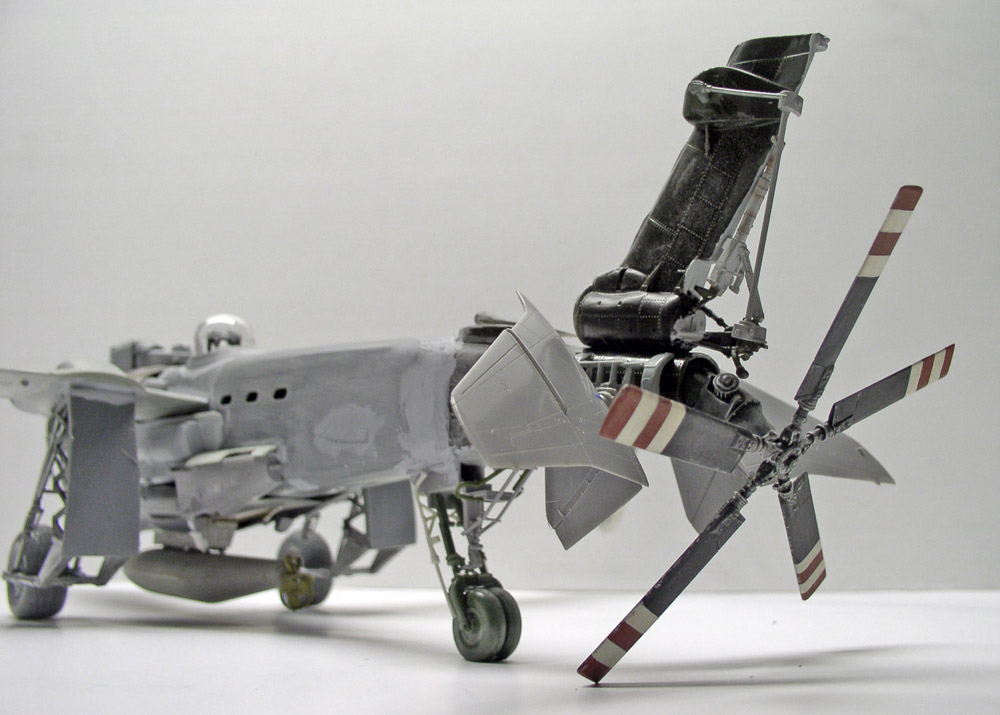
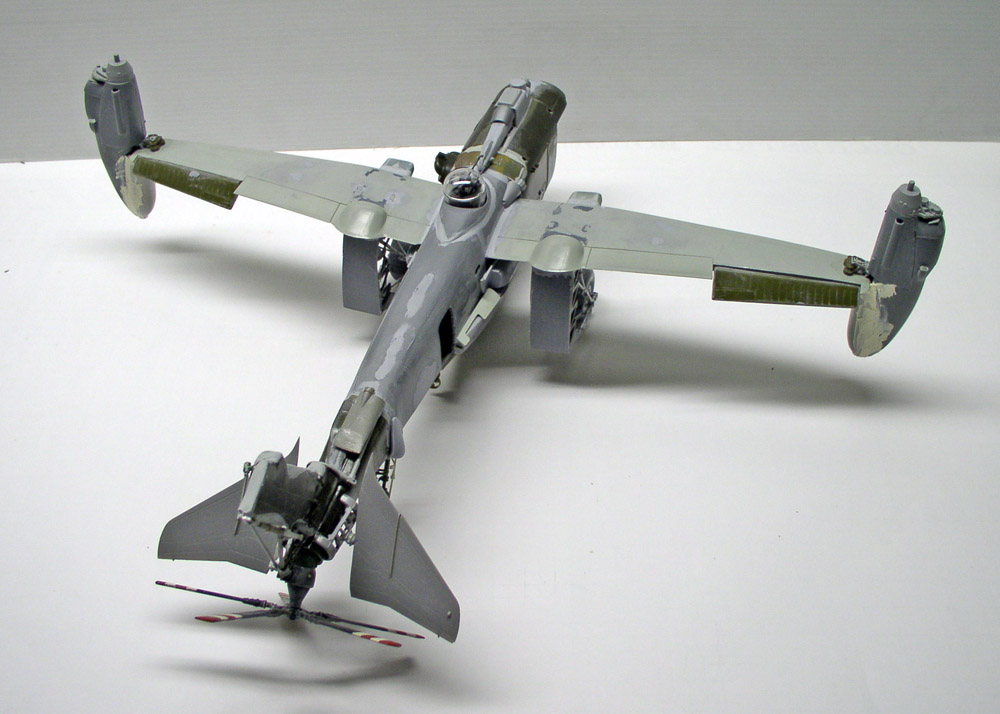
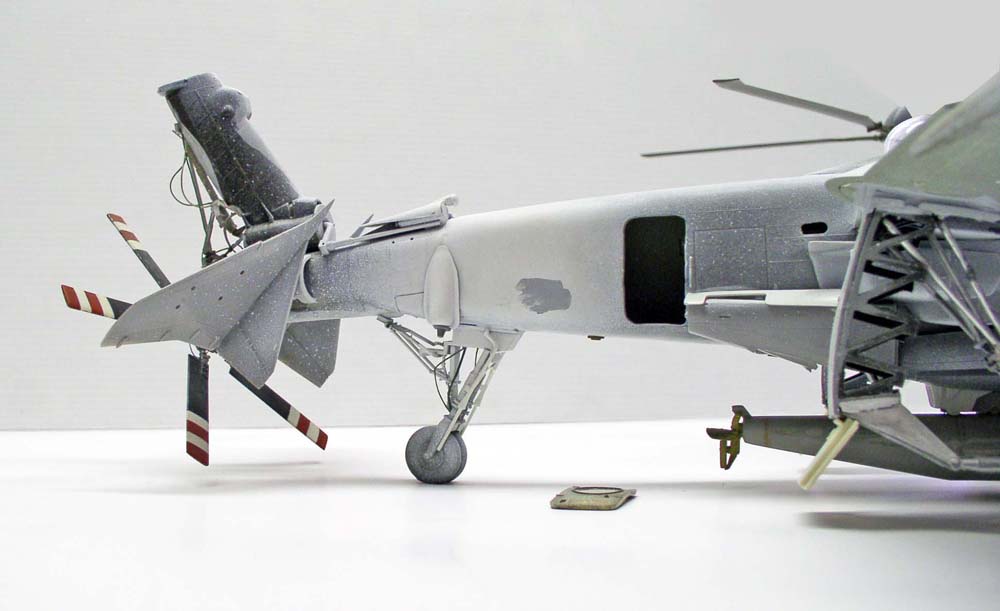
The tail consists of parts from the A64 Apache and jet ailerons for the stabilizers... A few additional details have been added...
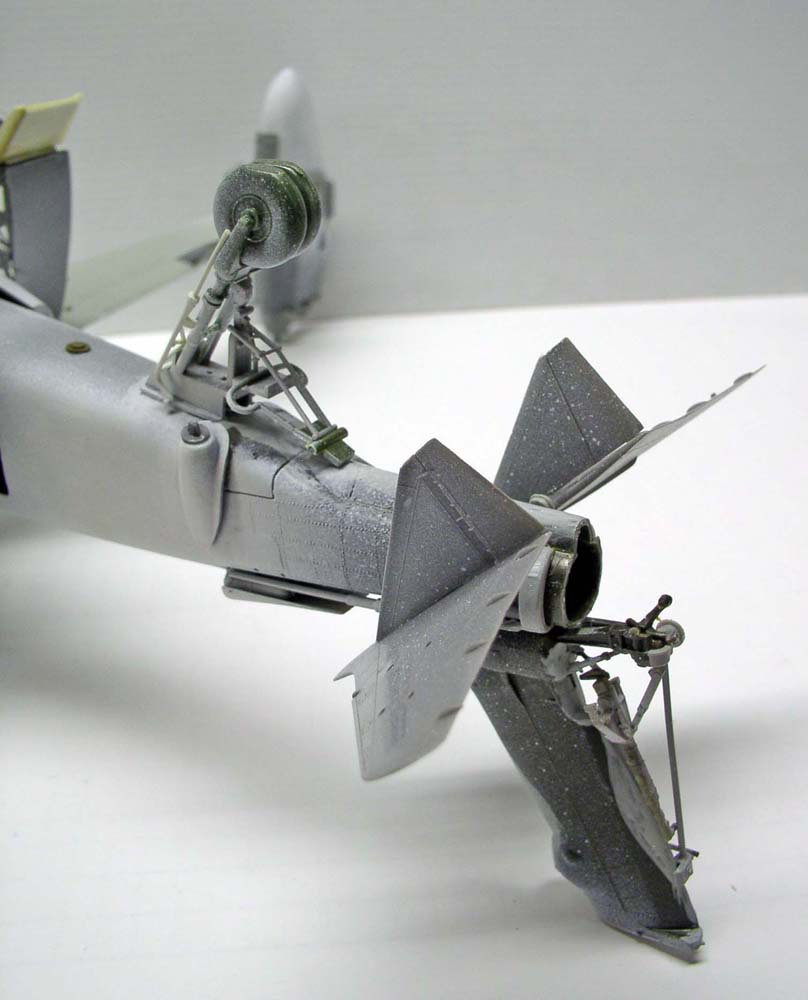
A view from below showing the twin tail wheels...
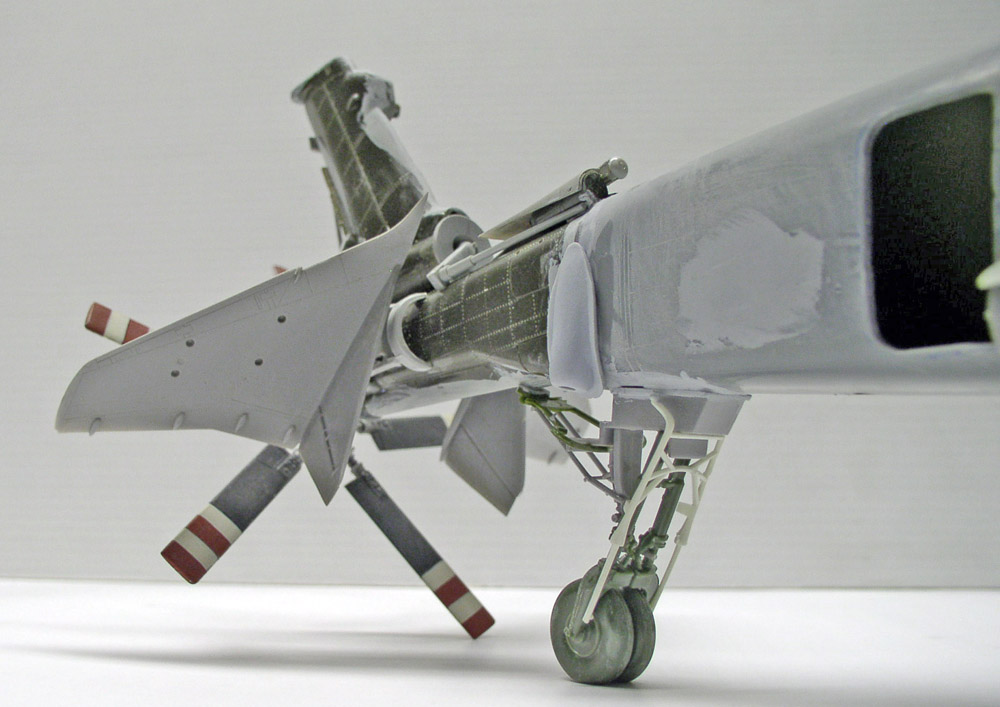
A view showing a close-up of the rear suspension...
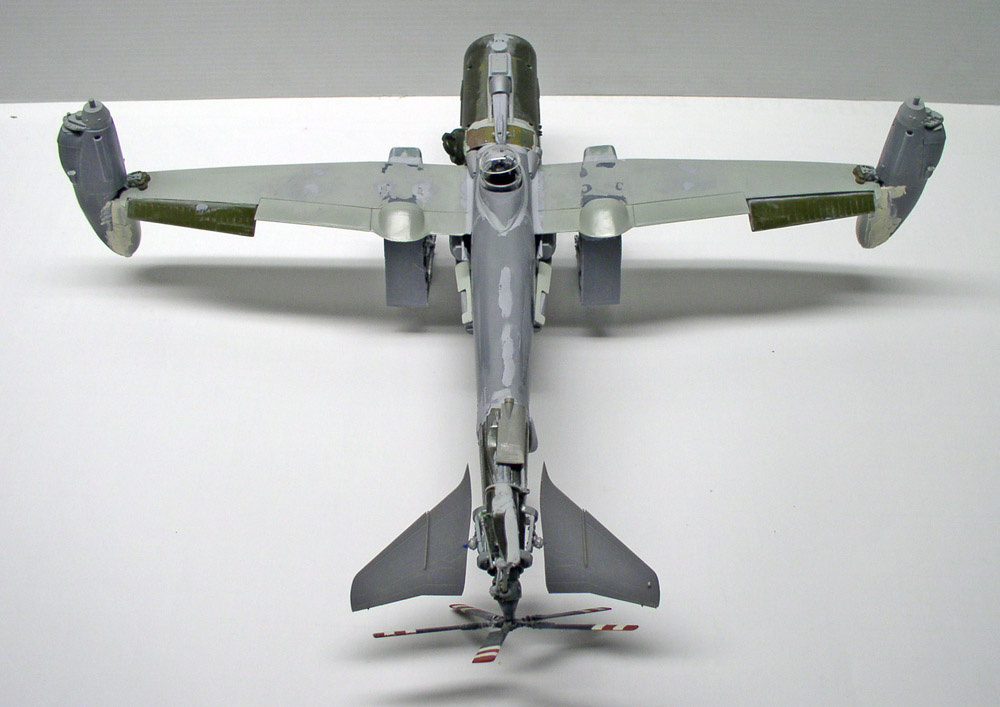
Aerial view showing the balancing process. Once the blades are permanently secured, they will no longer touch the ground...
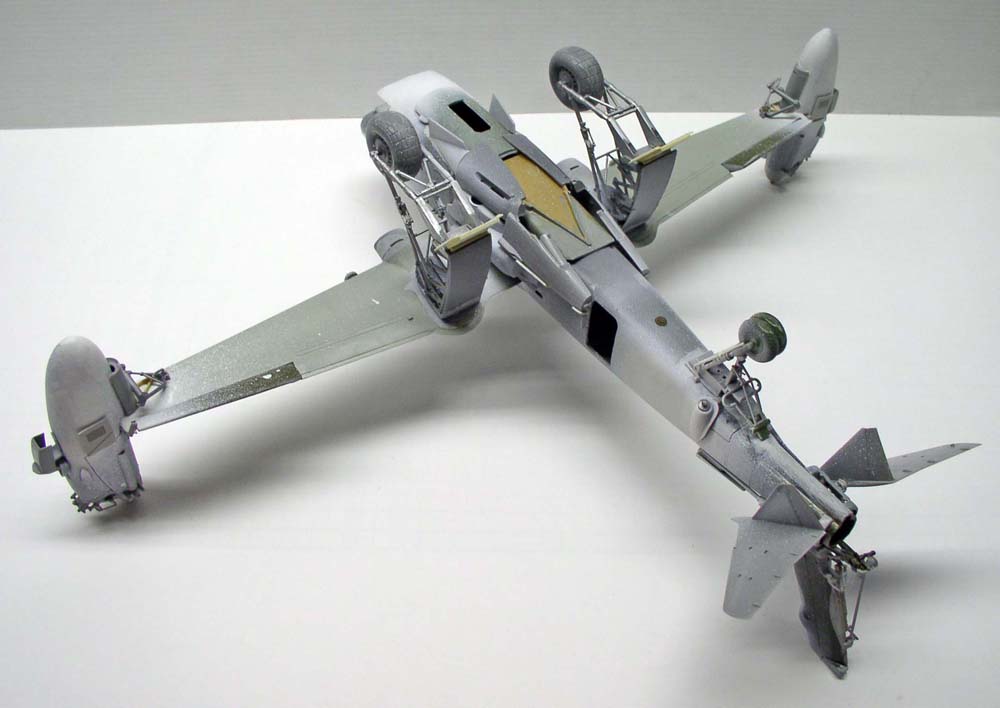
The landing gear comes from the Lancaster, from which the bottoms of the hatches have been cut out. Deflated resin wheels complete the set...
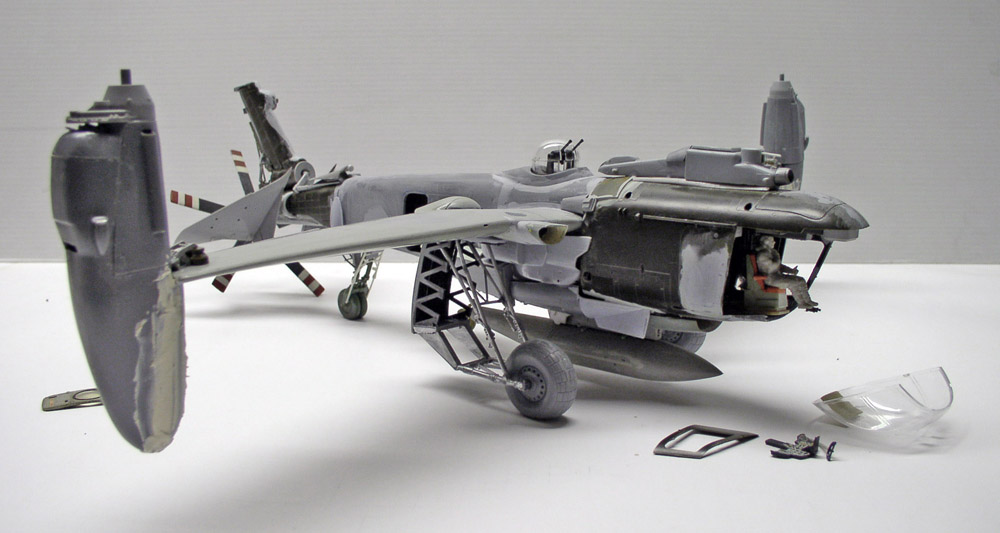
The oversized trains are intentional and specific to the mission of this aircraft, which is designed to operate in rugged terrain and can land anywhere (see the technical specifications in the gallery)...
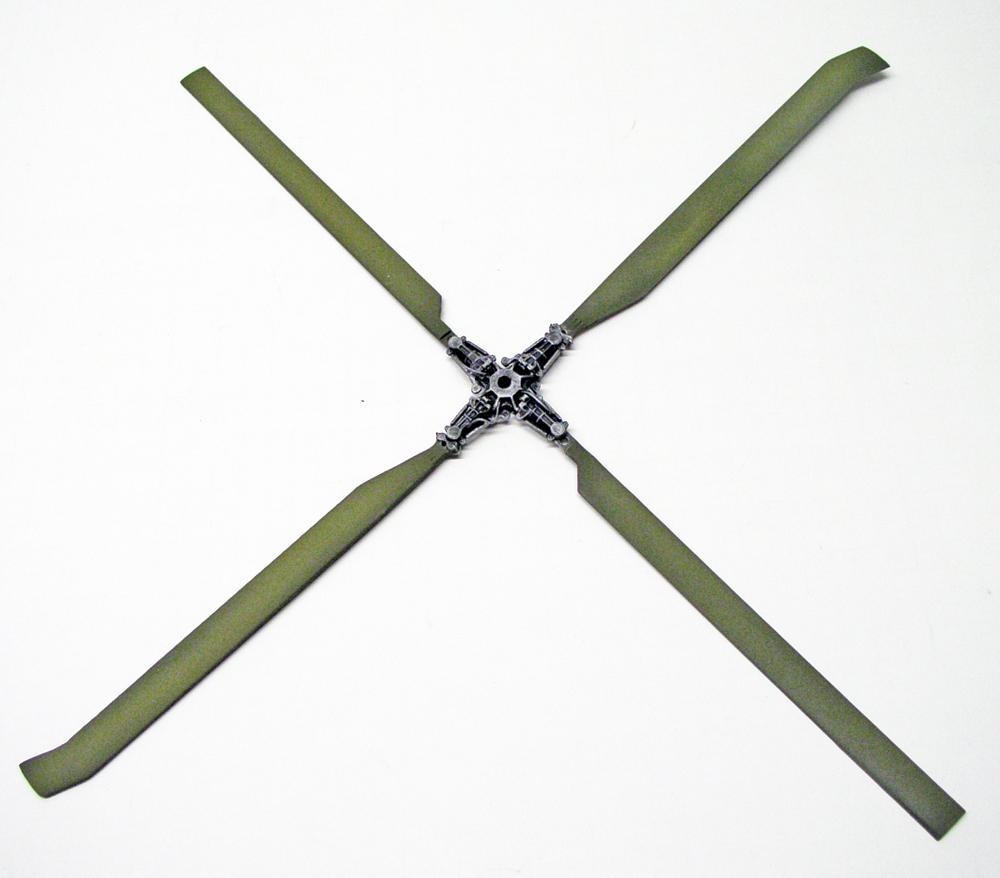
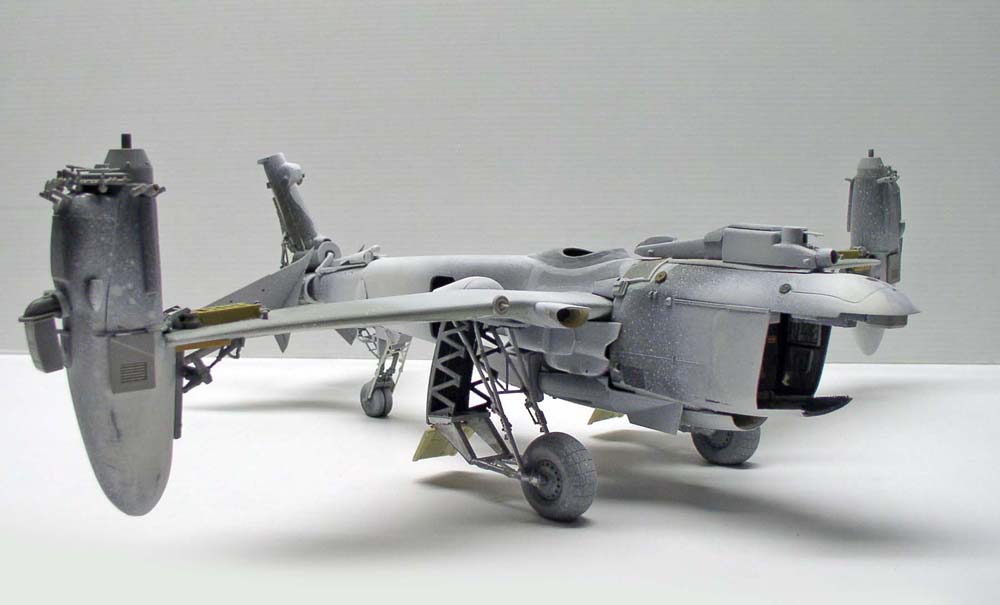
Apache and BO105 blades, paired in sets of two, will be used for the two front rotors...
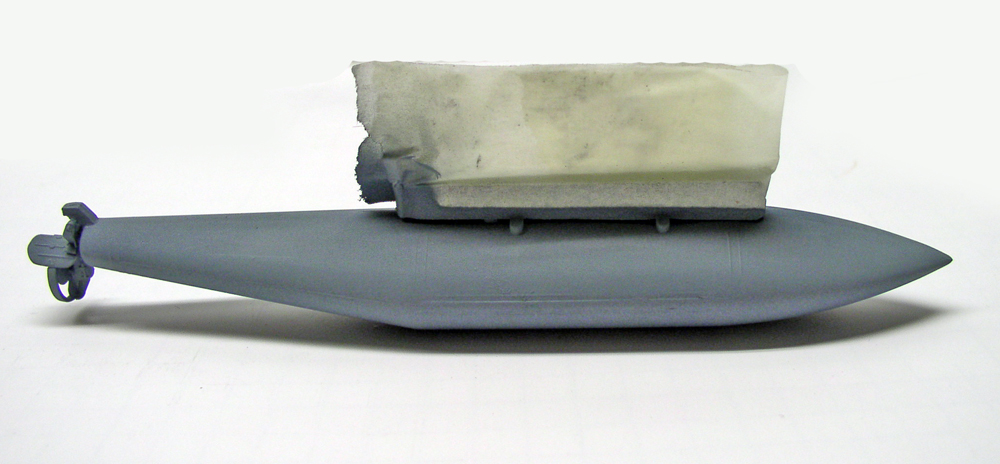
A jet fuel tank fitted with a Schwimmwagen propeller will become a torpedo mounted under the fuselage... Painted with Humbrol 96 + 87...
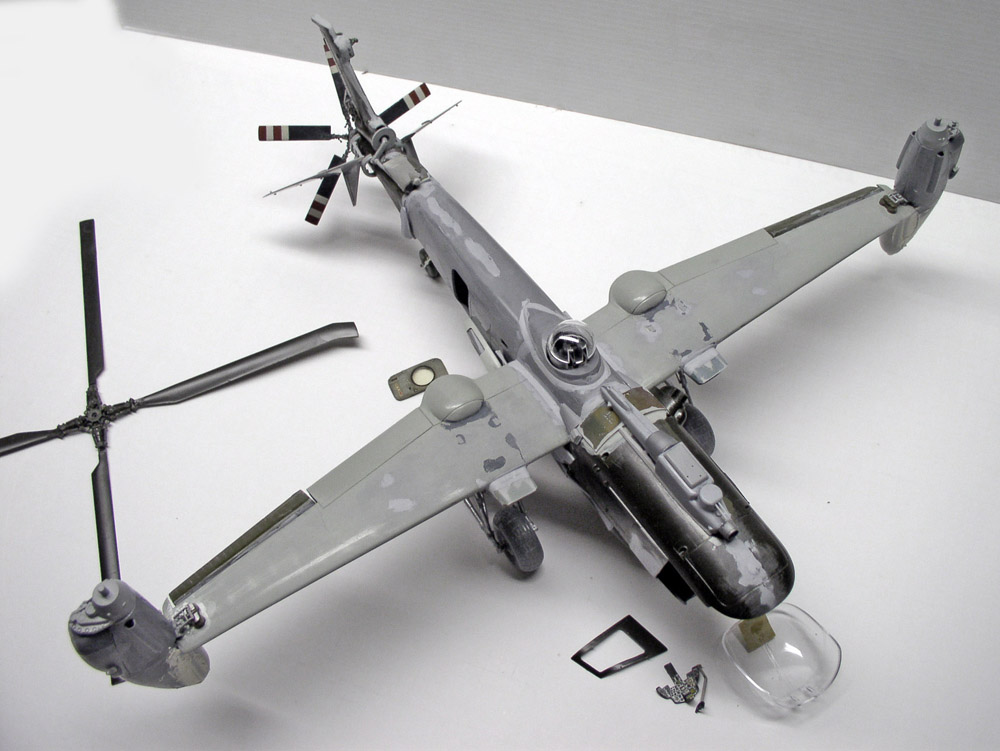
The Lancaster's dorsal turret is retrieved and positioned...
Paint Primer
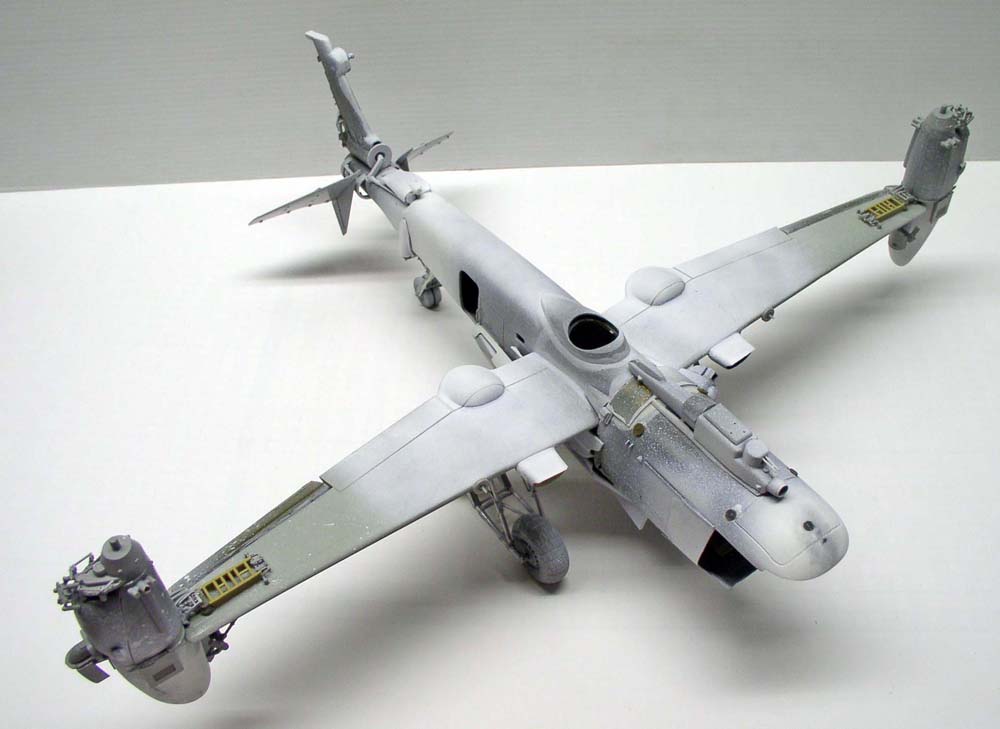
Filling and priming to ensure that all imperfections are removed...
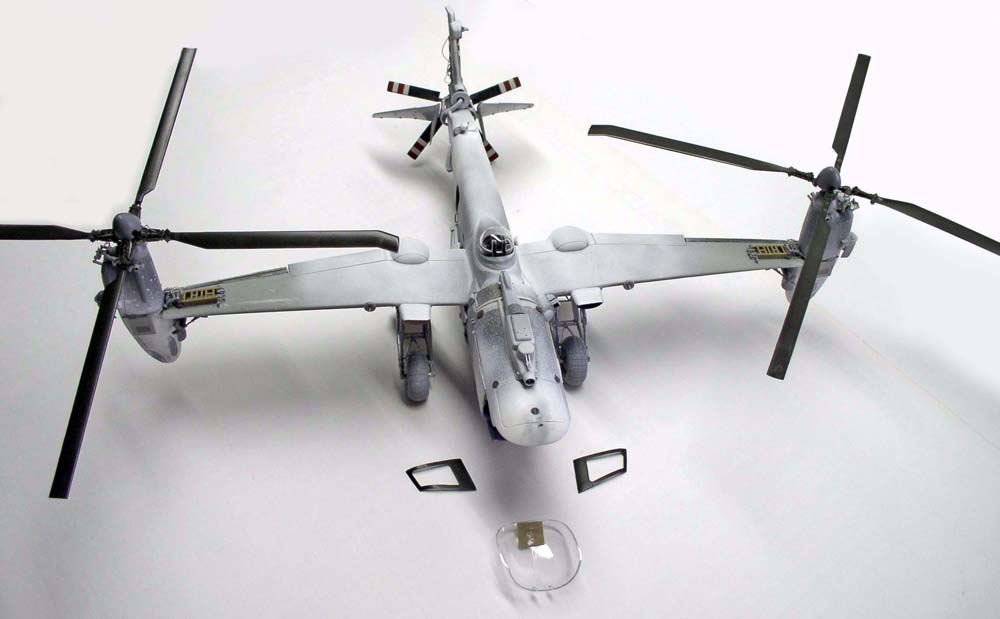
The rotors mounted on the aircraft give you an idea of its wingspan...
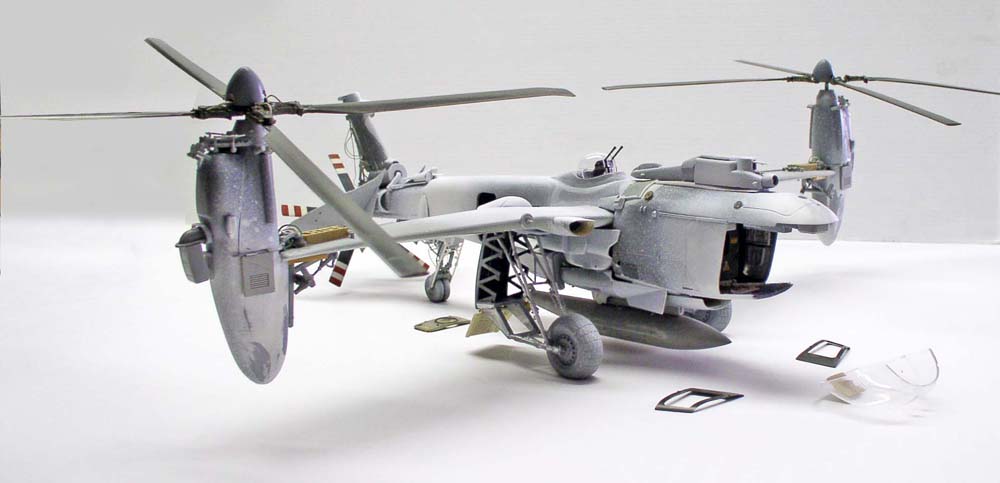
The model is all set to be painted...
The figurines
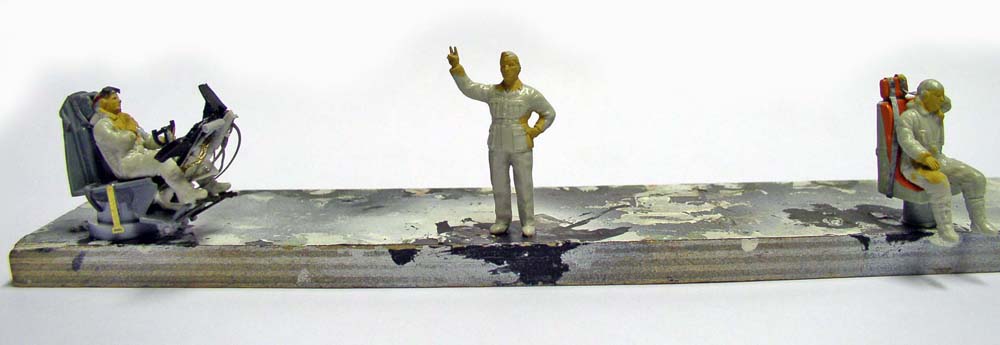
L'équipage: le cockpit comprendra hormis le pilote, un navigateur. Un mitrailleur se tiendra dans la tourelle dorsale...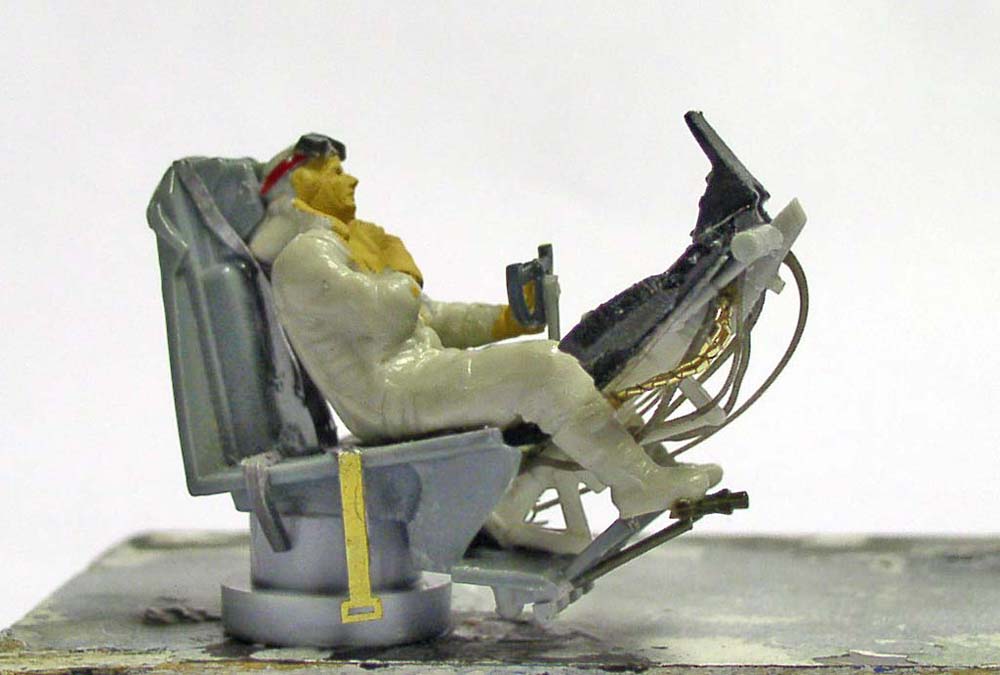
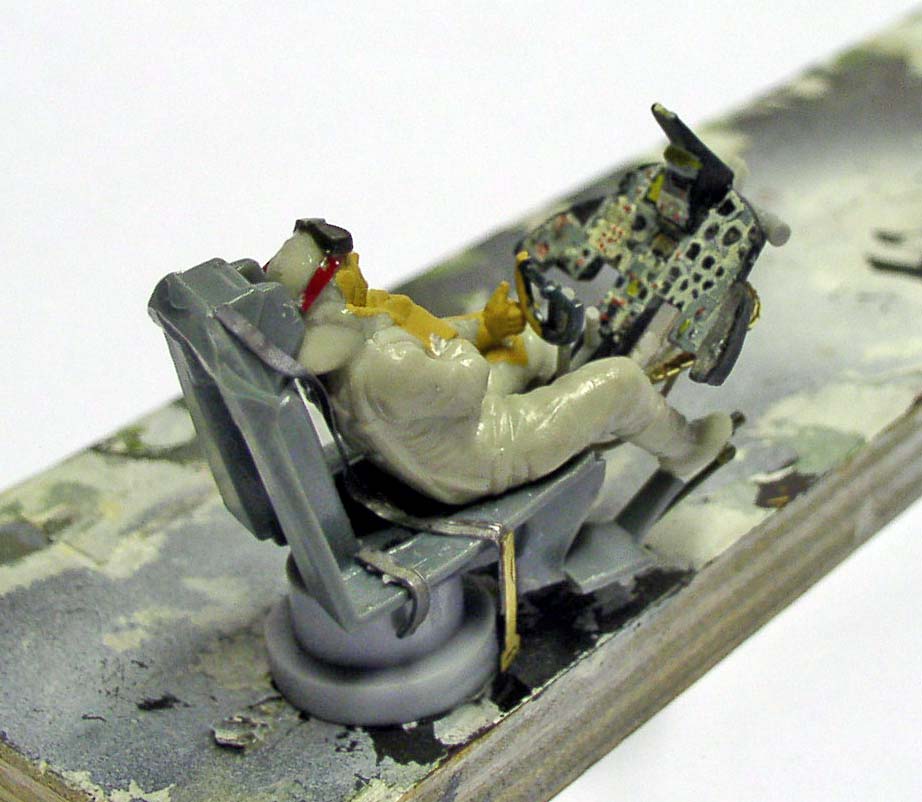
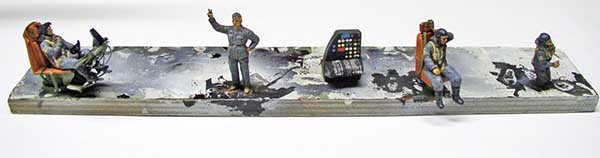
The painted figurines, ready to be glued...
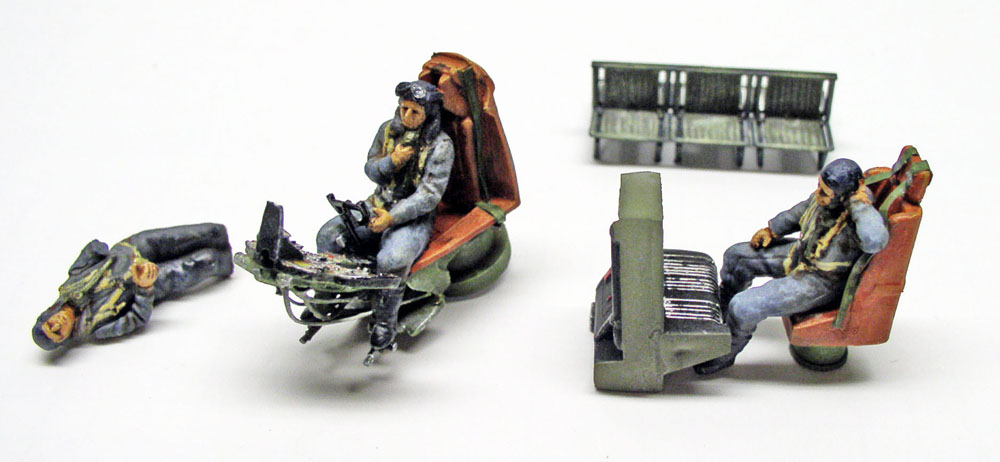
The entire crew: on the left, the gunner; the pilot; and the navigator at his console...
Painting
Airbrushed the top section with Humbrol HU8 green and the bottom section with Blue 65... Then dry-brushed the blue section using 122 and white...
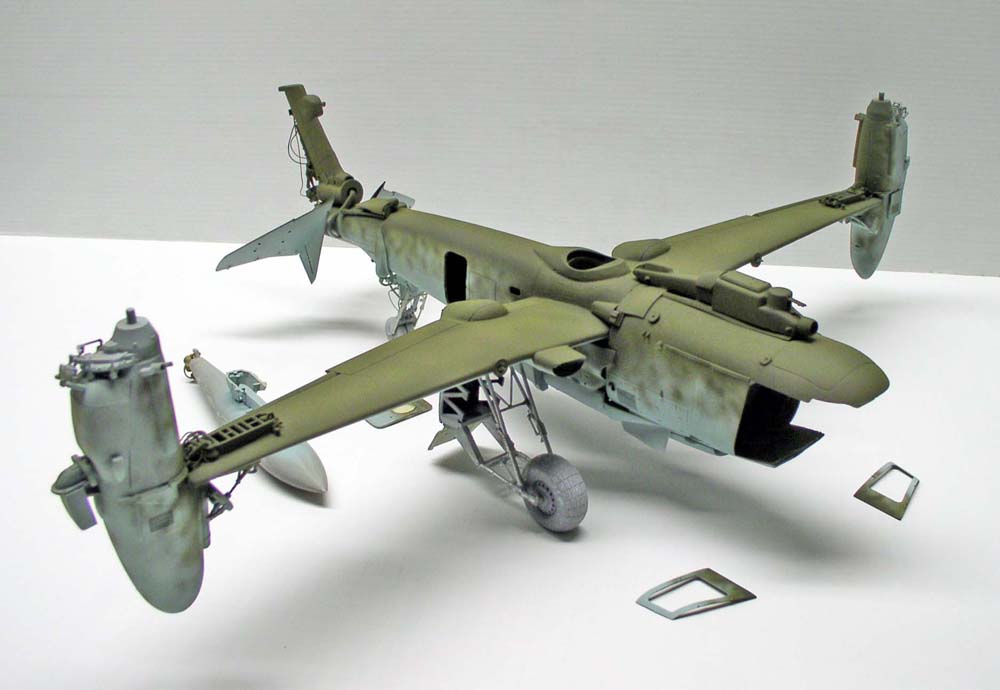
Next, apply a coat of Testors salted olive as a highlight over the green mentioned above...
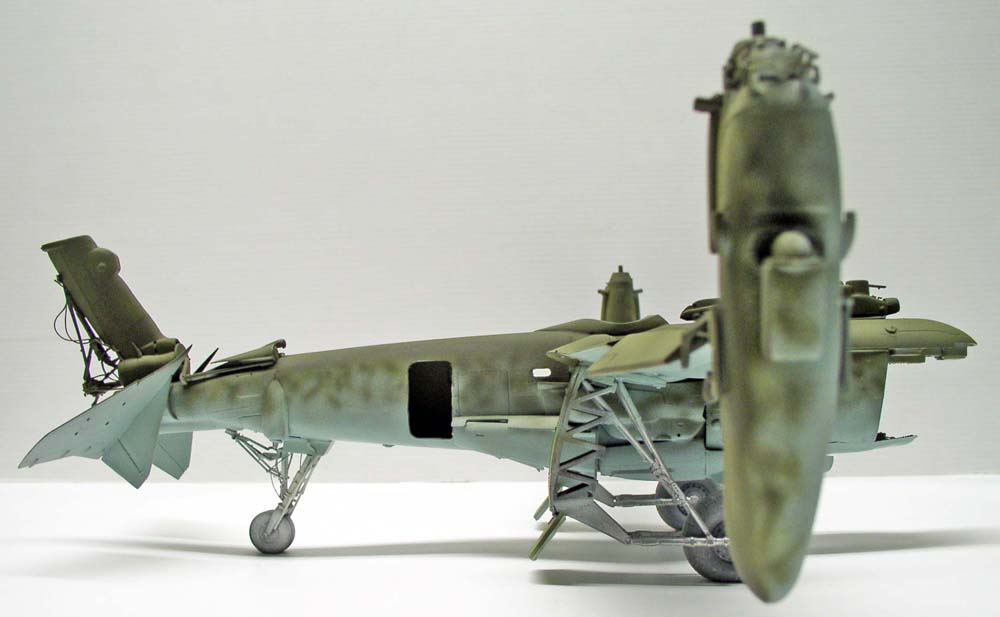
Next, we'll add the speckles using the two shades of green...
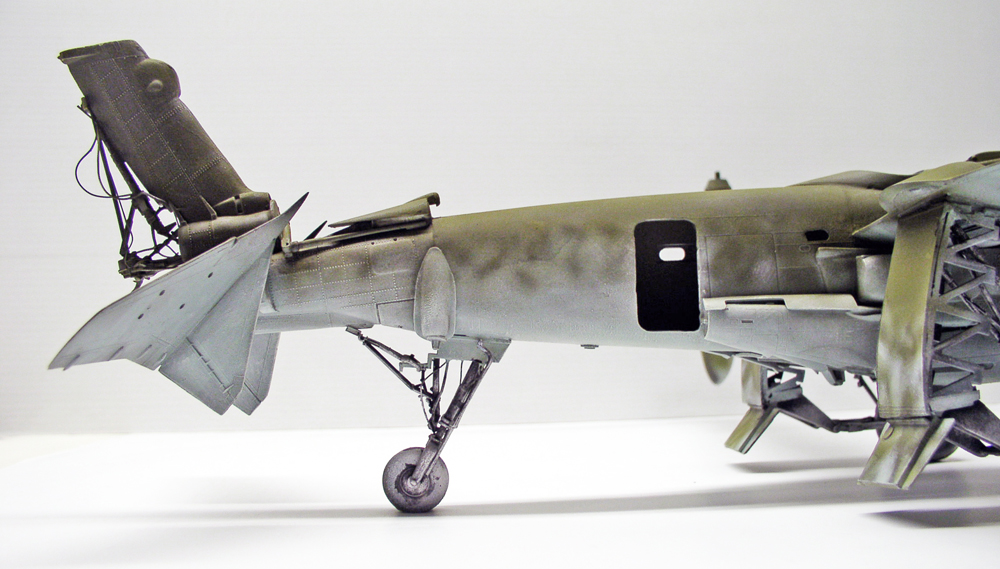
Apply a diluted solution to the entire appliance to create a tint, and gently wipe it off as you go...
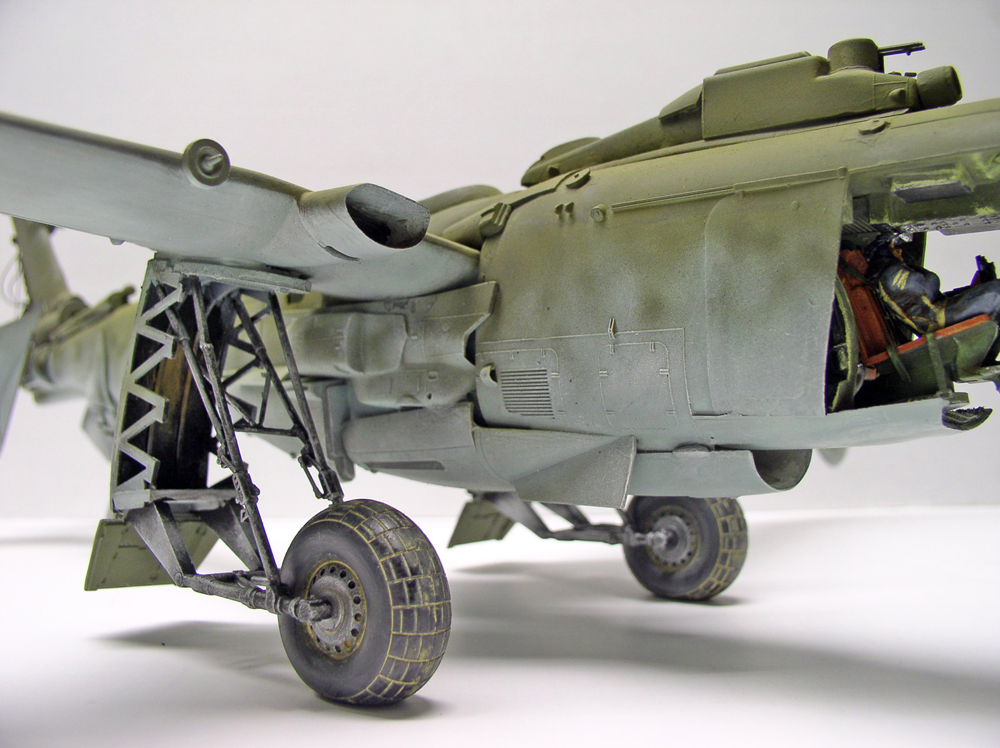
The tires are also treated with a solution based on Yellow 93... The metal parts are made of Metal 53 + 11...
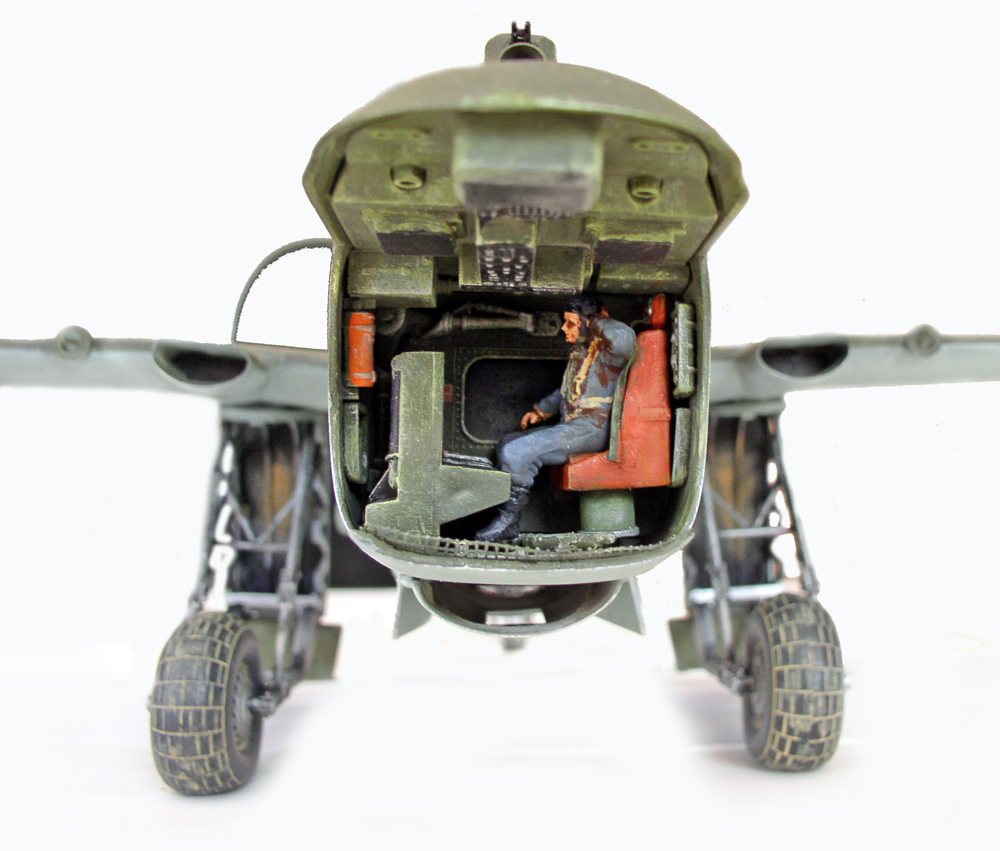
The browser is stuck in its place...
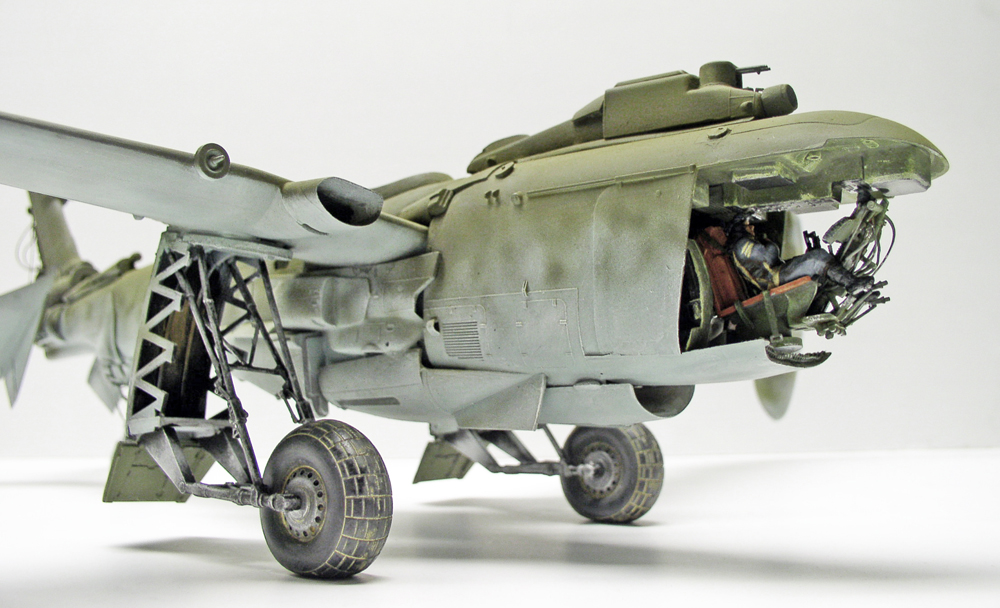
Putting the driver in the cockpit and securing him in place... No easy task!
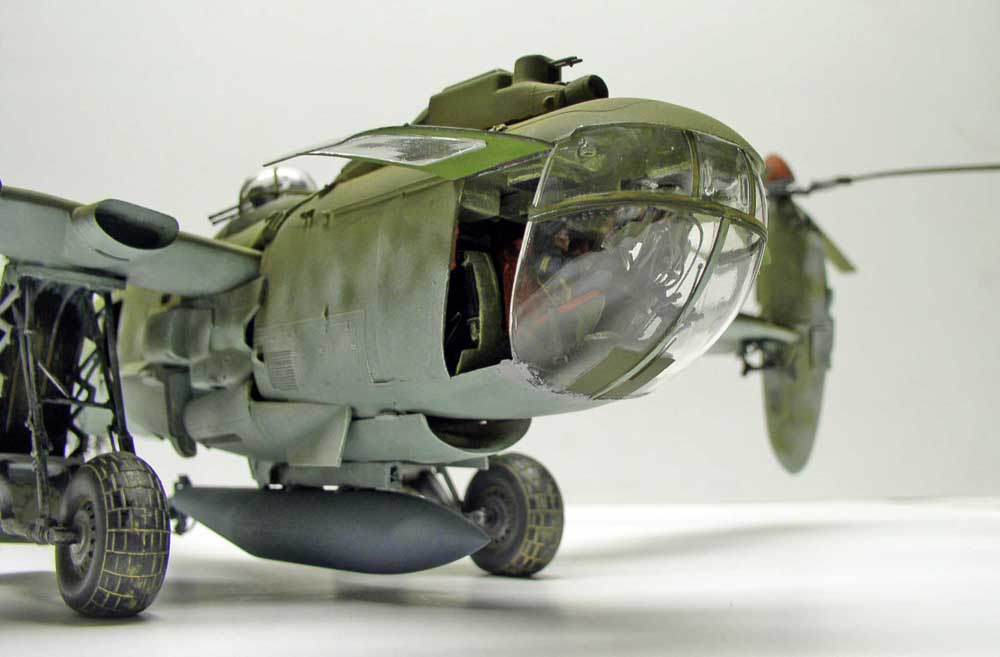
Securing the "bubble" and the reversed doors after cleaning all the glass parts with Klir...
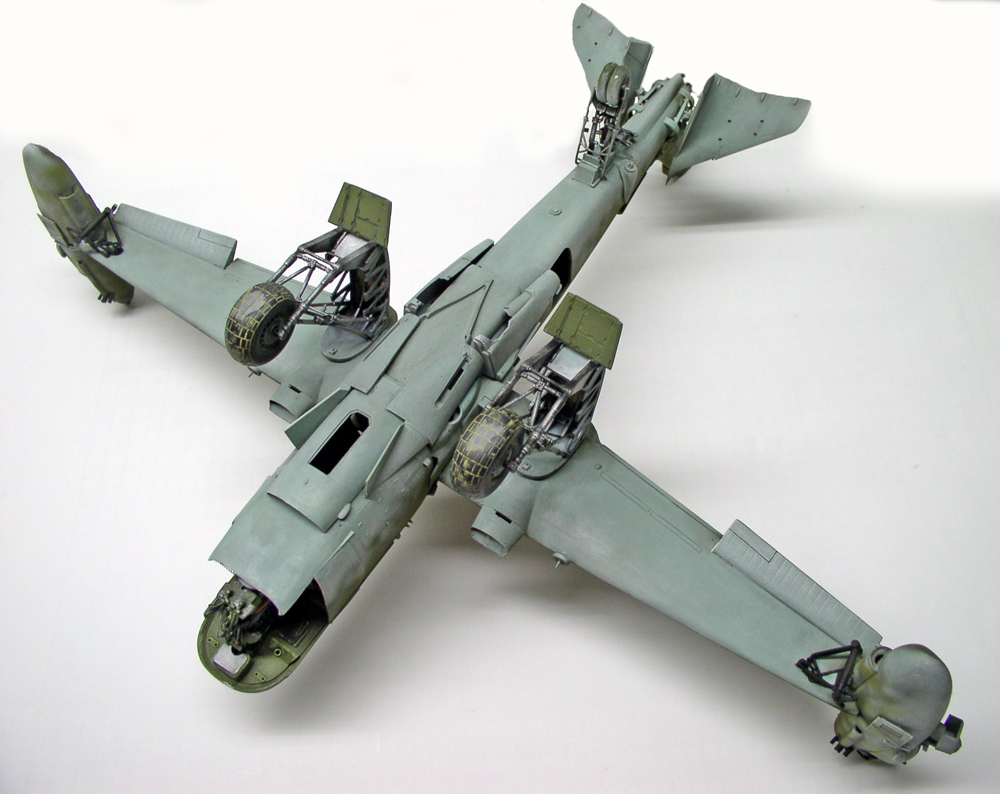
A view from below after shading...
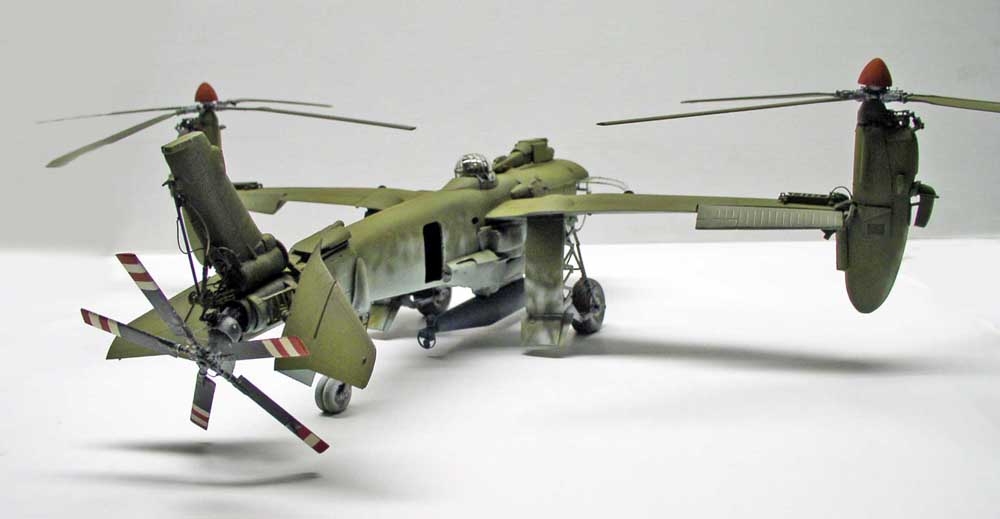
The propeller cups are positioned and glued to the rotors... Note that the large rotor blades were lightly heated with a candle flame to give them that distinctive, heavy look typical of helicopter rotors...
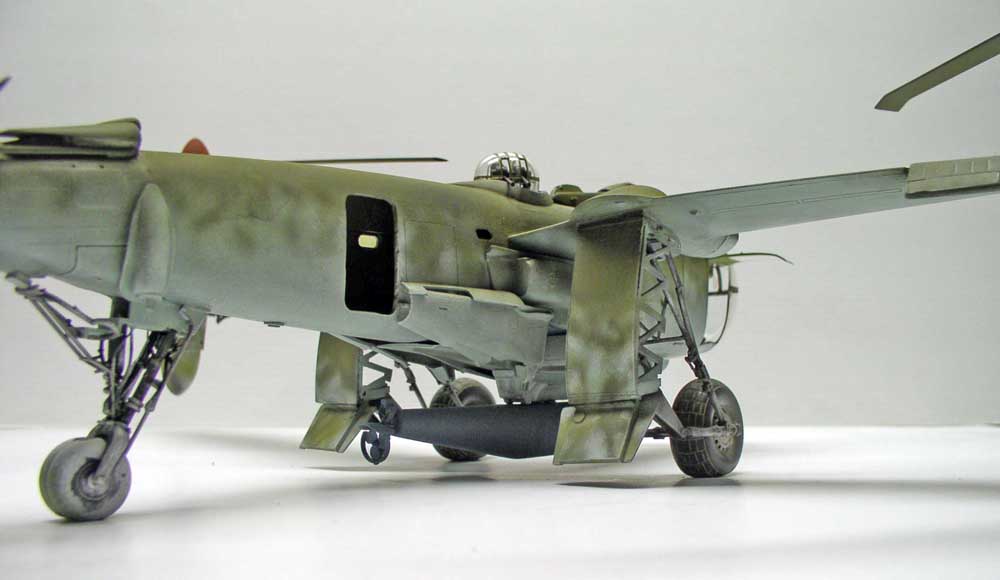
The torpedo is secured in its mounting...
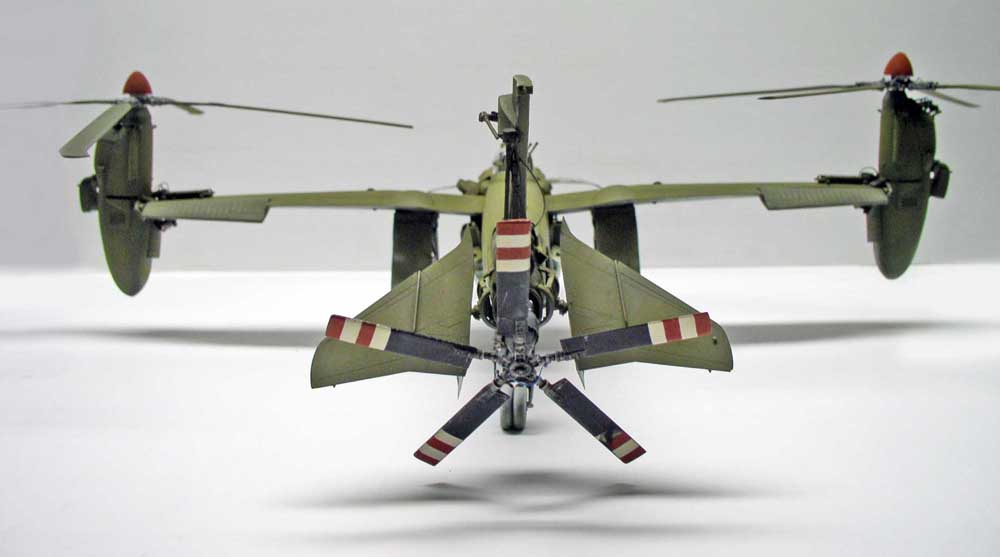
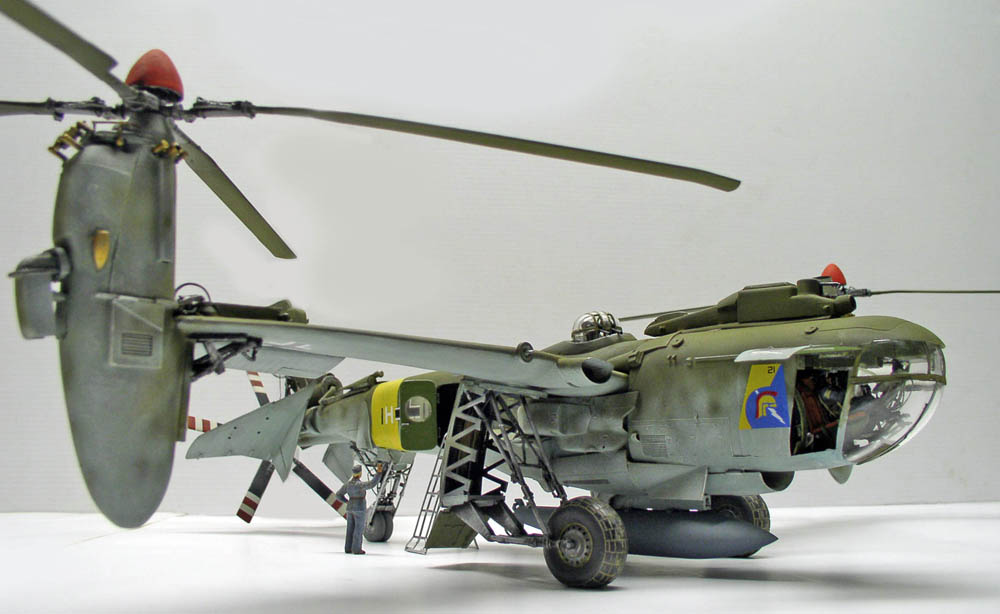
Rear view...
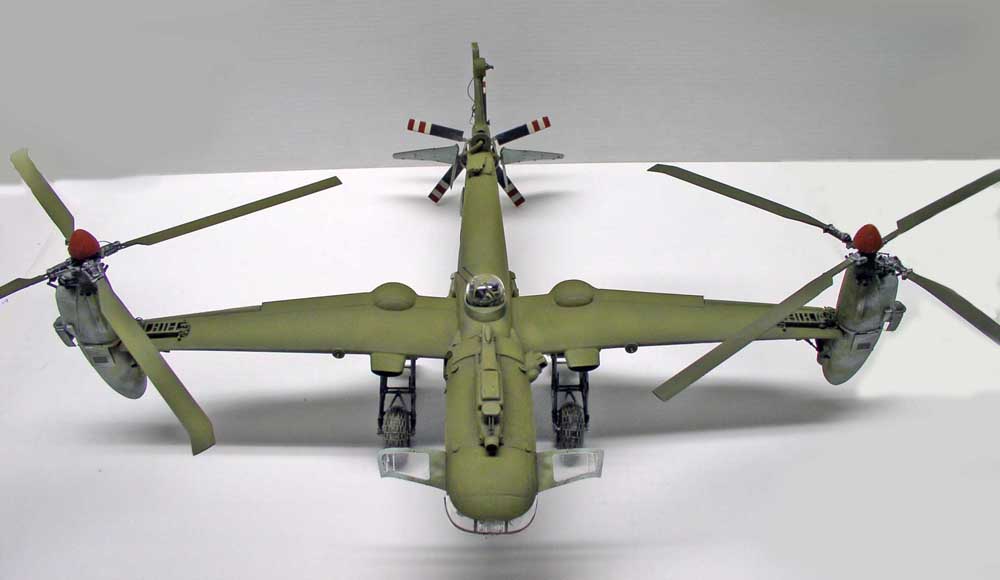
In this view, you can clearly see the benefit of using lighter colors for highlights with an airbrush, which adds a sense of depth to the painting...
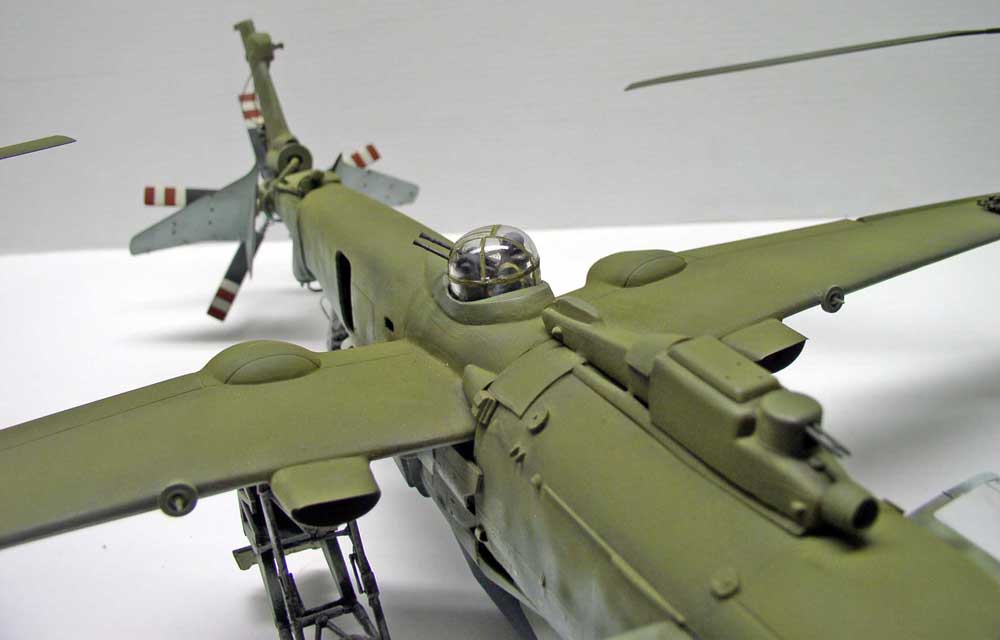
The gunner is in position in the turret...
Decals
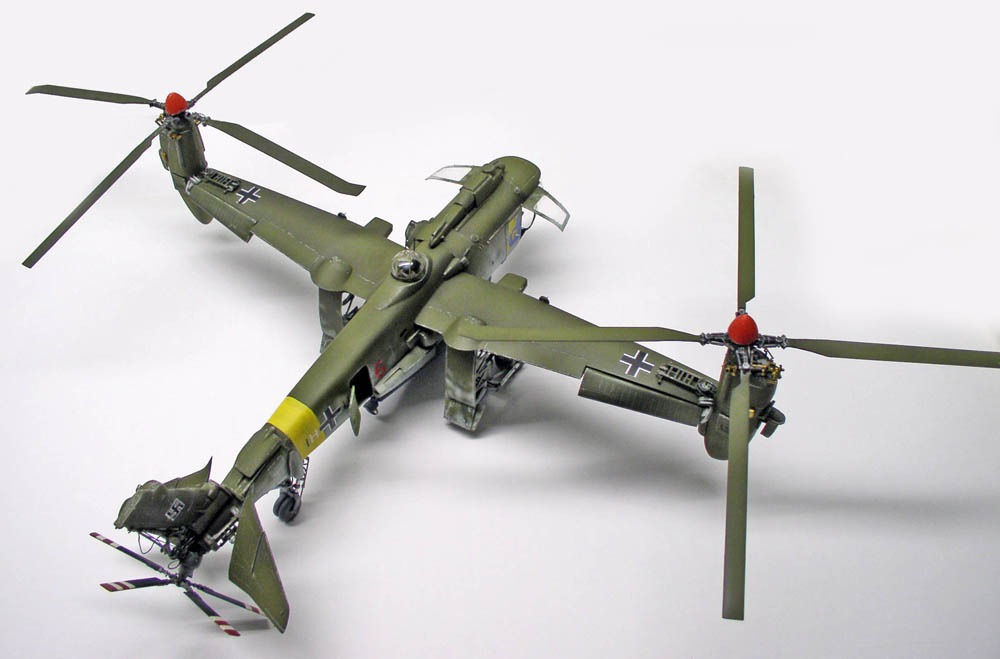
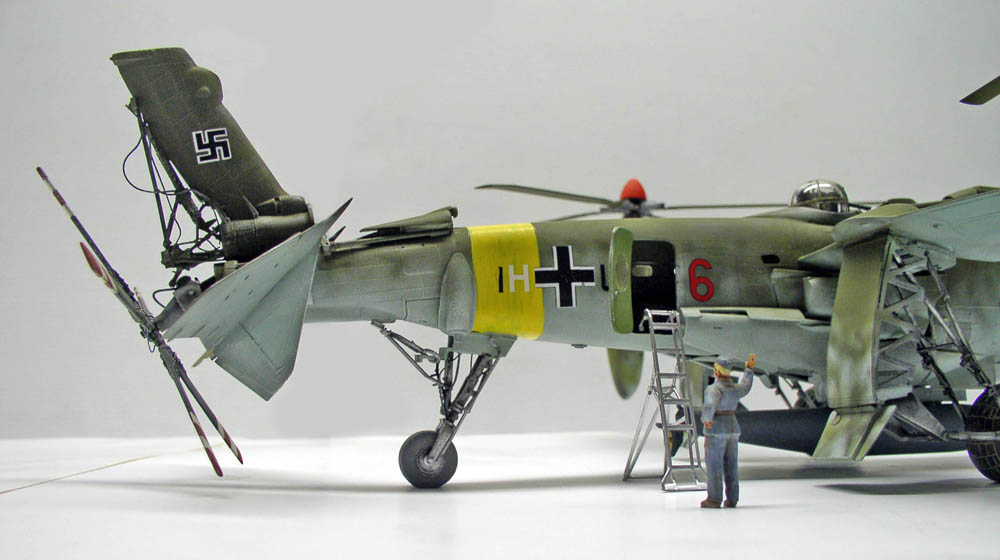
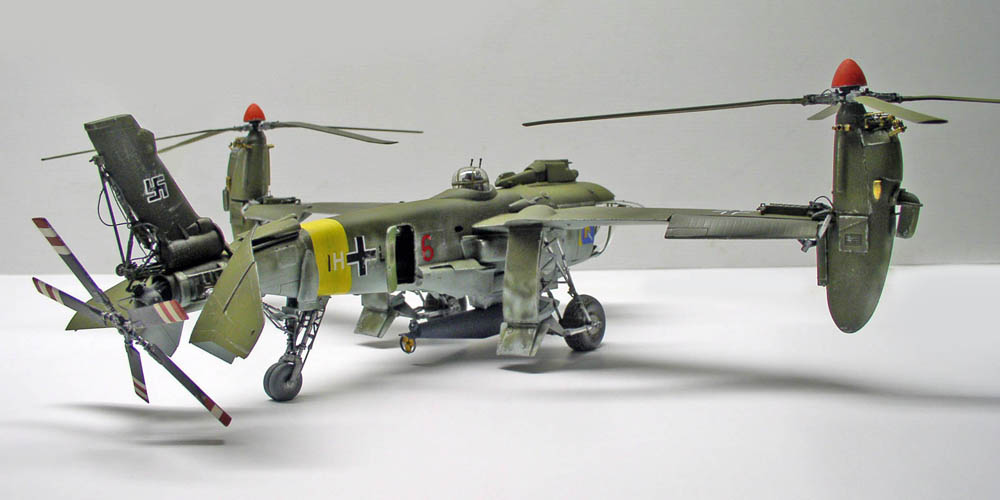
The four images above show how to apply the decals using Micro-sol...
The Setting
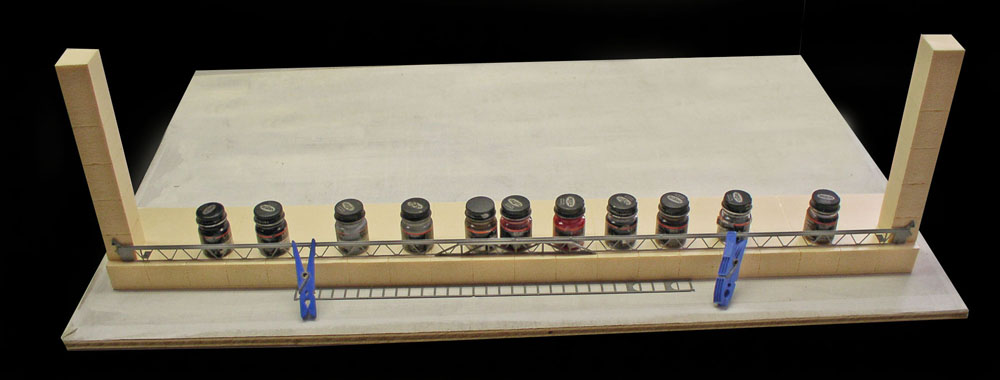
The set will feature a concrete runway and a hangar... Here, the hangar's pillars are being built out of extruded polystyrene and plastic profiles...
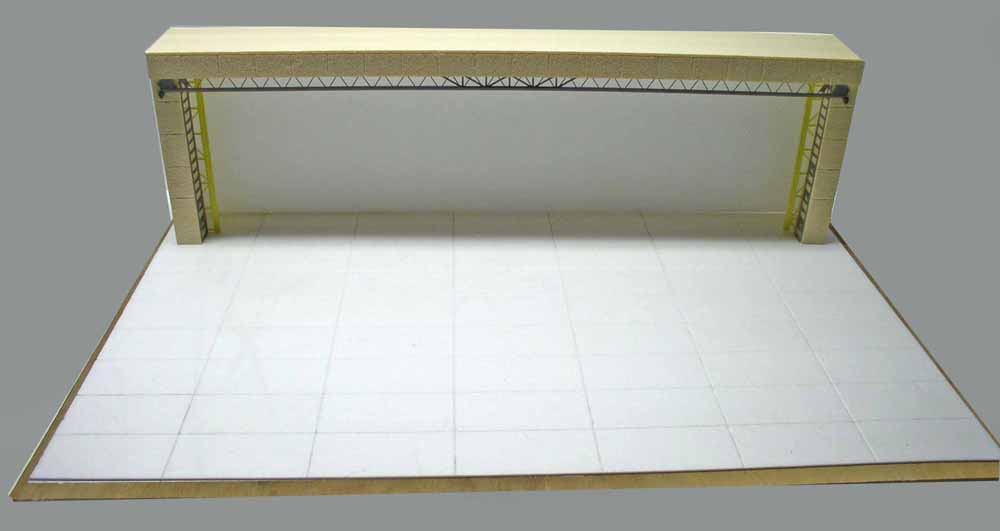
Assembly of the hangar and the floor after cutting with a utility knife and gluing with wood glue onto an 80 cm x 60 cm sheet of plywood...
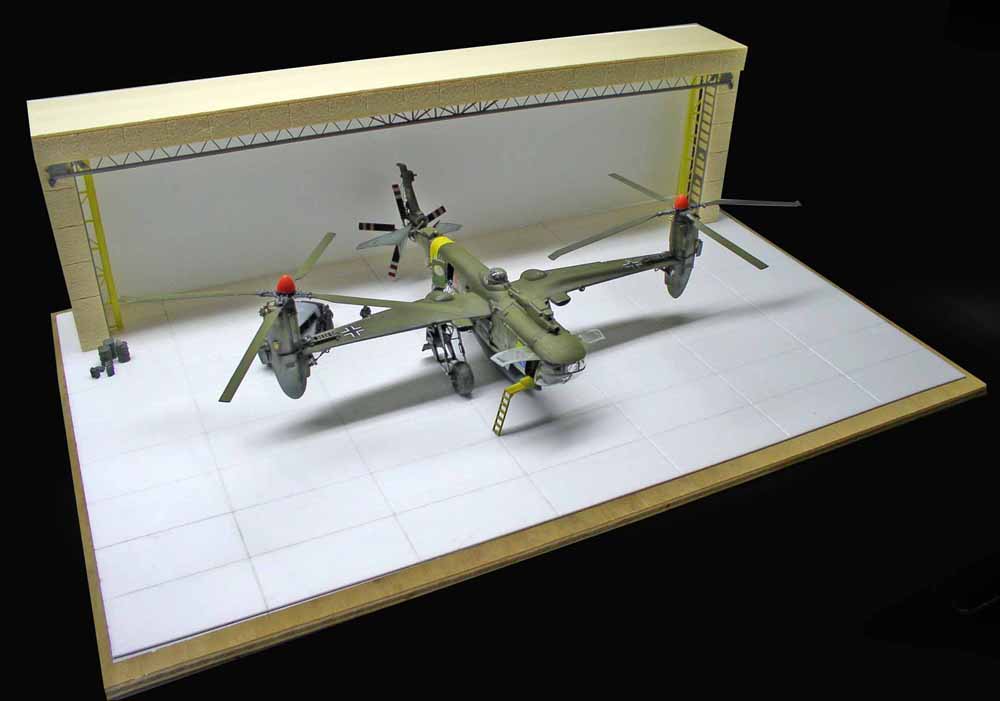
A "calm" view...
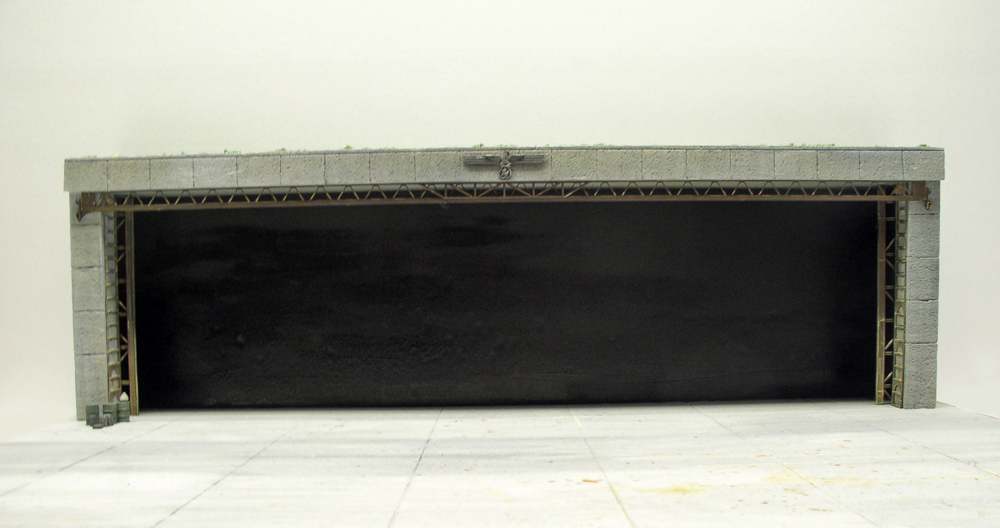
Acrylic paint and the aging of the hangar...
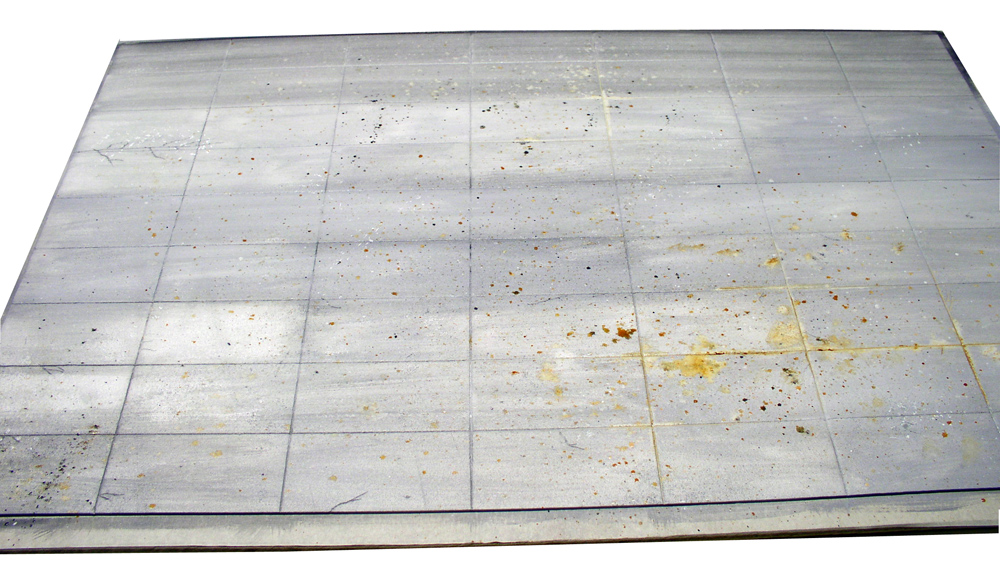
The floor is also painted with acrylic paint...
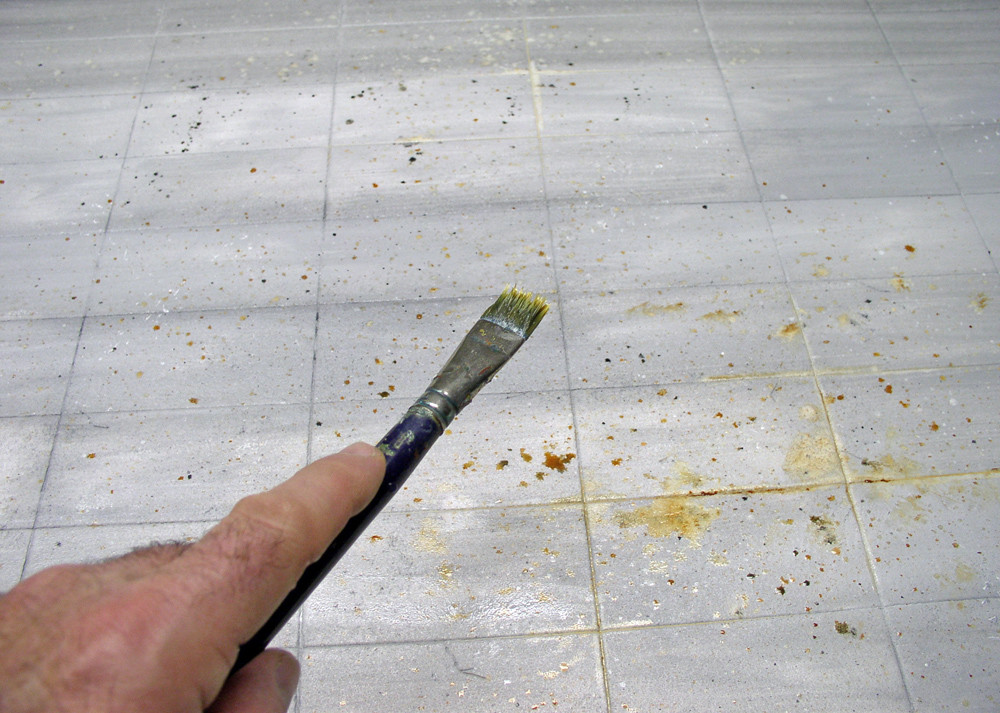
The brushstrokes are applied using Sienna, Umber, and Naples Yellow oils by tapping the brush handle lightly...
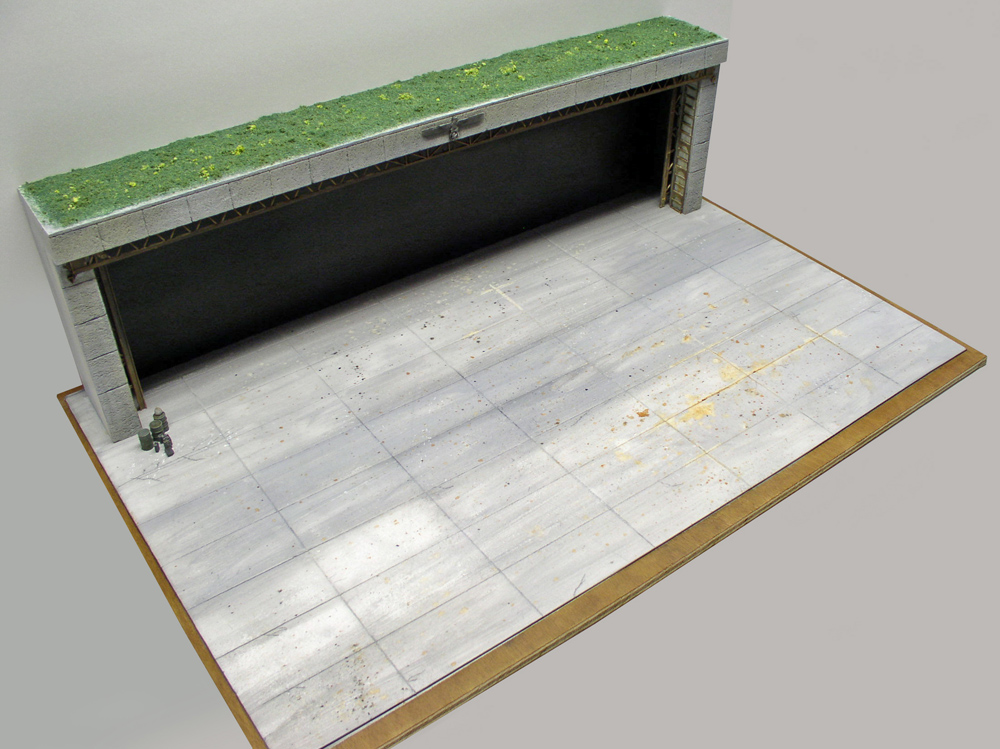
A flocked finish will simulate grass on the roof of the concrete hangar...
The vehicle
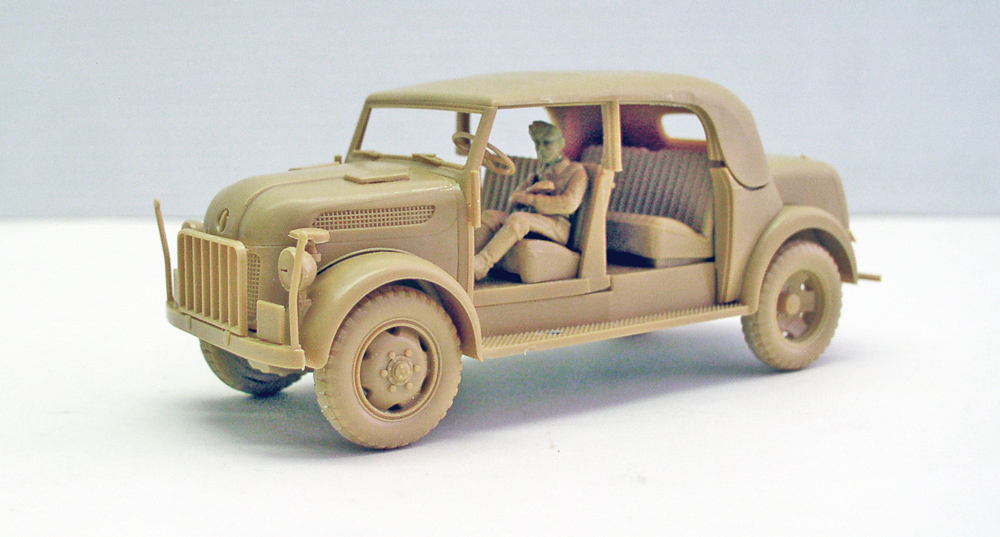
A 1/48-scale Steyr from Tamiya, along with German figures from ICM, will complete the diorama...
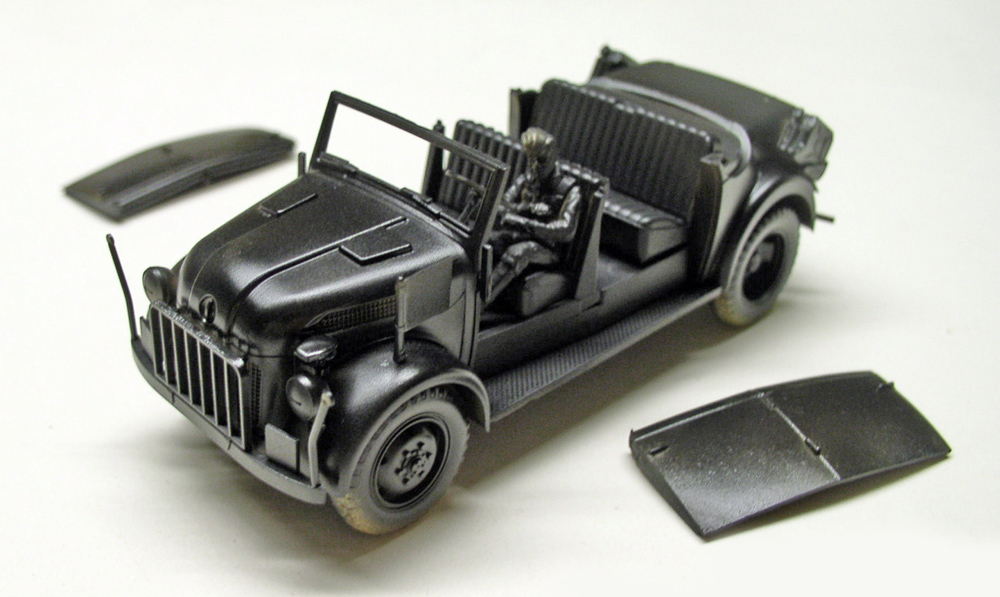
Testors gloss black paint applied to the vehicle with an airbrush...
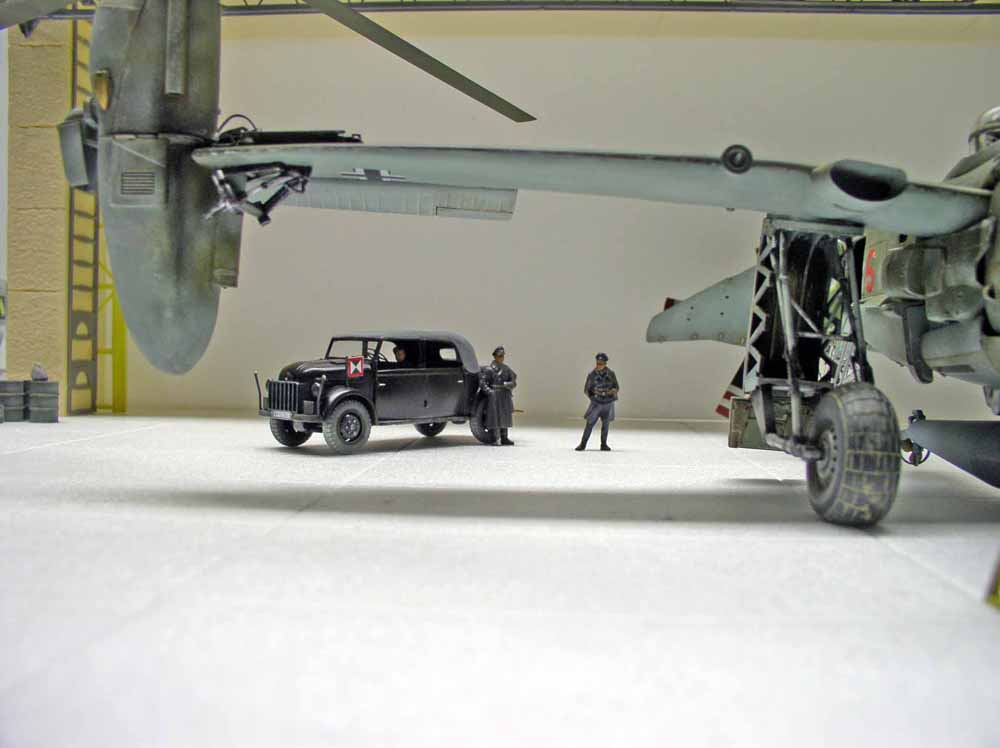
The Steyr set up with the figurines...
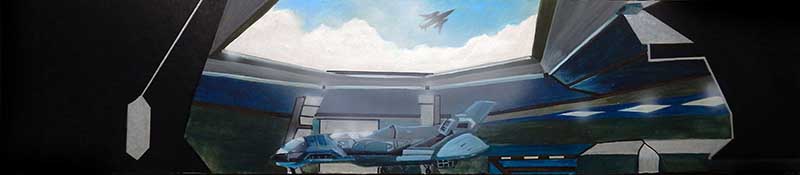
An acrylic-painted background is added to the back of the hangar...